Articles
How To Clean Lg Water Dispenser
Modified: October 19, 2024
Learn effective methods for cleaning your LG water dispenser with our informative articles. Keep your dispenser fresh and hygienic with our expert tips and techniques.
(Many of the links in this article redirect to a specific reviewed product. Your purchase of these products through affiliate links helps to generate commission for Storables.com, at no extra cost. Learn more)
Introduction
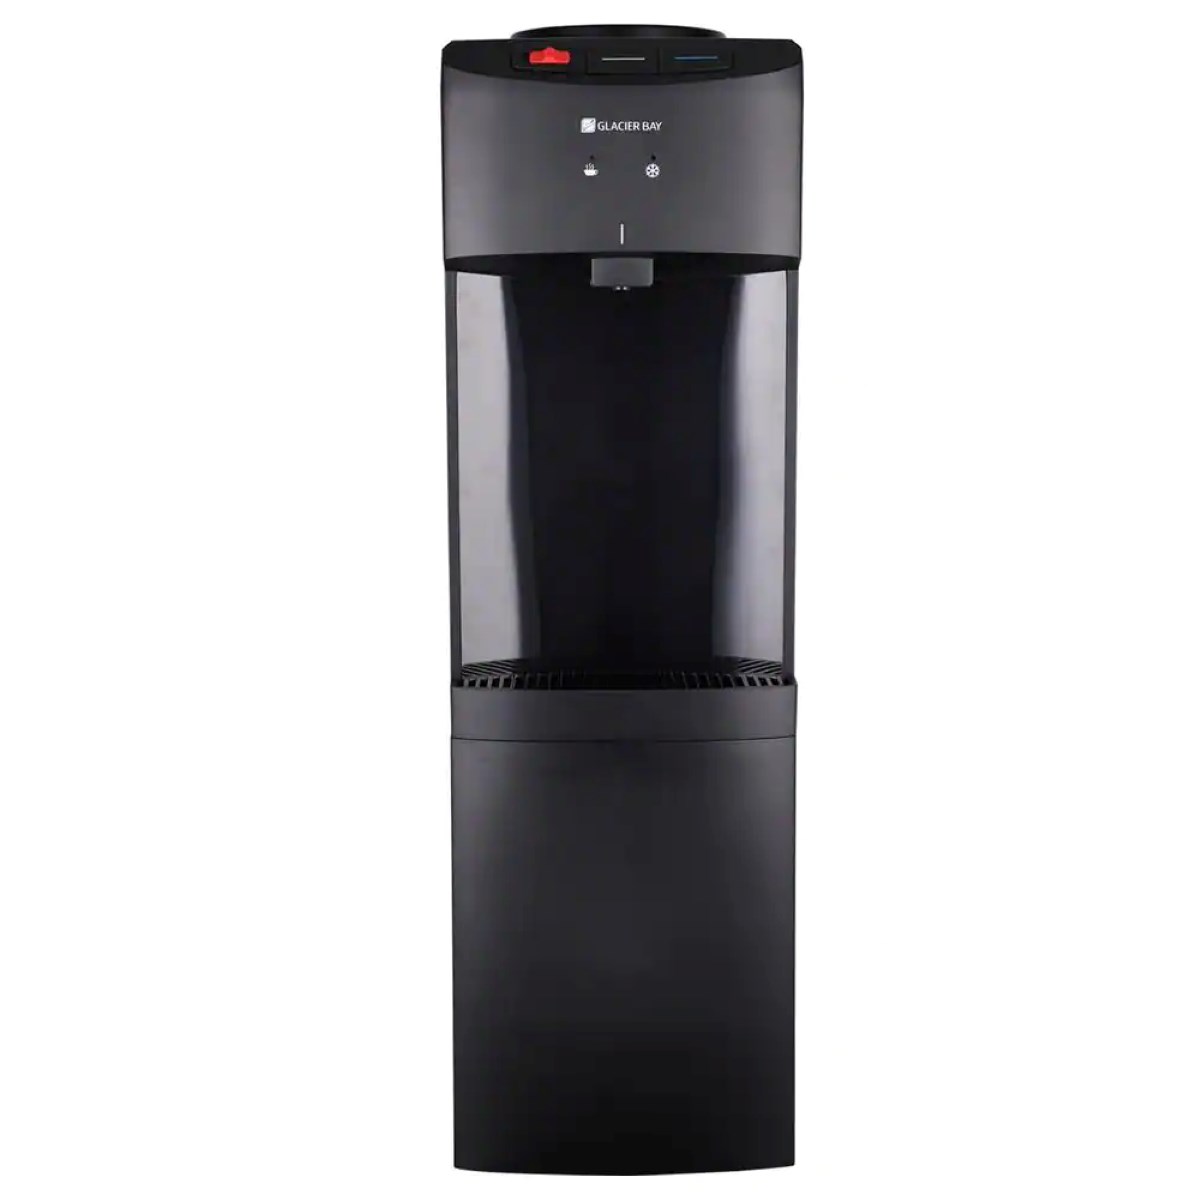
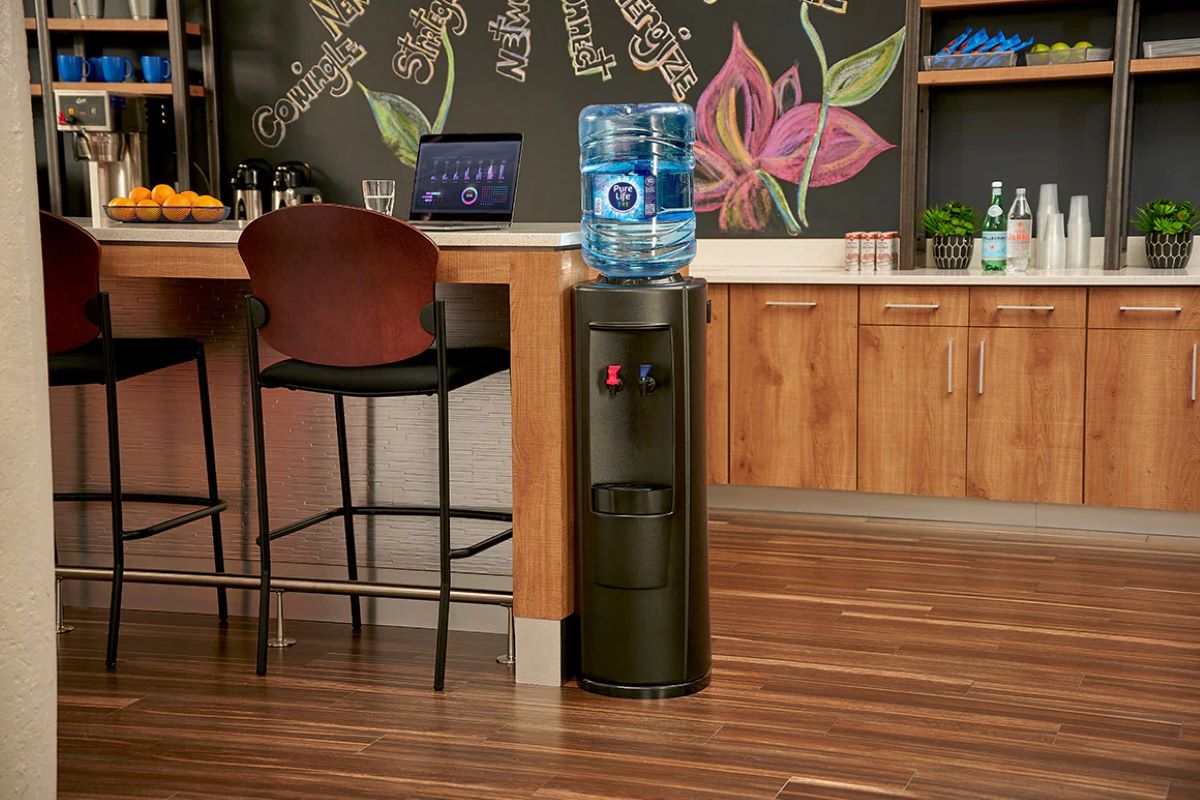
A water dispenser is a convenient household appliance that provides instant access to clean, filtered water. LG water dispensers are known for their reliability and advanced features, making them a popular choice for many households. However, regular cleaning is essential to maintain the cleanliness and performance of your LG water dispenser. In this article, we will guide you through the step-by-step process of how to clean your LG water dispenser effectively.
Regular cleaning of your water dispenser not only ensures that you and your family have access to clean drinking water but also helps prevent the buildup of bacteria, mold, and unpleasant odors. By following these simple cleaning steps, you can keep your LG water dispenser in optimal condition and enjoy refreshing, clean water whenever you need it.
Before we dive into the cleaning process, it is important to note that safety should always be a top priority. Make sure to read and follow the manufacturer’s instructions and take necessary precautions to avoid any injuries or damages during the cleaning process.
Key Takeaways:
- Regularly cleaning your LG water dispenser is crucial to ensure clean, refreshing water for your family and prevent the buildup of bacteria, mold, and unpleasant odors.
- Prioritize safety by following the manufacturer’s instructions, wearing protective gloves, and gathering the necessary materials before cleaning your LG water dispenser. Regular maintenance ensures optimal performance and longevity.
Read more: How To Clean A Vitapur Water Dispenser
Safety Precautions
Prior to cleaning your LG water dispenser, it is crucial to take some necessary safety precautions to ensure your well-being and prevent any accidents. Follow these safety guidelines:
- Unplug the water dispenser from the power source before starting the cleaning process. This will help prevent any potential electrical hazards.
- Wear protective gloves to shield your hands from any cleaning agents or potential bacteria.
- Work in a well-ventilated area to avoid inhaling any fumes from cleaning products.
- Keep children and pets away from the cleaning area to avoid accidents or ingestion of cleaning solutions.
- Read and follow the manufacturer’s instructions for your specific LG water dispenser model.
By following these safety precautions, you can minimize the risk of accidents and ensure a safe and effective cleaning process for your LG water dispenser.
Materials Needed
Before you begin cleaning your LG water dispenser, gather the following materials:
- Mild dish soap or water dispenser cleaner
- Warm water
- Soft microfiber cloth or sponge
- Cotton swabs
- Vinegar (optional)
- New water bottle (for reinstallation)
The dish soap or water dispenser cleaner will help remove any dirt, grime, or bacteria that may have accumulated in the dispenser’s parts. Warm water is essential for effective cleaning and should be used throughout the process.
A soft microfiber cloth or sponge is recommended to clean the external surfaces of the water dispenser as it is gentle and won’t scratch the finish. Cotton swabs can be used to reach narrow or hard-to-reach areas for thorough cleaning.
Vinegar can also be used as a natural cleaning agent by mixing it with water. However, be cautious when using vinegar as it may affect the rubber gaskets or seals in some water dispensers. Check the manufacturer’s instructions to ensure vinegar is safe to use for your specific LG water dispenser model.
Lastly, have a new water bottle ready for reinstallation after completing the cleaning process. This ensures you have a fresh supply of water for use once the dispenser is clean and functioning again.
Step 1: Unplug the Water Dispenser
Before you start cleaning your LG water dispenser, ensure you unplug it from the power source. This is an important step to prevent any electrical accidents during the cleaning process.
Locate the power cord at the back of the water dispenser and gently remove it from the electrical outlet. Make sure to place the cord in a safe and easily accessible location, away from any water or cleaning solutions.
By disconnecting the water dispenser from the power source, you eliminate the risk of electric shock and can focus on the cleaning process without any distractions or safety concerns.
Remember to keep the water dispenser unplugged throughout the entire cleaning process until you have completely finished and reassembled all the parts.
Now that the water dispenser is safely unplugged, you are ready to proceed to the next step of cleaning your LG water dispenser.
Step 2: Remove and Empty the Water Bottle
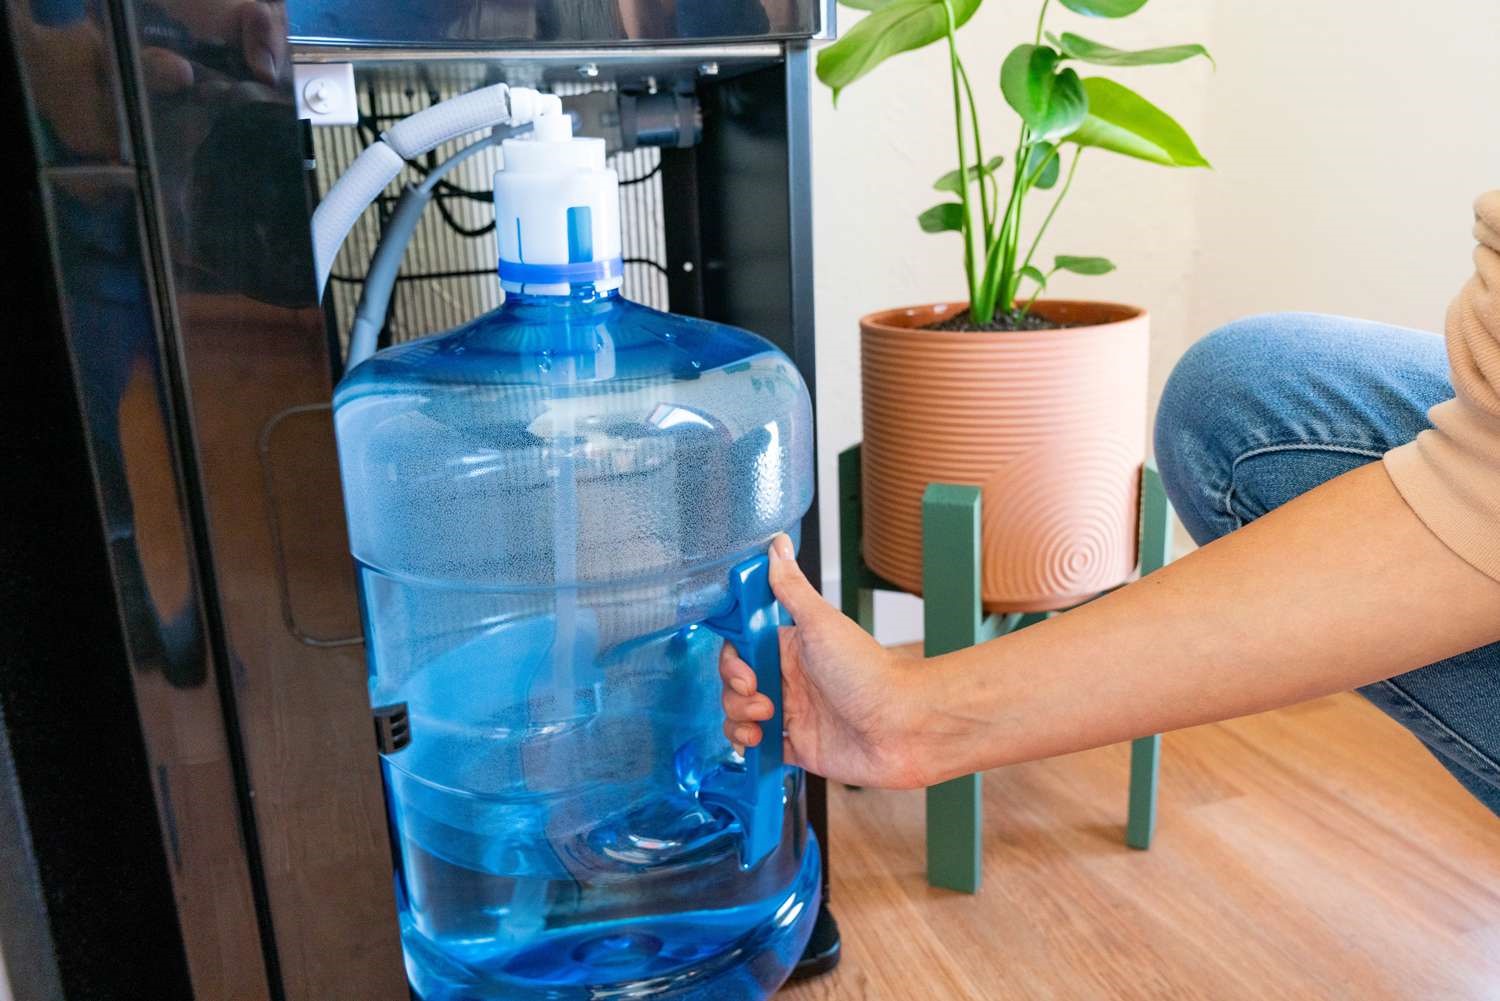
Once your LG water dispenser is unplugged, it’s time to remove the water bottle. Start by carefully lifting the water bottle off the dispenser. Be cautious as the bottle could be heavy, especially if it’s full of water.
Place the water bottle in a safe location and empty its contents. You can use the water for plants or other household needs if desired. Make sure to properly dispose of any remaining water if you don’t plan to reuse it.
Removing the water bottle ensures that you have clear access to clean the dispenser’s components thoroughly. It also prevents any water leakage or spills during the cleaning process, making your task easier and mess-free.
Once the water bottle is removed and emptied, set it aside and proceed to the next step of disassembling the water dispenser parts for a complete cleaning.
Read more: How To Clean Pur Water Dispenser
Step 3: Disassemble the Water Dispenser Parts
Now that the water bottle has been removed and emptied, it’s time to disassemble the various parts of your LG water dispenser for thorough cleaning. Follow these steps:
- Locate the drip tray, which is usually at the bottom front of the dispenser. Slide it out carefully and set it aside.
- Remove the water dispenser tray by lifting it up or sliding it out, depending on your dispenser’s design. Keep it aside for cleaning.
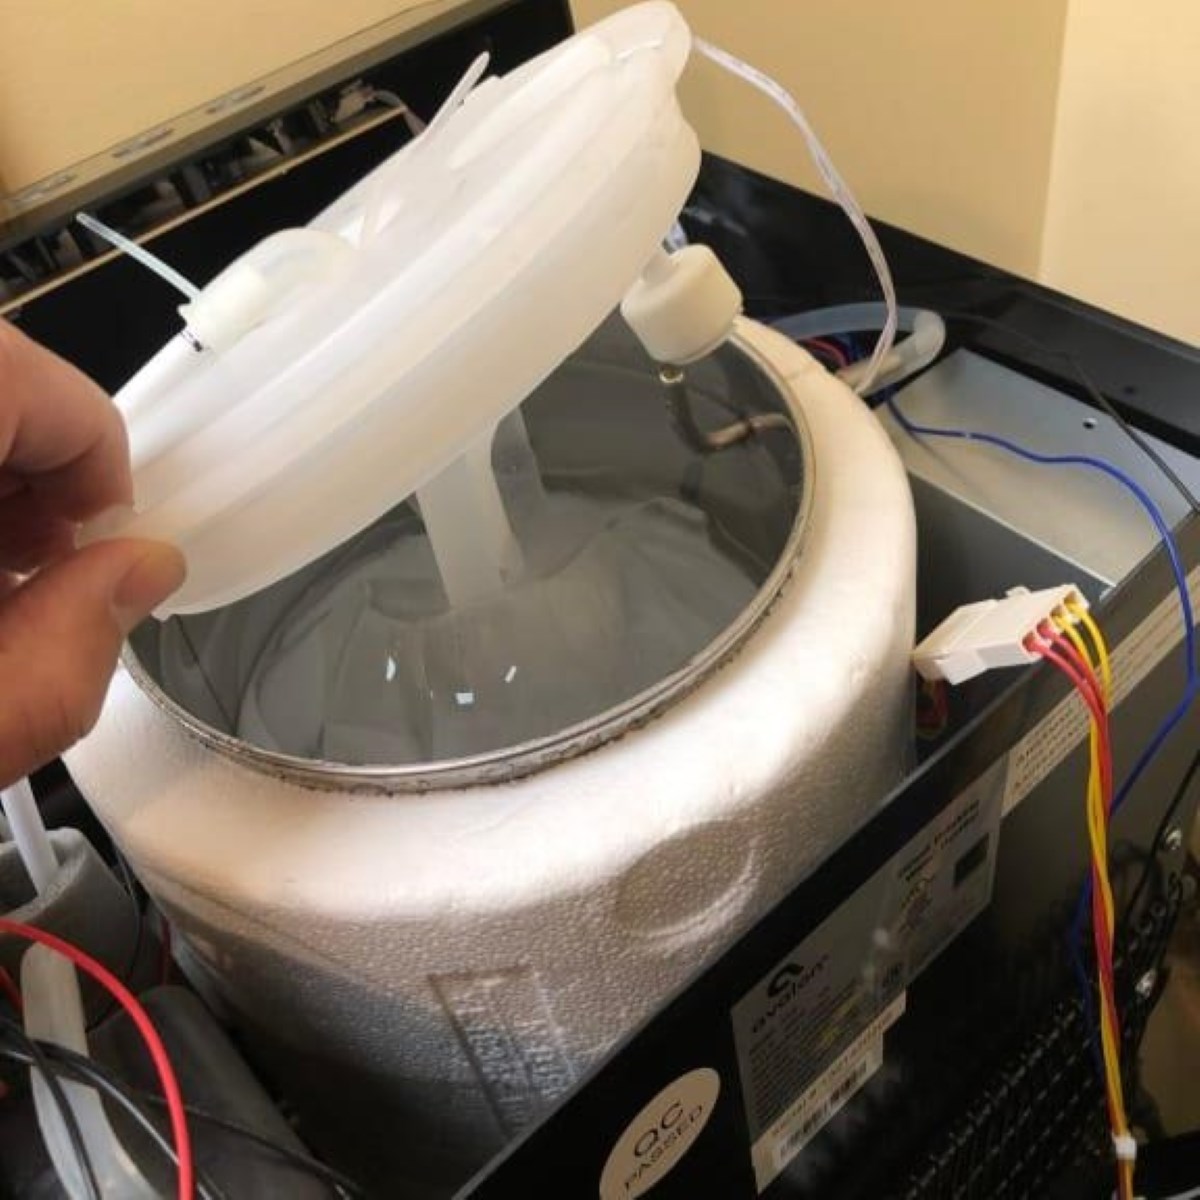
- If your water dispenser has a removable reservoir, detach it according to the manufacturer’s instructions. Take note of any filters or other components attached to the reservoir that may need cleaning or replacement.
- Check if there are any other removable parts or accessories, such as nozzles or spouts. If so, remove them carefully for individual cleaning. Refer to the manufacturer’s instructions if you’re unsure how to detach these parts.
Ensure that you handle the disassembled parts with care to avoid any damage. By dismantling the various components of your LG water dispenser, you can access all the areas that need cleaning, including hard-to-reach corners and crevices.
Having the parts separated also allows for a more thorough and efficient cleaning process. Once you have disassembled the water dispenser, you’re ready to move on to the next step of cleaning the tray and reservoir.
Step 4: Clean the Water Dispenser Tray and Reservoir
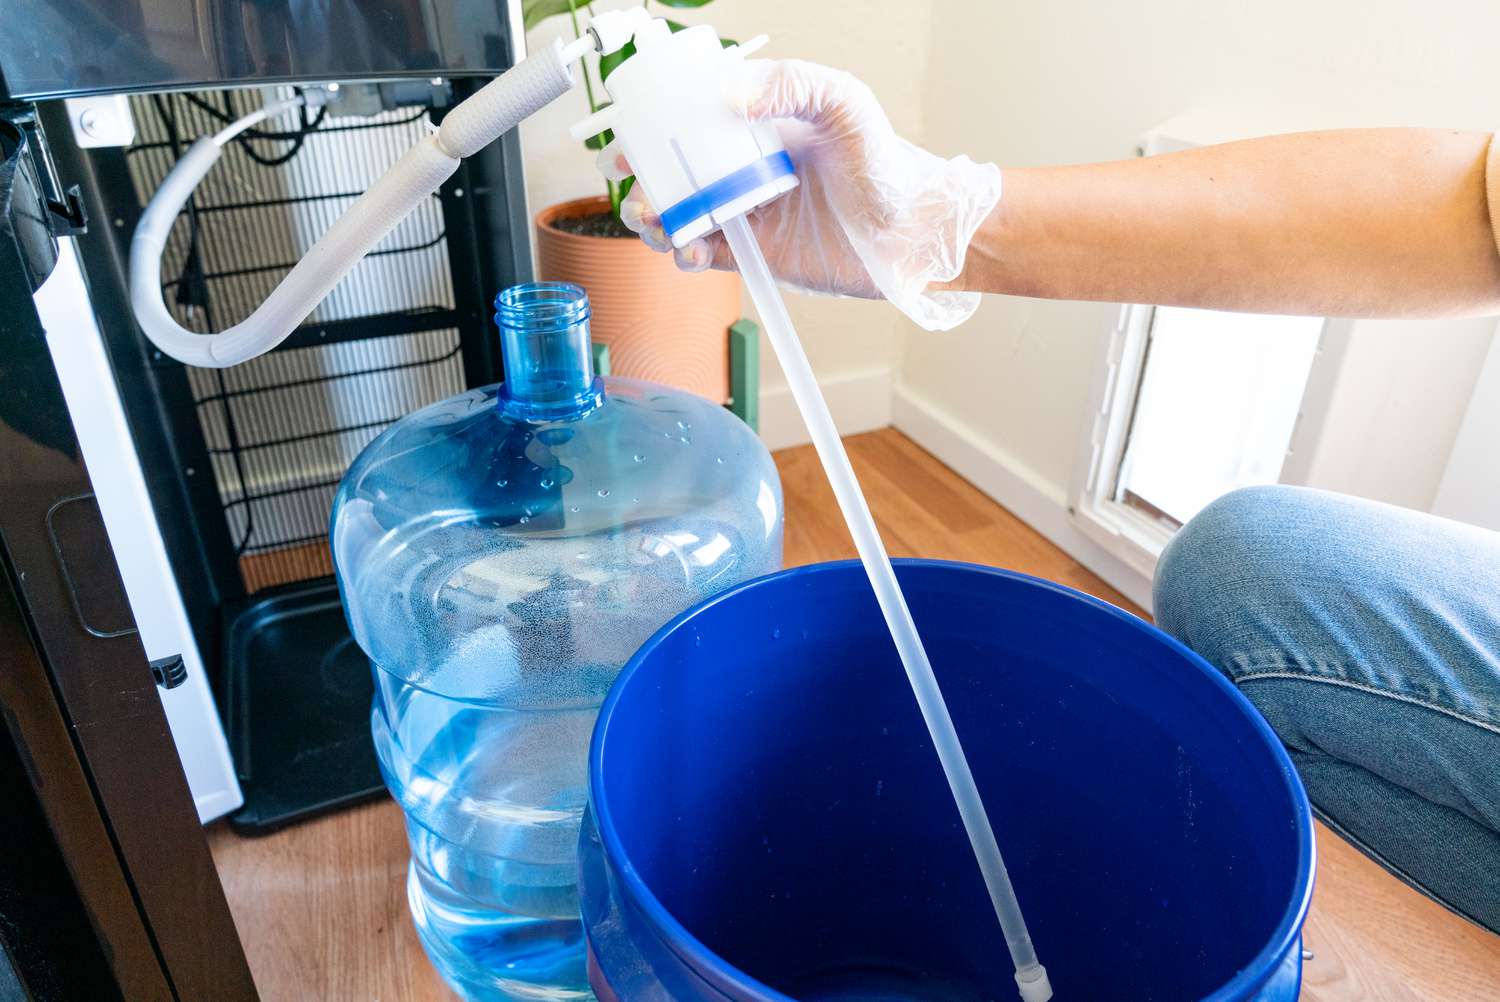
Now that the water dispenser parts are disassembled, it’s time to clean the tray and reservoir. Follow these steps:
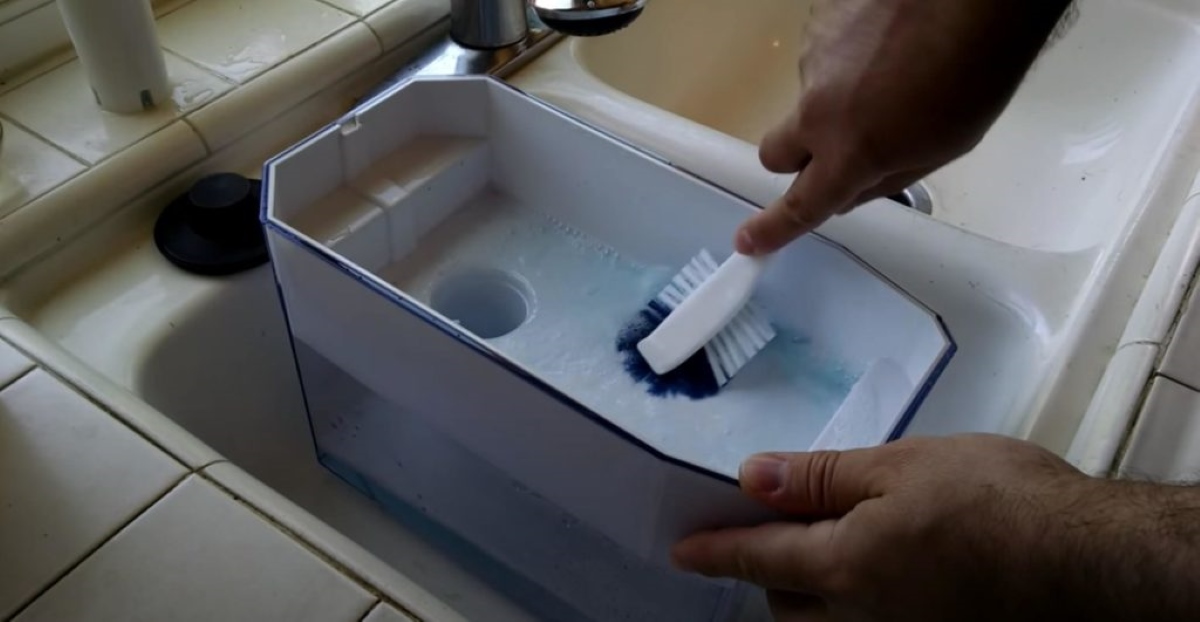
- Prepare a cleaning solution by mixing mild dish soap or water dispenser cleaner with warm water in a bucket or basin.
- Dip a soft cloth or sponge into the cleaning solution, wring out any excess liquid, and gently wipe the tray and reservoir. Pay close attention to removing any residue, stains, or buildup.
- For stubborn stains or mineral deposits, you can soak the tray and reservoir in a mixture of warm water and vinegar for about 10-15 minutes. Be sure to consult your manufacturer’s instructions to ensure using vinegar is safe for your specific LG water dispenser model.
- Rinse the tray and reservoir thoroughly with clean water to remove any cleaning solution or vinegar residue.
- Dry the tray and reservoir completely using a soft cloth or allow them to air dry before proceeding to the next step.
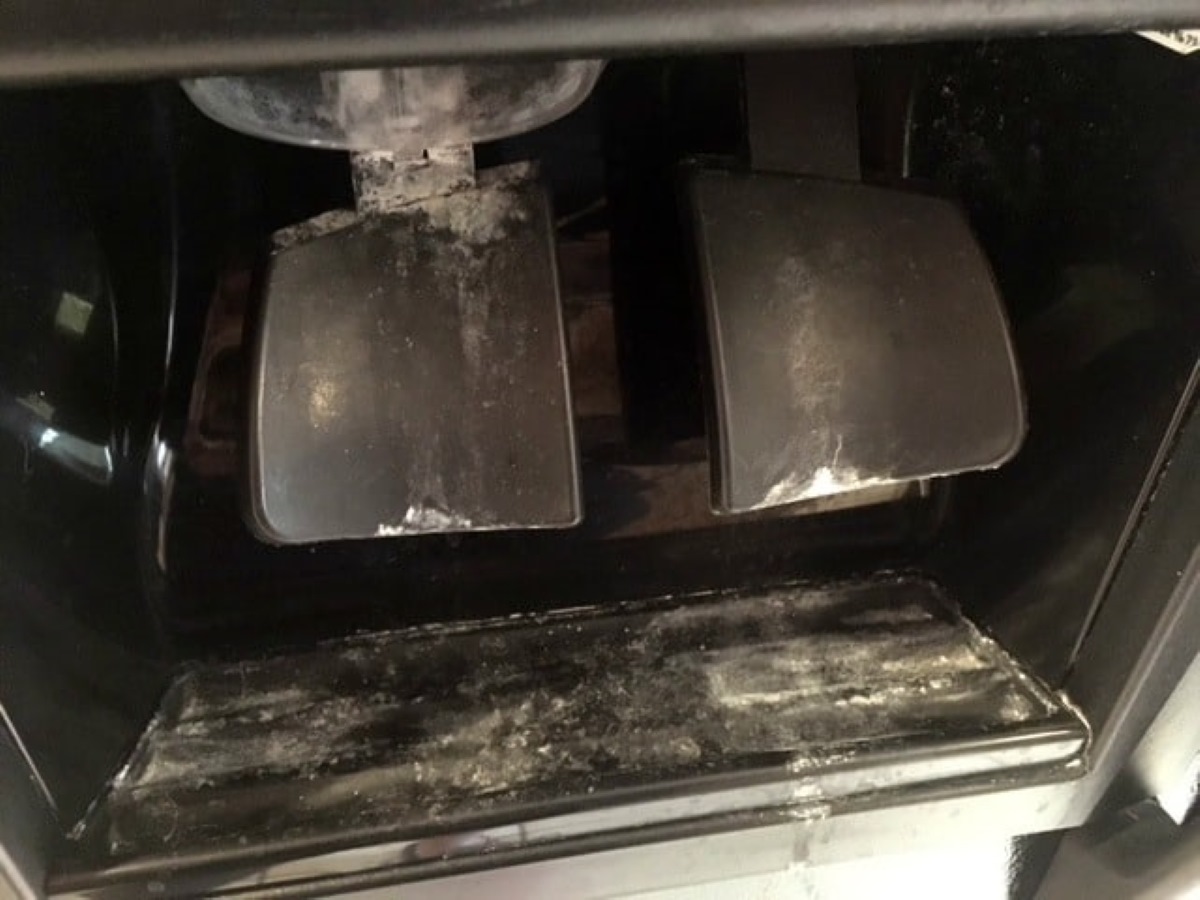
Cleaning the water dispenser tray and reservoir is essential to remove any accumulated dirt, grime, bacteria, or unpleasant odors. It helps maintain the hygiene and performance of your LG water dispenser.
Ensure that you clean all the nooks, corners, and crevices of the tray and reservoir, as well as any attached filters or components, to ensure a thorough cleaning. Once cleaned and dried, you can proceed to the next step of cleaning the drip tray and drainage system.
To clean an LG water dispenser, mix equal parts of water and white vinegar, then use a soft cloth to wipe down the dispenser and its components. Be sure to rinse thoroughly with water afterward.
Step 5: Clean the Drip Tray and Drainage System
After cleaning the water dispenser tray and reservoir, it’s important to also clean the drip tray and drainage system to prevent any clogs or buildup. Follow these steps:
- Remove the drip tray that was set aside earlier.
- Empty any accumulated water or liquid from the drip tray into the sink or a suitable container.
- Use a soft cloth or sponge soaked in the cleaning solution to wipe the drip tray thoroughly. Pay attention to any grooves or crevices where dirt or residue may collect.
- Clean the drainage system by using a cotton swab soaked in the cleaning solution. Gently insert it into the drainage holes to remove any debris or blockages.
- Rinse the drip tray and drainage system with clean water to remove any remaining cleaning solution or residue.
- Dry the drip tray completely with a soft cloth or allow it to air dry.
Regularly cleaning the drip tray and drainage system prevents any clogs or buildup that can lead to water leakage or unpleasant odors. It ensures that your LG water dispenser functions properly and efficiently.
After completing this step, move on to the next step, where you will clean the faucet and nozzle of your water dispenser.
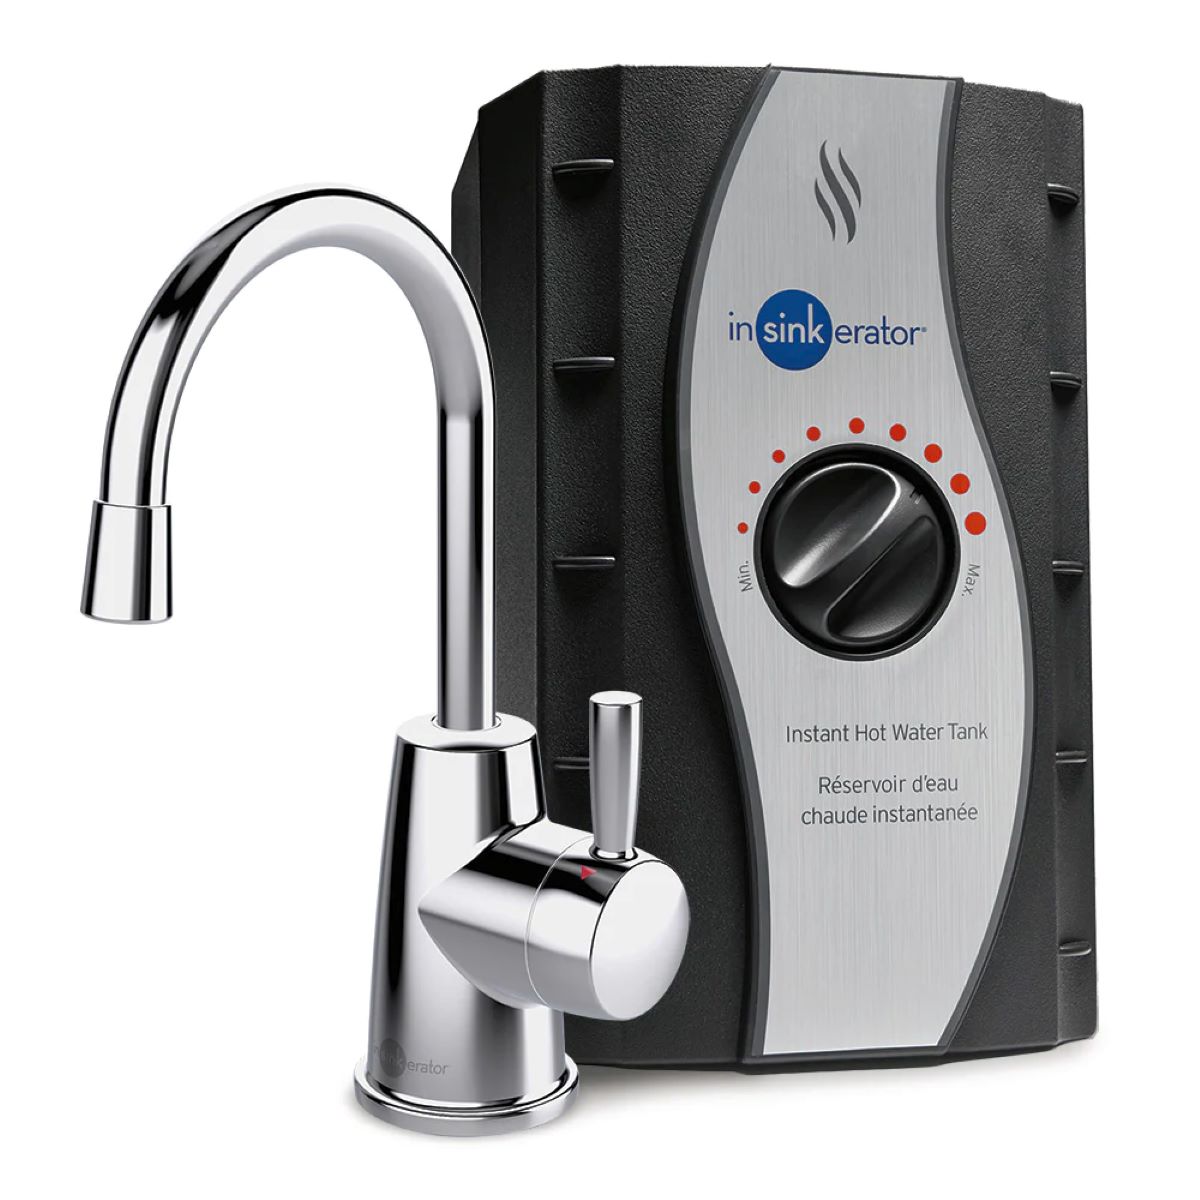
Step 6: Clean the Faucet and Nozzle
Cleaning the faucet and nozzle of your LG water dispenser is crucial to maintain the cleanliness and functionality of these components. Follow these steps to clean them effectively:
- Take a clean cloth or sponge and dampen it with the cleaning solution or warm soapy water.
- Gently wipe the faucet and nozzle, paying close attention to removing any residue, mineral deposits, or dirt.
- If there are any stubborn stains or buildup, you can use a cotton swab soaked in the cleaning solution to clean hard-to-reach areas.
- Rinse the faucet and nozzle thoroughly with clean water to remove any traces of cleaning solution or soap.
- Dry the faucet and nozzle completely using a soft cloth.
Cleaning the faucet and nozzle of your LG water dispenser helps to ensure a steady and clean flow of water. It prevents any blockages or buildup that can affect the taste and quality of the dispensed water.
Once the faucet and nozzle are clean and dry, it’s time to move on to the next step of reassembling the water dispenser parts.
Read more: How To Clean Samsung Water Dispenser
Step 7: Reassemble the Water Dispenser Parts
After thoroughly cleaning the individual components of your LG water dispenser, it’s time to reassemble them. Follow these steps to reassemble the water dispenser:
- Start by putting the cleaned reservoir back in place according to the manufacturer’s instructions. Make sure to reattach any filters or components that were originally connected to the reservoir.
- Next, carefully slide the cleaned drip tray back into its designated spot. Ensure that it is properly aligned and secured.
- If you had removed any additional parts or accessories, such as nozzles or spouts, reattach them according to the manufacturer’s instructions.
Make sure that each part is securely fastened and in its correct position before proceeding to the next step.
Reassembling the water dispenser parts is an important step to ensure that your LG water dispenser functions properly and safely. It allows for a seamless flow of water and prevents any leaks or malfunctions.
Once you have successfully reassembled all the parts, it’s time to move on to the next step of inserting a new water bottle.
Step 8: Insert a New Water Bottle
With the water dispenser parts reassembled, it’s time to insert a new water bottle for a fresh supply of clean water. Follow these steps to insert a new water bottle:
- Ensure that the water dispenser is still unplugged from the power source before proceeding.
- Take a new water bottle and remove any protective seals or caps.
- Place the water bottle on the dispenser, aligning it with the opening and ensuring a secure fit.
- Depending on your LG water dispenser model, there may be additional instructions for properly installing the water bottle. Refer to the manufacturer’s guidelines to ensure correct installation.
Make sure that the water bottle is properly positioned and securely attached to the dispenser to avoid any spills or leaks.
Inserting a new water bottle ensures that you have a fresh supply of water ready to be dispensed from your LG water dispenser. It allows you to enjoy clean and refreshing water whenever you need it.
Once the new water bottle is inserted, you are ready to move on to the final step of plugging in and testing the water dispenser.
Step 9: Plug in and Test the Water Dispenser
Now that the new water bottle is in place, it’s time to plug in your LG water dispenser and test its functionality. Follow these steps to ensure that everything is working correctly:
- Gently plug the power cord back into the electrical outlet.
- Switch on the power supply to the water dispenser.
- Allow the dispenser a few moments to cool down and start the cooling or heating process, depending on the dispenser type.
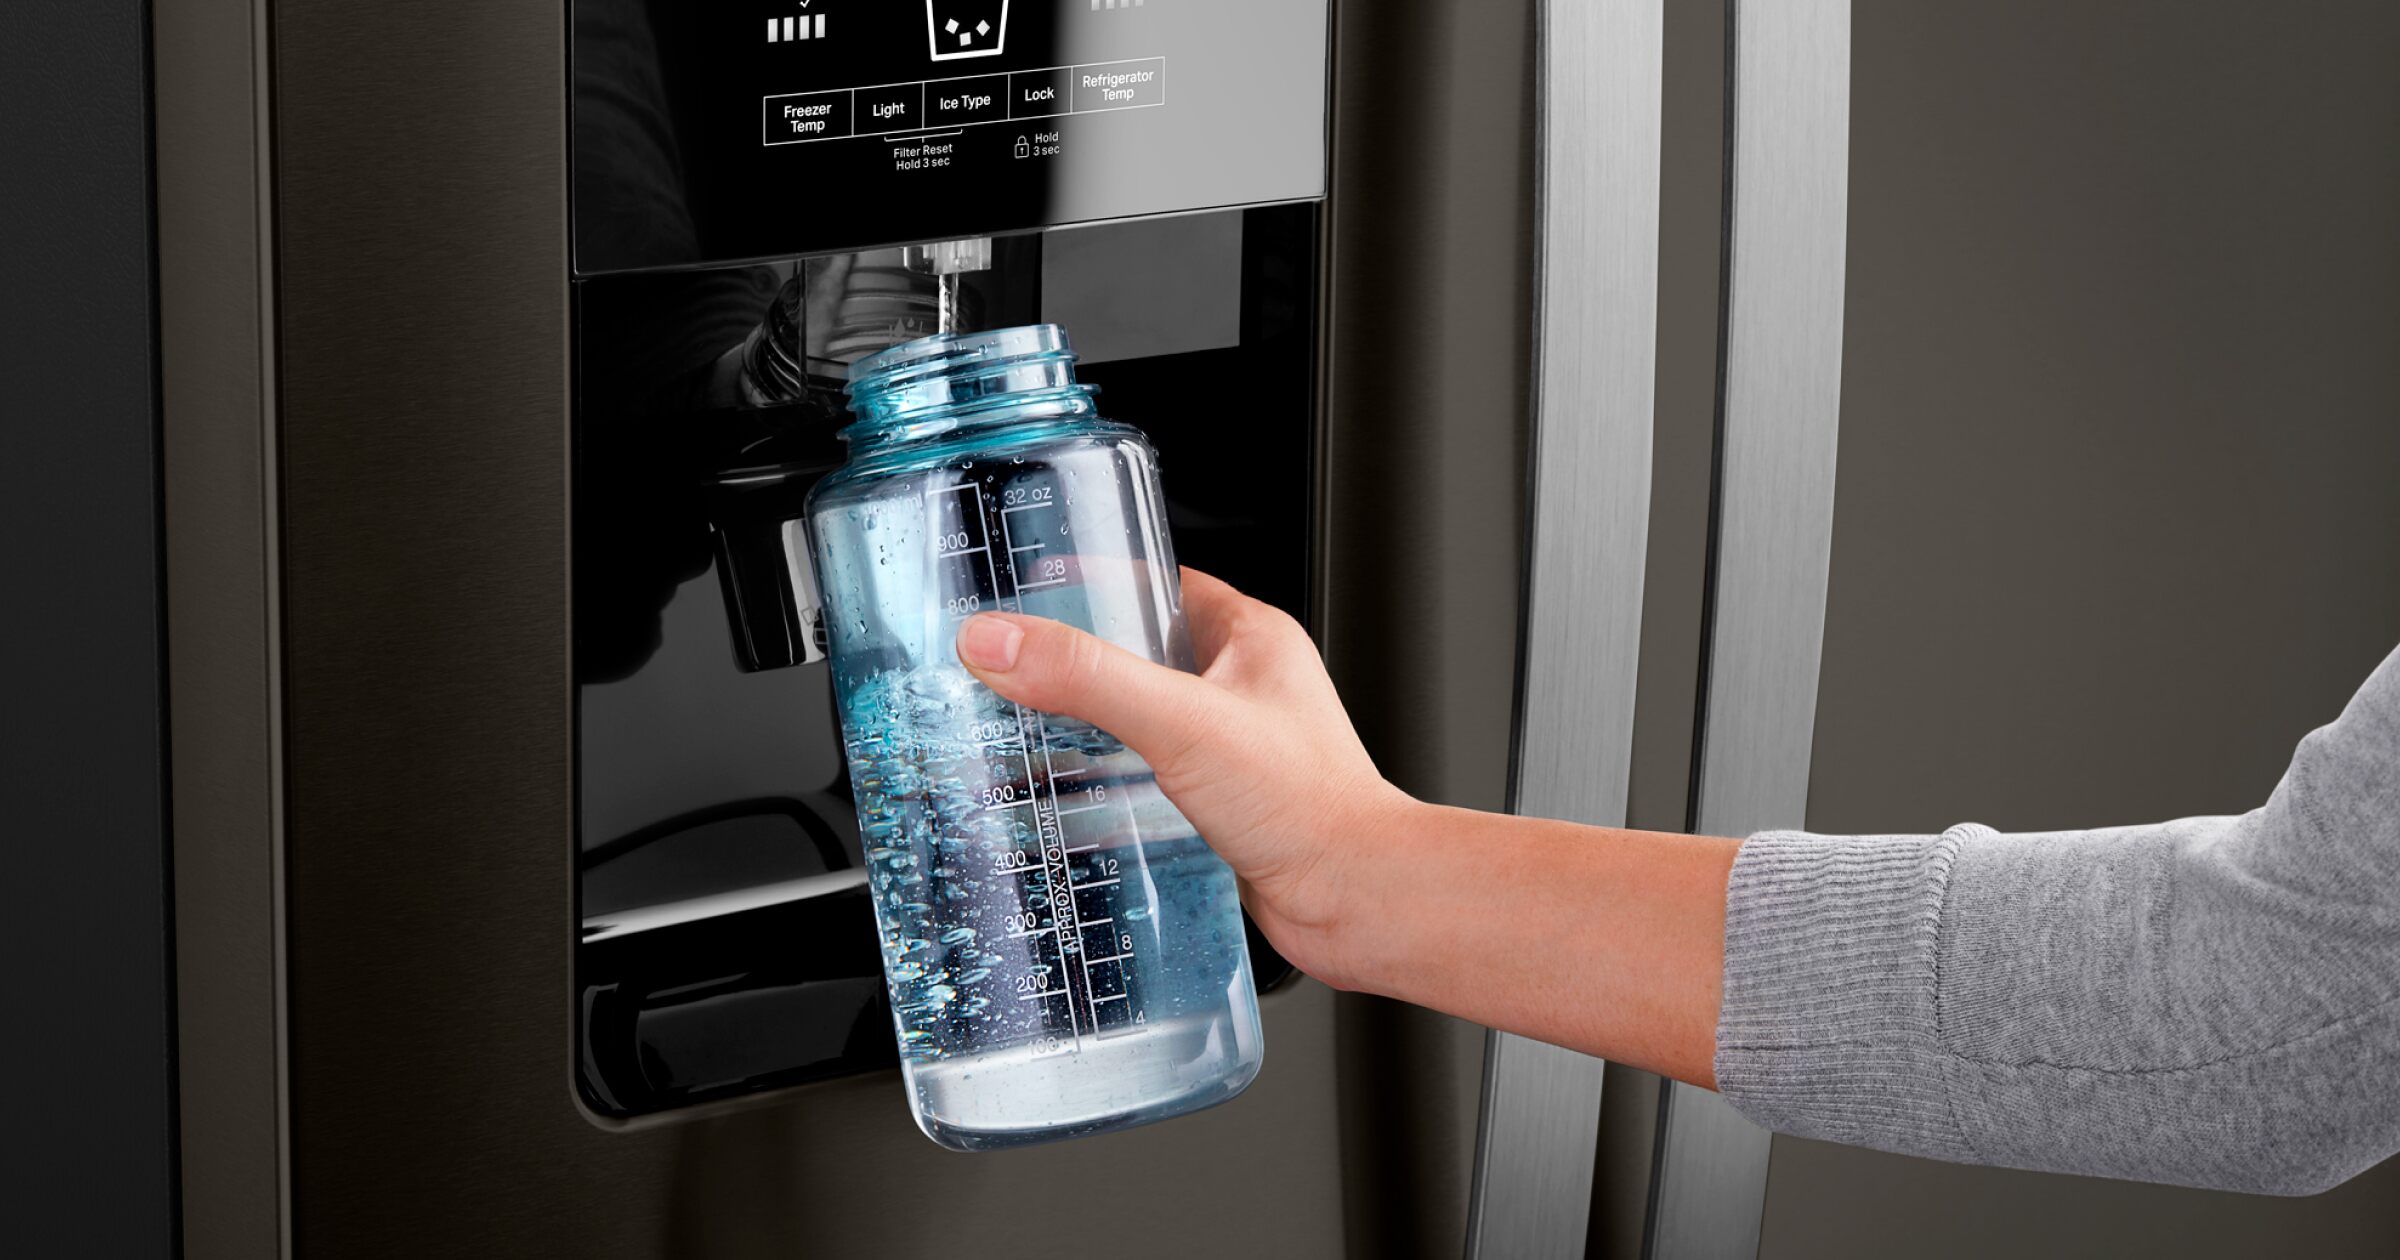
- Once the dispenser is ready, press the dispenser’s button or lever to dispense some water into a glass or container.
- Observe the water flow and make sure it is smooth, without any leaks or unusual noises.
- Check the temperature control functions to ensure that the water is adequately cooled or heated, depending on your preferences.
If you notice any problems, such as leaks, strange noises, or issues with temperature control, double-check the assembly of the water dispenser parts or consult the manufacturer’s instructions for troubleshooting steps.
By plugging in and testing the water dispenser, you can ensure that it is functioning properly and providing clean, refreshing water with efficiency and convenience.
With the testing complete, congratulations! You have successfully cleaned and tested your LG water dispenser. Enjoy the fresh and clean water it provides!
Conclusion
Cleaning your LG water dispenser on a regular basis is essential for maintaining clean and refreshing water for you and your family. By following the step-by-step guide we have provided, you can effectively clean your water dispenser and keep it in optimal condition.
Remember to always prioritize safety when cleaning your water dispenser. Unplug the dispenser before starting the cleaning process and wear protective gloves to ensure your well-being.
Gather the necessary materials, including mild dish soap or water dispenser cleaner, warm water, soft cloths or sponges, cotton swabs, vinegar (if applicable), and a new water bottle for reinstallation.
Begin by unplugging the water dispenser and carefully removing the water bottle. Disassemble the dispenser parts, such as the drip tray, water dispenser tray, reservoir, and any other removable accessories. Clean each part thoroughly using the appropriate cleaning solutions and techniques.
Next, reassemble the cleaned parts, ensuring they are securely attached. Insert a new water bottle for a fresh supply of clean water. Finally, plug in the water dispenser, test its functionality, and check for any issues or leaks.
Regularly cleaning your LG water dispenser helps prevent the buildup of bacteria, mold, and unpleasant odors. It ensures that you and your family have access to clean drinking water at all times.
Remember to consult the manufacturer’s instructions specific to your LG water dispenser model for any additional guidelines or recommendations.
By incorporating these cleaning steps into your routine, you can enjoy the benefits of a well-maintained and efficient LG water dispenser for a long time to come.
Frequently Asked Questions about How To Clean Lg Water Dispenser
Was this page helpful?
At Storables.com, we guarantee accurate and reliable information. Our content, validated by Expert Board Contributors, is crafted following stringent Editorial Policies. We're committed to providing you with well-researched, expert-backed insights for all your informational needs.


0 thoughts on “How To Clean Lg Water Dispenser”