Articles
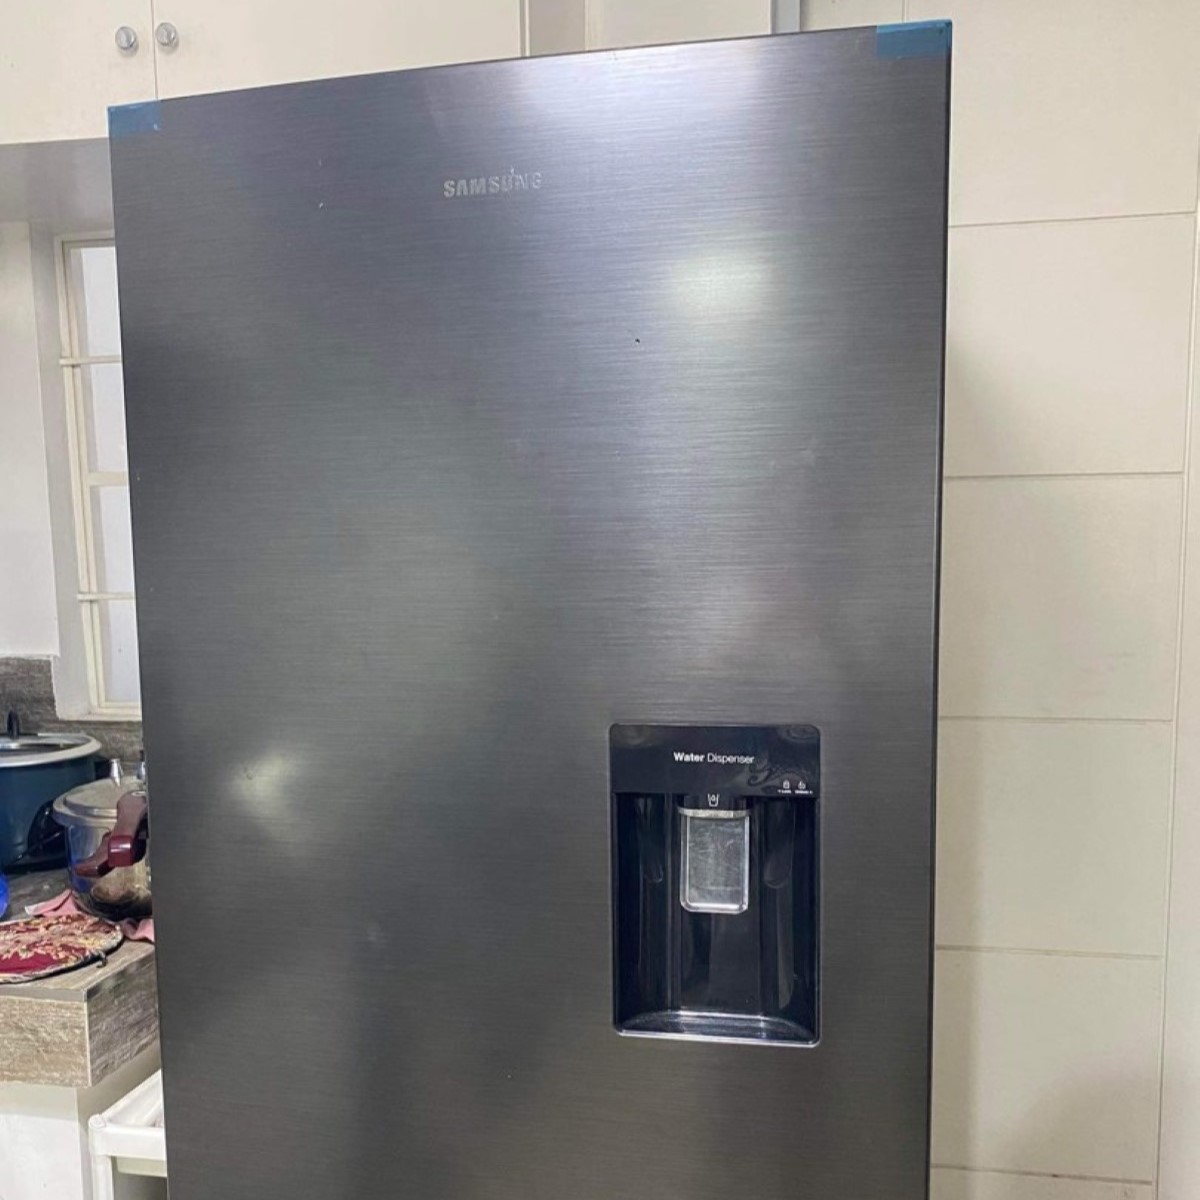
How To Clean Samsung Water Dispenser
Modified: August 27, 2024
Discover effective techniques and essential articles on how to clean your Samsung water dispenser, ensuring your appliance stays fresh and hygienic.
(Many of the links in this article redirect to a specific reviewed product. Your purchase of these products through affiliate links helps to generate commission for Storables.com, at no extra cost. Learn more)
Introduction
Welcome to the guide on how to clean your Samsung water dispenser! Having a water dispenser at home or in the office is convenient and ensures that you always have access to clean and refreshing water. However, over time, the dispenser can accumulate dirt, grime, and bacteria, which can affect the quality and taste of the water.
Regularly cleaning your Samsung water dispenser is essential to keep it functioning optimally and maintain the purity of the water it dispenses. In this article, we will walk you through the step-by-step process of cleaning your Samsung water dispenser to ensure it stays hygienic and in excellent condition.
Before we begin, it’s important to note that safety should always be your top priority when working with any electrical appliance. Make sure to unplug the water dispenser from the power source before beginning the cleaning process. Also, read through the manufacturer’s instructions and safety guidelines specific to your Samsung water dispenser model, as they may provide additional information or precautions.
To properly clean your Samsung water dispenser, you will need a few supplies. Here’s a list of the items you will need:
- Mild dish soap or water dispenser cleaner
- Soft sponge or cloth
- Hot water
- White vinegar (optional)
Once you have gathered all the necessary supplies and have taken the necessary safety precautions, you can begin the cleaning process. It’s essential to follow the steps carefully to ensure a thorough clean.
Let’s get started with step one: turning off the water dispenser.
Key Takeaways:
- Regularly cleaning your Samsung water dispenser is essential to maintain purity, hygiene, and performance. Follow the step-by-step guide to ensure clean, refreshing water whenever you need it.
- Incorporate safety precautions, gather necessary supplies, and follow each step carefully to effectively remove dirt, grime, bacteria, and mineral deposits from your Samsung water dispenser. Enjoy the convenience of clean, refreshing water!
Safety Precautions
Before you begin cleaning your Samsung water dispenser, it’s important to take some safety precautions to ensure your well-being and the proper functioning of the appliance.
Here are some safety precautions to keep in mind:
- Unplug the water dispenser: Before you start cleaning, always unplug the water dispenser from the power source. This will prevent any electrical accidents and ensure your safety.
- Wear protective gloves: To protect your hands from any chemicals or bacteria during the cleaning process, it is advisable to wear a pair of protective gloves. This will also prevent any potential skin irritations or allergies.
- Work in a well-ventilated area: When using cleaning agents, make sure you are in a well-ventilated area to avoid inhaling any fumes. If necessary, open windows or use a fan to improve ventilation.
- Read the manufacturer’s instructions: Familiarize yourself with the specific instructions and guidelines provided by Samsung for your water dispenser model. This will ensure that you follow any model-specific recommendations or precautions.
- Avoid using abrasive materials: When cleaning the water dispenser, avoid using abrasive materials such as steel wool or harsh brushes. These can cause damage to the surface and components of the dispenser.
- Never immerse electrical components in water: While cleaning the water dispenser, avoid submerging any electrical parts in water. This can cause electrical damage and compromise the functionality of the appliance.
- Use mild cleaning agents: Stick to mild dish soap or specific water dispenser cleaners recommended by the manufacturer. Avoid using harsh chemicals or bleach, as these can damage the dispenser and affect the quality of the water.
By following these safety precautions, you can ensure your well-being and maintain the durability and efficiency of your Samsung water dispenser throughout the cleaning process.
Now that you are aware of the safety measures, let’s move on to gathering the necessary supplies for effectively cleaning your Samsung water dispenser.
Supplies Needed
Before you start cleaning your Samsung water dispenser, it’s important to gather all the necessary supplies. Having the right tools and cleaning agents will ensure that you can effectively remove dirt, grime, and bacteria from the dispenser.
Here’s a list of the supplies you will need:
- Mild dish soap or water dispenser cleaner: Choose a gentle, non-abrasive cleaning agent specifically designed for water dispensers. This will help to remove any residue without damaging the dispenser’s surfaces or affecting the taste of the water.
- Soft sponge or cloth: Use a soft sponge or cloth to clean the exterior of the water dispenser and remove any dirt or stains. Make sure it is non-abrasive to avoid scratching the surface.
- Hot water: Hot water is a vital component in the cleaning process, as it helps to dissolve dirt and bacteria. Ensure that the water is hot but not boiling, as extreme temperatures can damage the dispenser.
- White vinegar (optional): White vinegar can be used as a natural cleaning agent that helps to remove mineral deposits or stubborn stains. It is an eco-friendly alternative to chemical cleaners. However, make sure to dilute it with water before use.
Having these supplies ready before you start cleaning will make the process more efficient and ensure that you have everything you need within arm’s reach.
Now that you have all the necessary supplies, let’s move on to the step-by-step process of cleaning your Samsung water dispenser.
Step 1: Turn off the Water Dispenser
The first step in cleaning your Samsung water dispenser is to turn off the power and water supply. By doing this, you ensure your safety and prevent any leaks or accidents during the cleaning process.
Follow these simple instructions to turn off the water dispenser:
- Unplug the water dispenser: Locate the power cord at the back or bottom of the dispenser and unplug it from the electrical outlet. This will prevent any electrical accidents while you clean the dispenser.
- Shut off the water supply: Locate the water supply valve, usually located near the back or bottom of the dispenser. Turn the valve clockwise to shut off the water supply. This will prevent any water from flowing during the cleaning process.
- Wait for the cooling system to turn off (if applicable): Some water dispensers have a cooling system that keeps the water cold. Wait for a few minutes after unplugging the dispenser to allow the cooling system to shut down completely.
By taking these steps, you ensure that the water dispenser is completely disconnected from the power and water supply. This creates a safe environment for you to proceed with the cleaning process.
Now that you have turned off the water dispenser, it’s time to move on to step 2: emptying the water tank.
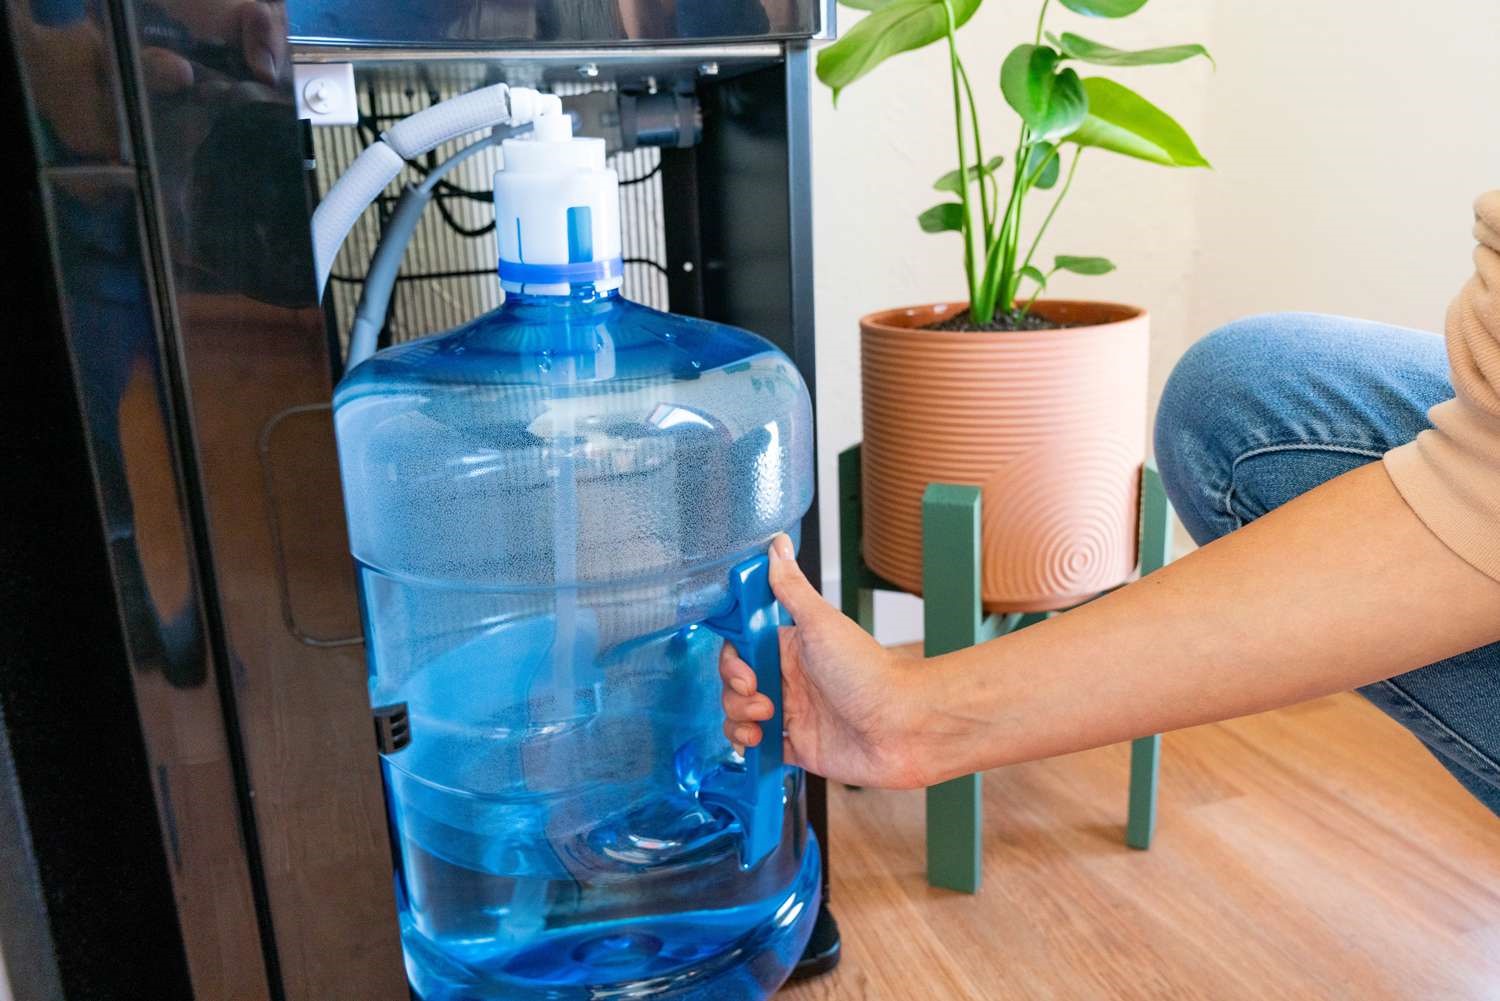
Step 2: Empty the Water Tank
Once you have turned off the water dispenser, the next step in the cleaning process is to empty the water tank. Draining the tank will ensure that you can effectively clean and sanitize it without any residual water obstructing the process.
Follow these steps to empty the water tank of your Samsung water dispenser:
- Locate the water drain valve: The water drain valve is typically located at the back or bottom of the water dispenser. Consult the manufacturer’s instructions if you are unsure.
- Place a container to collect the water: Position a container, such as a large bowl or bucket, beneath the water drain valve. This will collect the water that is released from the tank.
- Open the water drain valve: Carefully open the water drain valve, allowing the water to flow out of the tank and into the container below. Be cautious of the water temperature, as it may be hot if the dispenser was recently in use.
- Wait until the tank is completely empty: Allow the water to drain completely from the tank. This may take a few minutes, depending on the size of the tank and the water pressure.
- Close the water drain valve: Once the tank is empty, close the water drain valve tightly to prevent any leaks.
By emptying the water tank, you ensure that any remaining water is removed from the dispenser. This step sets the foundation for the subsequent cleaning steps, allowing you to thoroughly clean and sanitize the interior components of the water dispenser.
Now that the water tank is empty, it’s time to move on to step 3: cleaning the exterior of the water dispenser.
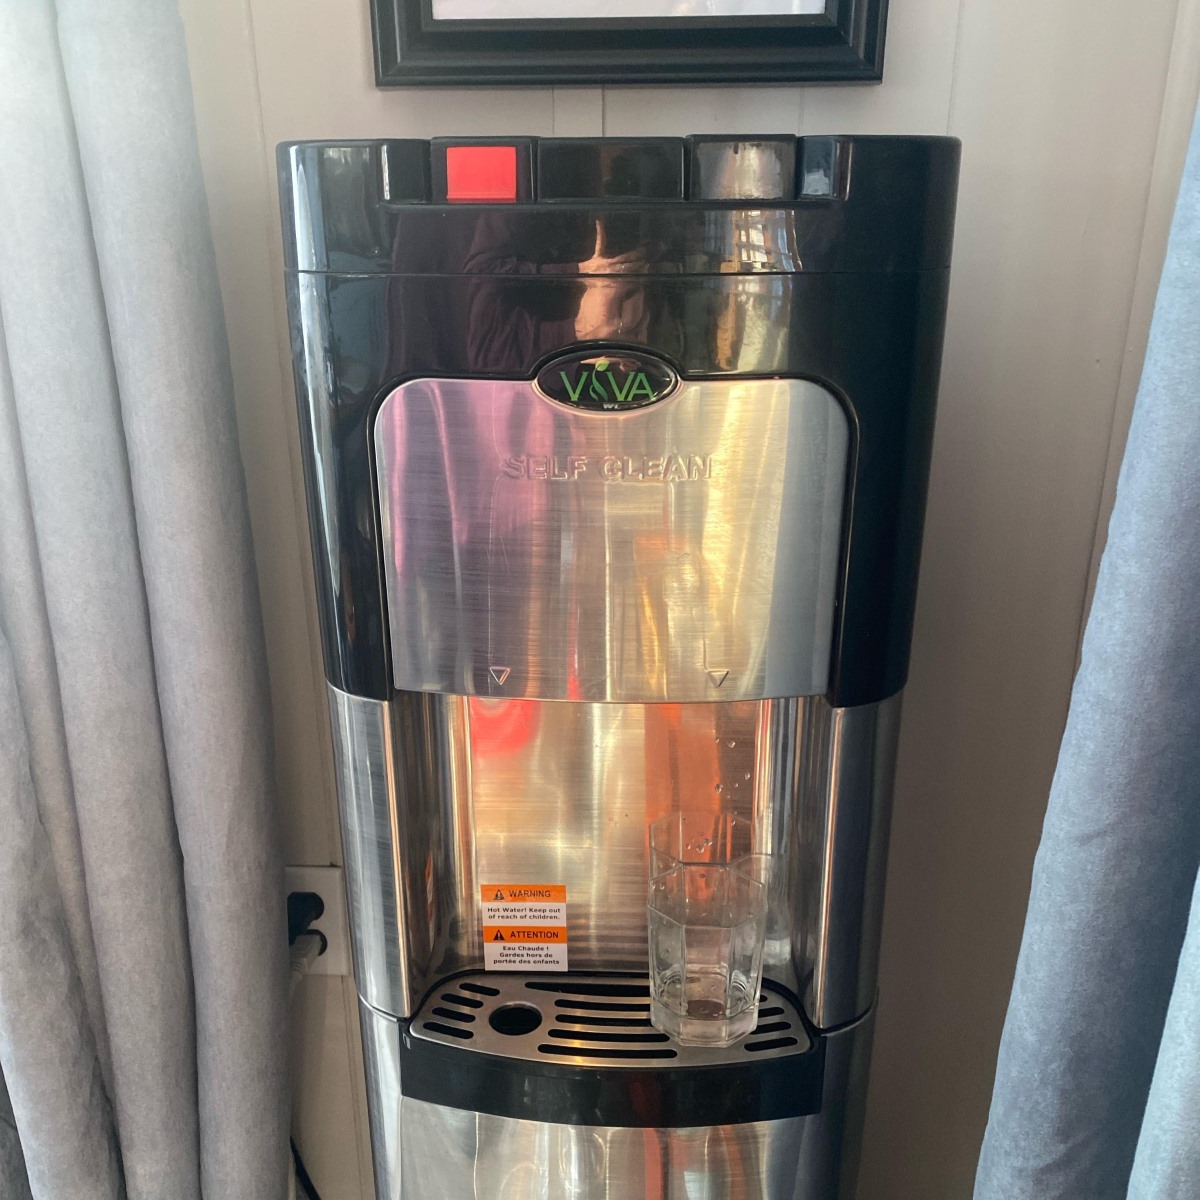
Step 3: Clean the Exterior
Now that you have emptied the water tank of your Samsung water dispenser, it’s time to move on to cleaning the exterior. This step will help remove any dirt, fingerprints, or stains that may have accumulated on the surface of the dispenser.
Follow these steps to effectively clean the exterior of your Samsung water dispenser:
- Dilute mild dish soap or water dispenser cleaner: Take a small amount of mild dish soap or a water dispenser cleaner specifically designed for cleaning the exterior surfaces. Dilute it with warm water in a bucket or sink.
- Soak the sponge or cloth: Dip a soft sponge or cloth into the soapy water mixture, ensuring it is thoroughly soaked but not dripping wet.
- Gently clean the exterior surfaces: Start by wiping the exterior surfaces of the water dispenser with the damp sponge or cloth. Use gentle circular motions to remove any dirt, grime, or stains. Pay extra attention to areas that are frequently touched, such as the buttons or handles.
- Rinse with clean water: Once you have cleaned all the surfaces, rinse the sponge or cloth with clean water and wring out any excess moisture. Go over the exterior of the water dispenser again, this time using the clean water to remove any remaining soap residue.
- Wipe dry: Finally, use a clean, dry cloth to wipe the exterior surfaces of the dispenser, ensuring no moisture is left behind. This will help prevent water spots or streaks.
- Inspect for stubborn stains: If you come across any stubborn stains or residues, you may need to use a mild kitchen cleaner or a mixture of white vinegar and water. Apply it to a cloth or sponge and gently scrub the affected area, then rinse and dry as before.
By following these steps, you can effectively clean the exterior of your Samsung water dispenser. This will not only enhance its appearance but also ensure a hygienic and pleasant user experience.
Now that the exterior is sparkling clean, we can move on to step 4: removing and cleaning the drip tray.
To clean a Samsung water dispenser, mix equal parts of water and vinegar and use a soft cloth to wipe down the dispenser and surrounding area. Be sure to rinse thoroughly with water afterward.
Step 4: Remove and Clean the Drip Tray
As you continue the cleaning process for your Samsung water dispenser, it’s important to pay attention to the drip tray. The drip tray is designed to catch any excess water or spills that may occur during dispensing. Over time, it can accumulate dirt, grime, and bacteria, so it’s essential to remove and clean it thoroughly.
Follow these steps to remove and clean the drip tray of your Samsung water dispenser:
- Locate the drip tray: The drip tray is usually located beneath the water dispenser faucet. It may slide out or have a catch that releases it for removal. Consult the manufacturer’s instructions if you are unsure how to remove it.
- Remove the drip tray: Carefully take out the drip tray, ensuring not to spill any accumulated water. Empty the contents into the sink or a container to dispose of any liquid waste.
- Clean the drip tray: Once the drip tray is removed, wash it with warm soapy water. Use a gentle sponge or cloth to scrub away any dirt, stains, or residue that may have accumulated. Pay attention to any crevices or corners where buildup is more likely to occur.
- Rinse and dry: After thoroughly cleaning the drip tray, rinse it with clean water to remove any soap residue. Make sure to dry it completely before reinserting it into the water dispenser. This will prevent any moisture buildup or potential mold growth.
By removing and cleaning the drip tray, you ensure that any collected water, particles, or bacteria are properly eliminated. This helps prevent the growth of mold or the development of unpleasant odors in the dispenser.
Now that the drip tray is clean, it’s time to move on to step 5: cleaning the water dispenser nozzle.
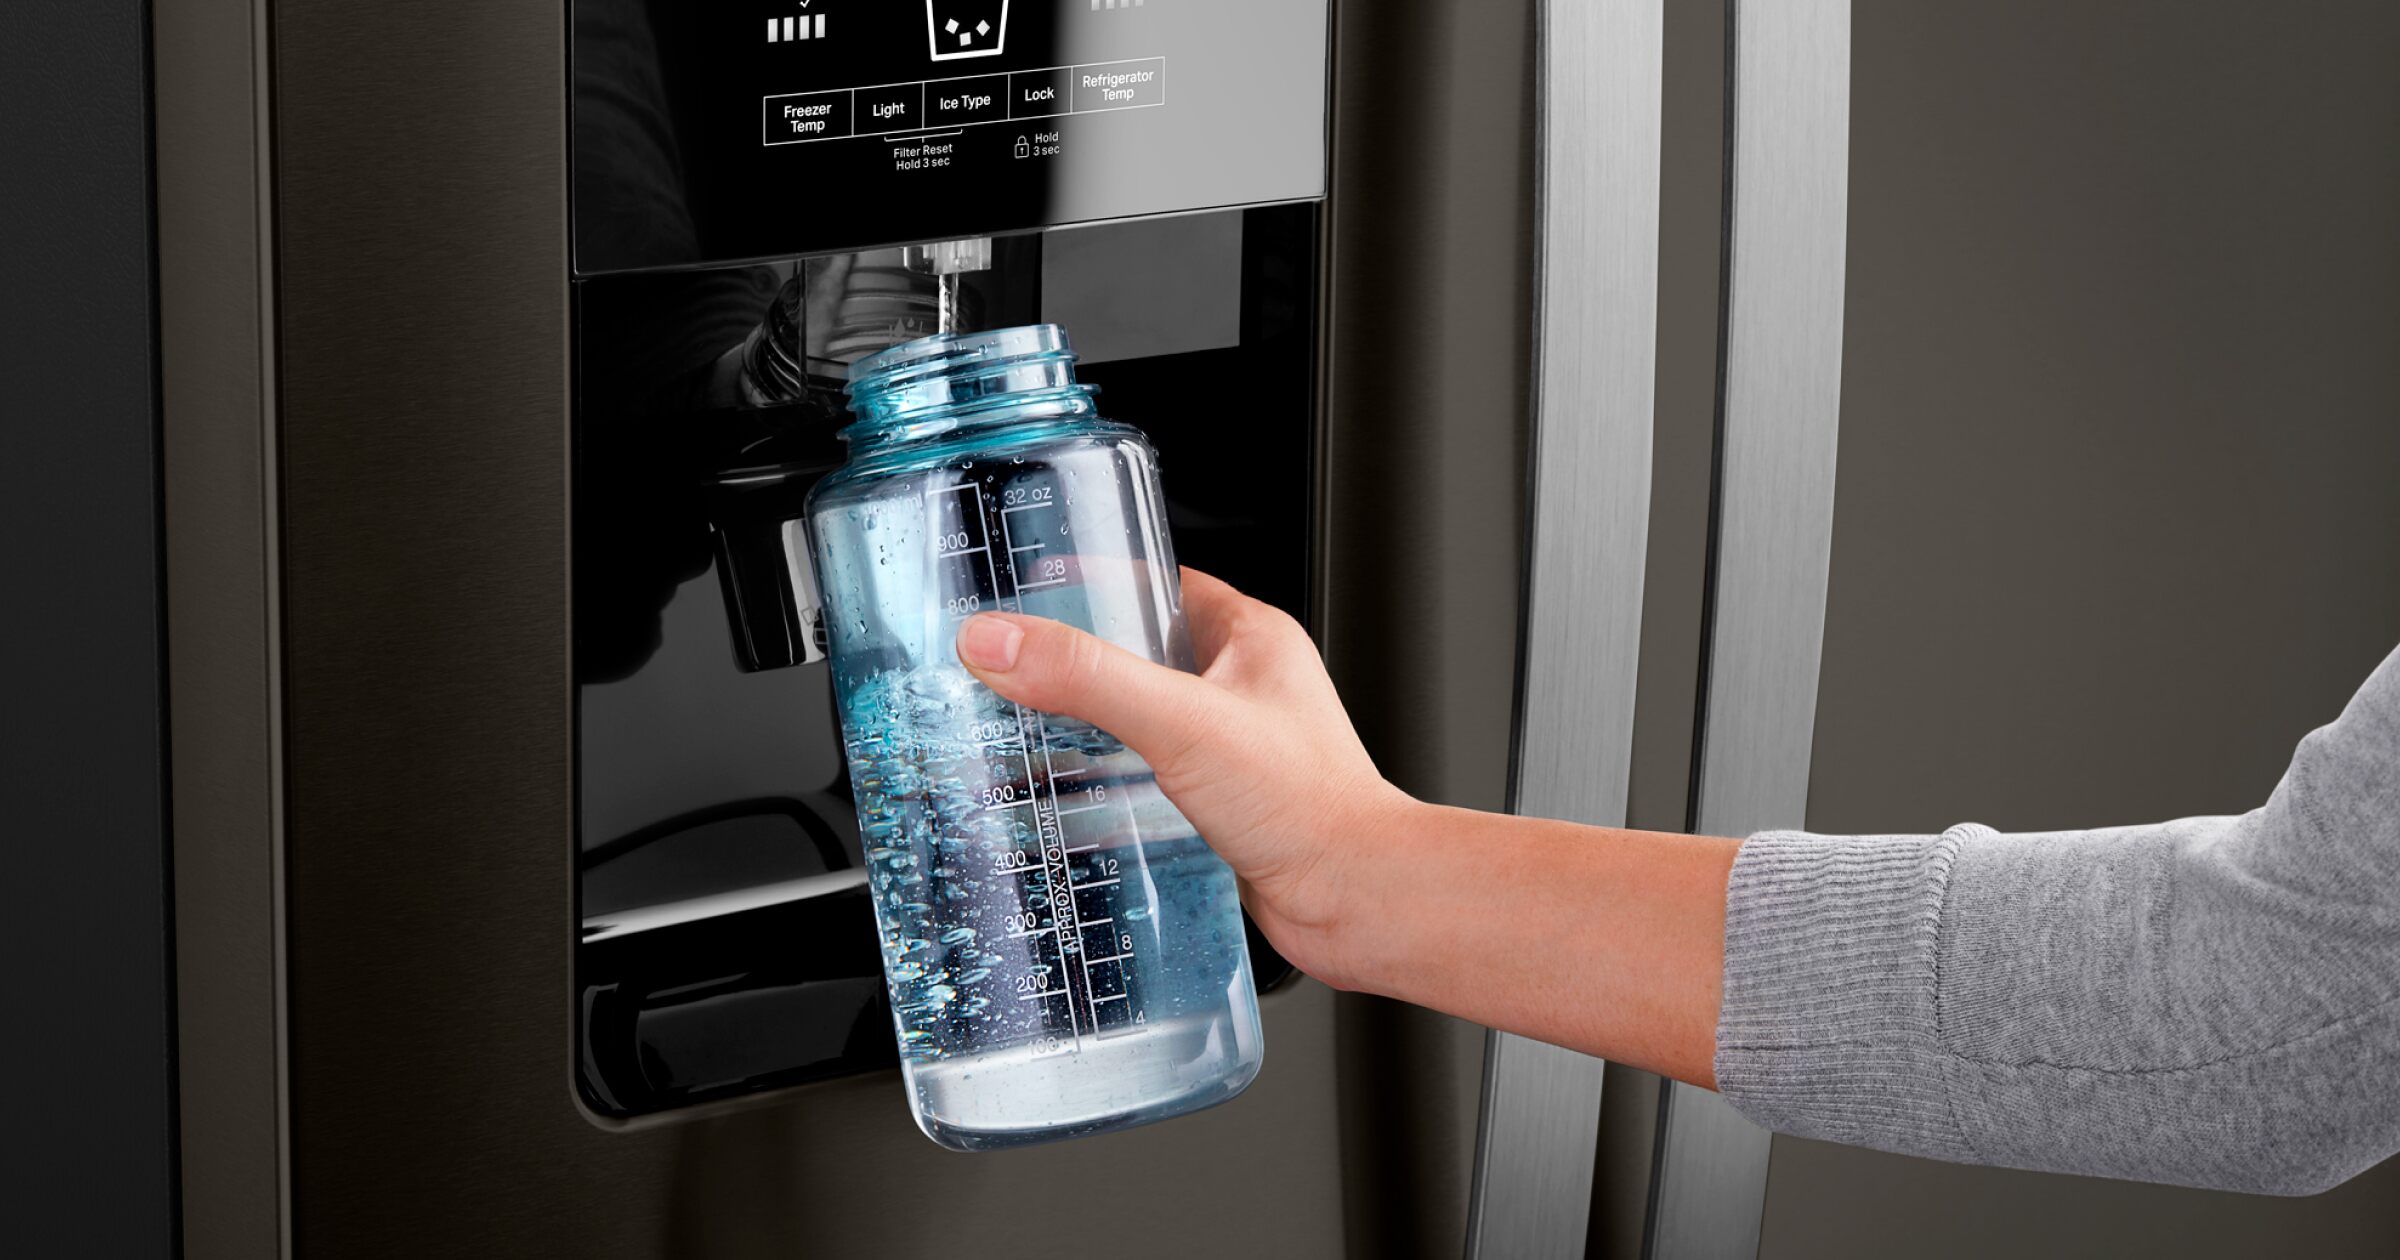
Step 5: Clean the Water Dispenser Nozzle
The water dispenser nozzle is a critical component that dispenses water into your cup or glass. Over time, it can accumulate mineral deposits, bacteria, and other impurities, affecting the taste and quality of the water. Cleaning the nozzle is essential to ensure a clean and hygienic water dispensing experience.
Follow these steps to clean the water dispenser nozzle of your Samsung water dispenser:
- Prepare a cleaning solution: Mix equal parts of warm water and white vinegar in a small bowl or container. The vinegar will help dissolve any mineral deposits or buildup in the nozzle.
- Soak a cloth or sponge: Dip a cloth or sponge into the cleaning solution, making sure it is thoroughly soaked but not dripping.
- Clean the nozzle: Gently wipe the outside and inside of the water dispenser nozzle with the cloth or sponge. Pay attention to any visible buildup or residue, making sure to remove as much as possible.
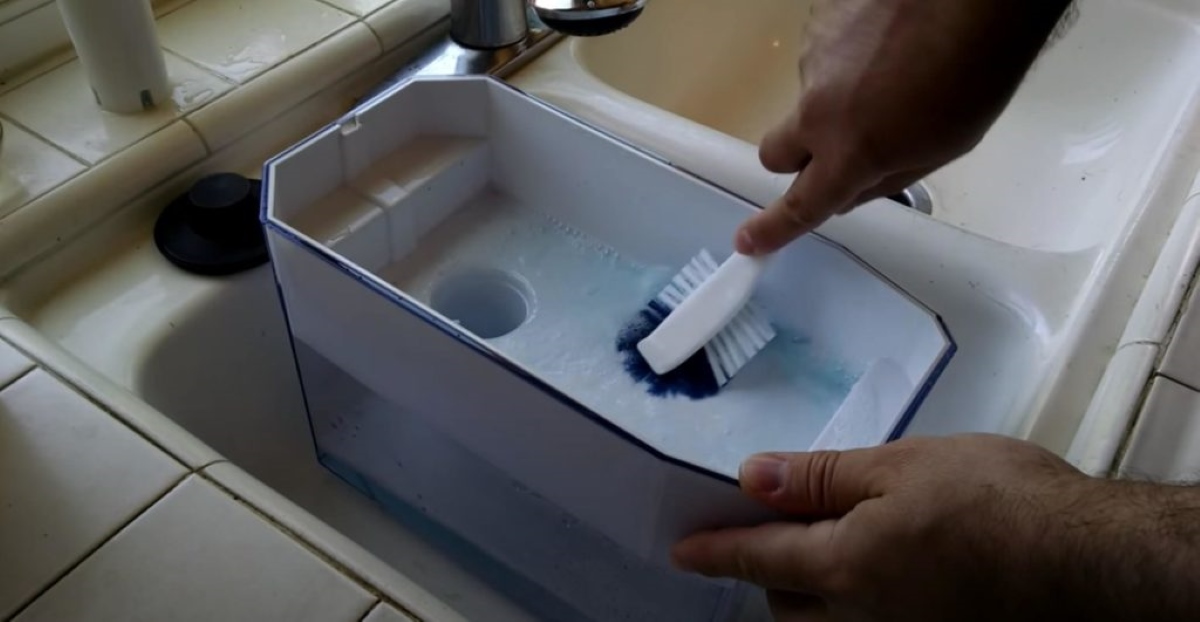
- Use a small brush for stubborn deposits: If you encounter stubborn mineral deposits or buildup, use a small brush, such as a soft-bristled toothbrush, to scrub the inside of the nozzle. This will help loosen and remove any stubborn residue.
- Rinse with clean water: After cleaning the nozzle with the cleaning solution, rinse it thoroughly with clean water. This will remove any remaining vinegar or debris.
- Dry the nozzle: Use a clean, dry cloth to dry the nozzle completely. Ensuring that no moisture is left behind will prevent any potential mold or bacteria growth.
By following these steps, you can effectively clean the water dispenser nozzle and ensure that water flows freely and cleanly into your glass or cup.
Now that the nozzle is clean, it’s time to move on to step 6: cleaning the water dispenser faucet.
Step 6: Clean the Water Dispenser Faucet
The water dispenser faucet is another essential component that requires regular cleaning to ensure the quality of the dispensed water. Over time, it can accumulate dirt, bacteria, and mineral deposits, affecting both the cleanliness and taste of the water. Cleaning the faucet is crucial for maintaining a hygienic water dispensing experience.
Follow these steps to clean the water dispenser faucet of your Samsung water dispenser:
- Prepare a cleaning solution: Mix equal parts of warm water and mild dish soap in a small bowl or container. This solution will help to remove any dirt or residue from the faucet.
- Soak a cloth or sponge: Dip a cloth or sponge into the cleaning solution, ensuring it is thoroughly soaked but not dripping.
- Clean the faucet: Gently wipe the exterior of the water dispenser faucet with the cloth or sponge. Pay attention to any visible dirt or spots, using gentle circular motions to remove them.
- Use a small brush for hard-to-reach areas: If there are any hard-to-reach areas or stubborn stains, use a small brush, such as a toothbrush, to gently scrub the faucet. Be careful not to apply excessive force that could damage the faucet.
- Rinse with clean water: After cleaning the faucet, rinse it thoroughly with clean water to remove any soap residue or debris.
- Dry the faucet: Finally, use a clean, dry cloth to wipe the faucet dry, ensuring that no moisture is left behind. This will help prevent water spots and keep the faucet looking clean and shiny.
By following these steps, you can effectively clean the water dispenser faucet and ensure the cleanliness and hygiene of the dispensed water. Keeping the faucet clean will also help maintain the overall appearance and functionality of your Samsung water dispenser.
Now that the faucet is sparkling clean, it’s time to move on to step 7: cleaning and sanitizing the water tank.
Read more: How To Clean A Vitapur Water Dispenser
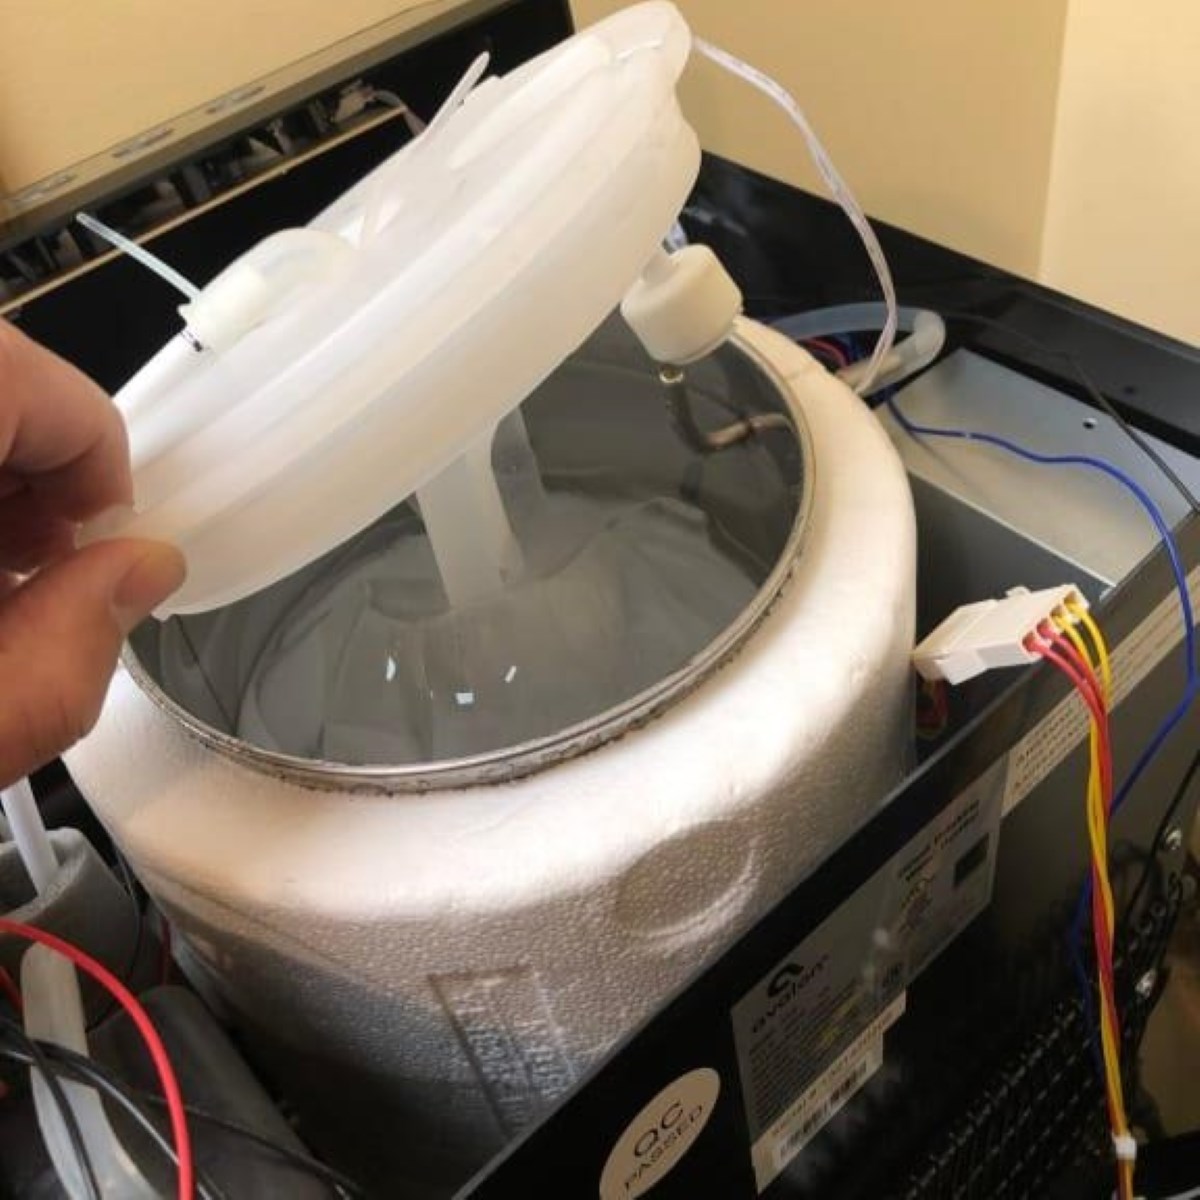
Step 7: Clean and Sanitize the Water Tank
Cleaning and sanitizing the water tank of your Samsung water dispenser is a crucial step to ensure the purity and safety of the water you consume. Over time, the water tank can accumulate bacteria, mold, or other contaminants, which can affect the quality and taste of the water. Regularly cleaning and sanitizing the water tank is essential for maintaining a healthy and hygienic water dispensing experience.
Follow these steps to effectively clean and sanitize the water tank of your Samsung water dispenser:
- Prepare a cleaning solution: Mix a teaspoon of mild dish soap with warm water in a bucket or sink. Alternatively, you can use a water dispenser cleaner recommended by the manufacturer.
- Remove any filters (if applicable): If your Samsung water dispenser has a removable filter, consult the manufacturer’s instructions on how to remove and clean it properly. Set it aside for cleaning separately.
- Fill the water tank with the cleaning solution: Pour the cleaning solution into the water tank until it is about three-quarters full. This will ensure that the solution reaches all the internal surfaces of the tank.
- Allow the cleaning solution to sit: Let the cleaning solution sit in the water tank for about 15-30 minutes. This will allow it to loosen any residue or buildup inside the tank.
- Scrub the tank: Using a soft brush or sponge, scrub the inside of the water tank, paying attention to any visible stains or deposits. Use gentle circular motions to remove any dirt or residue. Concentrate on areas that are more prone to contamination, such as the corners and crevices.
- Rinse thoroughly: Once you have finished scrubbing, rinse the water tank thoroughly with clean water. Ensure that all traces of the cleaning solution are removed.
- Sanitize with white vinegar (optional): To further sanitize the water tank, you can use a mixture of one part white vinegar to three parts water. Pour this mixture into the tank and let it sit for about 5-10 minutes before rinsing it out completely with clean water.
- Dry the water tank: After rinsing, use a clean towel or cloth to dry the water tank completely. Make sure there is no moisture left inside the tank, as this can lead to the growth of bacteria or mold.
- Reinsert the filter (if applicable): If you removed the filter earlier, follow the manufacturer’s instructions to properly reinsert and secure it back into the water dispenser.
By following these steps, you can effectively clean and sanitize the water tank of your Samsung water dispenser. This process will help remove any contaminants and ensure the purity and safety of the water it dispenses.
With the water tank now clean and sanitized, it’s time to move on to the final step: reassembling and testing the water dispenser.
Step 8: Reassemble and Test the Water Dispenser
After completing all the necessary cleaning and sanitizing steps, it’s time to reassemble your Samsung water dispenser and test it to ensure everything is working properly. This final step ensures that your water dispenser is ready to provide clean, refreshing water for your convenience.
Follow these steps to reassemble and test your water dispenser:
- Ensure all components are clean and dry: Double-check that all the components you cleaned, including the exterior, drip tray, nozzle, faucet, and water tank, are completely dry before reassembling.
- Reinsert the drip tray: Carefully slide the clean and dry drip tray back into its designated position beneath the water dispenser faucet. Ensure that it is securely in place.
- Plug in the water dispenser: Plug the water dispenser back into the electrical outlet. Ensure that it is properly connected and receiving power.
- Turn on the water supply: Open the water supply valve that you turned off during the cleaning process. This will allow water to flow into the dispenser.
- Test the water dispenser: Press the water dispenser buttons or levers to dispense water. Verify that water flows freely and smoothly without any leaks. Check for any unusual sounds or issues during the dispensing process.
- Check for proper cooling (if applicable): If your water dispenser has a cooling function, monitor the temperature of the dispensed water to ensure that it is sufficiently cold. Allow some time for the cooling system to reach the desired temperature.
- Observe for any signs of leakage or malfunction: Keep an eye out for any signs of water leakage or malfunctioning components. If any issues arise, refer to the manufacturer’s instructions or contact customer support for assistance.
- Enjoy clean and refreshing water: Once you have verified that the water dispenser is functioning properly, you can start enjoying clean, refreshing water whenever you need it!
By following these steps, you can confidently reassemble and test your Samsung water dispenser, ensuring that it is clean, functional, and ready to provide you with clean water.
Congratulations! You have successfully cleaned your Samsung water dispenser and taken the necessary steps to maintain its hygiene and performance. Regularly repeating this cleaning process at recommended intervals will help ensure that your water dispenser continues to provide you with fresh, clean water.
With your Samsung water dispenser now clean and reassembled, you can enjoy the convenience and peace of mind of having access to clean, refreshing water whenever you need it!
Conclusion
Cleaning your Samsung water dispenser is crucial for maintaining the purity, hygiene, and performance of the appliance. Regularly following the steps outlined in this guide will ensure that you can enjoy clean, refreshing water whenever you need it.
Throughout the cleaning process, we covered essential steps such as turning off the water dispenser, emptying the water tank, cleaning the exterior surfaces, removing and cleaning the drip tray, cleaning the water dispenser nozzle and faucet, sanitizing the water tank, and finally, reassembling and testing the water dispenser.
By incorporating safety precautions, gathering the necessary supplies, and following each step carefully, you can effectively remove dirt, grime, bacteria, and mineral deposits from your Samsung water dispenser. This will contribute to maintaining the device’s functionality, improving the taste and quality of the water it dispenses.
Remember to consult your specific Samsung water dispenser model’s instructions and safety guidelines for any additional information or precautions that may apply. It is also important to regularly clean and sanitize your water dispenser at recommended intervals to ensure optimal performance.
With a clean and well-maintained Samsung water dispenser, you can enjoy the convenience and peace of mind of having access to clean, refreshing water at any time. Cheers to a healthier and more refreshing hydration experience!
Frequently Asked Questions about How To Clean Samsung Water Dispenser
Was this page helpful?
At Storables.com, we guarantee accurate and reliable information. Our content, validated by Expert Board Contributors, is crafted following stringent Editorial Policies. We're committed to providing you with well-researched, expert-backed insights for all your informational needs.


0 thoughts on “How To Clean Samsung Water Dispenser”