Articles
How To Refinish A Porcelain Sink
Modified: January 9, 2024
Learn the step-by-step process of refinishing a porcelain sink with our informative articles. Easily restore the beauty of your sink with our expert tips and techniques.
(Many of the links in this article redirect to a specific reviewed product. Your purchase of these products through affiliate links helps to generate commission for Storables.com, at no extra cost. Learn more)
Introduction
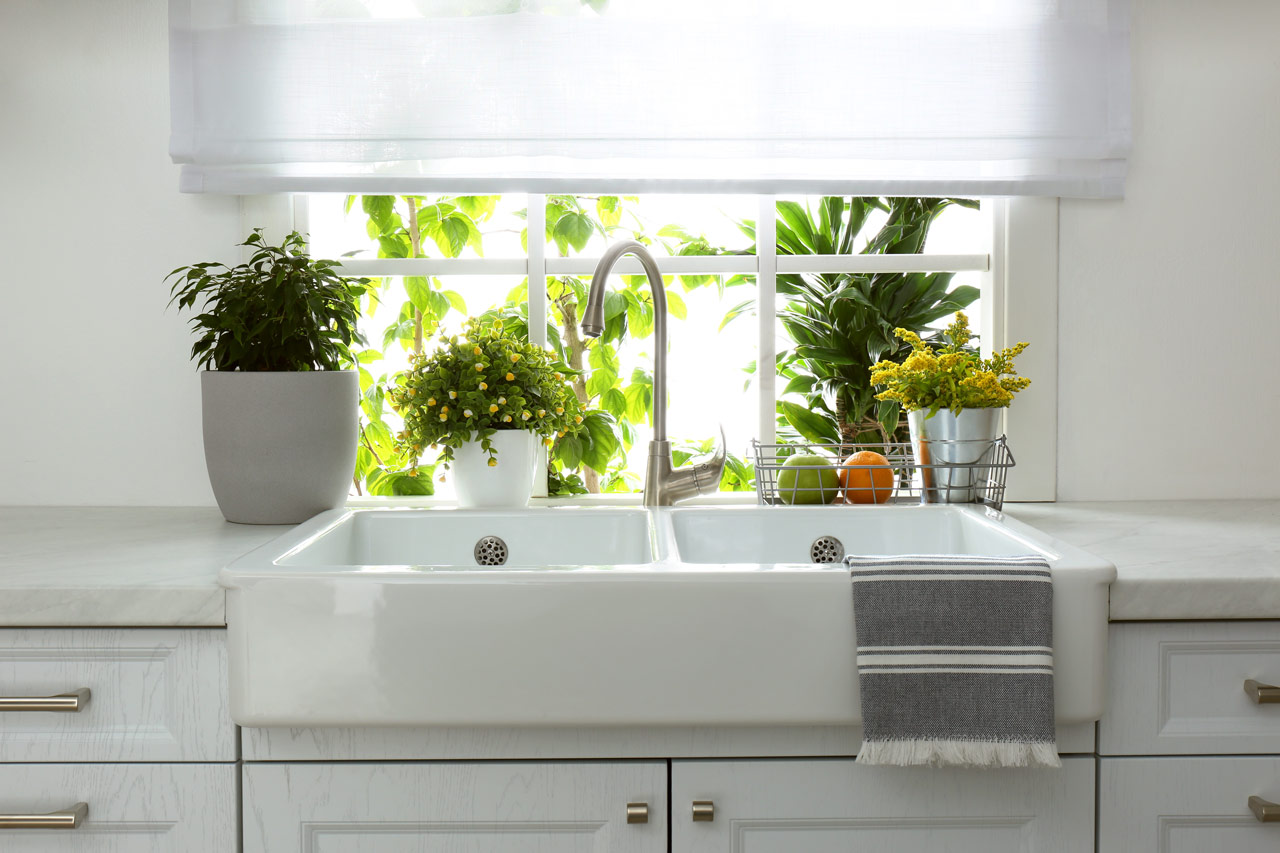
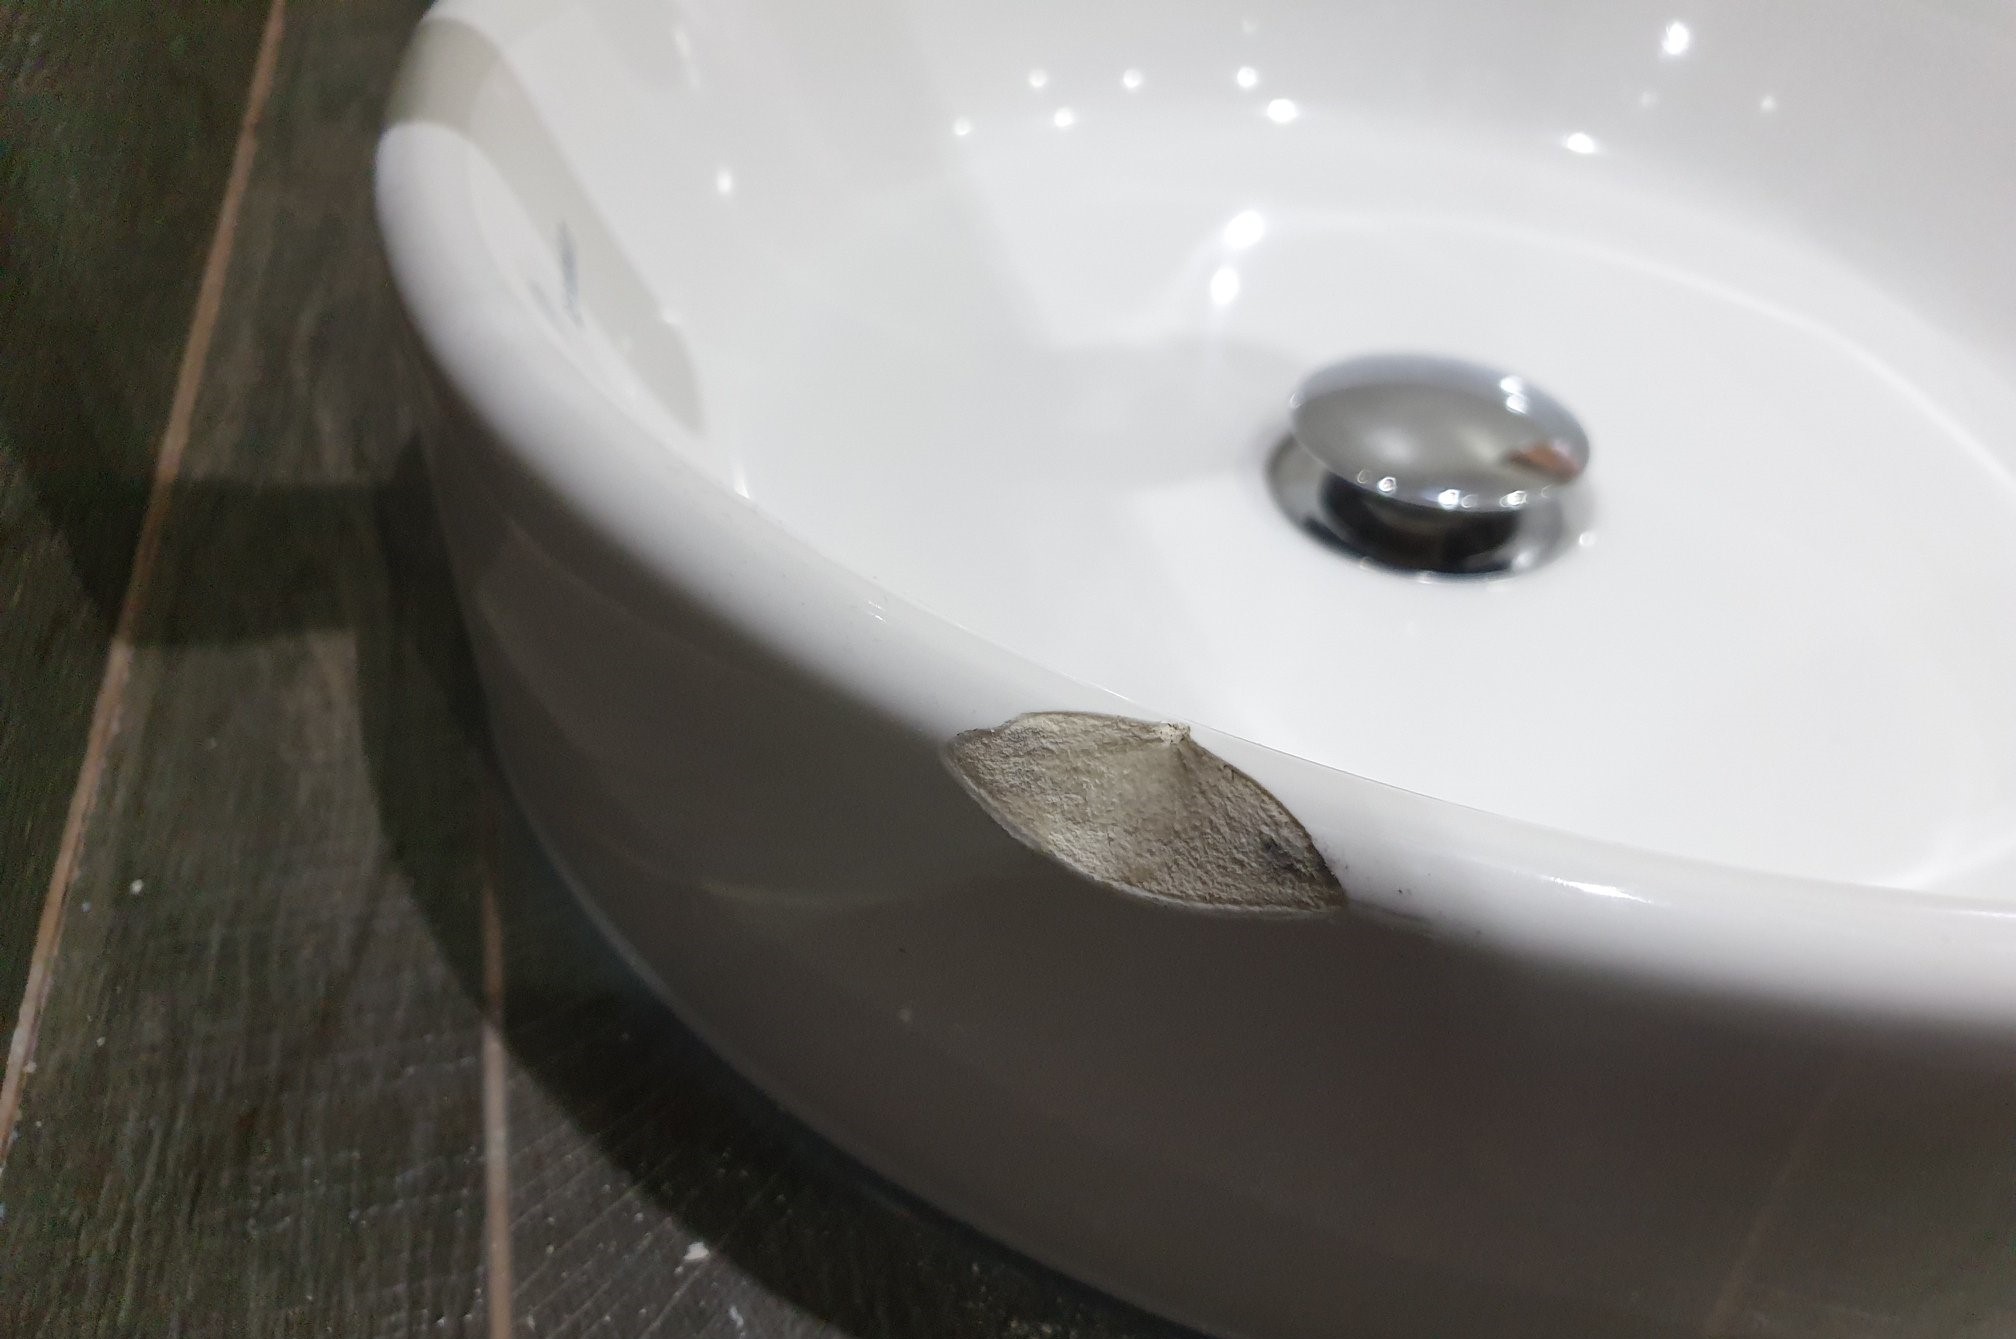
A porcelain sink can be a beautiful and functional addition to any bathroom or kitchen. Over time, however, the finish on the sink can become worn, stained, or chipped, diminishing its appearance. Instead of replacing the entire sink, refinishing it can be a cost-effective and rewarding project that can breathe new life into your porcelain sink.
Refinishing a porcelain sink involves removing the old finish and applying a new one to restore its shine and durability. This article will guide you through the step-by-step process of refinishing your porcelain sink, providing you with the knowledge and confidence to take on this DIY project.
Before you begin, it’s important to gather all the necessary materials to ensure a successful refinishing job. Additionally, make sure you have enough time to complete the project as it may take a few days to allow for drying time between steps.
So let’s roll up our sleeves and get started on transforming your worn porcelain sink into a gleaming focal point in your bathroom or kitchen.
Key Takeaways:
- Transform your worn porcelain sink into a gleaming focal point with a cost-effective and rewarding DIY refinishing project. Follow the step-by-step guide for professional-looking results and enjoy the sense of accomplishment.
- Save money and contribute to sustainable living by refinishing your porcelain sink instead of replacing it. Achieve a stunning centerpiece in your bathroom or kitchen with the right materials and attention to detail.
Read more: How To Paint Porcelain Sink
Step 1: Gather Materials
Before you begin refinishing your porcelain sink, it’s essential to gather all the necessary materials. Having everything you need within arm’s reach will make the process smoother and more efficient. Here’s a list of the materials you’ll need:
- Masking tape
- Plastic drop cloth or newspaper
- Protective gloves and goggles
- Sandpaper (120-grit and 400-grit)
- Mild abrasive cleaner
- Scrub brush or sponge
- Hydrogen peroxide or bleach
- Paint stripper or remover
- Paintbrush or foam brush
- Porcelain refinishing kit (including primer, paint, and sealer)
- Small bucket or container
- Lint-free cloth or paper towels
Once you have gathered all the necessary materials, you are ready to move on to the next step: cleaning the sink.
Step 2: Clean the Sink
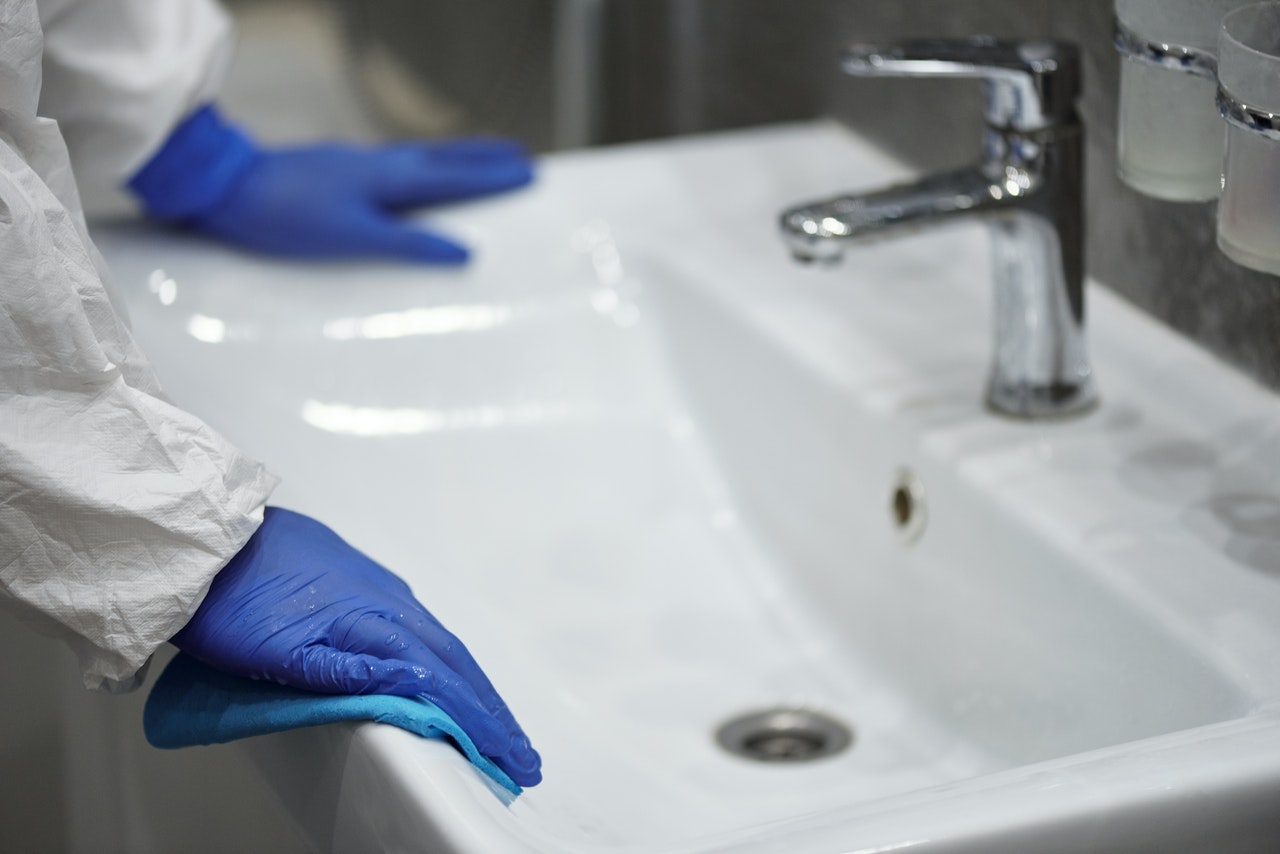
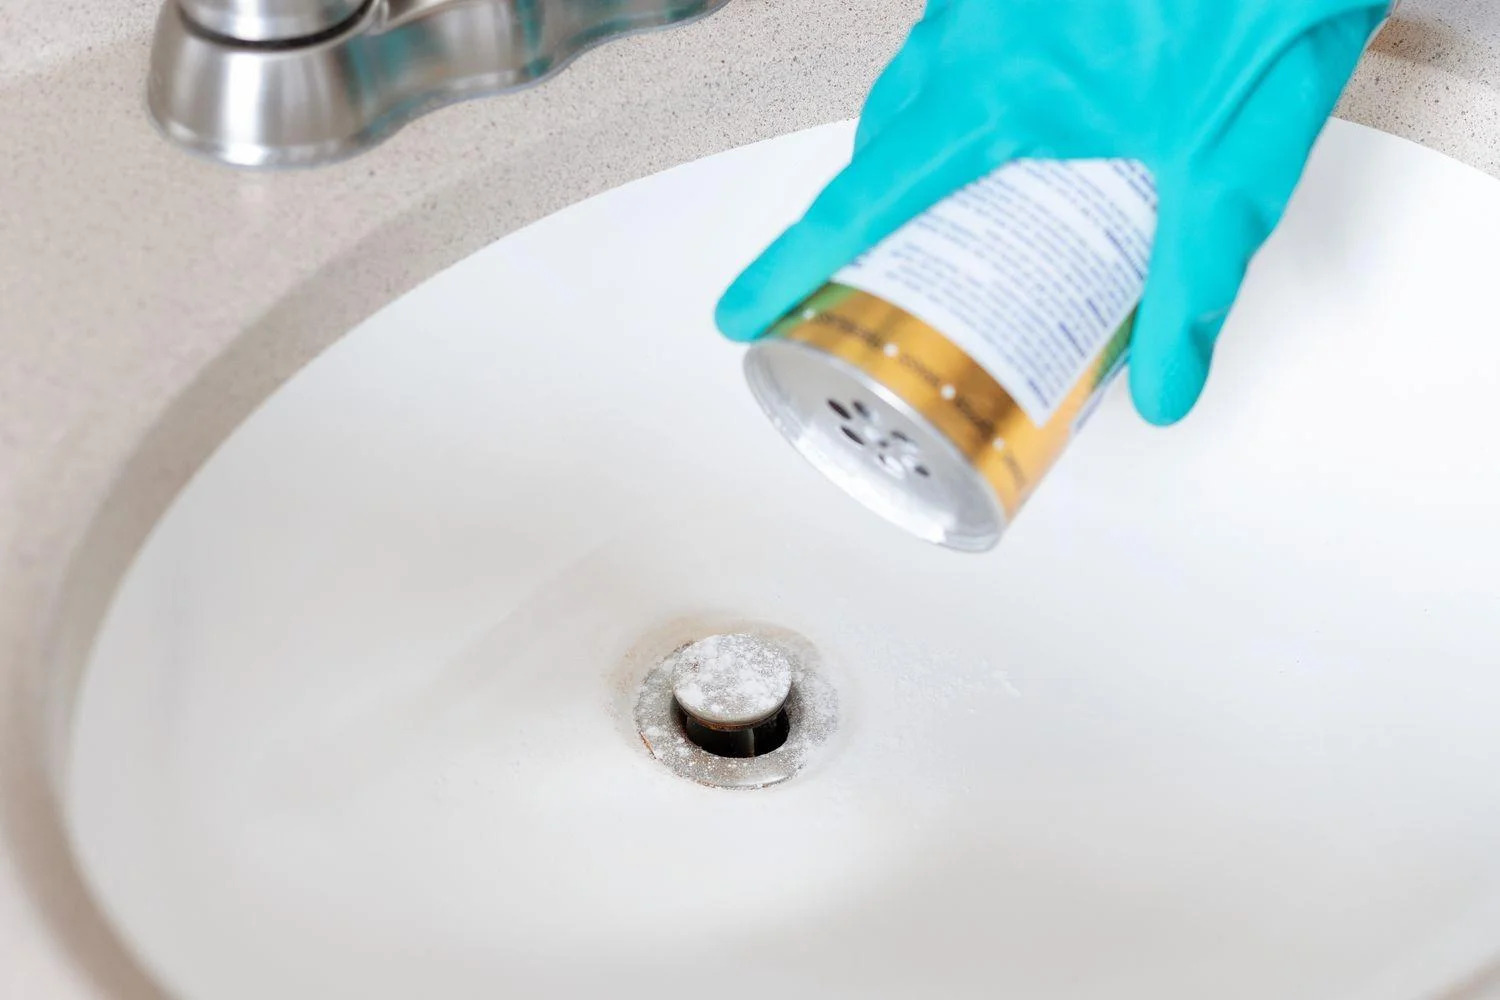
Before refinishing your porcelain sink, it’s crucial to thoroughly clean it to ensure optimal adhesion of the new finish. Cleaning the sink will remove any dirt, grime, or soap scum that may be present.
To clean your sink, follow these steps:
- Start by applying masking tape around the edges of the sink, protecting the surrounding area from accidental damage.
- Place a plastic drop cloth or newspaper in the sink to catch any debris or cleaning solution.
- Put on protective gloves and goggles to safeguard yourself from any harsh chemicals.
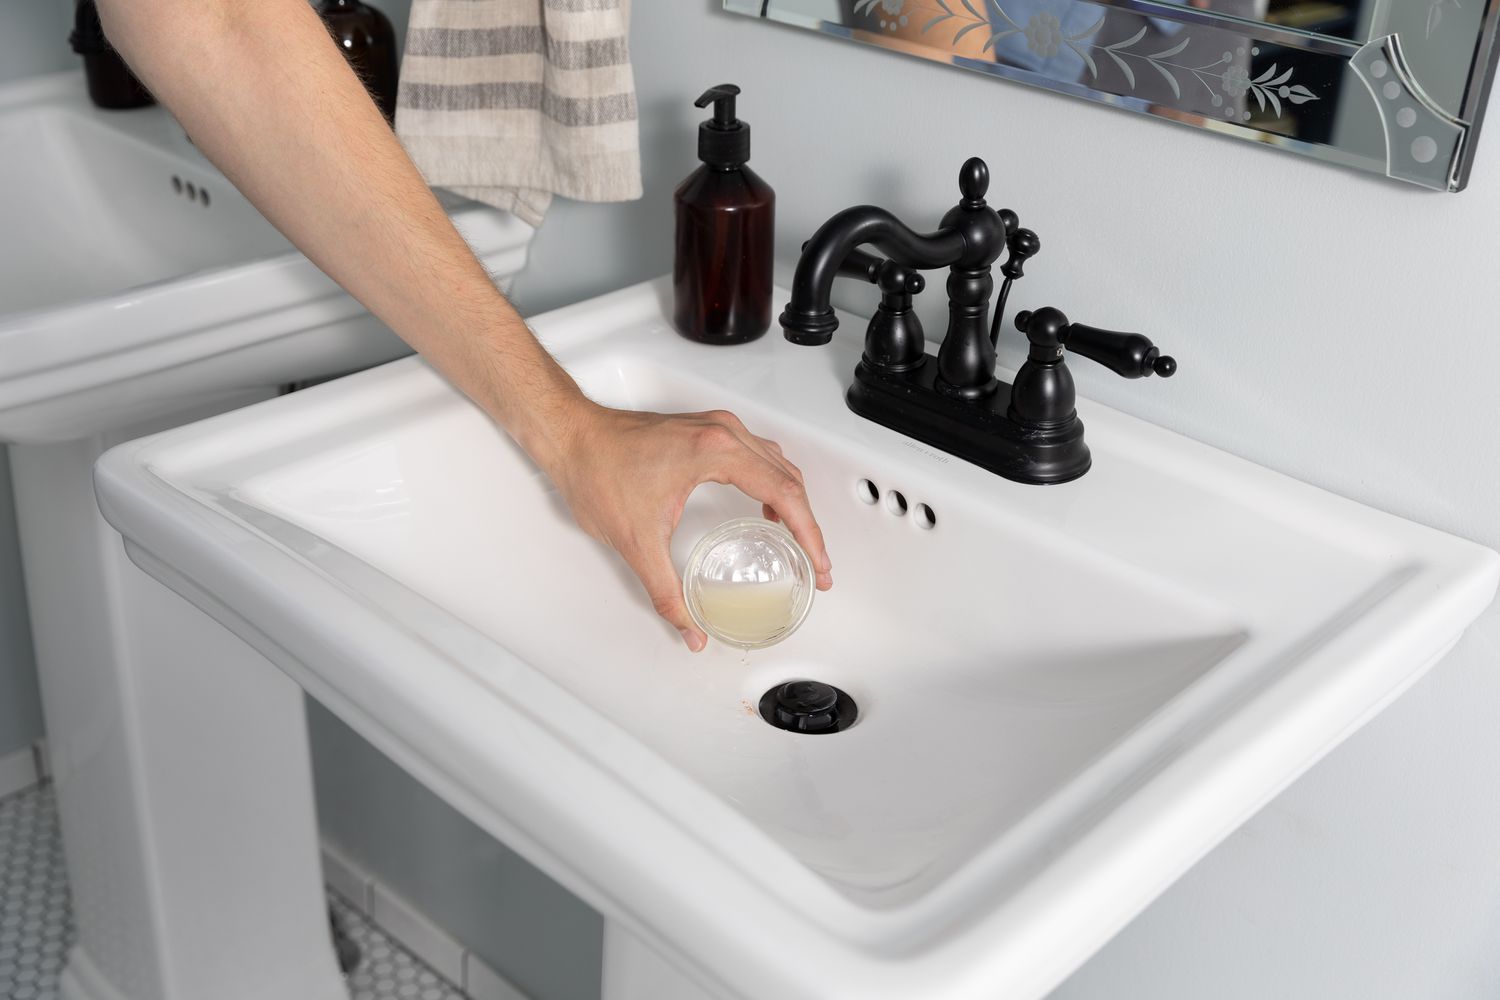
- Using a mild abrasive cleaner, apply it evenly on the surface of the sink.
- Scrub the sink with a scrub brush or sponge, paying special attention to any stubborn stains or build-up.
- Rinse the sink thoroughly with water to remove any residue from the cleaner.
- If there are any hard water stains or discoloration on the sink, mix equal parts hydrogen peroxide or bleach with water and apply it to the affected areas. Allow it to sit for a few minutes before rinsing it off.
- Dry the sink completely with a lint-free cloth or paper towels to ensure that no residual moisture remains.
Once the sink is spotlessly clean and dry, you will be ready to proceed to the next step: removing the old finish.
Step 3: Remove Old Finish
Removing the old finish from your porcelain sink is a crucial step in the refinishing process. This will create a clean and smooth surface for the new finish to adhere to. Follow these steps to remove the old finish:
- Put on protective gloves and goggles to protect yourself from any chemicals or debris.
- Read the instructions on the paint stripper or remover carefully, ensuring that you have chosen a product suitable for use on porcelain surfaces.
- Apply the paint stripper or remover to the sink’s surface using a brush or foam brush, following the manufacturer’s instructions.
- Allow the product to sit on the surface for the recommended period, typically 15-20 minutes, or as instructed on the packaging.
- Using a scraper or sponge, gently scrape off the old finish, being careful not to damage the porcelain surface. Work in small sections to ensure thorough removal.
- If there are any stubborn areas where the old finish is not coming off easily, reapply the paint stripper or remover and allow it to sit for a bit longer.
- Once you have successfully removed the old finish, rinse the sink thoroughly with water to remove any residue from the paint stripper.
- Dry the sink completely using a lint-free cloth or paper towels.
Now that the old finish has been removed, you’re ready to move on to the next step: applying the new finish to your porcelain sink.
When refinishing a porcelain sink, make sure to thoroughly clean and dry the surface before applying the new finish to ensure a smooth and long-lasting result.
Step 4: Apply New Finish
After removing the old finish from your porcelain sink, it’s time to apply the new finish. This step will restore the shine and durability of your sink, giving it a fresh and rejuvenated look. Follow these steps to apply the new finish:
- Ensure that the sink is completely dry before starting this step.
- Read the instructions on the porcelain refinishing kit carefully, as application methods can vary between different products.
- Using a paintbrush or foam brush, apply an even coat of primer to the entire surface of the sink. Be sure to follow the manufacturer’s instructions regarding application and drying time.
- Allow the primer to dry completely. This might take a few hours or as instructed on the packaging.
- Once the primer is dry, apply the first coat of the new finish using the same brush or foam brush. Apply smooth, even strokes, working from one end of the sink to the other.
- Allow the first coat to dry according to the manufacturer’s instructions. This might take several hours or even overnight.
- Apply a second coat of the new finish, following the same technique as before.
- Allow the second coat to dry completely. This will usually take a similar amount of time as the first coat.
- If desired, and if recommended by the manufacturer, apply a third coat of the new finish for added durability and shine.
Remember to follow the specific instructions provided with your porcelain refinishing kit, as drying times and application methods may vary. Once the new finish has dried, you’re almost done! The final step involves allowing sufficient drying time.
Read more: How To Refinish Kitchen Sink
Step 5: Allow Drying Time
After applying the new finish to your porcelain sink, it’s crucial to allow sufficient drying time for the finish to fully cure and harden. Rushing this step can result in a less durable and less satisfactory outcome. Follow these guidelines to ensure the best results:
- Refer to the instructions provided with your porcelain refinishing kit for specific drying time recommendations.
- In general, allow the sink to dry untouched for at least 24 hours or as instructed by the manufacturer.
- Avoid using the sink during the drying process to prevent any damage or premature wear of the new finish.
- Ensure that the room is well-ventilated to promote proper drying.
- Keep pets, children, and any other potential sources of dust or debris away from the drying sink.
- Consider placing a “Do Not Use” sign or tape around the sink to remind others not to use it until the drying process is complete.
Allowing adequate drying time will help the new finish to fully cure and harden, ensuring a long-lasting and beautiful result. Once the recommended drying time has passed, you can move on to the final step: adding the finishing touches and cleaning the sink.
Step 6: Final Touches and Cleaning
Now that the new finish on your porcelain sink has dried and cured, it’s time to add the final touches and give the sink a thorough cleaning. This will ensure that your refinished sink looks its best and is ready to be used. Follow these steps to complete the refinishing process:
- Remove any masking tape or protective coverings from around the sink.
- Inspect the sink for any areas that may need touch-ups or additional coats of the new finish.
- If necessary, apply additional coats of the new finish, following the manufacturer’s instructions.
- Once you are satisfied with the appearance of the sink, remove any dust or debris that may have settled on the surface.
- Use a mild cleaning solution and a soft cloth to give the sink a gentle wipe-down, removing any fingerprints or smudges.
- Rinse the sink thoroughly with water to ensure that all cleaning residue is removed.
- Dry the sink with a clean, lint-free cloth to prevent any water spots or streaking.
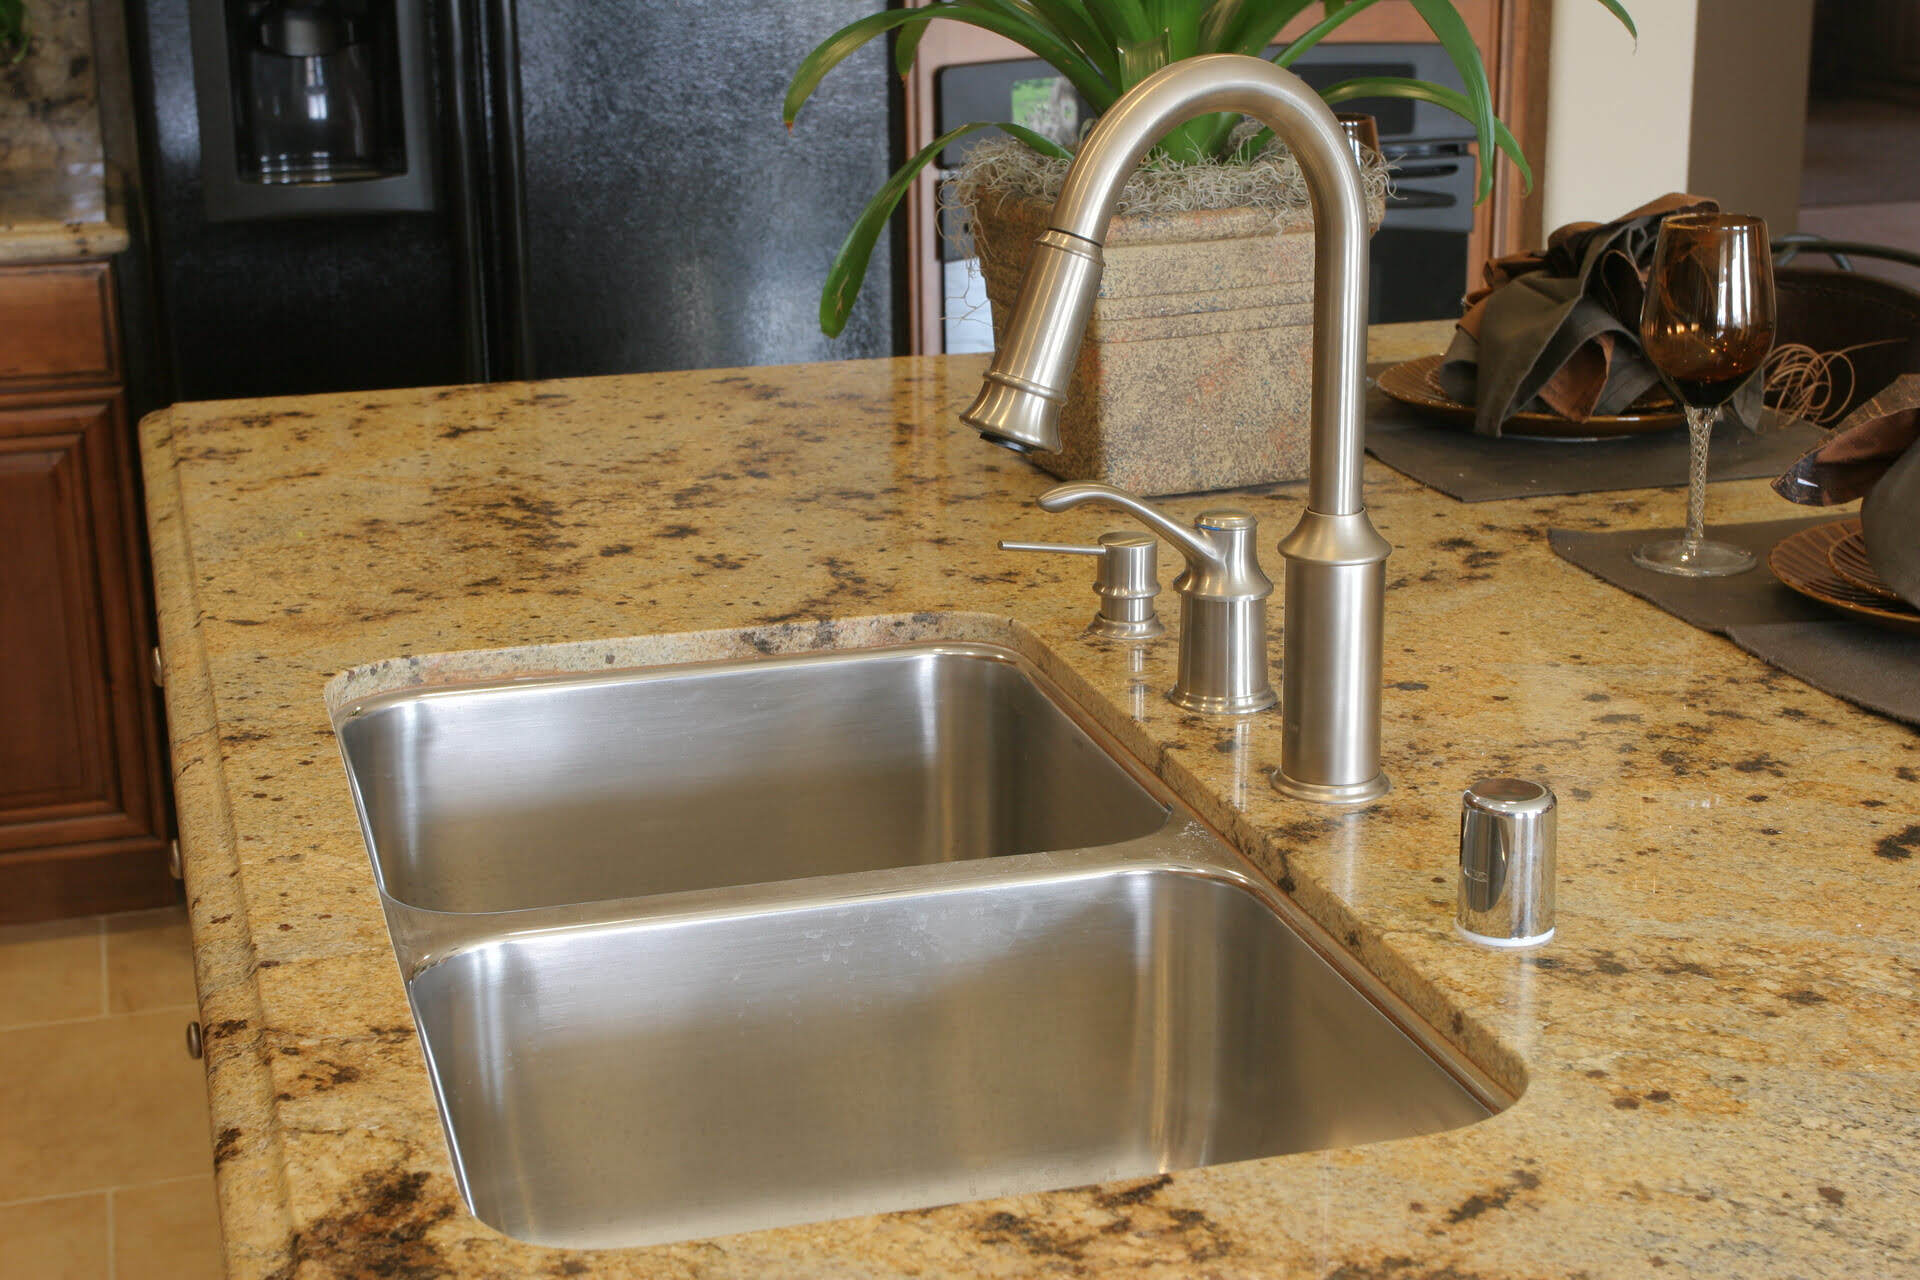
- Finally, step back and admire your refinished porcelain sink, now looking as good as new!
It’s important to note that while the new finish will provide an enhanced and renewed appearance to your sink, it’s still essential to practice proper maintenance and care. Avoid using abrasive cleaners or scrub brushes on the refinished surface, as this can damage the finish. Instead, use mild cleaners and gentle cleaning techniques to preserve the beauty of your refinished porcelain sink.
Congratulations on successfully refinishing your porcelain sink! This DIY project not only restores the functionality and aesthetics of your sink but also saves you money compared to replacing the entire sink. Enjoy your newly refinished sink for years to come!
Conclusion
Refinishing a porcelain sink can be a rewarding and cost-effective project that revitalizes the appearance and functionality of your bathroom or kitchen. By following the step-by-step process outlined in this article, you can achieve professional-looking results without the need for a professional painter or plumber.
From gathering the necessary materials to cleaning the sink, removing the old finish, applying the new finish, allowing sufficient drying time, and adding the final touches, each step plays a crucial role in achieving a successful refinishing outcome. Taking the time to properly clean and prepare the sink, as well as applying multiple coats of the new finish, ensures a durable and long-lasting result.
Remember to follow the instructions provided with your porcelain refinishing kit and exercise caution when working with chemicals and tools. Protect yourself by wearing gloves and goggles and create a well-ventilated work area for optimal safety.
Once your porcelain sink is refinished, it’s important to maintain its beauty and prolong its lifespan. Avoid using abrasive cleaners or scrub brushes on the refinished surface and practice gentle cleaning techniques to preserve the finish.
By refinishing your porcelain sink instead of replacing it, you not only save money but also contribute to sustainable living by reducing waste. With the right materials, patience, and attention to detail, you can transform your worn and outdated sink into a stunning centerpiece in your bathroom or kitchen.
So go ahead, take on the challenge of refinishing your porcelain sink. Enjoy the process and revel in the sense of accomplishment as you breathe new life into a functional yet aesthetically pleasing part of your home.
Frequently Asked Questions about How To Refinish A Porcelain Sink
Was this page helpful?
At Storables.com, we guarantee accurate and reliable information. Our content, validated by Expert Board Contributors, is crafted following stringent Editorial Policies. We're committed to providing you with well-researched, expert-backed insights for all your informational needs.


0 thoughts on “How To Refinish A Porcelain Sink”