
Articles
How To Refinish Kitchen Sink
Modified: January 9, 2024
Discover the best articles on how to refinish your kitchen sink for a beautiful and durable finish. Step-by-step instructions and expert tips included.
(Many of the links in this article redirect to a specific reviewed product. Your purchase of these products through affiliate links helps to generate commission for Storables.com, at no extra cost. Learn more)
Introduction
Having a clean and well-maintained kitchen sink is essential for a functional and visually appealing kitchen. Over time, however, sinks can become worn, stained, or damaged, making them look unsightly and affecting their performance. But fear not! If you’re looking to give your kitchen sink a fresh new look, refinishing it is a great option. Refinishing your sink can help restore its beauty, extend its lifespan, and save you the cost of replacing it.
In this article, we will guide you through the step-by-step process of refinishing a kitchen sink, providing you with all the information and tips you need to accomplish this DIY project. So, let’s get started!
Key Takeaways:
- Refinishing your kitchen sink is a cost-effective DIY project that can restore its beauty and functionality, saving you the expense of purchasing a new sink. Follow the step-by-step process, use quality materials, and enjoy a stunning result that revitalizes your kitchen.
- Proper cleaning, repairing damages, applying primer, new finish, and sealant are crucial steps in achieving a professionally refinished sink. Follow care tips to maintain its renewed beauty and functionality for years to come.
Read more: How To Refinish A Porcelain Sink
Materials Needed
Before diving into the refinishing process, it’s important to gather all the necessary materials. Here’s a list of the items you’ll need:
- Safety goggles
- Nitrile gloves
- Protective mask
- Drop cloths or plastic sheets
- Sandpaper (varying grits)
- Paint scraper
- Heavy-duty cleaner or degreaser
- Bucket
- Water
- Sponge or scrub brush
- Mildew remover (if needed)
- Epoxy filler (if needed)
- Primer
- Quality paint suitable for sinks
- Paintbrush or roller
- Clear sealant
- Lint-free cloths
It’s important to note that the specific materials required may vary based on the type of sink you have and the refinishing product you choose. Always check the manufacturer’s instructions and recommendations to ensure you have the appropriate materials for your specific project.
Now that you have all your materials gathered, let’s move on to the step-by-step process of refinishing your kitchen sink!
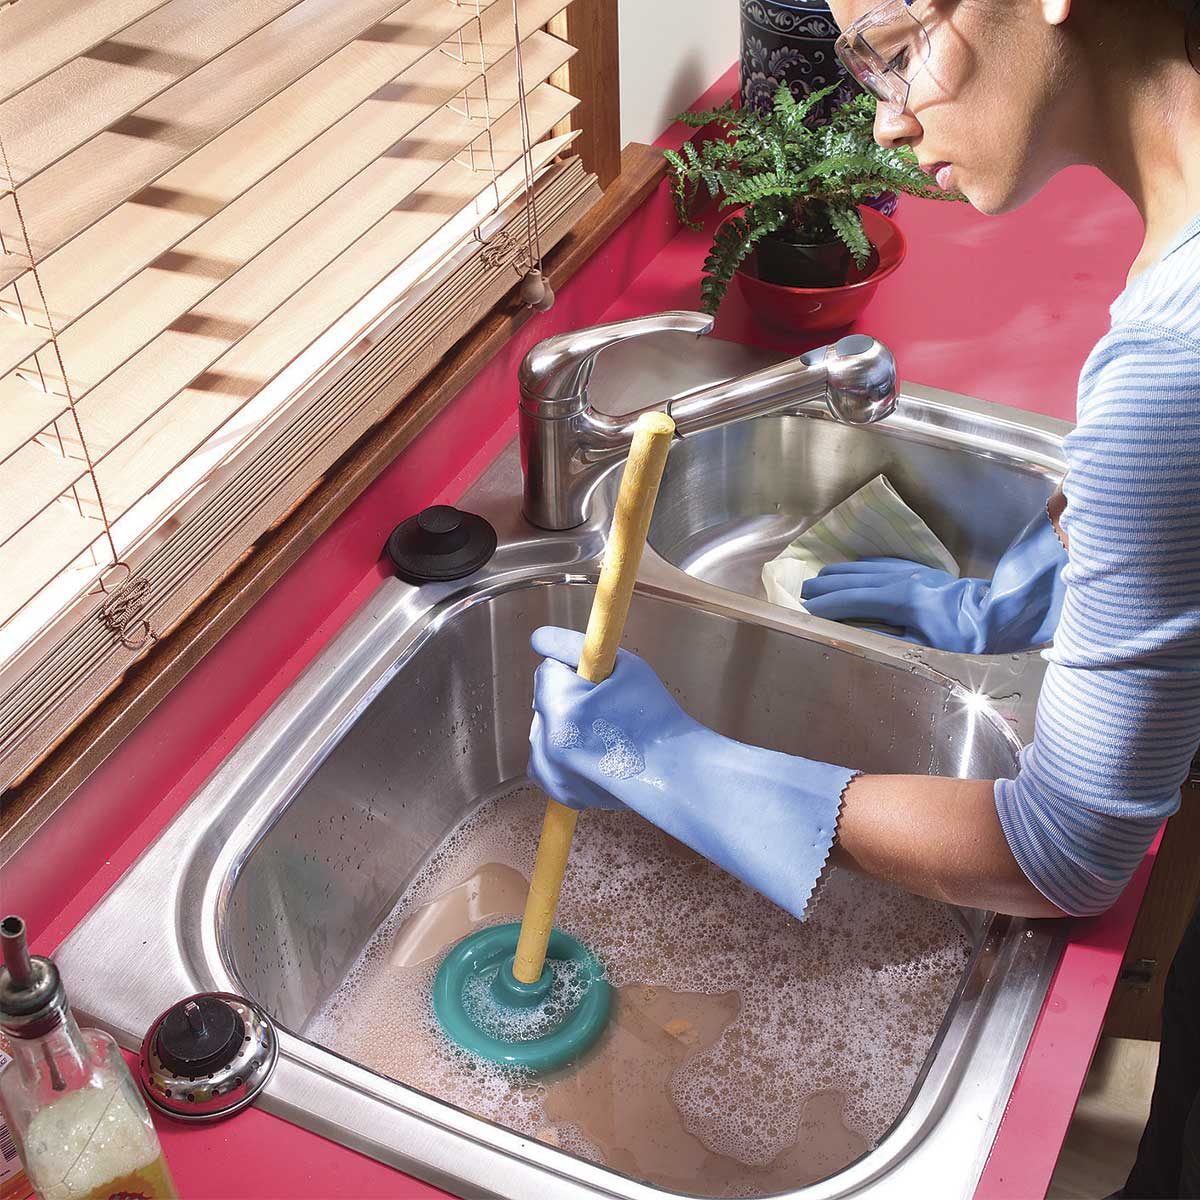
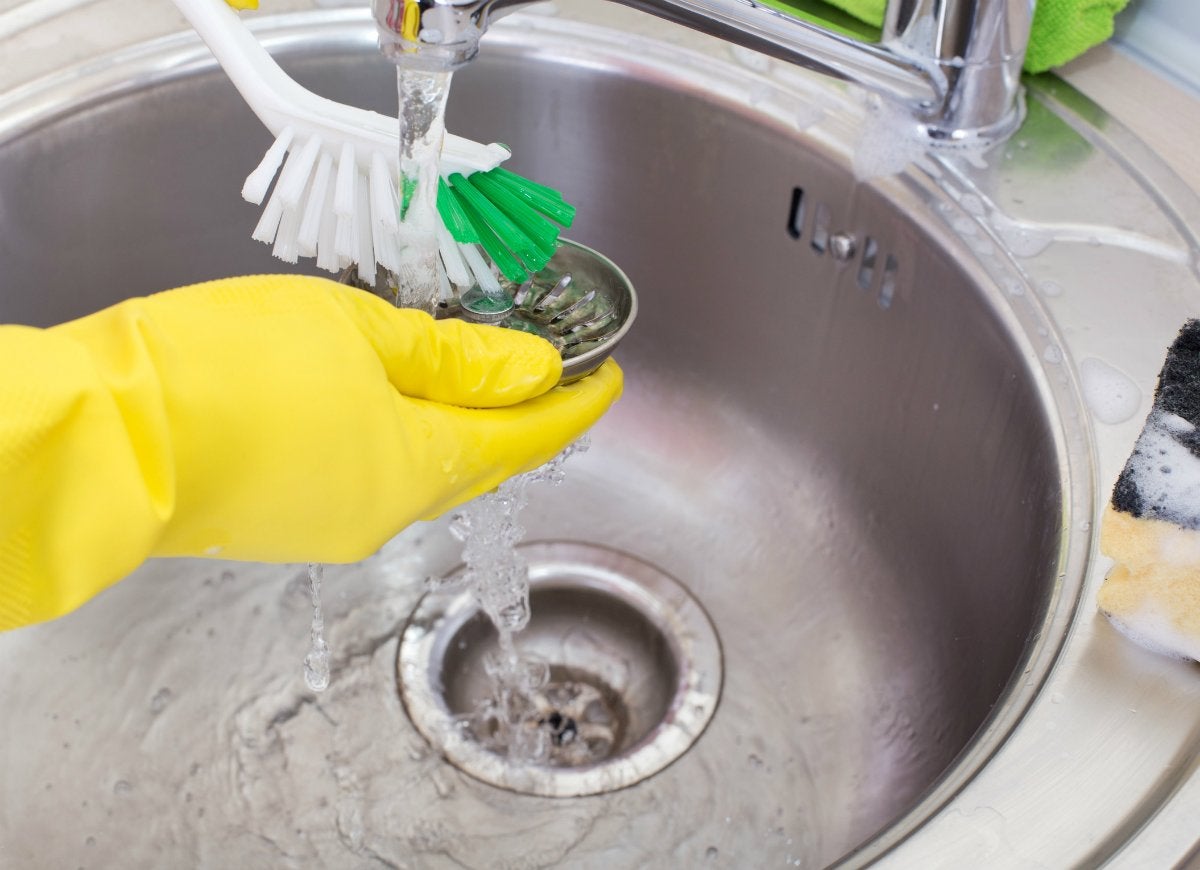
Step 1: Clean the Sink
The first step in refinishing your kitchen sink is to thoroughly clean the surface. Start by removing any items from the sink, such as dishes, utensils, and soap dispensers. Next, put on your safety goggles, nitrile gloves, and protective mask to protect yourself from any harsh chemicals.
To clean the sink, fill a bucket with warm water and add a heavy-duty cleaner or degreaser. Follow the instructions on the cleaner’s packaging to ensure the proper dilution ratio. Dip a sponge or scrub brush into the cleaning solution and scrub the entire surface of the sink, paying special attention to areas with buildup or stains. If there is mildew or mold present, use a mildew remover according to the instructions.
Rinse the sink thoroughly with clean water to remove any residue from the cleaning solution. Wipe the surface dry using lint-free cloths or allow it to air dry completely.
After cleaning, inspect the sink for any damages, such as chips, cracks, or dents. If you come across any issues, you’ll need to repair them before proceeding with the refinishing process. Small chips or cracks can be filled with epoxy filler according to the manufacturer’s instructions. Allow the filler to dry completely before moving on to the next step.
Cleaning the sink not only removes dirt and grime but also ensures a smooth surface for the refinishing materials to adhere to. Once you’ve cleaned and repaired any damages, you’re ready to move on to the next step: removing the old finish.
Step 2: Remove Old Finish
After cleaning and repairing any damages, the next step in refinishing your kitchen sink is to remove the old finish. This step is essential to ensure proper adhesion of the new finish and to achieve a smooth and flawless result.
Start by putting on your safety goggles, nitrile gloves, and protective mask to protect yourself from any dust or debris. Use a paint scraper or a similar tool to carefully scrape away the old finish from the surface of the sink. Be gentle to avoid damaging the sink itself. Make sure to remove all traces of the old finish, including any rough or uneven areas.
Next, use sandpaper with a medium grit (around 120 to 150) to sand the entire surface of the sink. This helps to remove any remaining finish, smooth out any imperfections, and create a roughened surface for better paint adhesion. Work in a circular motion and apply even pressure to ensure consistent sanding across the sink. Remember to sand not just the inside of the sink but also the edges and the lip.
Once you’ve sanded the sink with the medium grit sandpaper, switch to a finer grit sandpaper (around 220 to 320) to further smoothen the surface. Continue sanding in a circular motion until the surface feels smooth to the touch. This step is crucial to achieve a professional-looking finish.
After sanding, use a damp cloth or sponge to wipe away any dust or debris from the surface. It’s important to remove all the sanding residue to prevent it from mixing with the new finish. Allow the sink to dry completely before moving on to the next step.
With the old finish removed and the surface properly sanded, you’re now ready to move on to the next step: repairing any damages that may be present.
Step 3: Repair Any Damages
After removing the old finish and sanding the surface of your kitchen sink, it’s essential to inspect for any damages that may need repairs. This step ensures that your sink is in optimal condition before applying the new finish and helps to achieve a flawless final result.
Start by carefully examining the sink for any chips, cracks, or dents. If you come across any damages, it’s important to repair them before proceeding with the refinishing process.
If you encounter small chips or cracks, you can use an epoxy filler to fill in the damaged areas. Follow the manufacturer’s instructions for the specific epoxy filler you’re using. Generally, you’ll need to mix the filler components together, apply it to the damaged area, and smooth it out using a putty knife or a similar tool. Allow the filler to dry completely before moving on to the next step.
If you have larger damages, such as deep cracks or dents, you may need to consult a professional for repair or consider replacing the sink. Refinishing products are best suited for minor damages and surface imperfections.
Once you’ve repaired any damages and the filler has dried, use sandpaper with a finer grit (around 220 to 320) to smooth out the repaired areas. This ensures a seamless surface that will blend in with the rest of the sink.
After repairing and sanding, use a damp cloth or sponge to wipe away any dust or debris from the surface. Removing all the dust is crucial to ensure a smooth and clean surface for the refinishing process.
With the damages repaired and the surface prepared, you’re now ready to move on to the next step: sanding the surface of the sink.
Read more: How To Refinish Stainless Steel Sink
Step 4: Sand the Surface
Once you have repaired any damages and ensured a smooth and clean surface, the next step in refinishing your kitchen sink is to sand the surface. Sanding is crucial to create a roughened texture that promotes better adhesion of the primer and the new finish.
Start by wearing your safety goggles, nitrile gloves, and protective mask to protect yourself from any dust or debris. Use sandpaper with a medium grit (around 220 to 320) and begin sanding the entire surface of the sink.
When sanding, use long, even strokes and apply consistent pressure. Work in a circular motion to ensure you cover all areas evenly. Focus on sanding the inside of the sink, as well as the edges and the lip. Make sure to sand any previously repaired areas to create a uniform surface.
Sanding removes any remaining traces of the old finish, smoothens out imperfections, and creates small grooves in the surface that help the primer and finish adhere better. Take your time during this step to ensure a thorough and even sanding job.
Periodically check the surface with your fingertips to ensure it feels smooth and uniform. If you encounter any rough spots or areas that need more attention, continue sanding until the entire surface is consistent.
After sanding, use a damp cloth or sponge to wipe away any dust or debris from the surface. It’s important to remove all the sanding residue to ensure a clean and debris-free surface for the refinishing process.
With the surface sanded and clean, you are now ready to move on to the next step: applying the primer.
When refinishing a kitchen sink, make sure to thoroughly clean and sand the surface before applying a high-quality epoxy or acrylic paint specifically designed for sinks. Follow the manufacturer’s instructions for best results.
Step 5: Apply Primer
After sanding the surface of your kitchen sink, the next crucial step in the refinishing process is to apply the primer. Primer acts as a bonding agent, creating a smooth and durable surface for the new finish to adhere to. It also helps to prevent any stains or discoloration from seeping through the new finish.
Start by ensuring that the surface is clean and dry after sanding. If needed, use a damp cloth or sponge to wipe away any remaining dust or debris.
Before applying the primer, make sure to read and follow the manufacturer’s instructions on the specific primer product you’ve chosen. Some primers may require mixing or dilution, while others can be used directly from the container.
Using a brush or roller, apply the primer to the entire surface of the sink, including the inside, edges, and lip. Ensure an even and consistent application, covering all areas thoroughly. Avoid applying the primer too thickly, as it may result in drips or uneven coverage.
Allow the primer to dry according to the manufacturer’s instructions. This usually takes a few hours, but the drying time may vary depending on the product and environmental conditions.
After the primer has dried, inspect the surface for any inconsistencies or areas that may require touch-ups. If necessary, lightly sand those areas using a fine grit sandpaper to ensure a smooth and uniform surface.
Clean the brushes or rollers used for applying the primer thoroughly after use, following the instructions provided by the primer’s manufacturer.
With the primer applied and any necessary touch-ups made, you’re now ready to move on to the next step: applying the new finish to your kitchen sink.
Step 6: Apply New Finish
Now that you’ve prepared the surface of your kitchen sink with primer, it’s time to apply the new finish. The new finish will not only rejuvenate the look of your sink but also provide a protective barrier against stains and damage.
Before you begin, make sure the primer is completely dry and that the surface is clean and free of any dust or debris.
Choose a high-quality paint that is specifically designed for surfaces like sinks and is resistant to moisture, chemicals, and wear. Read the manufacturer’s instructions and recommendations to ensure you choose the right product for your sink.
Using a brush or roller, apply the new finish in smooth, even strokes. Start from one end of the sink and work your way to the other, ensuring complete coverage. Pay special attention to corners and edges to achieve an even finish throughout.
Apply multiple thin coats rather than one thick coat, allowing each coat to dry according to the manufacturer’s instructions. This will help you achieve a more durable and long-lasting result.
After each coat, inspect the sink for any imperfections or areas that may need touch-ups. If you notice any drips, uneven spots, or missed areas, lightly sand those areas with a fine grit sandpaper and apply another coat of the new finish.
Allow the final coat of the new finish to dry completely according to the manufacturer’s instructions. This will typically take a few hours or overnight, depending on the product and environmental conditions.
Remember to clean your brushes or rollers thoroughly after applying the new finish, following the instructions provided by the manufacturer.
With the new finish applied and fully cured, your kitchen sink will look refreshed and revitalized. However, there is one more step to ensure its long-lasting beauty and durability: sealing the sink.
Step 7: Seal the Sink
After applying the new finish to your kitchen sink, it’s important to seal the surface to protect it from stains, scratches, and everyday wear and tear. Sealing the sink will not only enhance its durability but also make it easier to clean and maintain over time.
Before you begin, ensure that the new finish is completely dry and cured according to the manufacturer’s instructions. This usually takes at least 24 hours, but the drying time may vary depending on the product and environmental conditions.
Choose a clear sealant that is specifically formulated for sinks or countertops. Read the manufacturer’s instructions carefully and follow the recommended application process.
Using a brush or roller, apply a thin and even coat of the sealant to the entire surface of the sink, including the inside, edges, and lip. Be sure to cover all areas thoroughly to ensure proper protection.
Allow the sealant to dry according to the manufacturer’s instructions. This can take several hours or overnight.
Once the initial coat of sealant has dried, apply additional coats as recommended by the manufacturer. Multiple coats will provide enhanced protection and longevity to your kitchen sink.
After the final coat of sealant has dried, inspect the sink for any imperfections or areas that may need touch-ups. If necessary, lightly sand those areas with a fine grit sandpaper and apply another coat of the sealant.
Give the sealant sufficient time to cure before using the sink. This is typically around 24-48 hours, but refer to the manufacturer’s instructions for the exact curing time.
Once the sealant is fully cured, your kitchen sink will have a protective layer that guards against stains, scratches, and daily wear. Regular cleaning and maintenance will help preserve the beauty and longevity of your refinished sink.
Congratulations! You’ve successfully sealed your kitchen sink. Now it’s time for the final step: adding the finishing touches and cleaning up.
Read more: How To Refinish A Cast Iron Sink
Step 8: Final Touches and Cleaning
Now that you’ve completed the refinishing process for your kitchen sink, it’s time to add the final touches and ensure everything is clean and ready for use.
Start by inspecting the sink for any stray drips, smudges, or imperfections. Use a clean, lint-free cloth to gently wipe away any marks or blemishes on the surface.
If you notice any rough spots or uneven areas, lightly sand them with a fine grit sandpaper to smoothen the surface. Be careful not to damage the finish, and remember to clean the sanded area afterward to remove any sanding residue.
Once you are satisfied with the appearance of your refinished sink, give it a thorough cleaning using a mild soap or a designated sink cleaner. Use a soft sponge or cloth to gently scrub away any dirt or residue. Avoid using abrasive cleaners or scrub brushes that could potentially damage the finish.
Rinse the sink thoroughly with warm water to remove any leftover soap or cleaner. Wipe it dry with a clean towel to prevent water spots or streaks from forming on the surface.
To maintain the beauty and longevity of your refinished sink, it’s important to follow some general care tips. Avoid placing hot pans or dishes directly on the surface, as this can cause damage. Use cutting boards or trivets to protect the sink from scratches and dents. Additionally, avoid using harsh chemicals or abrasive cleaners that could strip away the finish or cause discoloration.
Regularly clean your sink with a non-abrasive cleaner and a soft cloth or sponge. This will help maintain its shine, remove any buildup, and prevent staining. Dry the sink after each use to prevent water spots and mineral deposits.
By following these care tips and regularly cleaning your refinished sink, you can enjoy its renewed beauty and functionality for years to come.
Congratulations on successfully refinishing your kitchen sink! You’ve transformed its appearance and added a fresh new look to your kitchen. Enjoy your revamped sink and the satisfaction of a job well done!
Conclusion
Refinishing your kitchen sink is a rewarding DIY project that can breathe new life into your kitchen and save you the expense of purchasing a new sink. With the right materials and a step-by-step approach, you can achieve a professionally refinished sink that looks stunning and performs optimally.
Throughout this article, we have guided you through the process of refinishing your kitchen sink, from cleaning and repairing any damages to applying primer, new finish, and sealant. Each step is crucial in ensuring a successful and long-lasting result.
Remember to gather all the necessary materials, follow safety precautions, and read and follow the instructions provided by the manufacturers of the products you choose. Taking the time to prepare the surface properly, repair any damages, and apply the appropriate coatings will ensure a beautiful and durable finish for your sink.
After completing the refinishing process, maintain your sink’s pristine appearance by following proper cleaning and maintenance practices. Avoid harsh chemicals, abrasive cleaners, and hot objects that could potentially damage the finish. Regularly clean the sink and dry it after each use to prevent water spots and mineral deposits.
We hope this guide has been helpful to you in refinishing your kitchen sink. Enjoy the renewed beauty of your sink and the satisfaction of accomplishing a fantastic DIY project. Cheers to a stunning kitchen that will make a lasting impression!
Frequently Asked Questions about How To Refinish Kitchen Sink
Was this page helpful?
At Storables.com, we guarantee accurate and reliable information. Our content, validated by Expert Board Contributors, is crafted following stringent Editorial Policies. We're committed to providing you with well-researched, expert-backed insights for all your informational needs.


0 thoughts on “How To Refinish Kitchen Sink”