Home>Furniture>Outdoor Furniture>How To Sand Your Decking
Outdoor Furniture
How To Sand Your Decking
Modified: March 7, 2024
Learn how to effectively sand your outdoor furniture decking with our step-by-step guide. Achieve a smooth and polished finish for a long-lasting and visually appealing outdoor space.
(Many of the links in this article redirect to a specific reviewed product. Your purchase of these products through affiliate links helps to generate commission for Storables.com, at no extra cost. Learn more)
Introduction
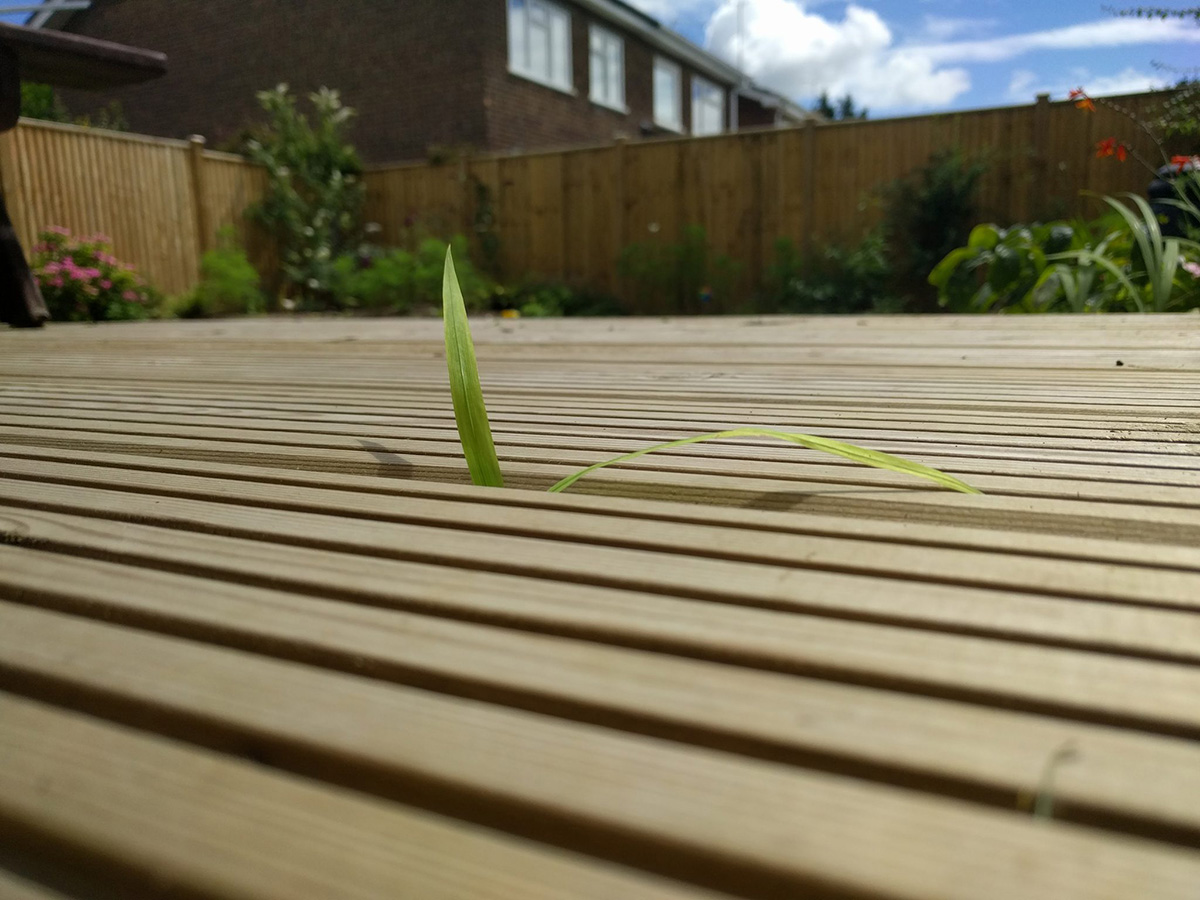
When it comes to outdoor furniture, having a well-maintained and visually appealing deck can significantly enhance the overall aesthetic of your outdoor space. However, with regular exposure to the elements, decking boards can become weathered, worn, and lose their original beauty over time. This is where sanding comes in handy.
Sanding your decking is a crucial step in rejuvenating its appearance and extending its lifespan. It involves using abrasion to remove the top layer of the wood, revealing a fresh surface that is ready to be refinished or sealed. Sanding not only removes dirt, stains, and imperfections, but it also helps to smooth out rough areas and prepare the surface for a new coat of stain or paint.
In this comprehensive guide, we will take you through the step-by-step process of sanding your decking, ensuring you achieve a professional finish. We will cover the tools and materials you need, as well as provide expert tips and techniques to make the process as efficient and effective as possible.
Key Takeaways:
- Sanding your decking is essential for maintaining its beauty and longevity. Follow the step-by-step guide to achieve professional results and transform your outdoor space.
- Prioritize safety, choose the right sanding method, and apply finishing touches to protect and enhance your newly sanded deck. Enjoy a beautiful outdoor space for years to come.
Read more: How To Strip Your Decking
Tools and Materials Needed
Before you begin sanding your decking, it is essential to gather all the necessary tools and materials. Here is a list of what you will need:
- Sanding machine or sandpaper
- Safety goggles
- Dust mask
- Gloves
- Sanding block or sanding sponge
- Paint scraper or putty knife
- Wood filler or epoxy resin
- Deck cleaner or mild soap
- Deck brush or broom
- Hose or pressure washer
- Deck stain or paint
- Paintbrush or roller
- Drop cloths or plastic sheeting
Having these tools and materials on hand will ensure that you have everything you need to complete the job without any interruptions. It is also important to prioritize your safety by wearing goggles, a dust mask, and gloves to protect yourself from dust particles and potentially harmful chemicals.
Additionally, make sure to choose the right type of sandpaper or sanding machine for your specific decking material. Coarse-grit sandpaper, such as 40 or 60 grit, is suitable for removing old paint or deep stains. Medium-grit sandpaper, like 80 or 120 grit, can be used for general sanding and smoothing. Finally, fine-grit sandpaper, such as 180 or 220 grit, is ideal for achieving a smooth finish before applying a new coat of stain or paint.
Step 1: Clearing and Preparing the Decking
Before you start sanding your decking, it is important to clear the area and prepare the surface. Here are the steps to follow:
- Clear the deck: Remove all furniture, plants, and other objects from the deck. Sweep away any debris or loose dirt to create a clean working surface.
- Protect surrounding areas: Use drop cloths or plastic sheeting to cover any nearby plants, windows, or surfaces that you want to shield from dust or potential damage.
- Inspect for nails and screws: Carefully inspect the decking boards for any protruding nails or screws. Use a hammer or screwdriver to secure any loose fasteners or remove them if necessary.
- Trim vegetation: Trim back any overhanging tree branches or shrubs that may interfere with the sanding process.
Taking the time to clear and prepare the decking will ensure that you have a safe and efficient work environment. It will also help to prevent any unnecessary damage to the surrounding areas or obstacles during the sanding process.
Step 2: Inspecting and Repairing Damaged Areas
Before you begin sanding your decking, it’s important to inspect the surface for any damaged areas that need to be repaired. Here are the steps to follow:
- Look for rot or decay: Examine the decking boards for any signs of rot or decay. Press firmly on the boards to check for soft spots or areas that give way under pressure.
- Replace damaged boards: If you find any severely rotted or decayed boards, they will need to be replaced. Use a pry bar or screwdriver to remove the old boards and replace them with new ones.
- Fill cracks and holes: Fill any cracks, nail holes, or other imperfections in the decking boards with wood filler or epoxy resin. Follow the manufacturer’s instructions for the specific product you are using.
- Sand down raised edges: If any of the decking boards have raised edges or splintered areas, use a sanding block or sanding sponge to smooth them down.
Repairing damaged areas in your decking is crucial to ensure that the surface is even and safe to walk on. By addressing these issues before sanding, you will achieve a more polished and professional result.
Step 3: Choosing the Right Sanding Method
Choosing the right sanding method for your decking is essential to achieve the desired results. Here are some options to consider:
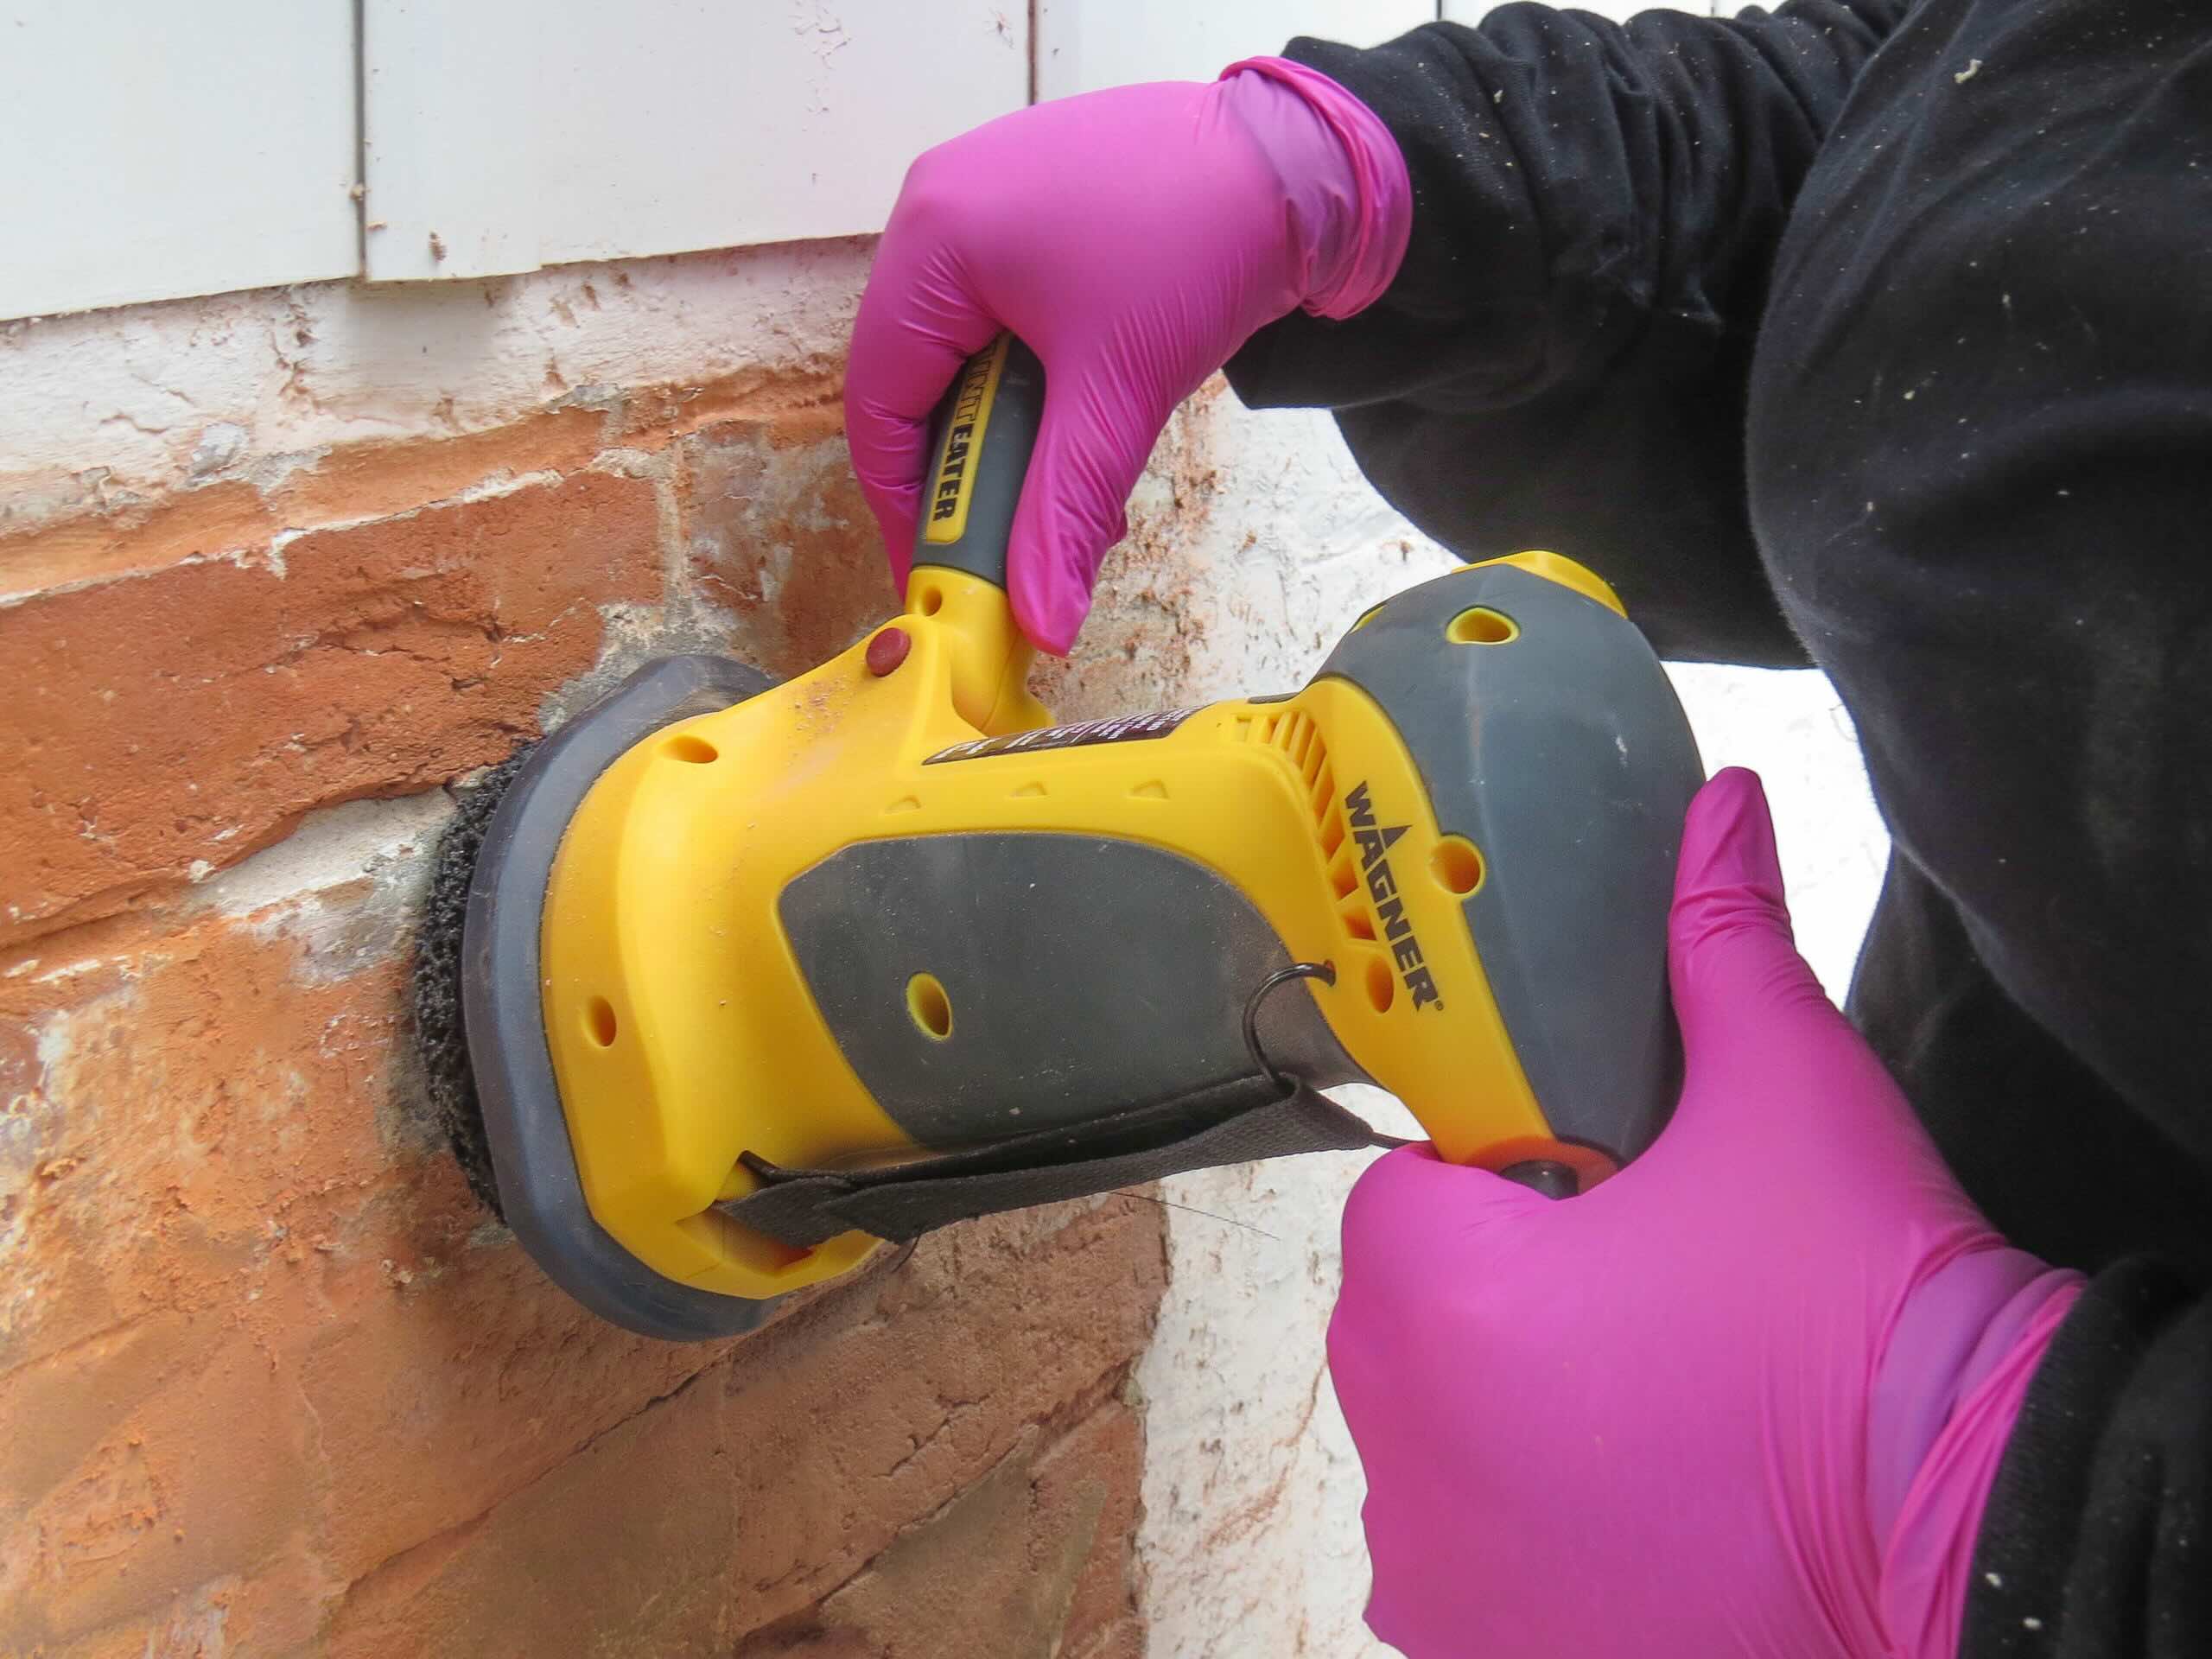
1. Hand sanding: Hand sanding can be done using a sanding block or sanding sponge. This method is best for smaller areas, intricate details, or areas that are difficult to reach with a sanding machine. It gives you better control over the sanding process and allows you to focus on specific problem areas.
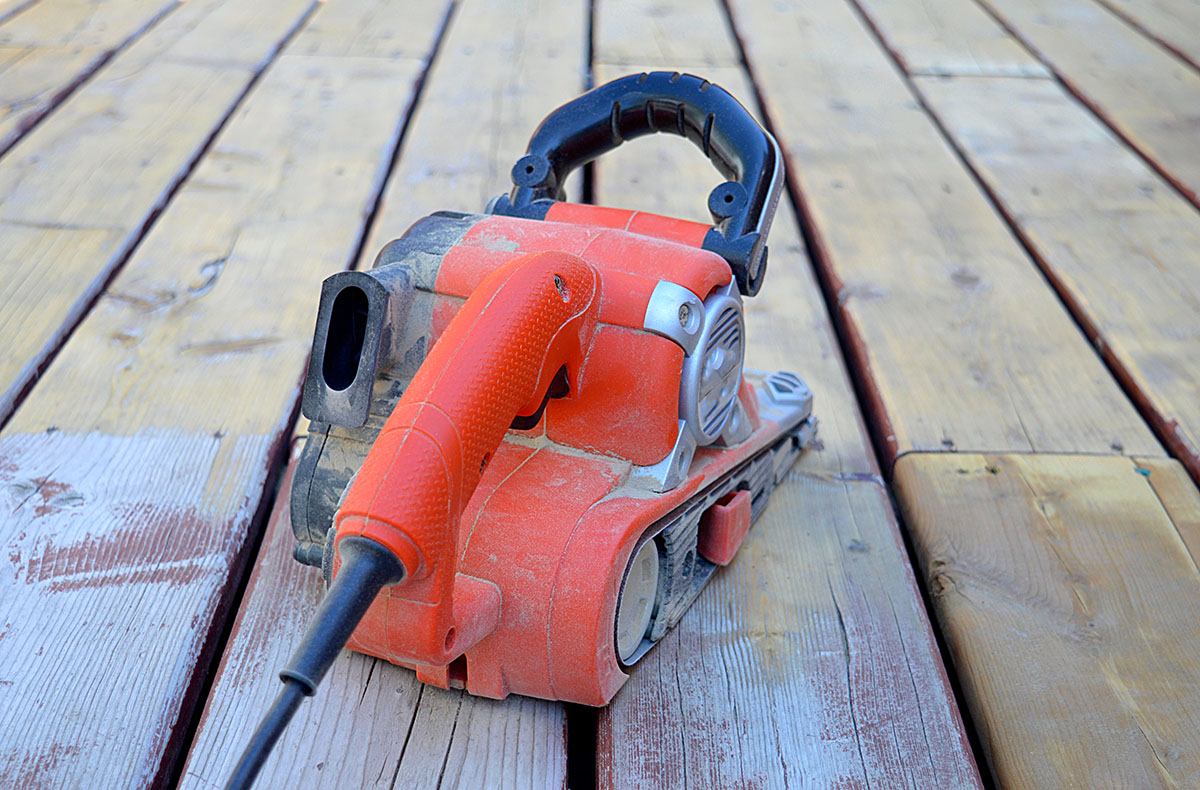
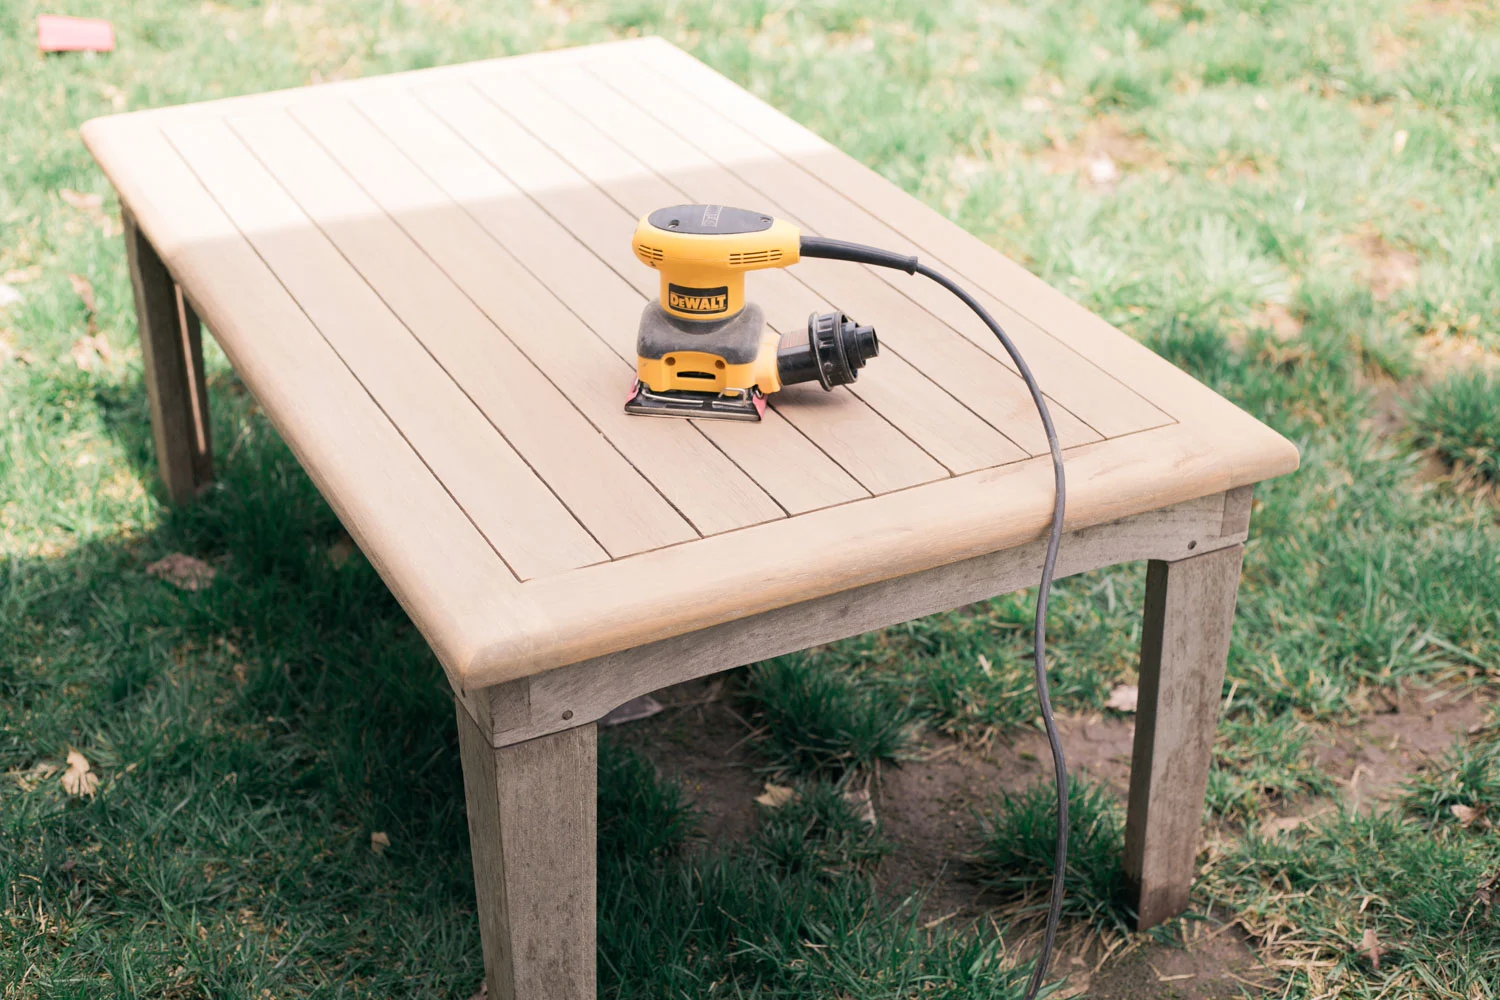
2. Sanding machine: A sanding machine, such as a belt sander or orbital sander, can make the sanding process faster and more efficient, especially for larger deck surfaces. Be sure to choose a machine with adjustable speed and a dust collection system to minimize mess and maximize effectiveness.
3. Pressure washing: In some cases, pressure washing alone can be sufficient to remove dirt, stains, and old finishes from the decking surface. This method is best suited for softwood decking. However, it is important to use the appropriate pressure and technique to avoid damaging the wood. Always test a small area first to ensure it doesn’t cause any harm.
Consider the size of your deck, the condition of the decking boards, and your personal preference when choosing the sanding method. It’s also worth noting that a combination of different methods may be necessary for optimal results.
Remember to always follow the manufacturer’s instructions and safety guidelines when using any sanding equipment or tools. Protect yourself with safety goggles, a dust mask, and gloves to minimize the risk of injury.
Before sanding your decking, make sure to clean the surface thoroughly to remove any dirt or debris. This will ensure a smooth and even sanding process, resulting in a better finish.
Read more: How To Put Up Your Decking
Step 4: Sanding the Decking Boards
Now that you have chosen the appropriate sanding method, it’s time to start sanding the decking boards. Follow these steps for effective sanding:
- Start with coarse-grit sandpaper: If the surface has old paint or deep stains, begin with coarse-grit sandpaper, such as 40 or 60 grit. Attach the sandpaper to your sanding block or machine, ensuring it is secure.
- Sand in the direction of the grain: Always sand in the direction of the wood grain to avoid damaging the fibers. Apply even pressure and make long, smooth strokes, covering the entire length of each board.
- Pay attention to edges and corners: Use a sanding sponge or sandpaper wrapped around a dowel to reach the edges and corners of the decking boards. Be careful not to round or damage the edges.
- Monitor the progress: Regularly check the surface as you sand to ensure evenness. If there are stubborn stains or rough areas, focus on them with extra attention.
- Switch to a finer-grit sandpaper: Once you have removed the old finish and achieved a smooth surface with the coarse-grit sandpaper, switch to a finer-grit sandpaper, such as 80 or 120 grit. This will help to refine the surface further.
- Continue sanding until desired finish is achieved: Move up to even finer-grit sandpaper, like 180 or 220 grit, for a final sanding pass. Sand until the desired finish is achieved, ensuring the surface is smooth and free from any imperfections.
During the sanding process, be mindful of the amount of pressure you apply. Too much pressure can cause uneven sanding and potentially damage the wood. Take breaks as needed to avoid fatigue and reposition your body to reach all areas comfortably.
Remember to clean the sanding dust between grit changes to prevent it from clogging the sandpaper and affecting the sanding quality. Use a vacuum, brush, or air compressor to remove the dust from the decking boards.
Once you have completed sanding, you will be ready to move on to the next step in the process: sanding the handrails, steps, and other features of your deck.
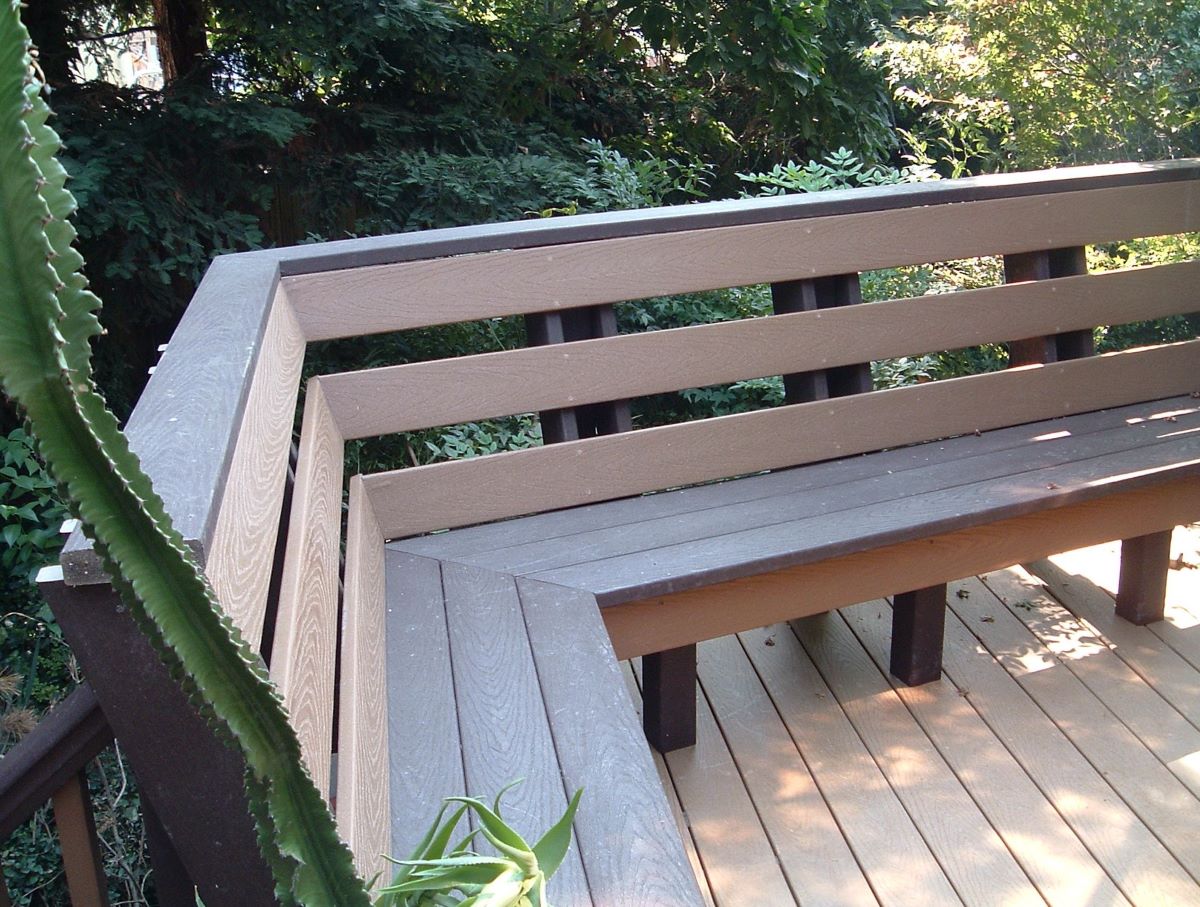
Step 5: Sanding the Handrails, Steps, and other Features
Now that you’ve completed sanding the decking boards, it’s time to turn your attention to sanding the handrails, steps, and any other features of your deck. Follow these steps to ensure a thorough sanding:
- Prepare the area: Clear any objects or debris from the handrails, steps, and other features. Protect surrounding areas with drop cloths or plastic sheeting.
- Choose the appropriate sanding method: Depending on the size and shape of the features, you may need to switch to hand sanding or use smaller sanding attachments for a sanding machine.
- Sand in the direction of the grain: As with the decking boards, sand in the direction of the wood grain to avoid causing any damage. Use even pressure and make smooth strokes.
- Pay attention to detail: Take your time to sand all the nooks and crannies, corners, and intricate details of the handrails, steps, and other features. Use sanding sponges or small pieces of sandpaper wrapped around dowels to access hard-to-reach areas.
- Smooth out rough spots: If you encounter any rough spots or imperfections, spend extra time sanding them down to ensure a consistent finish.
- Monitor progress: Regularly check your work to ensure that each feature is sanded down evenly and that the desired finish is achieved.
Remember to clean the dust from the handrails, steps, and other features once you’ve finished sanding. You can use a brush or vacuum to remove the debris. This will ensure a clean surface for the next step in the process.
By thoroughly sanding the handrails, steps, and other features, you’ll be able to achieve a unified and professional look across your entire deck.
Step 6: Cleaning up the Decking Surface
After completing the sanding process, it’s important to clean up the decking surface to remove any dust, debris, or residue. Follow these steps to ensure a clean and prepped surface:
- Sweep away the dust: Use a broom or brush to sweep away the sanding dust from the decking boards, handrails, steps, and other features. Start from one end and work your way to the other, making sure to reach all areas.
- Use a deck cleaner or mild soap: Mix a deck cleaner solution or mild soap with water according to the manufacturer’s instructions. Apply the solution to the decking surface and scrub gently with a deck brush to remove any remaining dust, dirt, or stains.
- Rinse with water: Rinse off the deck cleaner or soap residue using a hose or pressure washer. Start from one end and work your way to the other, ensuring that the entire surface is thoroughly rinsed.
- Allow the deck to dry: Give the decking surface ample time to dry completely before moving on to the next step. This usually takes 24 to 48 hours, depending on weather conditions.
Ensuring that your decking surface is clean and free from any debris or residue is crucial before applying a new coat of stain or paint. This will help the finish adhere properly and provide a long-lasting result.
During the cleaning process, it’s essential to protect yourself by wearing gloves and safety goggles. Avoid using harsh cleaners that may damage the wood or harm the environment.
Once the decking surface is dry and clean, you’re ready to move on to the final step: applying finishing touches to complete the deck rejuvenation process.
Step 7: Applying Finishing Touches
In the final step of the deck rejuvenation process, you will apply finishing touches to protect and enhance the appearance of your newly sanded decking surface. Follow these steps to achieve a professional finish:
- Choose the right finish: Depending on your preference and the desired look, you can choose to apply a deck stain, paint, or a clear protective sealant. Consider the level of protection and color enhancement you want to achieve.
- Prepare the finish: Follow the manufacturer’s instructions for preparing the chosen finish. This may involve stirring the product, diluting it, or shaking the container.
- Apply the finish: Use a paintbrush, roller, or sprayer to apply the finish evenly to the decking surface, handrails, steps, and other features. Work in small sections to ensure that each area is properly covered and that the finish does not dry before it can be spread evenly.
- Follow the drying time: Allow the finish to dry according to the manufacturer’s instructions. This typically takes 24 to 48 hours, but it may vary depending on the product and weather conditions.
- Apply additional coats if necessary: If you desire a deeper color or added protection, you can apply additional coats of the finish. Always follow the recommended drying time between each coat.
Remember to protect yourself by wearing gloves, safety goggles, and a respirator if required. Make sure to work in a well-ventilated area and follow all safety guidelines mentioned on the product labels.
By applying the finishing touches, you will not only protect your decking from the elements and wear but also add a beautiful, polished look to your outdoor space. Enjoy the results of your hard work and maintain the finish regularly to extend its longevity.
Conclusion
Sanding your decking is a vital step in maintaining its beauty and prolonging its lifespan. By following the step-by-step guide outlined in this article, you can achieve professional results and transform your outdoor space. Here’s a quick recap of the process:
1. Clear and prepare the deck by removing furniture, debris, and inspecting for any nails or screws that need attention.
2. Inspect and repair any damaged areas, replacing rotted or decayed boards and filling in cracks and holes.
3. Choose the right sanding method based on the size, condition, and material of your decking boards.
4. Sand the decking boards, handrails, steps, and other features using the appropriate sandpaper or sanding machine, always sanding in the direction of the grain to achieve a smooth and uniform surface.
5. Clean up the decking surface by sweeping away the dust, using a deck cleaner or mild soap to remove any remaining debris, and rinsing with water.
6. Allow the deck to dry completely before proceeding to the final step.
7. Apply finishing touches, such as deck stain, paint, or a clear protective sealant, to protect and enhance the appearance of your newly sanded deck.
Remember to prioritize your safety throughout the process, wearing protective gear and following manufacturer instructions for all tools, materials, and cleaners used.
By following these steps and putting in the effort to properly sand and maintain your decking, you can enjoy a beautiful and inviting outdoor space for years to come. Regular cleaning and maintenance will help preserve the integrity of the wood and keep it looking its best. So, go ahead, roll up your sleeves, and transform your deck into an outdoor oasis with the power of sanding.
Frequently Asked Questions about How To Sand Your Decking
Was this page helpful?
At Storables.com, we guarantee accurate and reliable information. Our content, validated by Expert Board Contributors, is crafted following stringent Editorial Policies. We're committed to providing you with well-researched, expert-backed insights for all your informational needs.


0 thoughts on “How To Sand Your Decking”