
Articles
How To Remove A Kohler Kitchen Faucet
Modified: October 19, 2024
Learn how to easily remove a Kohler kitchen faucet with our step-by-step guide. Read our latest articles and expert tips on faucet removal and installation.
(Many of the links in this article redirect to a specific reviewed product. Your purchase of these products through affiliate links helps to generate commission for Storables.com, at no extra cost. Learn more)
Introduction
Removing a kitchen faucet can seem like a daunting task, but with the right tools and a little guidance, it can be a straightforward process. Whether you’re upgrading your kitchen or simply replacing a worn-out Kohler faucet, this article will walk you through the steps to remove your old fixture and install a new one.
Kohler is a reputable brand known for its durable and stylish faucets. By following these steps, you can have your new Kohler faucet up and running in no time. Before you begin, make sure you have all the necessary tools and materials at hand.
In this article, we will provide you with a step-by-step guide on how to remove a Kohler kitchen faucet. We will cover everything from gathering the necessary tools to reconnecting the water supply lines and reattaching the faucet handle. So, let’s get started!
Key Takeaways:
- Easily upgrade your kitchen by following these simple steps to remove and install a new Kohler kitchen faucet. With the right tools and guidance, it’s a straightforward and rewarding DIY project.
- Ensure a secure and watertight connection by carefully following the step-by-step instructions for removing and installing your new Kohler kitchen faucet. Enjoy the convenience, style, and reliability of your upgraded kitchen!
Read also: 15 Best Kohler Devonshire Faucet for 2025
Step 1: Gather the necessary tools
Before you begin removing your Kohler kitchen faucet, it’s important to ensure that you have all the necessary tools within easy reach. Having the right tools will help you complete the task efficiently and minimize any potential frustration. Here’s a list of tools you’ll need:
- Adjustable wrench
- Phillips screwdriver
- Bucket or large bowl
- Towels
- Plumber’s tape
The adjustable wrench will come in handy for loosening and tightening various connections, while the Phillips screwdriver will be needed to remove any screws that secure the faucet components. The bucket or large bowl will be used to catch any water that may spill during the removal process, and the towels will help keep your work area clean and dry.
Additionally, you’ll want to have plumber’s tape on hand. Plumber’s tape, also known as Teflon tape, is a thin, white tape used to seal the threads of pipes and fittings. This will help create a watertight seal when you reconnect the water supply lines.
Once you have gathered all the necessary tools, you’ll be ready to move on to the next step: turning off the water supply.
Step 2: Turn off the water supply
Before you begin removing your Kohler kitchen faucet, it’s crucial to turn off the water supply to avoid any potential water leaks or spraying. Here’s how you can do it:
- Locate the shut-off valves: Look under your sink for the shut-off valves. These valves are usually found on the hot and cold water supply lines coming out of the wall or floor.
- Turn off the valves: Using your adjustable wrench, turn the valve handles clockwise until they are fully closed. This will shut off the water supply to the faucet.
After closing the shut-off valves, turn on the faucet handles to release any remaining water pressure. This step is important to prevent any excess water from spilling out when you disconnect the faucet later on.
If you are unable to locate the shut-off valves or if they are not functioning properly, you may need to shut off the main water supply to your home. This can usually be done at the main water valve, which is typically located near your water meter.
Remember, shutting off the water supply is a crucial step to ensure a smooth and mess-free removal process. Once the water supply is turned off, you can proceed to the next step: removing the faucet handle.
Step 3: Remove the faucet handle
The faucet handle is the first component you need to remove when taking apart your Kohler kitchen faucet. Follow these steps to remove the handle:
- Locate the handle screw: Look for a small screw on the underside or back of the handle. This screw is typically hidden beneath a decorative cap or cover.
- Remove the handle screw: Use a Phillips screwdriver to loosen and remove the handle screw. Turn the screw counterclockwise until it is loose enough to pull out.
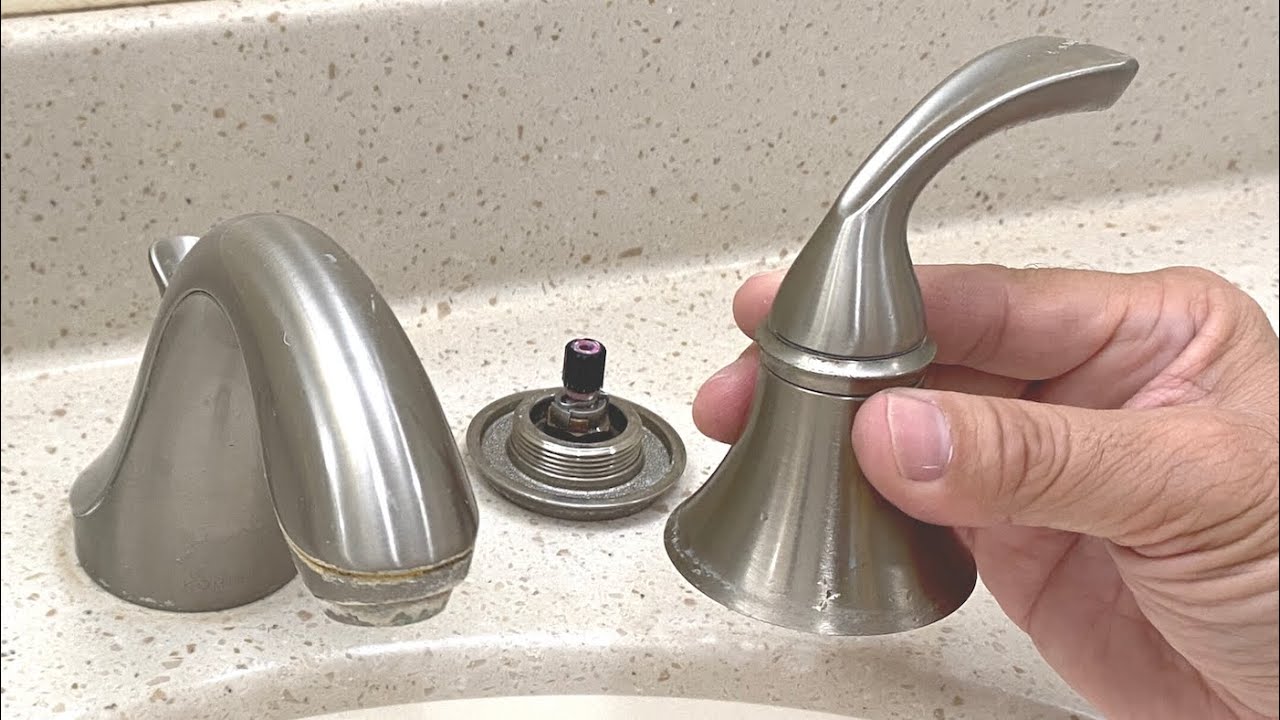
- Take off the handle: Once the screw is removed, gently lift and wiggle the handle to detach it from the faucet body. If the handle feels stuck, you can use a flathead screwdriver to carefully pry it off.
With the faucet handle removed, you now have access to the inner components of your Kohler kitchen faucet. This includes the cartridge, which controls the flow and temperature of the water, as well as other parts that may need to be replaced or repaired.
If you’re only replacing the faucet and not performing any repairs, you can skip the next steps related to the cartridge removal and proceed directly to removing the faucet from the sink. However, if you’re experiencing any issues with water flow or temperature, continue reading to learn how to deal with the cartridge.
Removing the faucet handle is an essential step in the process of removing your Kohler kitchen faucet. Once the handle is off, you can move on to the next steps, which involve disconnecting the water supply lines.
Step 4: Disconnect the water supply lines
Now that you have successfully removed the faucet handle, it’s time to disconnect the water supply lines from your Kohler kitchen faucet. Follow these steps to proceed:
- Locate the water supply lines: Look for the flexible hoses or pipes that are connected to the underside of the faucet body. These are the water supply lines that provide water to your faucet.
- Prepare your bucket or large bowl: Place the bucket or bowl underneath the water supply lines. This will catch any water that may spill out when you disconnect them.
- Disconnect the water supply lines: Use your adjustable wrench to loosen the nuts connecting the water supply lines to the faucet. Turn the nuts counterclockwise until they are completely loose. If there is any residual water pressure, be prepared for a small amount of water to come out.
Once the nuts are loosened, gently pull the water supply lines away from the faucet to disconnect them fully. Make sure to keep the bucket or bowl handy to catch any remaining water. If there is any resistance, you can use a twisting motion to help release the lines.
It’s important to note that the hot water supply line is typically marked with a red indicator or the letter “H” near the connection point. The cold water supply line, on the other hand, is usually marked with a blue indicator or the letter “C”. This helps ensure that you reconnect the correct lines when installing the new faucet.
With the water supply lines disconnected, the next step is to loosen and remove the mounting nuts that hold the faucet in place. This will allow you to detach the old faucet from the sink. Read on to learn how to proceed.
Read also: 9 Best Kohler Kitchen Faucet for 2025
Step 5: Loosen and remove the mounting nuts
In order to remove the old Kohler kitchen faucet from your sink, you will need to loosen and remove the mounting nuts that secure it in place. Follow these steps to proceed:
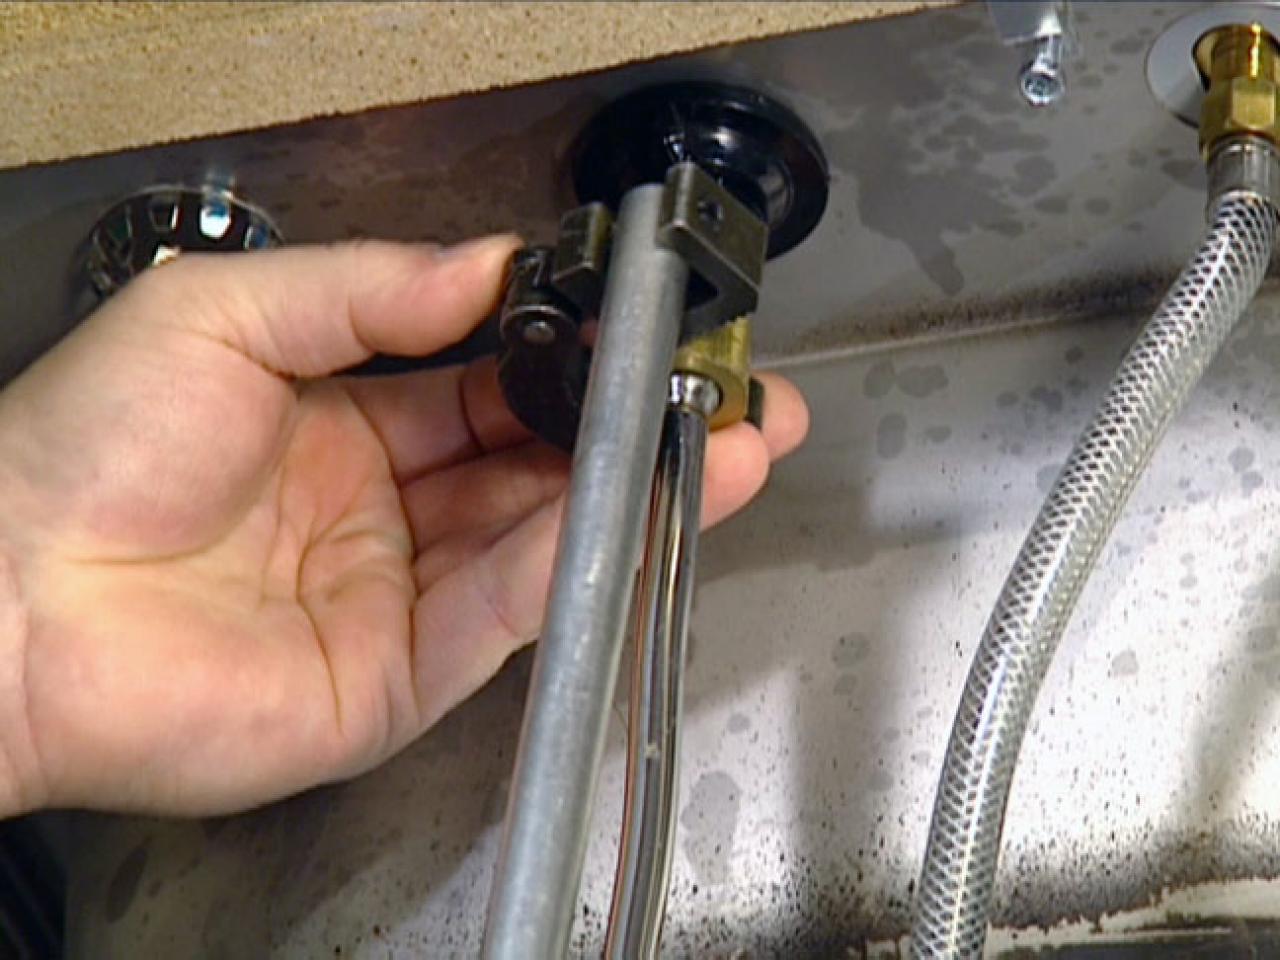
- Locate the mounting nuts: Look underneath the sink and locate the mounting nuts that are holding the faucet in place. These nuts are typically found at the base of the faucet, near the water supply lines.
- Use your adjustable wrench: Place the adjustable wrench around each mounting nut and turn them counterclockwise to loosen them. It’s important to remember that these nuts may be tightly secured, so you may need to apply a bit of force to loosen them.
- Remove the mounting nuts: Once the nuts are loosened, you can remove them by continuing to turn them counterclockwise. Set the nuts aside in a safe place, as you may need them when installing the new faucet.
After removing the mounting nuts, check if there are any additional brackets or clamps securing the old faucet to the sink. If there are, use a screwdriver to remove them and free the faucet.
With the mounting nuts and any additional fixtures removed, you are now ready to detach the old Kohler faucet from the sink. Proceed to the next step for instructions on how to complete this process.
Remember to keep the old faucet and its components aside, as some parts may be recyclable or reusable. Plus, it’s always a good idea to have them on hand in case you need reference during the installation of your new faucet.
Step 6: Detach the old faucet from the sink
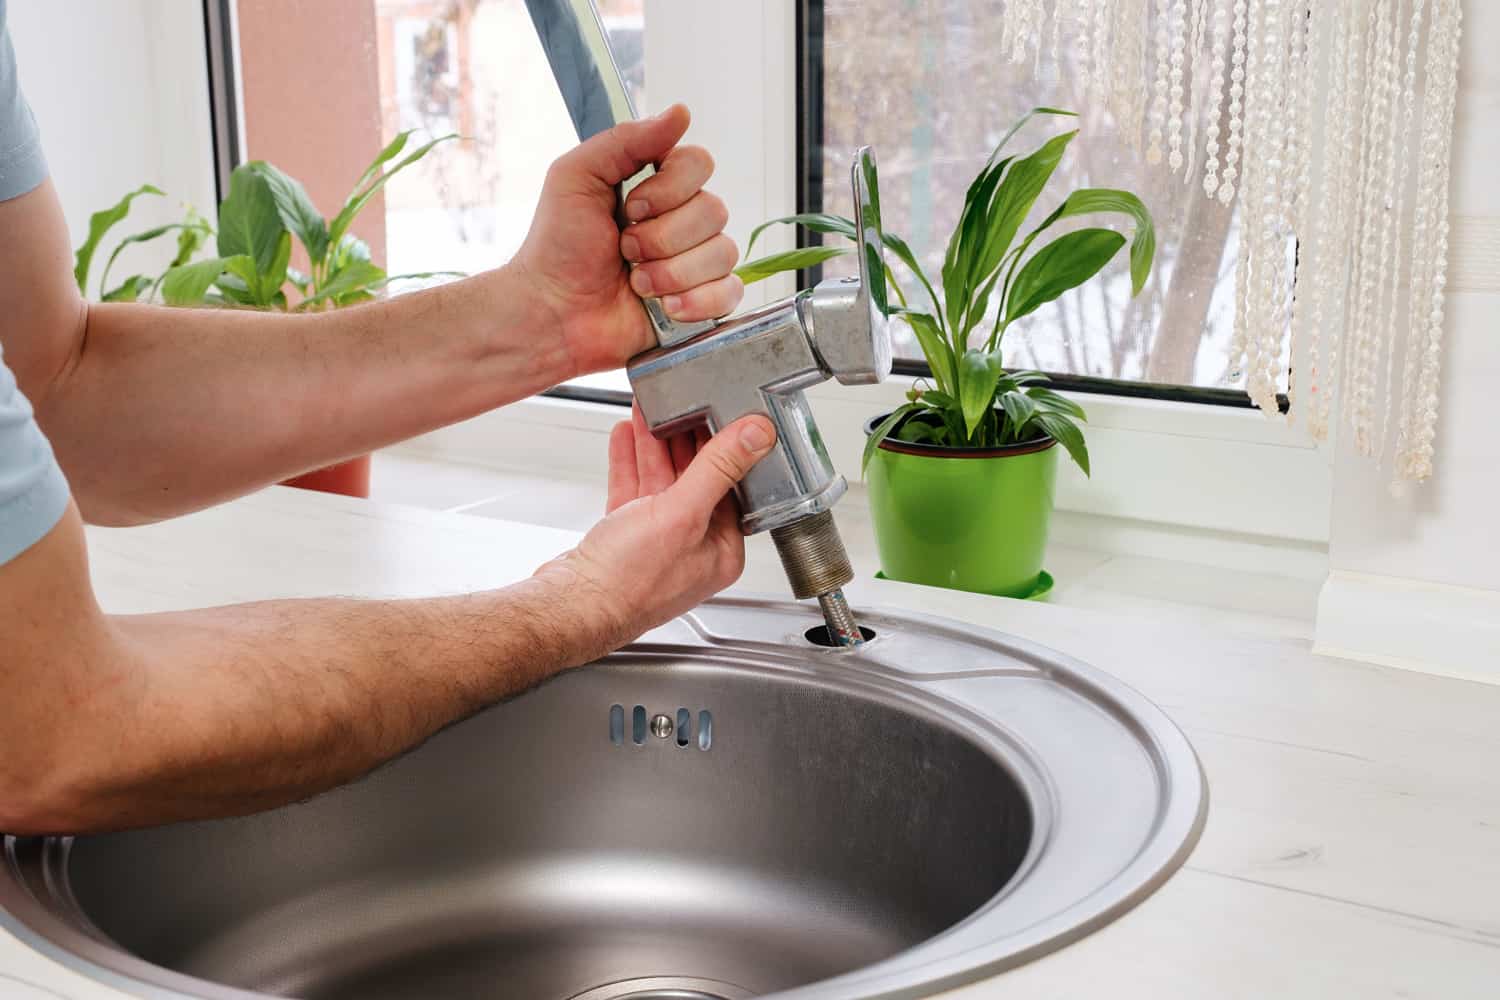
Now that you have loosened and removed the mounting nuts, it’s time to detach the old Kohler faucet from the sink. Follow these steps to proceed:
- Gently lift the old faucet: Carefully lift the old faucet straight up from the sink. You may need to wiggle it slightly to loosen it from any residual sealant or adhesive.
- Inspect the sink surface: Once the old faucet is removed, take a moment to inspect the sink surface. Look for any remaining sealant or debris that may have been left behind.
- Clean the sink surface: Use a mild cleanser or soap and water to clean the sink surface thoroughly. Ensure that it is free from any dirt, grime, or leftover sealant. Dry the surface with a clean towel.
Detaching the old faucet from the sink is a critical step as it allows you to prepare the surface for the installation of your new Kohler faucet. Cleaning the sink surface ensures a smooth and secure fit for the new fixture.
Once the sink surface is clean and dry, you can now move on to the exciting part – installing your new Kohler faucet. Continue reading for step-by-step instructions on how to complete the installation process.
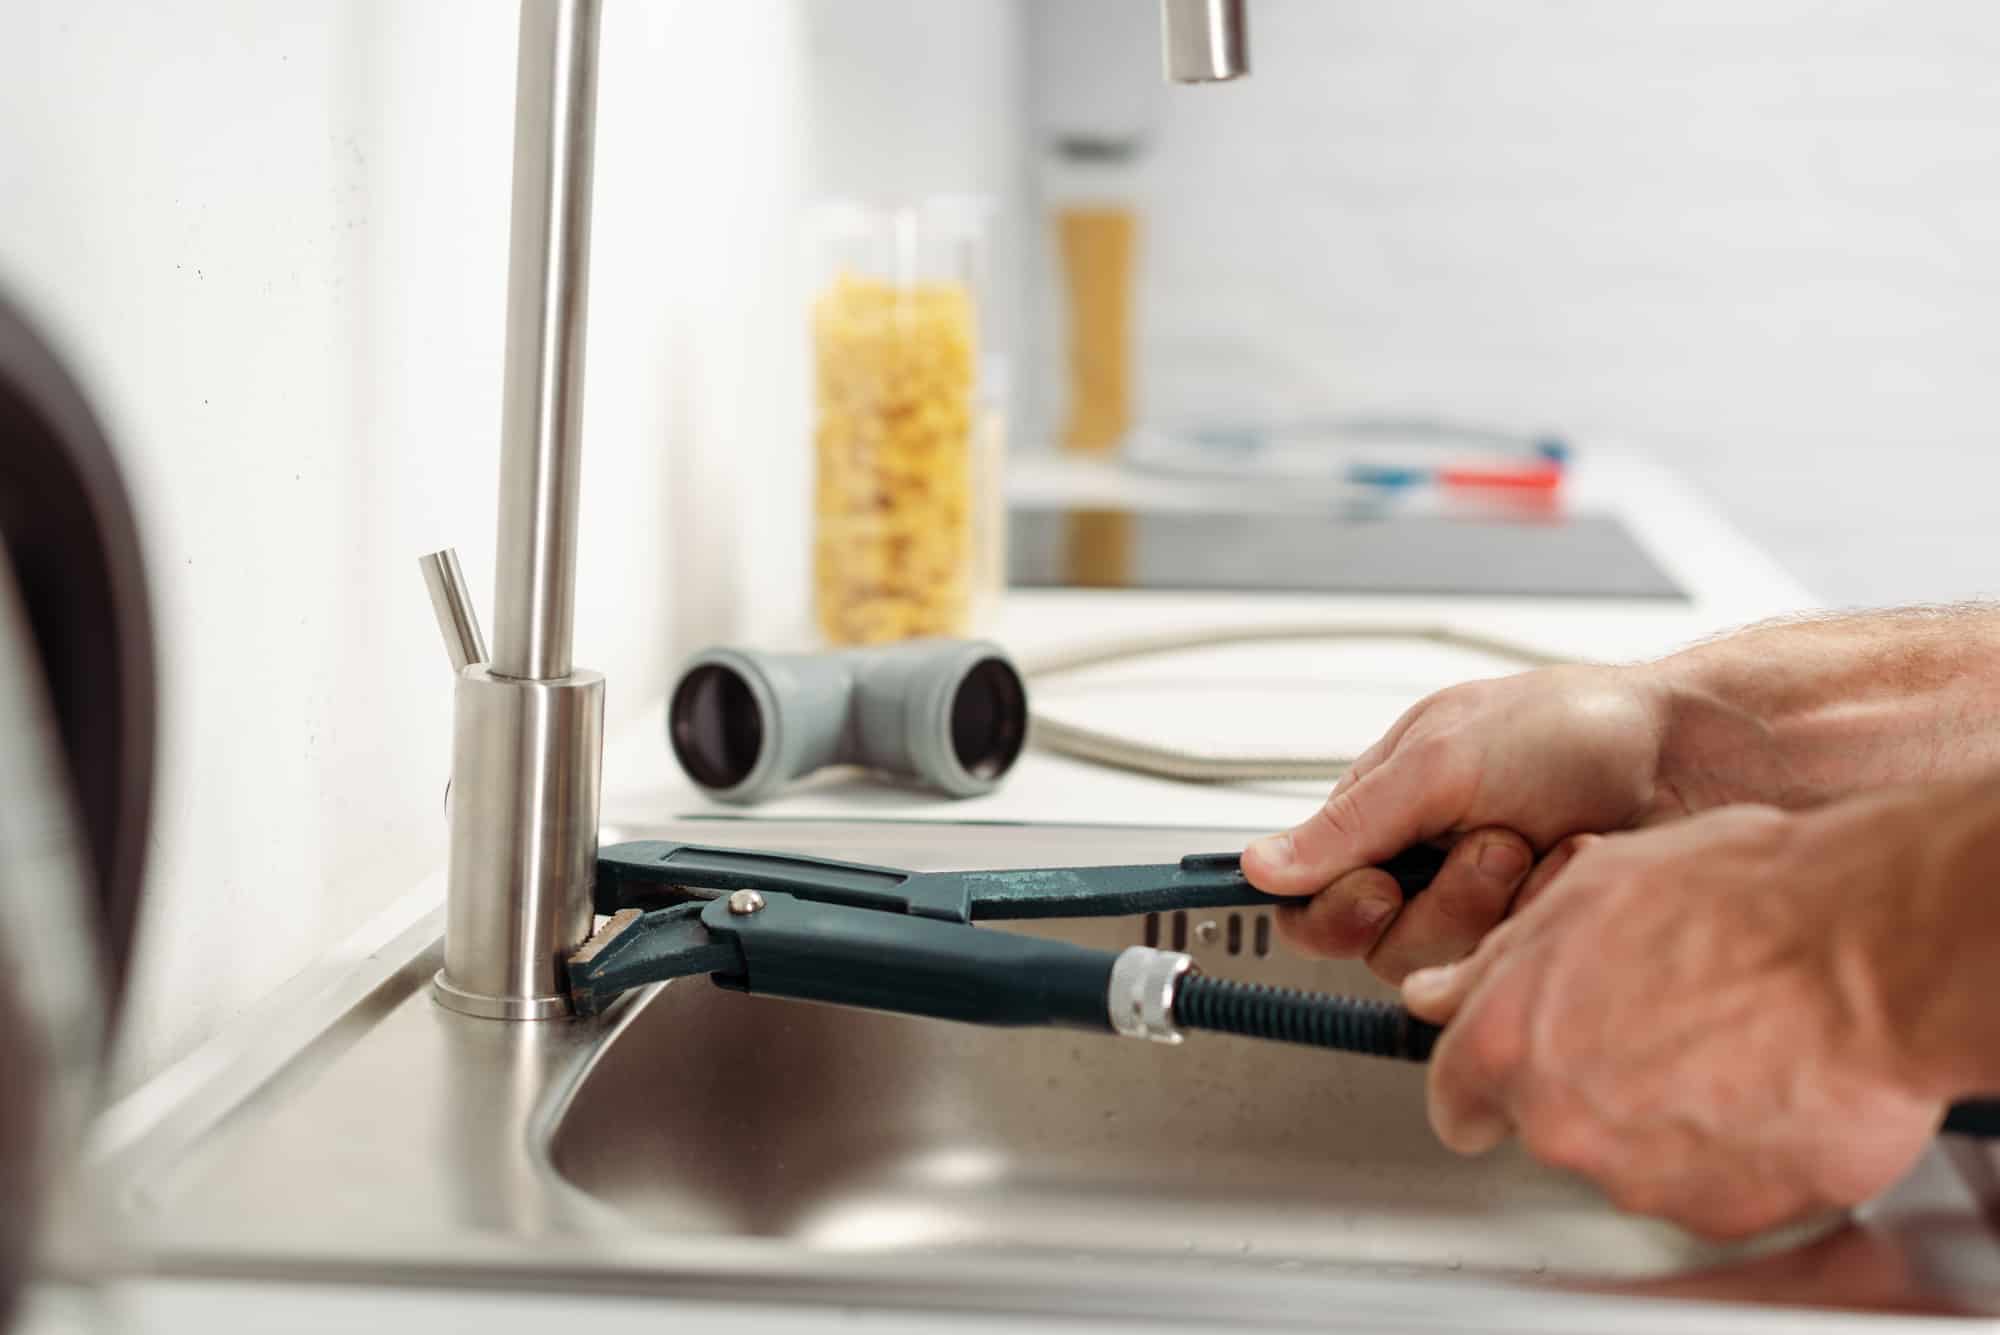
Before removing a Kohler kitchen faucet, be sure to turn off the water supply to the faucet. Use a basin wrench to loosen and remove the nuts securing the faucet to the sink. Keep track of any washers or gaskets that may come loose during the process.
Step 7: Install the new faucet
With the old faucet removed and the sink surface cleaned, it’s time to install your new Kohler kitchen faucet. Follow these steps to proceed:
- Read the manufacturer’s instructions: Before you begin the installation, carefully read the instructions provided by Kohler for your specific faucet model. This will ensure that you have a clear understanding of the installation process and any specific requirements.
- Position the new faucet: Take your new Kohler faucet and carefully position it on the sink surface. Make sure that the faucet is aligned properly, with the water supply lines aligned with the corresponding holes in the sink.
- Attach the mounting nuts: Once the faucet is in position, reach underneath the sink and secure it by attaching the mounting nuts. Use your adjustable wrench to tighten the nuts clockwise, ensuring a snug and secure fit.
- Connect the water supply lines: Take the water supply lines that came with your new Kohler faucet and connect them to the corresponding hot and cold water valves. Use your adjustable wrench to tighten the nuts clockwise until they are securely fastened.
During the installation process, it’s important to take care not to overtighten the mounting nuts or the water supply line connections. Over-tightening can damage the faucet or the plumbing system, leading to leaks or other issues.
Once the faucet is securely installed and the water supply lines are connected, you can move on to the next step: reconnecting the water supply lines.
Remember, every faucet model may have specific installation instructions, so it’s crucial to refer to the manufacturer’s guide for precise details. This ensures a successful and proper installation of your new Kohler kitchen faucet.
Step 8: Reconnect the water supply lines
Now that the new Kohler kitchen faucet is securely installed, it’s time to reconnect the water supply lines that were disconnected in a previous step. Follow these steps to complete this process:
- Ensure the shut-off valves are still closed: Before reconnecting the water supply lines, check that the shut-off valves you previously closed are still in the off position.
- Apply plumber’s tape: Take a small amount of plumber’s tape and wrap it clockwise around the threaded ends of the water supply line connections. This will help create a watertight seal.
- Connect the water supply lines: Attach the threaded ends of the water supply lines to the corresponding hot and cold water valves. Hand-tighten the connections first, and then use your adjustable wrench to give them a gentle quarter-turn to ensure they are snug.
When reconnecting the water supply lines, ensure that you connect the hot water line to the hot water valve and the cold water line to the cold water valve. Mixing them up can result in reversed hot and cold water flow.
With the water supply lines reconnected, it’s time to move on to the next step: tightening the mounting nuts.
Remember, taking your time and ensuring proper connections are made will help prevent any leaks when you turn the water supply back on. Double-check all the connections and make any necessary adjustments before proceeding to the next step.
Step 9: Tighten the mounting nuts
With the water supply lines reconnected, the next step is to tighten the mounting nuts to ensure that your Kohler kitchen faucet is securely attached to the sink. Follow these steps to complete this process:
- Locate the mounting nuts: Look underneath the sink and locate the mounting nuts that hold the faucet in place.
- Use your adjustable wrench: Place the adjustable wrench around each mounting nut and turn them clockwise to tighten them. Apply firm but gentle pressure to ensure a secure fit.
It’s important not to overtighten the mounting nuts, as this can damage the faucet or the sink. Instead, tighten the nuts until they are snug and the faucet is stable, but avoid applying excessive force.
Double-check the alignment of the faucet and ensure that it is sitting evenly on the sink surface. If needed, make any adjustments and re-tighten the mounting nuts as necessary.
By properly tightening the mounting nuts, you ensure that your Kohler kitchen faucet is securely fastened to the sink, minimizing the risk of any wobbling or movement during use.
Once the mounting nuts are tightened, you can move on to the final step: reattaching the faucet handle.
Remember, take your time and make any necessary adjustments to ensure a secure and stable installation of your Kohler kitchen faucet.
Step 10: Reattach the faucet handle
With the mounting nuts tightened and the faucet securely attached to the sink, the final step in the process is to reattach the faucet handle. Follow these steps to complete this process:
- Locate the handle screw: Look for the small screw on the underside or back of the faucet handle. This screw is typically hidden beneath a decorative cap or cover.
- Insert the handle screw: Take the handle screw and insert it into the hole on the faucet handle. Make sure it is aligned properly.
- Tighten the handle screw: Using a Phillips screwdriver, turn the handle screw clockwise to tighten it. Apply enough pressure to ensure a secure fit but be careful not to overtighten, as it can damage the handle or the faucet.
Once the handle screw is tightened, give the handle a gentle tug to make sure it is securely in place. It should not wobble or feel loose.
With the faucet handle reattached, your Kohler kitchen faucet installation is almost complete. There’s just one more important step remaining: turning on the water supply.
Remember, proper installation of the faucet handle ensures smooth operation and control of water flow and temperature. Take a moment to appreciate your newly installed Kohler kitchen faucet before proceeding to the final step.
Step 11: Turn on the water supply
Congratulations! You have successfully installed your new Kohler kitchen faucet. The final step is to turn on the water supply and check for any leaks or issues. Follow these steps to complete this process:
- Locate the shut-off valves: Find the shut-off valves that you turned off earlier in the process to shut off the water supply. They are usually located under the sink.
- Turn on the shut-off valves: Use your adjustable wrench to turn the shut-off valves counterclockwise to the open position. This will allow water to flow to your new faucet.
- Check for leaks: Once the water supply is turned on, keep an eye out for any leaks around the faucet, water supply lines, or any other connections. Check both the hot and cold water handles for any signs of dripping or pooling water.
- Address any leaks: If you notice any leaks, turn off the water supply immediately by closing the shut-off valves. Check the connections to ensure they are properly tightened. If necessary, apply plumber’s tape or make any adjustments to fix the leaks.
It’s important to take your time during this step and thoroughly inspect for any leaks. Addressing leaks promptly will help prevent any water damage and ensure the proper functioning of your new Kohler kitchen faucet.
Once you have ensured that there are no leaks and the faucet is working properly, congratulations! You can now enjoy using your new Kohler kitchen faucet to its full potential.
Remember to read and follow the manufacturer’s instructions on how to properly clean and maintain your specific Kohler kitchen faucet. Regular maintenance will help prolong the life of your faucet and keep it looking and performing its best.
Thank you for following this step-by-step guide. We hope this article has been helpful in removing your old Kohler kitchen faucet and installing a new one. Enjoy your upgraded kitchen and the convenience of your new Kohler faucet!
Conclusion
Replacing a kitchen faucet may seem like a daunting task, but with the right tools, preparation, and guidance, it can be a straightforward and rewarding DIY project. By following the step-by-step instructions outlined in this article, you have learned how to remove an old Kohler kitchen faucet and install a new one.
From gathering the necessary tools to turning off the water supply, removing the faucet handle, disconnecting the water supply lines, and finally installing the new faucet, each step has been carefully explained to ensure a successful and hassle-free process.
Kohler is known for its quality and durability, and by choosing one of their kitchen faucets, you’ve made a wise investment. The installation process discussed in this article will help you enjoy the benefits of your new Kohler kitchen faucet while ensuring a secure and watertight connection.
Remember to consult the manufacturer’s instructions specific to your faucet model for any additional steps or considerations that may apply. Following these instructions will ensure that the installation is performed correctly and in line with the manufacturer’s guidelines.
By taking the time to properly remove the old faucet, clean the sink surface, and install the new faucet with care, you can enjoy a functional and aesthetically pleasing addition to your kitchen. Regular maintenance and periodic checks for leaks will help ensure the longevity and performance of your Kohler kitchen faucet.
Thank you for following this comprehensive guide on how to remove a Kohler kitchen faucet. We hope this information has been helpful and that your installation process has been successful. Enjoy the convenience, style, and reliability of your new Kohler kitchen faucet!
Frequently Asked Questions about How To Remove A Kohler Kitchen Faucet
Was this page helpful?
At Storables.com, we guarantee accurate and reliable information. Our content, validated by Expert Board Contributors, is crafted following stringent Editorial Policies. We're committed to providing you with well-researched, expert-backed insights for all your informational needs.

0 thoughts on “How To Remove A Kohler Kitchen Faucet”