Articles
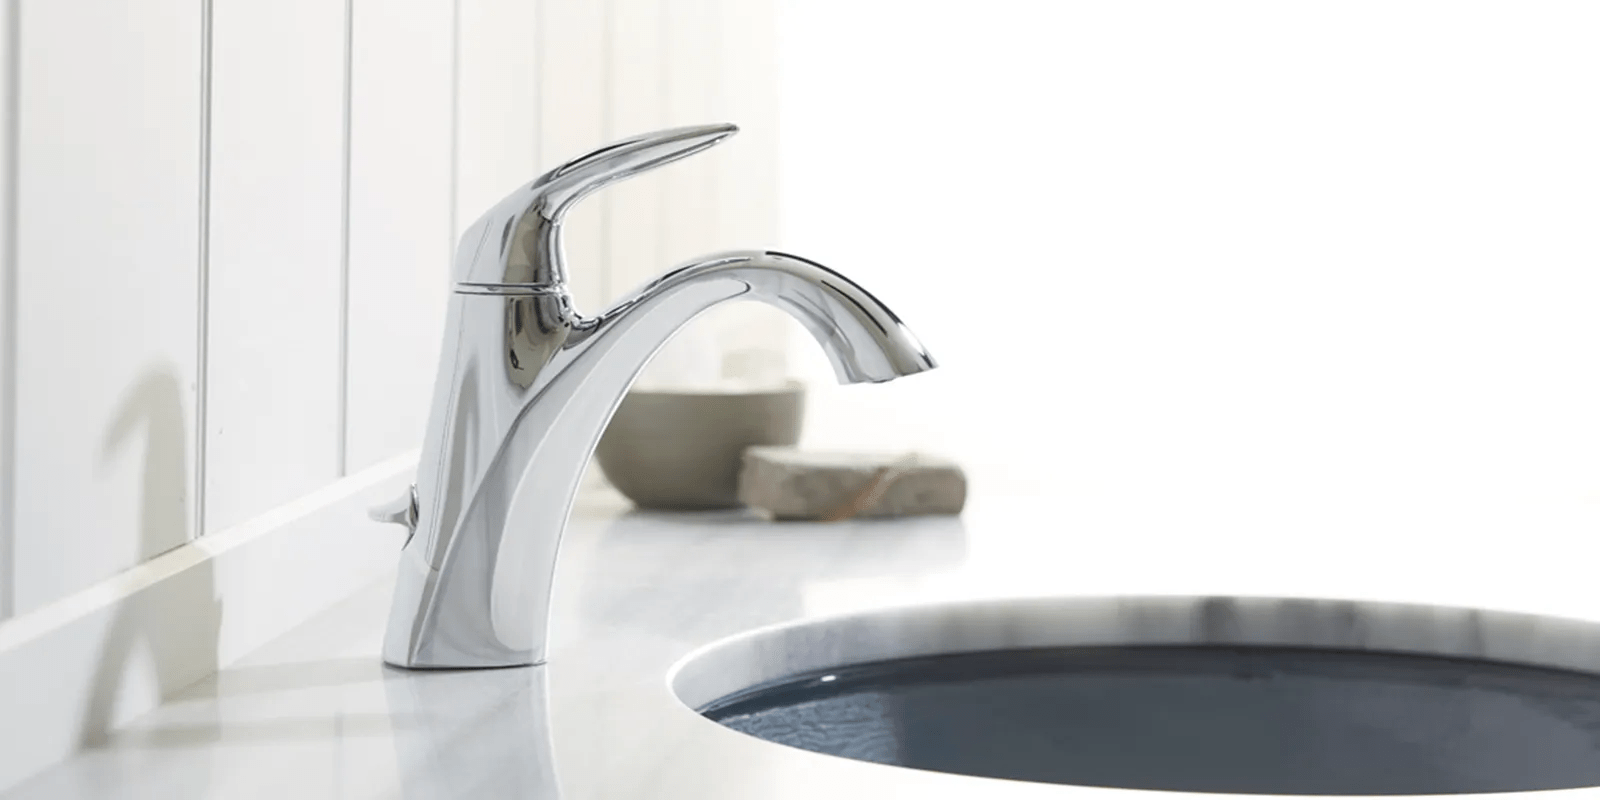
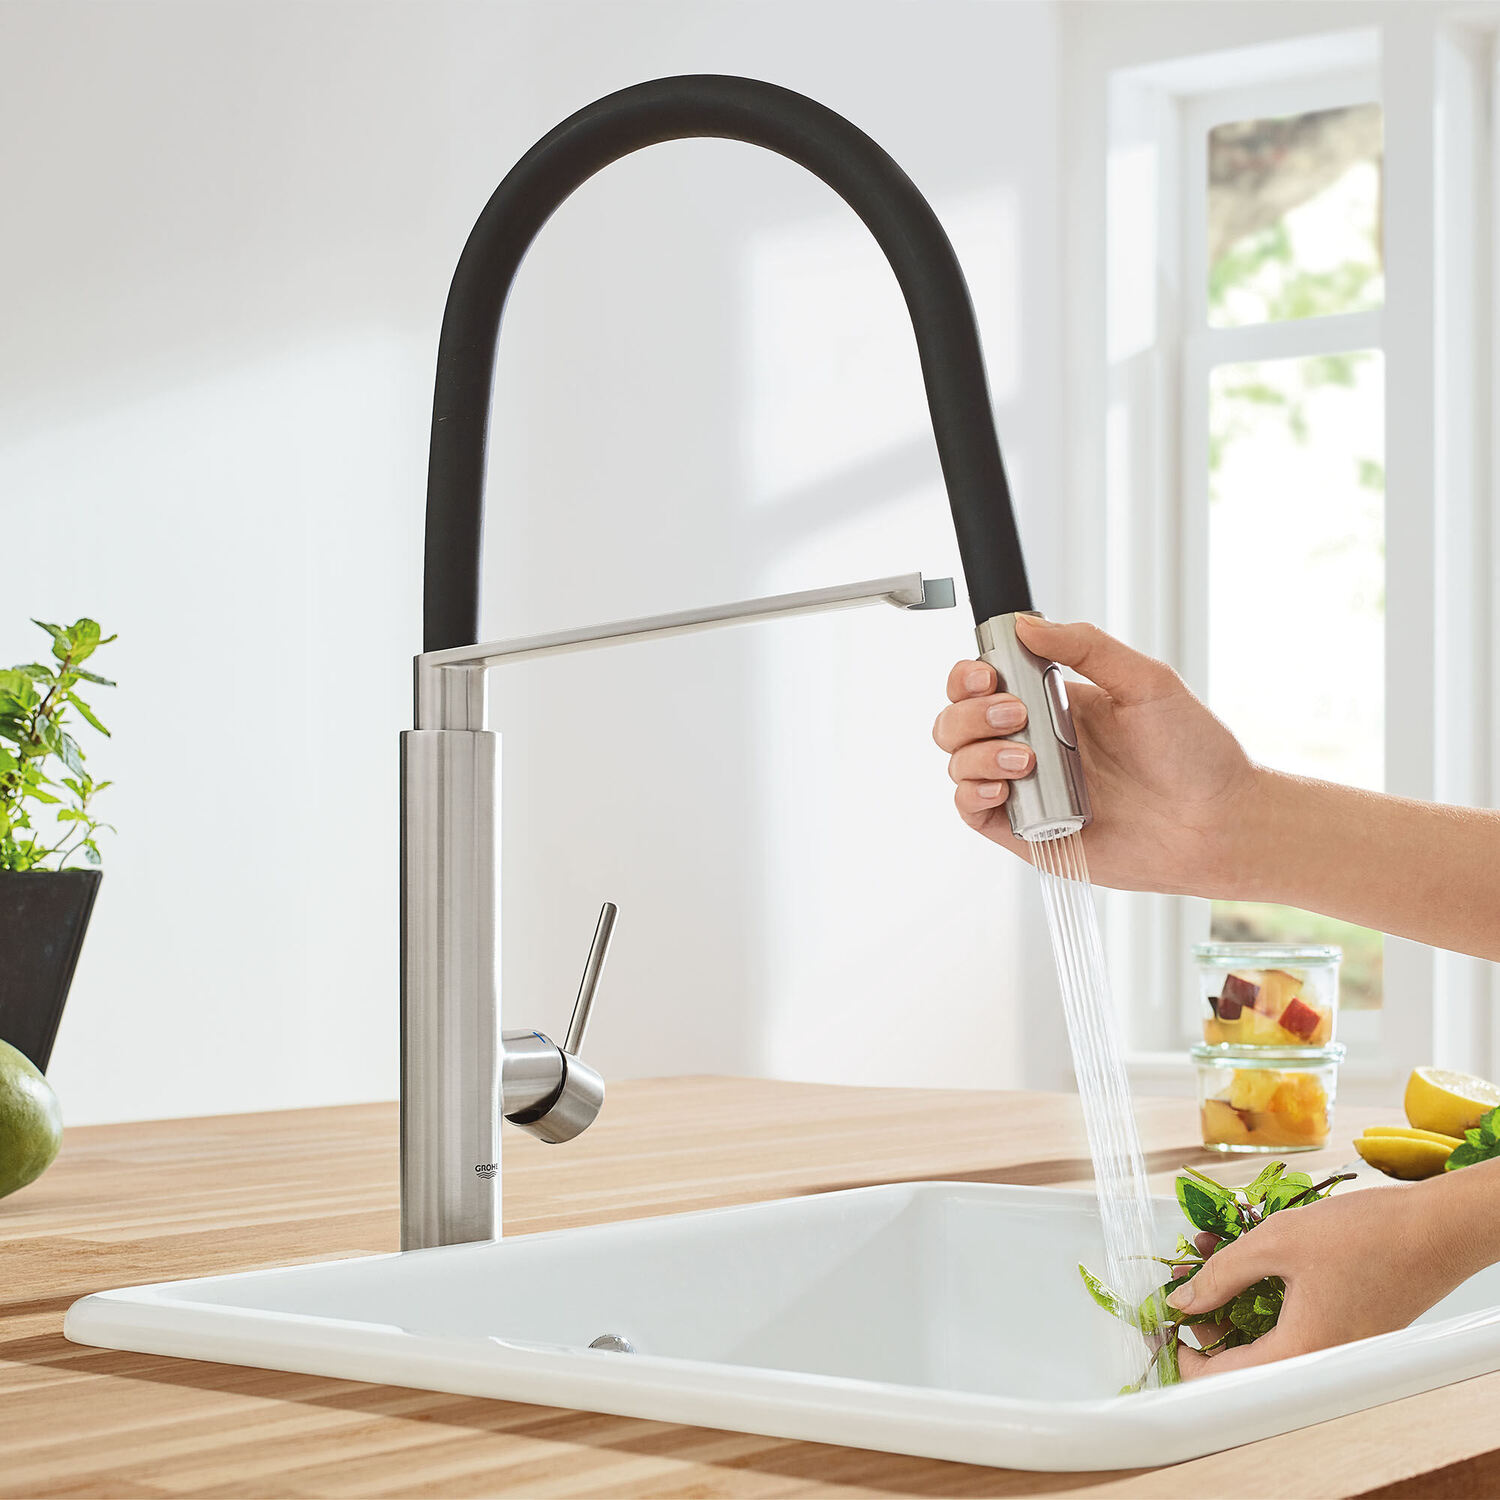
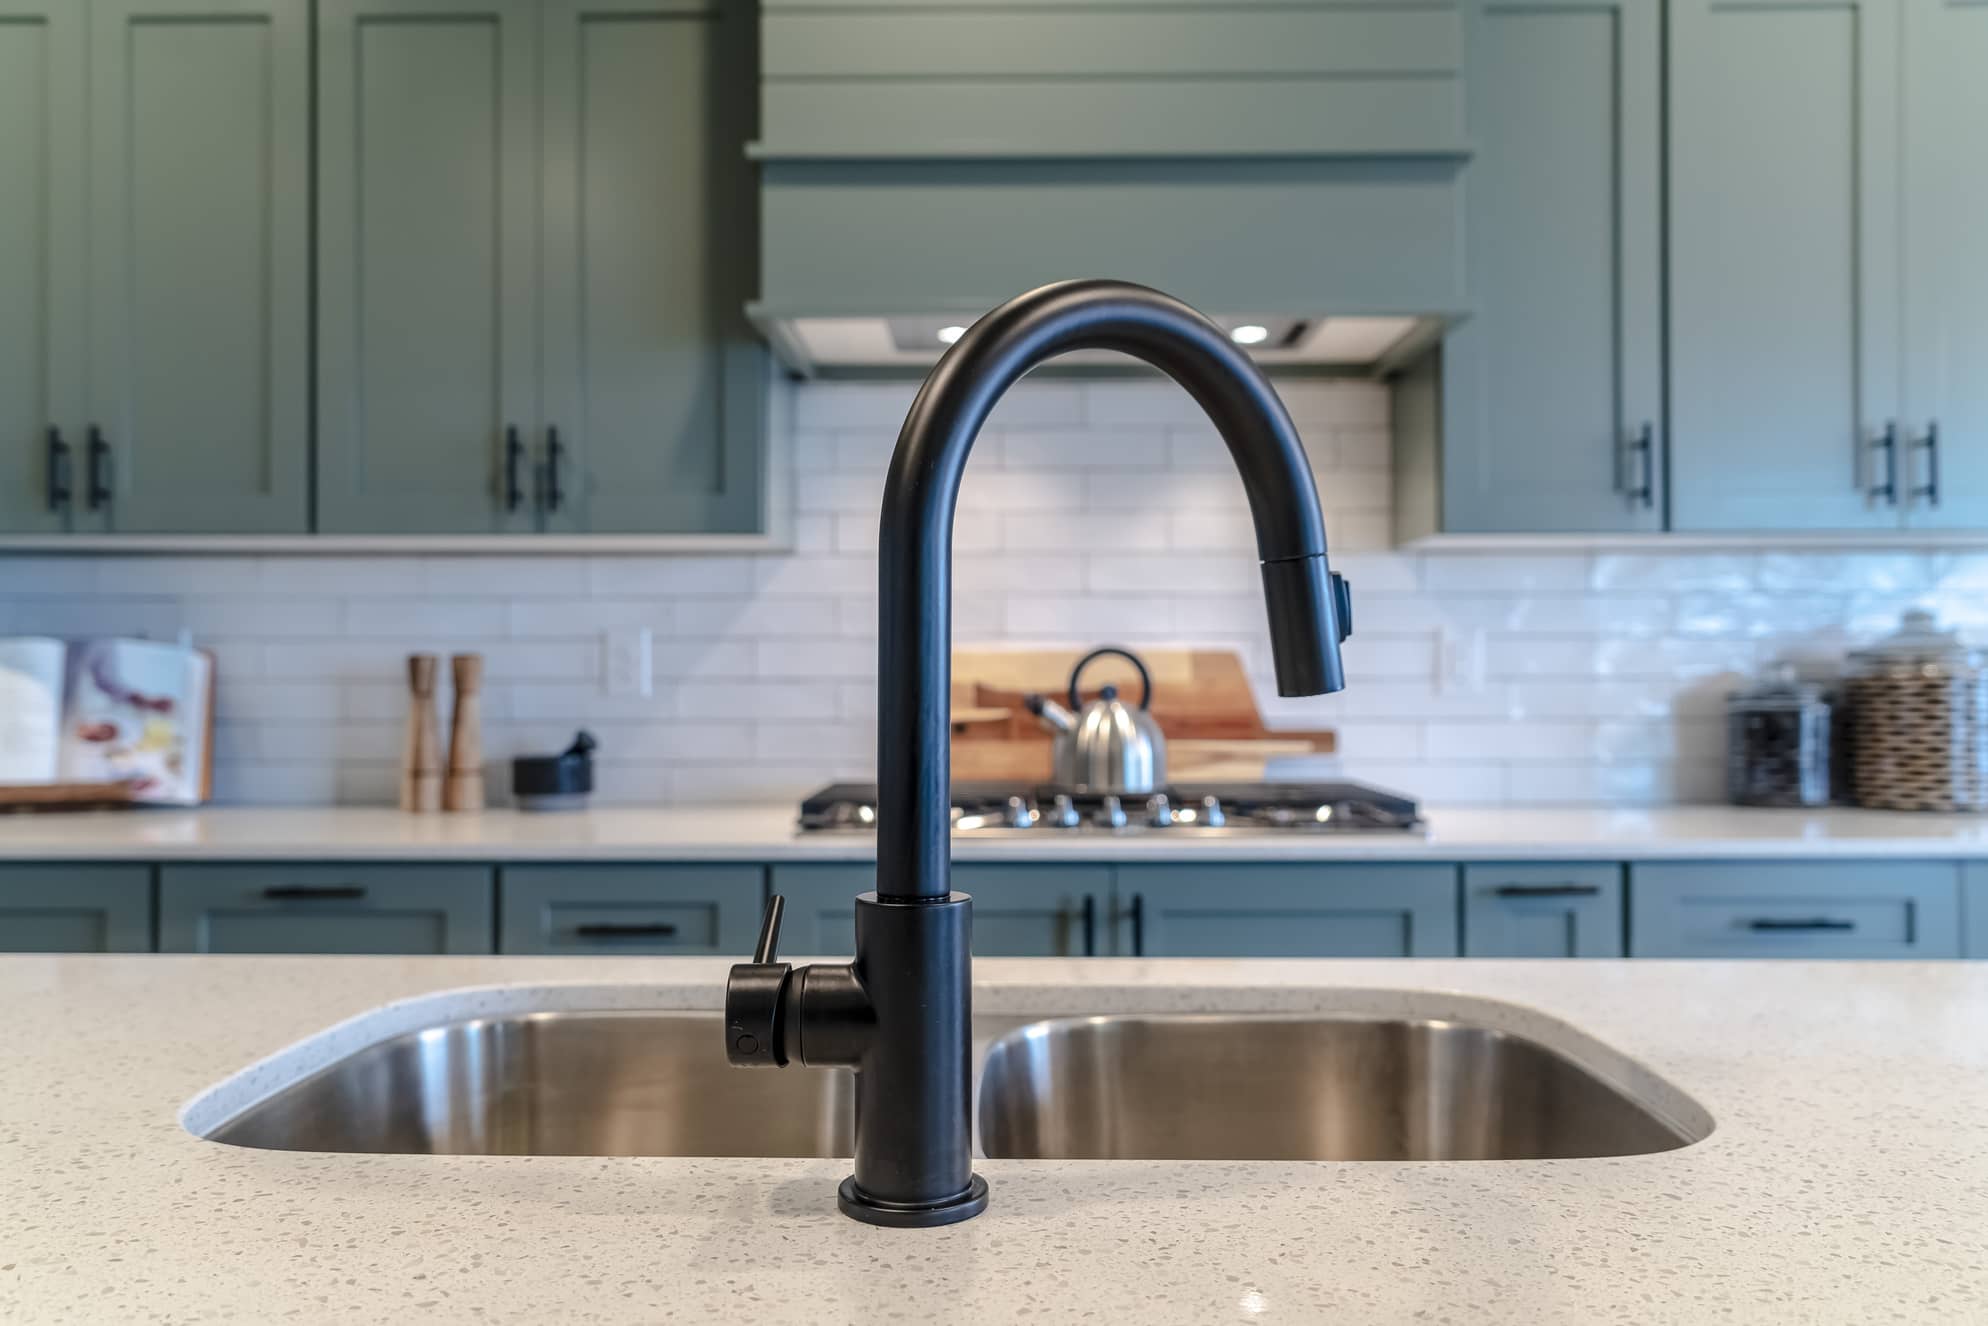
How To Remove A Single Handle Faucet
Modified: August 24, 2024
Learn how to remove a single handle faucet with our informative articles. Get step-by-step instructions and expert tips for a successful removal.
(Many of the links in this article redirect to a specific reviewed product. Your purchase of these products through affiliate links helps to generate commission for Storables.com, at no extra cost. Learn more)
Introduction
Welcome to our comprehensive guide on how to remove a single handle faucet. Whether you’re experiencing leaks, low water pressure, or simply want to upgrade to a new faucet, knowing how to remove the handle is the first step in the process. By following this step-by-step guide, you’ll be able to confidently tackle this DIY task without the need for professional assistance.
Removing a single handle faucet may seem like a daunting task, especially if you’re unfamiliar with plumbing or home improvement projects. However, with the right tools, a little patience, and this guide, you’ll be able to complete the process smoothly and efficiently.
Before we get started, it’s important to note that every faucet may have slight differences in their design and installation. It’s always a good idea to consult the manufacturer’s instructions or specific guidelines for your particular faucet if available. With that said, let’s dive into the step-by-step process of removing a single handle faucet.
Key Takeaways:
- Removing a single handle faucet is a manageable DIY project with the right tools and step-by-step guidance. By following the process of shutting off the water supply, disconnecting supply lines, and reassembling the faucet, you can achieve a successful removal and replacement.
- It’s essential to gather the necessary tools, shut off the water supply, and carefully handle the removal and installation process. By taking these precautions and following the manufacturer’s instructions, you can confidently tackle the removal of a single handle faucet and enjoy the improved functionality of your plumbing fixtures.
Read more: How To Fix A Leaky Single Handle Faucet
Step 1: Gather Necessary Tools
Before you begin removing the single handle faucet, it’s essential to gather all the necessary tools. Having the right tools on hand will make the process much smoother and prevent any delays or frustrations along the way. Here are the tools you’ll need:
- Adjustable wrench
- Phillips head screwdriver
- Flathead screwdriver
- Needle nose pliers
- Allen wrench (if required by your faucet model)
- Plumber’s tape
- Cloth or towel for cleanup
Make sure that the adjustable wrench is the correct size for the nuts and connections on your faucet. The Phillips head and flathead screwdrivers should also match the screws on your faucet handle. Having these tools ready will save you time and allow you to progress smoothly through each step of the removal process.
Once you have gathered all the necessary tools, it’s a good idea to lay them out on a clean workspace next to the area where you’ll be removing the faucet. This will ensure that everything is within reach and easily accessible as you proceed with the removal.
With your tools ready, you’re now prepared to move on to the next step: shutting off the water supply.
Step 2: Shut Off the Water Supply
Before proceeding with the removal of the single handle faucet, it’s crucial to turn off the water supply to prevent any leaks or water damage during the process. Here’s how to do it:
- Locate the main water shut-off valve in your home. This valve is typically located near the water meter or where the main water line enters your property.
- Turn the valve clockwise to shut off the water supply. In some cases, you may need to use a wrench or pliers if the valve is difficult to turn.
- Once the water supply is turned off, verify that the water is no longer running by turning on any faucet in your home. If no water comes out, you have successfully shut off the water supply.
It’s essential to shut off the water supply to avoid any potential water damage or flooding when you disconnect the faucet. By taking this precautionary step, you’ll ensure a safe and controlled removal process.
After you’ve shut off the water supply, it’s a good idea to release any remaining pressure in the faucet by turning on the handle and allowing any water inside to drain out. This will make the removal process cleaner and more efficient.
With the water supply turned off and the pressure released, you’re now ready to move on to the next step: disconnecting the supply lines.
Step 3: Disconnect the Supply Lines
With the water supply turned off, it’s time to disconnect the supply lines that connect the faucet to the water source. Here’s a step-by-step guide on how to do it:
- Using an adjustable wrench, turn the nuts connecting the supply lines to the bottom of the faucet counterclockwise. These nuts are usually located where the supply lines meet the faucet.
- As you loosen the nuts, be prepared for a small amount of water to drip out. Have a cloth or towel handy to catch any water and prevent it from spreading.
- Once the nuts are fully loosened, carefully remove the supply lines from the faucet. Set them aside, making sure to keep them in a safe and clean location.
- Inspect the supply lines for any signs of damage or wear. If they appear to be in poor condition, it’s recommended to replace them with new ones before reinstalling the faucet.
It’s important to note that some faucets may have additional supply lines or connections, such as a sprayer hose or a separate hot and cold water line. Make sure to disconnect all relevant supply lines based on your specific faucet model.
By disconnecting the supply lines, you’re now ready to move on to the next step: removing the handle of the single handle faucet.
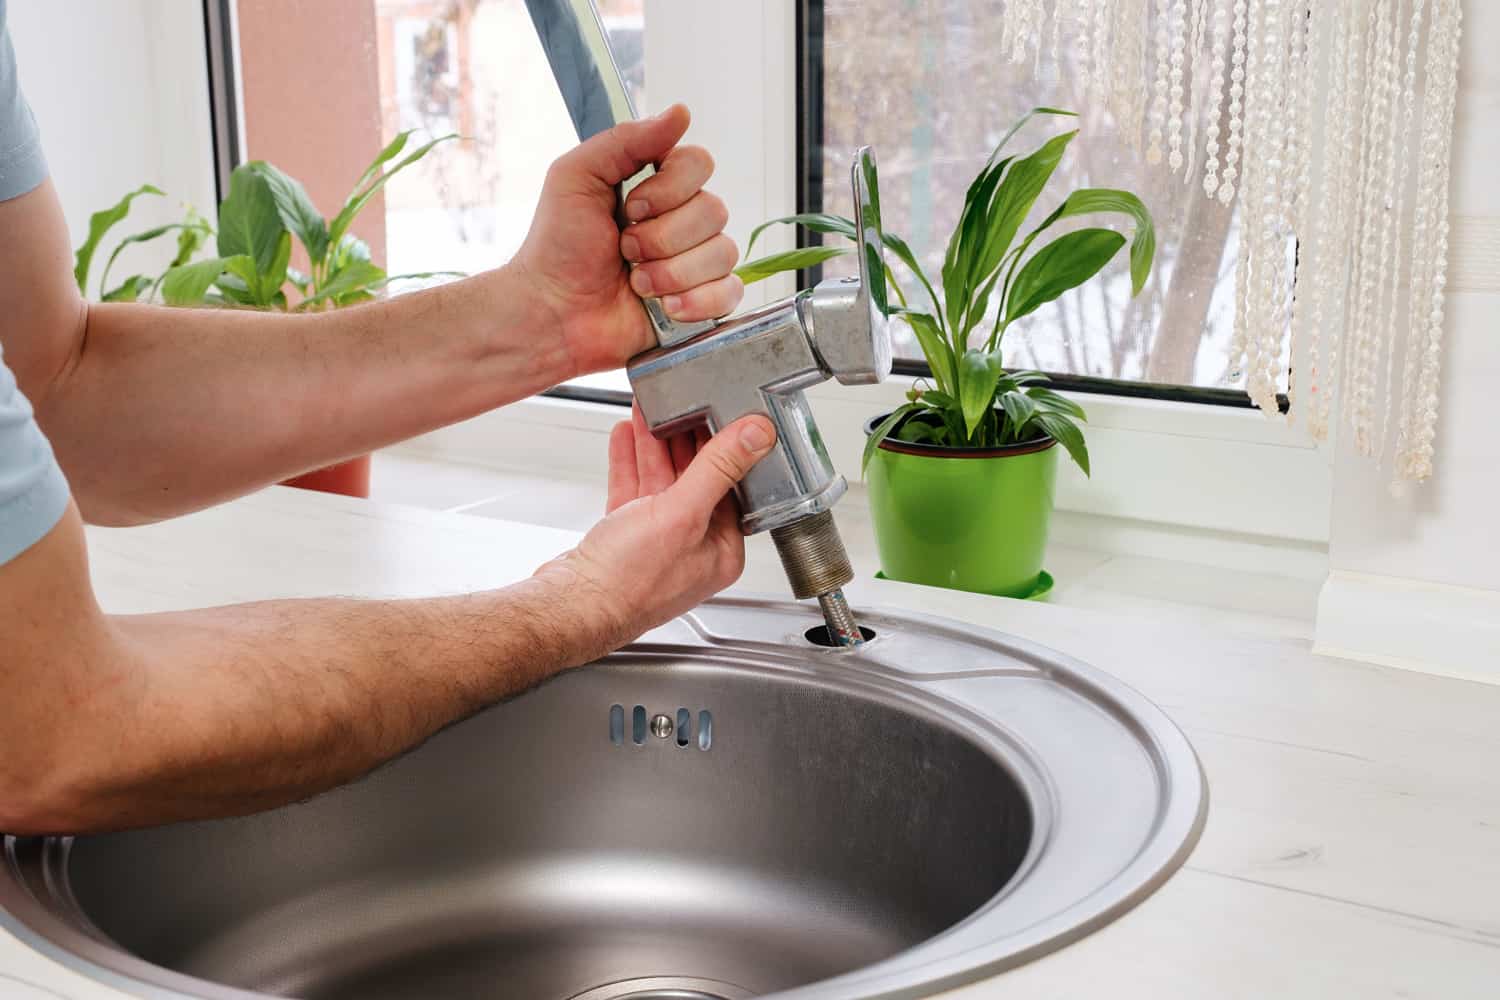
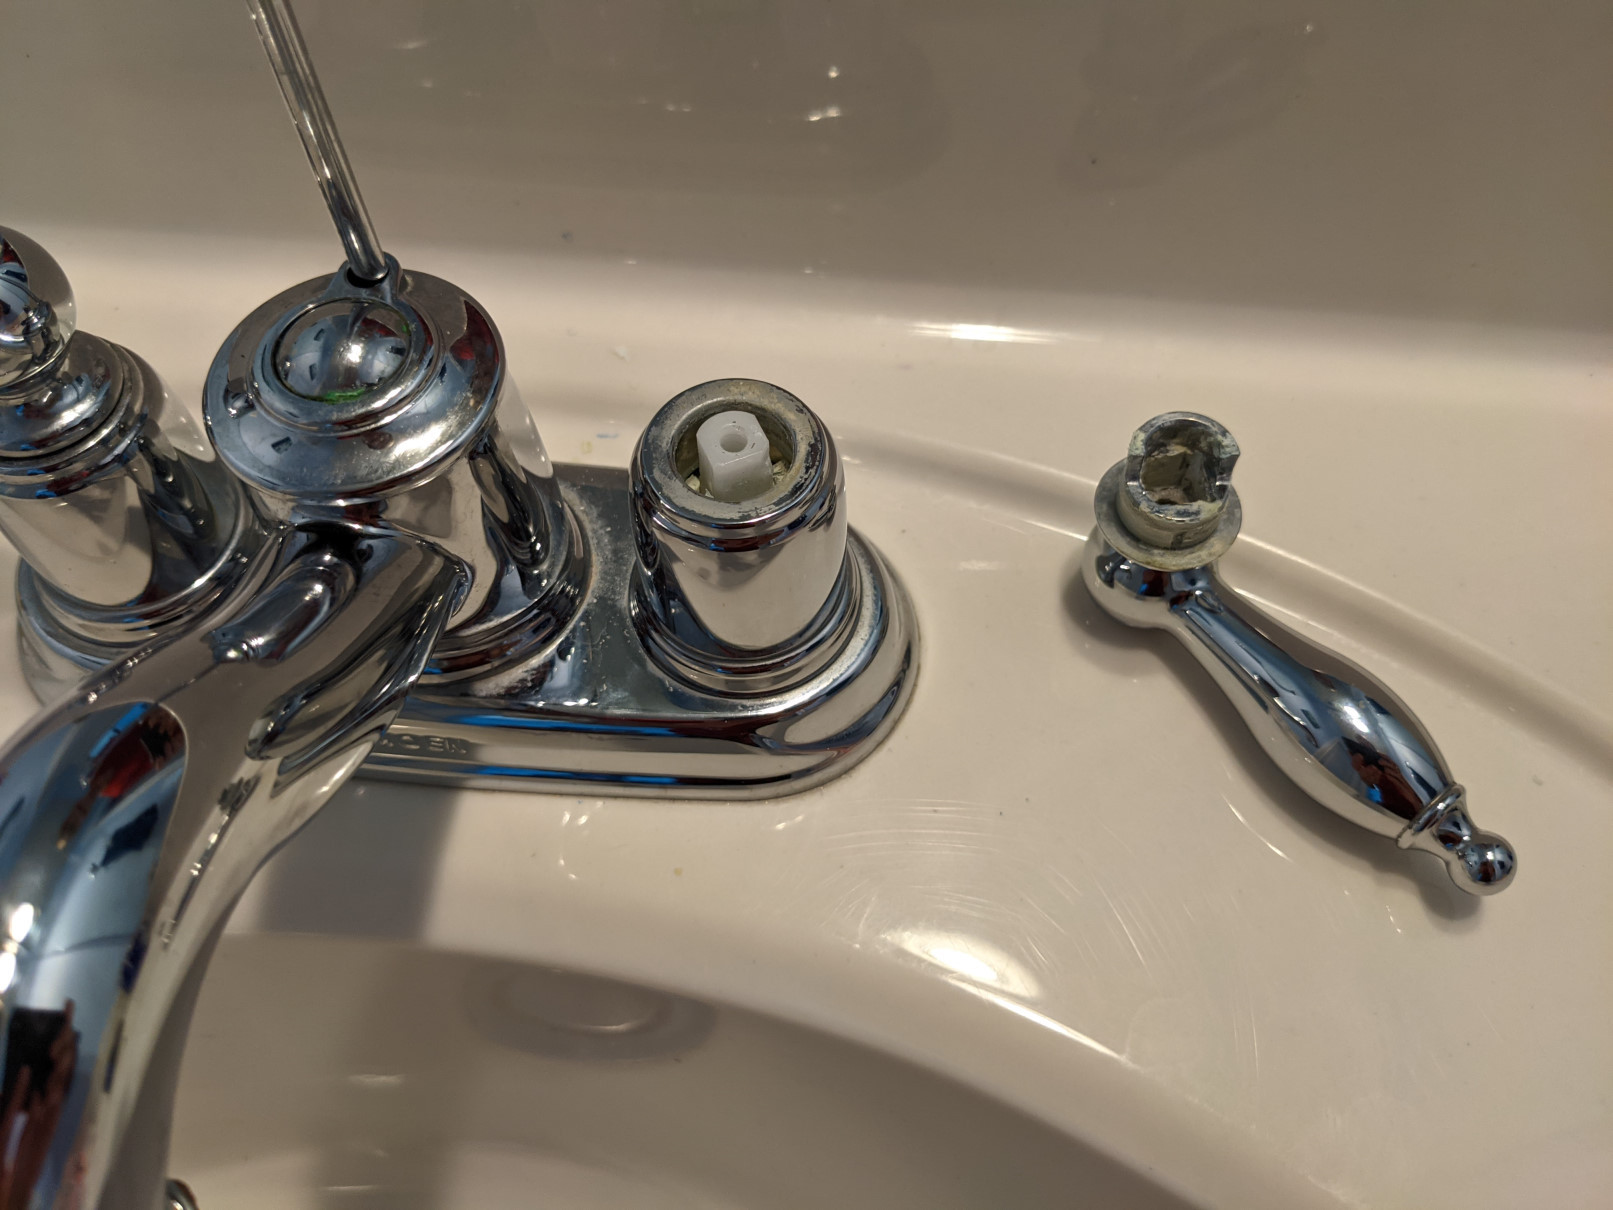
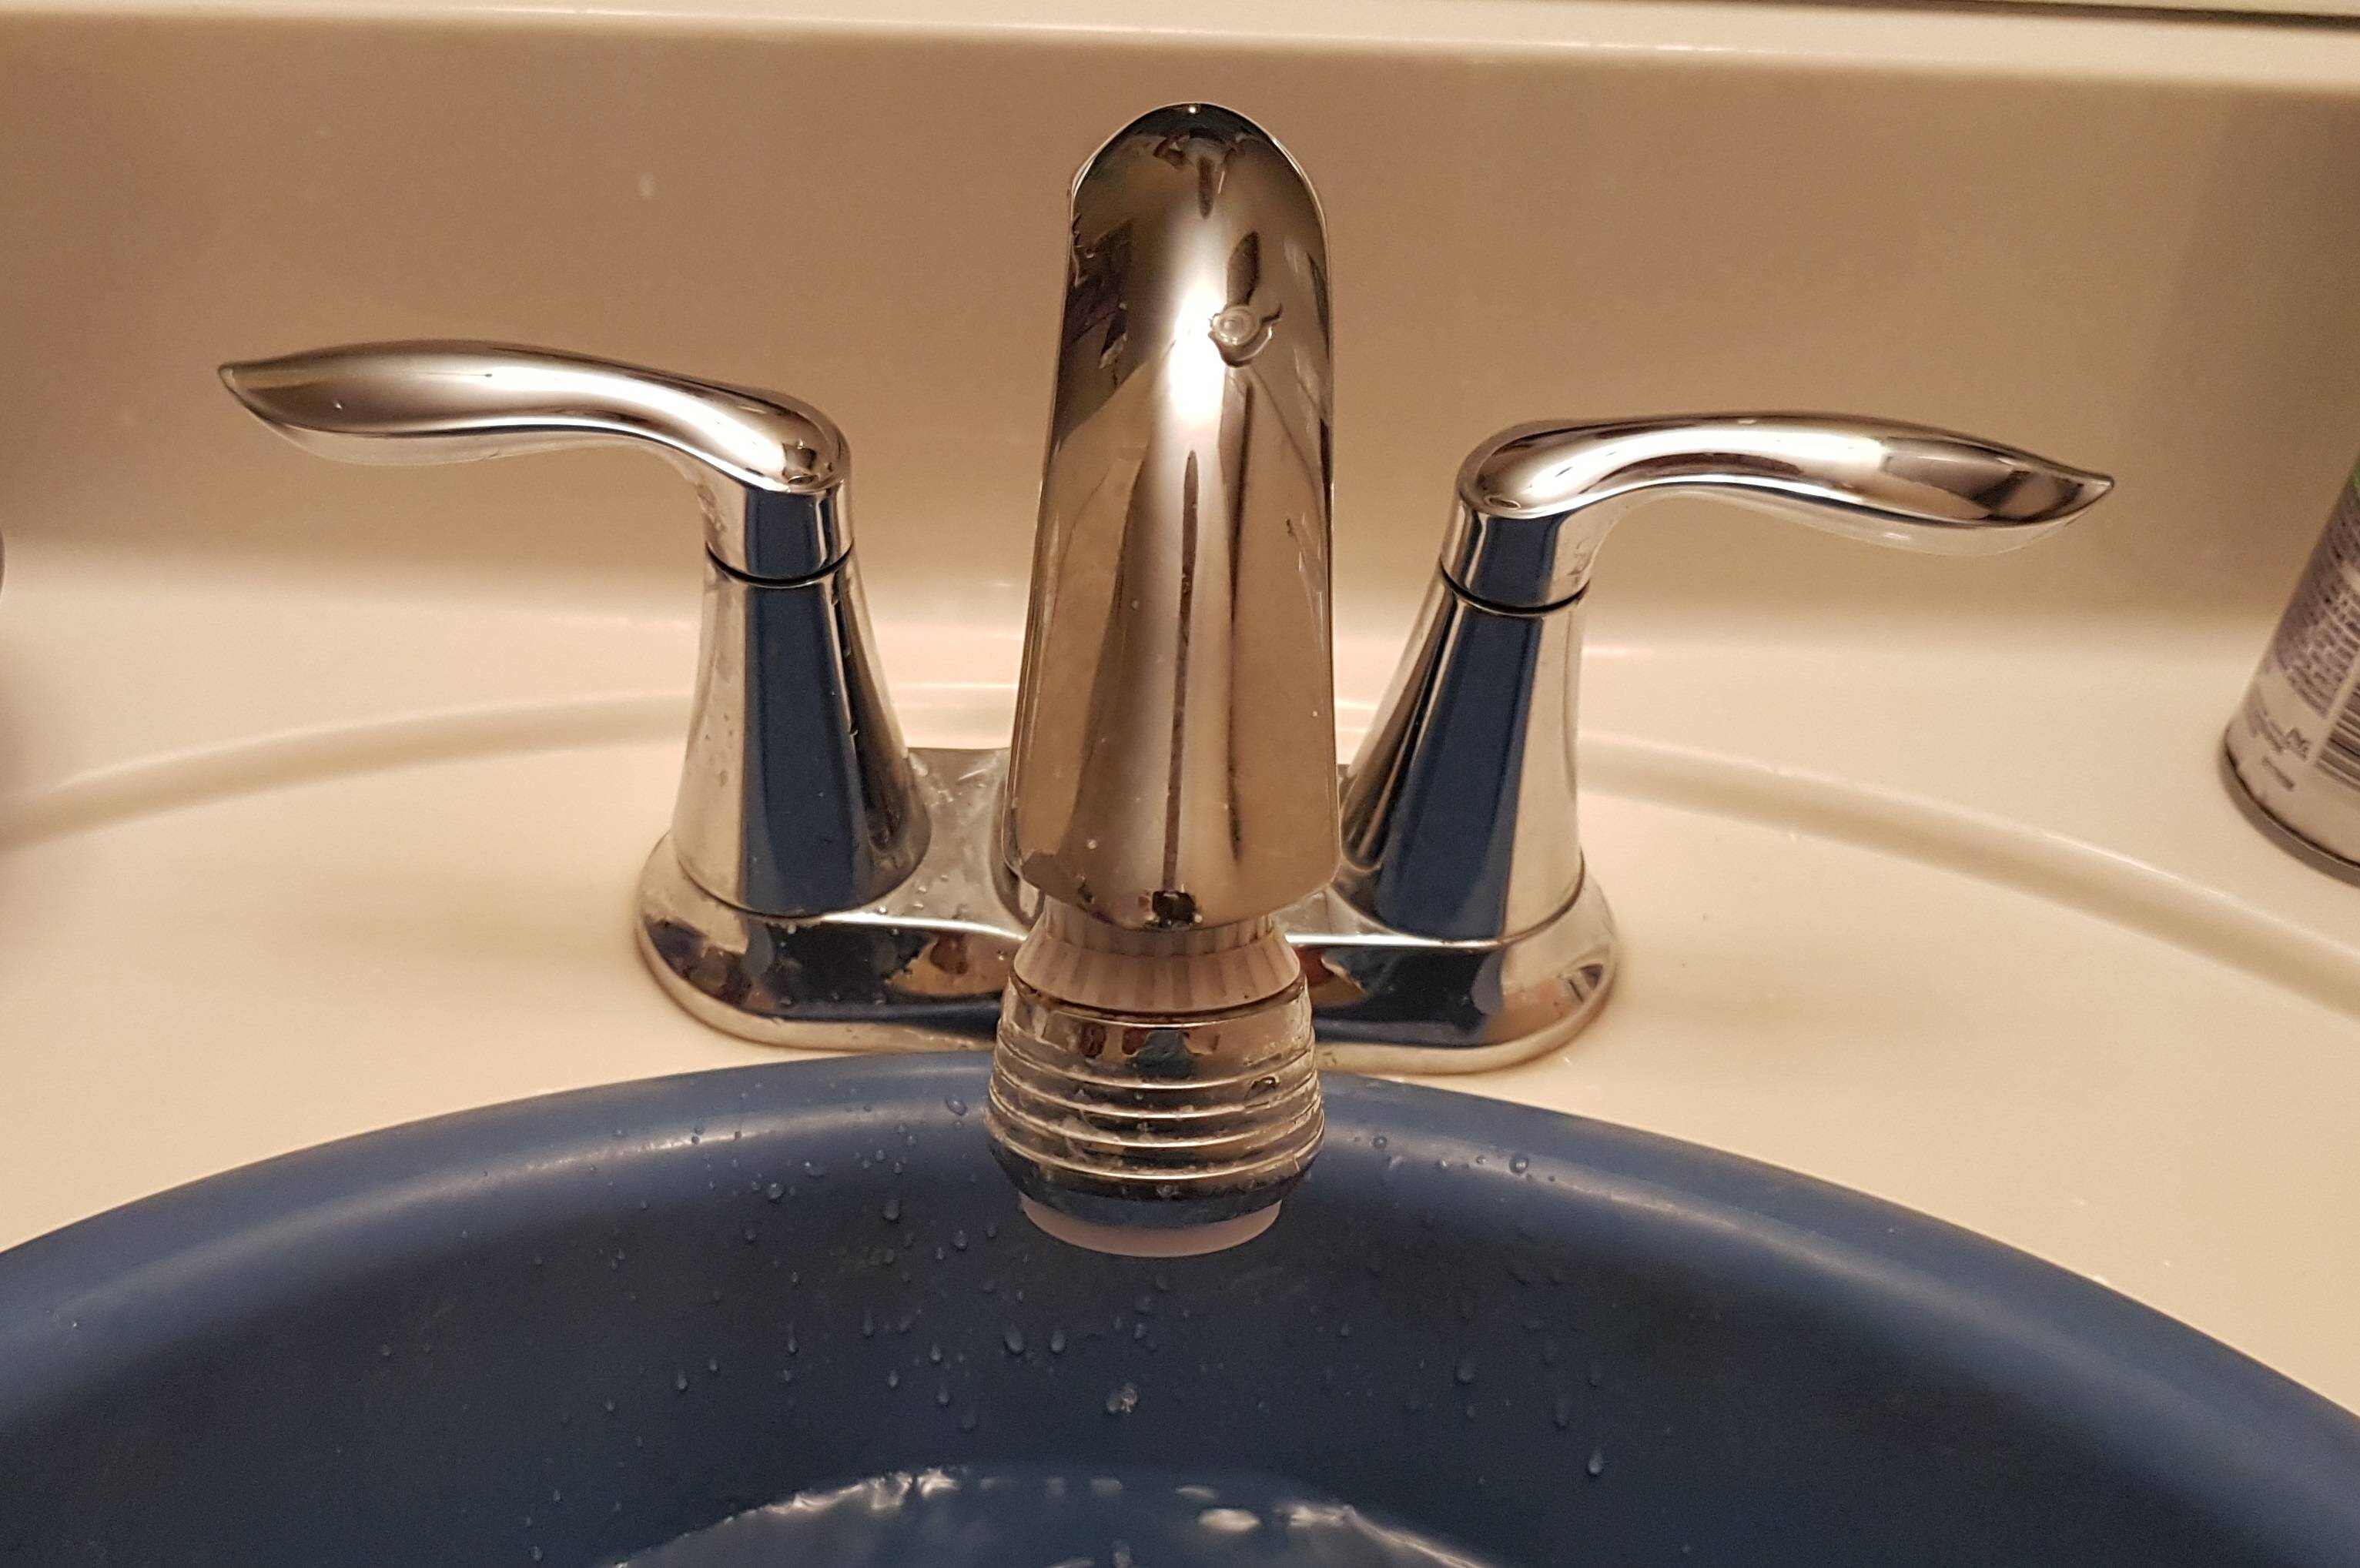
Step 4: Remove the Handle
Now that the supply lines are disconnected, it’s time to remove the handle of the single handle faucet. Follow these steps to successfully remove the handle:
- Inspect the handle for any visible screws or caps. Many single handle faucets have a decorative cap or cover hiding the screw.
- If there’s a decorative cap, gently pry it off using a flathead screwdriver or your fingertips. Be careful not to damage the cap or the surrounding area.
- Once the cap is removed, you’ll likely find a screw underneath. Use a Phillips head screwdriver to unscrew it counterclockwise until it is fully released.
- With the screw removed, carefully lift or pry the handle off the faucet body. It may require a bit of force, but be gentle to avoid any damage.
- Set the handle aside in a safe place, ensuring that it doesn’t get misplaced or damaged during the rest of the removal process.
If you encounter any difficulties during the removal of the handle, refer to the manufacturer’s instructions or seek additional guidance to ensure that you’re proceeding correctly.
By successfully removing the handle, you’re ready to move on to the next step: removing the cartridge or valve of the single handle faucet.
Before removing a single handle faucet, turn off the water supply and disconnect the supply lines. Use a wrench to loosen the mounting nut and remove the faucet handle. Then, use a wrench to loosen and remove the cartridge or valve assembly.
Read more: How To Remove Stuck Faucet Handle
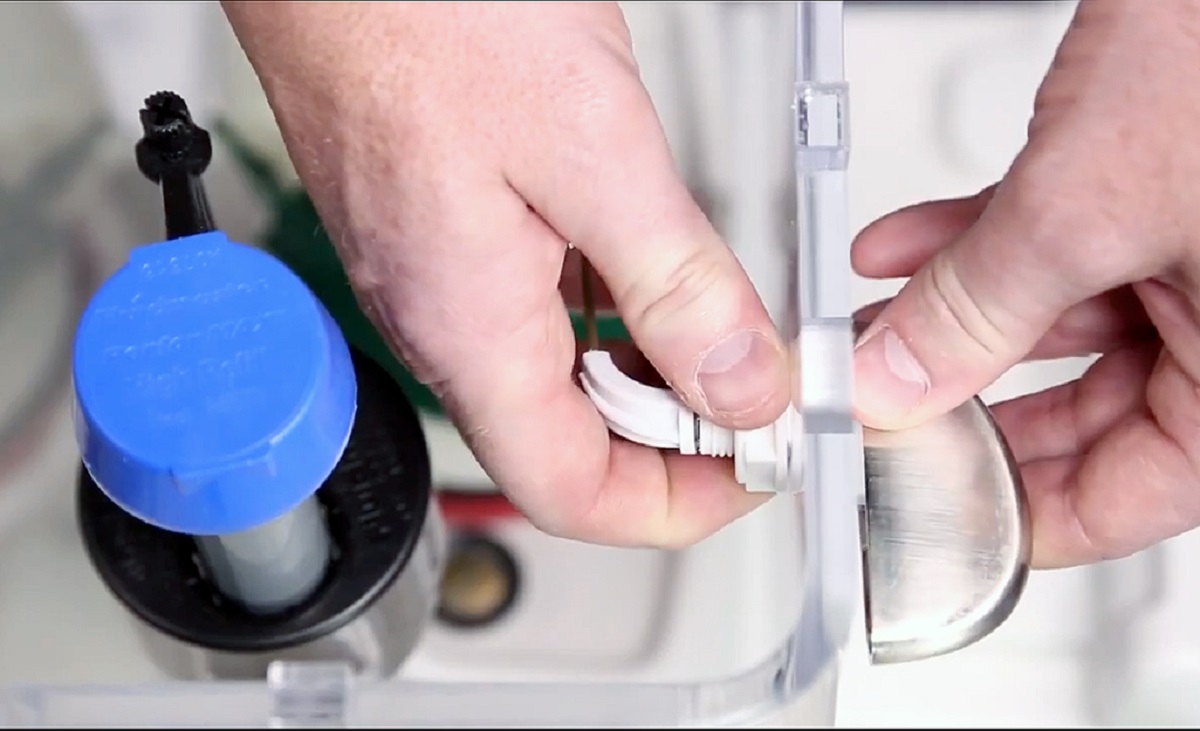
Step 5: Remove the Cartridge or Valve
With the handle removed, it’s time to remove the cartridge or valve from the single handle faucet. The cartridge or valve is responsible for controlling the flow of water. Follow these steps to remove it:
- Inspect the inside of the faucet body for the cartridge or valve. Depending on the faucet model, it may be secured by a retaining nut or clip.
- If there is a retaining nut, use an adjustable wrench to turn it counterclockwise and loosen it. Keep in mind that some models may require a specialized tool, such as an Allen wrench, to remove the retaining nut.
- If there is a retaining clip, use needle nose pliers to carefully remove it by squeezing the ends together and pulling it out.
- Once the retaining mechanism is removed, gently pull the cartridge or valve out of the faucet body. It may require a bit of wiggling or twisting to loosen it.
- Inspect the cartridge or valve for any signs of damage or wear. If it appears to be in poor condition, it’s recommended to replace it with a new one before reassembling the faucet.
Some cartridges or valves may have O-rings or other rubber seals attached to them. Take note of their position and condition as you may need to replace them as well.
By successfully removing the cartridge or valve, you’re ready to move on to the next step: installing a new cartridge or valve to the single handle faucet.
Step 6: Install a New Cartridge or Valve
With the old cartridge or valve removed, it’s time to install a new one in your single handle faucet. Follow these steps to successfully install the new cartridge or valve:
- Take your new cartridge or valve and ensure that it is the correct replacement for your faucet model. Refer to the manufacturer’s instructions or consult a plumbing professional if you are unsure.
- If necessary, lubricate the O-rings or rubber seals on the cartridge or valve with plumber’s grease. This will help provide a proper seal and ensure smooth operation.
- Gently insert the new cartridge or valve into the faucet body, aligning it with the openings and slots inside.
- If your faucet requires a retaining nut, secure it by turning it clockwise with an adjustable wrench. Ensure that it is tightened securely but be careful not to overtighten, as it may damage the cartridge or valve.
- If your faucet has a retaining clip, insert it back into place, ensuring that it locks the cartridge or valve securely.
It’s important to follow the manufacturer’s instructions or specific guidelines for your faucet model when installing the new cartridge or valve. Double-check that it is inserted correctly and securely before proceeding.
With the new cartridge or valve installed, you’re ready to move on to the next step: reassembling the faucet handle.
Step 7: Reassemble the Faucet Handle
Now that the new cartridge or valve is installed, it’s time to reassemble the faucet handle. Follow these steps to successfully put the handle back together:
- Place the handle back onto the faucet body, aligning it with the mounting holes.
- If your handle has a set screw, insert it into the designated hole and tighten it using a Phillips head screwdriver. This will secure the handle in place.
- If your handle has a decorative cap or cover, position it over the handle and press it down firmly until it snaps into place.
Make sure the handle is securely attached and doesn’t wobble or move when you try to turn it. If it feels loose, double-check that the set screw is properly tightened.
With the handle reassembled, you’re now ready to move on to the final step: turning on the water supply.
Step 8: Turn On the Water Supply
With the faucet reassembled, it’s time to turn on the water supply and test your newly installed single handle faucet. Follow these steps to complete the process:
- Locate the main water shut-off valve that you previously turned off.
- Turn the valve counterclockwise to gradually restore the water supply. Be cautious of any sudden bursts of water or leaks.
- Once the water supply is back on, check for any leaks around the faucet connections or under the sink. If you notice any leaks, tighten the relevant connections or consult a professional if necessary.
- With the water supply restored and no leaks detected, turn on the faucet handle to allow water to flow.
- Check for proper water flow and ensure that hot and cold water are functioning correctly. If there are any issues, double-check the cartridge or valve installation and make any necessary adjustments or replacements.
Take a moment to inspect the area around the faucet for any remaining water or dampness. Use a cloth or towel to wipe away any moisture and ensure that the area is clean and dry.
Congratulations! You have successfully removed and replaced the single handle faucet. Enjoy the improved functionality and peace of mind that comes with a properly functioning faucet.
Remember, if you encounter any difficulties during the process or have any concerns, it’s always a good idea to consult a professional plumber for assistance.
Thank you for following our guide, and we hope it has been helpful in your DIY faucet removal journey!
Conclusion
Removing a single handle faucet may seem like a daunting task, but with the right tools, patience, and guidance, it can be an achievable DIY project. By following the step-by-step instructions in this guide, you can successfully remove and replace a single handle faucet.
We started by gathering the necessary tools, including an adjustable wrench, screwdrivers, pliers, and plumber’s tape. These tools will help you navigate the removal process with ease.
We then moved on to shutting off the water supply, a crucial step to prevent any leaks or water damage. By locating and turning off the main water shut-off valve, you ensured a safe removal process.
The next step involved disconnecting the supply lines to the faucet. Using an adjustable wrench, you loosened the nuts and carefully removed the supply lines, inspecting them for any damage or wear.
With the supply lines disconnected, you proceeded to remove the faucet handle. By identifying any screws or caps, you successfully removed the handle and set it aside for later reassembly.
Then, it was time to remove the cartridge or valve from the faucet body. Depending on the design, you either loosened the retaining nut or removed the retaining clip, enabling you to gently pull out the old cartridge or valve.
After removing the old cartridge or valve, you installed a new one by lubricating the O-rings or rubber seals and fitting it into the faucet body. Ensuring a secure fit, you tightened the retaining nut or reinserted the retaining clip.
The next step involved reassembling the faucet handle. Placing the handle back onto the faucet body, you fastened it with a set screw and, if applicable, reattached a decorative cap or cover.
Finally, you turned on the water supply and tested the faucet for any leaks or issues. Adjustments were made as needed to ensure proper water flow and temperature control.
By following this guide, you’ve gained the knowledge and confidence to tackle a single handle faucet removal and replacement. Remember, if you encounter any difficulties or unsure about any steps, it’s always wise to consult a professional plumber.
We hope that this guide has provided you with the necessary information to successfully remove a single handle faucet, enhancing the functionality and aesthetics of your plumbing fixtures. Now, it’s time to enjoy your newly installed faucet and the satisfaction of a job well done!
Frequently Asked Questions about How To Remove A Single Handle Faucet
Was this page helpful?
At Storables.com, we guarantee accurate and reliable information. Our content, validated by Expert Board Contributors, is crafted following stringent Editorial Policies. We're committed to providing you with well-researched, expert-backed insights for all your informational needs.


0 thoughts on “How To Remove A Single Handle Faucet”