
Articles
How To Remove Stuck Faucet Handle
Modified: October 28, 2024
Discover effective techniques to remove a stubborn faucet handle in this informative article. Get expert advice and tips to tackle this common household issue.
(Many of the links in this article redirect to a specific reviewed product. Your purchase of these products through affiliate links helps to generate commission for Storables.com, at no extra cost. Learn more)
Introduction
A stuck faucet handle can be a frustrating inconvenience in any household. Whether it’s a bathroom sink, kitchen faucet, or outdoor spigot, a stuck handle can prevent you from properly using and controlling the flow of water. However, with a few simple steps and the right tools, you can easily remove a stuck faucet handle and get your plumbing back in working order.
Understanding the problem is the key to successfully removing a stuck faucet handle. The handle can become stuck due to a variety of reasons, such as mineral buildup, corrosion, or a faulty handle mechanism. Before attempting to remove the handle, it’s important to gather the necessary tools and materials to ensure a smooth and efficient process.
Key Takeaways:
- Easily remove a stuck faucet handle by understanding the problem, gathering the right tools, and following a step-by-step process. Patience, caution, and regular maintenance are key to successful removal.
- By shutting off the water supply, applying lubricant, and using the right tools, you can safely and effectively remove a stuck faucet handle. Inspect, clean, and reassemble the faucet for optimal performance.
Read more: How To Remove Sink Faucet Handle
Understanding the Problem
Before diving into the steps of removing a stuck faucet handle, it’s important to have a basic understanding of the problem you’re facing. The handle can become stuck for a variety of reasons, so it’s important to assess the situation before attempting any repairs.
One common cause of a stuck faucet handle is mineral buildup. Over time, minerals such as calcium and magnesium can accumulate in the internal components of the faucet, causing the handle to become difficult to turn. This can be particularly common in areas with hard water. If you notice a white or chalky residue around the base of the handle, mineral buildup may be the culprit.
Corrosion is another potential reason for a stuck faucet handle. Over time, water and exposure to other elements can cause the metal parts of the faucet to corrode. This corrosion can create friction and make it challenging to turn the handle. If you notice rust or a reddish-brown discoloration around the handle, corrosion may be the issue.
In some cases, a faulty handle mechanism can also lead to a stuck handle. This can occur due to wear and tear or a defect in the handle itself. If the handle is loose, wobbly, or doesn’t engage properly when turned, it may indicate a problem with the mechanism.
By understanding the potential causes of a stuck faucet handle, you can better approach the removal process. Different causes may require slightly different techniques or solutions. In the next section, we’ll discuss the tools and materials you’ll need to successfully remove a stuck faucet handle.
Tools and Materials Needed
Before getting started with the process of removing a stuck faucet handle, it’s important to gather the necessary tools and materials. Having these items on hand will ensure a smoother and more efficient repair process. Here are the tools and materials you’ll need:
- Adjustable wrench or pliers
- Screwdriver
- Lubricant (such as WD-40 or penetrating oil)
- Clean cloth or sponge
An adjustable wrench or pliers will be essential for applying the necessary torque to loosen and remove the handle. It’s important to choose a wrench or pliers that are appropriate for the size and type of handle you’re working on.
A screwdriver will come in handy for removing any screws or fasteners that are holding the handle in place. Make sure to have a variety of screwdrivers available, as different faucet models may require different types of screwdrivers.
Lubricant is an important tool for tackling mineral buildup or corrosion. WD-40 or a specialized penetrating oil can be applied to the handle and internal components to help loosen and dissolve any obstructions. It’s important to choose a lubricant suitable for plumbing applications and follow the manufacturer’s instructions.
Lastly, having a clean cloth or sponge will allow you to wipe away any dirt, debris, or excess lubricant during the removal process.
By gathering these essential tools and materials beforehand, you’ll be well-prepared to tackle the task of removing a stuck faucet handle effectively and efficiently. Now that you’re equipped with the necessary tools, let’s move on to the steps of the removal process.
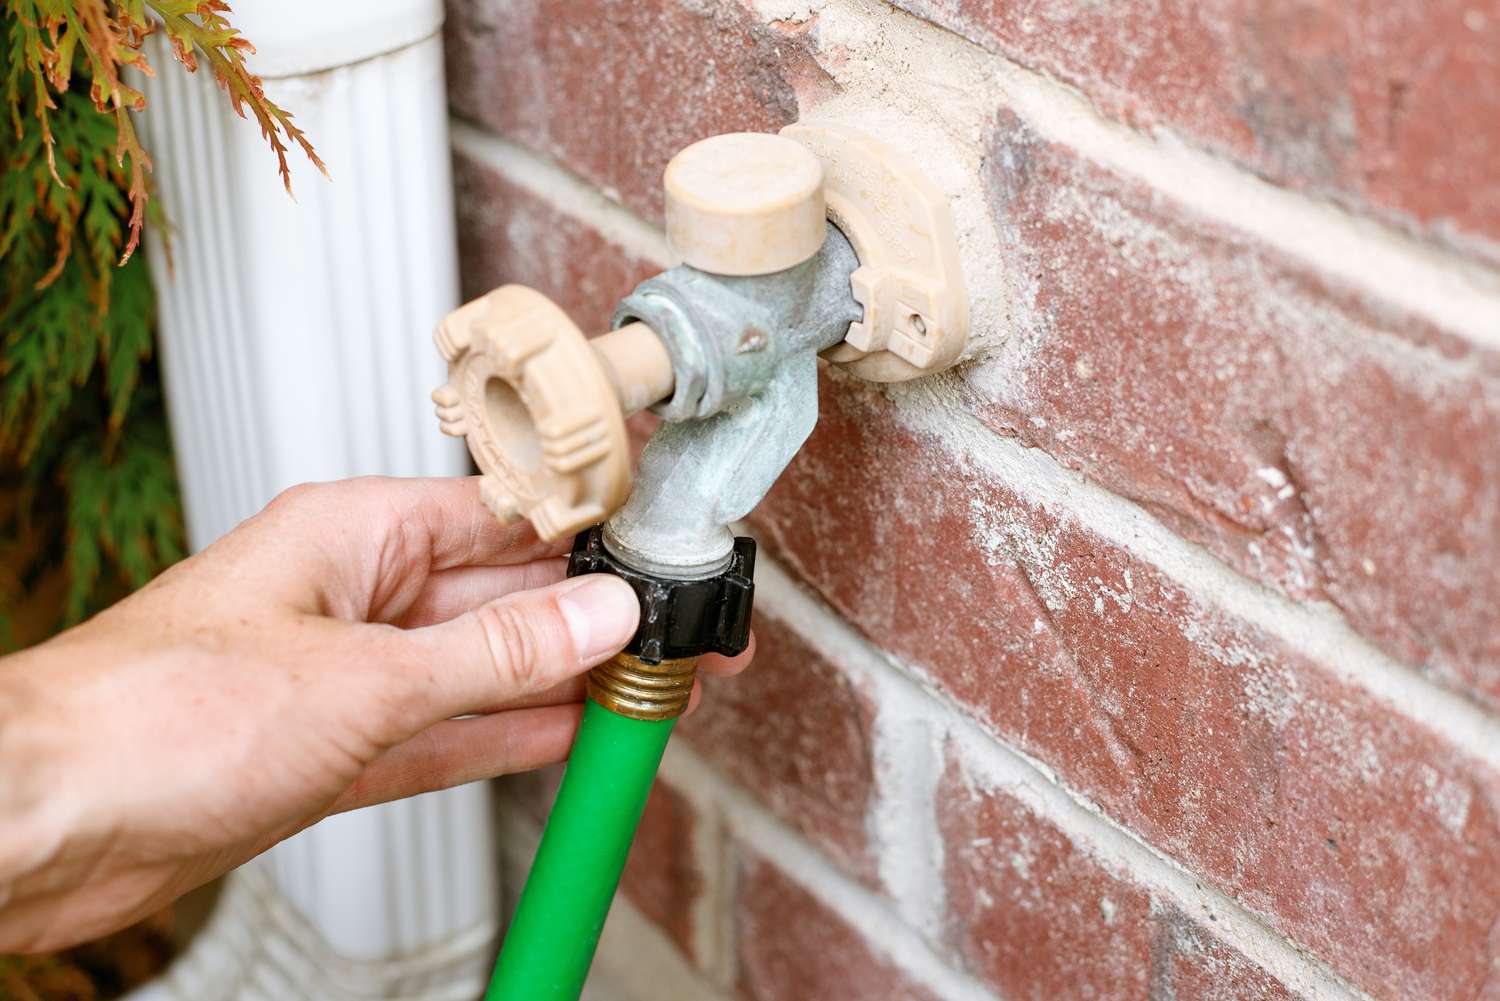
Step 1: Shut off water supply
The first step in removing a stuck faucet handle is to shut off the water supply to prevent any accidental leaks or flooding. This step is crucial for safety and to ensure that you can work on the handle without water flowing.
Locate the water shut-off valve beneath the sink or near the faucet. It’s typically a small lever or wheel that controls the flow of water to the specific fixture. Turn the valve clockwise to shut off the water supply.
If you’re unable to locate the shut-off valve, you can always shut off the main water supply to your home. This is usually found near the water meter or in a utility room. It’s important to consult your home’s plumbing system and follow the necessary precautions when shutting off the entire water supply.
Once the water supply is shut off, turn on the faucet to release any remaining water pressure. This will help ensure that no water is trapped in the plumbing lines when you begin working on the stuck handle.
Remember, safety should always come first when working with plumbing systems. Shutting off the water supply is an essential step to prevent any potential accidents or damage. Now that the water supply is secure, we can move on to the next step in removing the stuck faucet handle.
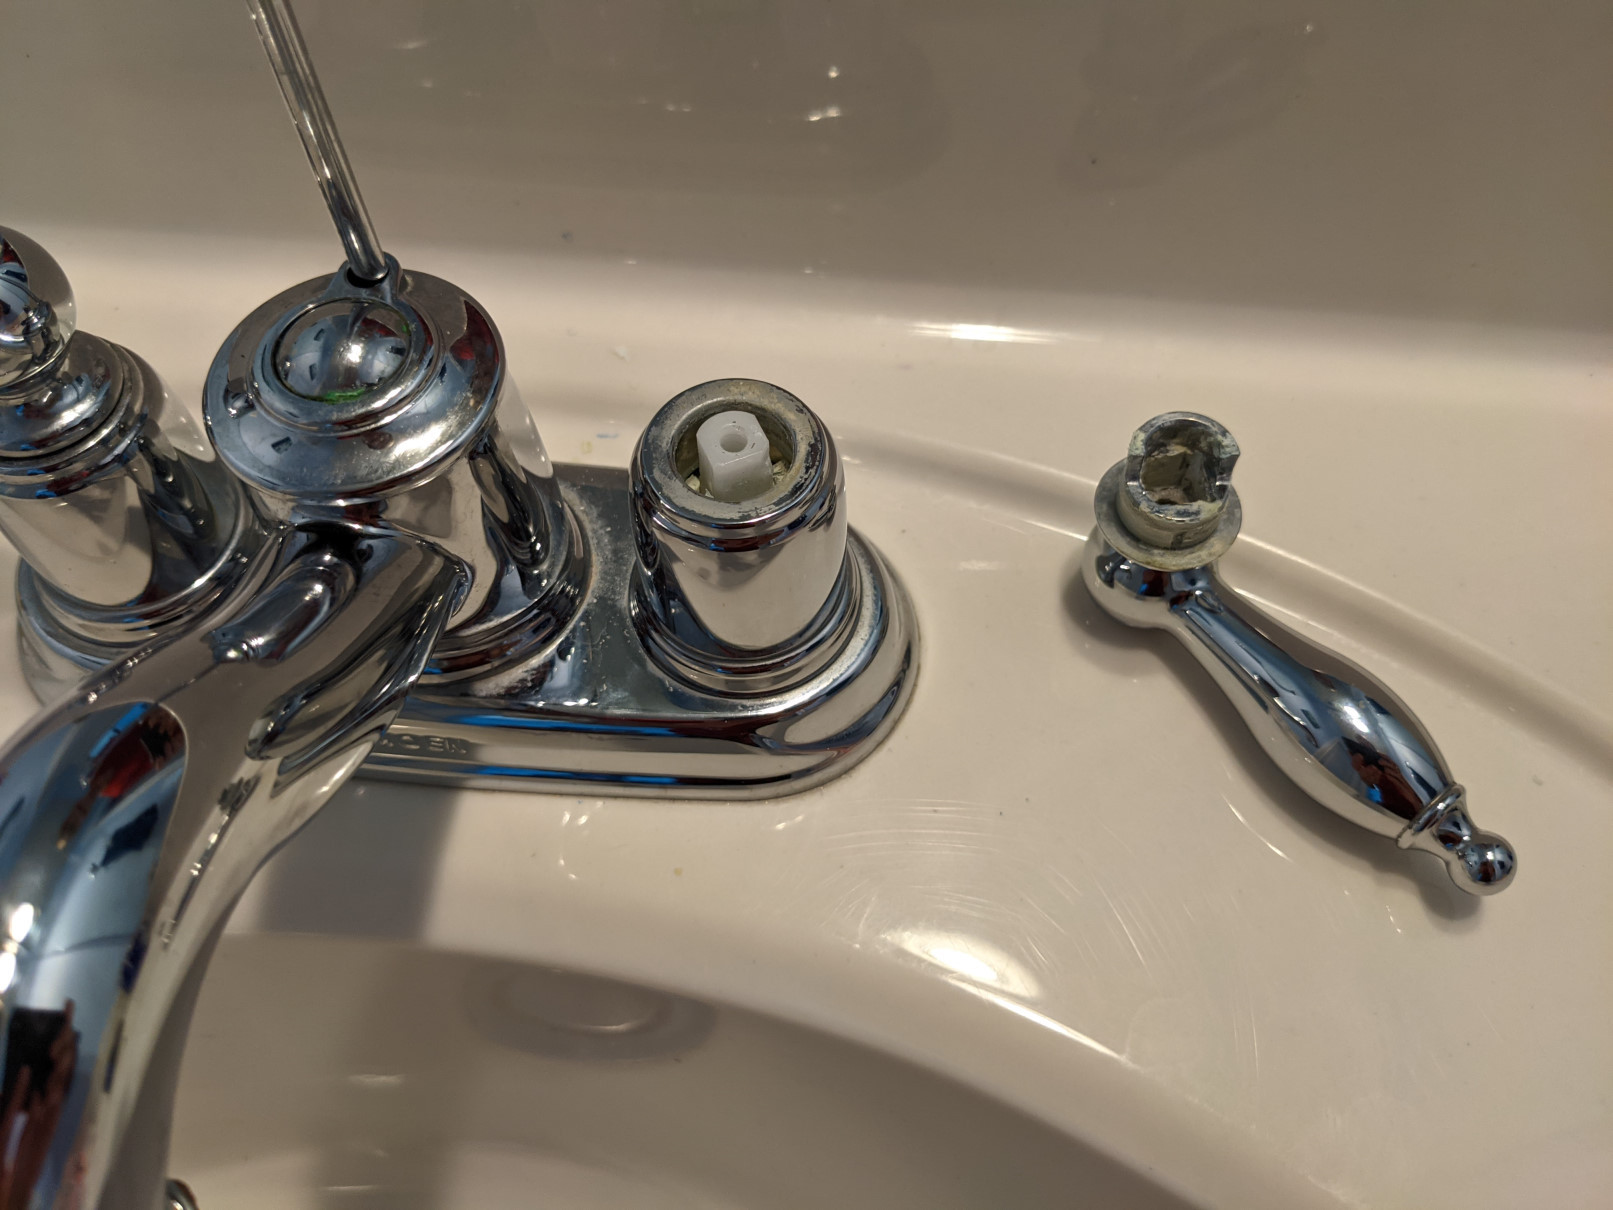
Step 2: Remove decorative cap or cover
Once you’ve shut off the water supply, the next step in removing a stuck faucet handle is to remove the decorative cap or cover that conceals the screw or fastener holding the handle in place. This cap or cover is typically located at the center of the handle and can be made of various materials such as plastic, metal, or ceramic.
To remove the cap or cover, carefully inspect it for any visible screws or fasteners. In some cases, the cap may simply snap off or unscrew counterclockwise. If there are no visible screws, you may need to pry off the cap using a flathead screwdriver or a small pry tool.
Be gentle when prying off the cap to avoid damaging the surface or finish of the faucet. If the cap is stuck, you can try using a lubricant to loosen it. Apply the lubricant around the edges of the cap and let it sit for a few minutes to allow for easier removal.
Once the cap is removed, set it aside in a safe place where it won’t get lost. Some caps may have rubber gaskets or O-rings attached to them, so be mindful of any additional components that may come off with the cap.
Removing the decorative cap or cover will expose the screw or fastener that secures the handle to the stem or cartridge. In the next step, we’ll learn how to remove this screw or fastener to further disassemble the stuck faucet handle.
Read more: How To Remove A Two-Handle Bathroom Faucet
Step 3: Remove retaining screw
With the decorative cap or cover removed, you can now proceed to remove the retaining screw that secures the handle to the stem or cartridge. This screw is typically located in the center of the exposed area, and it holds the handle firmly in place.
Using the appropriate screwdriver, turn the screw counterclockwise to loosen and remove it. Be sure to keep the screw in a safe place where it won’t be lost, as you’ll need it for reassembly later on.
If the screw is stubborn or difficult to turn, you can try applying some lubricant to help loosen it. Allow the lubricant to penetrate the screw threads, and then attempt to remove it again. Alternatively, you can use a screwdriver with a good grip or apply a bit of pressure to the screw while turning.
Once the retaining screw is completely removed, set it aside and keep it within reach for future use. Removing the retaining screw will allow you to proceed with the following steps of the handle removal process.
Now that the retaining screw is out of the way, we can move on to the next step, which involves using lubricant to help loosen the stuck faucet handle.
Use a penetrating oil or lubricant to loosen the stuck faucet handle. Let it sit for a few minutes, then use a wrench or pliers to gently twist and remove the handle. Be careful not to apply too much force and damage the faucet.
Step 4: Apply lubricant
Now that the retaining screw has been removed, it’s time to apply lubricant to the stuck faucet handle. The lubricant will help loosen any mineral buildup or corrosion that may be causing the handle to stick.
Select a lubricant suitable for plumbing applications, such as WD-40 or a specialized penetrating oil. These lubricants are designed to break down rust and corrosion, making them effective in freeing up a stuck handle.
Begin by spraying or applying the lubricant around the base of the handle where it connects to the stem or cartridge. Make sure to work the lubricant into any cracks or crevices where the handle and stem meet. Allow the lubricant to sit and penetrate the stuck components for a few minutes.
While waiting for the lubricant to work its magic, you can gently try wiggling the handle back and forth to help distribute the lubricant and loosen the stuck parts. Avoid applying excessive force or twisting the handle forcefully, as this can damage the handle or other components of the faucet.
If the handle is particularly stubborn, you may need to apply multiple rounds of lubricant and give it some time to soak in. Patience is key in this step, as the lubricant needs time to dissolve any buildup and allow the handle to loosen.
After allowing the lubricant to work its magic, we’re ready to move on to the next step of the removal process, which involves using a wrench or pliers to gently twist and remove the stuck faucet handle.
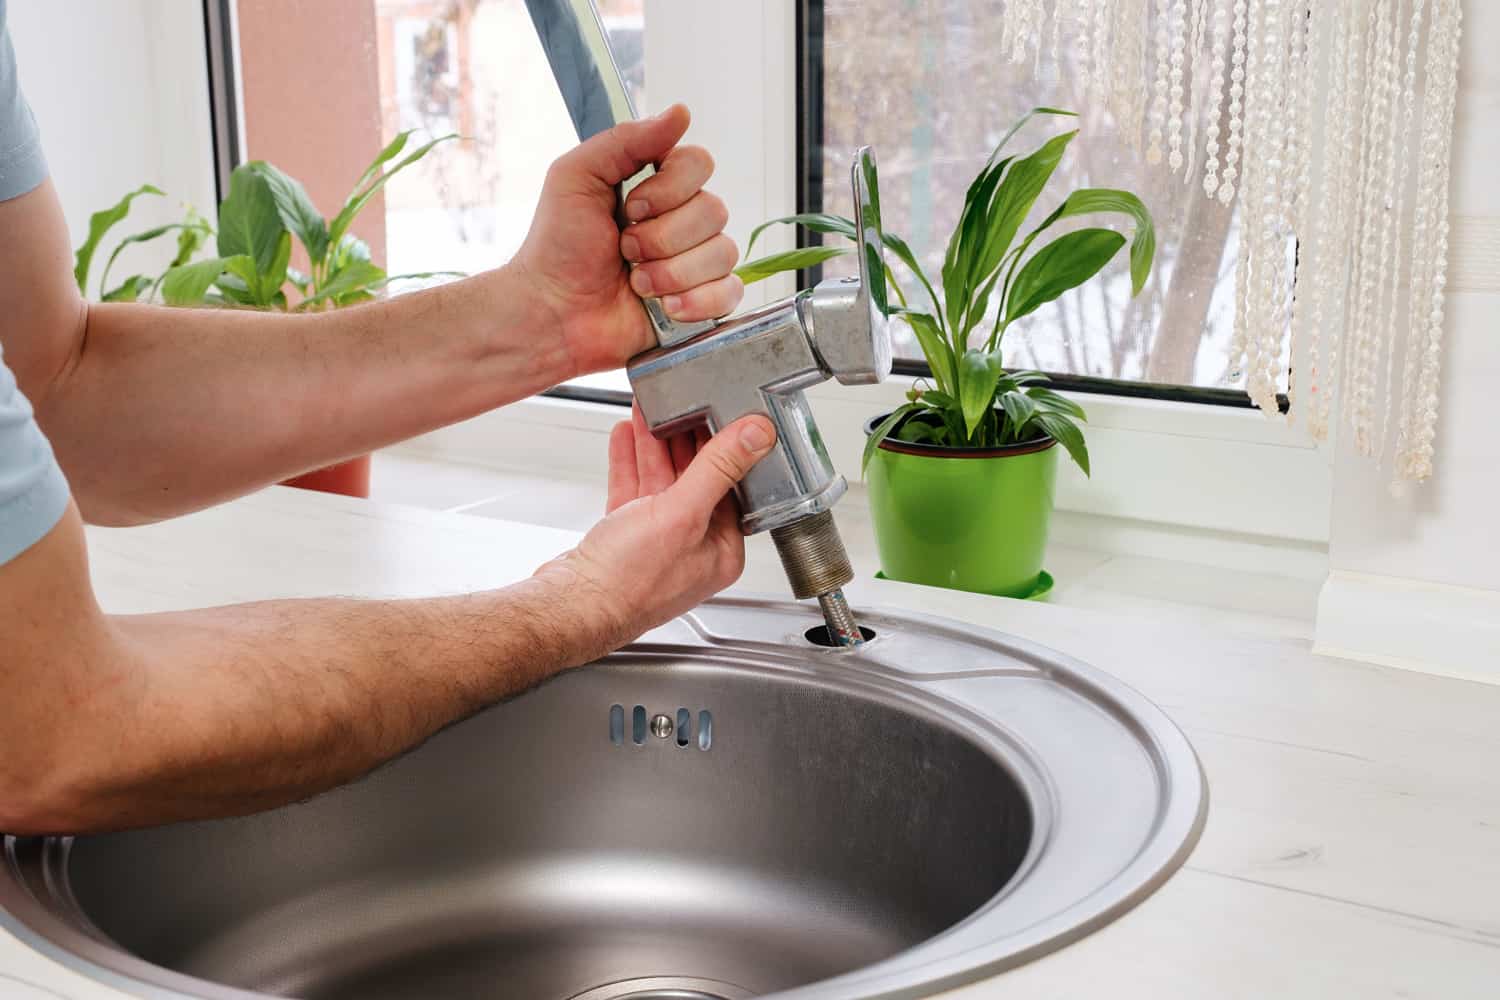
Step 5: Use a wrench or pliers to gently twist and remove handle
Now that the lubricant has had time to penetrate and loosen the stuck components, it’s time to use a wrench or pliers to gently twist and remove the faucet handle.
Start by selecting an adjustable wrench or pliers that are appropriate for the size and type of handle you’re working on. Make sure the tool is adjusted to a size that allows for a snug fit on the base of the handle.
Position the wrench or pliers around the base of the handle and apply gentle pressure in a counterclockwise direction. The goal is to gradually loosen and twist the handle without using excessive force, as this can cause damage to the handle or other parts of the faucet.
If the handle still feels stuck, you can try gently tapping around the base of the handle with a rubber mallet or a block of wood to help dislodge any remaining corrosion or mineral buildup.
Continue twisting and wiggling the handle back and forth until it starts to loosen. Once the handle is completely free, gently lift it off the stem or cartridge and set it aside.
Take a moment to inspect the stem or cartridge for any signs of damage or excessive wear. If you notice any issues, such as cracks or excessive corrosion, it may be necessary to replace the stem or cartridge before reassembling the handle.
Now that the handle has been successfully removed, we can move on to the next step, which involves inspecting and cleaning the faucet to ensure optimal performance.
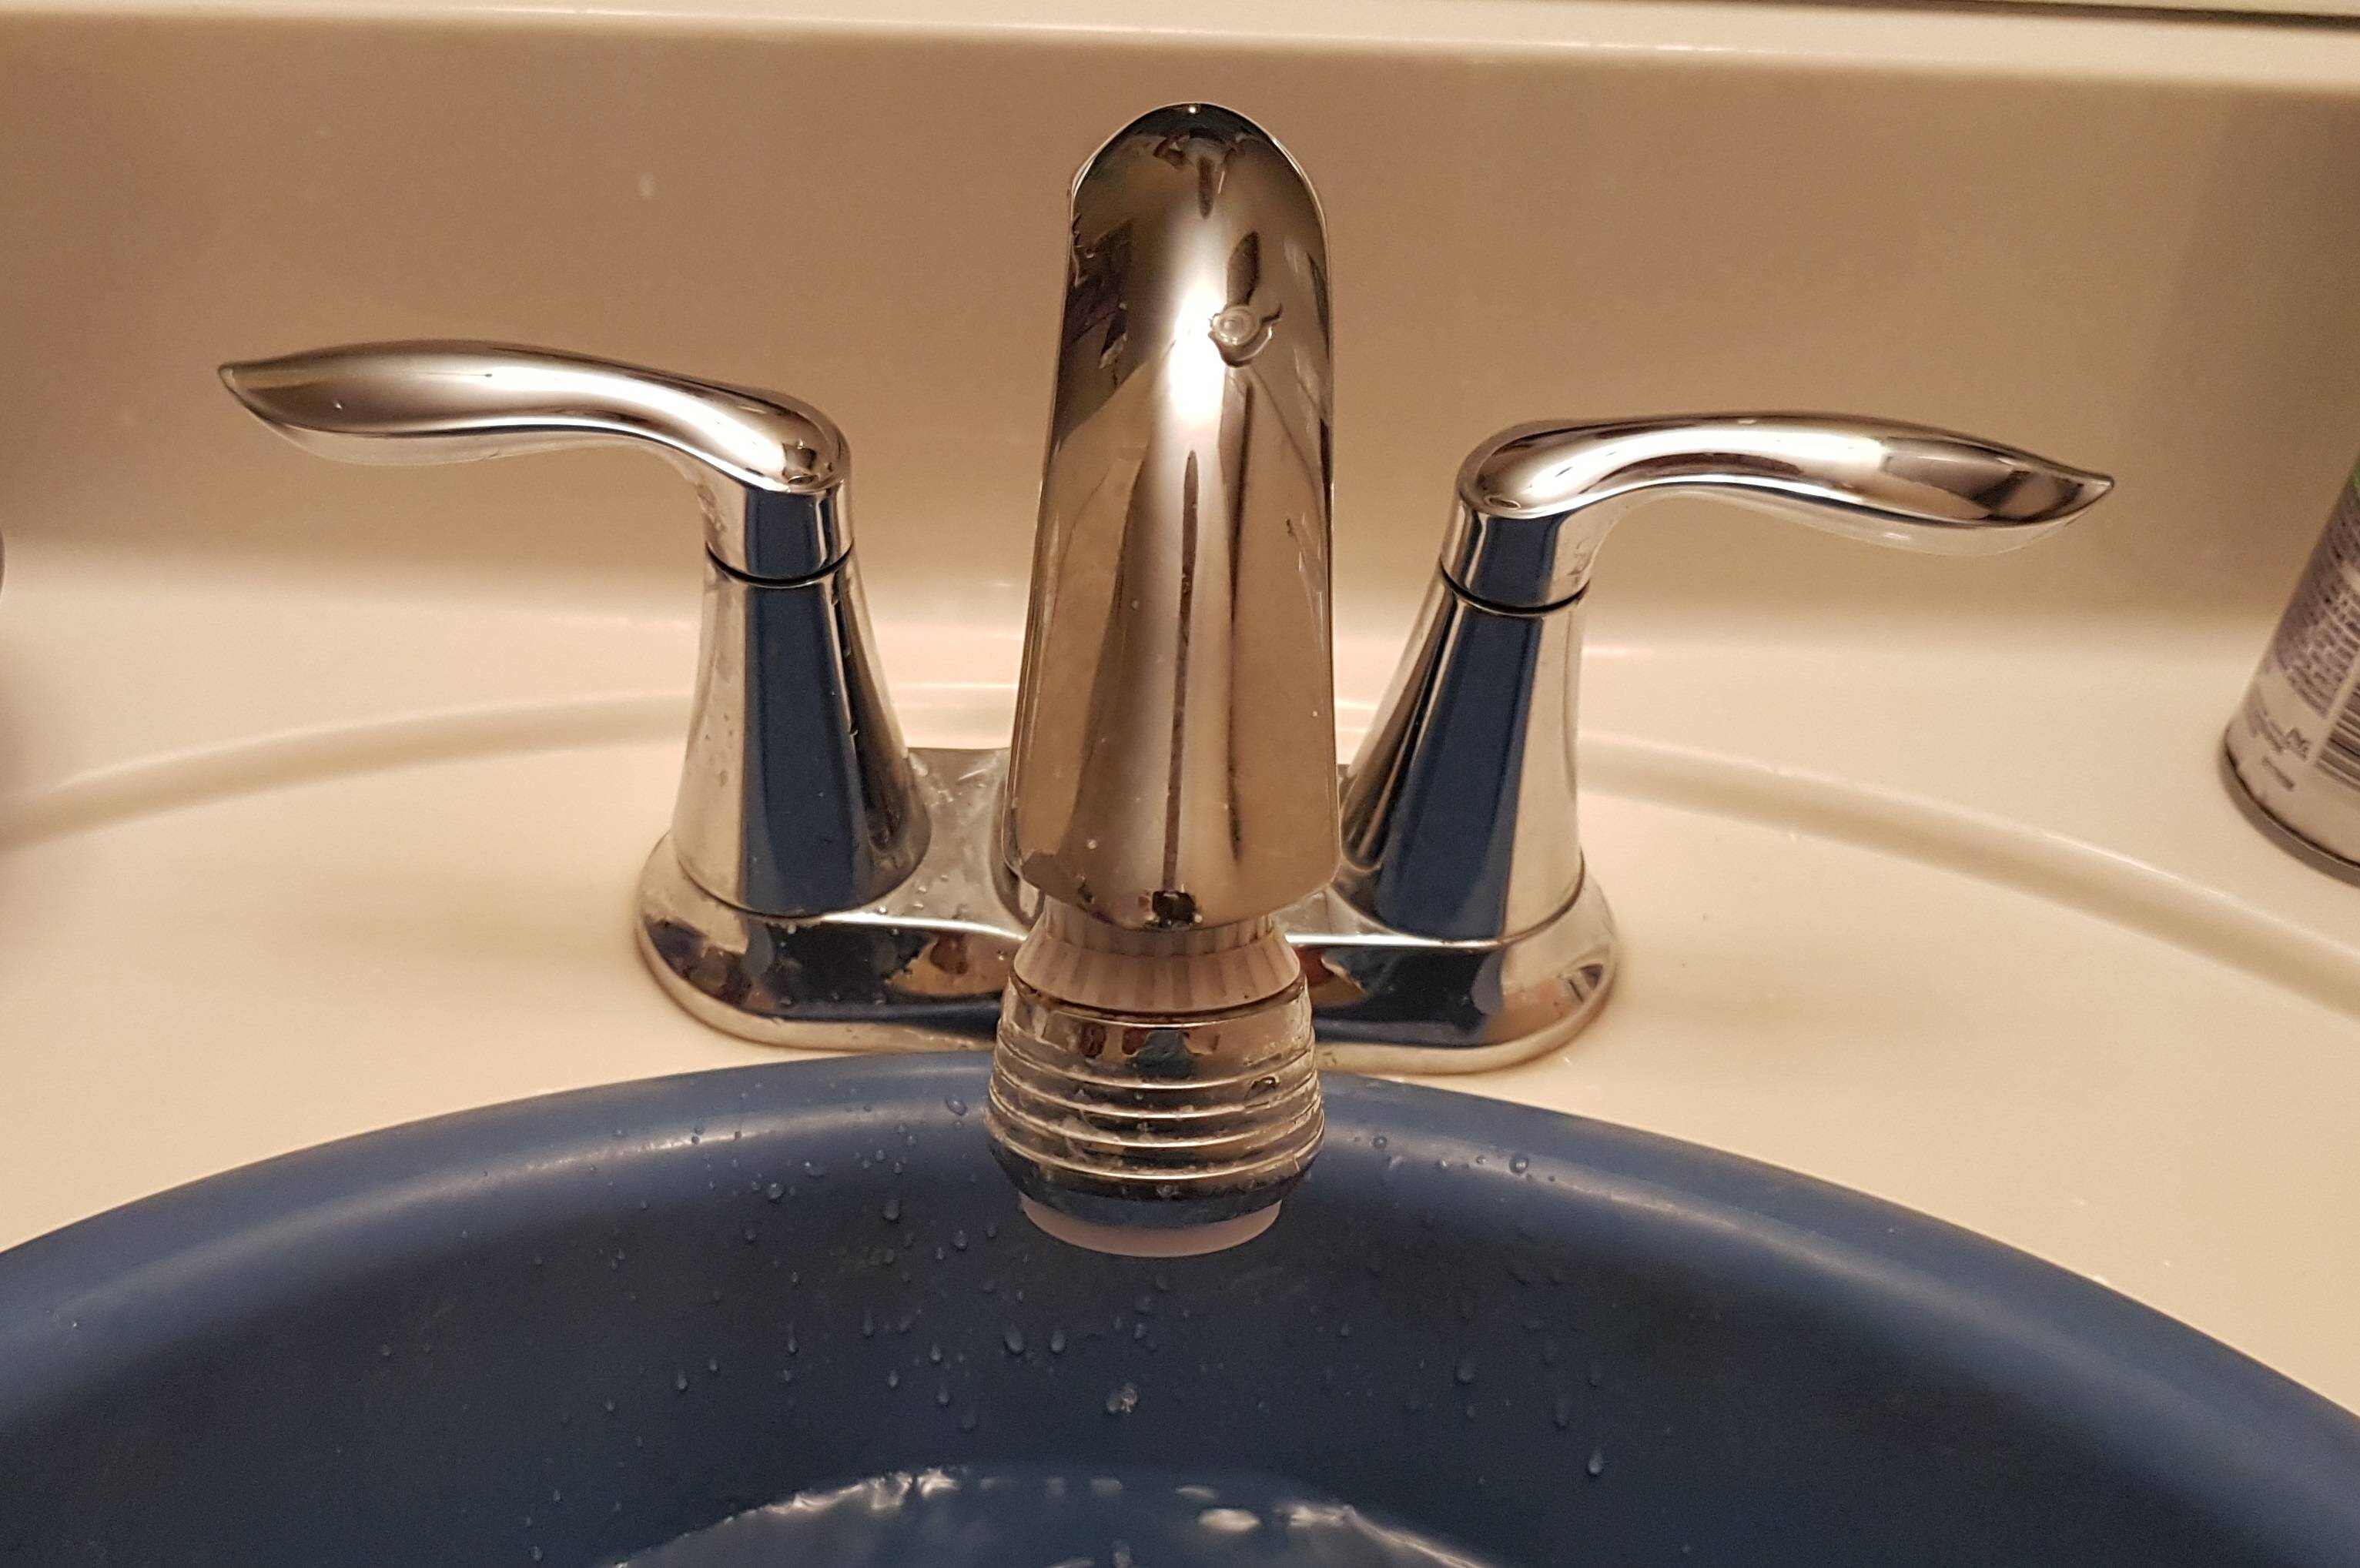
Step 6: Inspect and clean the faucet
With the faucet handle successfully removed, it’s a good opportunity to inspect and clean the various components to ensure optimal performance. This step will help prevent future issues and extend the lifespan of your faucet.
Start by examining the stem or cartridge for any signs of damage, such as cracks, excessive wear, or corrosion. If you notice any issues, it’s recommended to replace the stem or cartridge to prevent further problems down the line.
Next, use a clean cloth or sponge to wipe away any dirt, debris, or lubricant residue from the exposed area. Pay attention to the inside of the handle hole and the surrounding surfaces to ensure they are clean and free from any obstructions.
If you notice any mineral buildup or stubborn residue, you can use a mixture of vinegar and water to gently scrub the affected area. Dip a clean cloth or sponge into the vinegar and water solution and scrub away the buildup. Rinse with clean water afterward to remove any traces of vinegar.
Once the faucet components are clean and free from debris, it’s a good idea to dry them thoroughly before moving on to the reassembly process. Excess moisture can lead to future issues, such as corrosion or mold.
By inspecting and cleaning the faucet, you’re taking proactive steps to maintain its functionality and prevent further problems. With the faucet now in good condition, we can proceed to the final step: reassembling the faucet handle.
Read more: How To Remove Delta Faucet Handle
Step 7: Reassemble the faucet handle
Now that the faucet components are clean and in good condition, it’s time to reassemble the faucet handle and restore it to its original position.
Start by placing the faucet handle back onto the stem or cartridge, aligning it properly with the opening. Ensure that the handle is seated securely and fits snugly onto the stem.
Next, insert the retaining screw into the center of the handle and tighten it clockwise using the appropriate screwdriver. Be careful not to overtighten the screw, as this can cause damage to the handle or other components.
If the decorative cap or cover was removed earlier, reattach it to the center of the handle, following the manufacturer’s instructions. This will help provide a finished look and prevent any dust or debris from entering the handle mechanism.
Once the handle and any additional components are securely reassembled, it’s time to turn on the water supply. Locate the shut-off valve beneath the sink or near the faucet and turn it counterclockwise to restore the flow of water.
Turn on the faucet and check for any leaks or drips. If everything is working properly, congratulations! You have successfully removed and reassembled a stuck faucet handle.
Remember, if you encounter any difficulties during the reassembly process or notice any unusual issues with the faucet, it’s recommended to consult a professional plumber for further assistance.
By following these steps and taking the necessary precautions, you can effectively remove a stuck faucet handle and restore the functionality of your plumbing system. Regular maintenance and prompt repairs will help prolong the lifespan of your faucet and ensure a smooth operation for years to come.
With the faucet handle successfully reassembled and the water flowing, you can now enjoy the convenience and ease of using your faucet without any frustrating hitches or restrictions.
Thank you for following this step-by-step guide. We hope it has been helpful in resolving your stuck faucet handle issue. Happy plumbing!
Conclusion
A stuck faucet handle can be a nuisance, but with the right knowledge and tools, you can easily remove it and restore the functionality of your faucet. By understanding the potential causes of a stuck handle, preparing the necessary tools and materials, and following the step-by-step process outlined in this guide, you can successfully tackle this common plumbing issue.
Remember to approach the task with patience and caution. Take your time to shut off the water supply, remove the decorative cap or cover, and loosen the retaining screw. Applying lubricant and using a wrench or pliers, gently twist and remove the stuck handle. Inspect and clean the faucet components before reassembling the handle and restoring the water supply.
Regular maintenance and prompt repairs are key to ensuring the longevity and optimal performance of your faucet. By keeping an eye out for signs of mineral buildup, corrosion, or faulty mechanisms, you can prevent future issues and potentially save yourself time and money on more extensive repairs.
If you encounter any difficulties during the removal process or have concerns about your plumbing system, it’s always best to consult a professional plumber. They have the expertise to handle more complex situations and can provide personalized guidance tailored to your specific needs.
With the stuck faucet handle issue resolved, you can now enjoy the convenience and functionality of your faucet without any hindrances. By taking care of your plumbing system and addressing issues as they arise, you can ensure the smooth operation and longevity of your fixtures for years to come.
Thank you for taking the time to read this comprehensive guide on how to remove a stuck faucet handle. We hope you found it informative and helpful. Happy plumbing!
Got that stubborn faucet handle off? Great job! Now, why stop there when you can become even more handy around the house? If you're dealing with a Delta faucet, our next guide offers invaluable insights on keeping your fixtures in top shape. Whether you're a seasoned DIYer or just starting out, our guide on faucet repair kits will ensure you have all the essentials for a smooth, hassle-free maintenance. Don't miss out on mastering these skills that can save you time, effort, and money in the long run.
Frequently Asked Questions about How To Remove Stuck Faucet Handle
Was this page helpful?
At Storables.com, we guarantee accurate and reliable information. Our content, validated by Expert Board Contributors, is crafted following stringent Editorial Policies. We're committed to providing you with well-researched, expert-backed insights for all your informational needs.


0 thoughts on “How To Remove Stuck Faucet Handle”