
Articles
How To Remove Delta Faucet Handle
Modified: May 6, 2024
Learn how to remove a Delta faucet handle easily with step-by-step instructions in this informative article. Discover expert tips and tricks to complete the task effortlessly and efficiently.
(Many of the links in this article redirect to a specific reviewed product. Your purchase of these products through affiliate links helps to generate commission for Storables.com, at no extra cost. Learn more)
Introduction
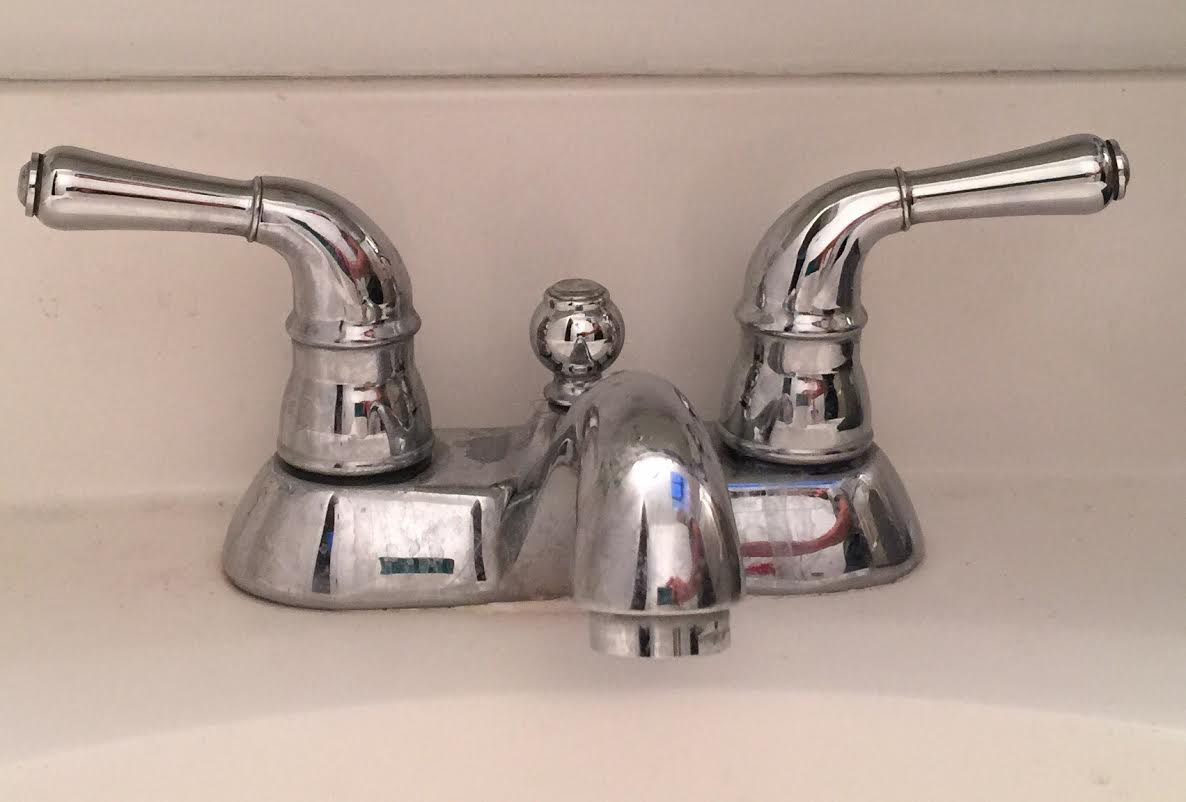
When it comes to maintaining your plumbing fixtures, sometimes you may encounter the need to remove a faucet handle. Whether you’re replacing a worn-out handle or tackling a leaky faucet, taking apart your Delta faucet handle is a necessary step. Don’t worry, though! With a few simple tools and this easy-to-follow guide, you’ll be able to remove your Delta faucet handle like a pro.
Delta faucets are known for their durability and functionality, but over time, handles can become loose or develop other issues. Disassembling the handle allows you to access the internal components, such as the cartridge or O-rings, which may need to be replaced or repaired. By learning how to remove the faucet handle, you can save money on repairs and keep your Delta faucet working smoothly.
In this article, we will provide you with a step-by-step guide on how to remove a Delta faucet handle. We will also discuss the tools and materials you’ll need to complete the job. So, grab your toolbox and let’s get started!
Key Takeaways:
- Save money and time by learning how to remove and reassemble your Delta faucet handle with this easy-to-follow guide. Keep your faucet in top condition and avoid professional repair costs.
- Remember to shut off the water supply, be gentle when removing the handle, and inspect for wear or damage. Proper reassembly and testing for leaks ensure a smoothly functioning Delta faucet handle.
Read more: How To Remove Delta Shower Faucet
Tools and Materials
Before you begin removing your Delta faucet handle, make sure you have the following tools and materials readily available:
- Adjustable wrench
- Phillips screwdriver
- Allen wrench
- Plumber’s tape
- Clean cloth or towel
These tools and materials are essential for a smooth and successful removal process. The adjustable wrench will allow you to loosen and tighten various nuts or bolts, while the Phillips screwdriver will come in handy for removing screws.
An Allen wrench is often required for handles that have a hex screw holding them in place. Additionally, plumber’s tape is necessary for creating a watertight seal when reassembling the faucet handle. Lastly, having a clean cloth or towel nearby will help you wipe away any excess water or debris during the process.
It’s important to note that the specific tools and materials you’ll need may vary depending on the model of your Delta faucet. Some handles may require specialized tools, so it’s a good idea to consult the manufacturer’s instructions or website for any specific requirements.
Once you have gathered all the necessary tools and materials, you’re ready to move on to the next step: shutting off the water supply.
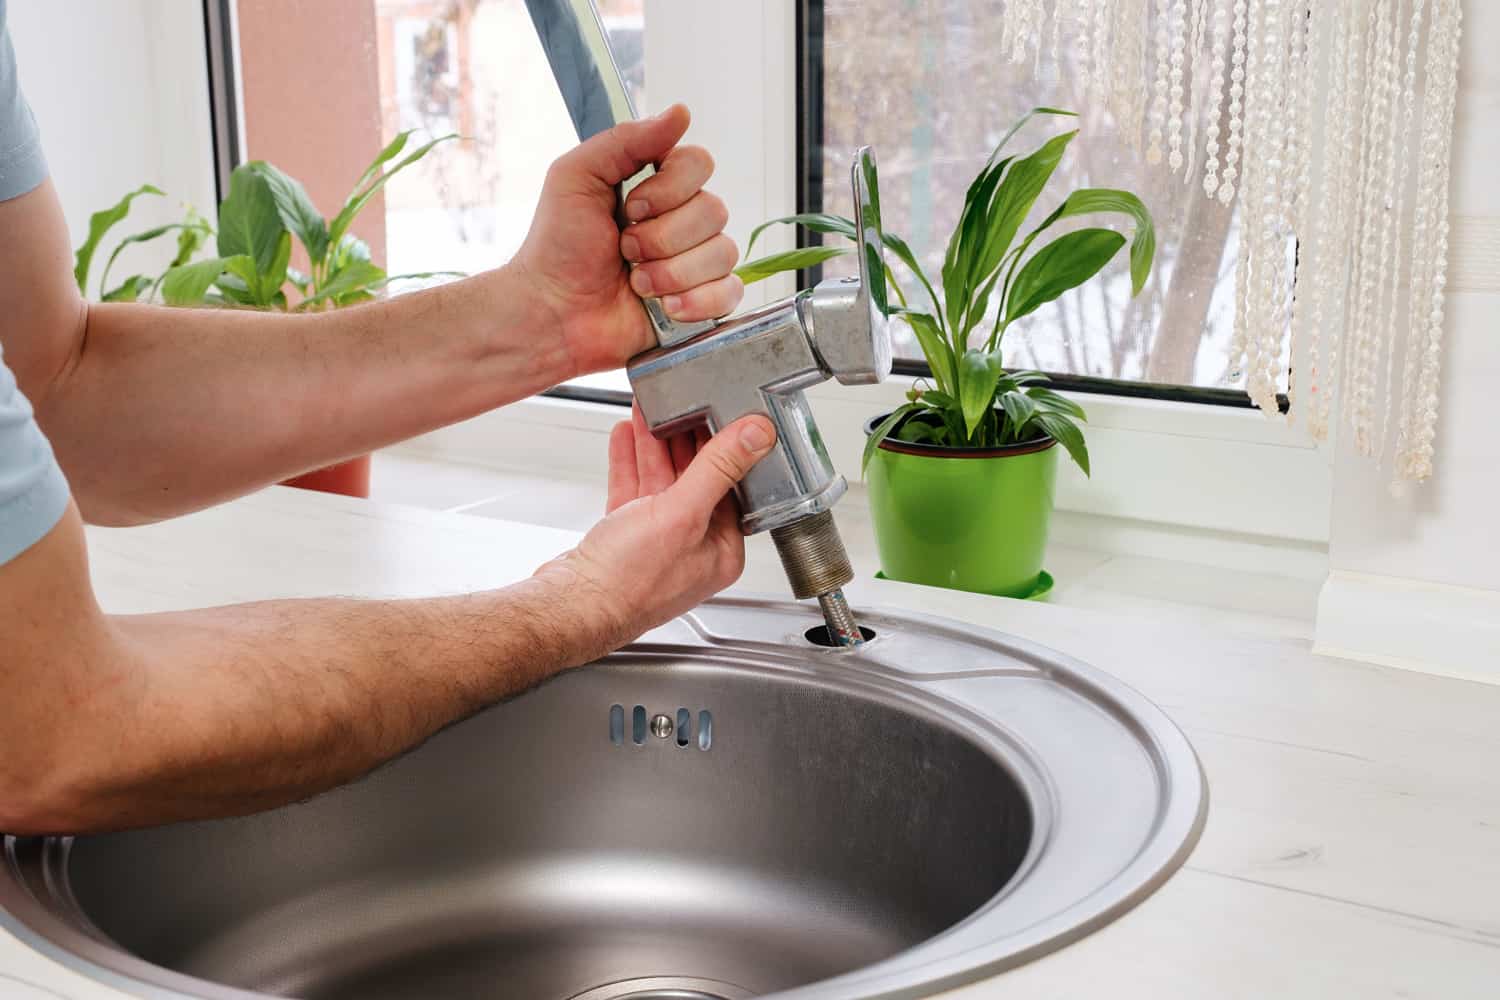
Step 1: Shut Off the Water Supply
Before you begin removing the Delta faucet handle, it’s crucial to turn off the water supply to avoid any leaks or water damage. Follow these steps to shut off the water:
- Locate the water supply valves under the sink. These are usually located on the wall or directly below the sink.
- Turn off both the hot and cold water supply valves by twisting them clockwise until they are fully closed. This will cut off the water flow to the faucet.
- Once the water supply valves are closed, turn on the faucet handles and let any remaining water in the pipes drain out. You can place a towel or bucket under the faucet to catch any water that may come out during this process.
It is important to shut off the water supply to prevent any water flow while you work on removing the handle. This will minimize the risk of leaks and make the process much easier and cleaner.
Now that you have successfully shut off the water supply, you’re ready to move on to the next step: removing the faucet handle screw.
Step 2: Remove the Faucet Handle Screw
Now that the water supply has been shut off, it’s time to remove the faucet handle screw. Follow these steps:
- Inspect the base of the handle for a small screw or set screw. This is often located on the side or underneath the handle.
- Using a Phillips screwdriver or an Allen wrench (depending on the type of screw), carefully loosen and remove the screw by turning it counterclockwise.
- Place the screw in a safe location, such as a small dish or container, to prevent it from getting lost.
It’s important to be gentle when removing the screw to avoid any damage to the handle or the surrounding area. If the screw is stubborn and won’t come loose, you can try using a penetrating oil or applying some heat with a hairdryer to help loosen it.
Once the screw is removed, you can proceed to the next step: removing the Delta faucet handle.
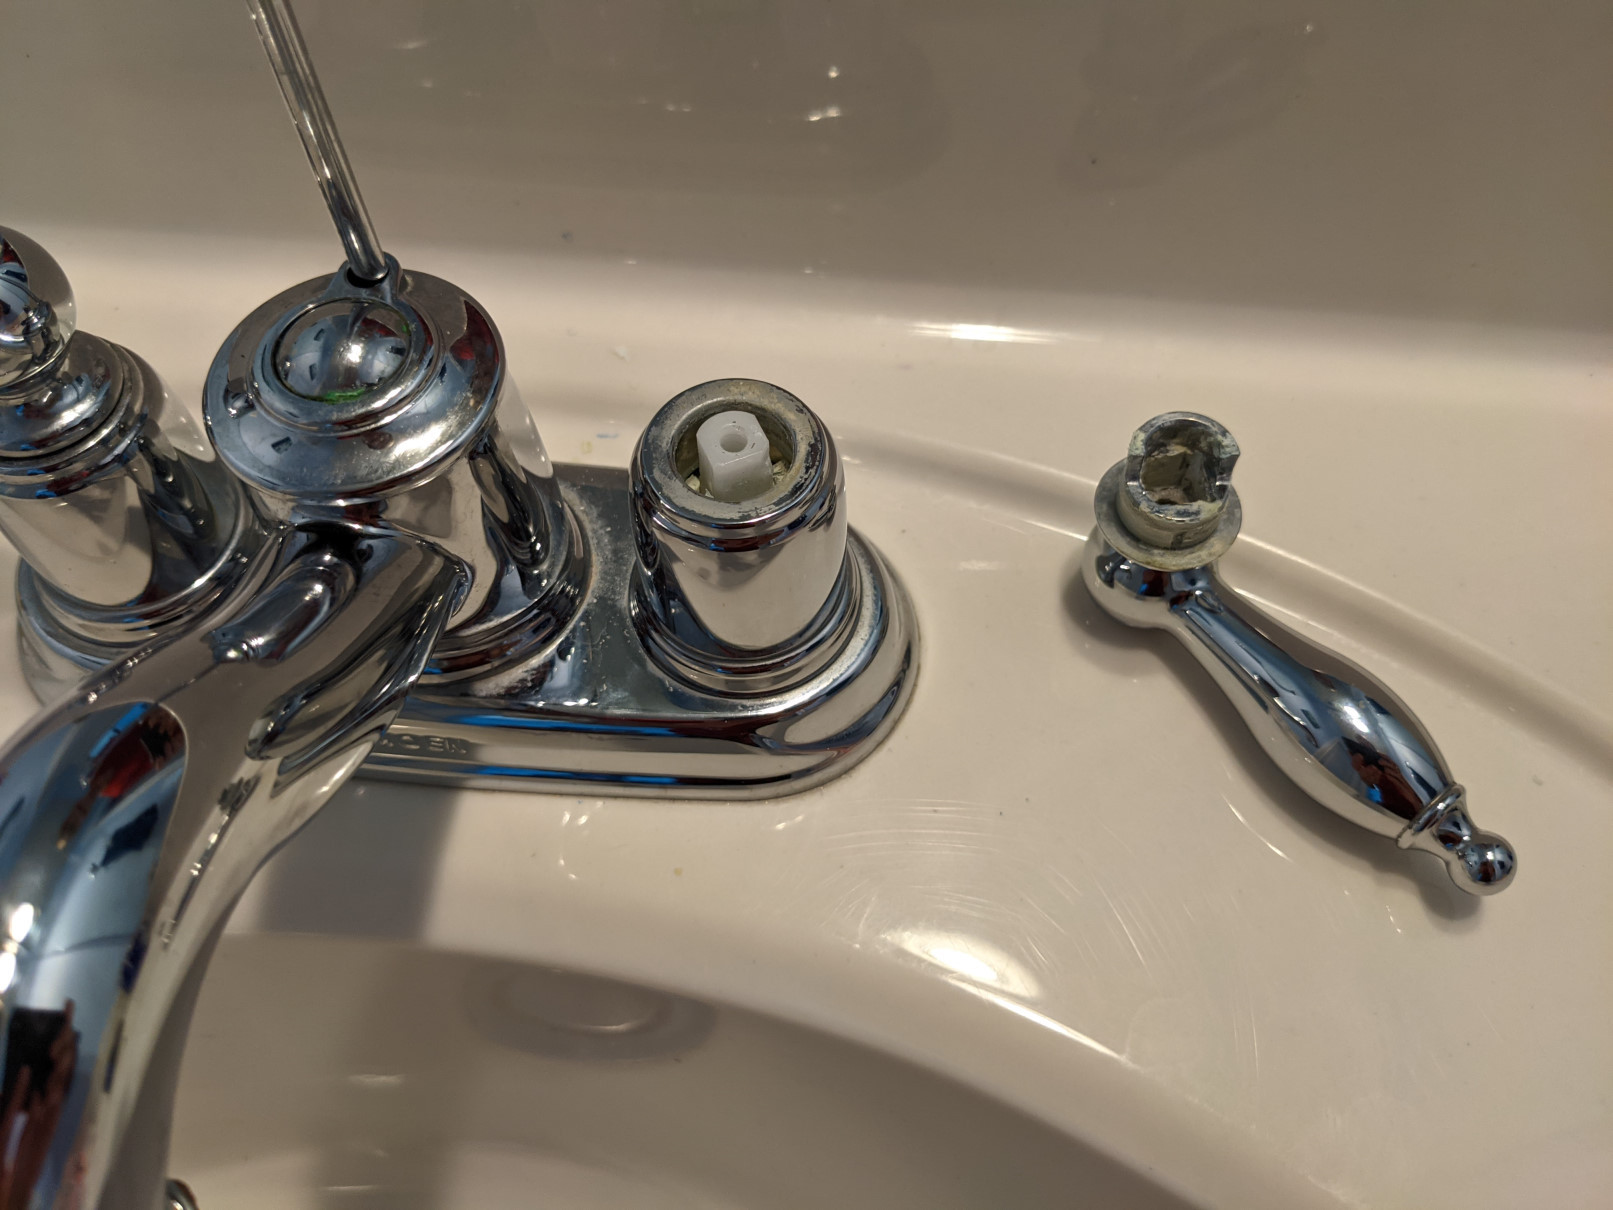
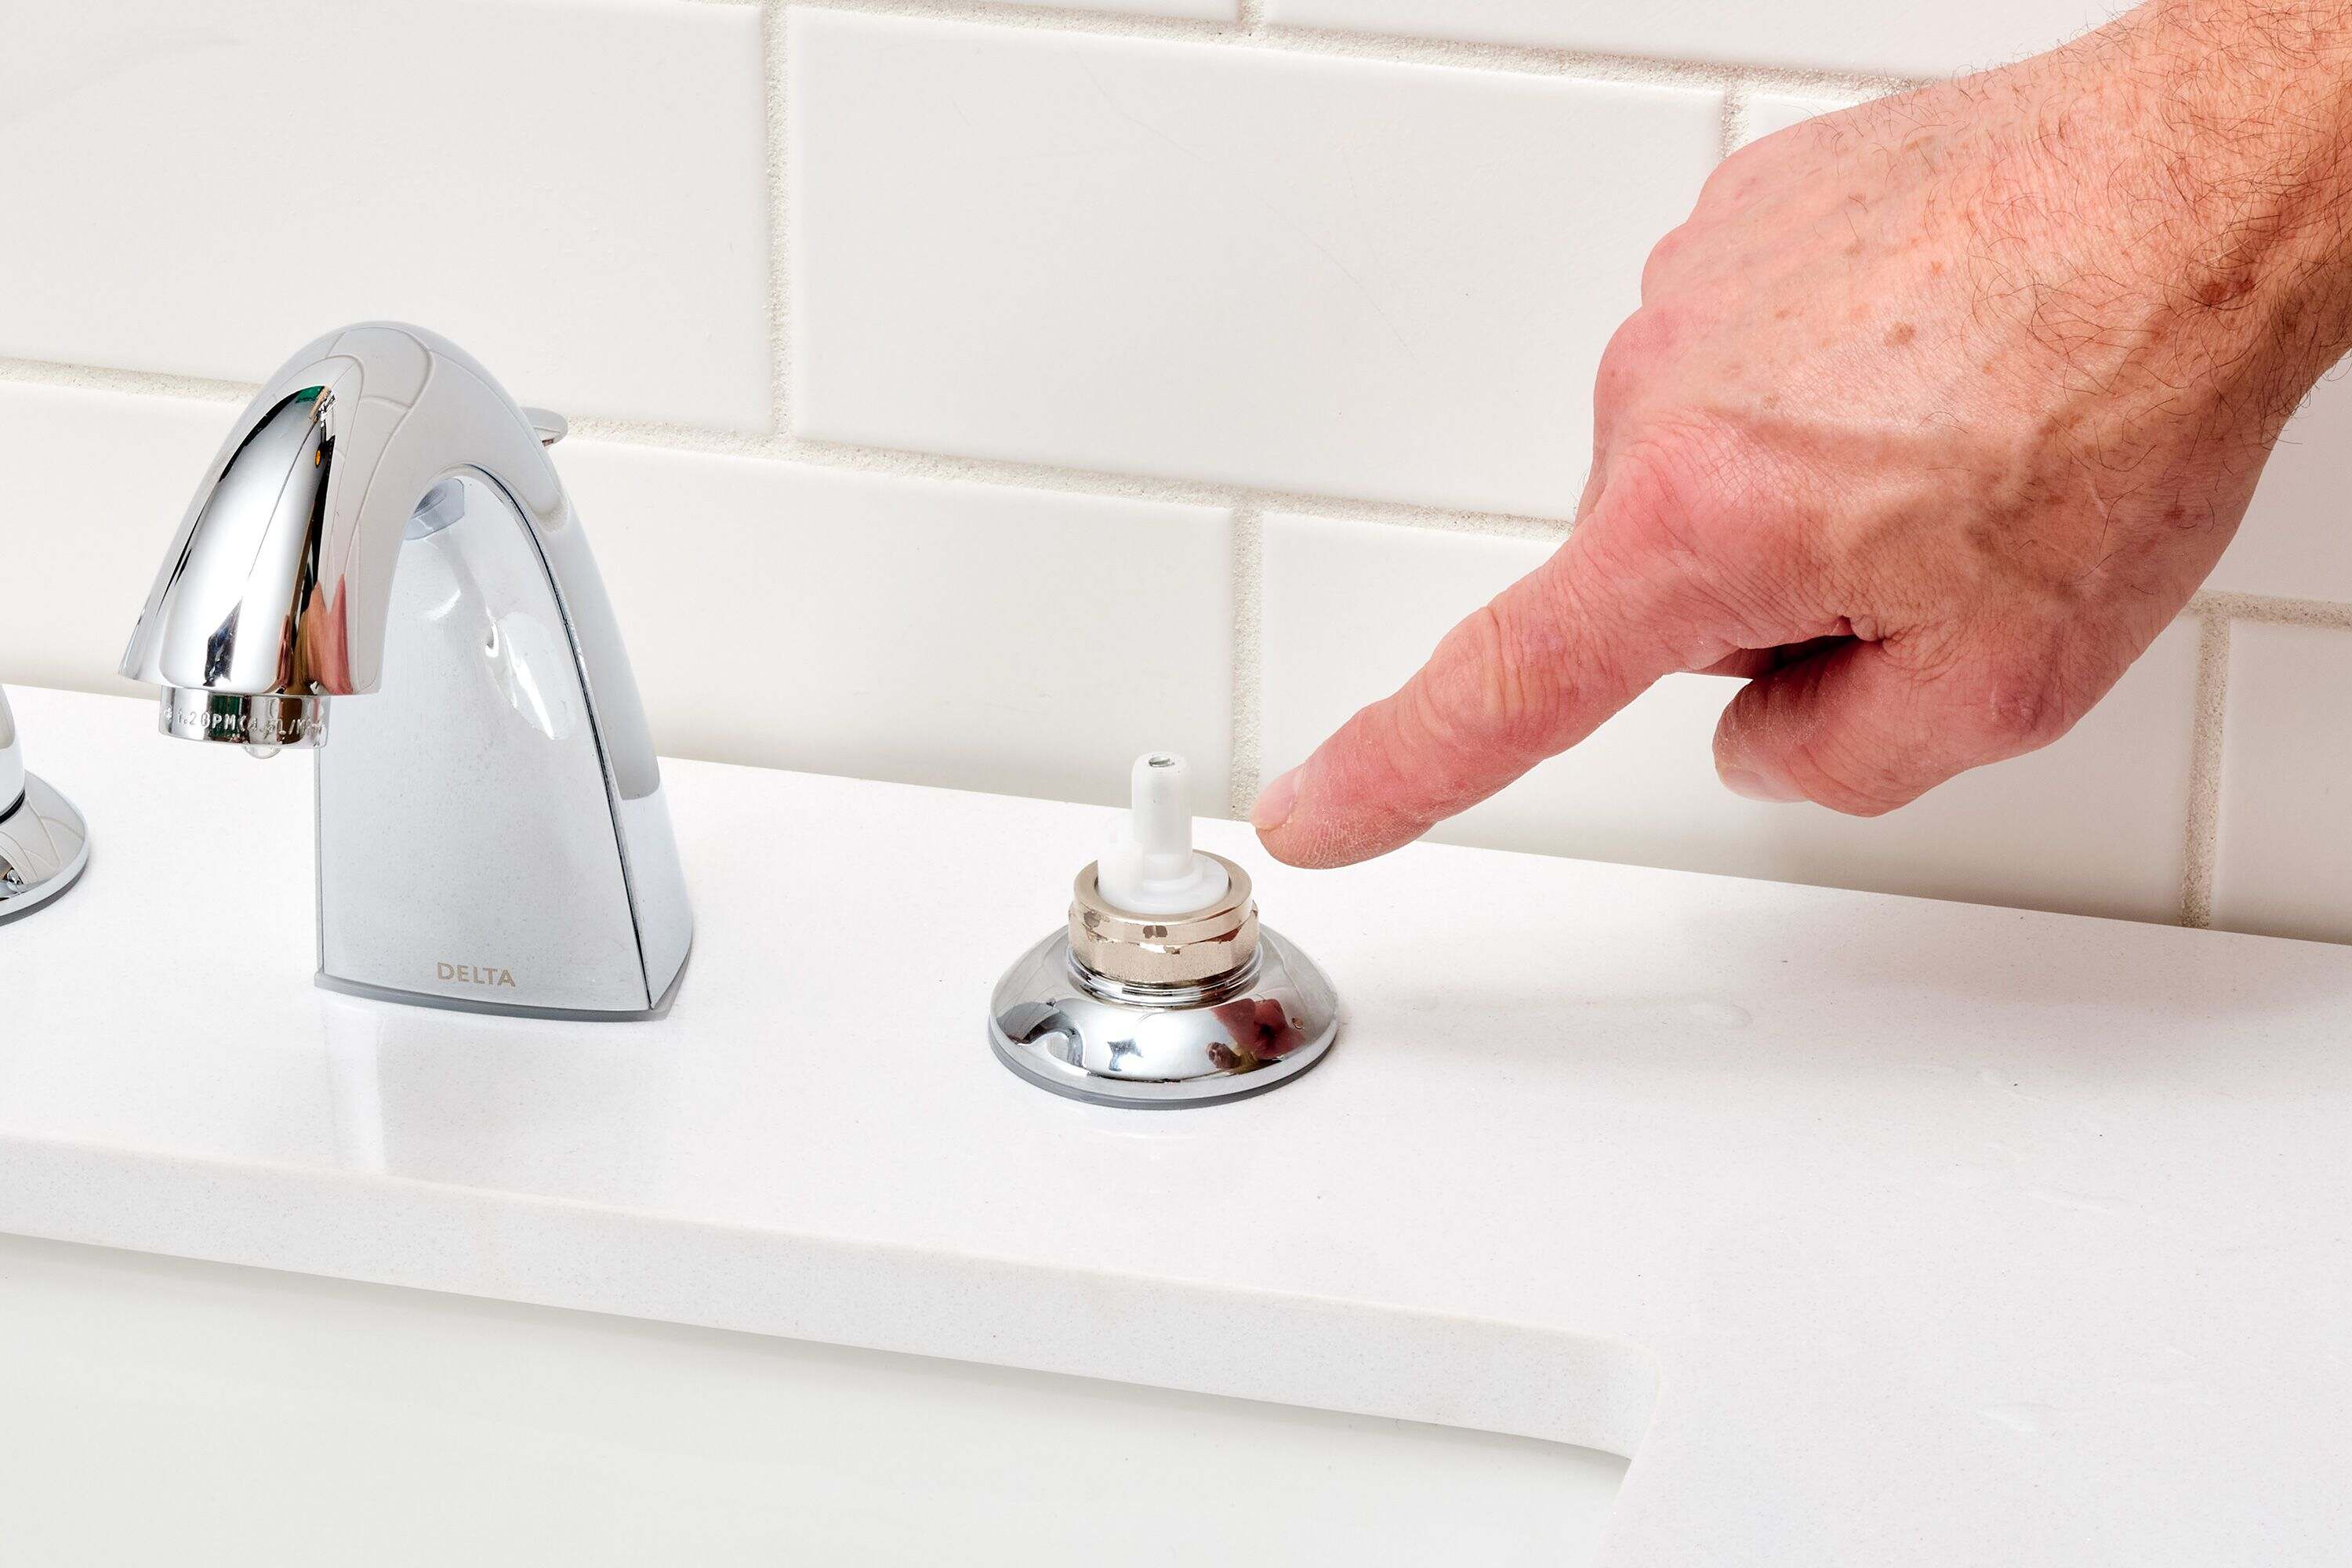
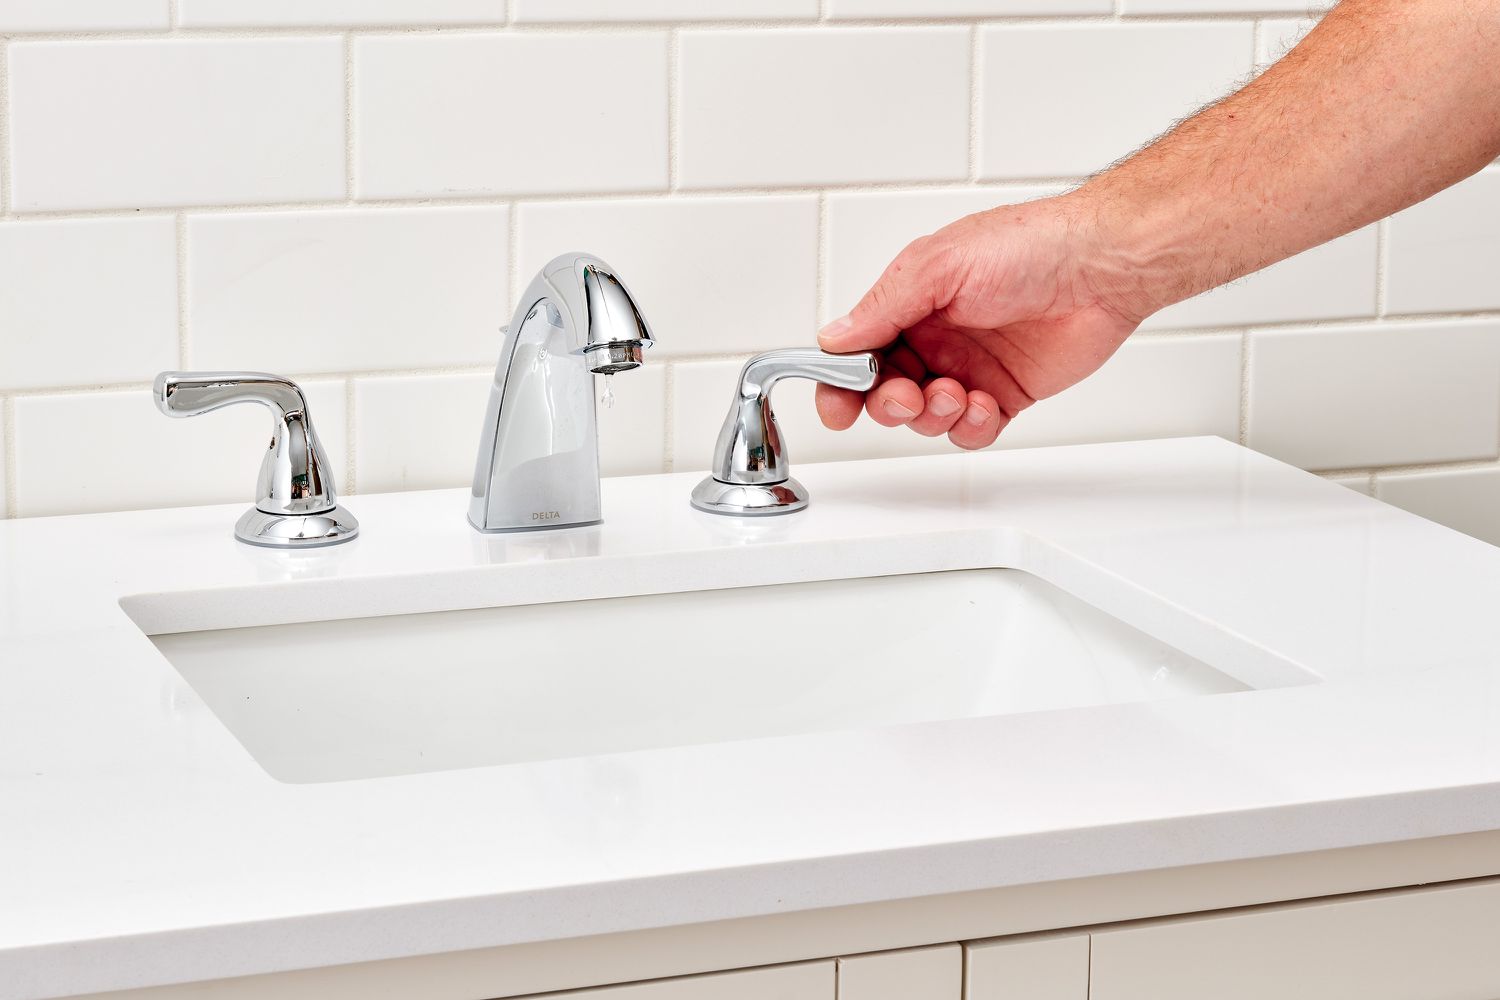
Step 3: Remove the Delta Faucet Handle
Now that the handle screw has been removed, it’s time to take off the Delta faucet handle. Follow these steps:
- Gently grasp the handle with your hand and twist it counterclockwise.
- If the handle doesn’t come off easily, you may need to wiggle it back and forth while applying some upward pressure to loosen it.
- Once the handle is loose, continue twisting it counterclockwise until it comes off completely.
Be careful when removing the handle to avoid forcing or breaking it. Some handles may have additional components, such as decorative caps or buttons, that need to be popped off before the handle can be fully removed.
If you are still having trouble removing the handle, consult the manufacturer’s instructions or website for specific guidance on your particular model. They may have additional tips or techniques for removing stubborn handles.
With the Delta faucet handle successfully removed, you can proceed to the next step: cleaning and inspecting the handle.
Use a flathead screwdriver to carefully pry off the decorative cap on the handle. Then, use a hex key to loosen the set screw and remove the handle.
Read more: How To Remove Stuck Faucet Handle
Step 4: Clean and Inspect the Handle
Now that the Delta faucet handle has been removed, it’s time to clean and inspect it. Follow these steps:
- Using a clean cloth or towel, wipe off any dirt, debris, or residue from the handle.
- Inspect the handle for any signs of damage, such as cracks or worn-out components. Pay close attention to areas that may contribute to the handle’s functionality, such as the cartridge or O-rings.
- If necessary, clean the handle more thoroughly by soaking it in a mixture of warm water and mild soap. Gently scrub away any stubborn dirt or grime using a soft brush or sponge.
- Rinse the handle thoroughly and wipe it dry with a clean cloth.
- Take this opportunity to inspect other components of the faucet, such as the cartridge or valve, for any signs of wear or damage. If any issues are detected, they may need to be addressed before reassembling the handle.
Cleaning and inspecting the handle is an important step to ensure its longevity and optimal performance. It allows you to identify any potential problems and address them before reassembling the handle.
Once the handle is clean and you have completed the inspection, you can proceed to the next step: reassembling the Delta faucet handle.
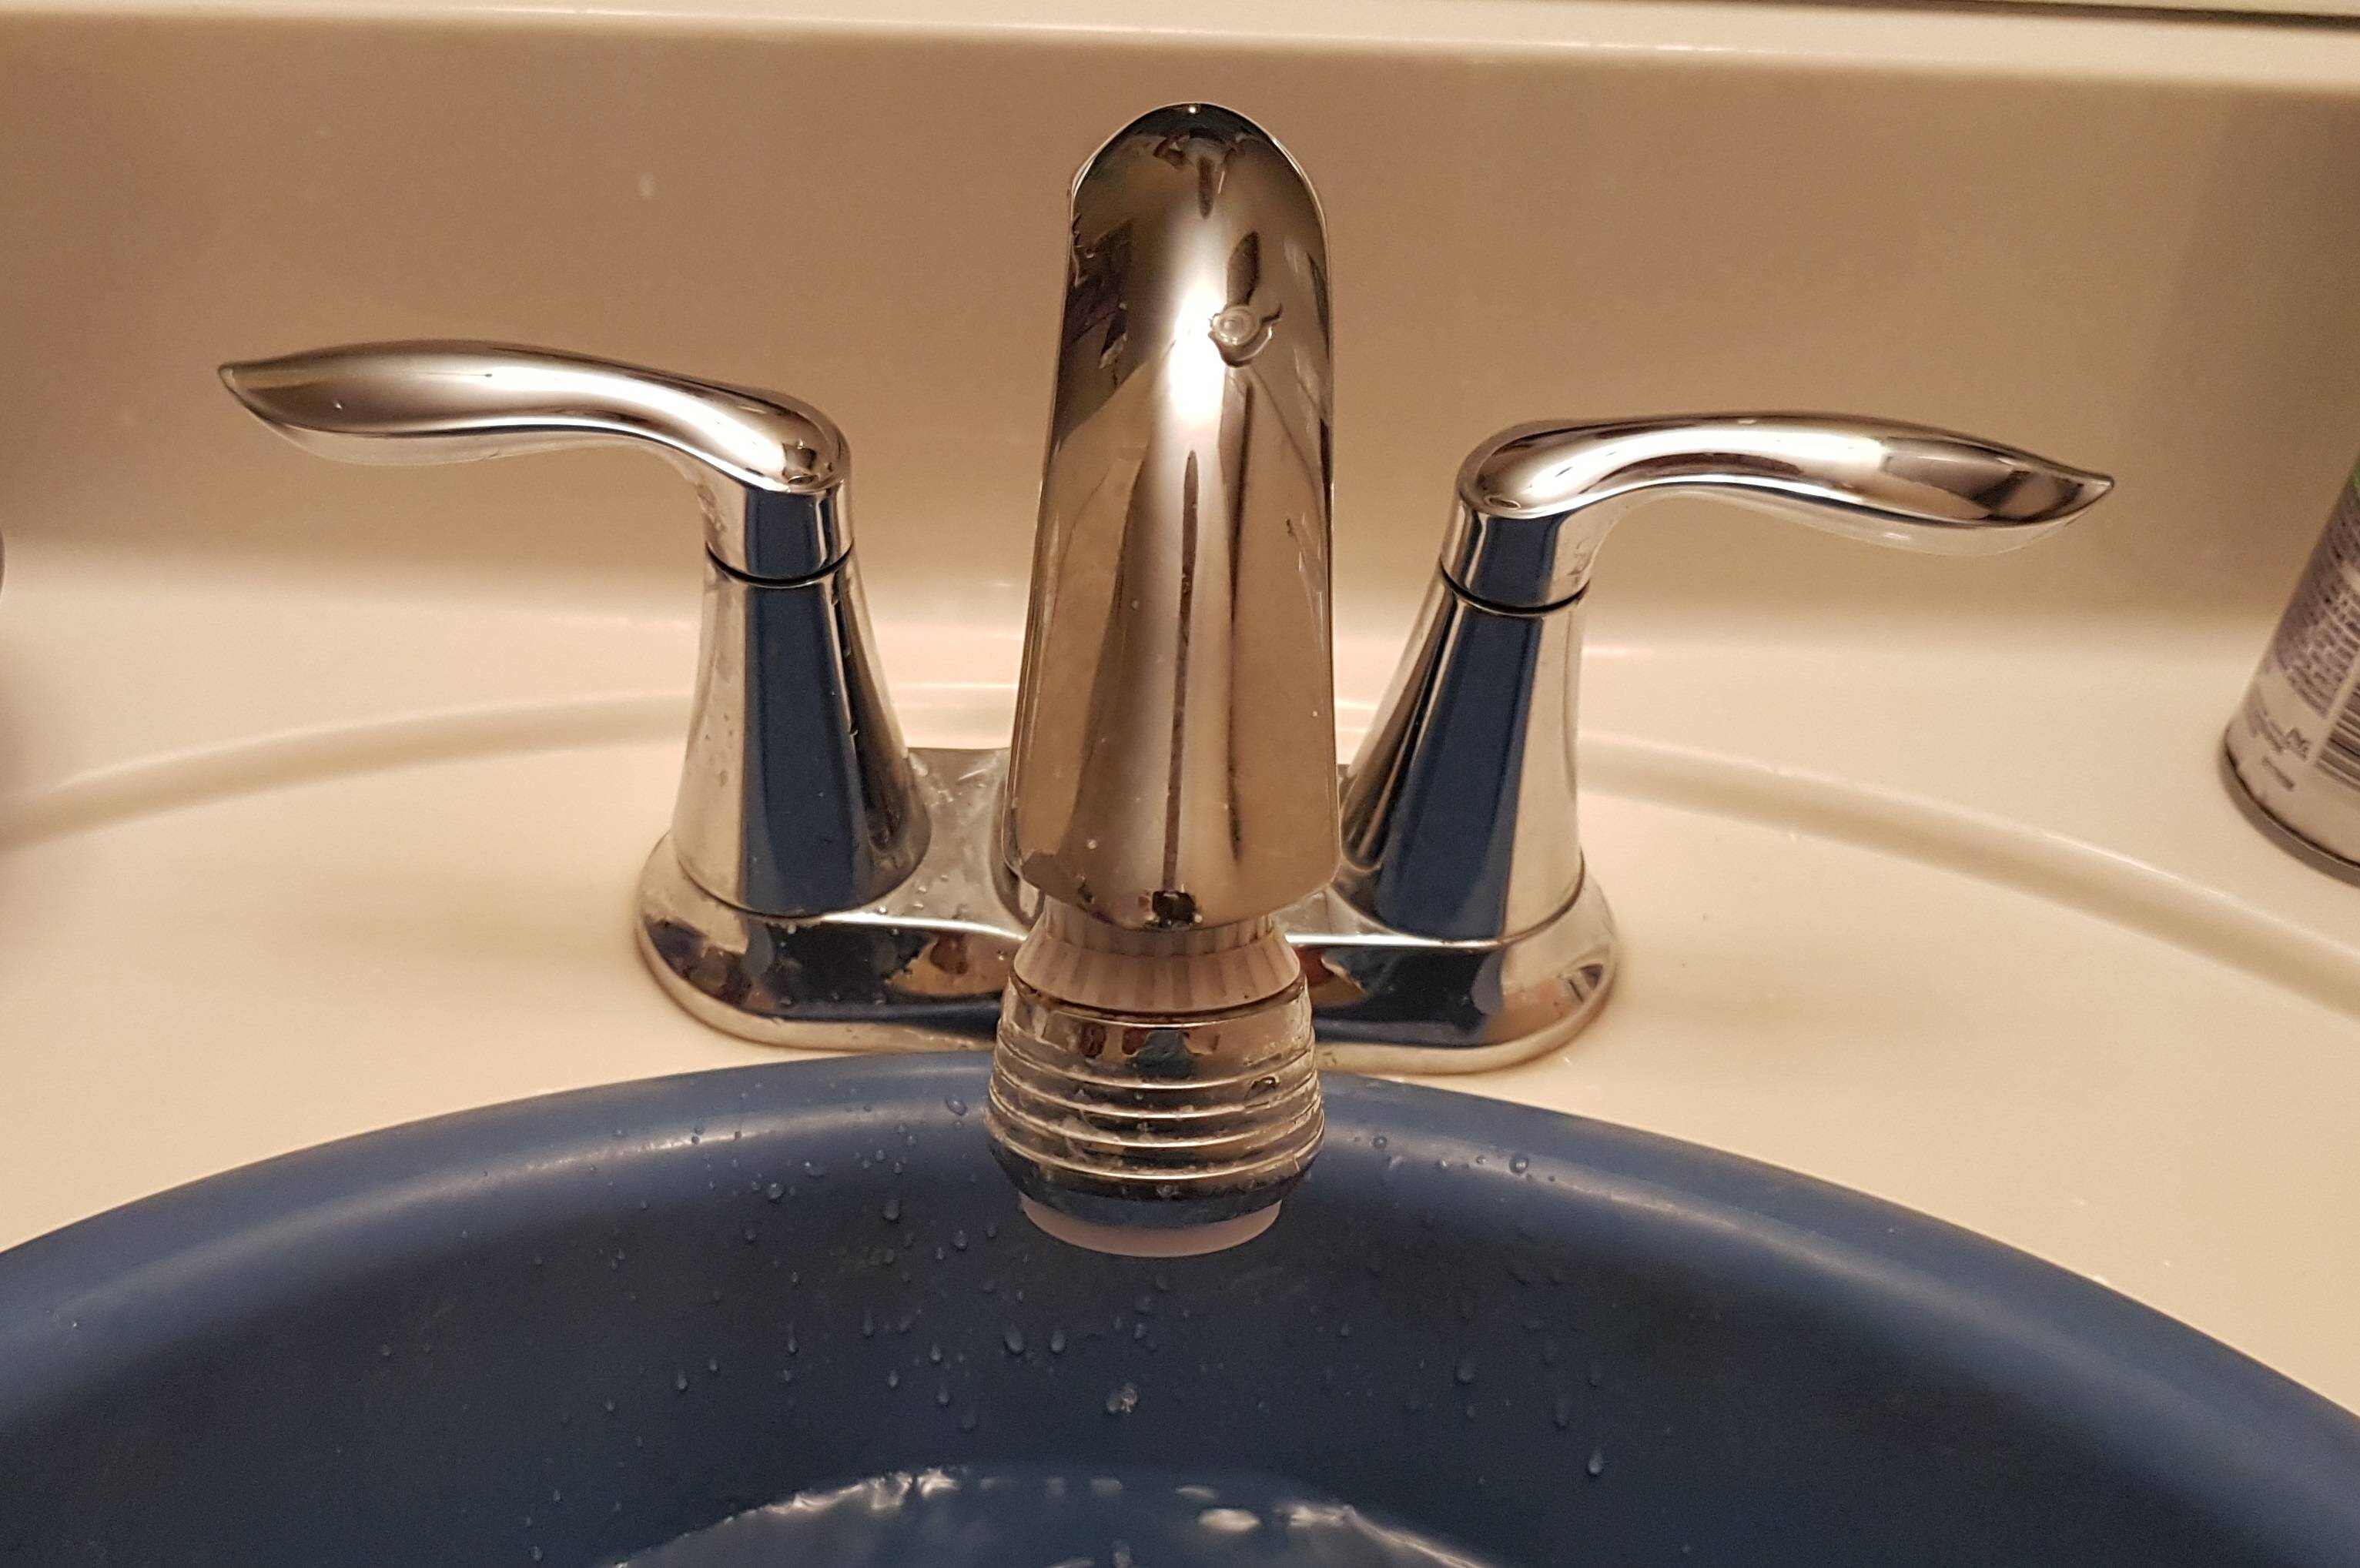
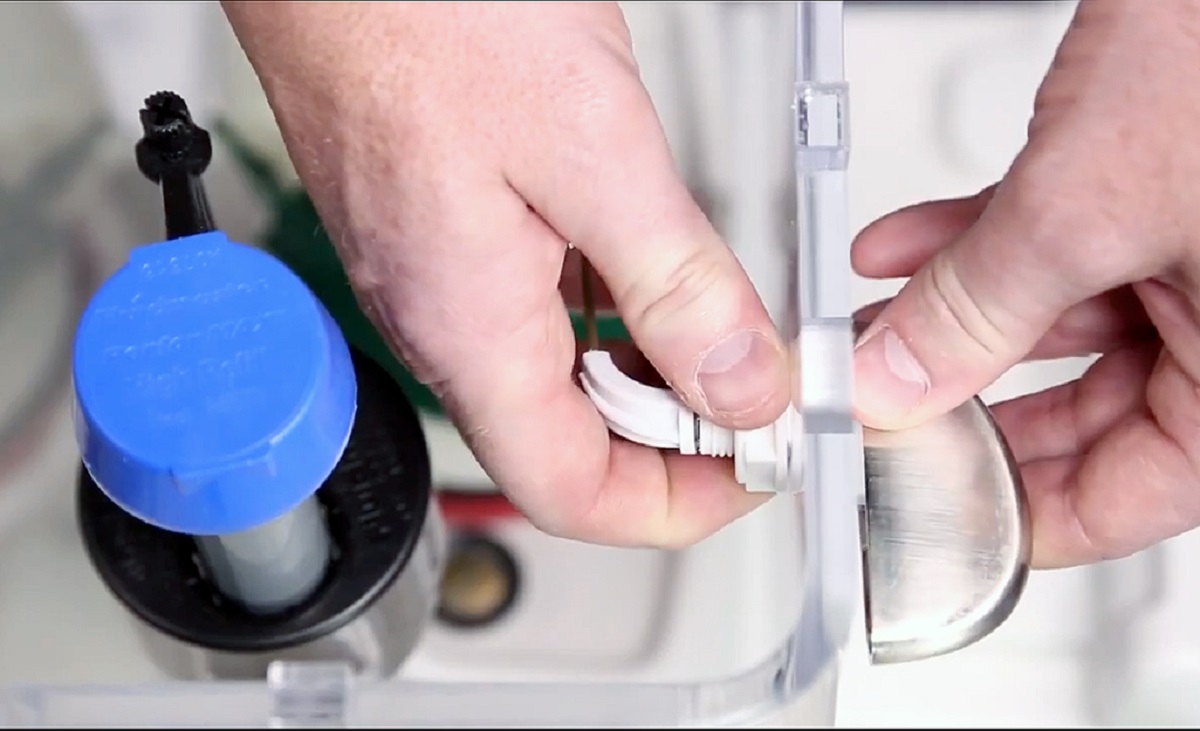
Step 5: Reassemble the Delta Faucet Handle
With the Delta faucet handle cleaned and inspected, it’s time to reassemble it. Follow these steps:
- If necessary, apply a thin layer of plumber’s tape to the threads of the handle base. This will help create a watertight seal when the handle is reattached.
- Line up the handle with the base and gently press it onto the stem.
- Gently twist the handle clockwise to secure it onto the stem. Make sure it is aligned properly and tightened firmly, but avoid over-tightening, as it may damage the handle or components.
- If your handle has a screw, reinsert the screw into its designated hole with a Phillips screwdriver or Allen wrench. Tighten the screw by turning it clockwise until it is snug.
- Double-check the handle to ensure it is securely attached and in the correct position.
With the Delta faucet handle reassembled, you’re almost done! The final step is to turn on the water supply and test the faucet for any leaks or issues.
Before moving on to the last step, it’s always a good idea to refer to the manufacturer’s instructions or website for any specific guidelines or tips on properly reassembling your Delta faucet handle.
Step 6: Turn On the Water Supply
Now that you have successfully reassembled the Delta faucet handle, it’s time to turn on the water supply and test the faucet for any leaks or issues. Follow these steps:
- Locate the water supply valves you previously shut off.
- Slowly turn the hot and cold water supply valves counterclockwise to gradually restore the water flow to the faucet.
- With the water supply turned on, carefully inspect the handle and faucet for any signs of leaks.
- If you notice any leaks, tighten the handle or any applicable connections further. If the problem persists, you may need to disassemble the handle again to ensure components are properly aligned.
If everything looks good and there are no leaks, turn on the faucet and test the water flow and temperature. Allow the water to run for a few minutes to clear out any air bubbles or residual debris.
Congratulations! You have successfully reassembled the Delta faucet handle and restored the water supply. With regular maintenance and care, your faucet should continue to function smoothly.
If you encounter any issues or complications during the reassembly process, don’t hesitate to consult the manufacturer’s instructions or seek professional assistance.
Conclusion
Removing and reassembling a Delta faucet handle may seem like a daunting task, but with the right tools and knowledge, it can be accomplished smoothly. By following the steps outlined in this guide, you can successfully remove and reassemble your Delta faucet handle, saving time and money on professional repairs.
Remember to always shut off the water supply before starting the process to avoid any potential leaks or water damage. Take your time and be gentle when removing and cleaning the handle to prevent any damage or breakage.
Inspecting the handle for any signs of wear or damage is crucial in maintaining its functionality. Cleaning the handle thoroughly ensures that any debris or build-up is removed, allowing for optimal performance.
When reassembling the Delta faucet handle, make sure to align it properly and avoid over-tightening. Testing for leaks and ensuring the water flow and temperature are functioning correctly is the final step to ensure successful reassembly.
If you encounter any issues or complications, don’t hesitate to consult the manufacturer’s instructions or seek assistance from a professional plumber. It’s always better to ask for help rather than causing further damage.
By following these steps and taking proper care of your Delta faucet handle, you can keep it in good working condition and enjoy a leak-free and functional kitchen or bathroom faucet for years to come.
Now that you're equipped with the know-how to remove a Delta faucet handle, why stop there? Dive into our detailed guide on selecting the perfect Faucet Repair kit to keep all your fixtures in tip-top shape well into 2024. Or, if a larger transformation sparks your interest, take a look at our inspiring Kitchen Remodel story that breathes new life into classic kitchen features. Both reads offer invaluable insights and practical advice to elevate your home's functionality and style.
Frequently Asked Questions about How To Remove Delta Faucet Handle
Was this page helpful?
At Storables.com, we guarantee accurate and reliable information. Our content, validated by Expert Board Contributors, is crafted following stringent Editorial Policies. We're committed to providing you with well-researched, expert-backed insights for all your informational needs.


0 thoughts on “How To Remove Delta Faucet Handle”