
Articles
How To Remove Grohe Kitchen Faucet
Modified: October 28, 2024
Learn how to remove your Grohe kitchen faucet with our informative articles. Find step-by-step instructions and expert tips for a seamless removal process.
(Many of the links in this article redirect to a specific reviewed product. Your purchase of these products through affiliate links helps to generate commission for Storables.com, at no extra cost. Learn more)
Introduction
Are you tired of dealing with a leaky or outdated Grohe kitchen faucet? Sometimes, replacing your kitchen faucet can freshen up your space and make your kitchen look brand new. Whether you are a DIY enthusiast or someone looking to save some money on plumbing repairs, removing a Grohe kitchen faucet is a task that you can tackle with the right tools and a little bit of patience.
In this article, we will guide you through the process of removing a Grohe kitchen faucet, step by step. By following these instructions and using the necessary tools, you can quickly and easily remove your old faucet and prepare for the installation of a new one.
Before we jump into the nitty-gritty of removing your Grohe kitchen faucet, it’s important to note that this guide is specific to Grohe faucets. Grohe is a well-known brand renowned for its high-quality and durable kitchen faucets. So, if you own a Grohe faucet and are looking to replace it, keep reading to learn how to remove it like a pro.
Now, let’s gather our tools and materials and get started on removing your Grohe kitchen faucet.
Key Takeaways:
- Upgrade your kitchen by removing your old Grohe kitchen faucet with the right tools and step-by-step instructions. Enjoy improved functionality and a fresh, modern look in your kitchen.
- Thoroughly test your newly installed Grohe kitchen faucet to ensure proper functionality and address any potential issues. Follow the step-by-step guide for a successful removal and installation process.
Read also: 15 Best Grohe Kitchen Faucet for 2025
Tools and Materials Needed
Before you begin the process of removing your Grohe kitchen faucet, here are the tools and materials you will need:
- Adjustable wrench
- Allen wrench (hex key)
- Plumber’s tape
- Bucket or towel
- Clean cloth or rag
- New cartridge (if replacing)
Ensure that you have these items on hand before starting the removal process. Having the right tools will make the task much easier and more efficient.
Once you have gathered all the necessary tools and materials, you can move on to the next step of the process: turning off the water supply to your faucet.
Step 1: Turn Off the Water Supply
The first step in removing your Grohe kitchen faucet is to turn off the water supply. This is an important precautionary measure that will prevent any unwanted water leakage and make it easier to remove the faucet.
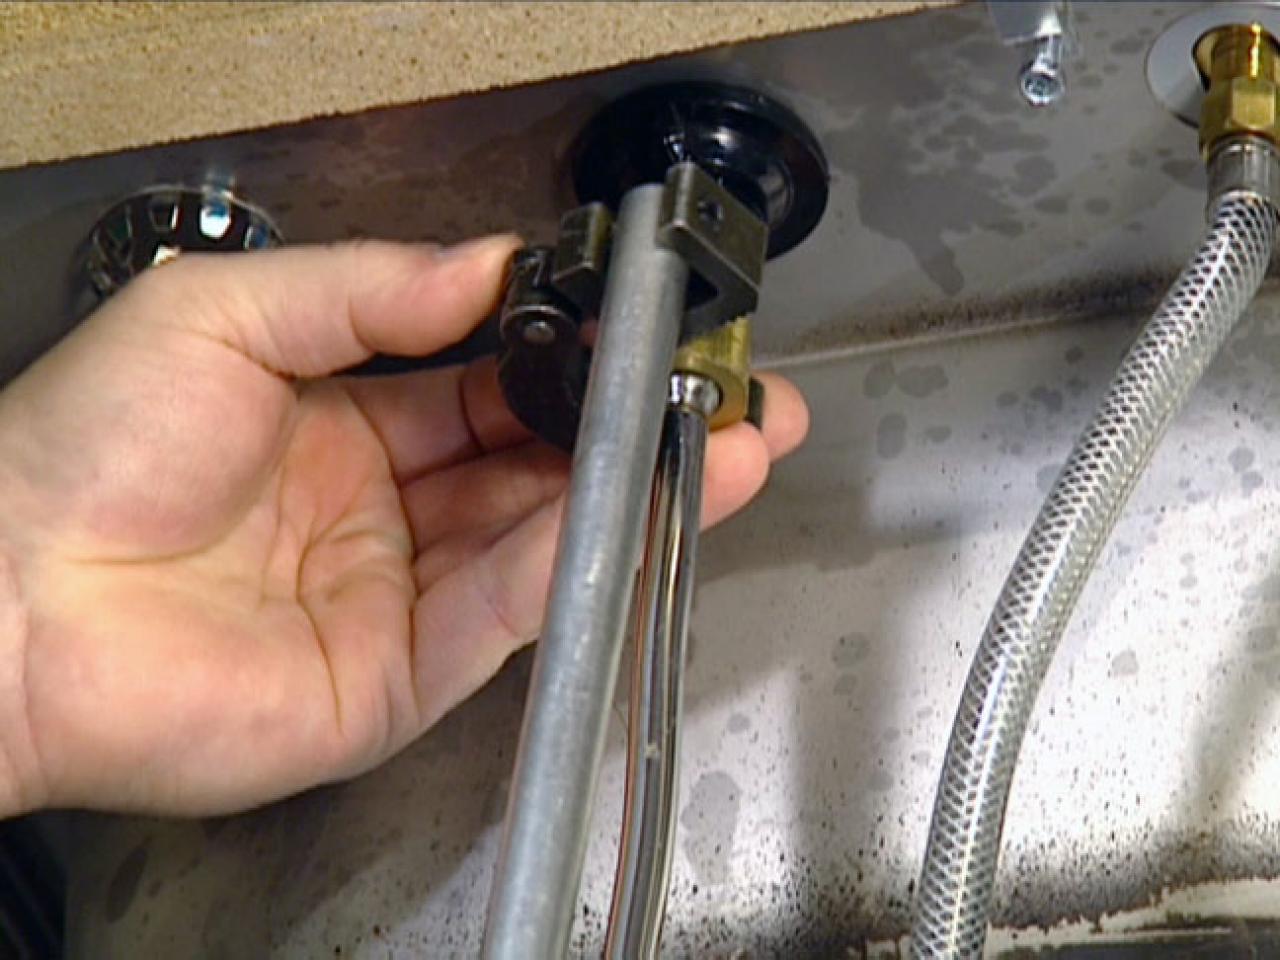
Locate the water valves under your sink that supply water to the faucet. Typically, these valves will be located on the hot and cold water supply lines. Turn both valves clockwise to shut off the water supply. This will cut off water flow to the faucet, ensuring that there is no water flowing during the removal process.
Once the water supply is turned off, turn on the faucet handles to release any remaining water in the lines. You may notice some residual water draining out of the faucet. Keep a bucket or towel handy to catch any water that may drip or spill.
With the water supply turned off and the faucet drained, you are now ready to move on to the next step: disconnecting the water lines.
Step 2: Disconnect the Water Lines
With the water supply turned off, it’s time to disconnect the water lines from the Grohe kitchen faucet. This step will ensure that you can remove the faucet without any obstructions.
Start by placing a bucket or towel under the sink to catch any water that may spill during the process. Using an adjustable wrench, loosen the nuts that connect the water supply lines to the faucet. Turn the nuts counterclockwise to loosen them.
Once the nuts are loosened, gently pull the water supply lines away from the faucet. You may encounter some resistance, so be patient and gentle to avoid damaging the lines or the faucet itself. If necessary, you can use a little bit of lubricant to help loosen stubborn connections.
Once the water supply lines are detached, use a clean cloth or rag to wipe away any excess water or debris around the connection points. This will make it easier to remove the faucet without any complications.
Now that the water lines are disconnected, you can move on to the next step: loosening the bonnet nut.
Step 3: Loosen the Bonnet Nut
Now that the water lines are disconnected, it’s time to loosen the bonnet nut that secures the Grohe kitchen faucet to the sink.
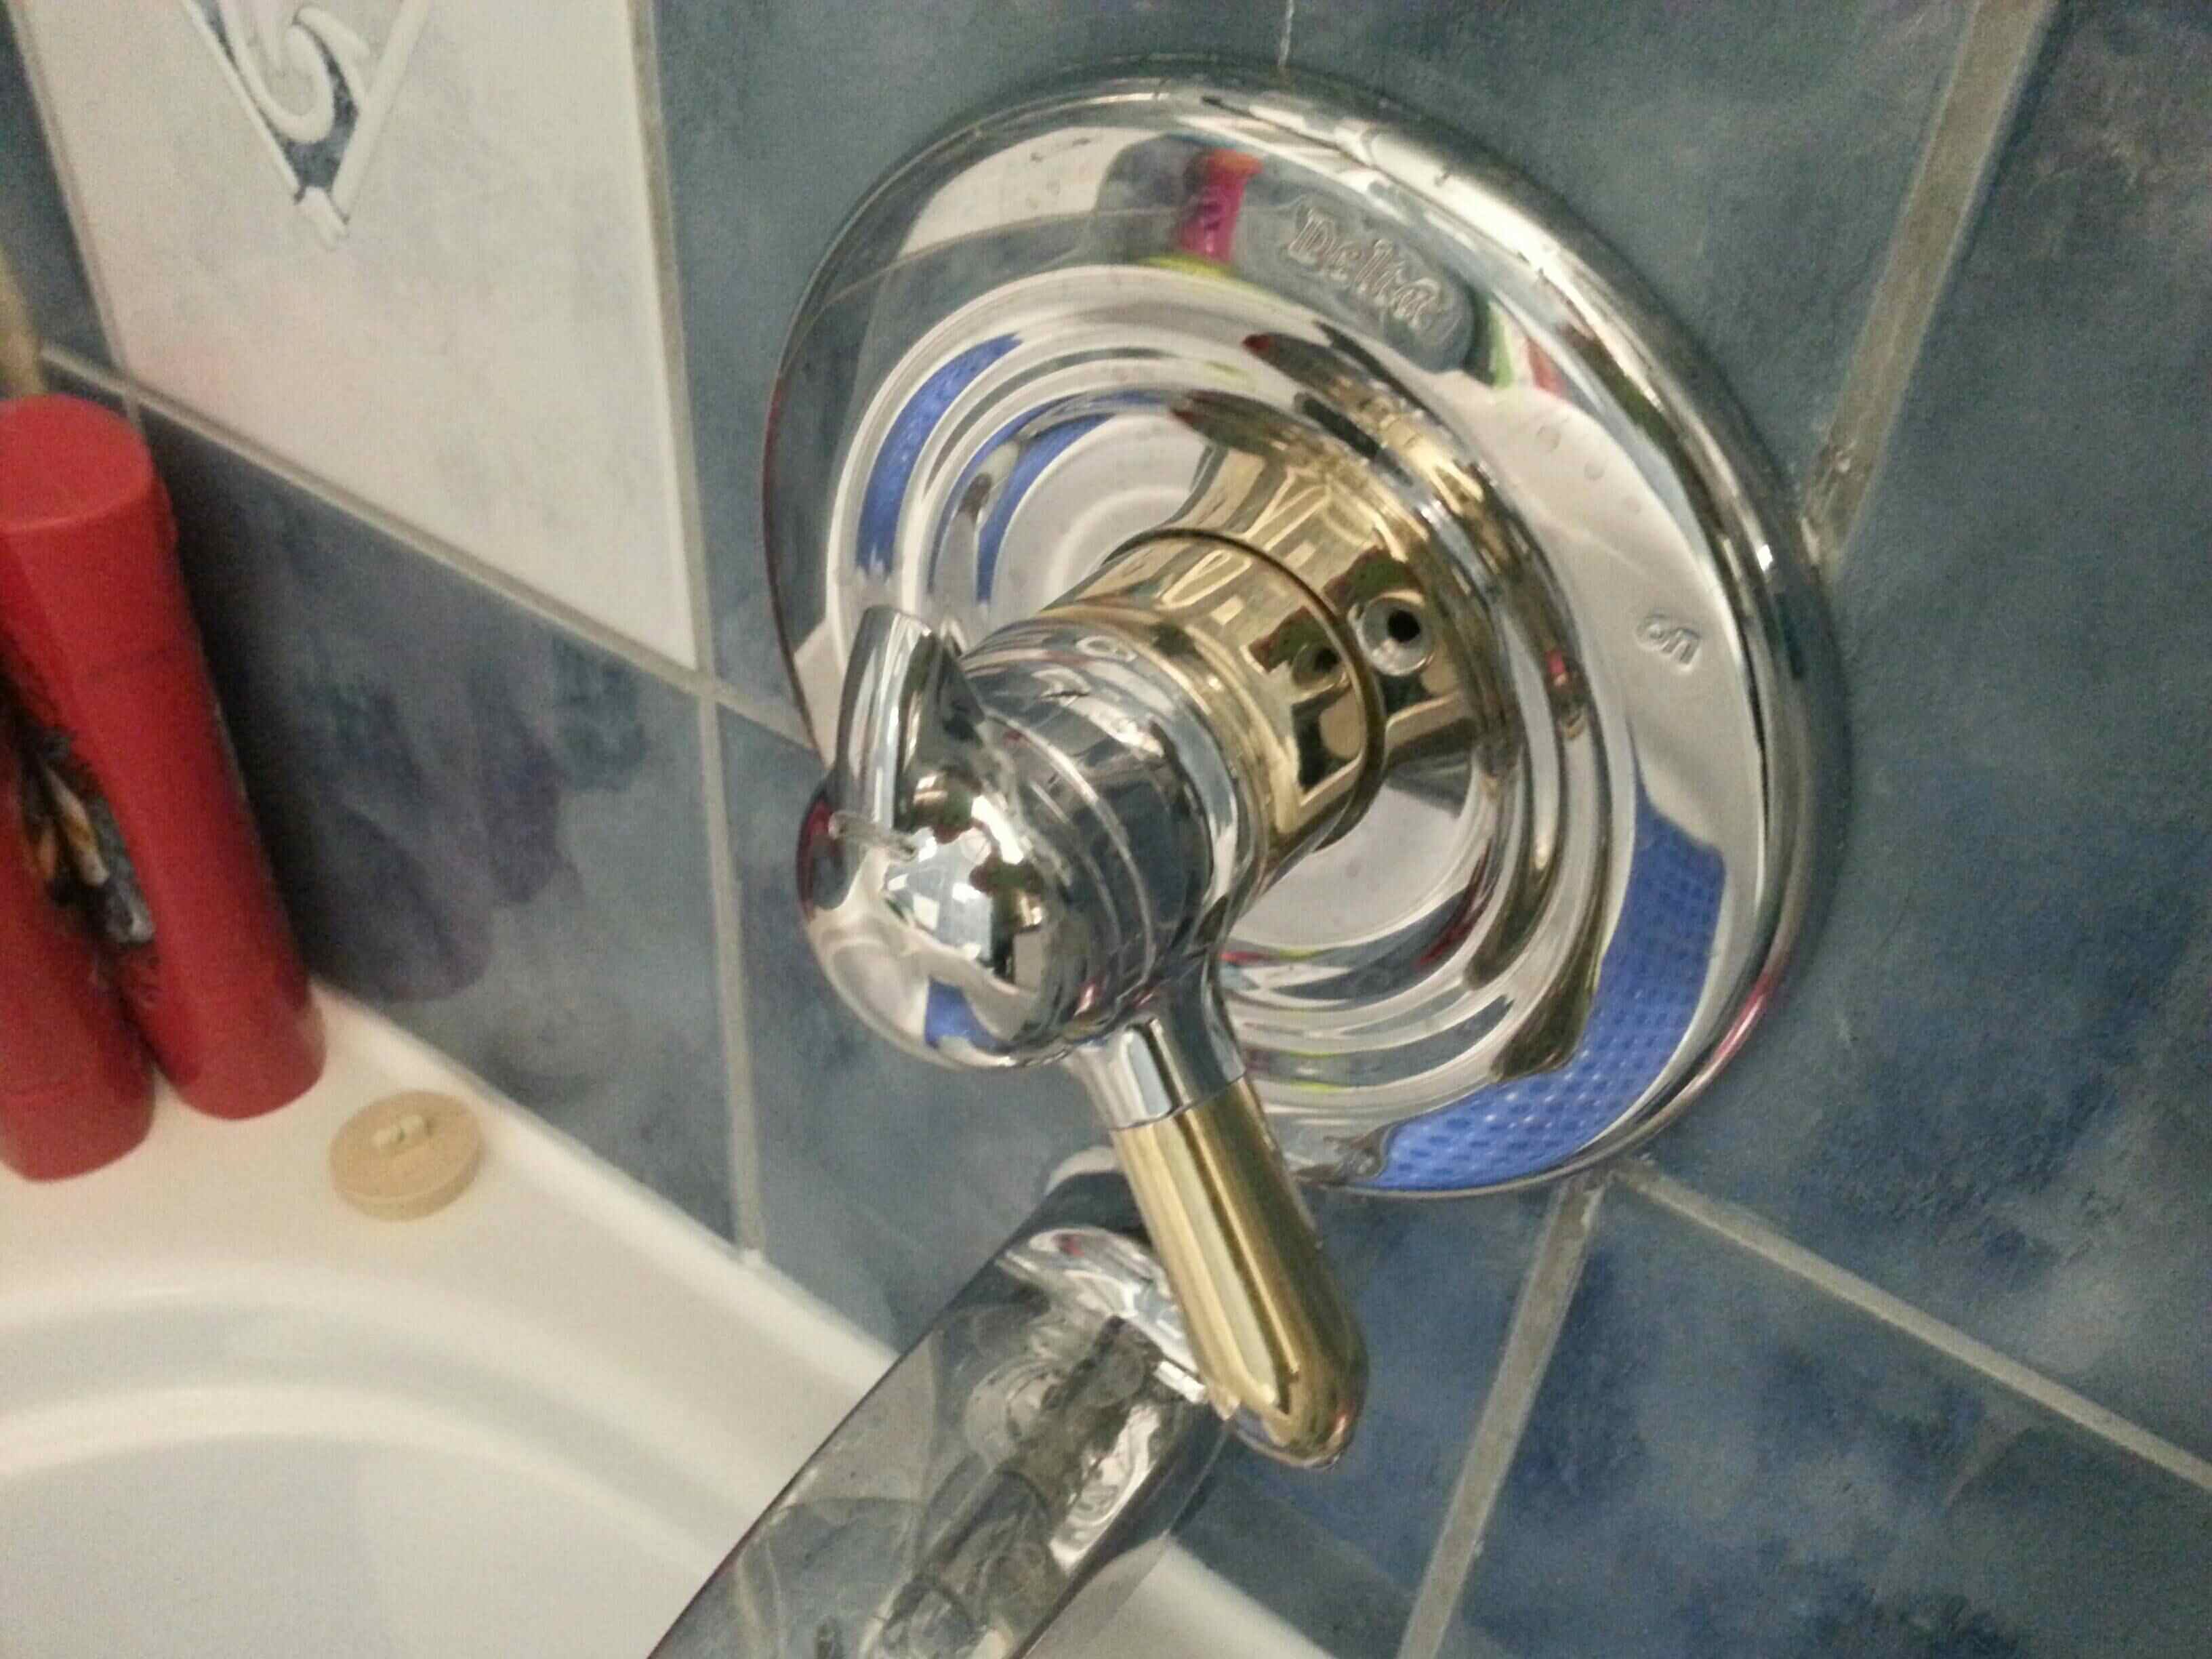
The bonnet nut is located near the base of the faucet, beneath the handle. Using an adjustable wrench or an appropriate-sized wrench, grip the bonnet nut and turn it counterclockwise to loosen it. Be careful not to apply excessive force, as this can cause damage to the faucet or the sink.
If the bonnet nut is resistant to loosening due to mineral deposits, you can apply a penetrating lubricant to help break up the buildup. Allow the lubricant to sit for a few minutes before attempting to loosen the nut again.
Once the bonnet nut is loosened, you can proceed to the next step: removing the faucet handle.
Note: In some cases, you may need to remove additional components, such as a decorative cap or cover, before accessing the bonnet nut. Follow the manufacturer’s instructions specific to your Grohe faucet model to determine if any additional steps are required.
Read also: 8 Amazing Grohe Faucet for 2025
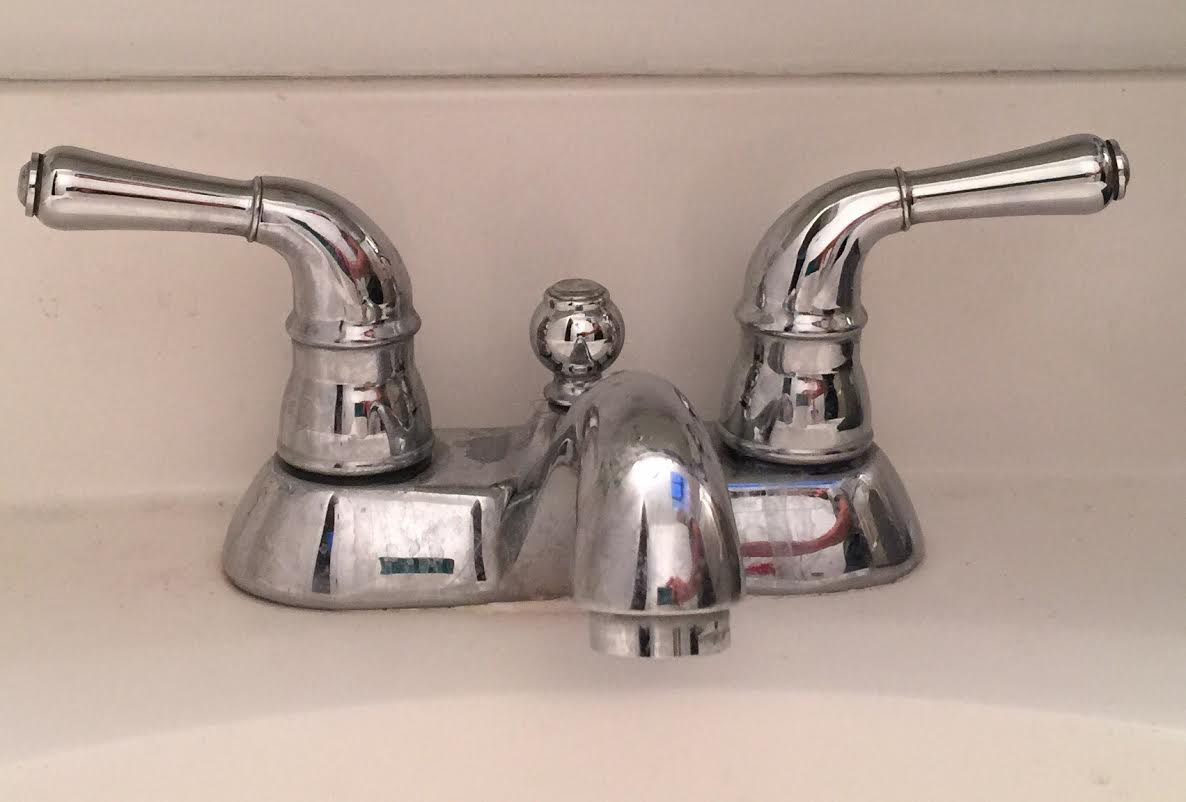
Step 4: Remove the Faucet Handle
With the bonnet nut loosened, you can now proceed to remove the faucet handle. This step will allow you to access the internal components of the Grohe kitchen faucet.
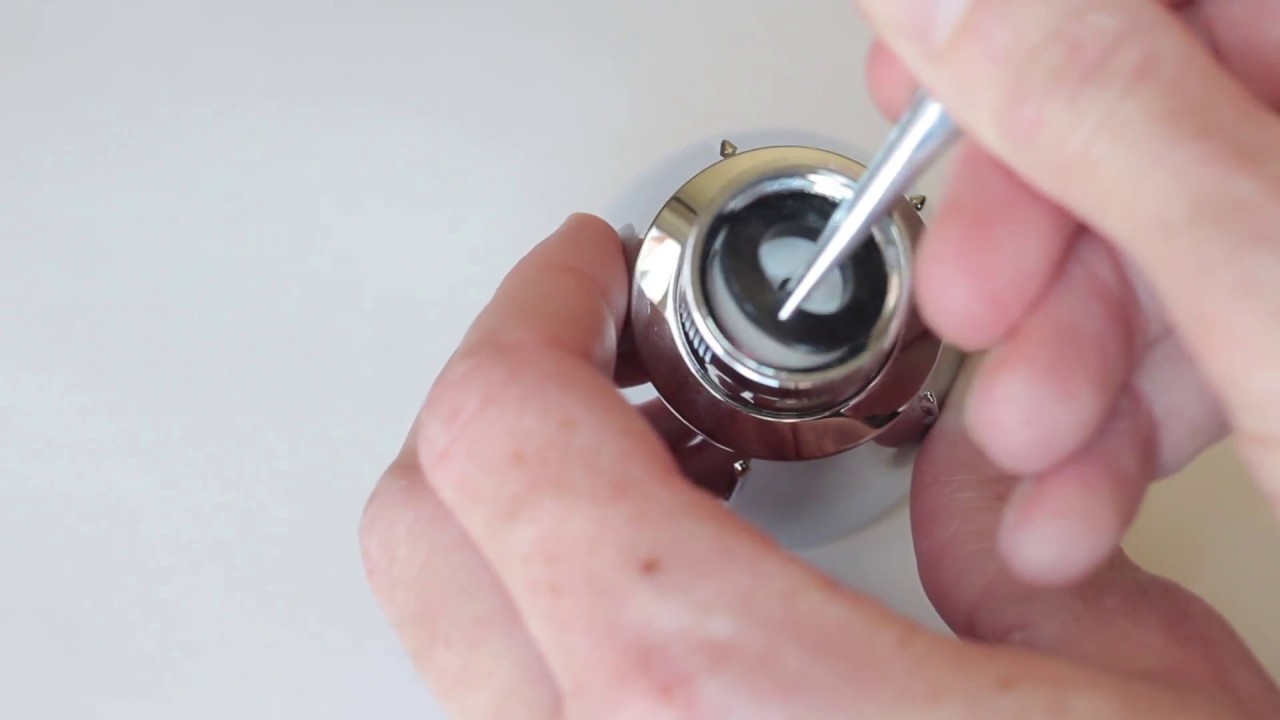
First, locate the set screw that holds the handle in place. This screw is typically located on the underside of the handle or behind a decorative cap. Use an Allen wrench (hex key) to loosen and remove the set screw. Be sure to remember the exact size of the Allen wrench needed, as different faucet models may require different sizes.
Once the set screw is removed, gently pull the faucet handle away from the faucet body. It may be necessary to wiggle or rotate the handle slightly to loosen it. Be careful not to force it, as this can cause damage to the handle or the internal components.
With the faucet handle removed, you will have a clear view of the cartridge, which is the next component to be addressed. However, before proceeding further, it’s important to turn off the main water supply to your property to prevent accidental water flow while manipulating internal faucet components.
Now that the faucet handle is removed, you can proceed to the next step: unscrewing the faucet base.
Note: If you encounter any difficulties during this step, consult the manufacturer’s instructions specific to your Grohe faucet model for any additional steps or troubleshooting tips.
To remove a Grohe kitchen faucet, start by turning off the water supply. Then, use a wrench to loosen and remove the nuts securing the faucet to the countertop. Finally, lift the faucet out and disconnect any remaining connections.
Step 5: Unscrew the Faucet Base
Now that the faucet handle is removed, you can proceed to unscrew the faucet base. This step will allow you to detach the faucet from the sink and access the internal components for further removal.
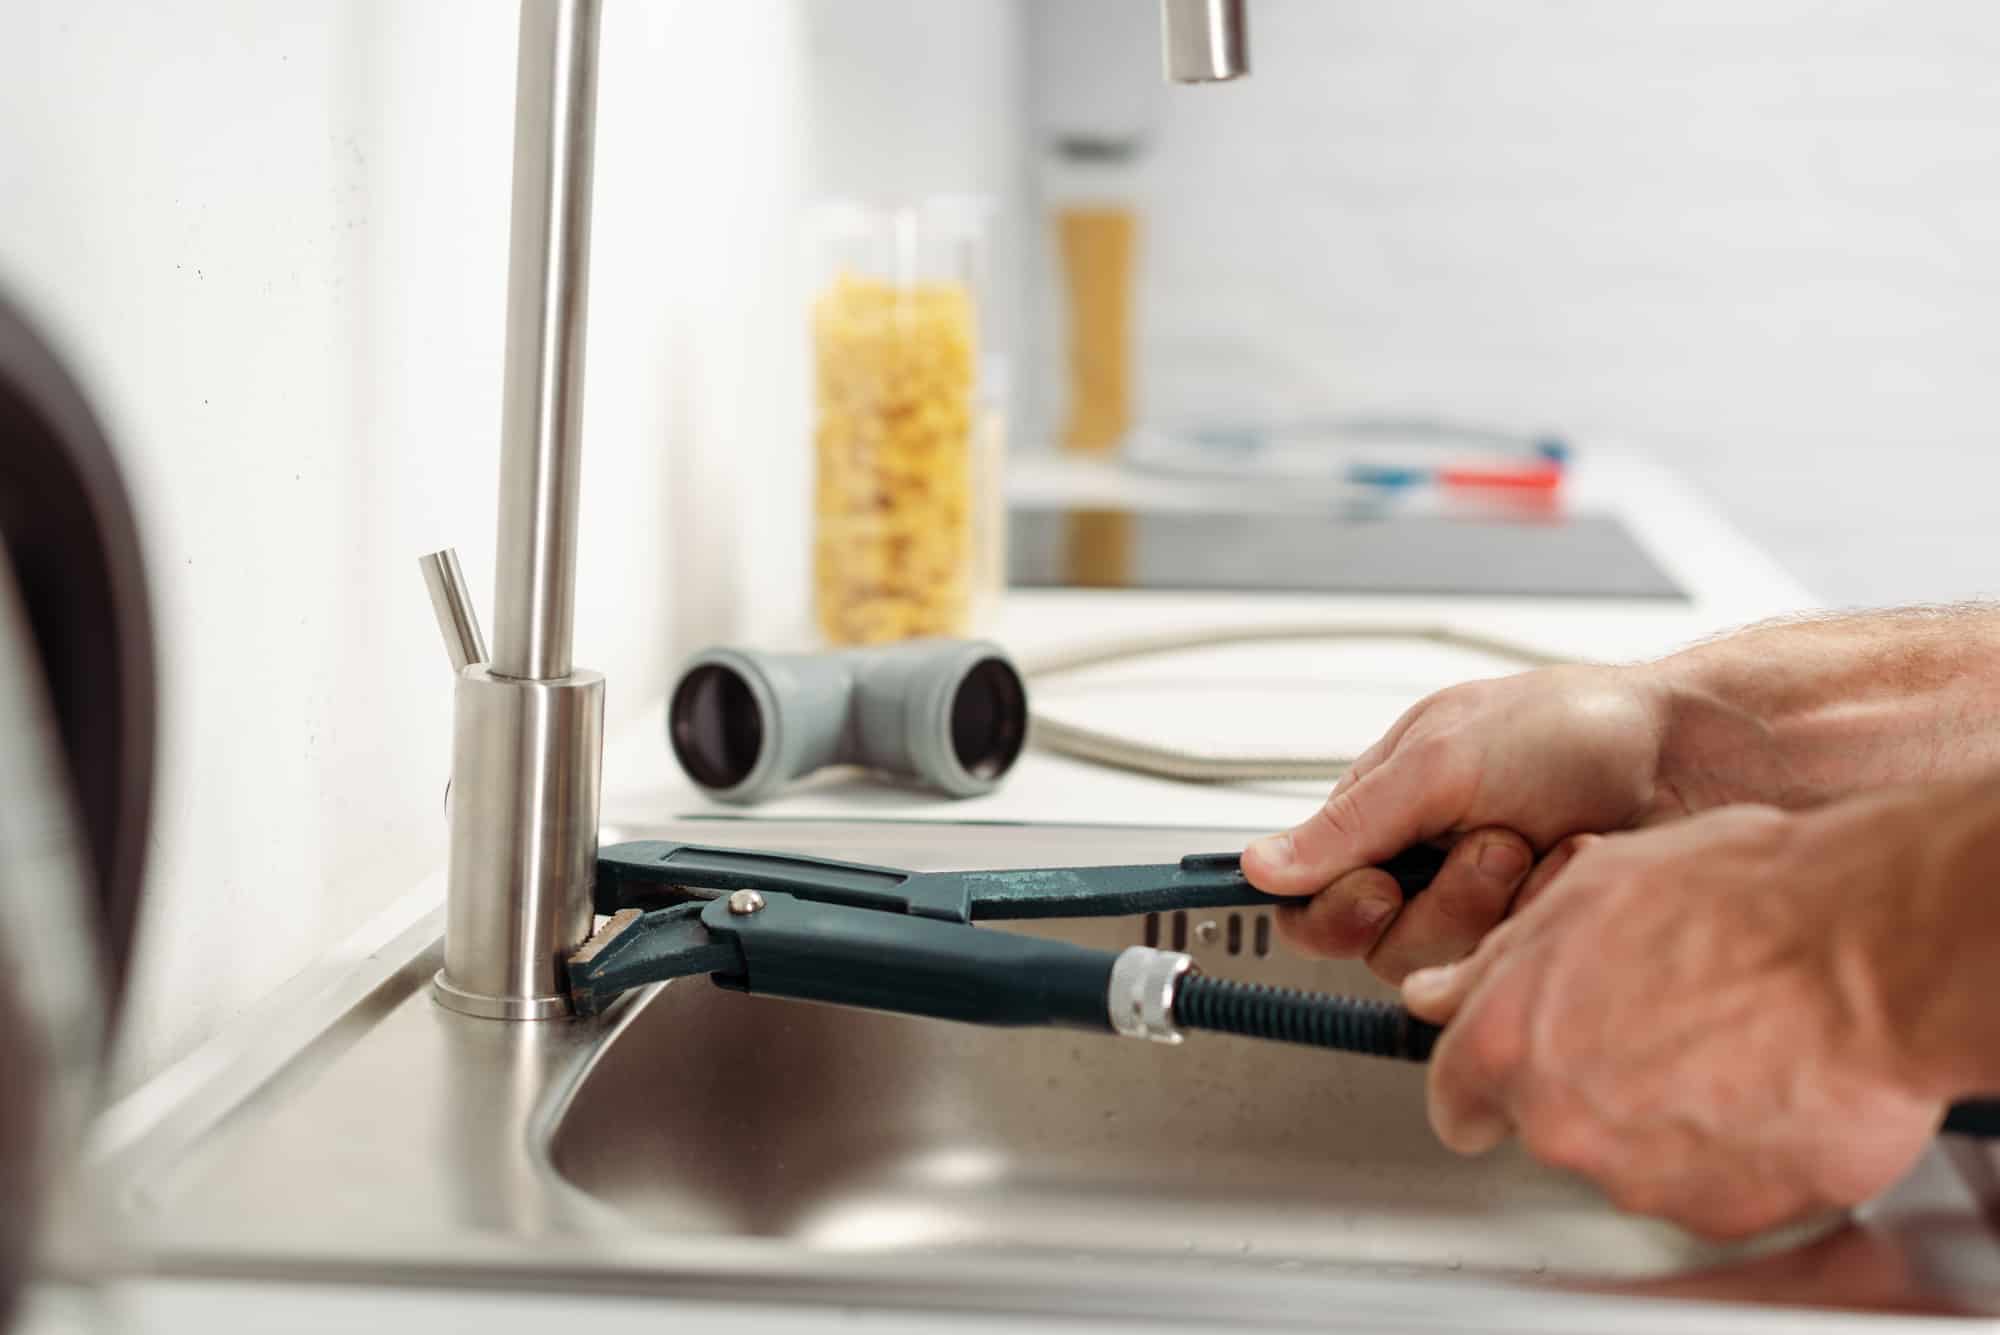
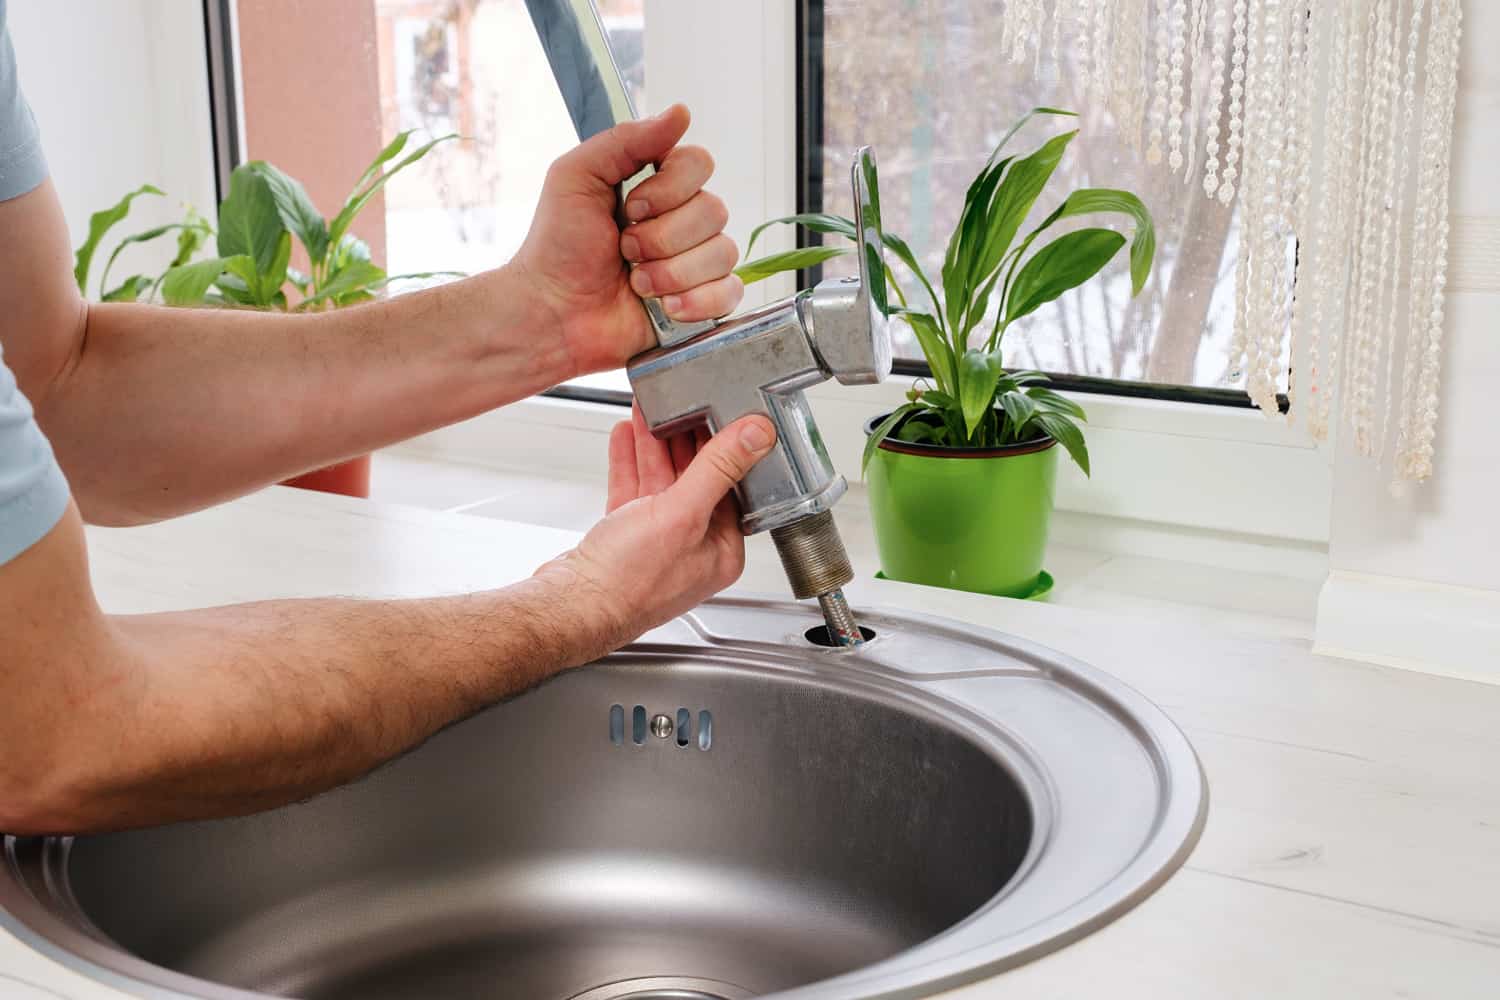
Look for the base of the Grohe kitchen faucet, where it connects to the sink. You will find a large retaining nut that holds the faucet in place. Use an adjustable wrench to grip the nut and turn it counterclockwise to loosen it.
It’s important to note that the retaining nut may be tight, especially if it has not been removed in a long time. Apply steady pressure and be careful not to use excessive force, as this can damage the faucet or the sink.
Once the retaining nut is sufficiently loosened, you can continue to unscrew it by hand. As you remove the nut, hold onto the faucet to prevent it from falling or causing any damage underneath the sink.
With the retaining nut removed, you can lift the Grohe kitchen faucet straight up to detach it from the sink. Be mindful of any water that may be trapped in the spout or the faucet itself, and have a towel or bucket ready to catch any drips or spills.
At this point, you have successfully removed the faucet base. The next step involves removing the old cartridge, which is responsible for regulating water flow and temperature. Continue reading to learn how to remove the old cartridge and replace it with a new one.
Note: If you encounter any difficulties during this step, consult the manufacturer’s instructions specific to your Grohe faucet model for any additional steps or troubleshooting tips.
Step 6: Remove the Old Cartridge
Now that you have removed the faucet base, it’s time to remove the old cartridge from your Grohe kitchen faucet. The cartridge is responsible for controlling the water flow and temperature, and over time, it may become worn out or develop leaks.
First, locate the cartridge inside the faucet body. The exact location may vary depending on your faucet model, but it is typically found directly below where the faucet handle was attached.
Now, carefully grasp the cartridge with a pair of pliers. Gently wiggle and pull it straight out of the faucet body. Depending on the condition of the cartridge and how tightly it is fitted, you may need to apply a bit of force to remove it.
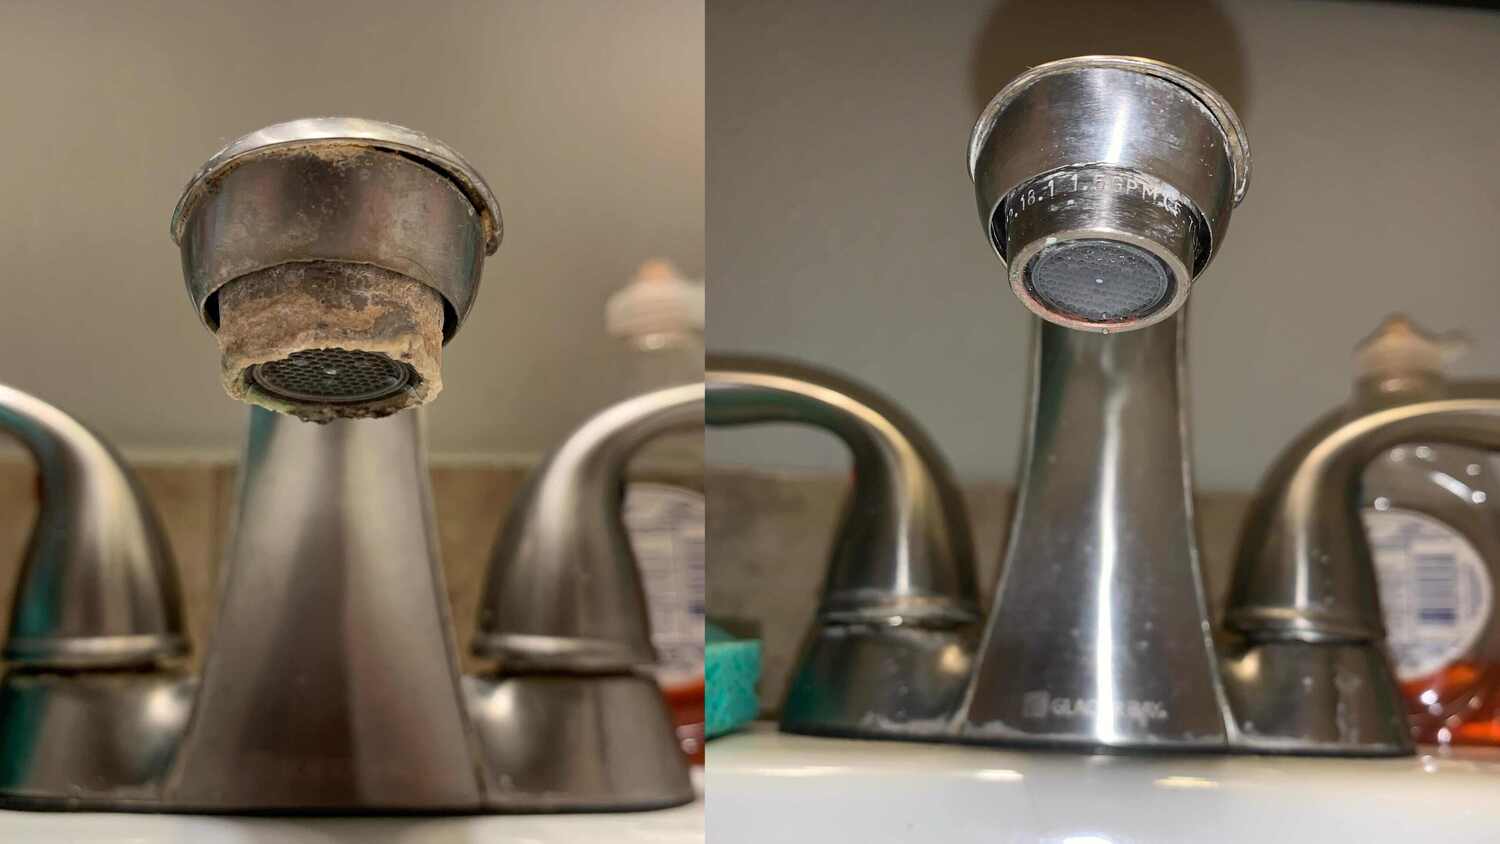
Inspect the old cartridge for any signs of damage or wear. Look for cracks, corrosion, or mineral buildup. If the cartridge shows signs of damage, this is likely the cause of any leaks or issues you were experiencing with your Grohe kitchen faucet.
Once the old cartridge is removed, it is recommended to replace it with a new one. A new cartridge will ensure optimal functioning of your faucet and help prevent any future leaks or issues.
Now that the old cartridge has been removed, you can proceed to the next step: installing the new cartridge.
Note: If you are unsure about the specific cartridge model or need guidance in selecting the correct replacement, consult the manufacturer’s instructions or seek assistance from a plumbing professional.
Step 7: Install the New Cartridge
With the old cartridge removed, it’s time to install the new one in your Grohe kitchen faucet. Installing a new cartridge will ensure optimal performance and prevent any leaks or issues in the future.
First, inspect the new cartridge to ensure it matches the specifications of your Grohe faucet model. It should be the correct size and have the same features as the old cartridge.
Next, align the new cartridge with the opening in the faucet body. Insert it straight into the opening, making sure it is properly seated and aligned. You may need to wiggle or rotate the cartridge slightly to fit it securely in place.
Once the new cartridge is inserted, push it down firmly to ensure a tight seal. Make sure it is flush with the faucet body and properly positioned.
If your new cartridge comes with any additional components or attachments, such as O-rings or seals, make sure to install them according to the manufacturer’s instructions. These components are important for maintaining a watertight seal.
Now that the new cartridge is installed, you can proceed to the next step: reassembling the faucet and preparing for testing.
Note: If you are unsure about the installation process or need assistance, refer to the manufacturer’s instructions specific to your Grohe faucet model or seek help from a plumbing professional.
Read more: How To Remove Stuck Faucet Handle
Step 8: Reassemble the Faucet
With the new cartridge installed, it’s time to reassemble your Grohe kitchen faucet. Reassembling the faucet involves putting all the components back together in the reverse order of their removal.
Start by carefully placing the faucet base back into the sink opening. Ensure that it is properly aligned and seated securely.
Next, screw the retaining nut back onto the base of the faucet. Use your adjustable wrench to tighten it clockwise, making sure it is snug but not overly tight.
Now, it’s time to reattach the faucet handle. Align the handle back onto the faucet body, ensuring that it sits flush and level. Insert the set screw and tighten it with an Allen wrench (hex key) until it is secure.
Once the handle is reattached, it’s essential to test it for smooth operation. Turn on the main water supply to your property and slowly open the faucet handles. Check for any leaks or irregularities in water flow and temperature. If everything appears to be functioning correctly, you have successfully reassembled your Grohe kitchen faucet.
Lastly, clean up any excess water or debris around the faucet and sink area using a clean cloth or rag. This will ensure that your kitchen is tidy and ready for regular use.
Congratulations! You have successfully reassembled your Grohe kitchen faucet. However, before considering the project complete, it’s important to proceed to the final step: testing the faucet.
Note: If you encounter any difficulties during the reassembly process or experience any issues with the functioning of your faucet, consult the manufacturer’s instructions specific to your Grohe faucet model or seek assistance from a plumbing professional.
Step 9: Test the Faucet
After reassembling your Grohe kitchen faucet, it’s crucial to thoroughly test it to ensure that it is functioning properly and there are no leaks or issues. Testing the faucet will give you confidence in its performance and allow you to make any necessary adjustments.
Start by turning on the main water supply to your property. Gradually open the faucet handles, first the hot water, then the cold water, and finally both handles together. Pay close attention to the water flow and temperature, checking for any irregularities or unexpected changes.
Observe the faucet for any signs of leaks, such as drips or puddles forming around the base or handles. Check the connection points and make sure they are secure and watertight. If you notice any leaks, revisit the previous steps to ensure all components are properly installed.
While testing the faucet, also listen for any unusual noises, such as knocking or sputtering. These sounds can indicate particular issues that may need to be addressed, such as air in the pipes or loose connections.
If everything appears to be in working order, proceed to test the faucet’s functionality. Operate the handles to adjust the water flow and temperature, ensuring smooth operation and accurate control. Make sure the handles move easily and do not stick or loosen unintentionally.
Additionally, run the water for a few minutes to flush out any debris or air that may have built up during the installation process. This will help improve the overall performance and longevity of your Grohe kitchen faucet.
If you encounter any problems or inconsistencies during the testing phase, refer to the manufacturer’s instructions specific to your Grohe faucet model for troubleshooting tips or consider seeking assistance from a plumbing professional.
Once you are satisfied with the performance and functionality of your Grohe kitchen faucet, pat yourself on the back for a job well done! You have successfully tested your faucet and can now enjoy its reliable and efficient operation.
Note: Periodically inspect and test your faucet in the future to ensure ongoing functionality and address any potential issues before they become major problems.
Conclusion
Removing a Grohe kitchen faucet may seem like a daunting task, but with the right tools, instructions, and a little bit of patience, it can be a straightforward process. By following the step-by-step guide outlined in this article, you can confidently remove your old Grohe kitchen faucet and prepare for the installation of a new one.
Remember to gather all the necessary tools and materials before starting the removal process. Turning off the water supply, disconnecting the water lines, and loosening the bonnet nut are crucial steps that ensure a smooth removal process.
Removing the faucet handle, unscrewing the faucet base, and taking out the old cartridge require careful execution and attention to detail. Keep in mind that every Grohe faucet model may have specific instructions, so it’s essential to consult the manufacturer’s guidelines if needed.
Once the old cartridge is removed, installing a new one is relatively straightforward. Reassembling the faucet, including the handle and the faucet base, is the next step. Take your time to ensure that all connections are secure and watertight.
After completing the reassembly, it’s crucial to thoroughly test the faucet. Turn on the water supply, check for leaks, and test the water flow and temperature. If everything is working perfectly, you can revel in a job well done.
Remember, if you encounter any difficulties or feel unsure about any step of the process, consulting the manufacturer’s instructions or seeking professional assistance is always an option.
Now that you have successfully removed and tested your Grohe kitchen faucet, you can enjoy the benefits of a newly installed faucet. It provides not only improved functionality but also adds a fresh and modern look to your kitchen.
So, don’t hesitate—gather your tools, follow the instructions, and take the first steps toward upgrading your kitchen by removing your old Grohe kitchen faucet.
Frequently Asked Questions about How To Remove Grohe Kitchen Faucet
Was this page helpful?
At Storables.com, we guarantee accurate and reliable information. Our content, validated by Expert Board Contributors, is crafted following stringent Editorial Policies. We're committed to providing you with well-researched, expert-backed insights for all your informational needs.


0 thoughts on “How To Remove Grohe Kitchen Faucet”