Articles
How Do You Remove Laminate Countertops
Modified: January 19, 2024
Learn how to remove laminate countertops with our informative articles. Follow our step-by-step guide for a hassle-free removal process.
(Many of the links in this article redirect to a specific reviewed product. Your purchase of these products through affiliate links helps to generate commission for Storables.com, at no extra cost. Learn more)
Introduction
When it comes to home renovation projects, replacing old or damaged laminate countertops can instantly transform the look and feel of your kitchen or bathroom. Laminate countertops are a popular choice due to their affordability, durability, and wide range of design options. However, over time, they can become worn, stained, or simply outdated, prompting the need for a change.
Removing laminate countertops may seem like a daunting task, but with the right tools and a step-by-step approach, it can be done efficiently and without damaging the surrounding area. In this article, we will guide you through the process of removing laminate countertops, ensuring a smooth and successful renovation project.
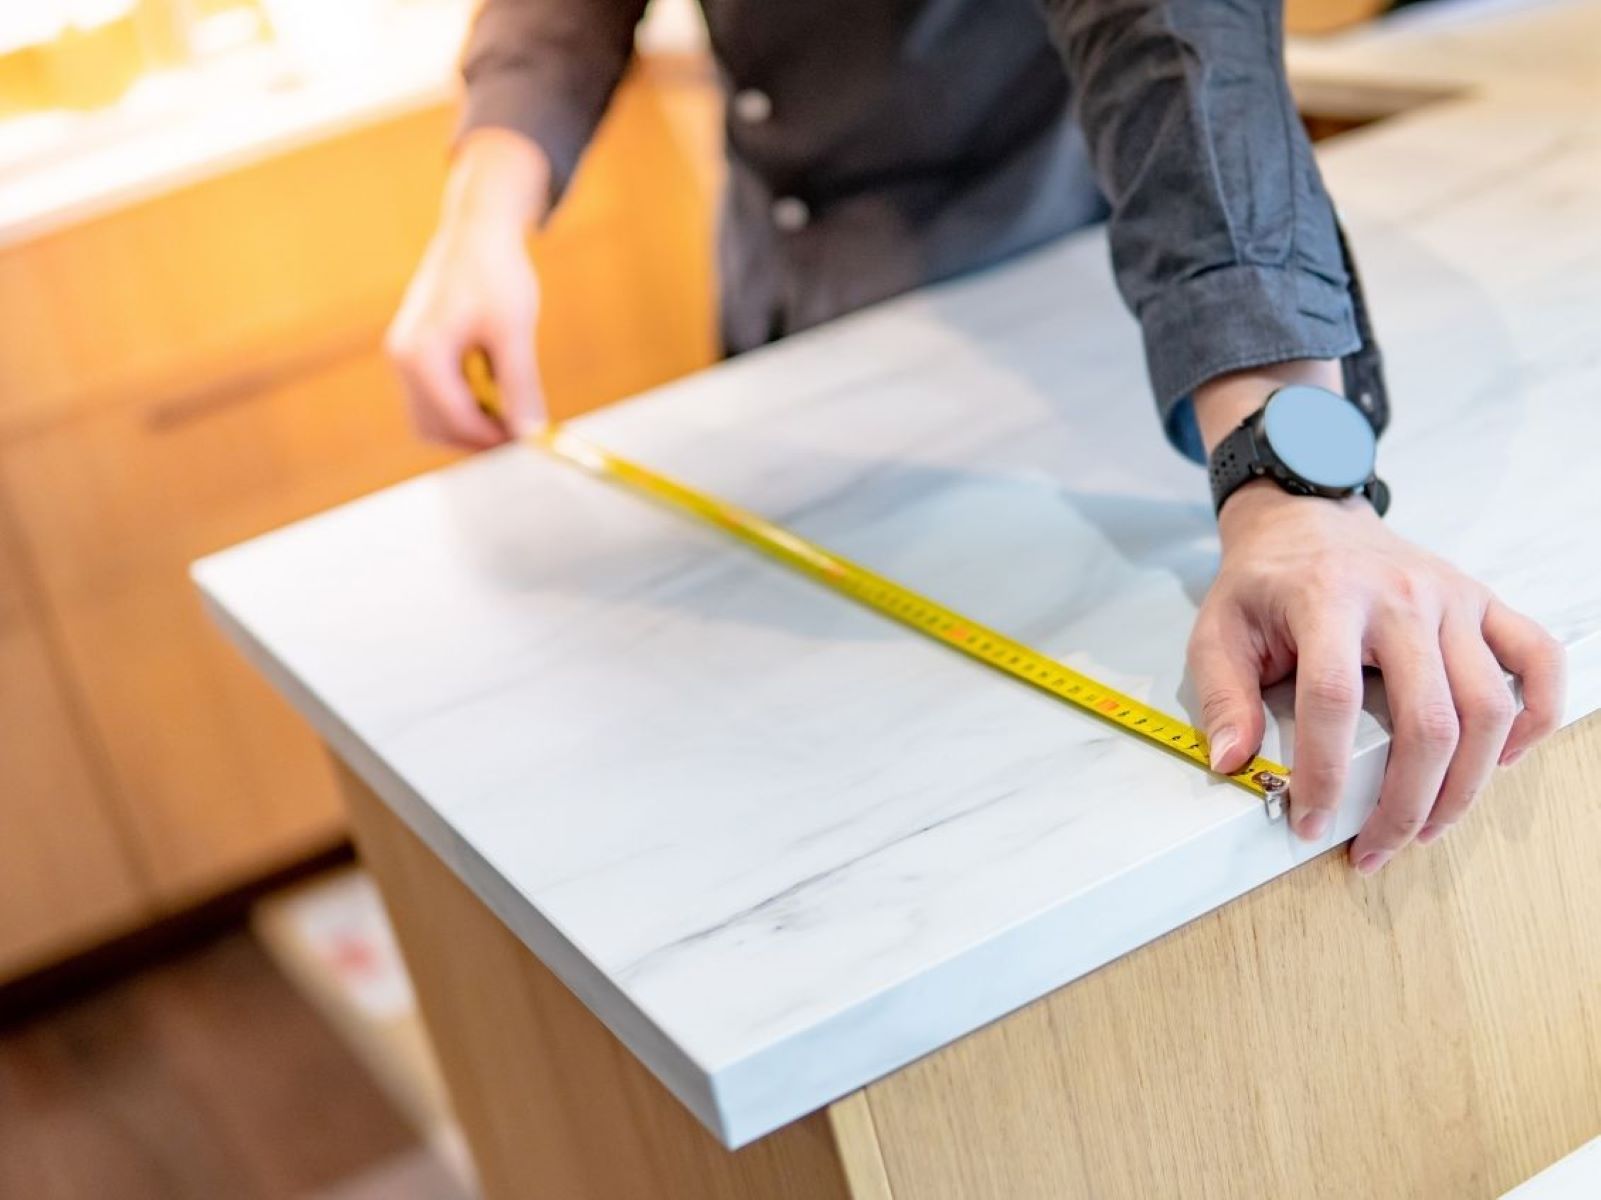
Before we dive into the details, let’s take a quick look at the tools and materials you will need for this project:
Key Takeaways:
- Removing laminate countertops requires careful preparation, proper tools, and step-by-step execution. By disconnecting appliances, detaching the countertops, and cleaning the cabinets, you can achieve a successful renovation project.
- Prioritize safety, patience, and attention to detail when removing laminate countertops. With the right tools and techniques, you can transform your kitchen or bathroom with confidence and efficiency.
Read more: How Do You Cut Laminate Countertops
Tools and Materials Needed:
- Utility knife
- Screwdriver
- Pry bar or chisel
- Putty knife
- Wrench or pliers (for disconnecting sink and appliances)
- Drop cloths or plastic sheeting
- Gloves and safety goggles
- Cleaning supplies
Now that you have all the necessary tools at hand, let’s move on to the step-by-step instructions on how to remove laminate countertops.
Tools and Materials Needed
Before you begin the process of removing laminate countertops, it is essential to gather all the necessary tools and materials. Having these items ready will ensure that you can work efficiently and effectively, minimizing any potential setbacks or delays. Here’s a list of what you’ll need:
- Utility knife: A sharp utility knife will come in handy for cutting through any adhesive or caulk holding the countertop in place.
- Screwdriver: You may need a screwdriver to remove screws securing the countertop to the cabinets or brackets.
- Pry bar or chisel: Use a pry bar or a chisel to gently pry the edges of the countertop away from the cabinets. This will help loosen the adhesive or caulking.
- Putty knife: A putty knife will be useful for scraping away any residual adhesive or caulk after the countertop is removed.
- Wrench or pliers: If your countertop is attached to a sink or any appliances, you’ll need a wrench or pliers to disconnect them before removing the countertop.
- Drop cloths or plastic sheeting: To protect the surrounding area from dust, debris, and potential damage, cover the floors and cabinets with drop cloths or plastic sheeting.
- Gloves and safety goggles: It is important to prioritize safety while removing laminate countertops. Wear gloves to protect your hands and safety goggles to shield your eyes from any flying debris.
- Cleaning supplies: After the countertops are removed, you’ll need cleaning supplies, such as mild soap, water, and a sponge, to clean the cabinets and prepare them for the installation of new countertops.
By gathering all these tools and materials before starting the countertop removal process, you’ll be well-prepared to tackle the project efficiently and safely.
Step 1: Disconnecting the Sink and Appliances
Before you can remove the laminate countertops, you’ll need to disconnect any sink or appliances that are attached to them. This step is crucial to ensure a smooth and hassle-free removal process. Follow these steps to disconnect the sink and appliances:
- Turn off the water supply: Locate the water shut-off valves under the sink and turn them clockwise to shut off the water supply. This will prevent any leaks or water damage during the removal process.
- Disconnect the water supply lines: Use a wrench or pliers to loosen and disconnect the water supply lines connected to the sink. Place a bucket or towel underneath to catch any water that may still be in the lines.
- Remove the sink: If the sink is mounted underneath the countertop, you’ll need to remove it. Use a screwdriver to remove any screws or clips holding the sink in place. Carefully lift the sink out of the countertop and set it aside.
- Disconnect appliances: If there are any appliances such as stoves, dishwashers, or built-in ovens attached to the countertop, consult the manufacturer’s instructions for disconnecting them properly. Follow the specified steps to ensure safe disconnection.
- Label and organize: As you disconnect the sink and appliances, it’s a good idea to label and organize any screws, clips, or small parts that are removed. This will make reassembly easier when installing the new countertops.
By carefully following these steps, you will successfully disconnect the sink and any appliances from the laminate countertops, making it easier to remove the countertops in the next steps.
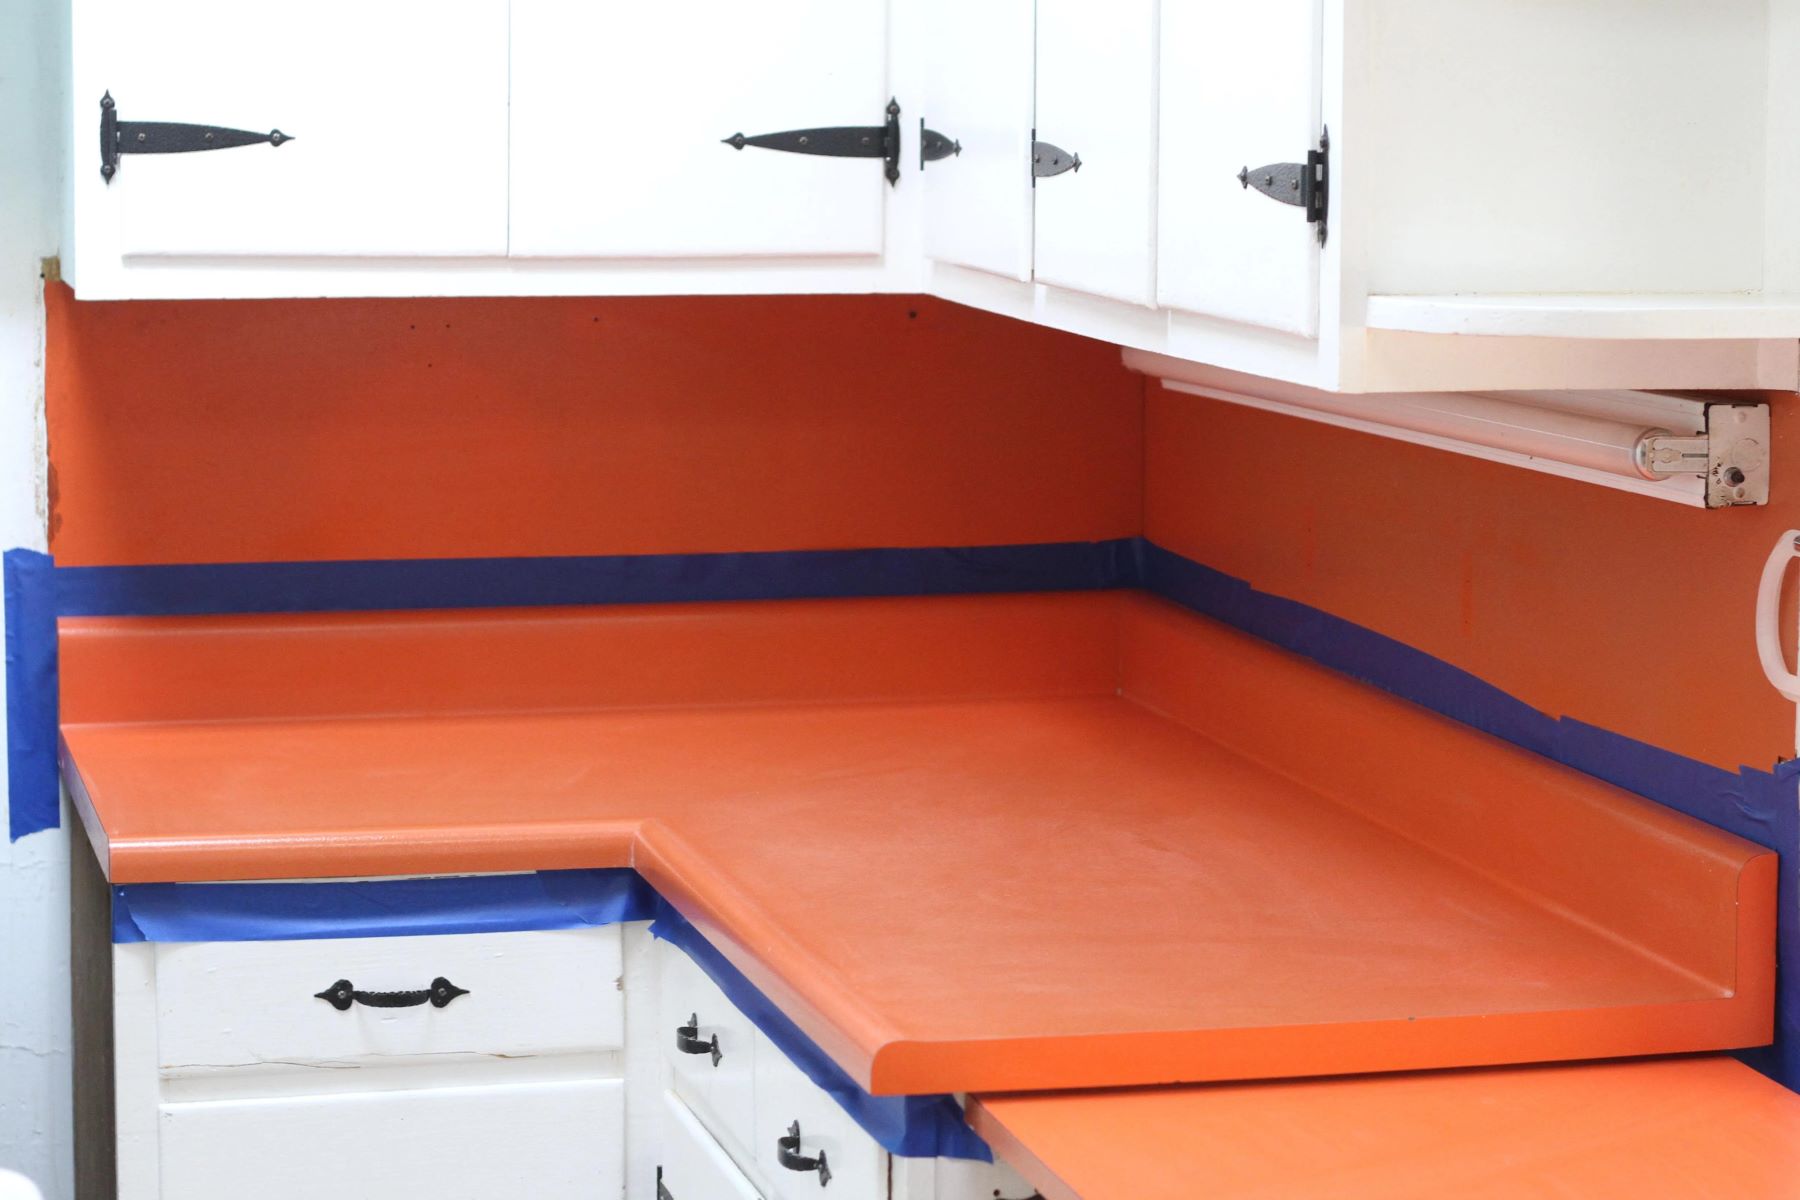
Step 2: Removing the Backsplash (if applicable)
If your laminate countertops have a backsplash attached, it’s important to remove it before proceeding with the countertop removal. This step will ensure that you can properly remove the countertops without causing any damage. Follow these steps to remove the backsplash:
- Preparation: Place drop cloths or plastic sheeting on the surrounding area to protect it from any debris or damage.
- Inspect the backsplash: Examine the backsplash and determine how it is attached to the wall. It may be attached with adhesive, screws, or both.
- Loosen adhesive: If the backsplash is attached with adhesive, use a utility knife to carefully cut through the adhesive along the edges where the backsplash meets the wall. This will help loosen it and make it easier to remove.
- Remove screws: If there are screws attaching the backsplash to the wall, use a screwdriver to remove them. Place the screws in a safe location for later use.
- Pry and lift: Depending on the type of material and how it is attached, use a pry bar or chisel to gently pry the backsplash away from the wall. Start at one end and work your way across, being careful not to force it or cause damage.
- Set aside: After removing the backsplash, set it aside in a secure location. If you plan to reuse it, make sure to label and store it properly.
By following these steps, you will successfully remove the backsplash from the laminate countertops, preparing them for the next phase of the removal process.
When removing laminate countertops, start by disconnecting the sink and any appliances. Then, use a utility knife to cut through the caulk and adhesive holding the countertop in place. Finally, carefully lift and remove the countertop from the base cabinets.
Read more: How Do You Clean Laminate Countertops
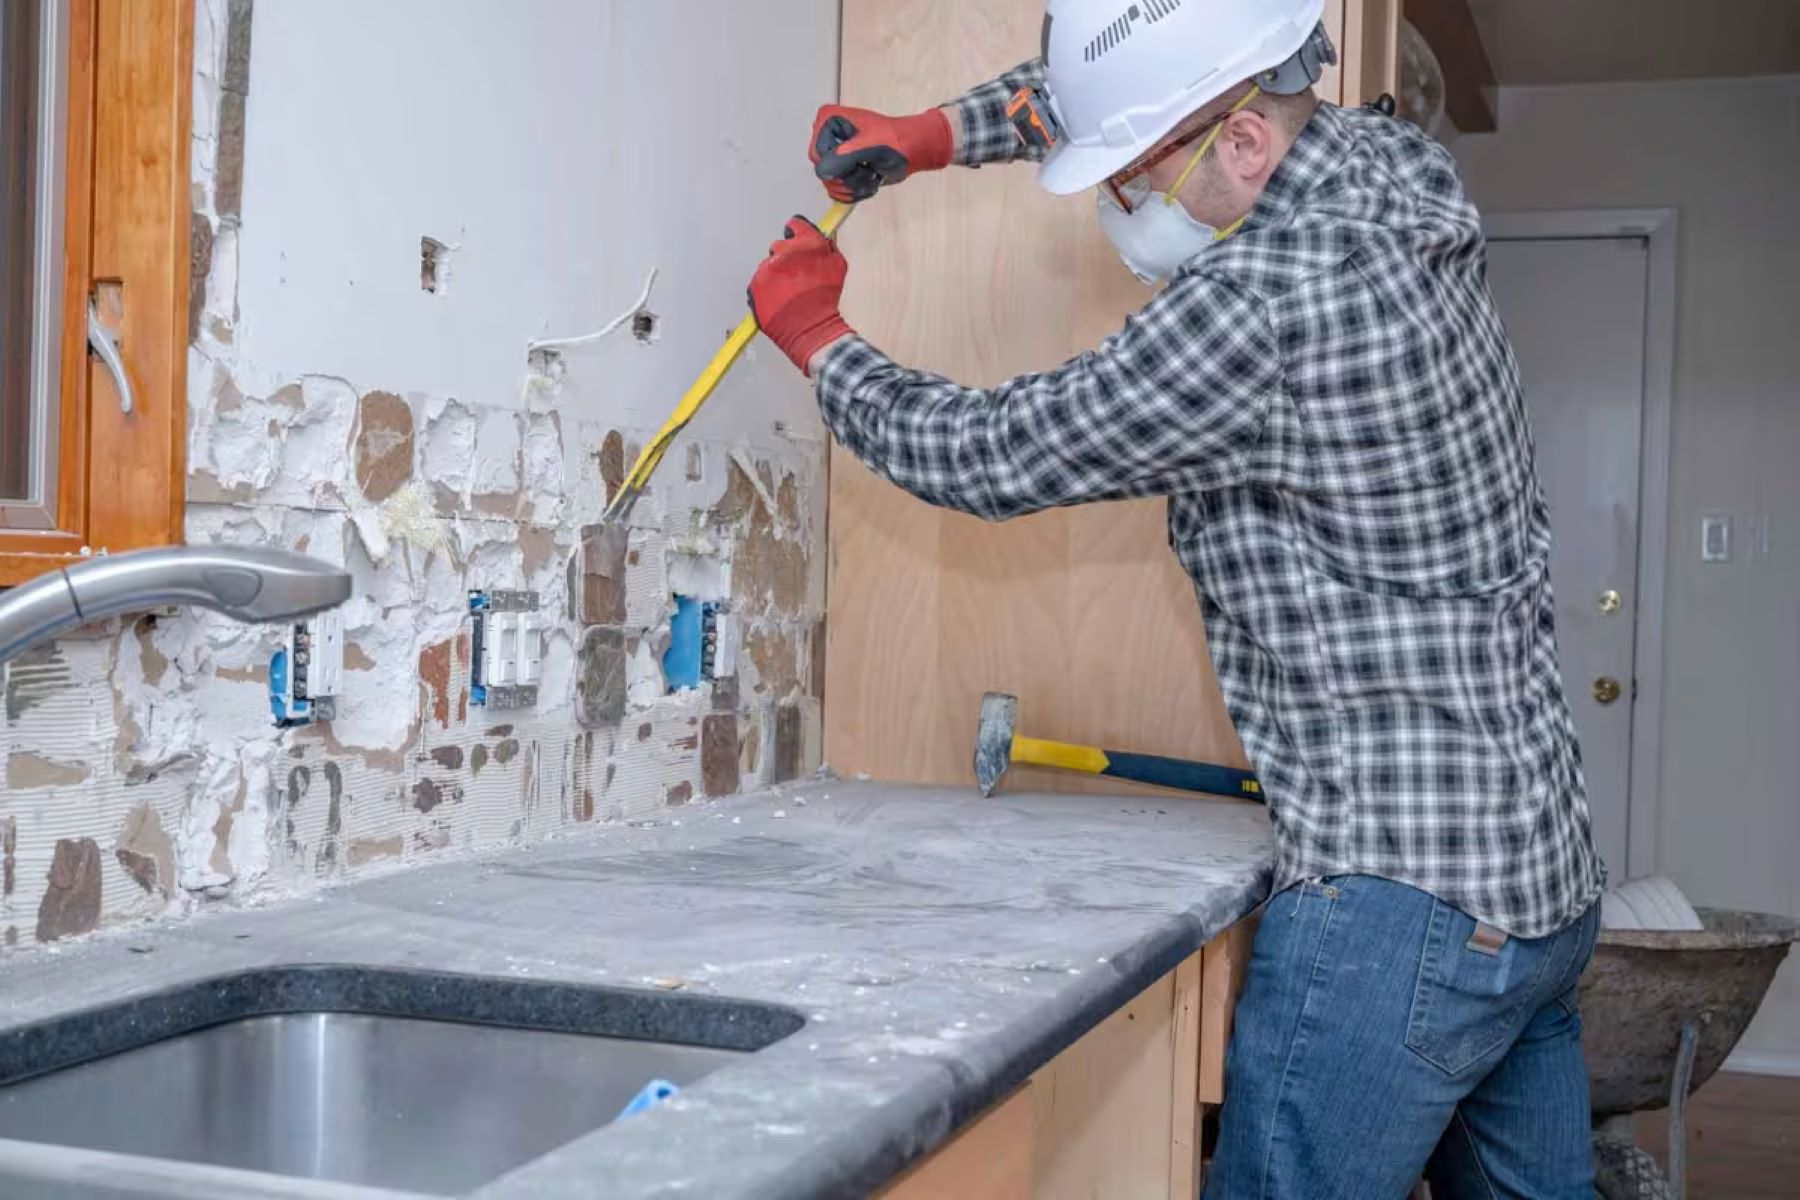
Step 3: Detaching the Countertops from the Cabinets
With the sink, appliances, and backsplash out of the way, it’s time to detach the laminate countertops from the cabinets. This step requires precision and care to avoid any damage to the cabinets or surrounding areas. Follow these steps to detach the countertops:
- Preparation: Place drop cloths or plastic sheeting on the cabinets and floor to protect them from scratches or any debris that may fall during the removal process.
- Locate the screws: Inspect the underside of the countertop to find any screws that are securing it to the cabinets. These screws are typically located near the front and back edges of the countertop.
- Loosen the screws: Use a screwdriver to loosen and remove the screws. It’s important to support the countertop from below as you remove the screws to prevent it from falling or shifting unexpectedly.
- Check for additional attachments: Some countertops may have brackets or additional attachments holding them in place. Inspect the top and underside of the countertop to ensure all brackets or attachments are located and removed.
- Release any caulk or adhesive: In addition to screws or brackets, the countertop may also be secured with caulk or adhesive. Use a putty knife or chisel to carefully release any caulk or adhesive along the edges of the countertop.
- Gently lift the countertop: With all screws, brackets, and caulk released, gently lift the countertop from the cabinets. It may still be slightly attached, so lift it slowly and carefully to avoid any damage.
By following these steps, you will be able to detach the laminate countertops from the cabinets, allowing you to proceed with the next steps of the removal process.
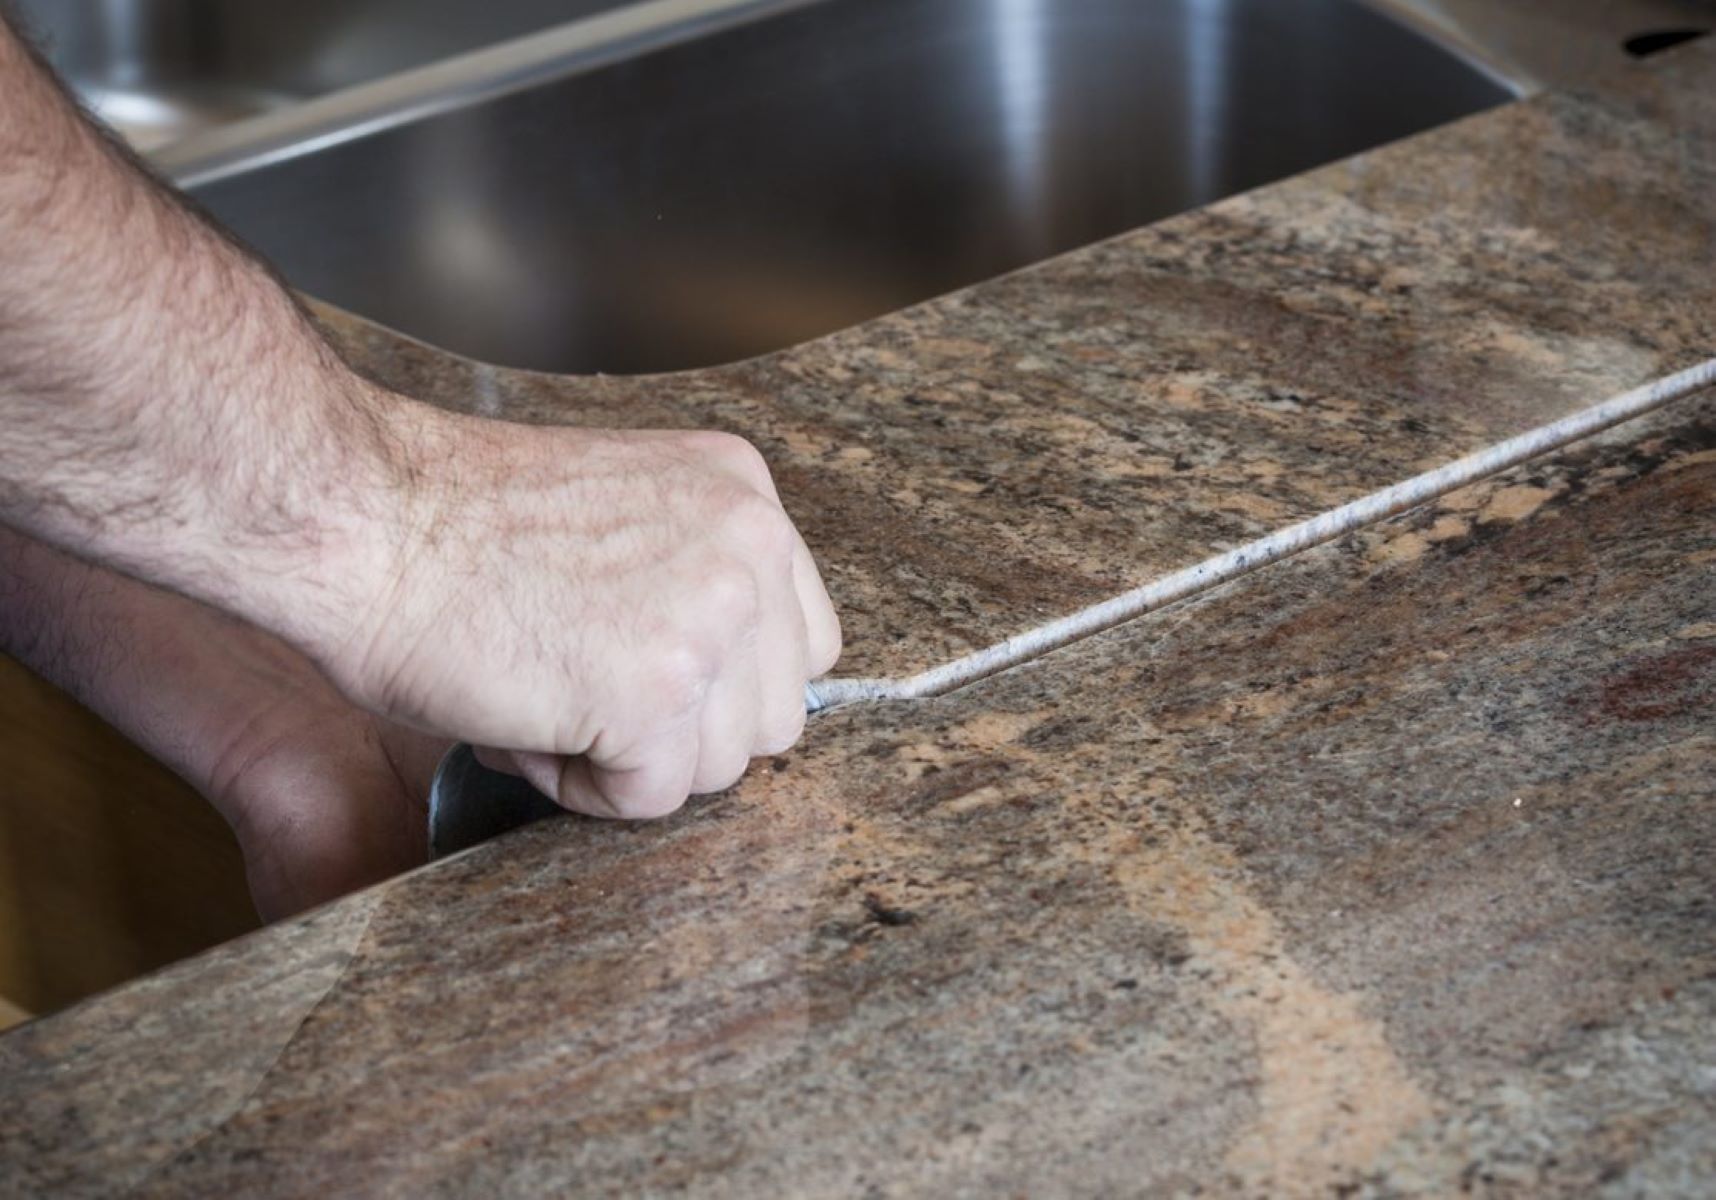
Step 4: Releasing any Adhesive or Caulk
Once the laminate countertops are detached from the cabinets, there may still be residual adhesive or caulk holding them in place. It’s important to release and remove these substances to ensure a clean and smooth removal. Follow these steps to release any adhesive or caulk:
- Inspect the surface: Carefully examine the underside of the countertop and the top of the cabinets to identify any areas where adhesive or caulk may still be present.
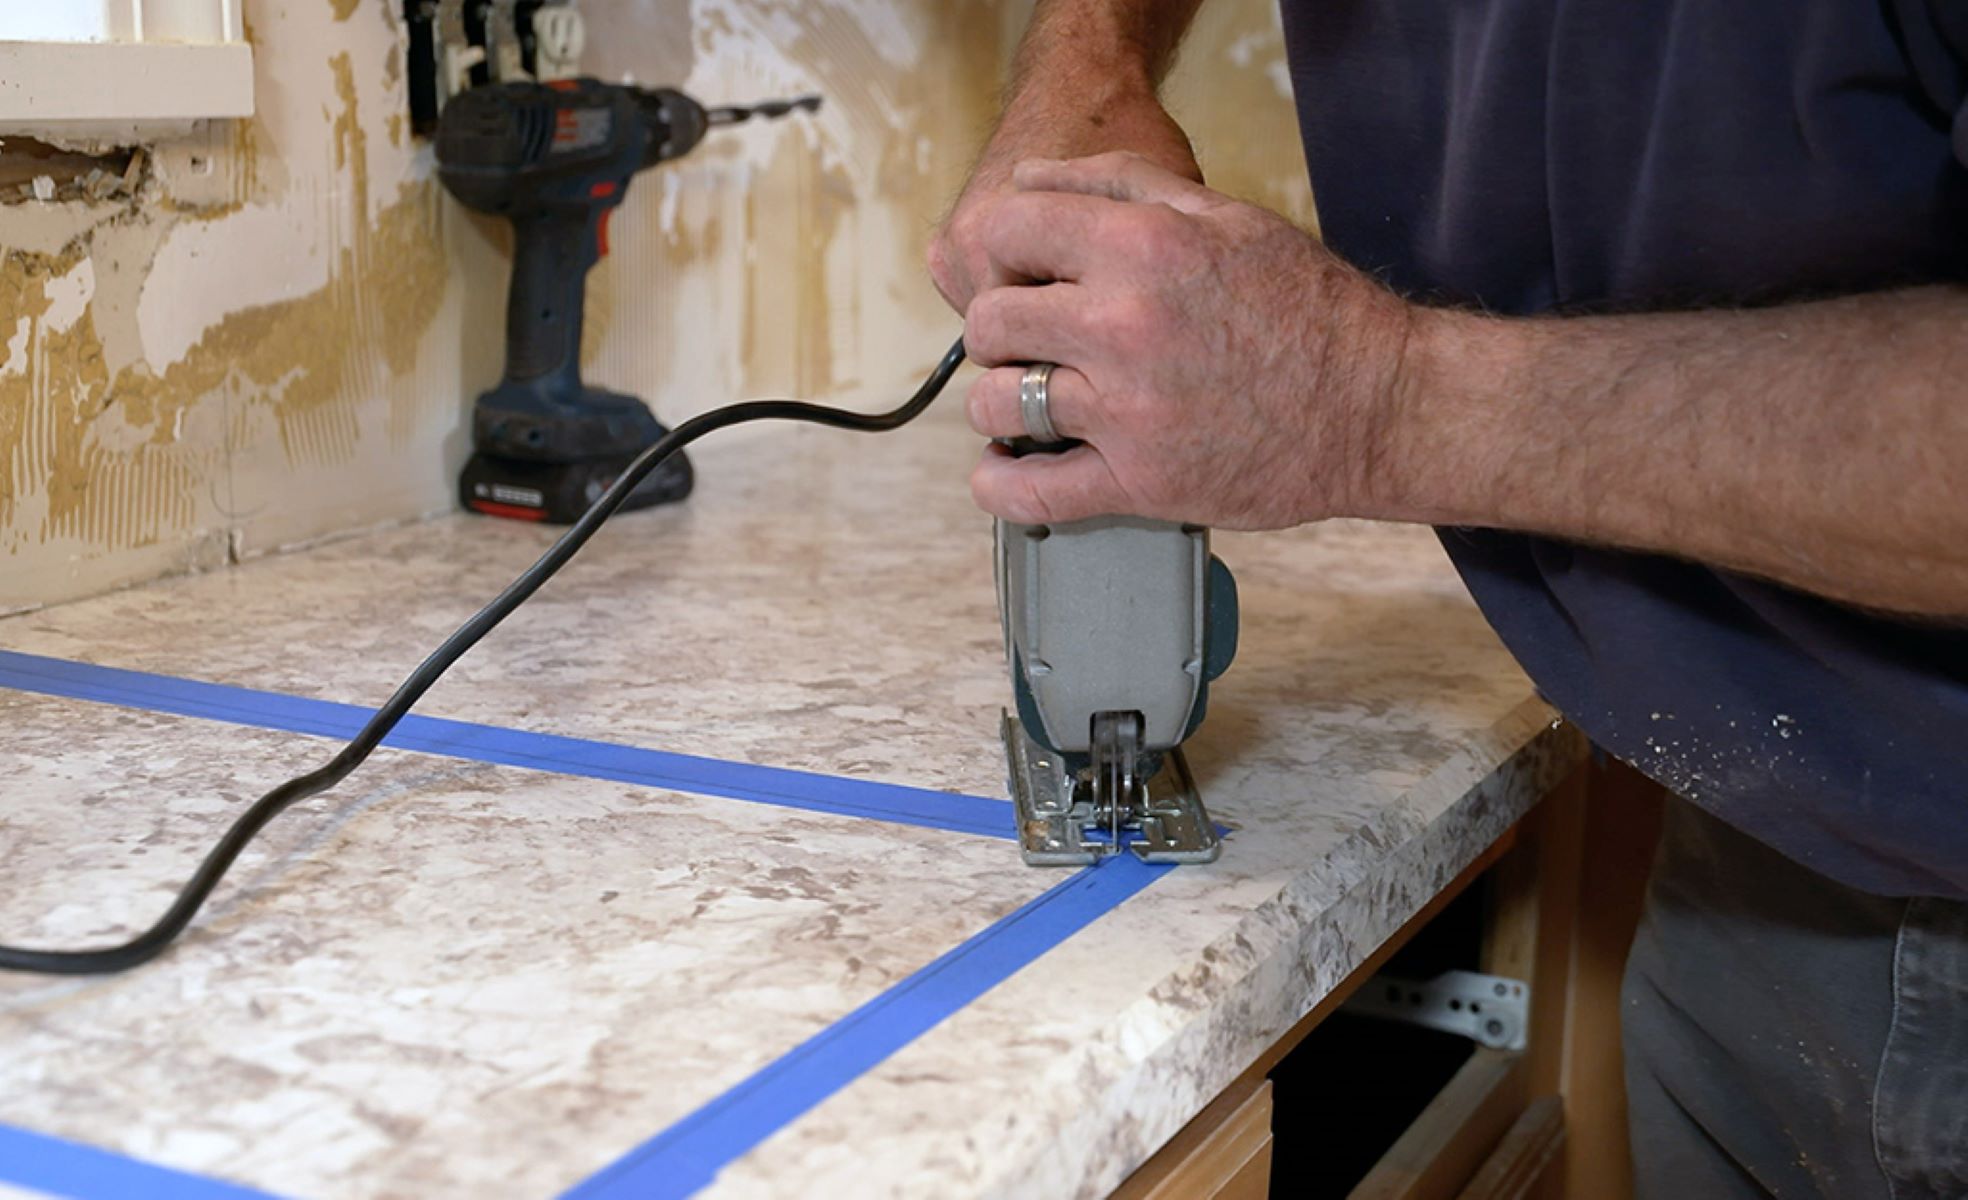
- Use a utility knife: With a sharp utility knife, carefully cut through any visible adhesive or caulk along the edges of the countertop. Take your time and work slowly to avoid damaging the countertop or cabinets.
- Apply heat: If the adhesive is particularly stubborn, you can use a heat gun or hairdryer on a low setting to warm and soften it. This will make it easier to scrape away.
- Scrape away the adhesive or caulk: Using a putty knife or scraper, gently scrape away the released adhesive or caulk. Work methodically and remove as much of it as possible to ensure a clean surface for the new countertops.
- Clean the surface: Once you have removed the bulk of the adhesive or caulk, use a mild soap and water solution to clean the surface of the cabinets and underside of the countertop. This will remove any remaining residue and prep the area for the installation of new countertops.
By following these steps, you will successfully release any adhesive or caulk that may be holding the laminate countertops in place. This will ensure a clean and smooth removal, leaving you with a clean surface ready for the next phase of the renovation project.
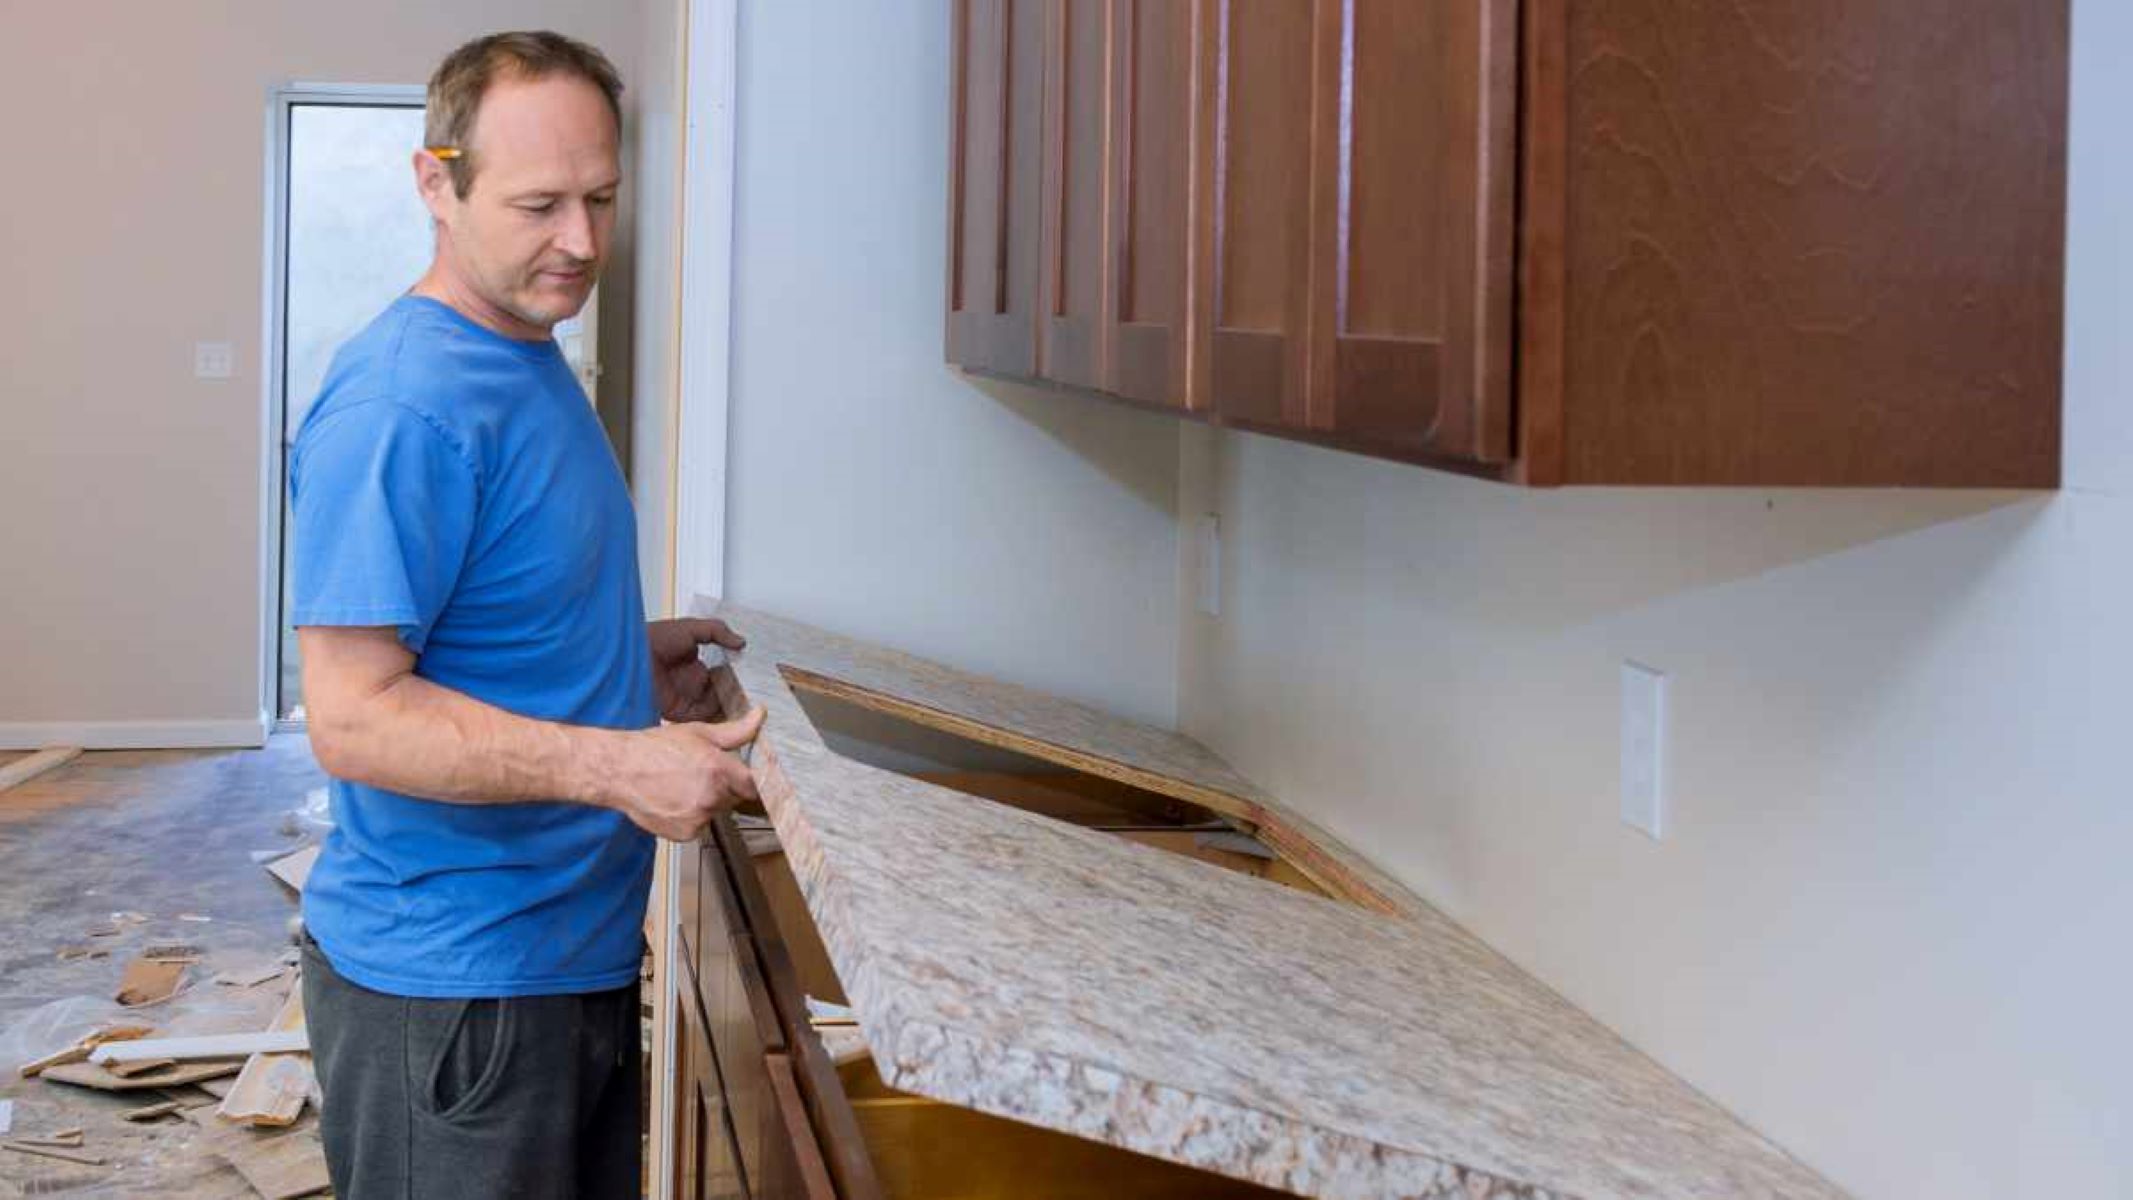
Step 5: Lifting and Removing the Laminate Countertops
Now that the adhesive or caulk has been released and the surface is clean, it’s time to lift and remove the laminate countertops from the cabinets. This step requires caution and proper lifting techniques to avoid any damage or injuries. Follow these steps to lift and remove the countertops:
- Assess the weight: Before lifting the countertops, it’s important to understand their weight. Laminate countertops can be heavy, so it’s recommended to have at least two people for this step.
- Position yourselves: Stand on opposite sides of the countertop, ensuring a firm and balanced grip. Be sure to bend your knees and lift with your legs to avoid straining your back.
- Lift the countertop: Slowly and together, lift the countertop upwards from the cabinets. Use caution and be aware of any obstacles or tight spaces that may require adjustments while lifting.
- Clear the area: Once the countertop is lifted, carefully maneuver it to a clear and safe area. Place it on a soft surface, such as drop cloths or blankets, to prevent any scratches or damage.
- Repeat as necessary: If you have multiple sections of laminate countertops, repeat the lifting and removal process for each section, ensuring that all countertops are safely removed.
By following these steps and lifting the laminate countertops with care, you can safely remove them from the cabinets. Remember to take your time, use proper lifting techniques, and seek assistance if needed to prevent any accidents or damage.
Step 6: Cleaning and Preparing the Cabinets
Once the laminate countertops have been successfully removed, it’s time to clean and prepare the cabinets for the installation of new countertops. This step is crucial to ensure a smooth and seamless transition and to provide a clean and sturdy foundation for the new countertops. Follow these steps to clean and prepare the cabinets:
- Remove any debris: Use a vacuum or a soft brush to remove any dust, dirt, or debris from the cabinets. Pay close attention to the corners and crevices to ensure a thorough cleaning.
- Inspect for damage: Take a moment to inspect the cabinets for any signs of damage or wear. If necessary, repair any loose hinges, handles, or damaged areas before proceeding.
- Fill and sand any holes: If there are any holes or indentations on the cabinet surface from the previous countertops, use wood filler to fill them in. After the filler has dried, sand the area until it’s smooth and level.
- Clean with mild soap and water: Mix a mild soap and water solution and use a sponge or soft cloth to gently clean the cabinets. Wipe down all surfaces, paying attention to any sticky or greasy spots.
- Dry thoroughly: After cleaning, make sure to dry the cabinets thoroughly to prevent any moisture from seeping into the wood. Use a clean towel or allow them to air dry completely.
- Apply a primer (if necessary): Depending on the type of new countertop you will be installing, you may need to apply a primer to the cabinets. Follow the manufacturer’s instructions for the specific primer and allow it to dry before proceeding with the installation.
By following these steps and thoroughly cleaning and preparing the cabinets, you have created a solid foundation for the installation of new countertops. This will ensure a proper fit and a seamless transition, giving your kitchen or bathroom a fresh and updated look.
Read more: How To Remove Laminate Countertop Backsplash
Conclusion
Congratulations! You have successfully learned how to remove laminate countertops during your home renovation project. By following the step-by-step instructions and utilizing the necessary tools and materials, you can tackle this task with confidence and achieve a successful outcome.
Removing laminate countertops may seem like a daunting task at first, but with patience, careful planning, and proper technique, you can complete the process smoothly and efficiently. By disconnecting the sink and appliances, removing the backsplash (if applicable), detaching the countertops from the cabinets, releasing any adhesive or caulk, lifting and removing the countertops, and cleaning and preparing the cabinets, you have completed each crucial step.
Remember, safety should always be a top priority during any home renovation project. Wear protective gear such as gloves and safety goggles, and use caution when handling heavy or sharp objects. If you’re unsure about any part of the process, consider consulting a professional to ensure the task is completed accurately and safely.
Once the laminate countertops have been successfully removed and the cabinets have been cleaned and prepared, you can move forward with installing new countertops of your choice. This will bring a fresh and updated look to your kitchen or bathroom, enhancing the overall aesthetic and functionality of the space.
Thank you for following along with this guide on how to remove laminate countertops. We hope this information has been helpful and empowering for your home renovation journey. Best of luck with your project!
Frequently Asked Questions about How Do You Remove Laminate Countertops
Was this page helpful?
At Storables.com, we guarantee accurate and reliable information. Our content, validated by Expert Board Contributors, is crafted following stringent Editorial Policies. We're committed to providing you with well-researched, expert-backed insights for all your informational needs.


0 thoughts on “How Do You Remove Laminate Countertops”