Articles
How To Remove Tile Countertops
Modified: August 16, 2024
Learn effective techniques for removing tile countertops in these informative articles.
(Many of the links in this article redirect to a specific reviewed product. Your purchase of these products through affiliate links helps to generate commission for Storables.com, at no extra cost. Learn more)
Introduction
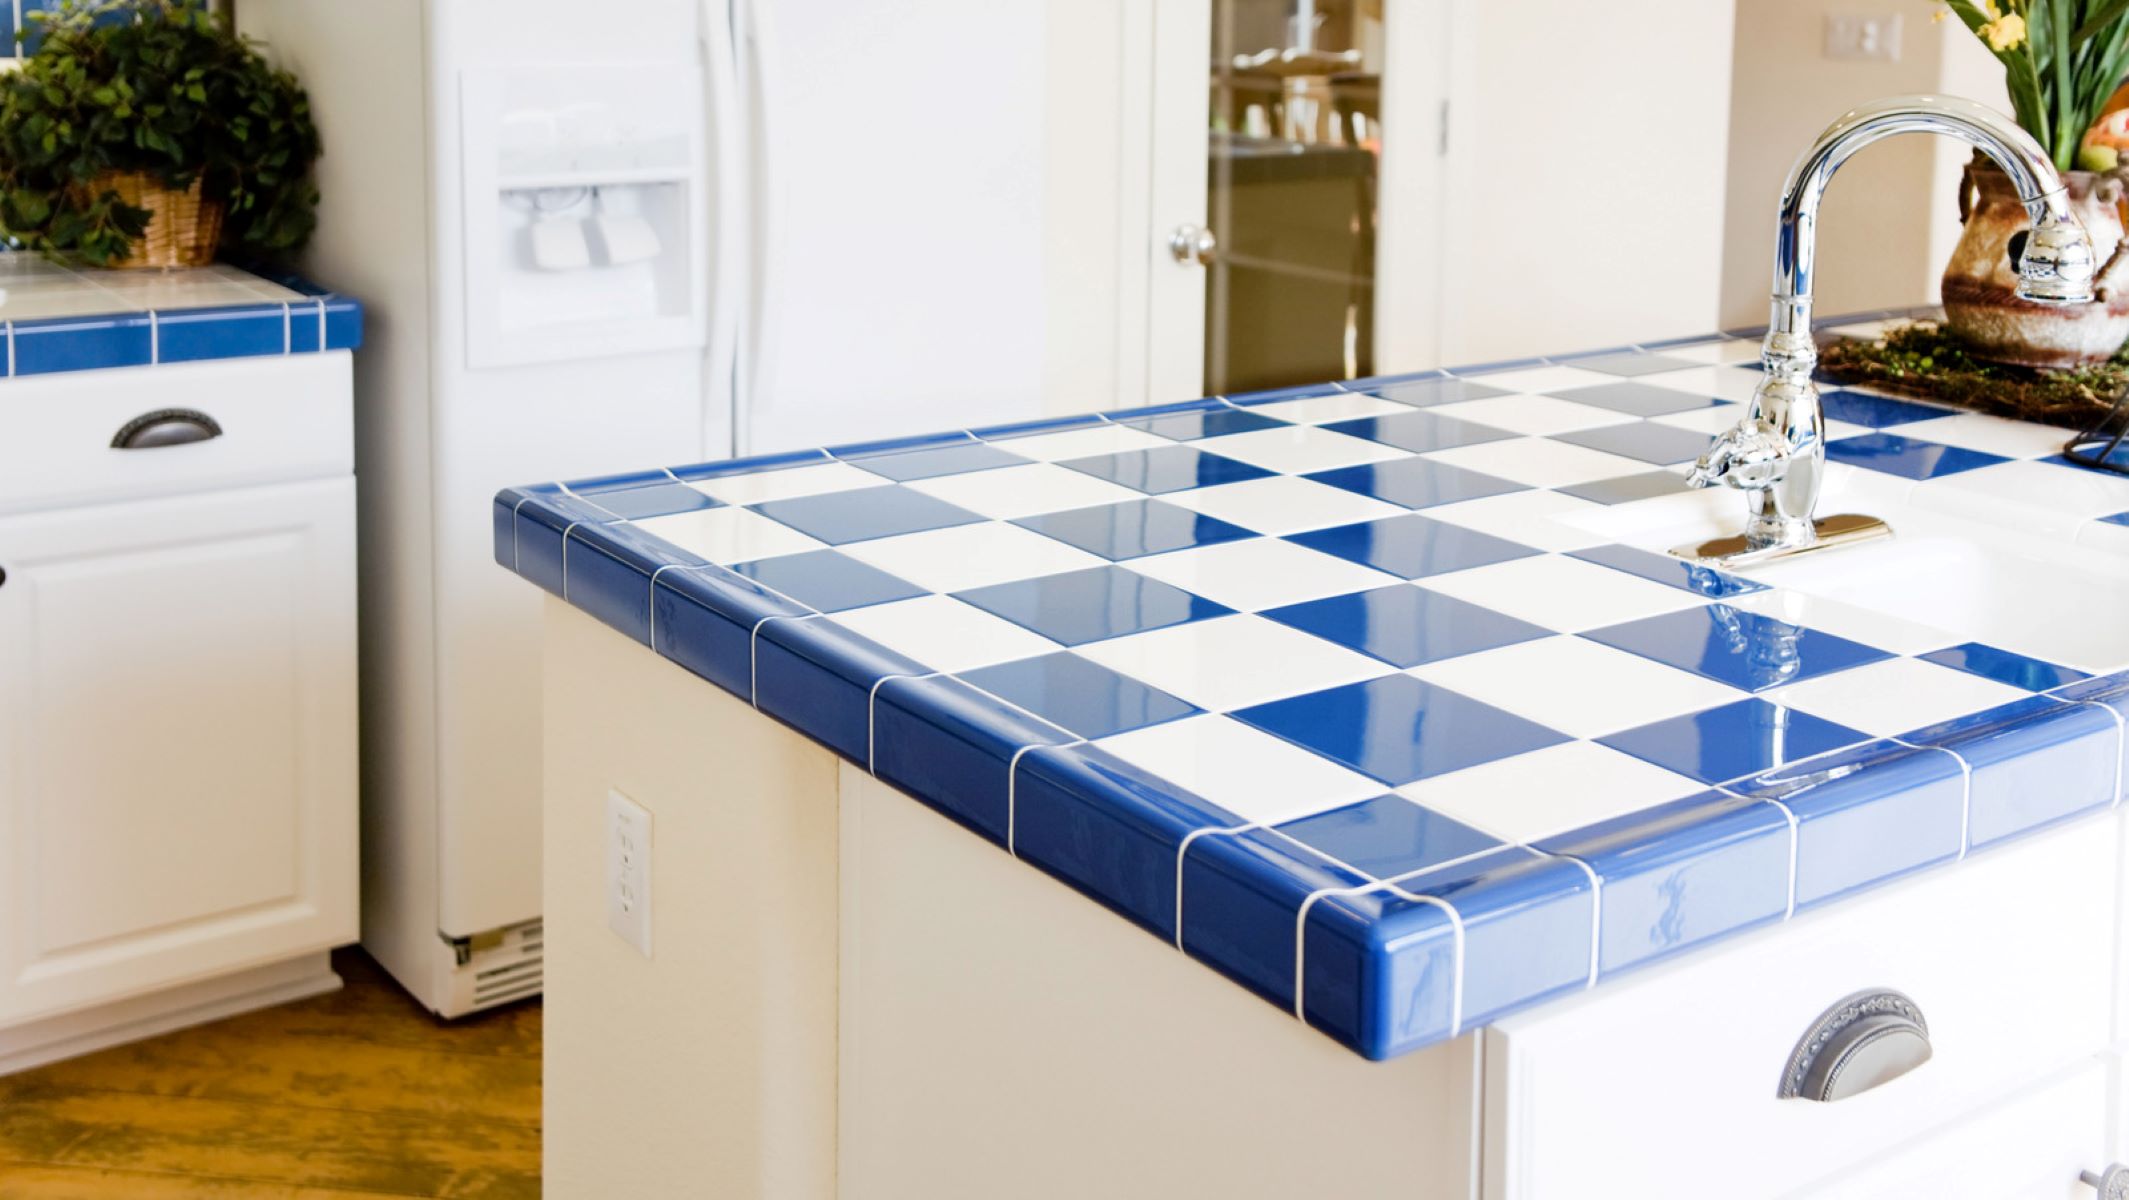
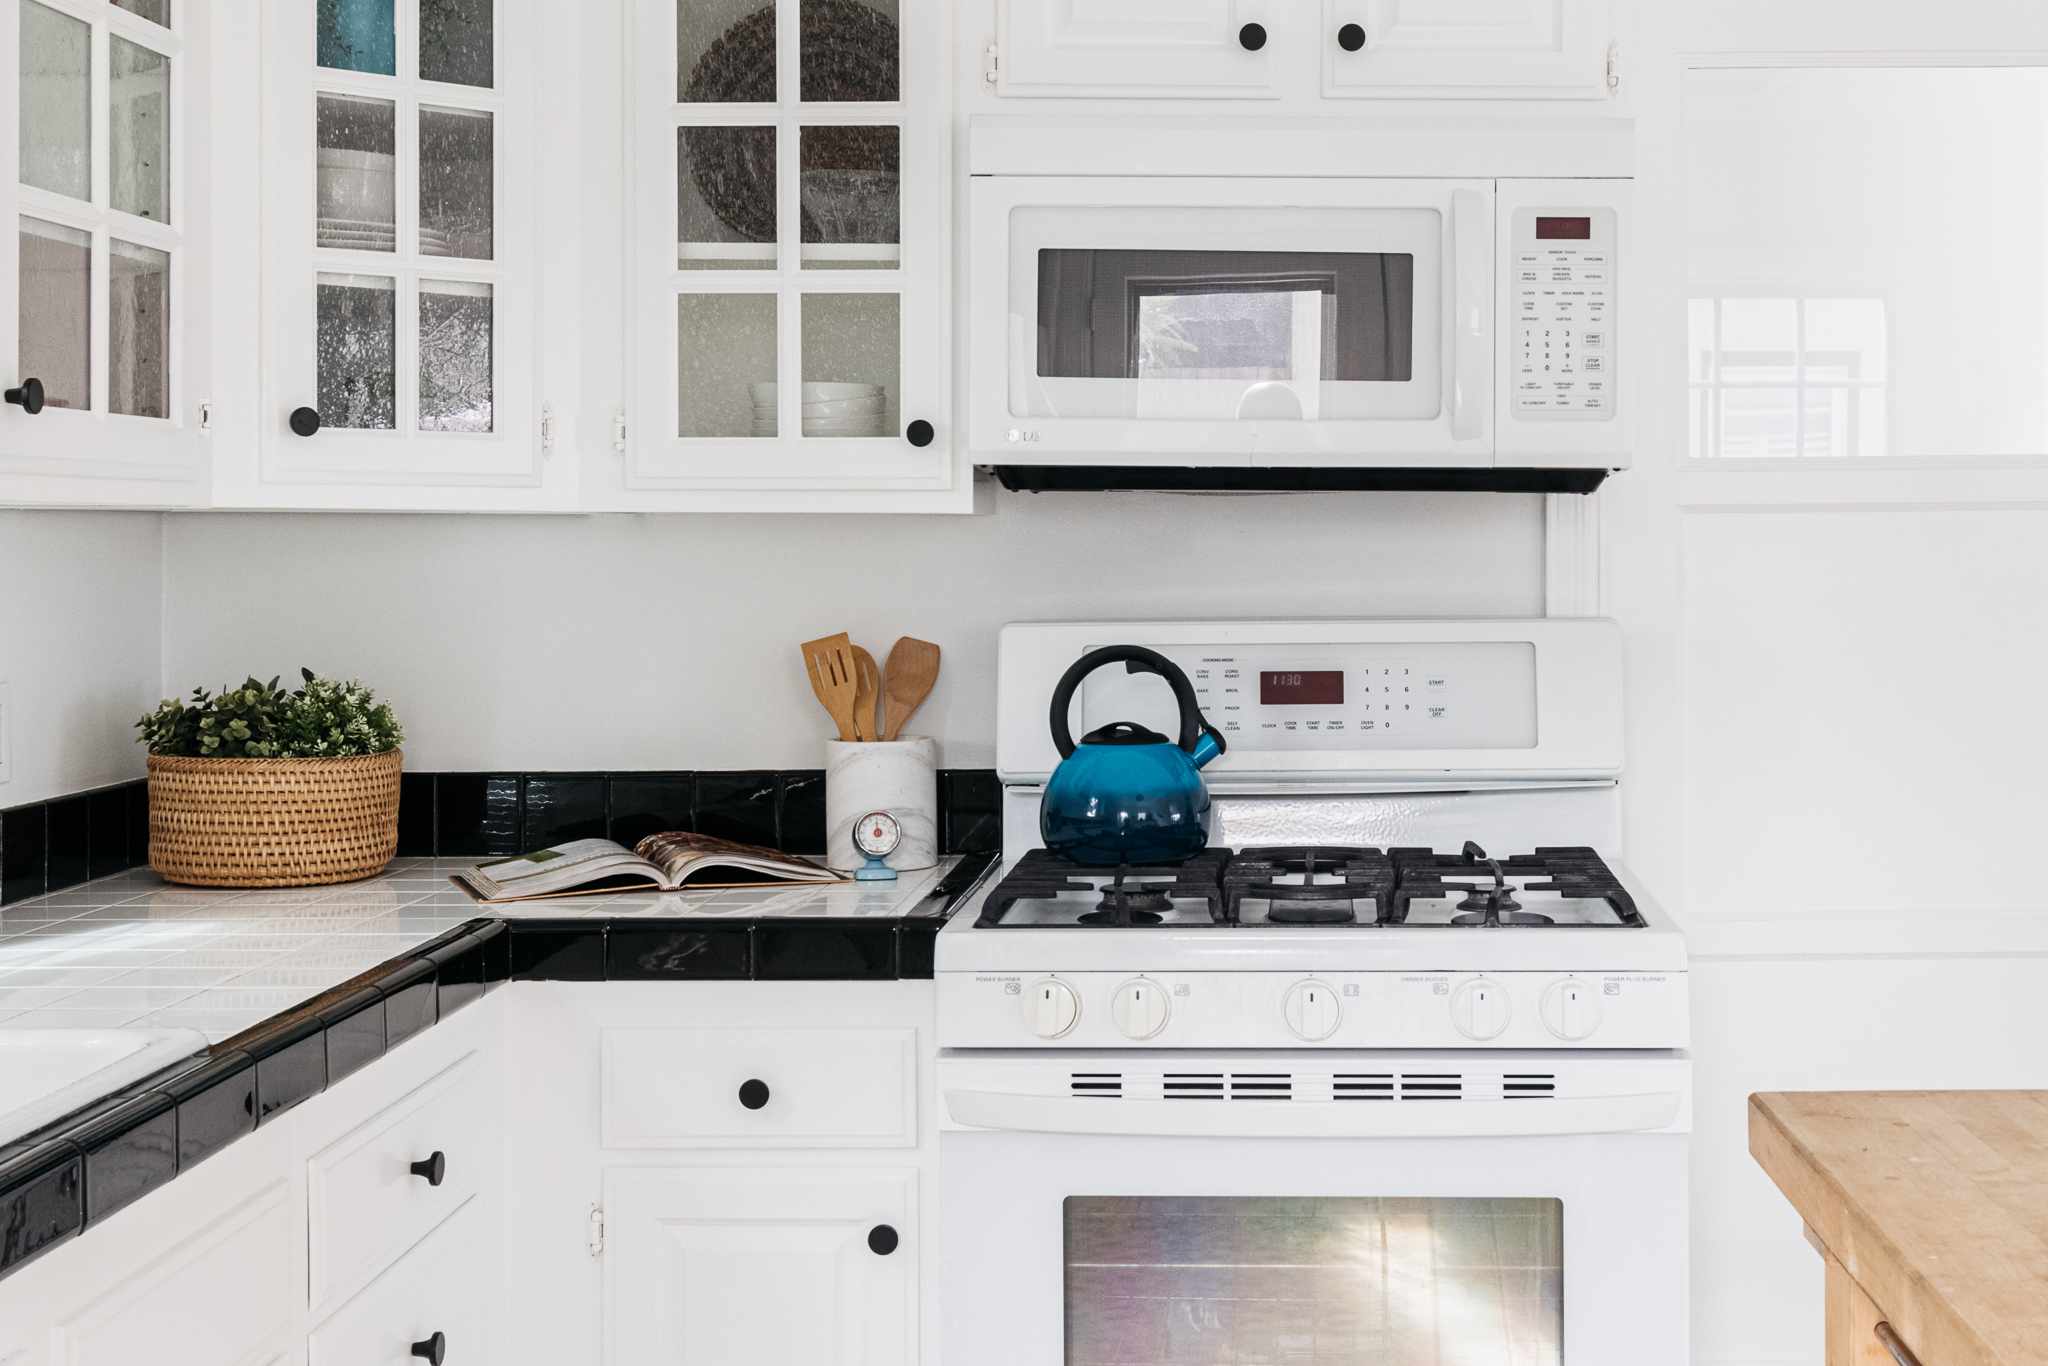
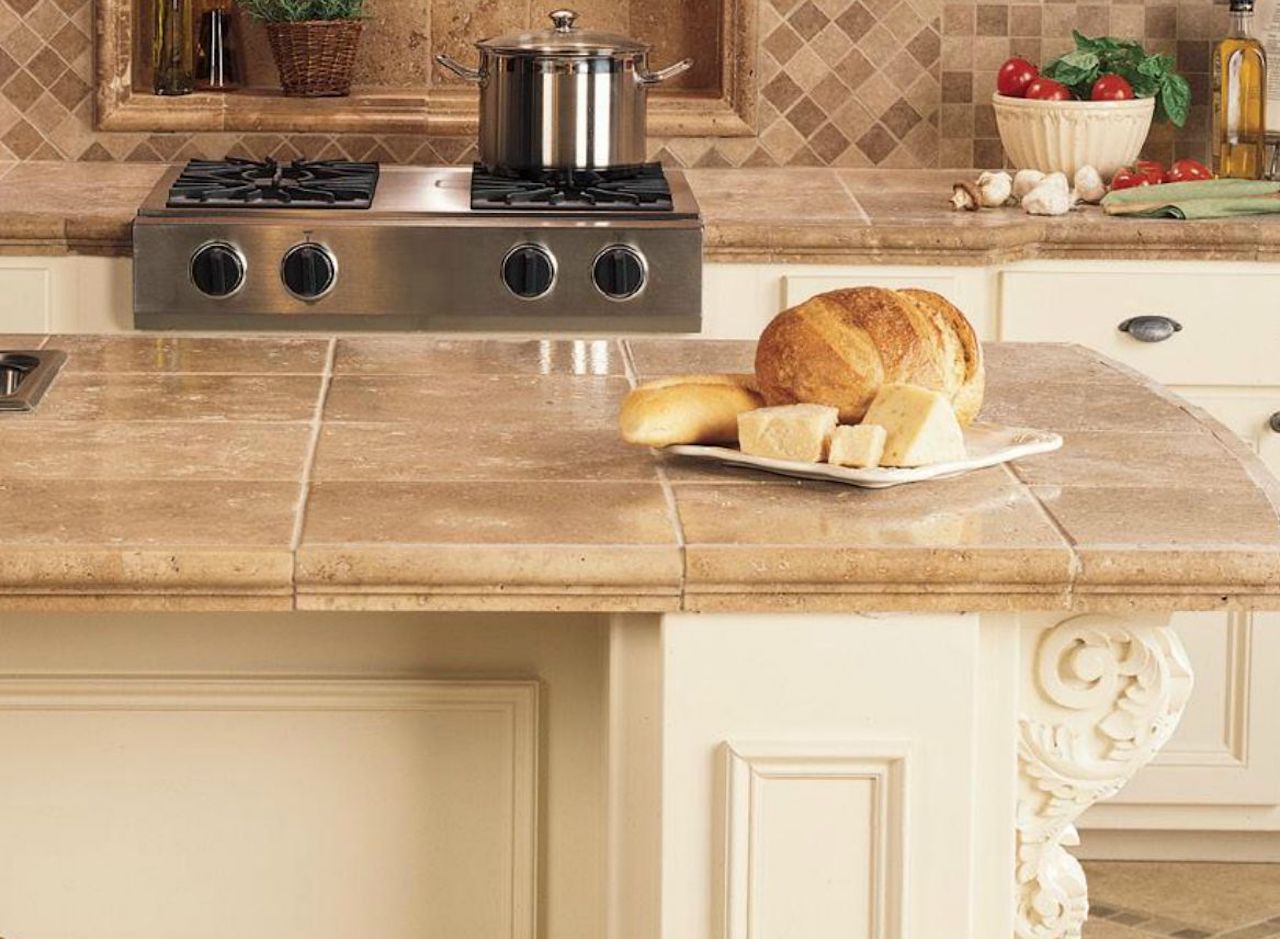
Tile countertops can add a beautiful and durable touch to any kitchen or bathroom. However, there may come a time when you need to remove them, whether it’s due to a remodel, damage, or simply wanting to update the look of your space. While the process of removing tile countertops may seem daunting, with the right tools and a bit of know-how, you can tackle this project and achieve great results.
In this article, we will guide you through the step-by-step process of removing tile countertops. We will cover everything from the tools and materials you’ll need to the precise techniques to ensure a successful removal. Whether you’re a seasoned DIY enthusiast or a novice looking to take on your first home improvement project, we’ve got you covered.
Before you begin, it’s important to note that removing tile countertops can be a time-consuming and labor-intensive task. It requires caution and patience to avoid damaging surrounding surfaces. Additionally, if you’re uncomfortable with any step of the process, it’s best to consult a professional for assistance.
Now, let’s dive into the details and get started with removing tile countertops!
Key Takeaways:
- Removing tile countertops requires careful preparation, the right tools, and patience. Prioritize safety, disconnect utilities, and follow step-by-step instructions for a successful removal process.
- After removing tile countertops, clean the workspace, repair any damages, and consider refinishing or installing new countertops. Customize the process to suit your unique needs and consult professionals if needed.
Tools and Materials Needed
Before you begin the process of removing tile countertops, gather the following tools and materials:
- Protective gear: Safety goggles, work gloves, and a dust mask to protect yourself from debris and harmful particles.
- Hammer: A 16-ounce claw hammer will be essential for breaking up the tiles and removing them from the countertop.
- Chisel: A sturdy chisel is needed to pry off the tiles and remove any adhesive or grout residue.
- Pry bar: A pry bar will help in lifting and removing the old countertop from its base.
- Utility knife: Use a utility knife to score along the edges of the countertop and cut through any caulking or sealant.
- Pliers: Pliers will come in handy for removing any nails, staples, or fasteners holding the countertop in place.
- Putty knife: A putty knife will be useful for scraping away any excess adhesive or grout.
- Bucket or trash bags: Have a bucket or trash bags nearby to dispose of the broken tiles and debris.
- Cleaning supplies: Stock up on cleaning supplies such as a broom, dustpan, sponge, and all-purpose cleaner to tidy up the workspace after removing the tiles.
Additionally, depending on the specific situation, you may need specific materials such as:
- Tile adhesive remover: If the tiles are attached with a strong adhesive, you may need a specialized tile adhesive remover to make the removal process easier.
- Grout saw: In case the tiles are set in a thick layer of grout, a grout saw will help in removing the grout and separating the tiles from the countertop.
Make sure to gather all the necessary tools and materials before you begin to eliminate any unnecessary interruptions during the removal process. Now that you’re prepared, let’s move on to the first step: preparation.
Step 1: Preparation
Before you start removing the tile countertops, it’s crucial to prepare the workspace and ensure that you have a clear plan of action. Here are the steps to follow for proper preparation:
- Clear the area: Remove any items from the countertops and clear the immediate area around it. This will prevent any damage to personal belongings and provide a clutter-free workspace.
- Disconnect utilities: If your countertop has built-in appliances such as a sink, dishwasher, or cooktop, you must disconnect them from the plumbing and electrical sources. Switch off the water supply and unplug electrical connections. If you’re unsure about the process, consult a professional to avoid any damage or injury.
- Protect surrounding surfaces: In order to protect the surrounding surfaces from debris and potential damage, use drop cloths or cardboard sheets to cover areas adjacent to the countertop. This will help minimize cleanup and prevent scratches or chips on the floors or cabinets.
- Wear protective gear: Put on your safety goggles, work gloves, and a dust mask to protect yourself from flying debris and harmful particles during the removal process.
By taking these preparatory steps, you can ensure a safe and organized work environment, making the process of removing tile countertops smoother and more efficient. Once you have completed the preparation stage, you’re ready to move on to the next step: disconnecting utilities.
Step 2: Disconnecting Utilities
Before you can remove the tile countertops, you need to disconnect any utilities that are connected to the countertop, such as plumbing and electrical connections. Follow these steps to safely disconnect the utilities:
- Shut off the water supply: Locate the shut-off valves for the sink and turn them clockwise to shut off the water supply. If there are no individual shut-off valves, you may need to shut off the main water valve for the entire house.
- Disconnect the sink plumbing: Use a wrench to detach the pipes connected to the sink. Place a bucket or a towel underneath to catch any remaining water from the pipes.
- Unplug electrical connections: If your countertop has any electrical outlets or appliances connected, switch off the circuit breaker that supplies power to those outlets. Carefully unplug any electrical connections using proper safety precautions.
- Label and organize: As you disconnect the utilities, it’s important to label and organize the wires and pipes to make the reinstallation process easier. Use masking tape or labels to mark each wire or pipe with its corresponding location.
Remember, if you’re unsure about how to disconnect utilities or if you’re uncomfortable handling plumbing or electrical connections, it’s best to consult a professional. Safety should always be a top priority during any home improvement project.
Once you have successfully disconnected the utilities, you’re ready to move on to the next step: removing the tiles.
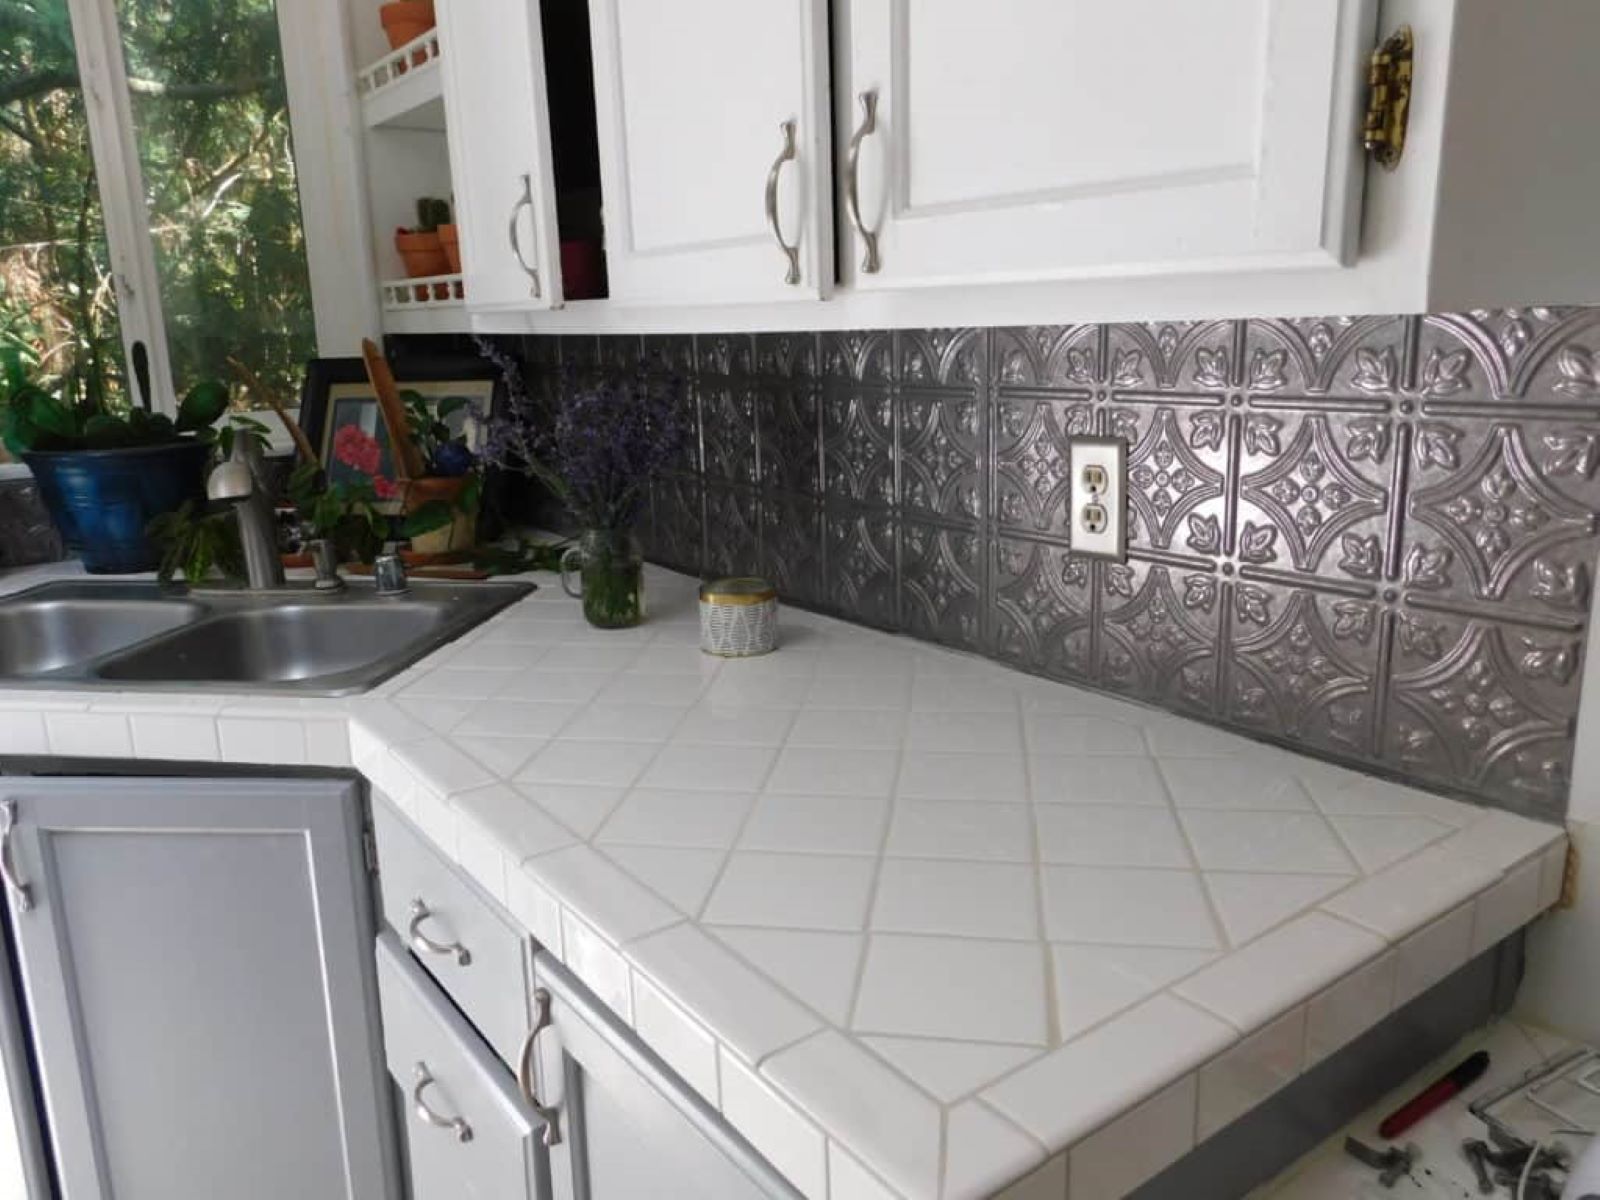
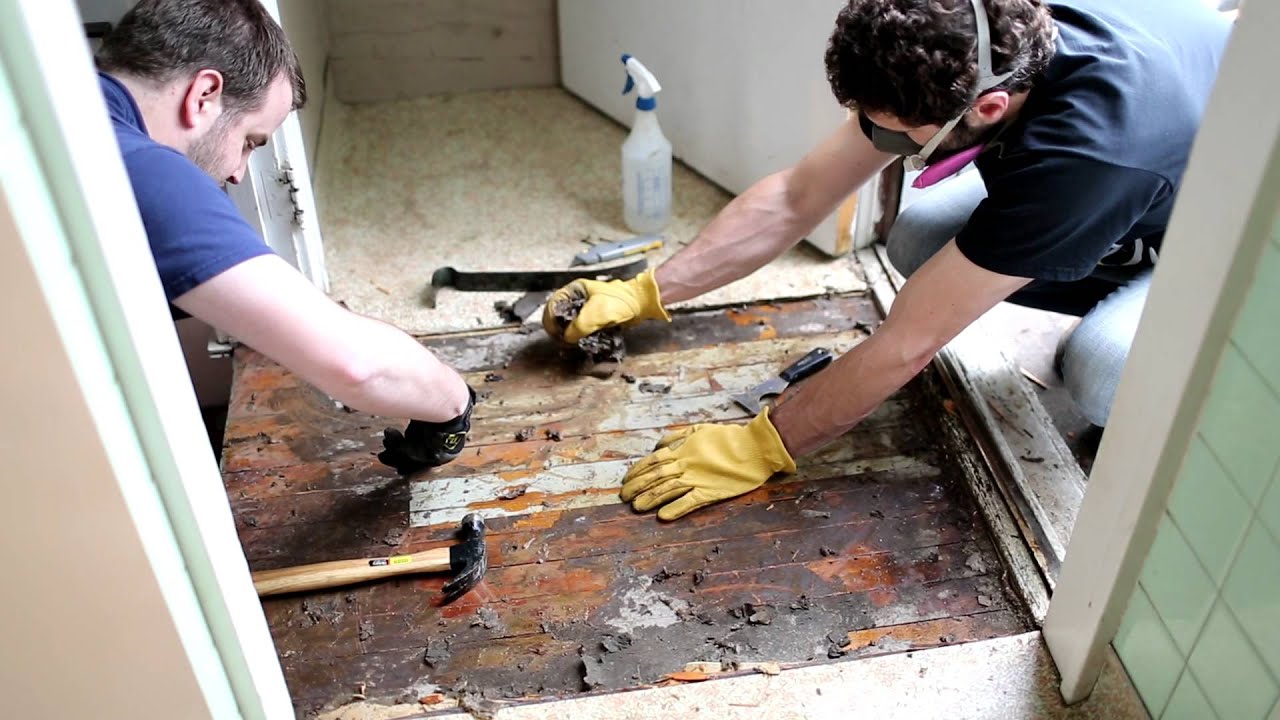
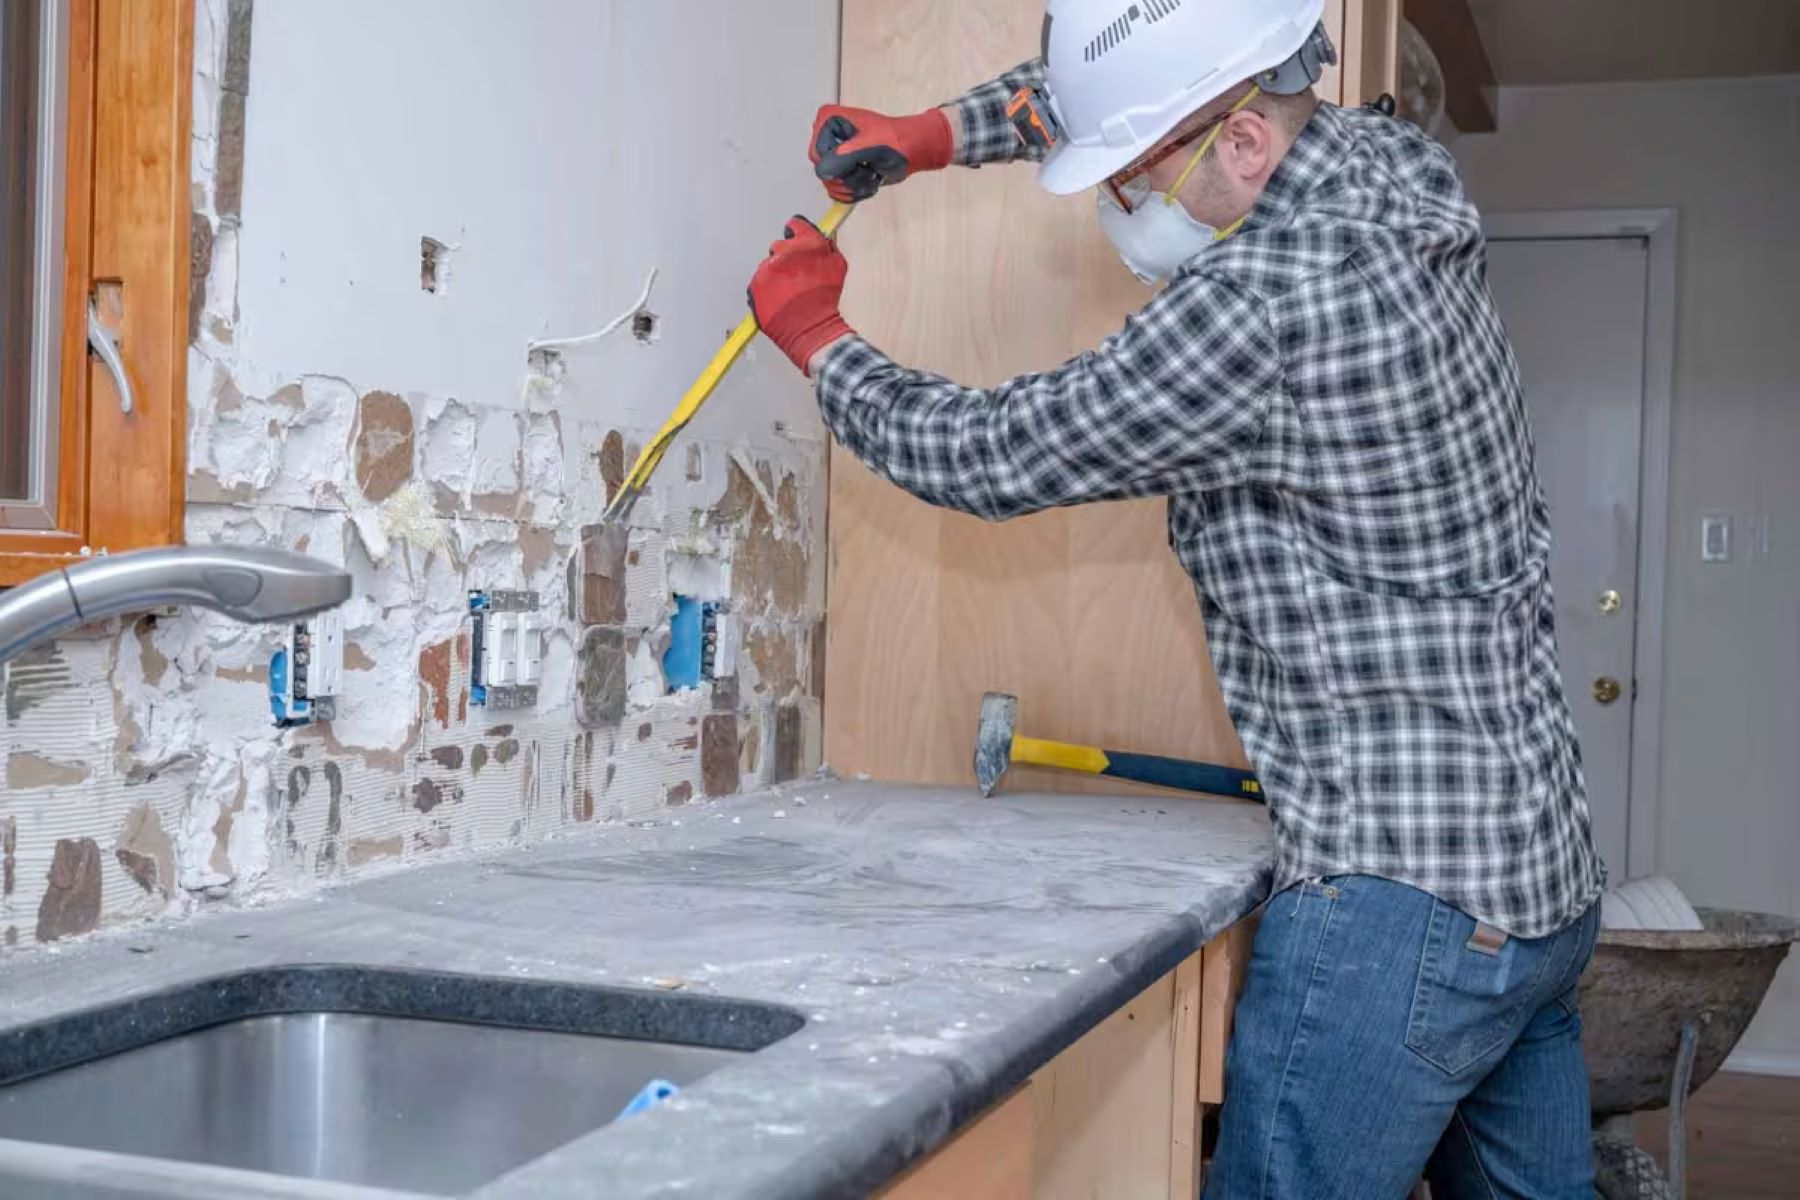
Use a hammer and chisel to carefully break and remove the tiles from the countertop. Start at the edges and work your way towards the center to avoid damaging the underlying surface.
Step 3: Removing Tiles
Now that you have prepared the workspace and disconnected the utilities, it’s time to start removing the tiles from the countertop. Follow these steps to ensure a smooth and efficient tile removal process:
- Start at the edges: Use a hammer and chisel to carefully break the tiles along the edges of the countertop. Start at a corner and work your way along the edge, tapping the chisel with the hammer to loosen and break the tiles. Be cautious not to damage the countertop surface or the surrounding tiles if you plan to salvage them.
- Remove grout: Once the edge tiles are removed, use a grout saw or chisel to remove the grout between the remaining tiles. This will help in separating them from the countertop more easily.
- Break the tiles: Use the hammer and chisel to break the remaining tiles into smaller pieces. Place a cloth or towel over the tiles to prevent shards from flying and protect the countertop surface.
- Remove the broken tiles: Carefully lift and remove the broken tiles from the countertop surface. Use pliers or your hands to pull out any remaining pieces and dispose of them properly in a bucket or trash bag.
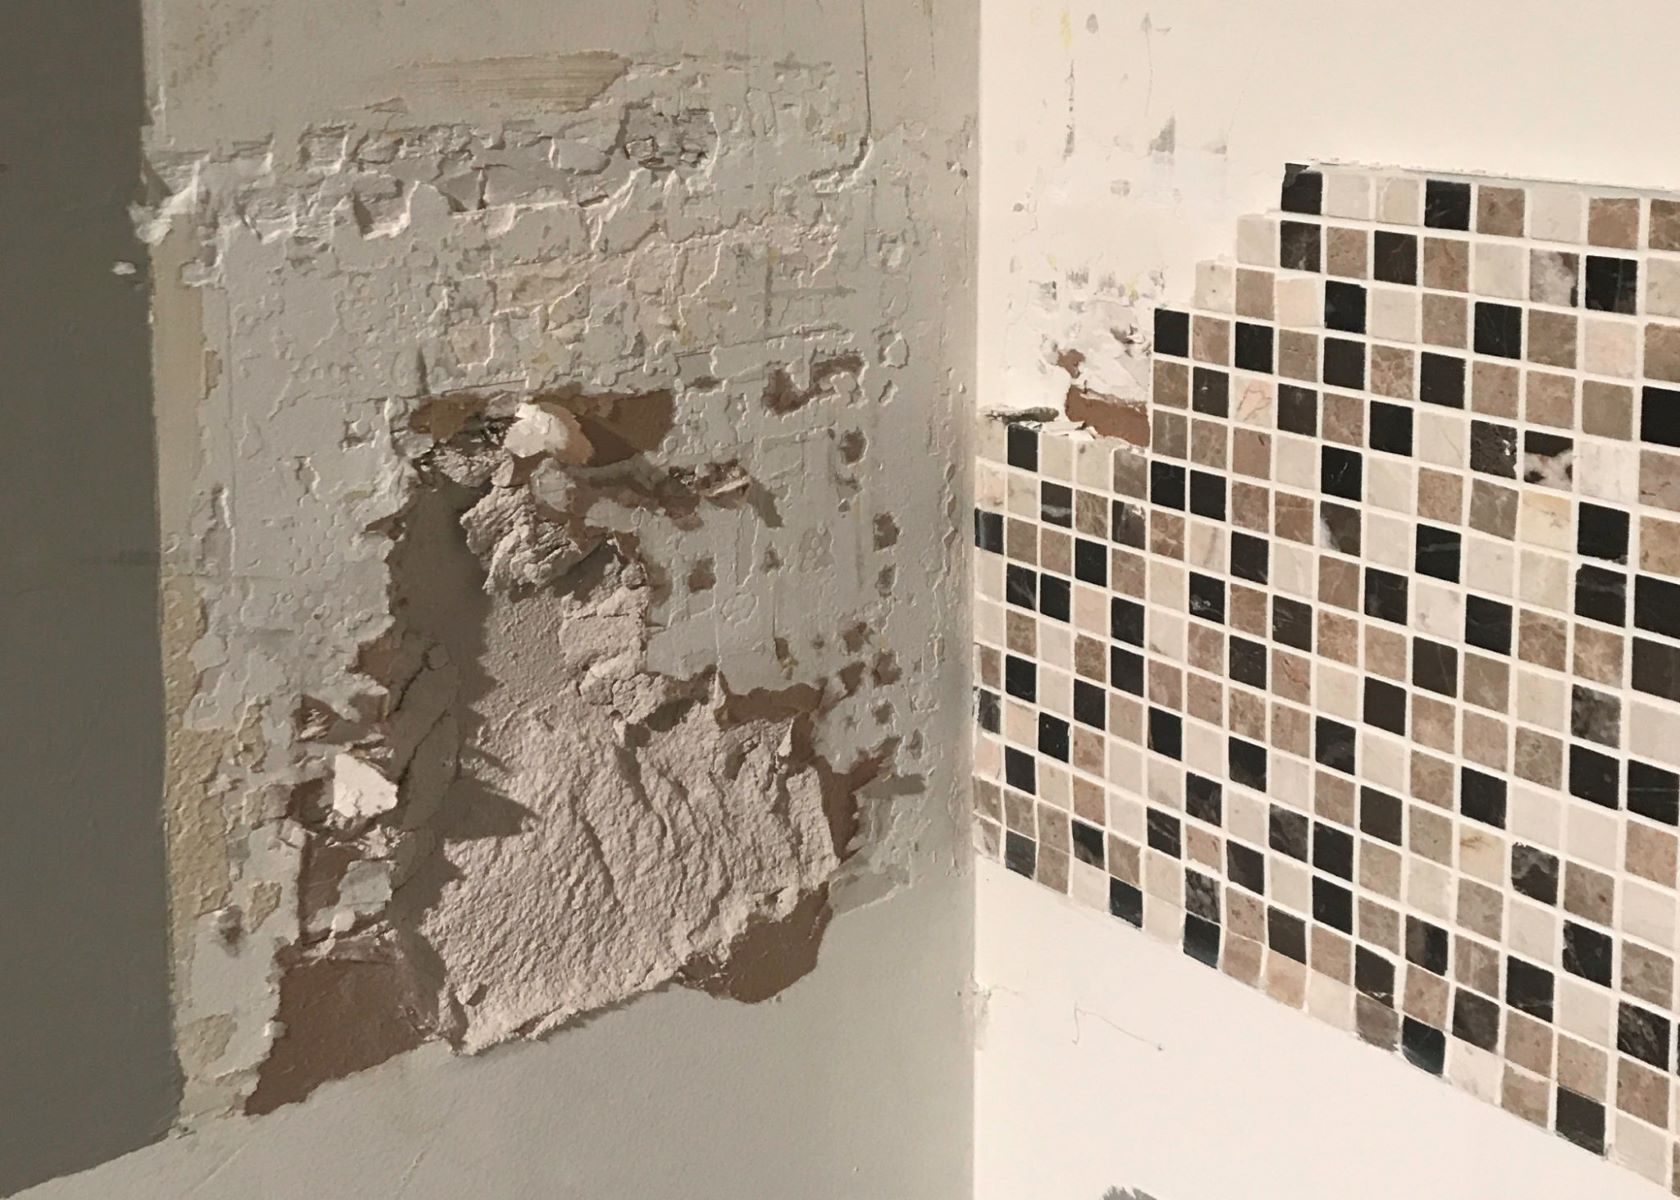
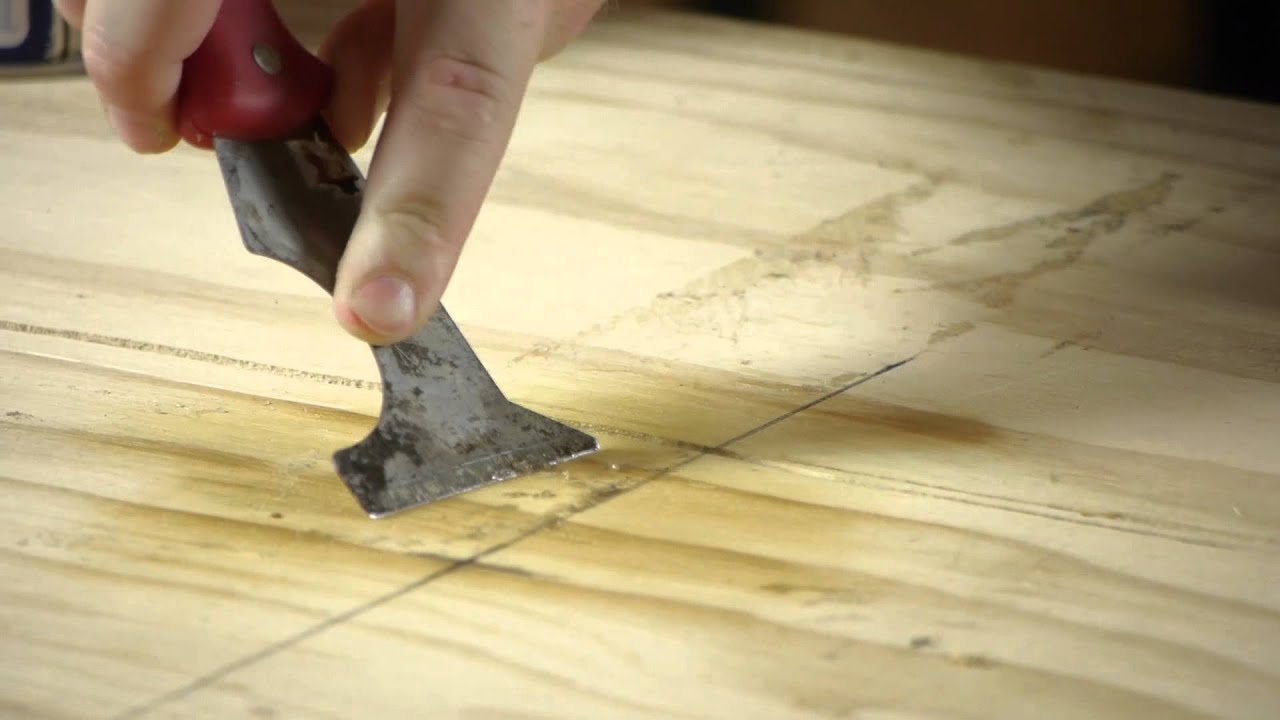
- Scrape off the adhesive: Use a putty knife or scraper to remove any adhesive or grout residue from the countertop surface. Be gentle to avoid scratching or damaging the surface beneath the tiles.
Take your time while removing the tiles to ensure a clean and precise removal. Wear protective gloves and safety goggles to protect yourself from any sharp tile edges or flying debris. It’s also a good idea to have a broom and dustpan nearby to clean up any loose debris during the process.
Once all the tiles have been removed, proceed to the next step: detaching the countertop from its base.
Read more: How To Clean Tile Countertops
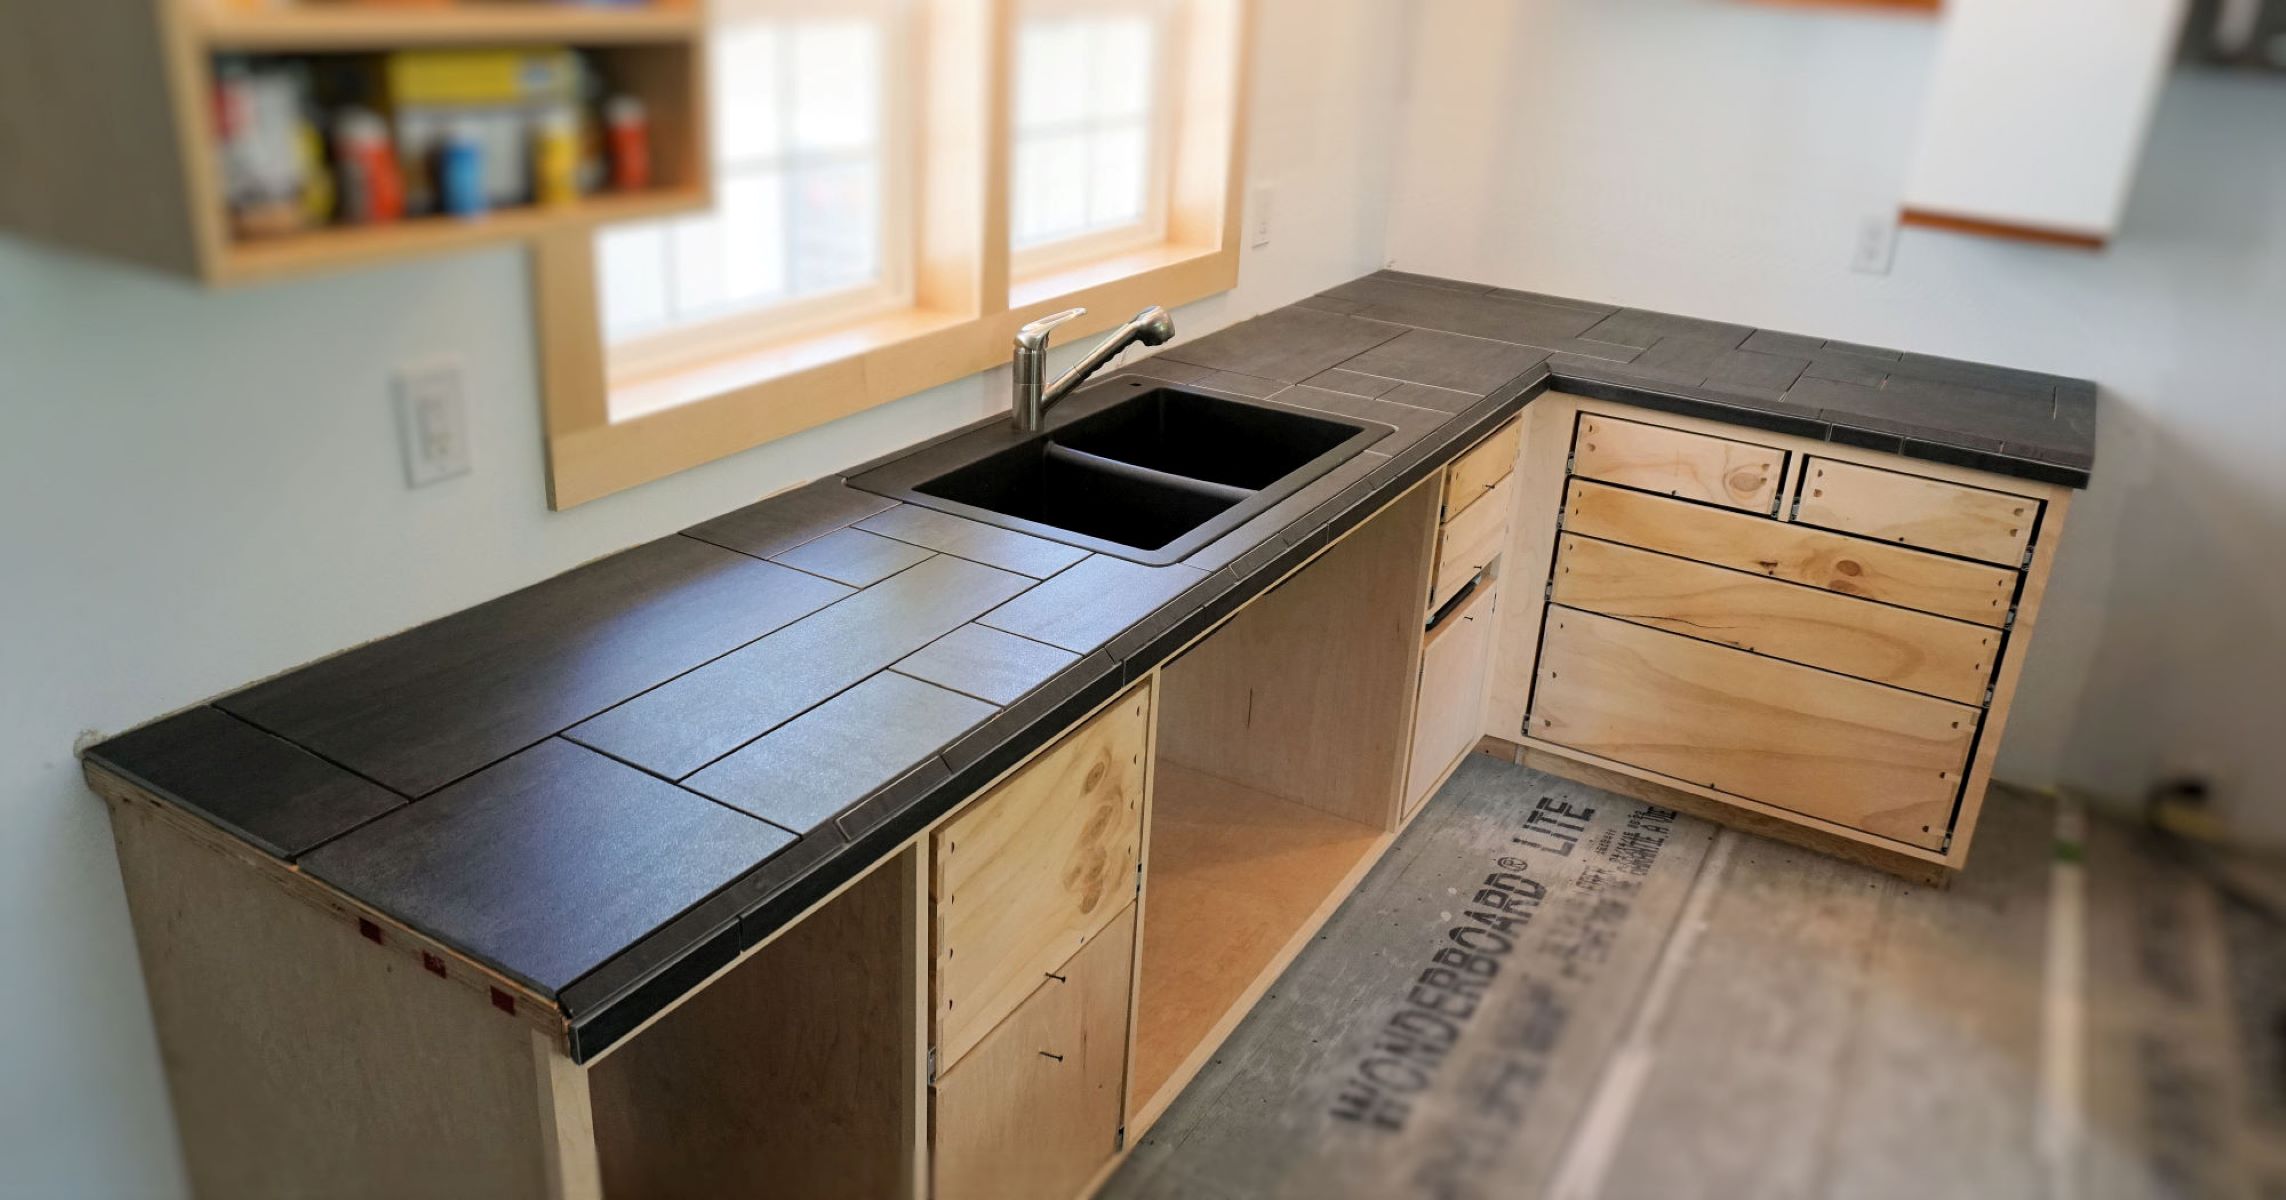
Step 4: Detaching Countertop
With the tiles removed, it’s time to detach the countertop from its base. This step requires careful maneuvering and may require assistance, especially if the countertop is large or heavy. Follow these steps to detach the countertop:
- Inspect the countertop: Before proceeding, make sure there are no screws or fasteners securing the countertop to the base. If there are, use a screwdriver or drill to remove them.
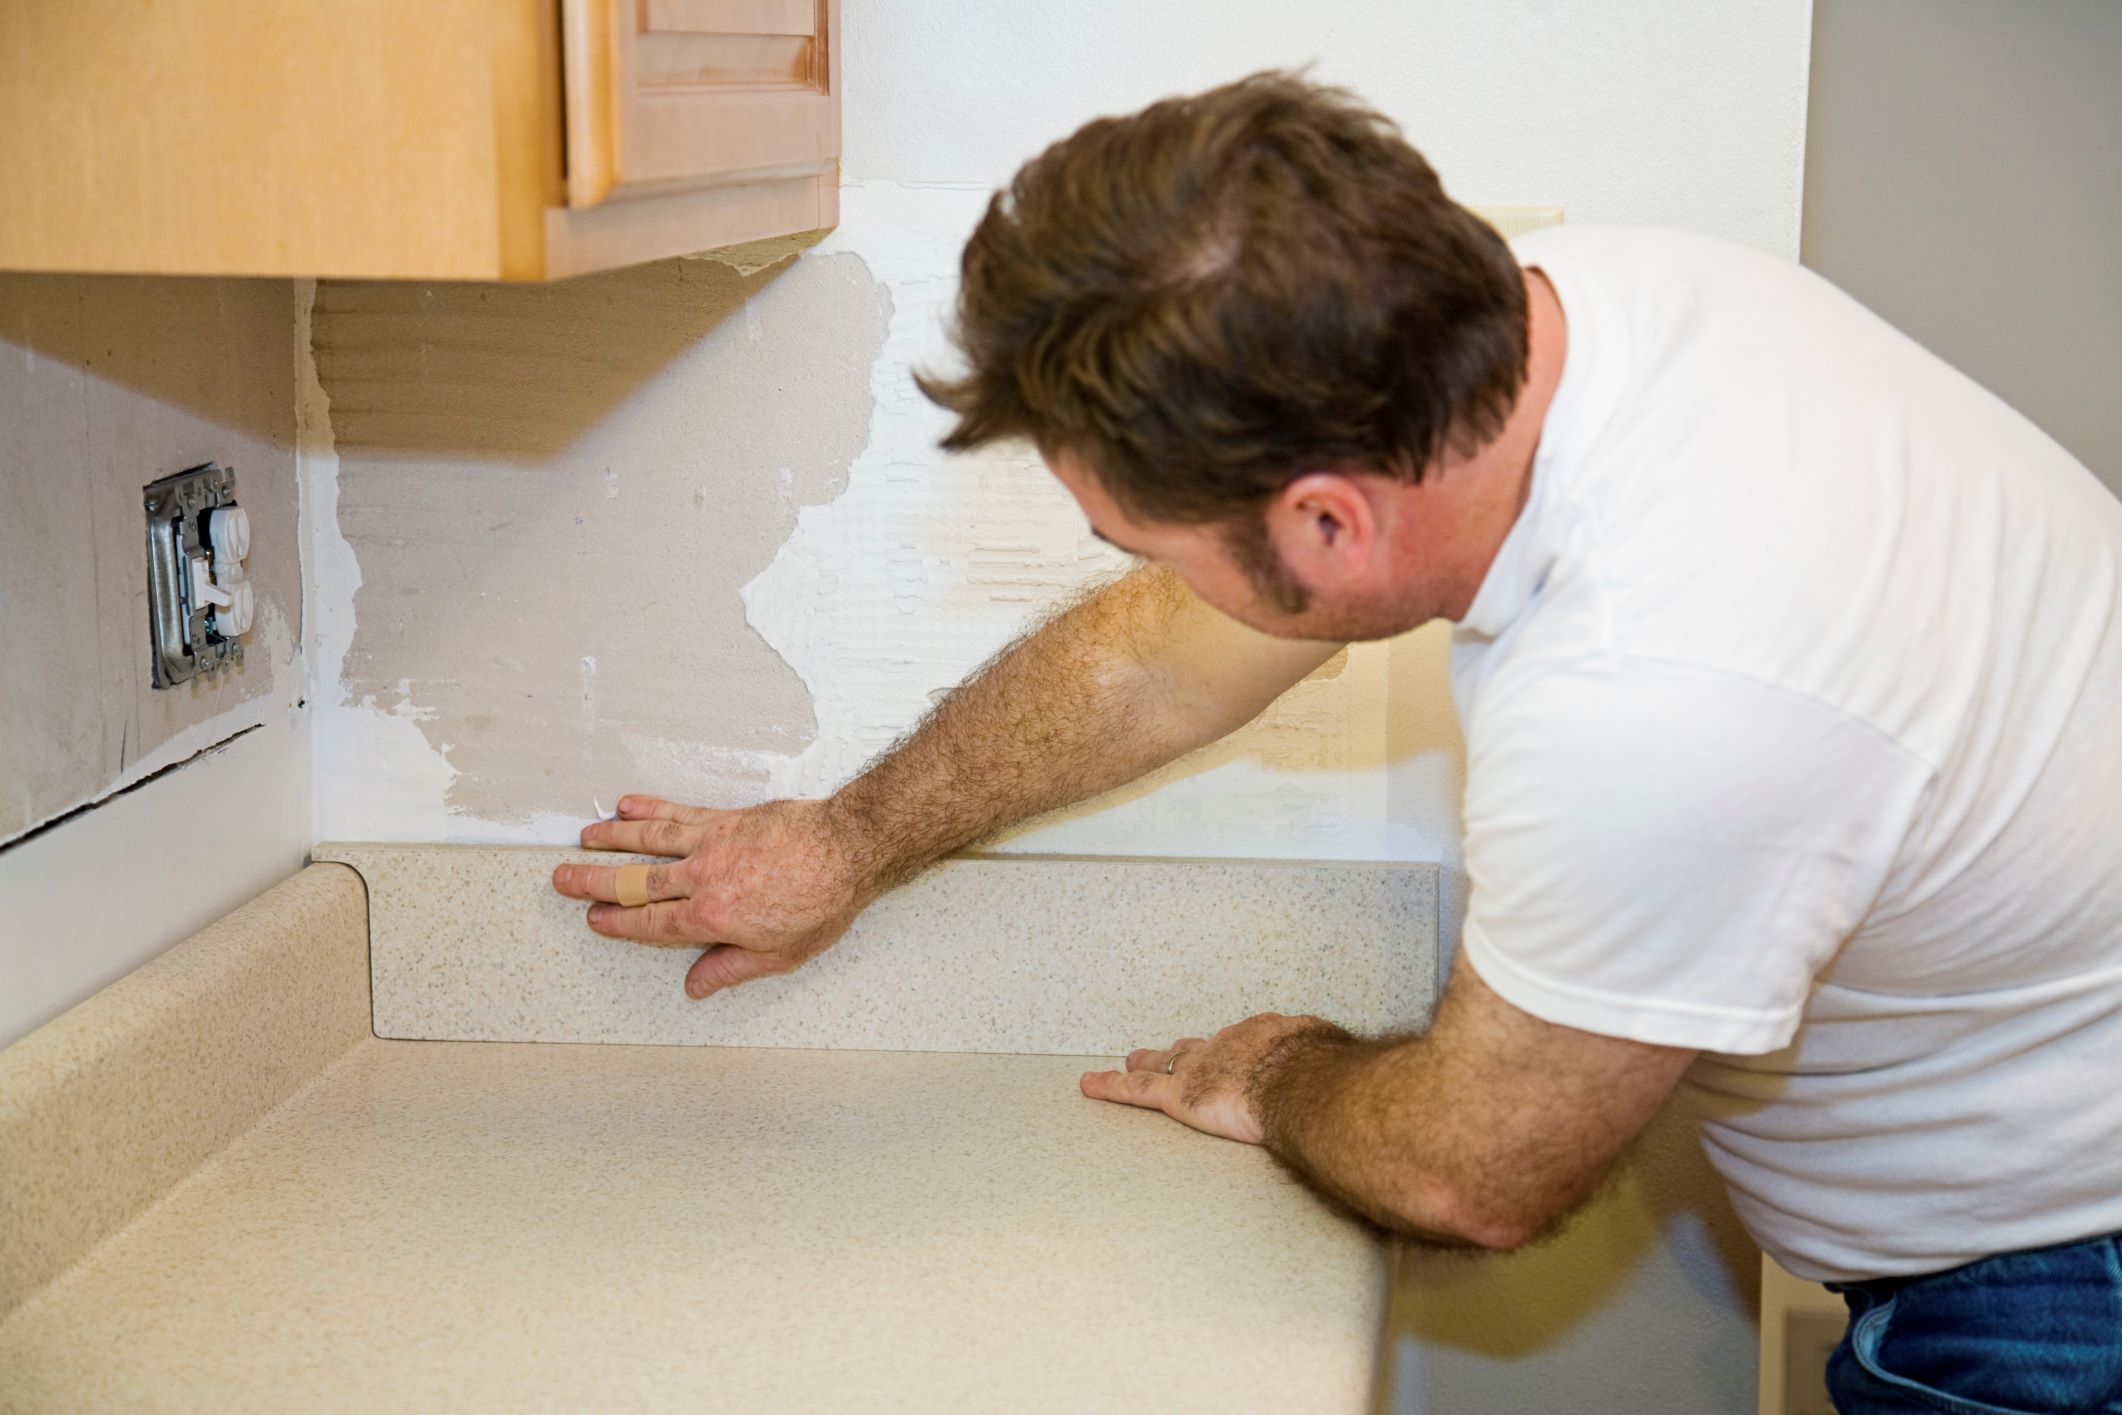
- Insert a pry bar: Slide a pry bar under the front edge of the countertop and gently pry upwards to loosen it from the base. Work your way along the front edge, lifting a few inches at a time, until the entire front edge is free.
- Detach the sides and back: Once the front edge is lifted, move to the sides and back of the countertop. Insert the pry bar between the countertop and the base, lifting to detach the countertop from the sides and back. Be cautious not to damage the cabinetry or walls during this process.
- Get assistance if needed: If the countertop is large or heavy, it’s best to have someone assist you. They can help lift and support the countertop while you detach it from the base.
- Remove the countertop: Once the countertop is fully detached, carefully lift it off the base and set it aside. Make sure to protect the countertop surface to prevent any scratches or damage during handling and storage.
Detaching the countertop requires patience and attention to detail. Take your time and be mindful of any potential hazards or obstacles in your workspace. If you encounter any difficulties, don’t hesitate to seek assistance from a professional for a smooth and safe removal process.
After detaching the countertop, proceed to the final step: cleaning and finishing touches.
Step 5: Cleaning and Finishing Touches
Now that you have removed the tiles and detached the countertop, it’s time to clean up the workspace and put the finishing touches on the project. Follow these steps to ensure a clean and polished result:
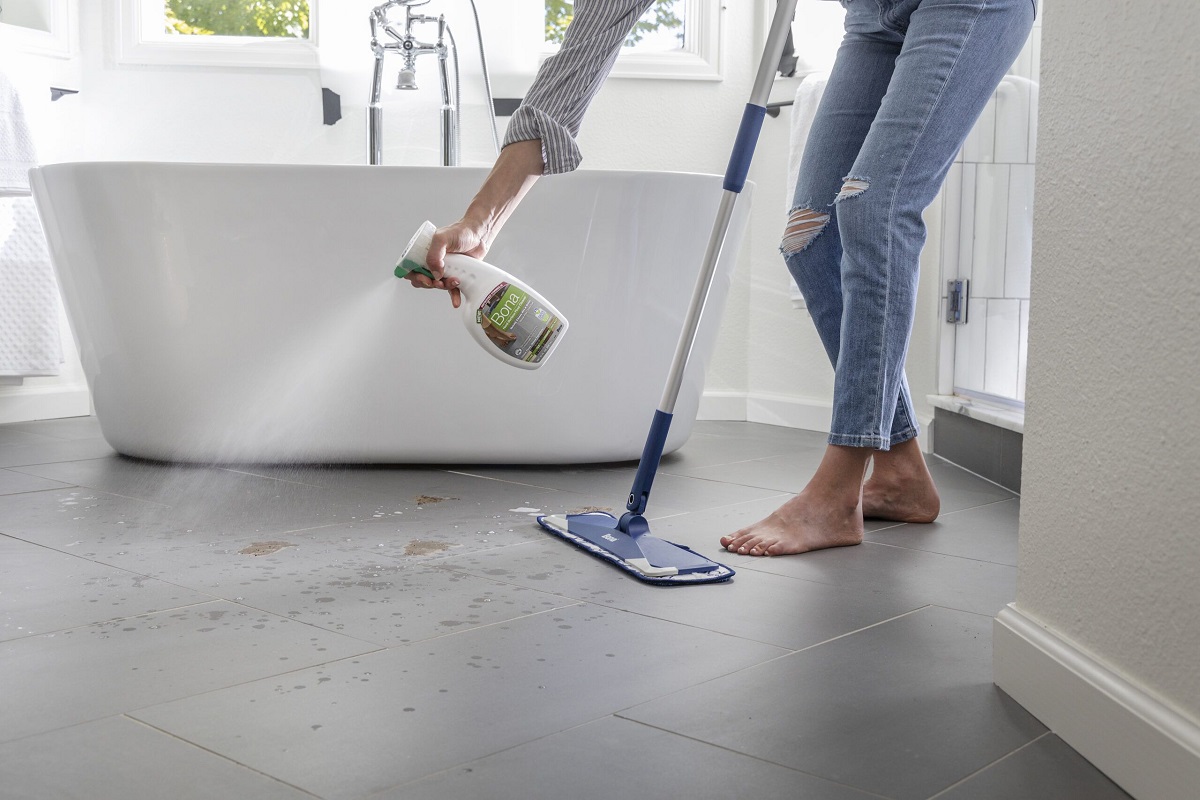
- Clean the surface: With the countertop removed, thoroughly clean the base and surrounding area. Use a broom or vacuum cleaner to remove any loose debris. Wipe down the base with a damp cloth to remove any dust or dirt.
- Repair or replace: Take this opportunity to inspect the base and cabinet structure. If there are any damages or issues, address them before proceeding with the next steps.
- Fill holes and smooth surfaces: If there are any holes or gaps in the base or walls, fill them with spackling compound or wood filler. Once the filling material is dry, sand the surface to achieve a smooth finish.
- Consider refinishing or installing new countertops: Depending on your desired outcome, you can either refinish the existing base or proceed with installing new countertops. This will depend on your budget, style preferences, and the condition of the base.
- Clean the removed countertop: If you plan to reuse or sell the removed countertop, clean it thoroughly. Remove any adhesive or grout residue using a scraper or solvent, and wipe it down with a suitable cleaner. Storing it properly will help maintain its condition.
Once you have completed these steps, you can take pride in successfully removing the tile countertops and preparing the area for further renovations or installation. Dispose of any debris and clean up the workspace to leave it tidy and ready for the next phase of your project.
Remember, every home improvement project is unique, and it’s essential to customize the steps according to your specific situation. Consider consulting professionals or experts in the field if you are unsure about any aspect of the process or require guidance.
Congratulations on completing the removal of the tile countertops!
Conclusion
Removing tile countertops may seem like a daunting task, but with the right tools, preparation, and step-by-step process, it can be accomplished successfully. By following this guide, you’ve learned how to remove tile countertops safely and efficiently, from preparing the workspace to detaching the countertop. While this project requires time, patience, and attention to detail, the end result will be a blank canvas for your future kitchen or bathroom renovation.
Throughout the removal process, remember to prioritize safety by wearing protective gear and being mindful of potential hazards. If you’re ever unsure about a step or uncomfortable with any aspect of the project, it’s wise to consult a professional for assistance.
Once you have removed the tile countertops, take the opportunity to clean the workspace, repair any damages, and evaluate your options for refinishing or installing new countertops. This is also an excellent time to update your kitchen or bathroom’s style and enhance its functionality.
Lastly, disposing of any debris properly and leaving the workspace clean and organized will give you a sense of accomplishment and set the stage for the next phase of your home improvement project.
Remember, every project is unique, and adjustments may be required based on your specific circumstances. Use this guide as a starting point and adapt it to suit your individual needs.
Congratulations on completing the removal of your tile countertops! You are now ready to embark on the exciting journey of transforming your space into a beautifully updated and functional area.
Frequently Asked Questions about How To Remove Tile Countertops
Was this page helpful?
At Storables.com, we guarantee accurate and reliable information. Our content, validated by Expert Board Contributors, is crafted following stringent Editorial Policies. We're committed to providing you with well-researched, expert-backed insights for all your informational needs.


0 thoughts on “How To Remove Tile Countertops”