Articles
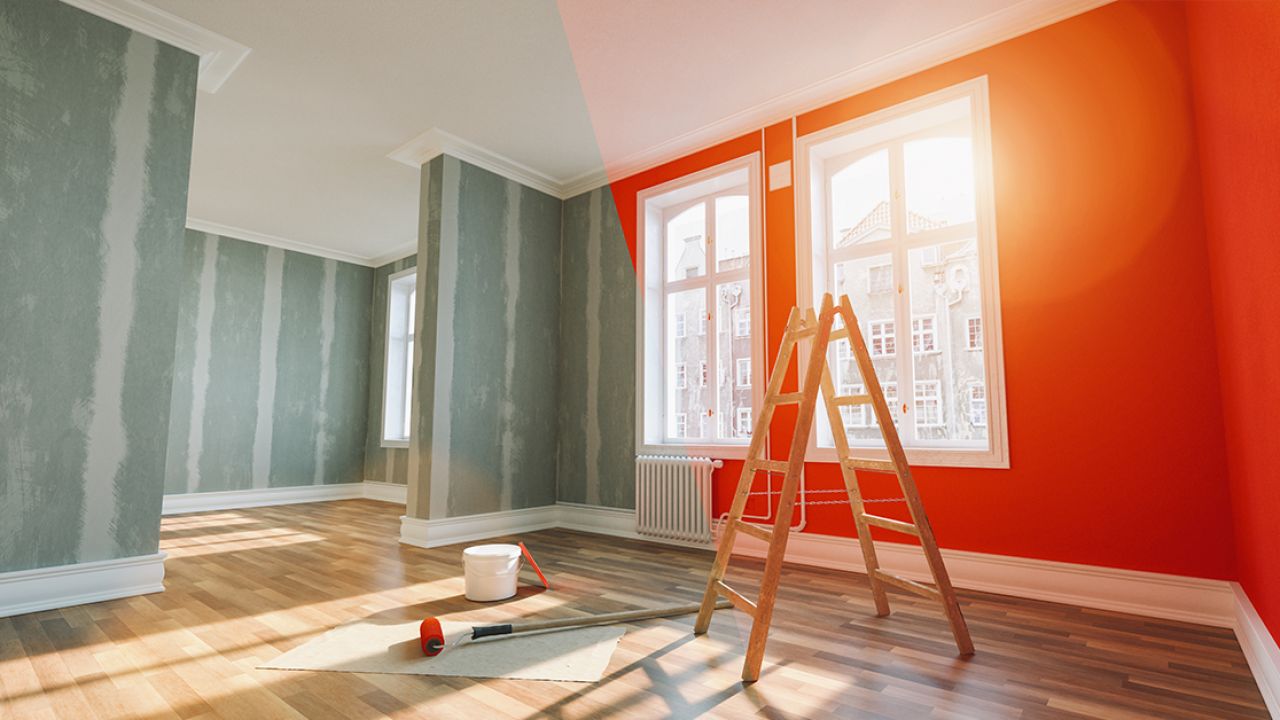
How To Remove Paint From Interior Walls
Modified: January 8, 2024
Discover effective techniques and step-by-step instructions to remove paint from interior walls in our informative articles.
(Many of the links in this article redirect to a specific reviewed product. Your purchase of these products through affiliate links helps to generate commission for Storables.com, at no extra cost. Learn more)
Introduction
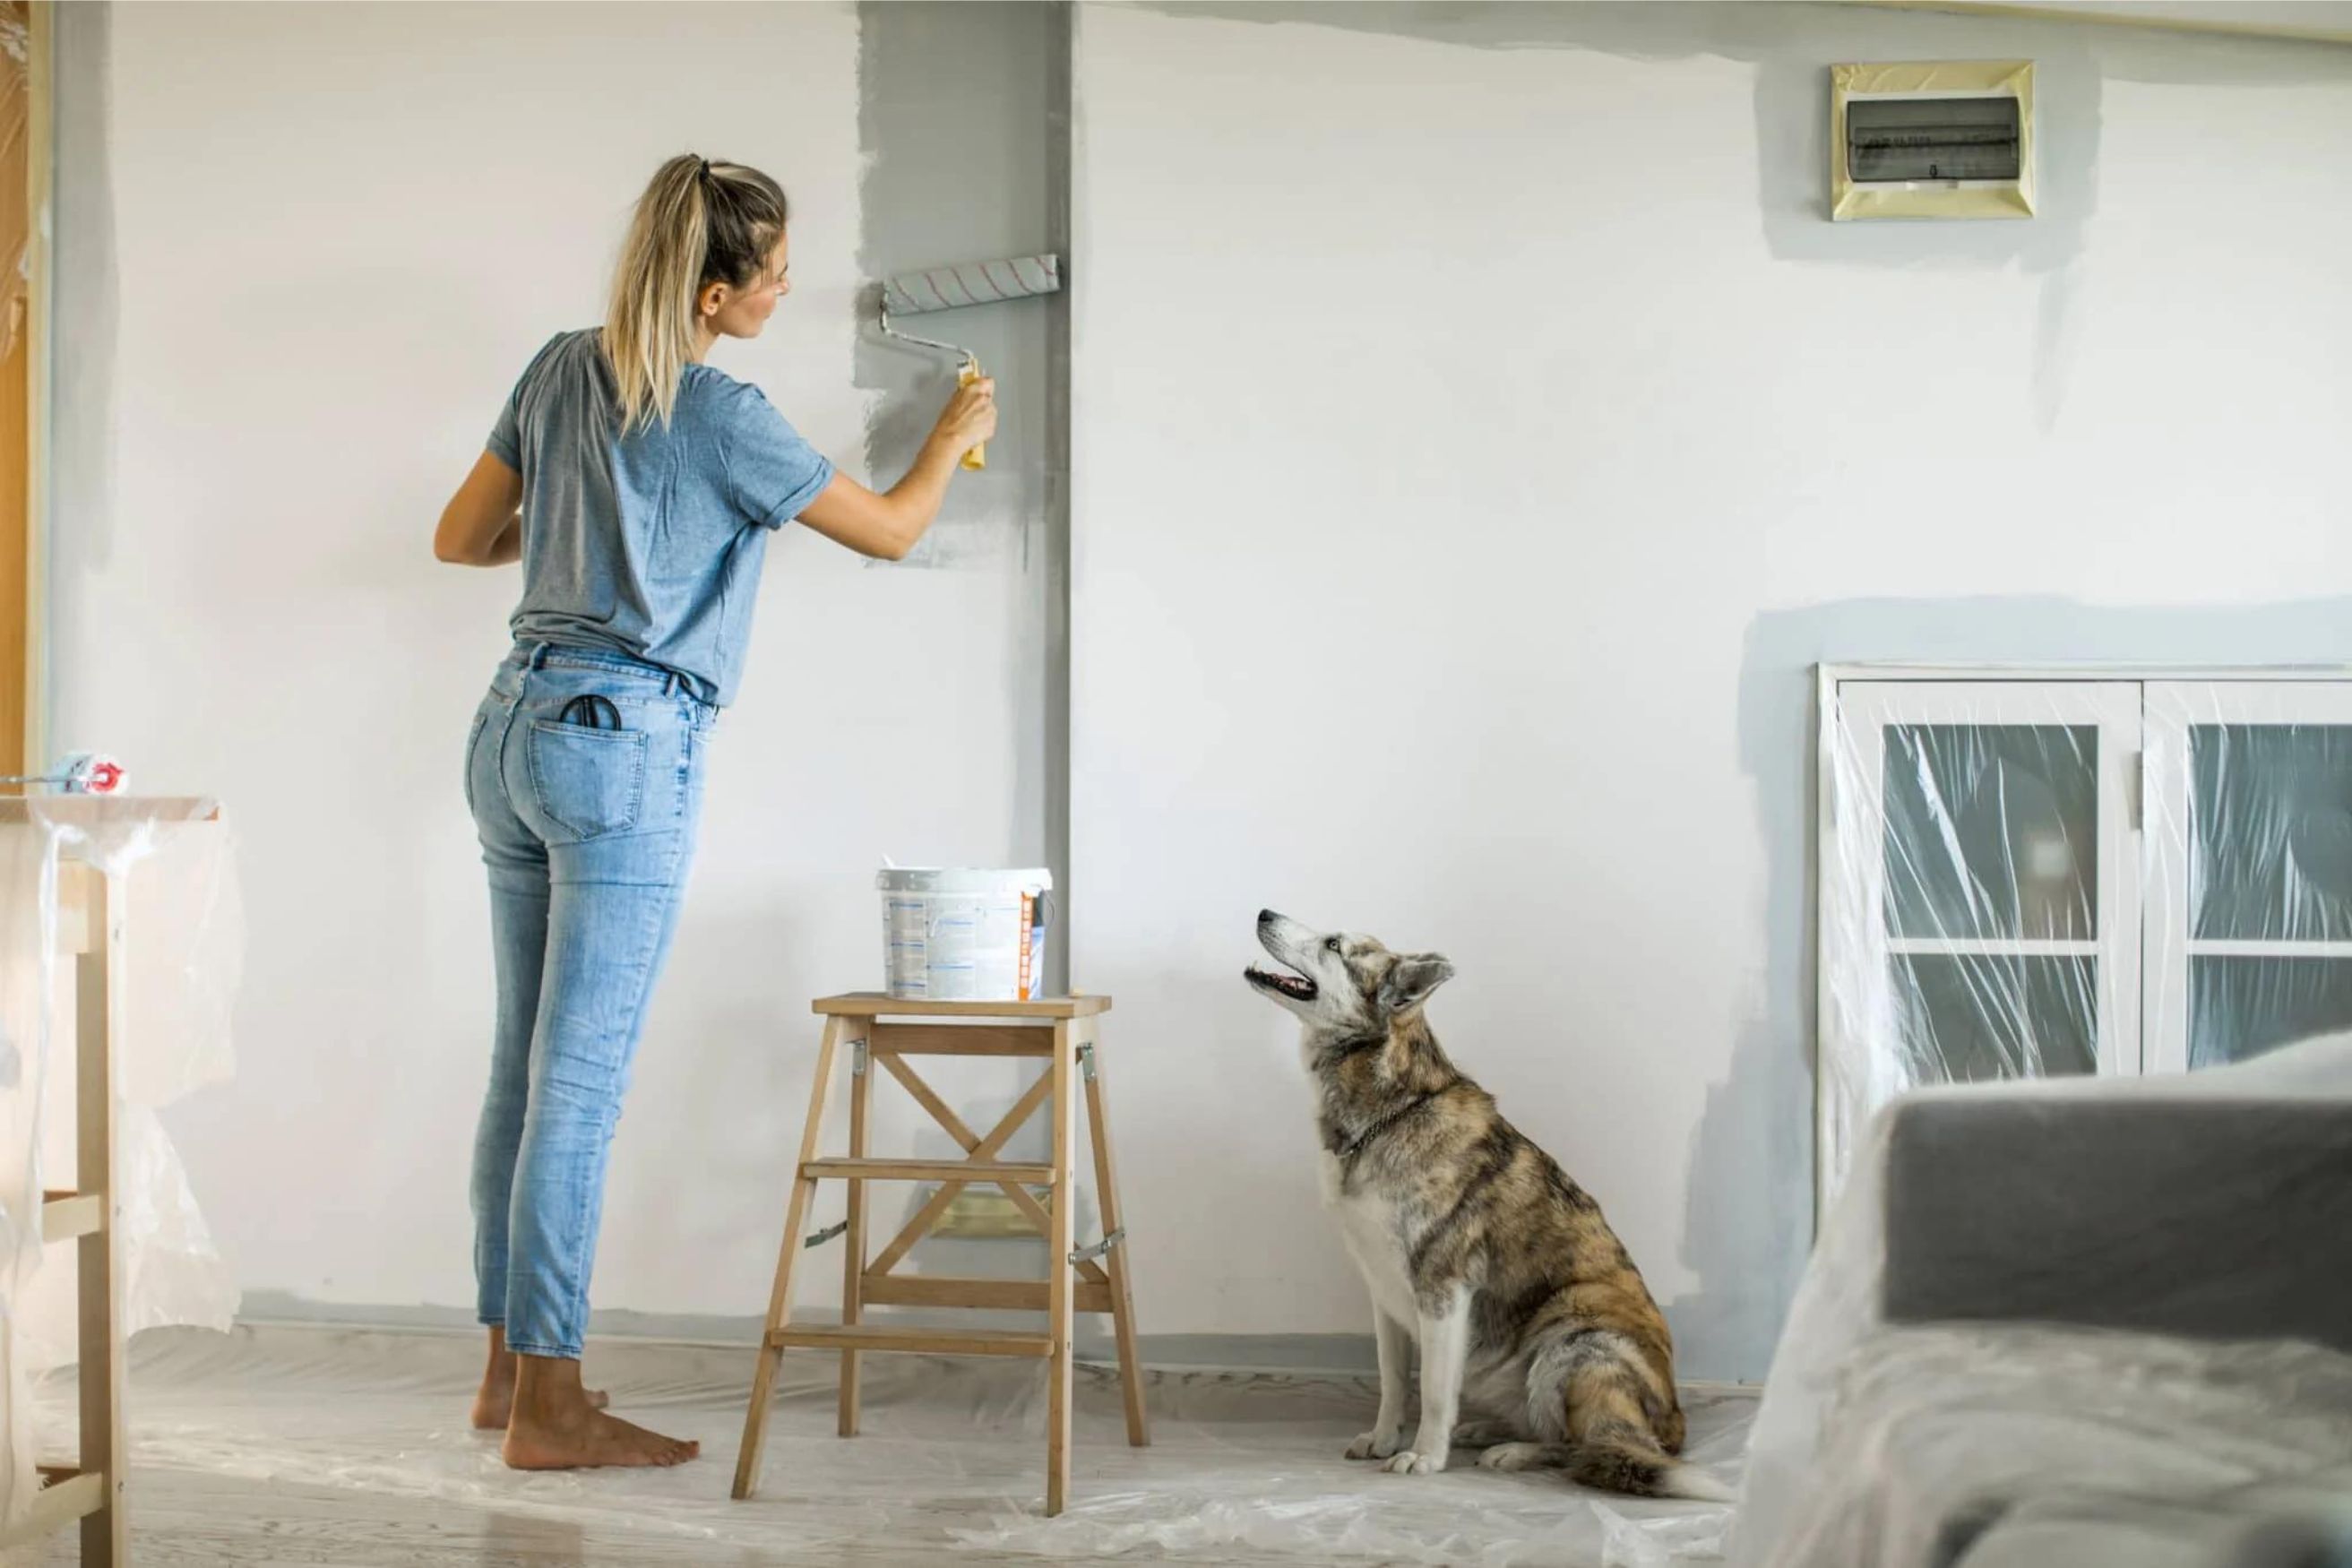
When it comes to home improvement projects, one task that often comes up is removing paint from interior walls. Whether you’re looking to repaint the walls, change the color scheme, or simply refresh the look of your living space, removing old paint is a necessary step. However, it can be a time-consuming and messy process if not done correctly.
In this article, we will guide you through the steps to successfully remove paint from interior walls. We will provide you with helpful tips and techniques to make the process easier, ensuring that you achieve a clean and smooth surface ready for your next paint job.
Before we dive into the specific steps, it’s important to note that the method you use will depend on the type of paint and the condition of the walls. It’s essential to assess the situation and choose the most appropriate approach accordingly. Safety should also be a top priority, so make sure to wear protective gear such as gloves, goggles, and a mask when working with paint removal products.
Now, let’s gather the necessary materials and get started on removing paint from your interior walls!
Key Takeaways:
- Prepare the workspace, test the paint removal method, and apply it carefully to achieve a clean and smooth surface for your next paint job. Safety and proper ventilation are essential throughout the process.
- With the right materials and techniques, you can successfully remove old paint from interior walls. Take your time, prioritize safety, and enjoy the process of transforming your living space.
Read more: How To Remove Stucco From Interior Walls
Step 1: Gather the necessary materials
Before embarking on any paint removal project, it’s important to gather all the necessary materials to ensure a smooth and efficient process. Having the right tools at hand will make the job easier and help you achieve better results.
Here are the essential materials you’ll need:
- Protective gear: As mentioned earlier, safety should be a priority. Make sure to have gloves, goggles, and a mask to protect yourself from any potential hazards.
- Drop cloths or plastic sheets: To protect the floor and furniture from paint splatters or drips, lay down drop cloths or plastic sheets to catch any debris or spills.
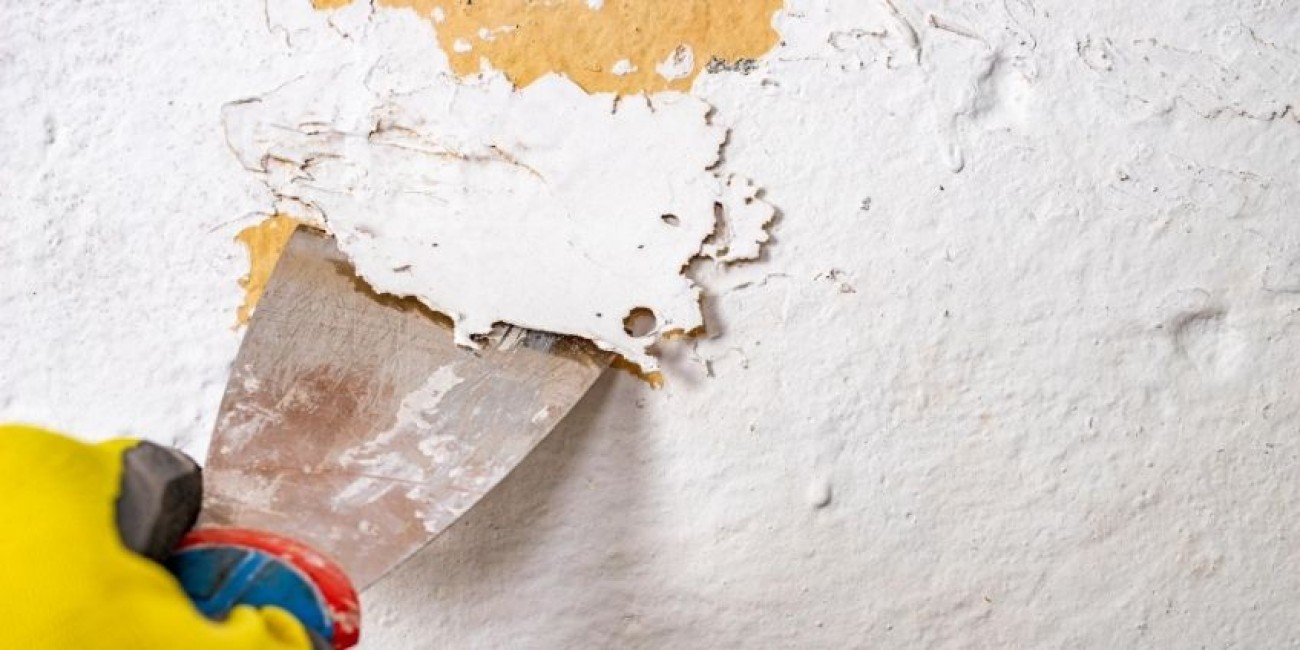
- Paint scraper: A paint scraper is a versatile tool that will help you remove loose or flaking paint from the walls. Look for a scraper with a sharp blade and a comfortable handle for easy maneuverability.
- Sandpaper: Sandpaper is useful for sanding down rough areas and creating a smooth surface. Different grits may be needed depending on the level of paint buildup and the condition of the walls.
- Paint removal solution: Depending on the type of paint you’re dealing with, you may need a paint removal solution. There are various options available, such as chemical paint strippers or eco-friendly alternatives. Read the instructions carefully and choose a product that is suitable for the specific type of paint and the material of your walls.
- Paintbrushes or rollers: You’ll need brushes or rollers to apply the paint removal solution onto the walls. Choose brushes or rollers that are appropriate for the size of the wall surface and the type of paint removal method you’ll be using.
- Clean water and rags or sponges: Water and clean rags or sponges will be needed to wipe away any residue or excess paint removal solution.
- Putty knife and spackling compound: In case you encounter any cracks or holes during the paint removal process, you’ll need a putty knife and spackling compound to repair and smooth out the walls before repainting.
Once you have gathered all the necessary materials, you’re ready to move on to the next step: preparing the workspace.
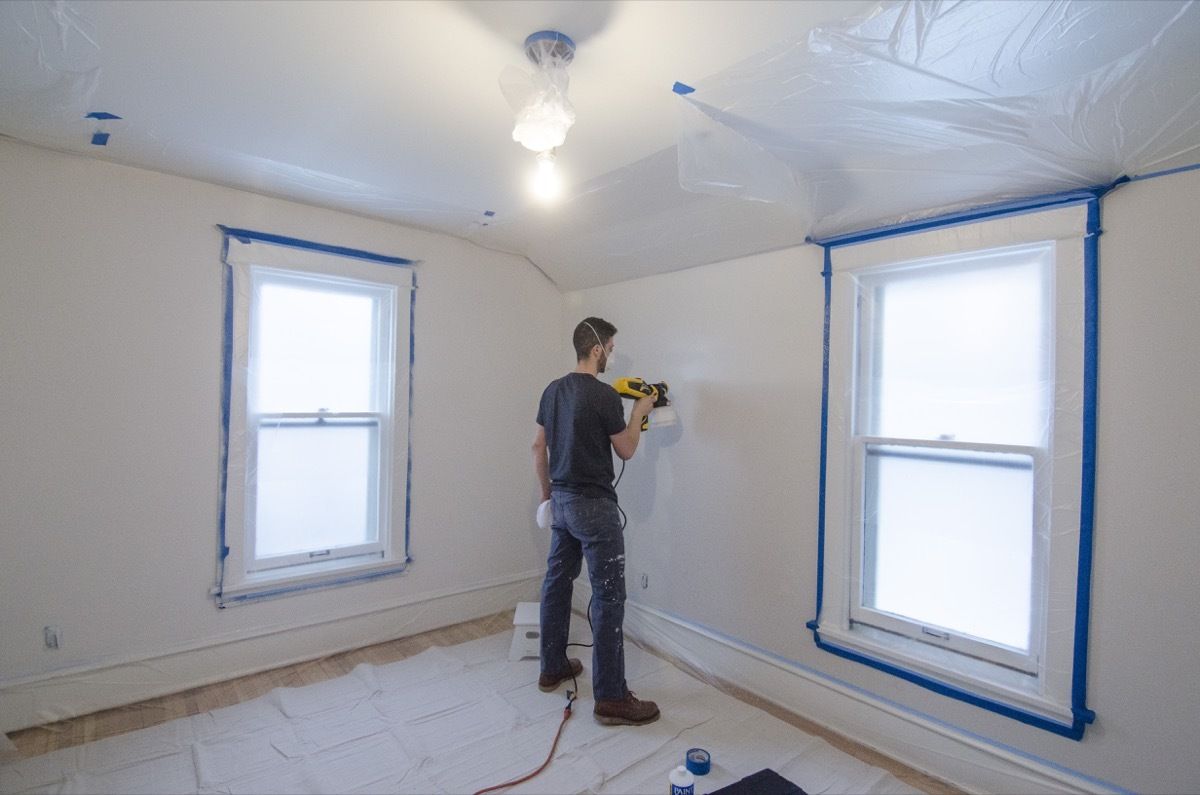
Step 2: Prepare the workspace
Before diving into the paint removal process, it’s crucial to prepare the workspace properly. By taking the time to prepare the area, you’ll minimize the chances of creating a mess and ensure a more effective and efficient paint removal process.
Here are the steps to prepare the workspace:
- Clear the area: Remove any furniture, decorations, or other items that may obstruct your access to the walls. It’s best to have a clear and open space to work in.
- Protect the surrounding area: Use drop cloths or plastic sheets to cover the floor, furniture, and any other surfaces that may be at risk of getting splattered with paint or paint removal solution. This will prevent any accidental damage or staining.
- Ventilate the room: Paint removal products can emit strong odors or fumes, so it’s important to ensure proper ventilation. Open windows or use fans to improve air circulation and prevent the buildup of potentially harmful substances.
- Turn off electrical outlets and fixtures: As a safety precaution, it’s a good idea to turn off electrical outlets and fixtures in the area you’ll be working in. This will help prevent any accidents or electrical hazards while you’re removing the paint.
- Protect yourself: Put on your protective gear, including gloves, goggles, and a mask. This will protect you from any potential splatters, fumes, or chemicals.
By preparing the workspace properly, you’ll create a safe and organized environment for the paint removal process. This will allow you to focus on the task at hand without worrying about potential mishaps or damage to your surroundings.
Now that the workspace is ready, it’s time to move on to the next step: testing the paint removal method.
Step 3: Test the paint removal method
Before fully committing to a paint removal method, it’s important to test it on a small, inconspicuous area of the wall. This will allow you to assess its effectiveness and determine if any adjustments or alternative methods are needed.
Here are the steps to test the paint removal method:
- Choose a test area: Select a small area on the wall where the paint needs to be removed. Ideally, this spot should be hidden or inconspicuous, such as behind furniture or in a corner.
- Apply the paint removal method: Follow the instructions provided with the paint removal solution or method you’re using. Apply it to the designated test area using a brush or roller, ensuring proper coverage.
- Allow the solution to work: Give the paint removal solution some time to penetrate and loosen the paint. Follow the recommended duration mentioned in the instructions.
- Observe and assess: Once the recommended time has passed, observe the test area closely. Check if the paint has started to bubble, lift, or loosen. This will indicate if the paint removal method is working effectively on your walls.
- Examine the wall surface: After removing the loosened paint, inspect the test area to see if any damage has occurred to the wall surface. Look for any signs of discoloration, texture alteration, or rough patches.
- Evaluate the results: Based on your observations, evaluate the effectiveness of the paint removal method. If the method has successfully removed the paint without causing significant damage to the wall, you can proceed with confidence. However, if the results are unsatisfactory or the walls sustain damage, consider adjusting the method or exploring alternative options.
Testing the paint removal method beforehand will help you avoid any unwanted surprises or irreversible damage to your walls. It allows you to make an informed decision on the best approach for removing the paint effectively and safely.
Once you have determined the most suitable paint removal method, it’s time to move on to the next step: applying the chosen method to remove the paint from your interior walls.
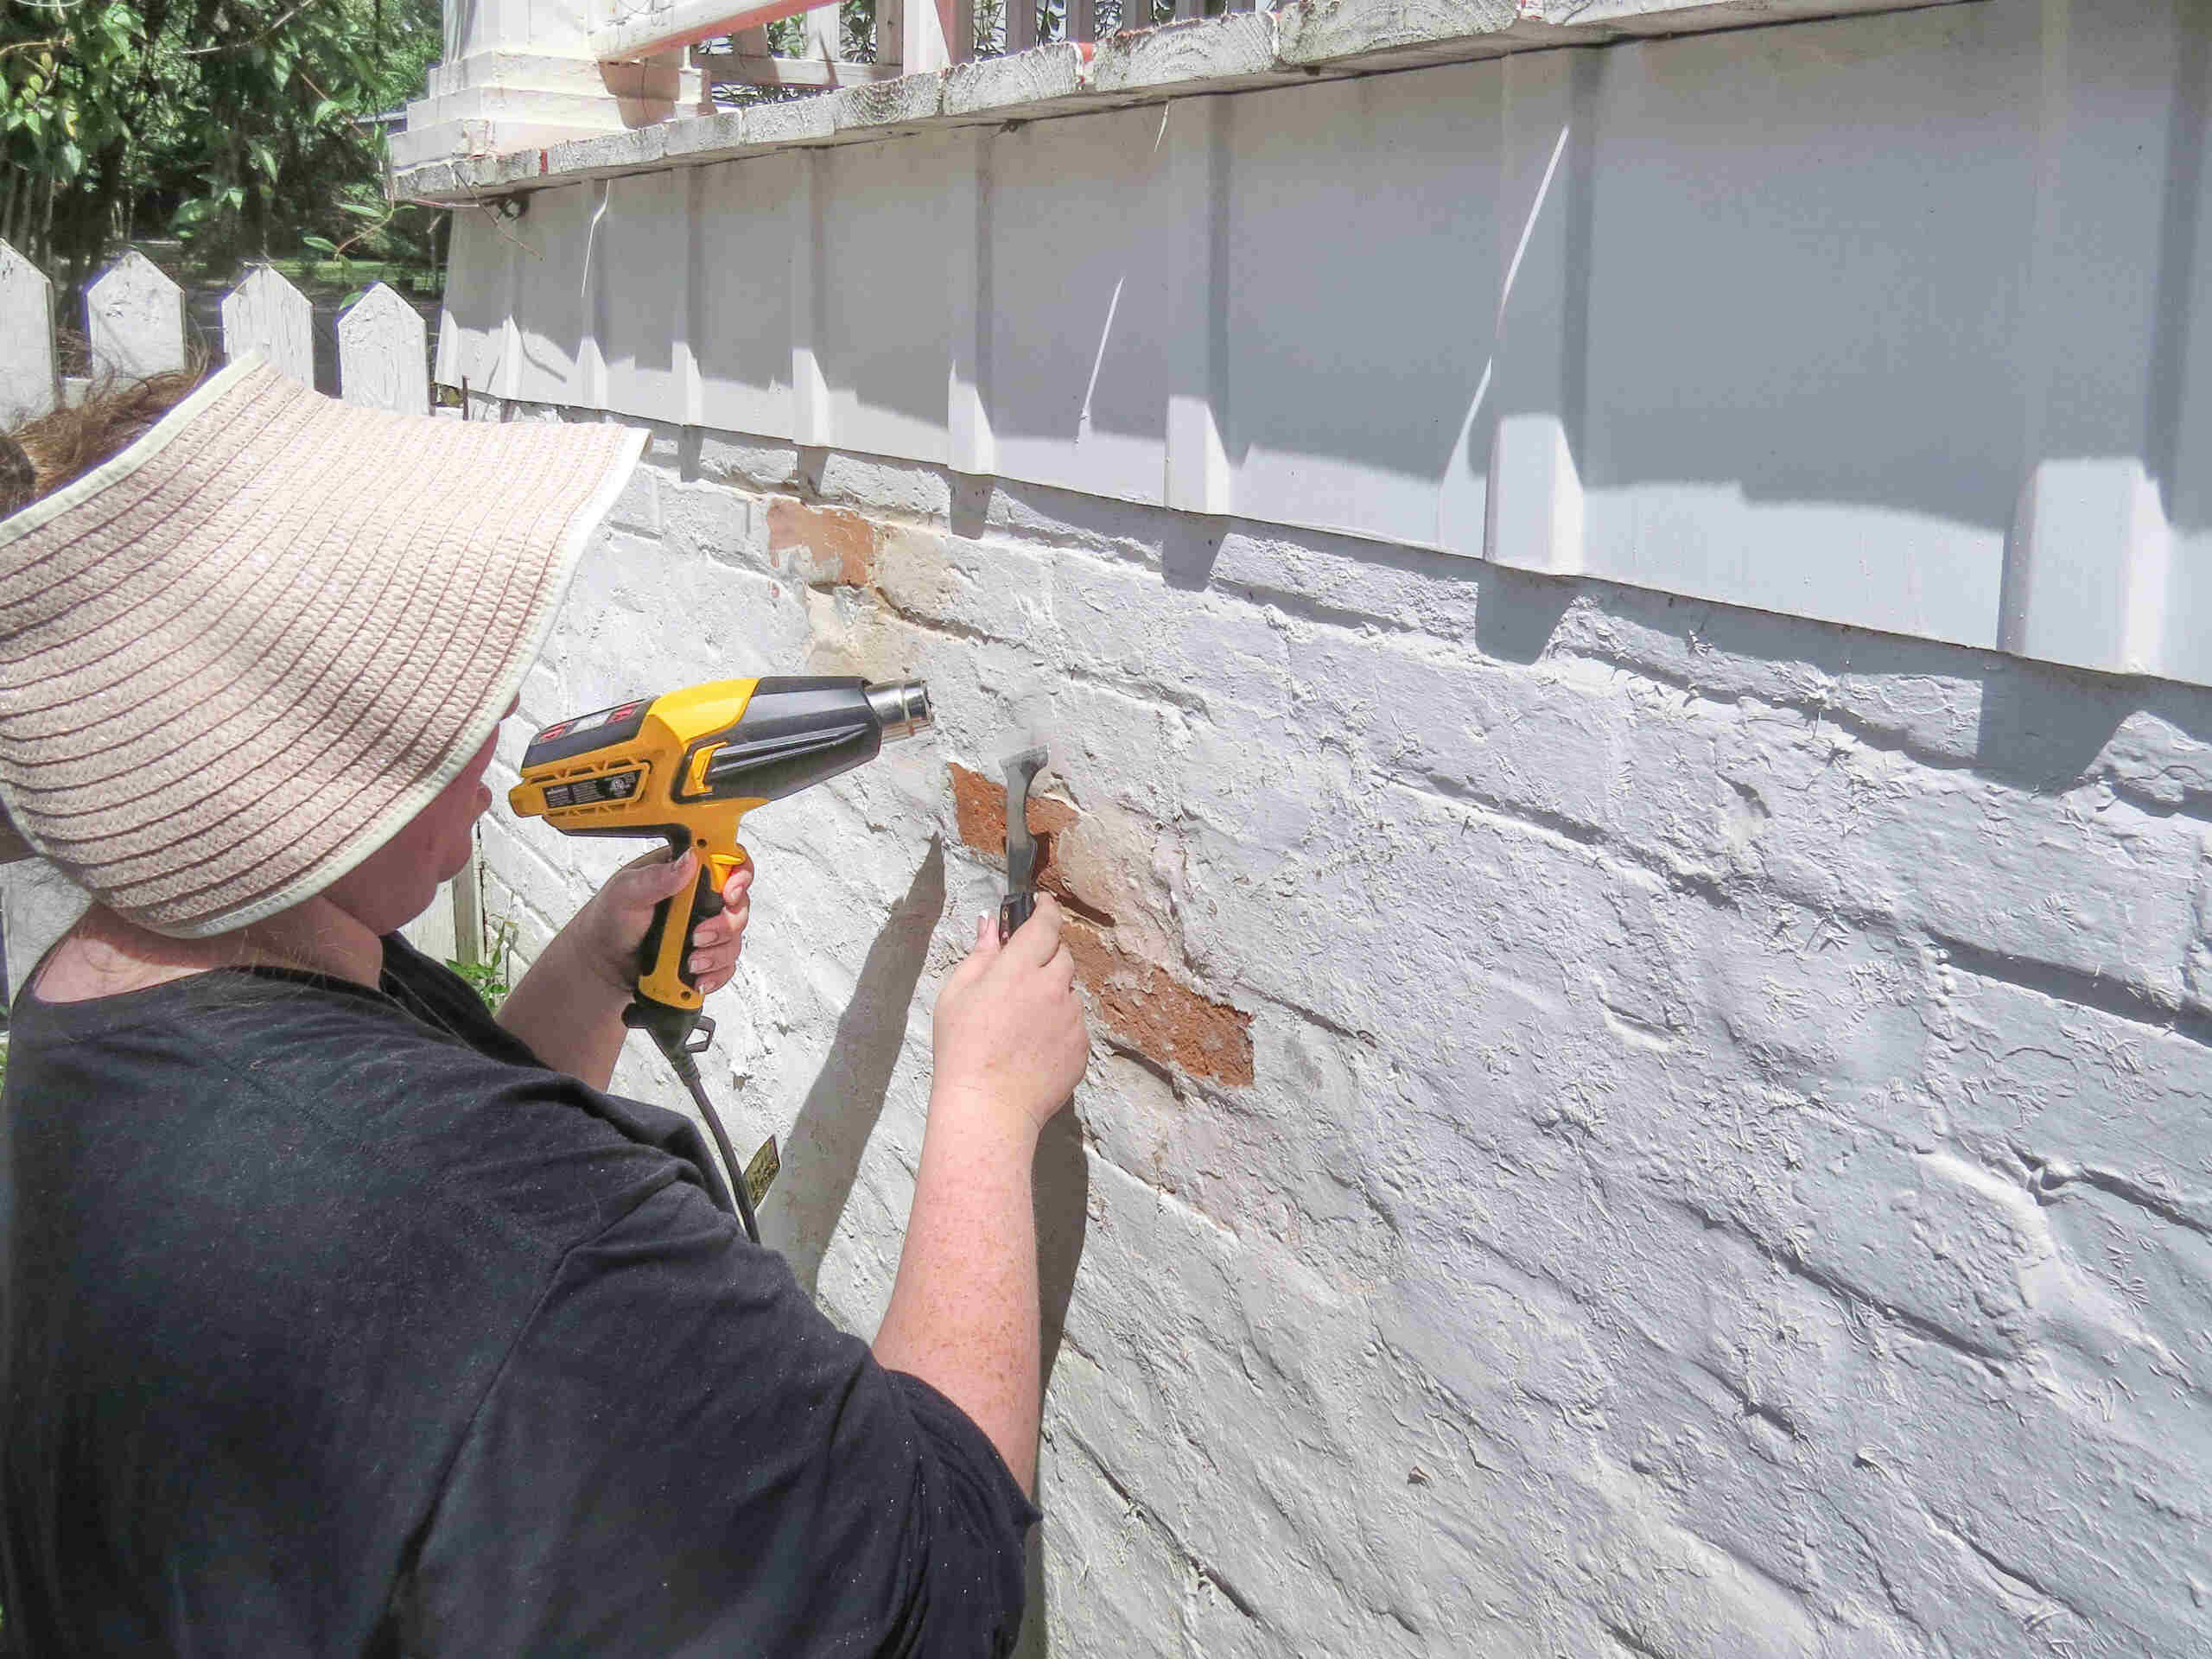
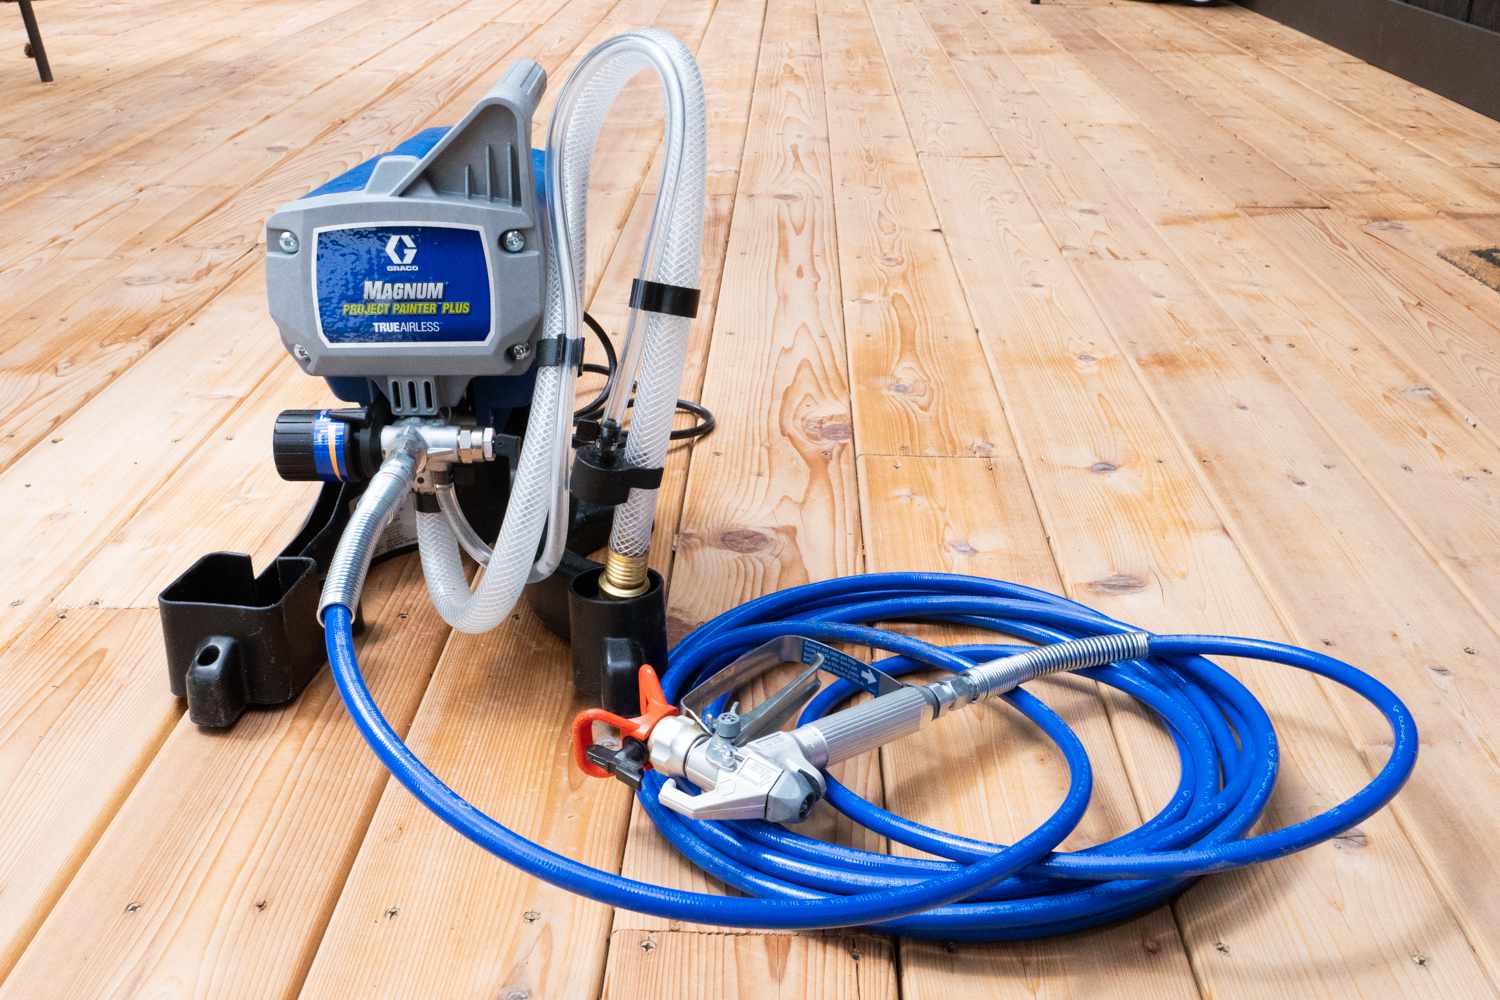
Use a chemical paint stripper for large areas, or a heat gun and scraper for small areas. Always wear protective gear and work in a well-ventilated area.
Step 4: Apply the chosen paint removal method
Now that you have tested the paint removal method and ensured its effectiveness, it’s time to apply the chosen method to remove the paint from your interior walls. Follow these steps to achieve the best results:
- Prepare the paint removal solution: If you’re using a chemical paint stripper, mix it according to the instructions provided. Ensure proper ventilation and follow any safety precautions mentioned on the product packaging.
- Apply the paint removal solution: Using a brush or roller, apply the paint removal solution evenly to the walls. Work in small sections to prevent the solution from drying out before you have a chance to remove the loosened paint.
- Allow the solution to work: Give the paint removal solution enough time to penetrate the layers of paint and loosen it. Follow the recommended duration mentioned in the instructions.
- Scrape off the loosened paint: Once the paint has sufficiently loosened, use a paint scraper to gently scrape off the softened paint. Work in a slow and controlled manner to prevent any damage to the wall surface.
- Continue the process: Repeat the application of the paint removal solution and scraping until all the paint has been removed from the walls. If necessary, apply multiple coats of the solution to eliminate stubborn or multiple layers of paint.
- Dispose of the removed paint safely: Collect the removed paint chips and dispose of them according to local regulations. Avoid letting the paint chips scatter or contaminate the surrounding area.
It’s important to note that different paint removal methods may require slightly different application techniques. Always refer to the specific instructions provided with the chosen method to ensure proper application and optimal results.
Once you have successfully removed the paint from your interior walls, it’s time to move on to the next step: removing the loosened paint and preparing the walls for a fresh coat of paint.
Read more: How To Remove Mold From Interior Walls
Step 5: Remove the loosened paint
After applying the paint removal method and scraping off the loosened paint, it’s time to remove the remaining residue and prepare the walls for a smooth and clean surface. Follow these steps to complete the process:
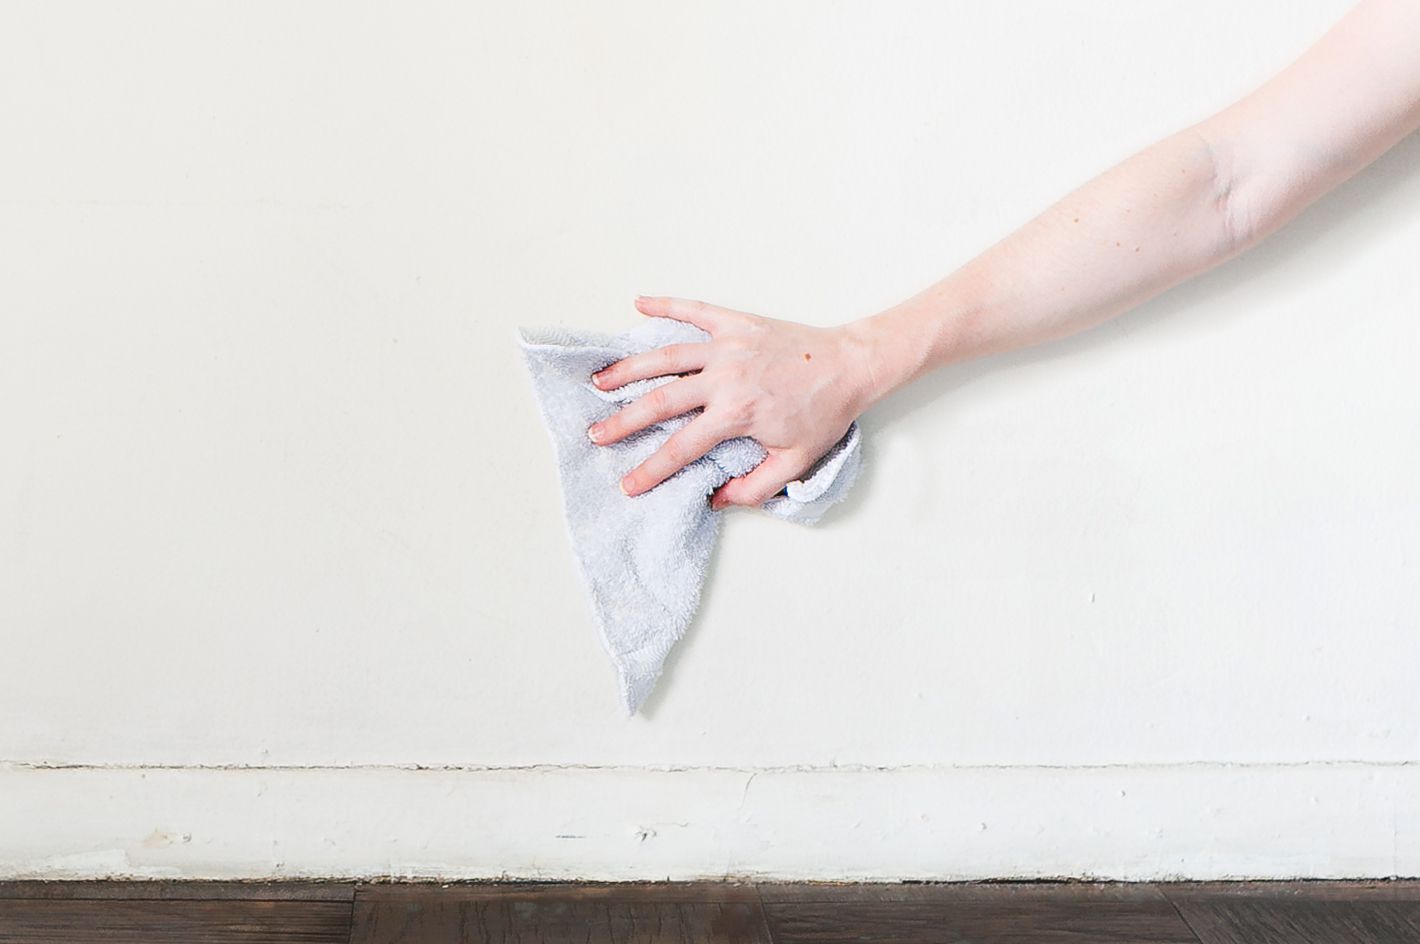
- Clean the walls: Use a clean, damp cloth or sponge to wipe away any remaining paint residue. Be gentle and thorough to ensure that all traces of loose paint are removed.
- Inspect the walls: After cleaning, carefully inspect the walls to ensure that no stubborn patches of paint or residue remain. Use a flashlight to check for any hidden areas or fine details that may require additional attention.
- Sand the walls: If there are any rough or uneven areas on the walls, lightly sand them using sandpaper. This will help create a smooth surface for the new coat of paint.
- Remove dust and debris: Use a clean, dry cloth or a vacuum with a brush attachment to remove any dust or debris resulting from the sanding process. This step is crucial for achieving a flawless paint application.
By removing the loosened paint and ensuring a clean and smooth surface, you’re now ready to proceed with painting or any other desired wall treatment. However, before doing so, make sure to take proper precautions to protect the surrounding area and prepare for a successful paint job.
Now that you’ve removed the paint and prepared the walls, you’re almost ready to give your interior space a fresh new look. But before that, let’s move on to the final step: cleaning and inspecting the walls for any finishing touches.
Step 6: Clean and inspect the walls
After removing the paint and preparing the walls, it’s time to clean and inspect them for any final touches before applying a fresh coat of paint or completing your desired wall treatment. Follow these steps to ensure a pristine finish:
- Clean the walls: Using a gentle cleaning solution and a soft cloth or sponge, wipe down the walls to remove any remaining dust, residue, or cleaning agents. Make sure to dry them thoroughly before proceeding further.
- Inspect for imperfections: Carefully examine the walls for any imperfections such as cracks, holes, or uneven spots. If you come across any, use a putty knife and spackling compound to fill and smooth them out. Allow the compound to dry completely before moving on.
- Sand the repaired areas: Once the spackling compound has dried, lightly sand the repaired areas with fine-grit sandpaper to create a seamless and smooth surface. Wipe away any dust afterward.
- Check for smoothness: Run your hand over the walls to ensure they feel smooth and even. Pay attention to any rough patches or inconsistencies and address them by sanding or applying another layer of spackling compound if needed.
- Priming (if necessary): Depending on the type and condition of the walls as well as the paint you plan to use, you may need to apply a primer before painting. Priming helps improve paint adhesion and provides a base for the top coat to adhere to.
Once you have thoroughly cleaned and inspected the walls, ensuring a smooth and blemish-free surface, you’re ready to proceed with painting or applying your desired wall treatment. Follow the manufacturer’s instructions for the specific paint or treatment you’ve chosen to achieve the best results.
Remember, proper preparation and attention to detail will contribute to a successful paint job and a beautiful end result. Enjoy your refreshed interior space!
Now that you’ve gone through the entire process of removing paint from your interior walls, you have the knowledge and skills to tackle this task effectively. With the right materials, careful preparation, and the appropriate paint removal method, you can achieve a clean and ready-to-paint surface in no time. Say goodbye to old, chipped paint and hello to a fresh new look for your living space!
Conclusion
Removing paint from interior walls can be a challenging and time-consuming task, but with the right approach and tools, it can be accomplished successfully. By following the step-by-step guide outlined in this article, you now have the knowledge and confidence to tackle this project with ease.
Remember, preparation is key. Gathering the necessary materials, preparing the workspace, and testing the paint removal method are crucial steps in ensuring a smooth process. Applying the chosen paint removal method and removing the loosened paint requires patience and attention to detail.
Once the paint has been removed and the walls have been cleaned and inspected, you’re ready to proceed with your desired wall treatment, whether it be painting, wallpapering, or any other creative endeavor. By following the proper techniques and taking care of any imperfections, you can achieve a professional and polished result.
Be sure to prioritize safety throughout the process by wearing protective gear and working in a well-ventilated area. It’s also important to dispose of any paint chips or debris responsibly and in accordance with local regulations.
With the knowledge and skills gained from this article, you can transform the look of your interior space by removing old paint and giving it a fresh new look. Whether you’re rejuvenating a single room or undertaking a full home makeover, the time and effort invested in properly removing the paint will be well worth it.
So, roll up your sleeves, gather your materials, and get ready to remove paint from your interior walls like a pro. With patience, perseverance, and the guidance provided here, you’ll achieve a clean and inviting living space that you can be proud of.
Frequently Asked Questions about How To Remove Paint From Interior Walls
Was this page helpful?
At Storables.com, we guarantee accurate and reliable information. Our content, validated by Expert Board Contributors, is crafted following stringent Editorial Policies. We're committed to providing you with well-researched, expert-backed insights for all your informational needs.


0 thoughts on “How To Remove Paint From Interior Walls”