Articles
How To Spray Paint Interior Walls
Modified: October 28, 2024
Learn how to spray paint interior walls with our informative articles. Discover tips, tricks, and step-by-step guides to achieve a professional finish.
(Many of the links in this article redirect to a specific reviewed product. Your purchase of these products through affiliate links helps to generate commission for Storables.com, at no extra cost. Learn more)
Introduction
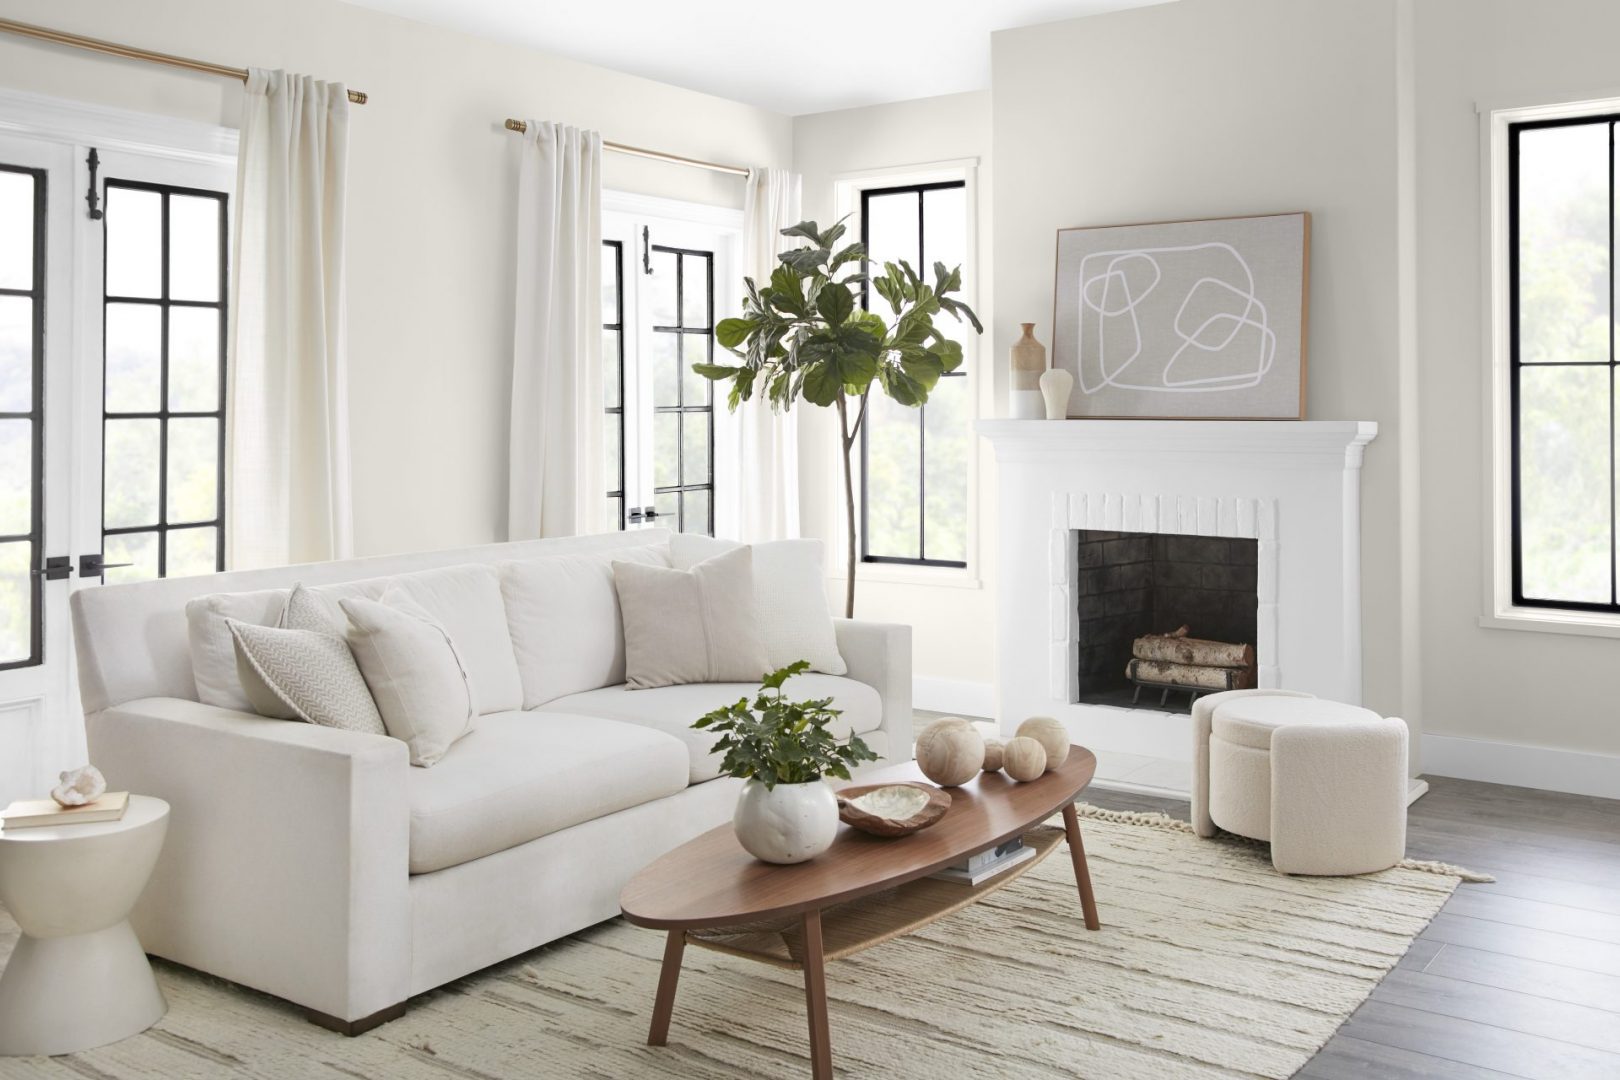
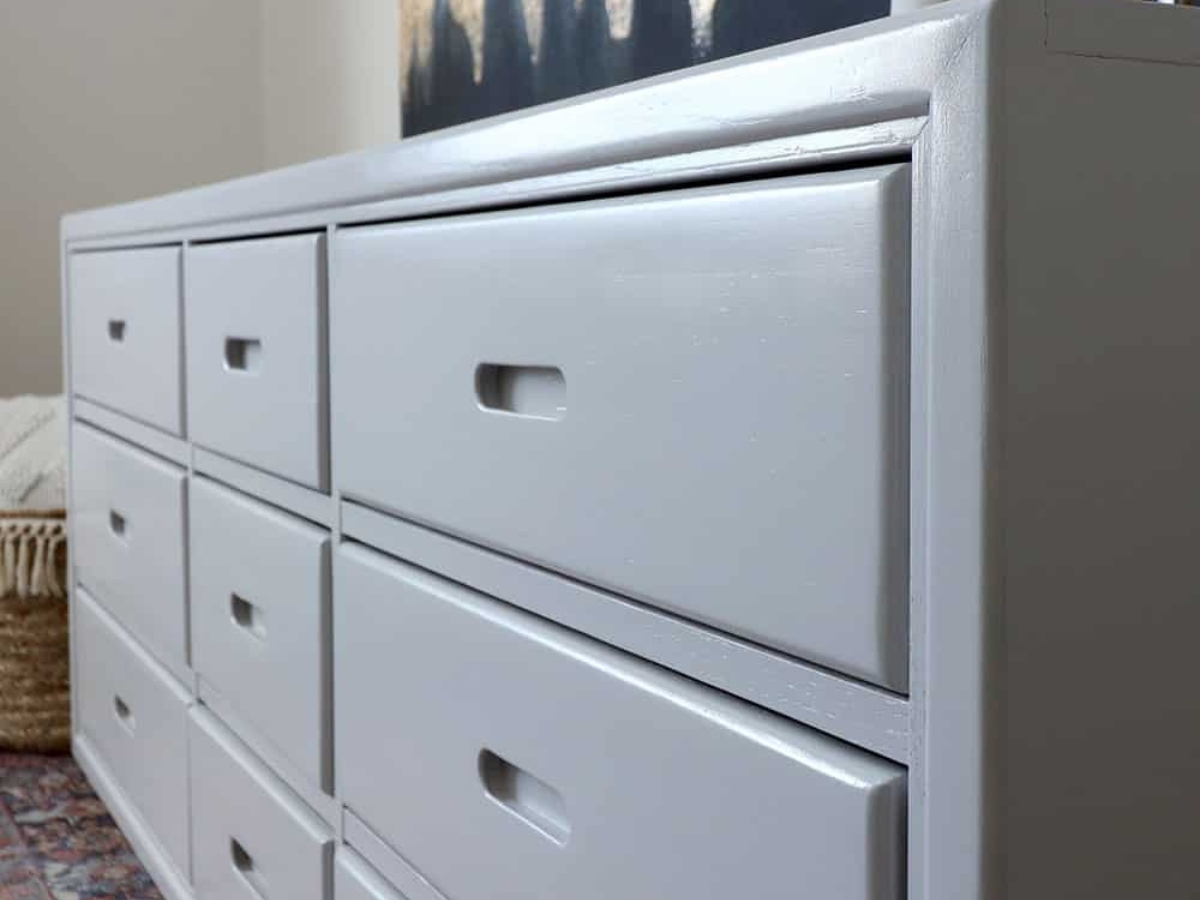
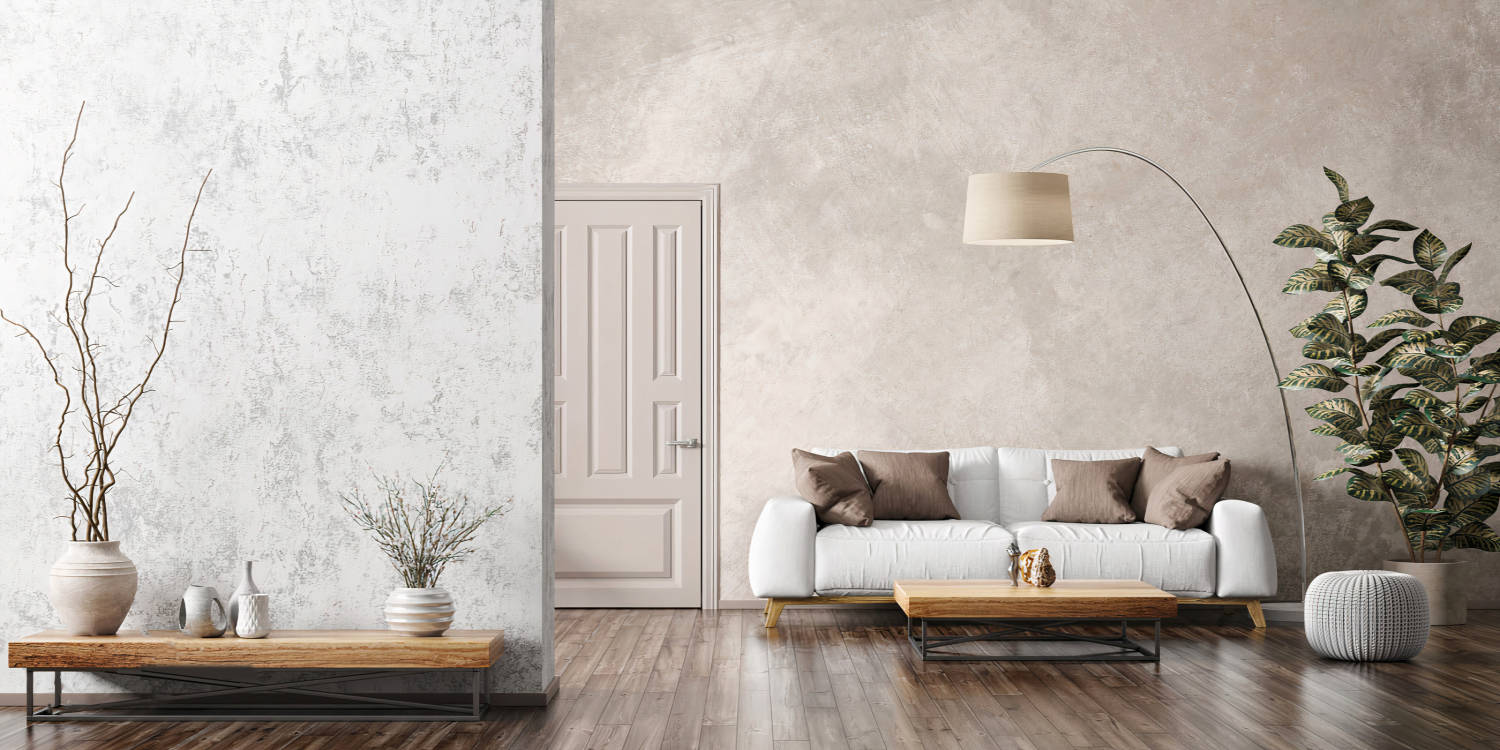
Painting the interior walls of your home can bring a fresh and vibrant look to any room. Whether you’re looking to update the color scheme, cover up imperfections, or simply add a new coat of paint, a well-executed paint job can transform the ambiance and overall feel of your living space.
While many homeowners opt to hire professionals for this task, learning how to spray paint interior walls yourself can provide a fulfilling sense of accomplishment and save you money in the process. With the right preparation, tools, and techniques, you can achieve professional-looking results that will leave your walls looking flawless.
In this article, we will guide you through the process of spray painting your interior walls, from choosing the right paint to finishing touches. We will provide helpful tips and tricks along the way to ensure that you have all the information you need to tackle this project with confidence.
Before we dive into the details, it is important to note that spray painting can be a messy process, so proper preparation and protection of surrounding surfaces are crucial. Make sure to cover floors, furniture, and any other items or areas that you want to keep paint-free.
Additionally, be aware of any health and safety precautions related to the use of paint sprayers. It is important to work in a well-ventilated area, wear protective goggles and gloves, and follow the manufacturer’s instructions for the specific paint sprayer you are using.
Now that we have covered the basics, it’s time to delve into the process of spray painting your interior walls. Let’s get started!
Key Takeaways:
- Transform your living space with professional-looking results by spray painting your interior walls. Choose the right paint, prepare surfaces diligently, and apply paint using proper techniques for a flawless finish.
- Embrace the creative and fulfilling process of spray painting your interior walls. From preparation to maintenance, achieve a vibrant and cost-effective transformation while enjoying the satisfaction of a personalized home.
Read more: How To Paint Interior Brick Wall
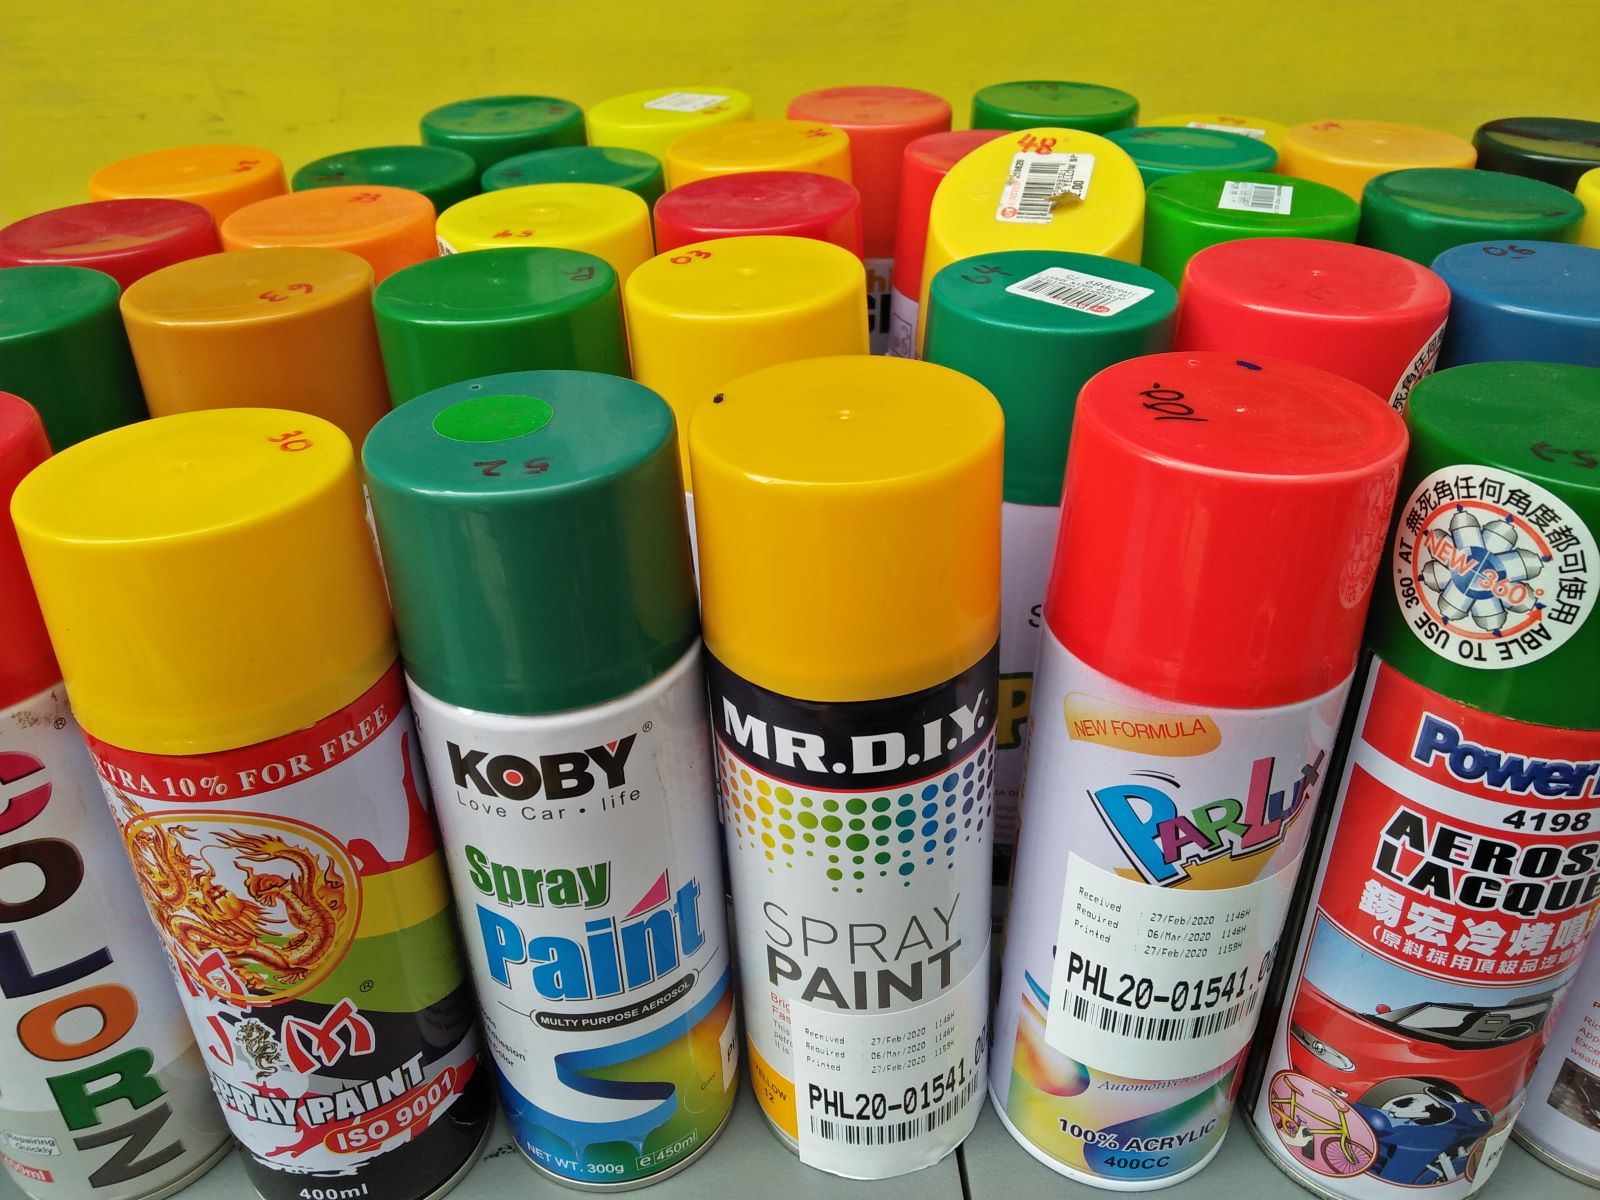
Choosing the Right Paint
When it comes to spray painting your interior walls, selecting the right type of paint is essential. The paint you choose will not only determine the overall look and feel of the room but also impact the durability and longevity of the finish. Here are some factors to consider when choosing the right paint:
- Surface Type: Different types of walls require different paint formulations. If you have drywall, look for a paint specifically designed for this surface. For previously painted walls, make sure to choose a paint that is compatible with the existing coat.
- Finish: The finish or sheen of the paint will affect the appearance and how light reflects off the walls. Consider the desired level of shine and the level of durability needed for the room. Common finishes include flat, eggshell, satin, semi-gloss, and high-gloss.
- Color: The color of the paint is, of course, a personal preference. Consider the overall design and color scheme of the room when selecting a paint color. Keep in mind that lighter colors can make a space feel more open and airy, while darker colors can create a cozy and intimate atmosphere.
- Quality: Investing in high-quality paint can make a significant difference in the overall finish and longevity of your walls. Look for paints that offer good coverage, durability, and resistance to stains and fading. Read reviews and choose a reputable brand for the best results.
- Environmentally-Friendly Options: If you are conscious about the environmental impact of your painting project, consider choosing paints that are low in volatile organic compounds (VOCs) or labeled as eco-friendly. These paints have reduced levels of harmful chemicals and are better for indoor air quality.
It is also worth mentioning that many paint retailers offer sample pots or small paint sachets that allow you to test the color and finish on a small area before committing to a larger quantity. This is a great way to ensure that you are happy with your color choice without the risk of purchasing gallons of paint that you may not like.
Always consult with a professional if you have any questions or concerns about the best paint choice for your specific needs. Taking the time to choose the right paint will ensure that your spray painting project starts off on the right foot and results in beautifully transformed interior walls.
Preparing the Walls
Before you can begin spray painting your interior walls, it is crucial to properly prepare the surfaces for paint. This step is essential for achieving a smooth and long-lasting finish. Here are the key steps to follow when preparing your walls:
- Clean the Walls: Start by cleaning the walls thoroughly to remove any dirt, dust, or grease. Use a mild detergent solution and a sponge or soft cloth to gently scrub the walls. Rinse with clean water and allow the walls to dry completely before proceeding.
- Repair Any Imperfections: Inspect the walls for any cracks, holes, or imperfections. Use a patching compound or spackling paste to fill in these areas. Smooth the surface with a putty knife and allow the patching compound to dry according to the manufacturer’s instructions. Sand the patched areas lightly to ensure they are smooth and blend seamlessly with the rest of the wall.
- Sand the Walls: For a professional-looking finish, it is recommended to lightly sand the entire surface of the walls. This helps create a smooth and even texture, allowing the paint to adhere better. Use a fine-grit sandpaper or a sanding sponge and gently sand the walls in a circular motion. Wipe away any dust with a damp cloth.
- Protect Surfaces: Cover floors, furniture, and any other objects or surfaces that you want to keep paint-free. Use drop cloths, plastic sheets, or painter’s tape to secure the coverings in place and ensure that everything is well-protected.
- Remove Outlet Covers and Fixtures: Before you begin painting, take the time to remove outlet covers, light switch plates, and any other fixtures or hardware attached to the walls. This will allow for a more even coverage and prevent any accidental paint splatters on these items.
By following these preparation steps, you will create a clean and smooth surface that is ready for paint application. Taking the time to properly prepare the walls will ensure that the paint adheres well, resulting in a flawless and professional-looking finish.
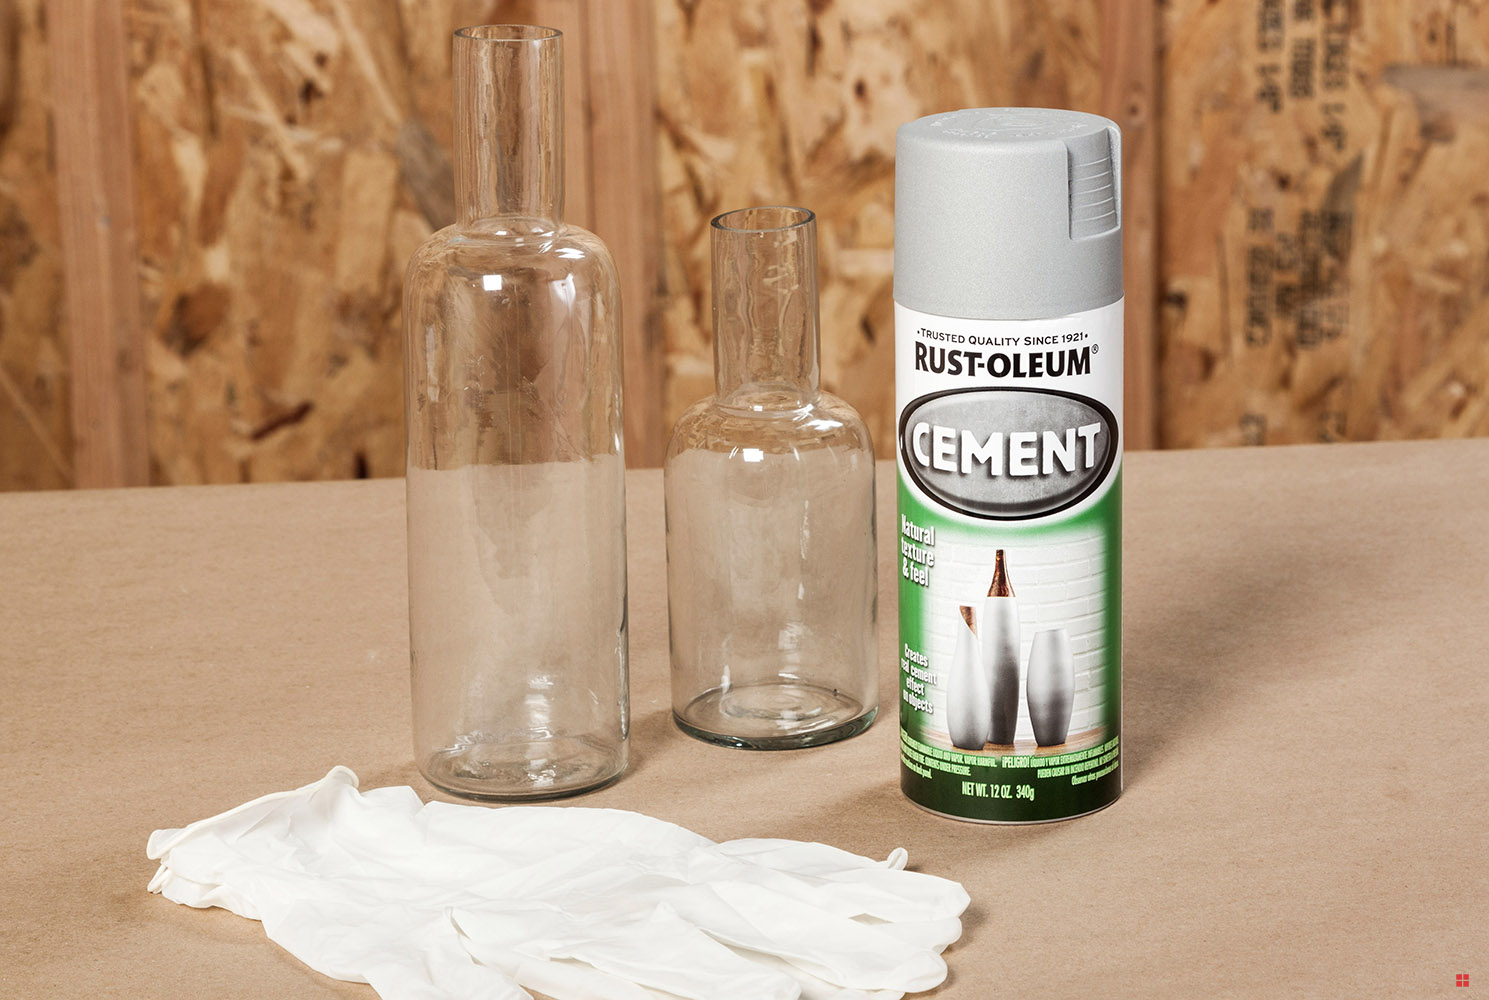
Gather Required Tools and Materials
Before you begin spray painting your interior walls, it is important to gather all the necessary tools and materials. Having everything prepared in advance will ensure a smooth and efficient painting process. Here are the essential items you will need:
- Paint Sprayer: The most crucial tool for spray painting your walls is a paint sprayer. There are various types available, including airless sprayers, HVLP (high-volume, low-pressure) sprayers, and compressed air sprayers. Choose a sprayer that is suitable for your project and that you feel comfortable using.
- Paint: Purchase the paint color and finish of your choice. Ensure that you have enough paint to cover the entire wall surface. It is always a good idea to buy a little extra for touch-ups or unforeseen circumstances.
- Masking Tape: High-quality masking tape will come in handy for protecting areas that you don’t want to be painted. Use it to secure the coverings, tape off trim and edges, and create clean paint lines.
- Drops Cloths or Plastic Sheets: Cover the floors and furniture with drop cloths or plastic sheets to protect them from paint overspray and spills.
- Paint Trays and Liners: If you need to use a paint tray for any touch-ups or specific areas, make sure to have one on hand along with disposable tray liners for easy cleanup.
- Protective Gear: To ensure your safety, wear protective goggles, a face mask, and gloves to shield yourself from paint particles and fumes.
- Stir Sticks: Use these to thoroughly mix the paint before pouring it into the sprayer.
- Extension Cords: If needed, have extension cords available to reach different areas of the room, ensuring that the sprayer can reach all the walls easily.
- Step Ladder or Scaffold: Depending on the height of the walls, have a step ladder or scaffold available to reach the upper portions comfortably and safely.
- Cleaning Supplies: You will also need cleaning supplies such as buckets, sponges, rags, and soap for cleaning the walls, sprayer, and any other equipment after the painting is complete.
By gathering all these tools and materials before you start, you will save time and ensure a smooth painting process. Having everything readily available will allow you to focus on the task at hand and achieve a professional-looking result.
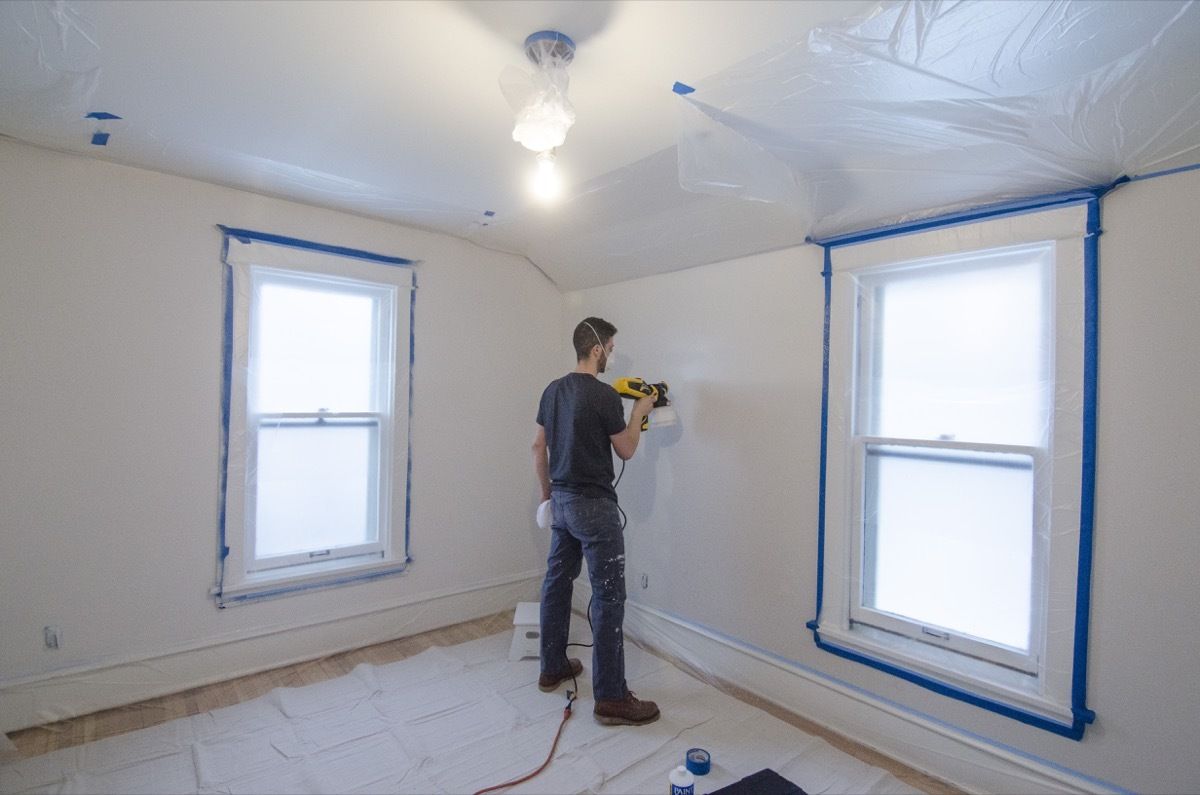
Covering and Protecting Surfaces
One of the crucial steps in spray painting your interior walls is adequately covering and protecting the surrounding surfaces. This will help prevent accidental overspray and paint splatters on items and areas that you want to keep paint-free. Here are some tips to ensure thorough protection:
- Use Drop Cloths or Plastic Sheets: Cover the entire floor area with drop cloths or plastic sheets to protect it from paint drips and spills. Secure the coverings with painter’s tape to keep them in place.
- Protect Furniture and Fixtures: Move any furniture out of the room if possible. For larger items that cannot be moved, cover them with plastic sheets or old bed sheets to protect them from paint overspray. Use painter’s tape to secure the covers, ensuring they stay in place.
- Tape Off Trim and Edges: Use masking tape to protect baseboards, trim, door frames, and window frames from accidental paint splatters. Apply the tape carefully, ensuring it adheres well to the surface and creates clean paint lines.
- Cover Electrical Outlets and Switches: To prevent paint from getting into outlets and switches, cover them with painter’s tape or plastic covers specifically designed for this purpose.
- Mask Off Light Fixtures: If you have ceiling light fixtures or wall sconces, cover them with plastic bags or plastic wrap secured with tape. This will protect them from paint overspray and allow you to remove the covers easily after painting.
- Protect Ventilation and HVAC Systems: Cover air vents, fans, and HVAC systems with plastic sheets or plastic bags to prevent paint from entering them. This will help maintain good air quality during and after the painting process.
- Seal Doorways: If you are painting a room with a door, seal the doorway with plastic sheets or a drop cloth to minimize paint fumes and dust from spreading to other areas of the house.
It is important to take your time and properly cover and protect all surfaces that you don’t want to be painted. Investing extra time in this step will save you the effort of cleaning up paint splatters later on and ensure a clean and professional finish for your interior walls.
Read more: How To Prepare Interior Walls For Painting
Mixing and Preparing the Paint
Before you can start spray painting your interior walls, it is essential to properly mix and prepare the paint. This will ensure that the paint is well-mixed, free of clumps, and ready for application. Here’s a step-by-step guide on how to mix and prepare the paint:
- Read the Instructions: Start by reading the instructions on the paint can or manufacturer’s guidelines. Different paints may have specific mixing instructions and recommendations that you need to follow for optimal results.
- Inspect the Paint: Check the paint can for any signs of separation or settling. If you notice any clumps or lumps, use a paint stir stick to gently stir the paint until it is smooth and well-mixed. Avoid vigorous stirring, as it can introduce air bubbles into the paint.
- Dilution (If Required): Some types of paint may require dilution with water or a specific type of paint thinner. Check the instructions to see if dilution is necessary and follow the recommended ratios. Pour the paint into a clean container designed for spray painting.
- Strain the Paint (Optional): If you want to ensure a smooth finish and remove any impurities or debris, you can strain the paint before pouring it into the spray gun. Use a mesh paint strainer or a piece of cheesecloth to catch any clumps or particles as you pour the paint into the sprayer’s container.
- Viscosity Test: It is essential to check the viscosity (thickness) of the paint, as it can affect the spray pattern and overall finish. Most paint sprayers come with specific viscosity guidelines. To check the viscosity, use a viscosity cup or follow the manufacturer’s instructions. If needed, thin the paint further by adding small amounts of water or the recommended thinning agent as per the instructions.
- Fill the Spray Gun: Once the paint is mixed, strained (if desired), and at the correct viscosity, pour it into the spray gun container. Be mindful not to overfill the container, as it could lead to messy spills or splatters while spraying. Follow the manufacturer’s guidelines on the maximum fill level.
Keep in mind that different types and brands of paint may have specific mixing and preparation instructions. Always refer to the manufacturer’s guidelines to ensure proper mixing and preparation of your chosen paint. Taking the time to mix and prepare the paint correctly will result in a smooth and even application, leading to a professional-looking finish on your interior walls.
Before spray painting interior walls, make sure to properly prepare the surface by cleaning and sanding it. Use a high-quality primer to ensure better adhesion and a smoother finish.
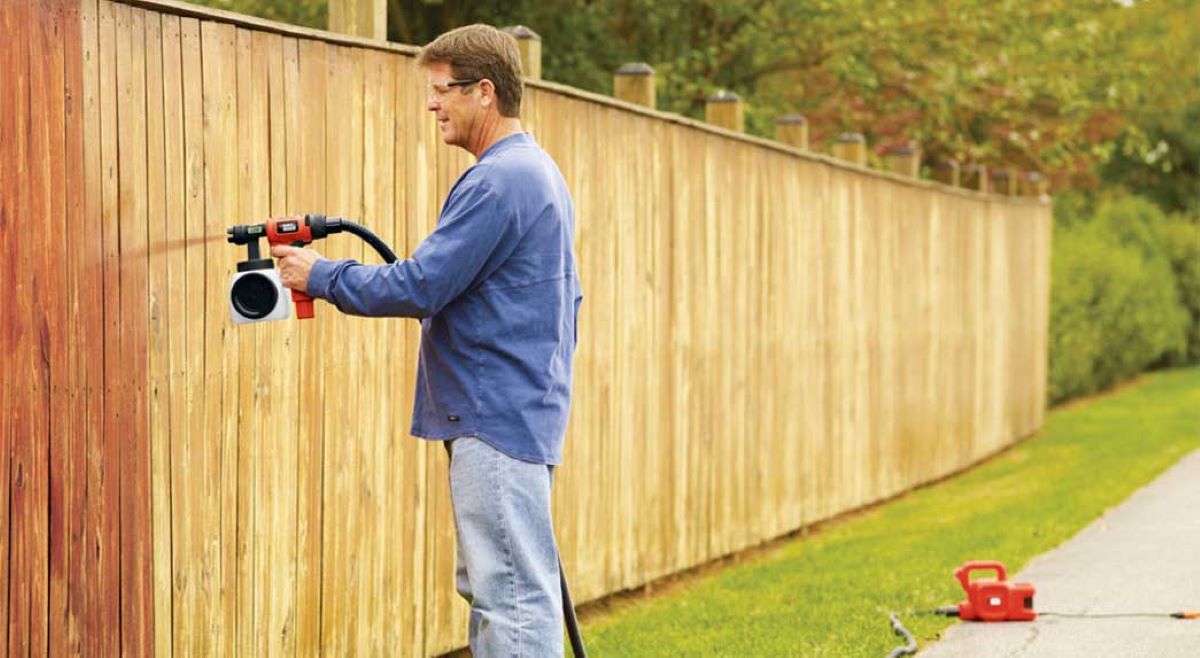
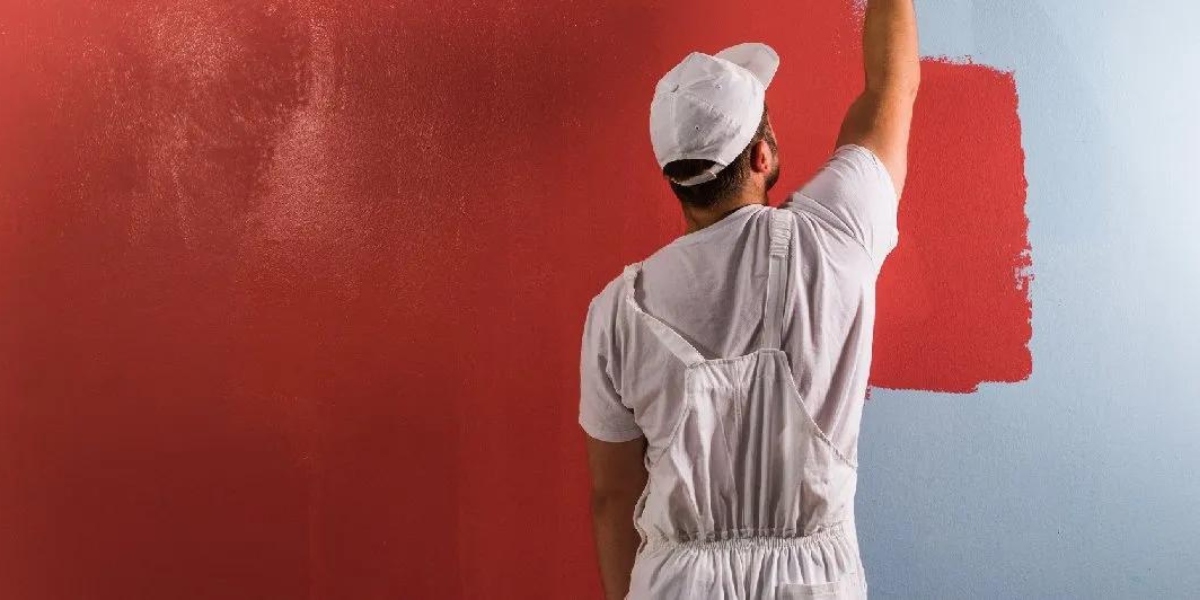
Applying the Paint
Now that you’ve prepared the paint, it’s time to start applying it to your interior walls using the spray gun. Follow these steps to achieve a smooth and even paint application:
- Test the Spray Pattern: Before you begin spraying the walls, test the spray pattern on a piece of cardboard or a scrap surface to ensure that the sprayer is set correctly and the paint is spraying evenly.
- Start from the Top: Begin spraying the paint at the top of the wall and work your way down. This will help prevent drips and ensure that you cover the entire surface evenly.
- Maintain Consistent Distance: Hold the spray gun at a consistent distance from the wall as you move it back and forth. This distance varies depending on the type of sprayer, but typically it’s around 8 to 12 inches from the surface. Keep the spray gun perpendicular to the wall for an even coat.
- Overlap Strokes: Use smooth and overlapping strokes as you move across the wall. This technique helps to avoid streaks and ensures even coverage. Remember to maintain a steady speed and rhythm while spraying.
- Work in Sections: Divide the wall into manageable sections and focus on one section at a time. This will help you maintain a consistent paint application and prevent the paint from drying out too quickly before you can blend it.
- Apply Multiple Coats: Depending on the desired color intensity and the paint’s coverage, you may need to apply multiple coats. Allow each coat to dry completely before applying the next one. Follow the manufacturer’s instructions for recommended drying times.
- Blend Wet Edges: As you move from one section to another or between coats, pay attention to the wet edges of the paint. Blend them together smoothly to avoid visible lines or overlap marks.
- Check for Uniform Coverage: After each coat, step back and inspect the wall for any missed spots or uneven coverage. Touch up any areas that require additional paint. Take your time and ensure a thorough and uniform application.
Remember to follow the manufacturer’s instructions for your specific paint sprayer and paint type. Each sprayer may have different settings and techniques for optimal results. It’s also important to work in a well-ventilated area and wear the necessary protective gear.
By following these steps, you’ll be able to apply the paint smoothly and evenly, creating a professional-looking finish on your interior walls. Take your time and be patient, as it’s better to achieve a high-quality result than rush through the process.
Techniques for a Smooth Finish
When spray painting the interior walls of your home, employing the right techniques is essential to achieve a smooth and flawless finish. Here are some tips to help you achieve professional-looking results:
- Start with Proper Surface Preparation: Ensure that the walls are clean, free of any imperfections, and properly primed if necessary. Well-prepared surfaces provide a smooth base for the paint and help prevent unevenness or blemishes.
- Use Proper Sprayer Settings: Adjust the settings of your spray gun according to the type of paint and desired texture. Follow the manufacturer’s instructions to set the appropriate pressure, spray pattern, and fan width for optimal results.
- Maintain Consistent Speed and Pressure: Keep a steady pace while moving the sprayer back and forth across the wall. This helps ensure an even application and prevents the paint from pooling or dripping in certain areas. Maintain a consistent pressure on the trigger to control the paint flow.
- Overlap Strokes: Overlapping each pass with the spray gun ensures that the paint is distributed evenly. This technique helps eliminate streaks and lines, resulting in a seamless finish. Be mindful not to overlap too much, as it can lead to excessive paint build-up.
- Work in Controlled Sections: Divide the walls into manageable sections to maintain control over the paint application. This allows you to focus on one area at a time, ensuring consistent coverage and blending of the paint.
- Keep a Wet Edge: To avoid visible lines or edges caused by paint drying at different rates, always work on the wall’s wet edge. Blend each stroke into the previous one while the paint is still wet to create a smooth transition.
- Hold the Gun Perpendicular to the Wall: Maintain a consistent 90-degree angle between the spray gun and the wall to achieve an even coat. Tilting the gun can result in uneven coverage and drips.
- Apply Thin Coats: It’s better to apply multiple thin coats of paint rather than one thick coat. Thin coats dry faster and allow better control over the finish. They also reduce the risk of drips or runs in the paint.
- Avoid Overlapping Paint Layers: Be cautious not to overlap paint layers that have already started to dry. This can cause texture variations and visible lines. Time your coats appropriately to maintain a consistent wet edge.
- Inspect and Touch Up: Once the paint is dry, inspect the walls for any flaws or missed spots. Use a brush or roller to touch up any areas that require additional paint. This attention to detail will ensure a flawless finish.
By implementing these techniques, you’ll be able to achieve a smooth and professional-looking finish when spray painting your interior walls. Remember to practice on a test surface if you’re new to spray painting to get a feel for the technique before applying it to the walls. Take your time and have patience, as the end result will be well worth the effort.
Handling Troublesome Areas
While spray painting your interior walls, you may encounter certain areas that require special attention and care. These troublesome areas can include corners, edges, textured surfaces, and areas with existing imperfections. Here are some tips for effectively handling these challenging spots:
- Corners and Edges: Use a smaller brush or an angled paintbrush to paint the corners and edges of the walls. This allows for greater control and precision, ensuring even coverage in these tight spaces. Take your time and use steady strokes to achieve a clean and professional finish.
- Textured Surfaces: If you have textured walls, the spray painting process may require some additional care. Adjust the sprayer settings to release a smaller atomized mist, which will help paint the textured surface more evenly. It may also be necessary to paint in multiple directions to ensure complete coverage and reach into all the crevices of the texture.
- Existing Imperfections: Walls with existing imperfections such as cracks or holes can be challenging to paint. Before spray painting, make sure to patch and repair these areas as discussed in the “Preparing the Walls” section. Apply an extra coat of primer or paint to these spots as needed to ensure a seamless blend with the rest of the wall.
- Trim and Moldings: When painting around trim, baseboards, or moldings, use painter’s tape to create crisp lines and protect these surfaces from paint overspray. Carefully paint along the edges, removing the tape immediately after painting each section to prevent any peeling or damage to the paint.
- High Ceilings: Painting high ceilings can be challenging due to the distance and difficulty in reaching these areas. Consider using a ladder or scaffolding to safely access and paint high ceilings. Opt for an extension wand or a sprayer with a longer reach to maintain a consistent spray pattern and coverage.
- Multiple Colors or Accent Walls: If you plan to use different colors or create an accent wall, take extra care in properly masking and protecting the adjacent areas. Use painter’s tape to delineate the different sections and ensure clean lines between the colors or accent wall.
When dealing with troublesome areas, it’s essential to have patience and attention to detail. Take your time to ensure that each spot receives the proper amount of paint and that the finish is consistent with the rest of the wall. By following these tips, you’ll be able to handle challenging areas effectively and achieve a professional-looking result throughout your interior space.
Read more: What Size Spray Tip For Interior Walls
Drying and Curing
After you have finished spray painting your interior walls, the paint needs time to dry and cure properly. This drying and curing process is crucial for achieving a durable and long-lasting finish. Here is what you need to know:
Drying Time:
The drying time of the paint will depend on several factors, including the type of paint, humidity levels, and ventilation in the room. It is important to follow the manufacturer’s instructions for the specific paint you are using, as they will provide accurate drying time guidelines. Typically, most paints will be dry to the touch within a few hours.
Curing Time:
Curing refers to the time it takes for the paint to fully harden and reach its maximum durability. While the paint may feel dry to the touch, it may still be vulnerable and easily damaged during the curing process. Most paints require several days to a few weeks to fully cure, depending on the type and the environmental conditions. Avoid excessive touching or cleaning of the painted surfaces during this time.
Optimal Conditions:
To facilitate proper drying and curing, it is essential to create optimal conditions in the room:
- Good Ventilation: Open windows and doors or use fans to promote air circulation. This helps the paint dry faster and reduces the risk of an unpleasant odor lingering in the room.
- Avoid Excessive Moisture: Moisture can disrupt the drying process and lead to poor adhesion or uneven drying. Keep the room dry and avoid activities that generate excessive moisture, such as steamy showers or humidifiers.
- Controlled Temperature: Maintain a moderate room temperature to aid in the drying and curing process. Extreme temperatures can interfere with the paint’s drying time, so aim for a comfortable and consistent temperature range.
- Patience is Key: Allow the paint ample time to dry and cure before putting any objects or furniture back in place. Rushing the process can lead to smudges, scratches, or imprints on the freshly painted walls.
Remember that the full durability and resistance of the painted walls may take several weeks to develop. During this time, be cautious and avoid any activities that may damage the paint surface. Taking the necessary precautions and allowing for proper drying and curing will ensure a beautiful and long-lasting finish to your interior walls.
Clean-Up and Maintenance
Once you have completed the spray painting of your interior walls, it’s important to properly clean up and establish a maintenance routine to extend the life and beauty of the finish. Follow these tips for effective clean-up and long-term maintenance:
Clean-Up:
- Properly clean your paint sprayer according to the manufacturer’s instructions. Disassemble the sprayer and clean each component thoroughly to ensure that there is no residual paint left behind.
- Rinse paint containers, trays, and other tools used in the painting process with water or the recommended cleaning solvent. Remove any remaining paint and allow them to dry before storing them away.
- Dispose of any leftover paint in a responsible manner, following local regulations for paint disposal. Seal the paint can tightly or transfer the paint to smaller containers to minimize air exposure and prevent drying or evaporation.
- Wipe down any surfaces or objects that may have been affected by paint splatters or dust during the painting process. Use a damp cloth or sponge and a mild detergent solution to remove any residual paint or dirt.
- Properly dispose of any protective coverings, drop cloths, or plastic sheets that were used to protect surfaces during painting. Shake off excess paint or dust outdoors before disposing of them.
Maintenance:
- Regularly dust the painted walls using a soft cloth or a feather duster to remove any surface dust or debris. This will help maintain the cleanliness and appearance of the finish.
- Avoid scrubbing or using abrasive cleaning tools on the painted walls, as they can damage the finish. Instead, use a mild detergent solution and a soft cloth for any spot cleaning that may be required.
- Periodically inspect the painted walls for any signs of wear, scratches, or peeling. Touch up any small imperfections with the same paint color and finish to ensure a seamless appearance.
- Keep an eye out for any water damage or moisture issues. Address any leaks or water intrusions promptly to prevent paint damage and potential mold or mildew growth.
- Consider using a protective topcoat or clear sealer to further enhance the durability and longevity of the paint finish. Consult with a professional or a paint specialist for suitable products and application instructions.
Establishing a regular cleaning and maintenance routine will help preserve the beauty and integrity of your spray-painted interior walls. By taking these simple steps, you can ensure that your walls remain vibrant and in excellent condition for years to come.
Conclusion
Spray painting your interior walls can be a rewarding and cost-effective way to transform the ambiance of your living space. With the right preparation, tools, and techniques, you can achieve professional-level results that will leave your walls looking flawless and vibrant.
Throughout this article, we have covered the essential steps and considerations for spray painting your interior walls. From choosing the right paint and preparing the surfaces to applying the paint and handling troublesome areas, each phase plays a crucial role in the overall success of your project.
By taking the time to properly choose the right paint for your surfaces, prepare the walls diligently, gather the necessary tools and materials, and protect surrounding surfaces, you pave the way for a smooth and efficient painting process.
Applying the paint using proper techniques, such as maintaining a consistent distance, overlapping strokes, and working in controlled sections, ensures an even and professional finish. Additionally, allowing the paint to dry and cure properly, as well as establishing a cleaning and maintenance routine, further extends the longevity and beauty of your walls.
Remember, painting your interior walls is not just about transforming the aesthetic of your space; it’s also a creative and fulfilling project that can add a personal touch to your home. Take the time necessary to plan, prepare, and execute the painting process with attention to detail and care.
Whether you are updating the color scheme, covering up imperfections, or refreshing the look of your living space, spray painting your interior walls can make a significant difference in the overall ambiance and appeal of your home. Embrace the process, follow the guidelines provided, and enjoy the satisfaction of achieving a beautifully transformed living space.
Now that you have all the knowledge and tips you need, it’s time to roll up your sleeves, grab your paint sprayer, and bring your vision to life. Happy painting!
Frequently Asked Questions about How To Spray Paint Interior Walls
Was this page helpful?
At Storables.com, we guarantee accurate and reliable information. Our content, validated by Expert Board Contributors, is crafted following stringent Editorial Policies. We're committed to providing you with well-researched, expert-backed insights for all your informational needs.

0 thoughts on “How To Spray Paint Interior Walls”