Articles
How To Remove Stucco From Interior Walls
Modified: May 6, 2024
Learn the step-by-step process of removing stucco from interior walls with our informative articles. Discover helpful tips and tricks for a smooth renovation project.
(Many of the links in this article redirect to a specific reviewed product. Your purchase of these products through affiliate links helps to generate commission for Storables.com, at no extra cost. Learn more)
Introduction
Stucco is a popular wall finish that can add a beautiful texture and durability to a home’s interior walls. However, there may come a time when you want to remove the stucco for a variety of reasons. Whether you’re planning a renovation, want a smooth wall surface, or have discovered damage underneath, knowing how to remove stucco from interior walls is essential.
In this comprehensive guide, we will walk you through the step-by-step process of safely and effectively removing stucco from your walls. From gathering the necessary tools and materials to patching and repairing the wall after the stucco removal, we will cover everything you need to know to successfully complete the project.
Before we delve into the details, it’s important to note that stucco removal can be a labor-intensive task, requiring patience and careful execution. It’s also crucial to take proper safety precautions and use the right tools to avoid any accidents or damage to your walls.
Now, let’s begin our journey on how to remove stucco from interior walls!
Key Takeaways:
- Proper preparation, testing, and careful removal techniques are essential for successfully removing stucco from interior walls while minimizing damage and ensuring a smooth, flawless finish.
- After removing stucco, thorough wall repair, cleaning, and final touches are crucial for achieving a refreshed and renewed space, ready for a fresh coat of paint and renewed enjoyment.
Read more: How To Cover Stucco Interior Walls
Tools and Materials Needed
Before you begin the process of removing stucco from your interior walls, it’s important to gather all the necessary tools and materials. Having the right equipment and supplies will not only make the job easier but also ensure that you achieve the desired results. Here are the essential tools and materials you will need:
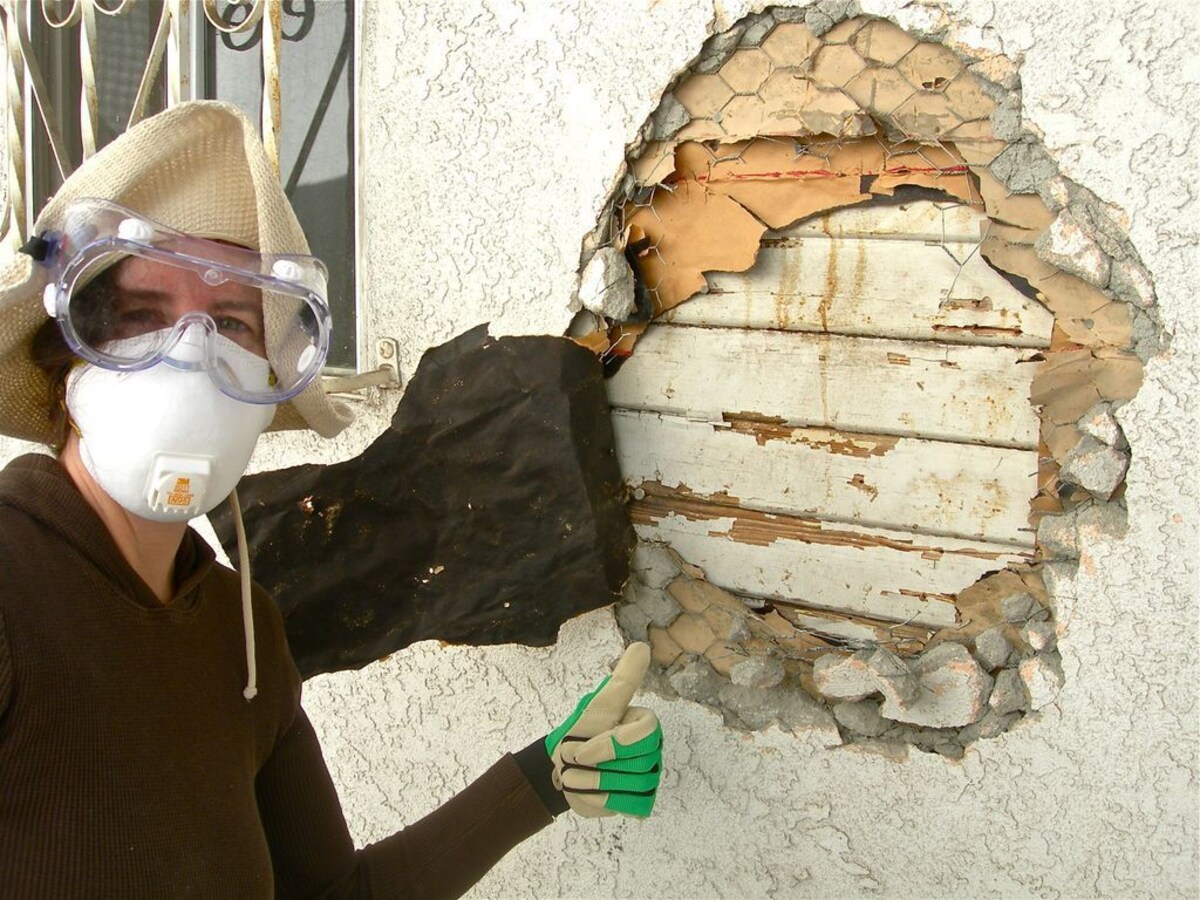
- Protective Gear: Safety should always be your top priority when working with stucco. Make sure to wear safety goggles, a dust mask, and gloves to protect your eyes, respiratory system, and hands from any debris or dust.
- Drop Cloths and Plastic Sheets: To protect the surrounding area from dust and debris, cover the floor with drop cloths and use plastic sheets to seal off adjacent rooms.
- Stiff-Bristle Brush: A stiff-bristle brush will be handy for removing loose stucco and debris from the wall surface before starting the removal process.
- Hammer and Chisel: These tools are essential for chipping away at the stucco and creating initial cracks or breaks in the surface.
- Putty Knife: A putty knife will come in handy for scraping away the stucco and removing it from the wall.
- Electric Drill: An electric drill with a mixing paddle attachment will be useful for creating a stucco removal mixture and blending it to the desired consistency.
- Plastic Sheeting: Use plastic sheeting to cover any areas or fixtures that you don’t want to get damaged or covered in stucco removal mixture.
- Joint Compound: This material will be required for patching and repairing the wall after the stucco is removed.
- Sandpaper: Depending on the wall’s condition, you may need sandpaper to smooth out any rough areas after the stucco removal.
- Paint and Paintbrush: Once the wall is repaired and smooth, you may want to apply a fresh coat of paint to complete the project.
Having these tools and materials ready before you start the stucco removal process will ensure that you have everything you need to tackle the job effectively and efficiently.
Preparing the Work Area
Before you begin removing the stucco from your interior walls, it’s essential to properly prepare the work area. Taking the time to prepare will help protect your home and ensure a smoother and more efficient stucco removal process. Here are the steps to prepare the work area:
- Cover and Protect: Start by covering the floor with drop cloths to prevent any debris or stucco from damaging the surface. Use plastic sheets to cover furniture, fixtures, and any items you want to protect from dust or potential damage.
- Remove Obstacles: Clear the work area of any obstacles, such as furniture or decorations, that might hinder your progress or increase the risk of accidents.
- Turn Off Electricity: If there are electrical outlets or switches on the wall you will be working on, turn off the electricity to avoid any potential hazards. It’s always advised to consult with a professional electrician if you are uncertain about working around electrical components.
- Apply Masking Tape: Use masking tape to frame the area where the stucco will be removed. This will provide a clear boundary and help protect adjacent walls or surfaces from accidental damage.
- Ventilate the Space: Stucco removal can create a lot of dust and debris, so it’s important to have proper ventilation in the work area. Open windows and doors, or use fans to improve air circulation.
- Wear Protective Gear: As mentioned earlier, always wear the necessary protective gear, including safety goggles, a dust mask, and gloves, to safeguard yourself from any potential hazards.
- Secure Work Area Signage: Consider placing signage or warning tape around the work area to alert others of the ongoing project and prevent accidental intrusion or disturbances.
By following these steps and preparing the work area properly, you can minimize the risk of accidents, protect your home and belongings, and create an environment conducive to successful stucco removal.
Testing the Stucco
Before you begin the actual process of removing the stucco from your interior walls, it’s important to conduct a test to assess the composition and adherence of the stucco. This step will help you determine the best method and approach to remove the stucco effectively. Here’s how to test the stucco:
- Select a Small Area: Choose a small, inconspicuous area on the wall to test the stucco. Ideally, this should be an area with minimal damage or repair needs.
- Tap the Stucco: Using a hammer or your knuckles, tap on the stucco surface. Listen to the sound it produces. If it sounds hollow or lacks a solid thud, it indicates that the stucco may be loose or poorly adhered to the wall. If the sound is solid and dense, the stucco is likely well-bonded to the wall.
- Scrape the Stucco: Take a putty knife or a sharp object and gently scrape the surface of the stucco. If the stucco easily flakes off or crumbles, it signifies that the bond is weak and removal should be relatively straightforward. However, if the stucco is challenging to scrape off or requires significant force, it may be more difficult to remove.
- Assess the Wall Condition: During the scraping process, pay attention to the condition of the underlying wall. If you notice any cracks, water damage, or other issues, take note as these may require additional repair or attention.
- Document the Findings: Keep a record of your test results, including the ease of scraping and the condition of the wall. This documentation will help guide your removal process and determine the level of effort and resources needed.
By testing the stucco before you start the removal process, you’ll have a better understanding of how it will behave and which techniques will be most effective. This will allow you to approach the stucco removal with confidence and choose the right methods to achieve the desired results.
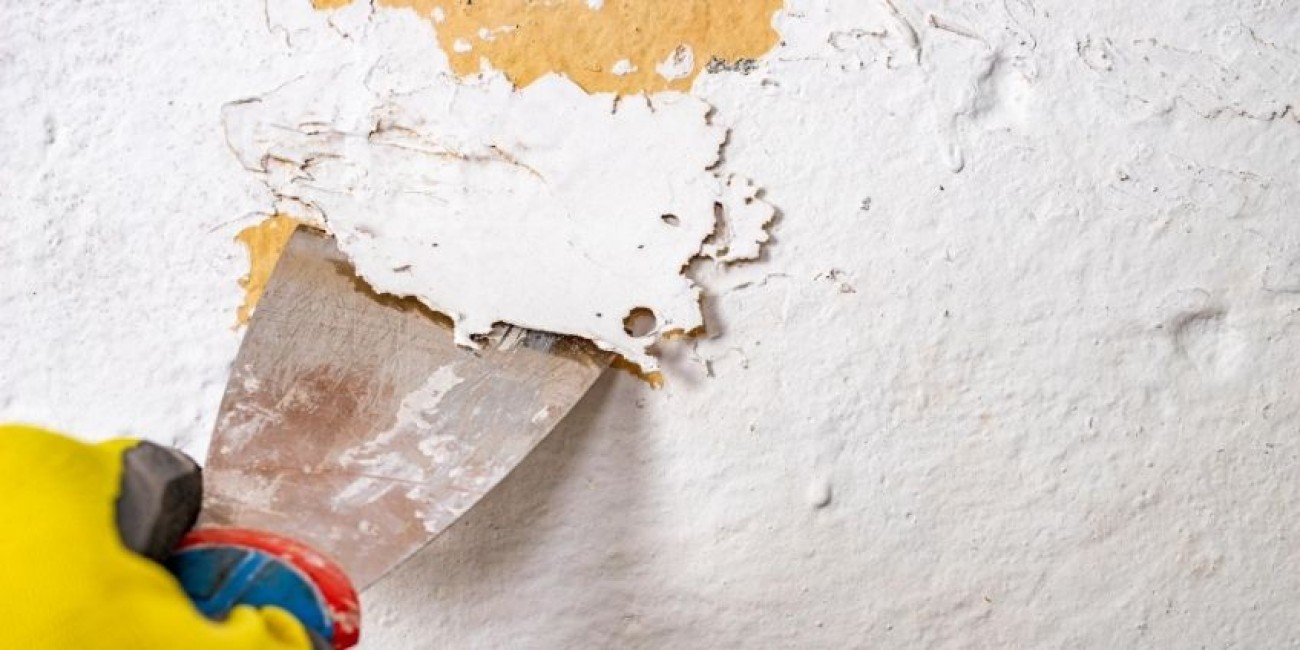
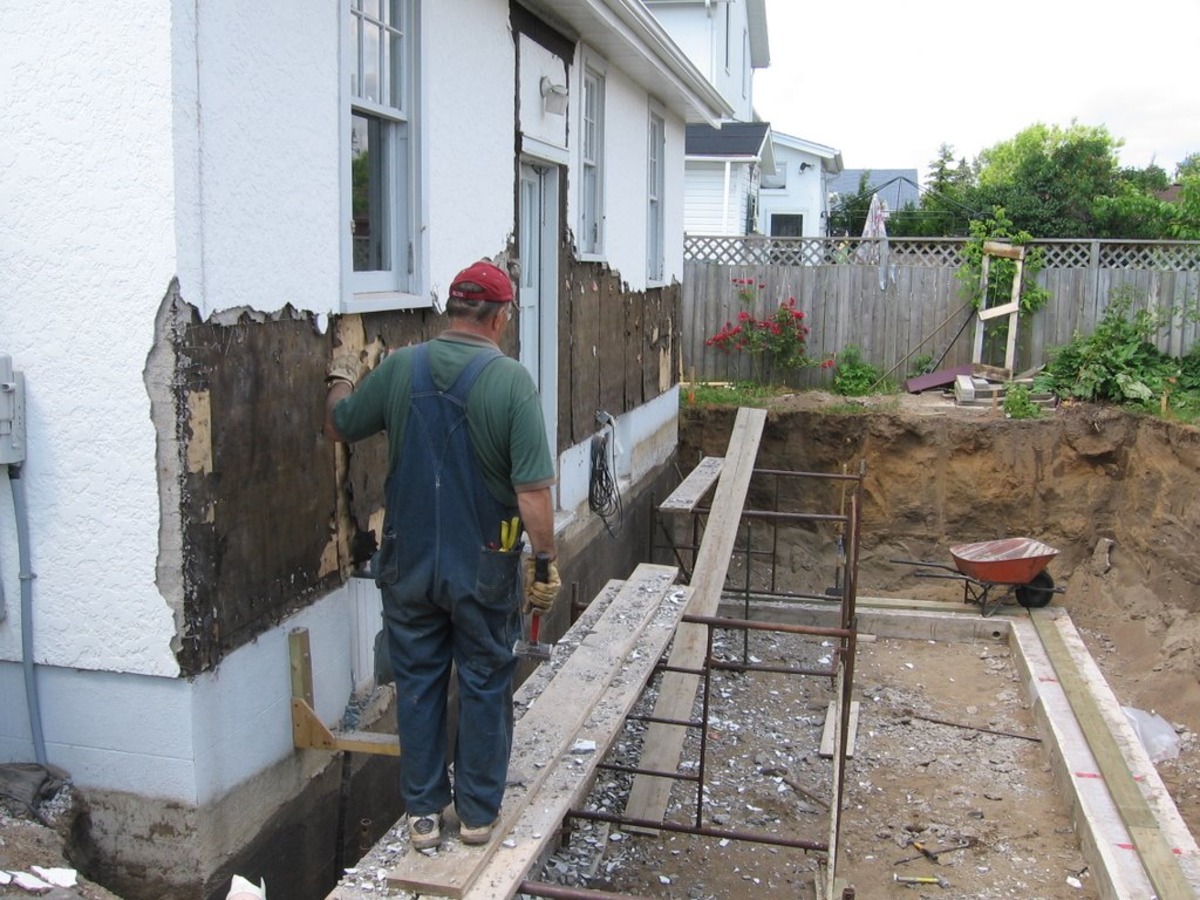
Removing the Stucco
Once you have tested the stucco and assessed its condition, it’s time to move on to the actual process of removing the stucco from your interior walls. While there are several methods you can choose from, we will outline the most commonly used ones below:
- Scraping Method: Using a putty knife or a scraper, carefully scrape away the stucco from the wall surface. Start at one corner or edge and work your way across, applying steady pressure. Take care not to dig too deeply into the underlying wall, as this can cause damage. Continue scraping until all the stucco is removed.
- Chiseling Method: Another approach is to use a hammer and chisel to create cracks in the stucco. Gently tap the chisel along the wall, creating small fractures in the stucco. Once you have created a series of cracks, use the chisel to chip away the stucco pieces. Take your time and work methodically across the wall until all the stucco is removed.
- Wet Removal Method: This method involves wetting the stucco surface with water before removal. Start by lightly misting the stucco with water, allowing it to penetrate for a few minutes. Then, using a scraper or putty knife, gently scrape away the softened stucco. Repeat this process until all the stucco is removed. This method can be particularly useful for older or more stubborn stucco.
- Power Sander Method: If you have access to a power sander, you can use it to remove the stucco from the walls. Attach a coarse-grit sandpaper to the sander and work in small sections, moving the sander across the wall in smooth, even motions. Be sure to wear a dust mask and goggles to protect yourself from the fine dust particles generated by the sanding process.
Regardless of the method you choose, it’s important to work carefully and patiently to avoid damaging the underlying wall or causing excessive dust. Take breaks as needed, especially if you’re working on a larger area, and periodically check your progress to ensure you’re removing the stucco evenly.
Remember, stucco removal can be a time-consuming and labor-intensive process, so it’s crucial to pace yourself and prioritize your safety. Take frequent breaks, stay hydrated, and use proper protective gear throughout the removal process.
Once you have successfully removed the stucco, proceed to the next step of patching and repairing the wall to create a smooth and even surface.
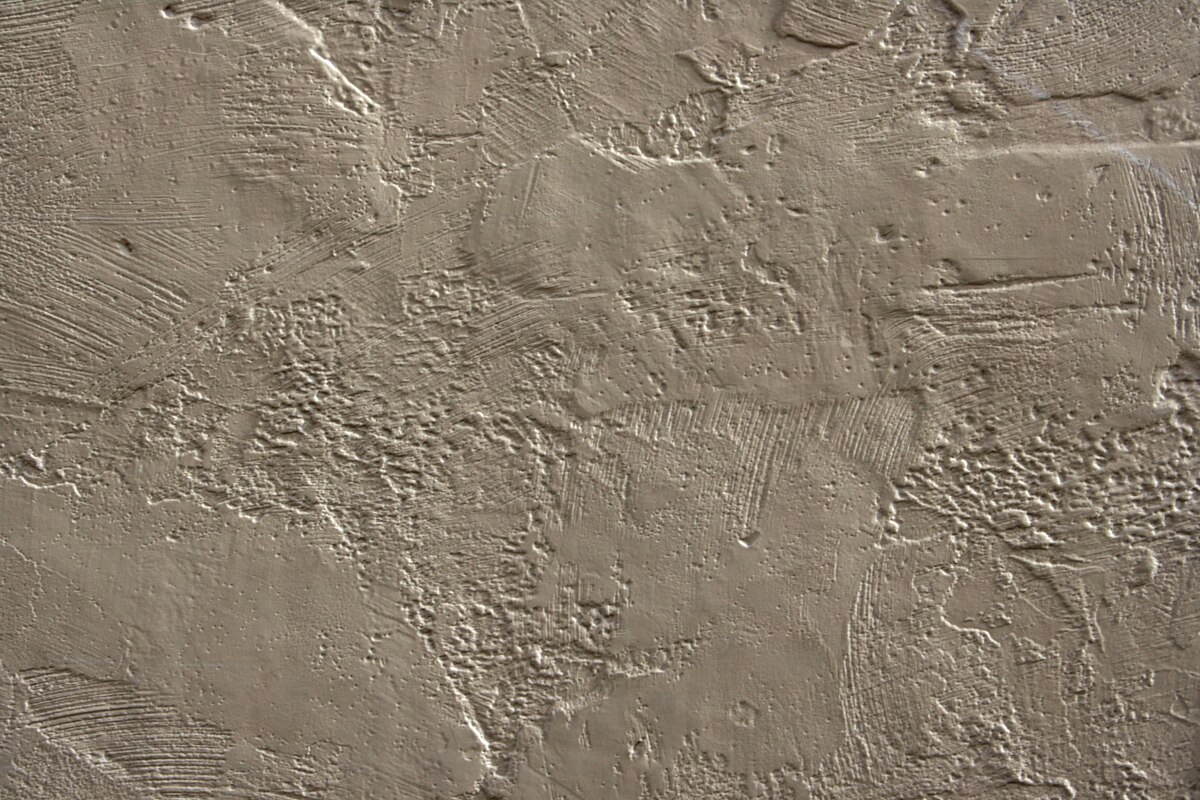
Use a hammer and chisel to carefully chip away the stucco from the interior walls. Work in small sections and be cautious not to damage the underlying wall surface. Wear protective eyewear and a dust mask for safety.
Read more: How To Remove Stucco From Block Walls
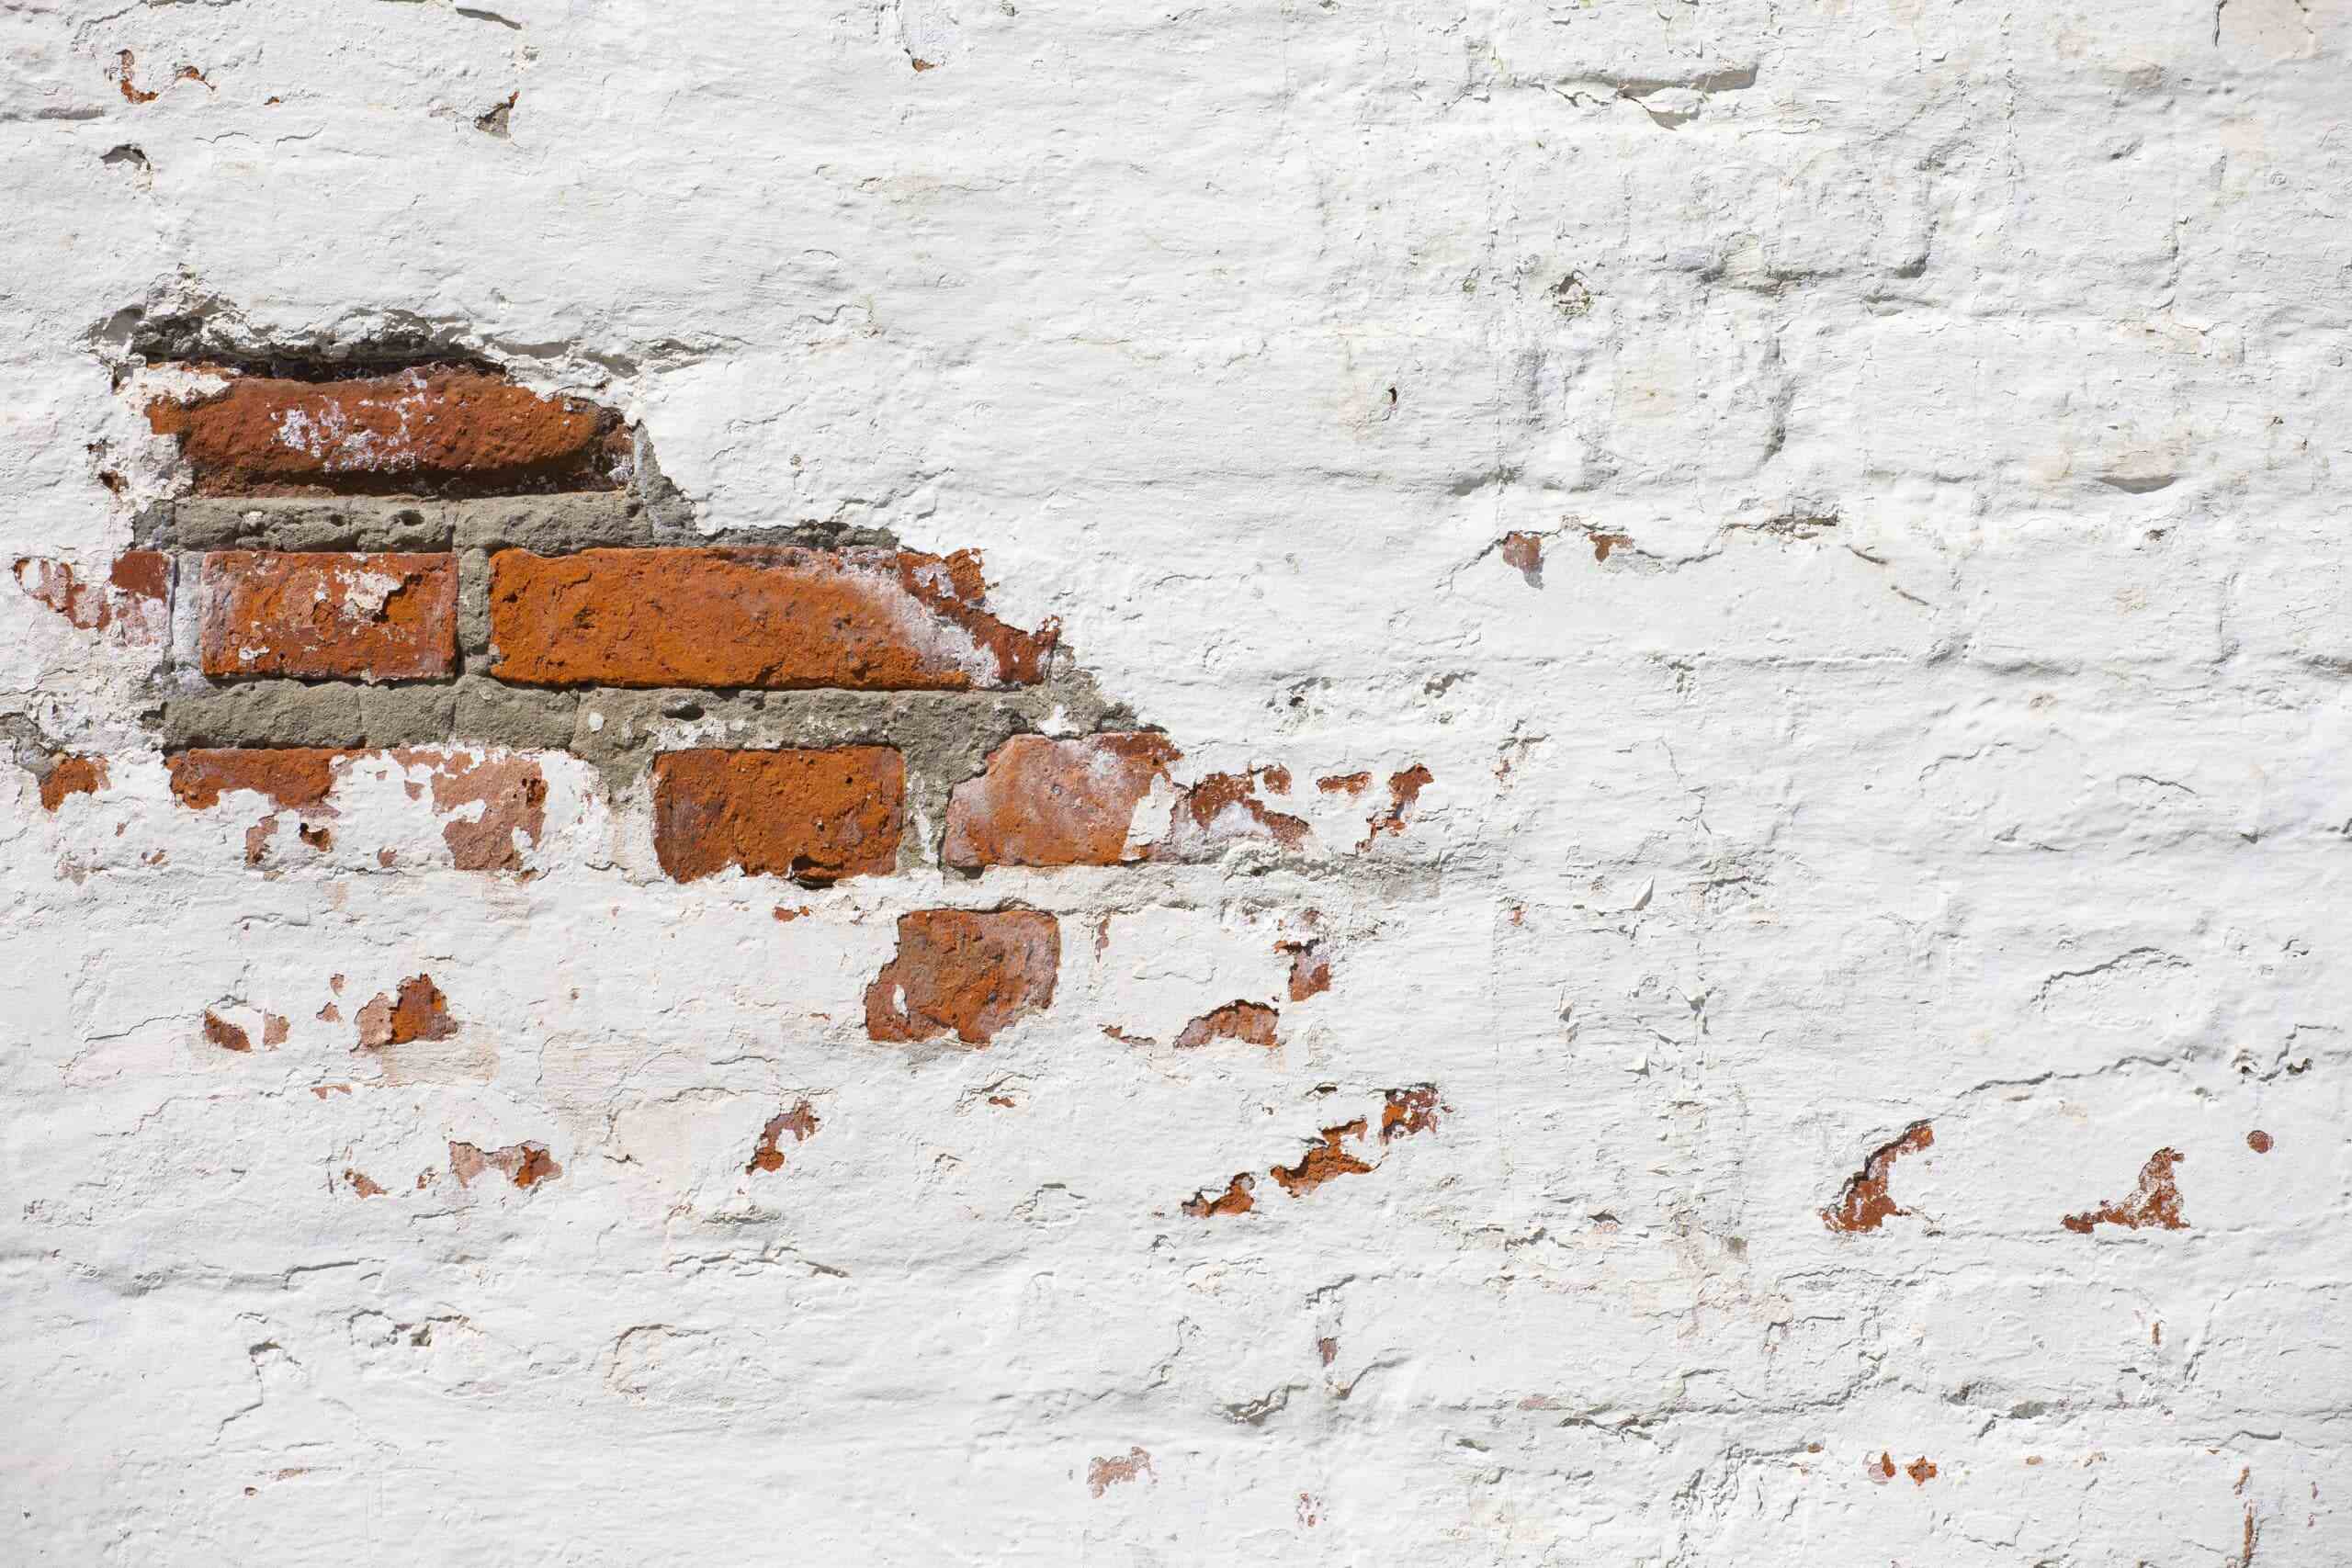
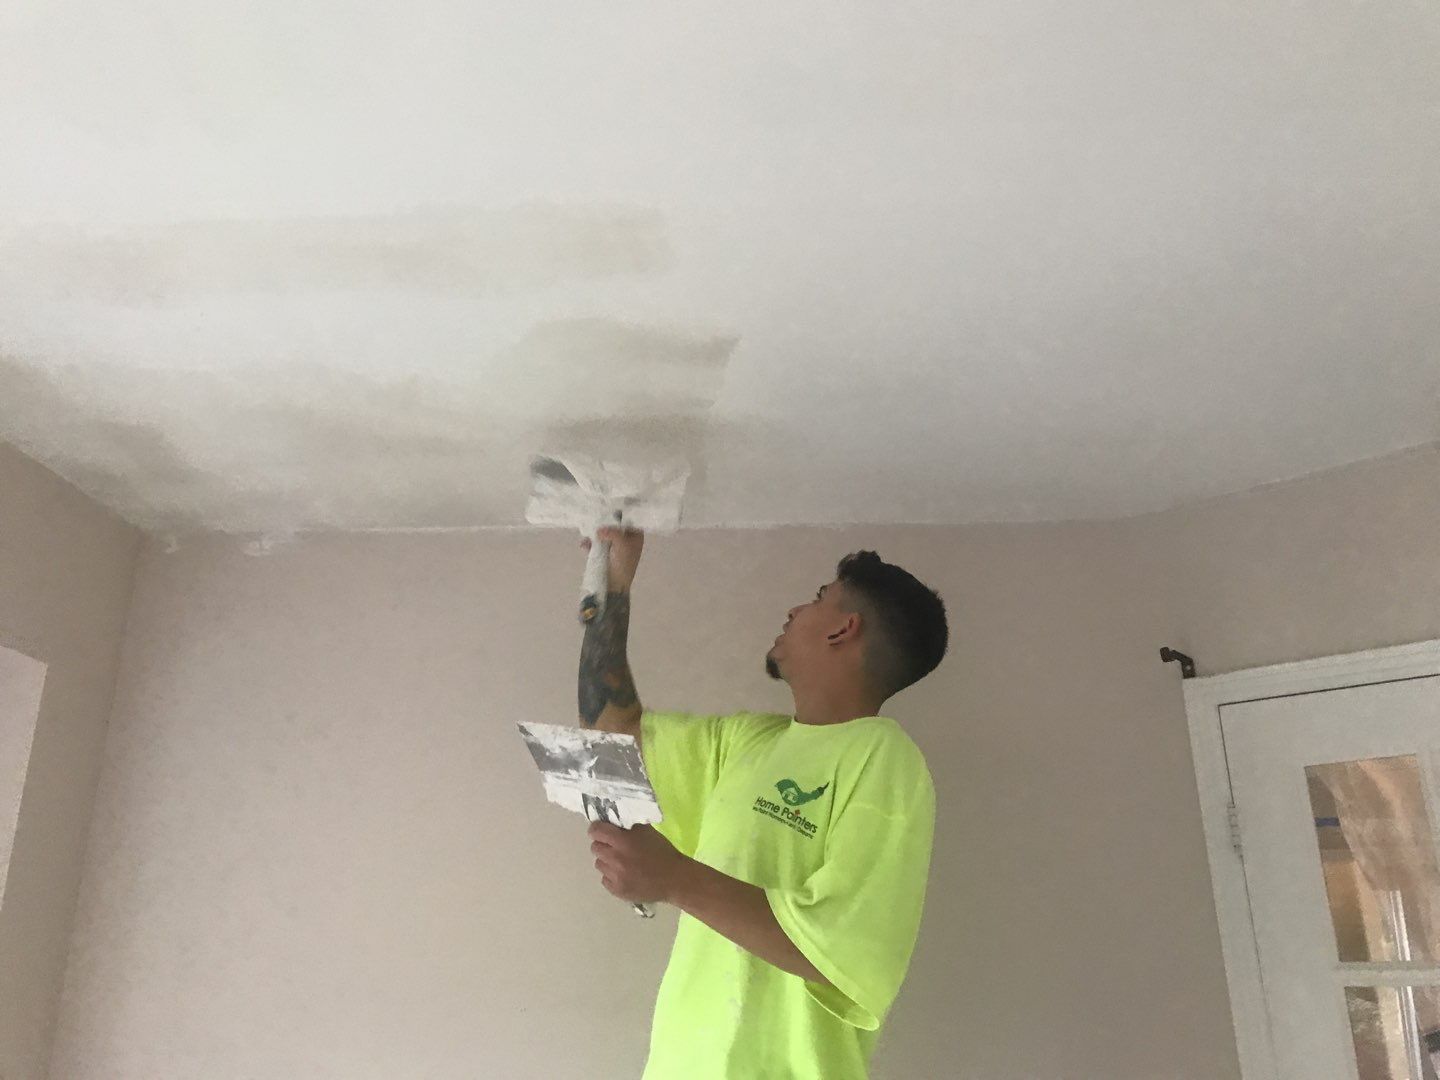
Patching and Repairing the Wall
After you have removed the stucco from your interior walls, it’s time to patch and repair any damage or imperfections that may have been left behind. This step is crucial to ensure a smooth and flawless wall surface before any further finishing or painting. Here’s how to patch and repair the wall:
- Clean the Wall: Start by thoroughly cleaning the wall surface to remove any debris, dust, or leftover stucco. Use a stiff-bristle brush or a vacuum cleaner to ensure the surface is free of loose particles.
- Fill in Cracks and Holes: Inspect the wall for any cracks or holes, and use a joint compound or spackling paste to fill them in. Use a putty knife to apply the compound and smooth it out. Allow it to dry according to the manufacturer’s instructions.
- Sand the Surface: Once the compound has dried, use sandpaper to smooth the patched areas and create an even surface. Start with a coarser grit sandpaper and gradually switch to finer grits for a smoother finish.
- Apply Texture: If you want to recreate the texture of the original stucco, use a stucco texture patch or a premixed texturing compound. Follow the manufacturer’s instructions to apply the texture to the repaired areas, matching the surrounding wall texture as closely as possible.
- Blend the Wall: Once the texture has dried, use a paint roller or brush to apply a primer to the entire wall. This will help create a uniform surface and prepare it for the final coat of paint.
- Paint the Wall: Finally, apply a coat of paint to the repaired wall surface. Choose a color that matches or complements the rest of the room. Use a roller or brush to evenly apply the paint, following the manufacturer’s instructions for drying times between coats.
Remember to allow sufficient drying time for the joint compound, texture, and paint as you progress through the patching and repairing process. This will ensure that each layer adheres correctly and creates a seamless finish.
If you’re unsure about patching and repairing the wall yourself, consider consulting a professional contractor or painter to ensure the best possible results.
Cleaning Up and Final Touches
Once the patching and repairing process is complete, it’s important to clean up the work area and add the final touches to your newly transformed wall. Here are some steps to follow:
- Remove Drop Cloths and Plastic Sheets: Carefully remove the drop cloths and plastic sheets from the floor and uncovered areas. Dispose of any debris or stucco remnants in an appropriate manner.
- Clean Your Tools: Clean your tools, such as brushes, scrapers, and putty knives, thoroughly with water or the recommended cleaning solution. Let them air dry or store them in a safe place for future use.
- Inspect and Touch Up: Take a close look at the repaired wall surface and inspect for any imperfections or areas that require touch-ups. Use a small brush or roller to apply additional paint or texture as needed.
- Reinstall Fixtures and Furniture: Once the paint and repairs are fully dry, you can reinstall any fixtures or furniture that you had removed or protected during the stucco removal process.
- Enjoy Your Newly Refreshed Wall: Take a moment to step back and admire your hard work. You’ve successfully removed stucco from your interior walls and transformed them into a smooth and fresh canvas for your home decor.
Congratulations on completing the process of removing stucco and restoring your walls to their former glory!
Cleaning Up and Final Touches
Once the patching and repairing process is complete, it’s important to clean up the work area and add the final touches to your newly transformed wall. Here are some steps to follow:
- Remove Drop Cloths and Plastic Sheets: Carefully remove the drop cloths and plastic sheets from the floor and uncovered areas. Dispose of any debris or stucco remnants in an appropriate manner.
- Clean Your Tools: Clean your tools, such as brushes, scrapers, and putty knives, thoroughly with water or the recommended cleaning solution. Let them air dry or store them in a safe place for future use.
- Inspect and Touch Up: Take a close look at the repaired wall surface and inspect for any imperfections or areas that require touch-ups. Use a small brush or roller to apply additional paint or texture as needed.
- Reinstall Fixtures and Furniture: Once the paint and repairs are fully dry, you can reinstall any fixtures or furniture that you had removed or protected during the stucco removal process.
- Clean the Surrounding Area: After the stucco removal and wall repair, it’s common for debris and dust to accumulate in the surrounding area. Vacuum or sweep the floor, wipe down surfaces, and clean any nearby furniture or fixtures that may have been affected by the project.
- Enjoy Your Newly Refreshed Wall: Take a moment to step back and admire your hard work. You’ve successfully removed stucco from your interior walls and transformed them into a smooth and fresh canvas for your home decor.
As you complete your cleanup and final touches, remember to take proper care of your tools and dispose of any waste materials responsibly. Take pride in the transformation you’ve accomplished, and enjoy the renewed beauty of your interior walls.
By following these steps, you have successfully removed stucco from your interior walls, repaired any damage, and completed the necessary cleaning and final touches. Your efforts have resulted in a refreshed and renewed space that you can now enjoy for years to come.
Conclusion
Removing stucco from interior walls can be a challenging and time-consuming process, but with the right tools, techniques, and patience, it is achievable. Throughout this guide, we have provided you with a comprehensive step-by-step process to successfully remove stucco from your walls and restore them to a smooth and beautiful finish.
We started by discussing the tools and materials you will need for the project, emphasizing the importance of protective gear and proper ventilation. Next, we covered the crucial step of preparing the work area to ensure a safe and clean environment. We then guided you through the process of testing the stucco, helping you determine the best approach for removal based on its condition and adherence.
With the necessary preparations complete, we delved into the various methods of removing stucco, including scraping, chiseling, wet removal, and power sanding. We highlighted the importance of working carefully to avoid damage and provided tips for taking breaks and maintaining safety throughout the process.
After the stucco was successfully removed, we directed you on how to patch and repair the wall, filling in cracks and holes, sanding the surface, applying texture if desired, and finally, painting to complete the restoration process.
Lastly, we discussed the significance of cleaning up the work area, finalizing any touch-ups, and taking pride in your newly refreshed wall.
Overall, removing stucco from your interior walls requires careful planning, preparation, and execution. It is a labor-intensive process, but the results are well worth the effort. Whether you’re aiming for a smooth wall finish, preparing for a renovation, or addressing damage underneath the stucco, following the steps outlined in this guide will help you achieve your desired outcome.
Remember to always prioritize safety, listen to your wall’s condition during testing, and take breaks when needed. When in doubt, consulting with professionals or seeking guidance from experts can provide valuable insights and ensure the success of your project.
Now that you’re equipped with the knowledge and steps needed to remove stucco from interior walls, you can confidently tackle this task and transform your space into a fresh, updated environment that reflects your personal style and preferences.
Now that you've mastered removing stucco, why not tackle more home improvement tasks? Our guide on DIY home projects offers practical advice for anyone eager to take on new challenges around your house. Whether you're painting, building, or renovating, there's something for every skill level. Also, dealing with the aftermath of any renovation involves handling leftover materials. Our detailed overview on construction debris helps you categorize and dispose of waste correctly, ensuring a clean and safe environment. Both articles provide valuable insights to further your handywork efficiently!
Frequently Asked Questions about How To Remove Stucco From Interior Walls
Was this page helpful?
At Storables.com, we guarantee accurate and reliable information. Our content, validated by Expert Board Contributors, is crafted following stringent Editorial Policies. We're committed to providing you with well-researched, expert-backed insights for all your informational needs.

0 thoughts on “How To Remove Stucco From Interior Walls”