
Articles
How To Prepare Interior Walls For Painting
Modified: October 20, 2024
Learn how to prepare your interior walls for painting in this helpful articles. Follow these steps to ensure a smooth and professional finish for your next home improvement project.
(Many of the links in this article redirect to a specific reviewed product. Your purchase of these products through affiliate links helps to generate commission for Storables.com, at no extra cost. Learn more)
Introduction
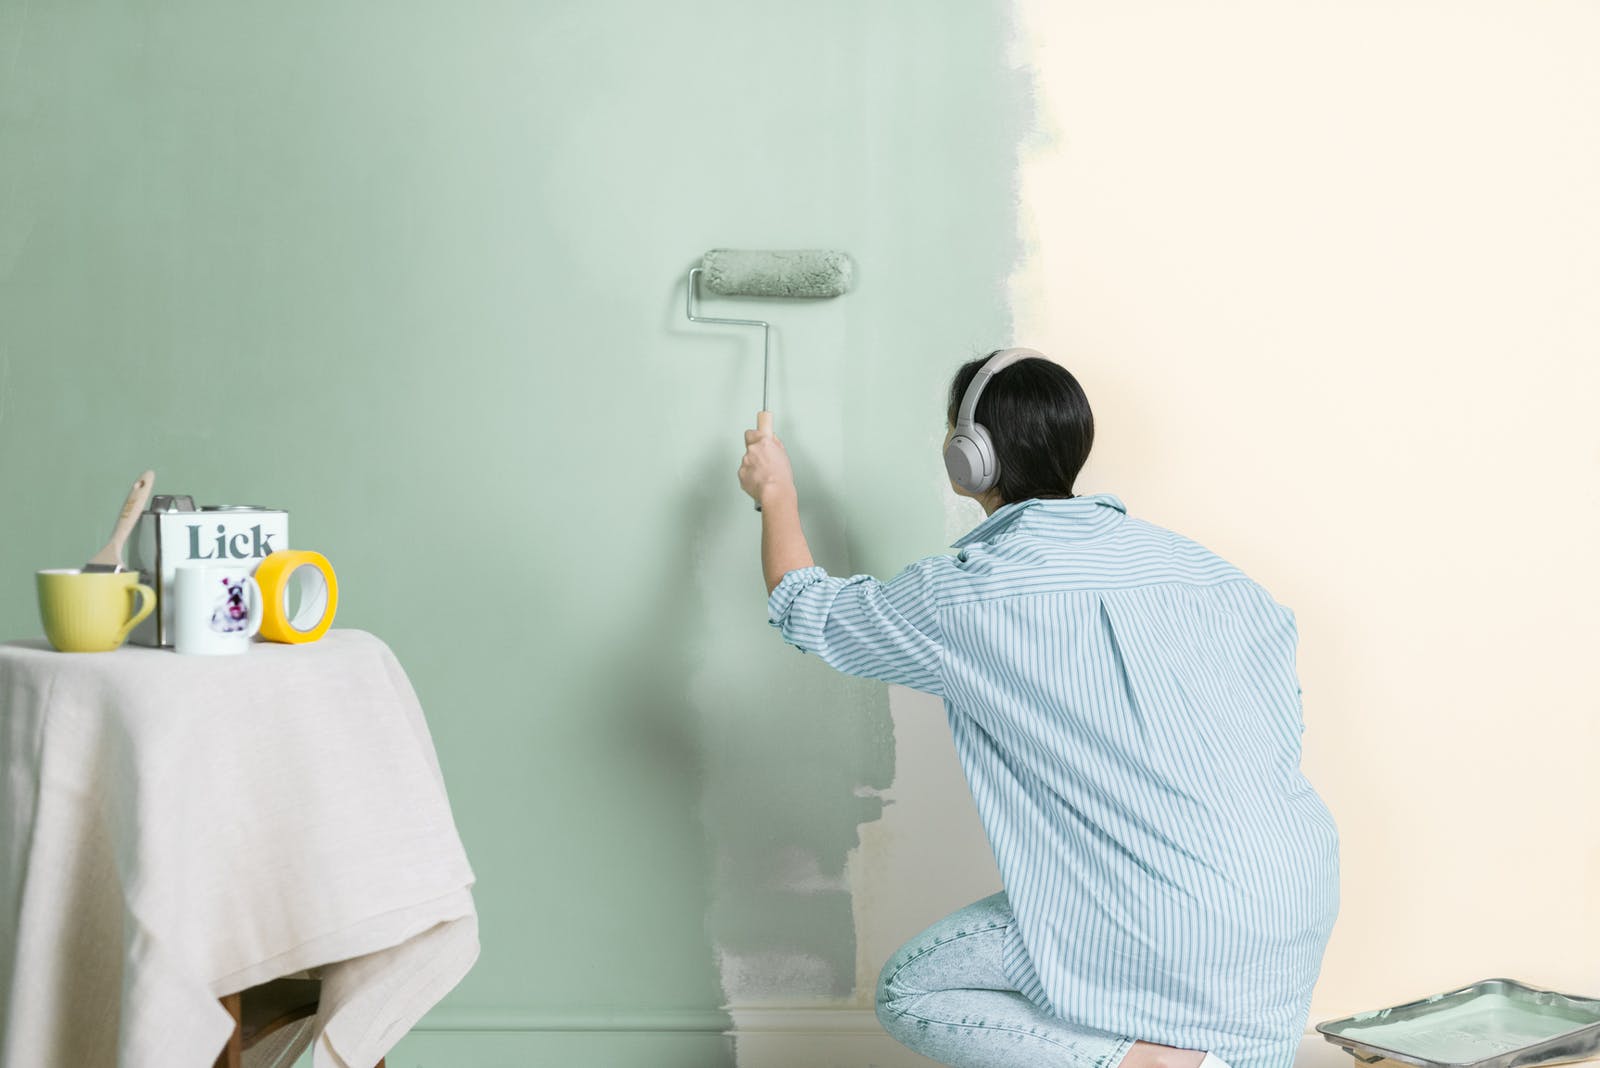
Painting the interior walls of your home is a great way to refresh the look and feel of any space. Whether you’re looking to update a room with a new color or you’re preparing for a full-on makeover, proper preparation is key to achieving a professional-looking finish. In this article, we will guide you through the essential steps to prepare your interior walls for painting.
Before diving into the actual painting process, it’s important to spend some time preparing your walls. This will ensure that the paint adheres smoothly and evenly, resulting in a flawless and long-lasting finish. Proper preparation involves clearing the room, cleaning the walls, patching any holes or imperfections, sanding the walls, priming them, and protecting the floors and furniture.
By following these steps, you’ll be able to create a clean and smooth canvas that will allow the new paint to shine. So let’s get started with the first step: clearing the room.
Key Takeaways:
- Properly preparing interior walls for painting involves clearing the room, cleaning the walls, patching imperfections, sanding, priming, and protecting floors and furniture. This ensures a flawless and long-lasting finish.
- Taking the time to clear the room, clean, patch, sand, prime, and protect surfaces before painting interior walls is essential for achieving a professional-looking and durable finish.
Read more: How To Prepare Exterior Walls For Painting
Clearing the Room
Before you begin preparing your interior walls for painting, it’s important to clear the room of any furniture, artwork, and other items that may obstruct your work. This will give you ample space to move around and ensure that no accidental paint splatters damage your belongings.
Start by moving all the furniture to the center of the room and covering it with plastic sheets or drop cloths to protect it from dust and paint. If you have large pieces of furniture that cannot be moved, such as built-in shelving or heavy cabinets, cover them securely with plastic as well.
Remove any wall hangings, such as artwork or mirrors, and store them in a safe place. Take down curtains and blinds, and if possible, remove any wall-mounted fixtures or hardware.
As you clear the room, take the opportunity to inspect the walls for any signs of damage or imperfections that need to be addressed before painting. Look for cracks, holes, or loose paint. Make a note of any areas that require patching or repair, as we will address them in the next step.
Once the room is cleared and the walls have been inspected, you’re ready to move on to the next step: cleaning the walls.
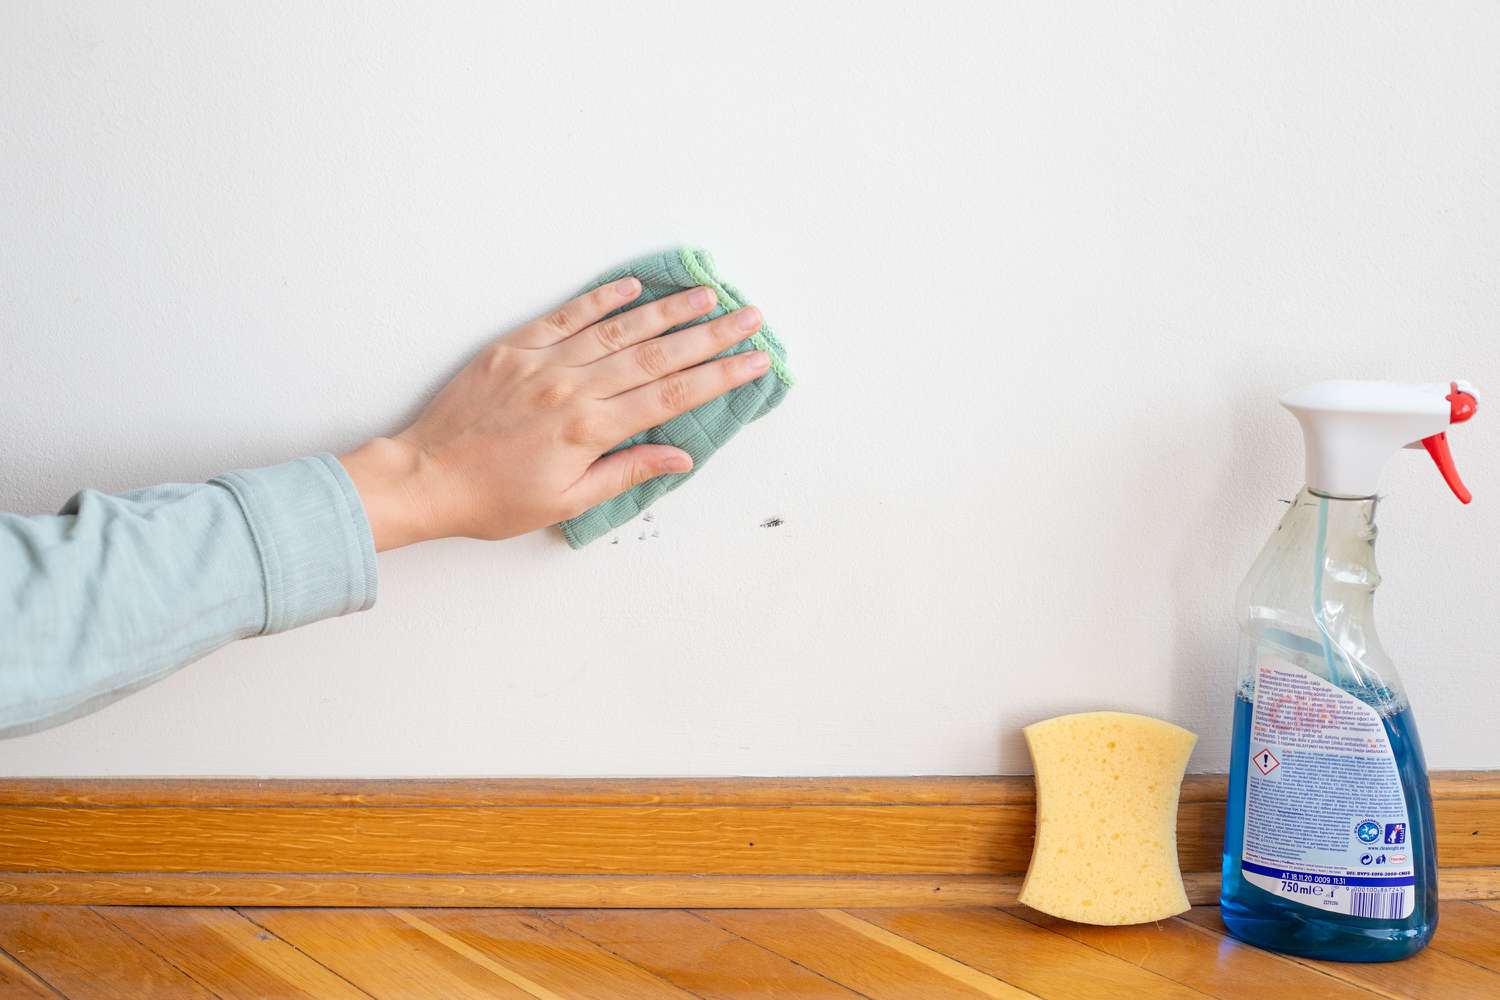
Cleaning the Walls
Before you can start painting your interior walls, it’s crucial to clean them thoroughly. Over time, walls can accumulate dust, dirt, grease, and other contaminants, which can interfere with the adhesion of the paint. Cleaning the walls will ensure that the paint goes on smoothly and adheres properly.
Begin by removing any loose dust or dirt from the walls using a dry cloth or a duster. Starting from the top of the wall and working your way down, gently wipe the surface to remove any surface-level grime or cobwebs.
Next, fill a bucket with warm water and add a mild detergent. Use a sponge or soft cloth to gently scrub the walls, focusing on any particularly dirty areas or stains. Avoid using harsh chemicals or abrasive cleaners, as they can damage the paint or the underlying surface.
If you come across stubborn stains that won’t come off with the detergent solution, you can try mixing a paste of baking soda and water. Apply the paste to the stain and gently scrub with a soft brush or sponge. Rinse the area thoroughly with clean water to remove any residue.
After cleaning, it’s important to allow the walls to dry completely before moving on to the next step. This ensures that the paint will adhere properly and that you won’t have any issues with moisture seeping into the paint and causing damage.
Once your walls are clean and dry, it’s time to assess the surface for any holes, cracks, or imperfections that need to be patched. This brings us to the next step: patching holes and imperfections.
Patching Holes and Imperfections
Before you can achieve a flawless paint finish, it’s important to address any holes, cracks, or imperfections on your interior walls. These blemishes can be caused by nails, screws, previous picture hangers, or general wear and tear. Patching these areas will create a smooth and even surface for the paint to adhere to.
Start by examining the walls and identifying any visible holes or cracks. Use a putty knife or a scraper to remove any loose or crumbling plaster or paint around the damaged area. This will ensure that the patch adheres properly and prevents further cracking once the paint is applied.
Next, prepare your patching material. For small holes and cracks, you can use a lightweight spackle or joint compound. Follow the manufacturer’s instructions for mixing and applying the product. Use a putty knife to spread the spackle or joint compound evenly over the damaged area, filling it completely.
For larger holes or areas of extensive damage, you may need to use a patching compound or drywall compound. Cut a piece of self-adhesive mesh tape slightly larger than the hole and place it over the damaged area. Apply the compound over the tape, smoothing it out with a putty knife. Feather the edges of the compound to blend it seamlessly into the surrounding wall.
Once the patching material is applied, allow it to dry completely according to the manufacturer’s instructions. This can take anywhere from a few hours to overnight. Once dry, lightly sand the patched area using fine-grit sandpaper to achieve a smooth finish.
After patching and sanding, inspect the walls again to ensure that all imperfections have been addressed. If needed, repeat the patching process and sanding until the walls are smooth and even.
Now that you’ve patched any holes and imperfections, it’s time to move on to the next step: sanding the walls.
Before painting interior walls, make sure to clean the surface thoroughly to remove any dirt, dust, and grease. Repair any cracks or holes with spackle and sand the walls smooth for a flawless finish.
Sanding the Walls
Sanding the walls is an essential step in preparing your interior walls for painting. It helps create a smooth and even surface by removing any rough patches, ridges, or imperfections left behind after patching and repairs. Sanding also helps to improve the adhesion of the paint and ensures a professional-looking finish.
Before you begin sanding, make sure to protect yourself by wearing a dust mask or respirator, as sanding can generate fine dust particles that may be harmful if inhaled. Additionally, cover any furniture or items in the room with plastic sheets or drop cloths to prevent them from becoming covered in dust.
Start by using 120-grit sandpaper or a sanding block to gently sand the patched areas and any other rough spots on the walls. Use smooth, even strokes and sand in the direction of the grain or along any existing texture on the wall, being careful not to apply too much pressure. The goal is to create a smooth and even surface without damaging the underlying wall or removing too much paint.
After sanding the patched areas, continue sanding the rest of the walls, paying attention to any areas where the paint may be flaking or peeling. This will help ensure that the new paint adheres properly and doesn’t have any inconsistencies in the finished appearance.
Once you’ve completed sanding, use a damp cloth or sponge to remove the dust from the walls. This will help to ensure a clean surface for painting without any residue from the sanding process.
After sanding, inspect the walls again to ensure that they are smooth and free of any imperfections. If you notice any remaining rough spots or unevenness, repeat the sanding process in those areas until the walls are completely smooth.
Now that the walls are sanded and smooth, it’s time to move on to the next step: priming the walls.
Read more: How To Spray Paint Interior Walls
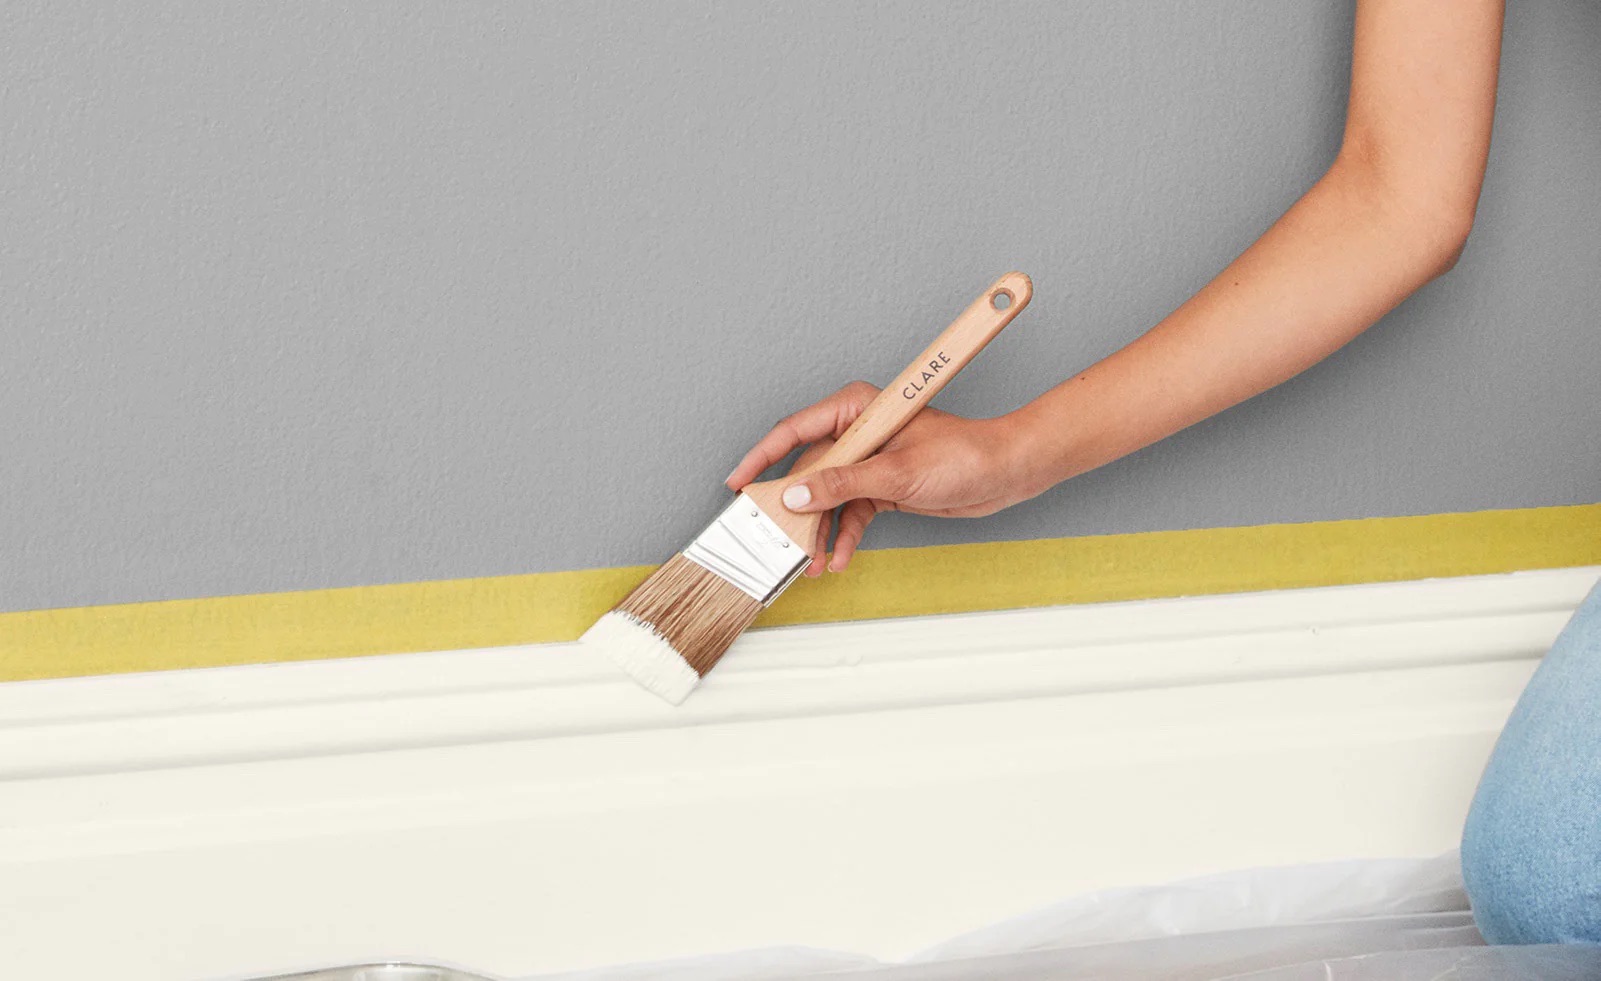
Priming the Walls
Priming the walls is a crucial step in preparing your interior walls for painting. Primer creates a smooth and even surface, helps the paint adhere better, and improves the overall durability and longevity of your paint job.
Before applying the primer, make sure the walls are clean, dry, and free from any dust or debris left over from sanding. If needed, wipe the walls with a clean, damp cloth to remove any remaining dust.
Choose a high-quality primer that is suitable for the type of paint you will be applying. There are primers specifically designed for different surfaces, such as drywall, wood, or previously painted walls. Follow the manufacturer’s instructions for mixing and applying the primer.
Start by cutting in the edges of the walls with a brush, applying the primer in a smooth and even coat along the corners, edges, and around any trim or moldings. Then, use a roller to apply the primer to the larger areas of the walls. Work in small sections, applying the primer in a consistent and even manner.
Make sure to apply the primer evenly and avoid leaving any streaks or drips. If needed, use a paintbrush or roller brush to correct any imperfections while the primer is still wet.
Allow the primer to dry completely, following the manufacturer’s recommended drying time. In most cases, this will take a few hours. Once the primer is dry to the touch, inspect the walls for any areas that may need additional priming. Apply a second coat of primer if necessary, focusing on any spots that are still showing through or areas where the previous color is still visible.
Priming your walls before painting not only ensures a better finish but also allows you to use less paint and achieve more accurate color representation. It creates a solid base for the paint to adhere to, resulting in a more professional-looking and long-lasting paint job.
With the walls properly primed, you’re ready for the next step: protecting the floors and furniture.
Protecting Floors and Furniture
When it comes to painting your interior walls, protecting your floors and furniture is essential to avoid any accidental spills or damage. Taking the time to properly cover and safeguard your surfaces will give you peace of mind throughout the painting process.
Start by covering the floors with drop cloths, plastic sheets, or a combination of both. Place them securely on the floor, ensuring that they extend beyond the edges of the walls to catch any drips or splatters. If you’re using plastic sheets, secure them in place with painter’s tape to prevent them from shifting or moving during painting.
For furniture that cannot be moved, such as large couches or heavy cabinets, cover them securely with plastic sheets, ensuring that the entire piece is fully protected. Use painter’s tape to secure the plastic sheets and prevent them from slipping or sliding.
If you have smaller furniture items that can be easily moved, consider removing them from the room altogether. This will provide you with more space to work and eliminate the risk of accidentally staining or damaging them while painting.
Additionally, cover any remaining items in the room, such as tables, shelves, or home decor, with plastic sheets or drop cloths. This will protect them from dust, paint splatters, or accidental knocks during the painting process.
While painting, be mindful of your surroundings and take care to avoid any accidental spills or splatters. Use a drop cloth or piece of cardboard underneath your paint tray or bucket to catch any drips. Keep a damp cloth or paper towels nearby to quickly wipe up any spills or smudges.
By taking the necessary precautions to protect your floors and furniture, you can focus on the task at hand without worrying about any potential mess or damage.
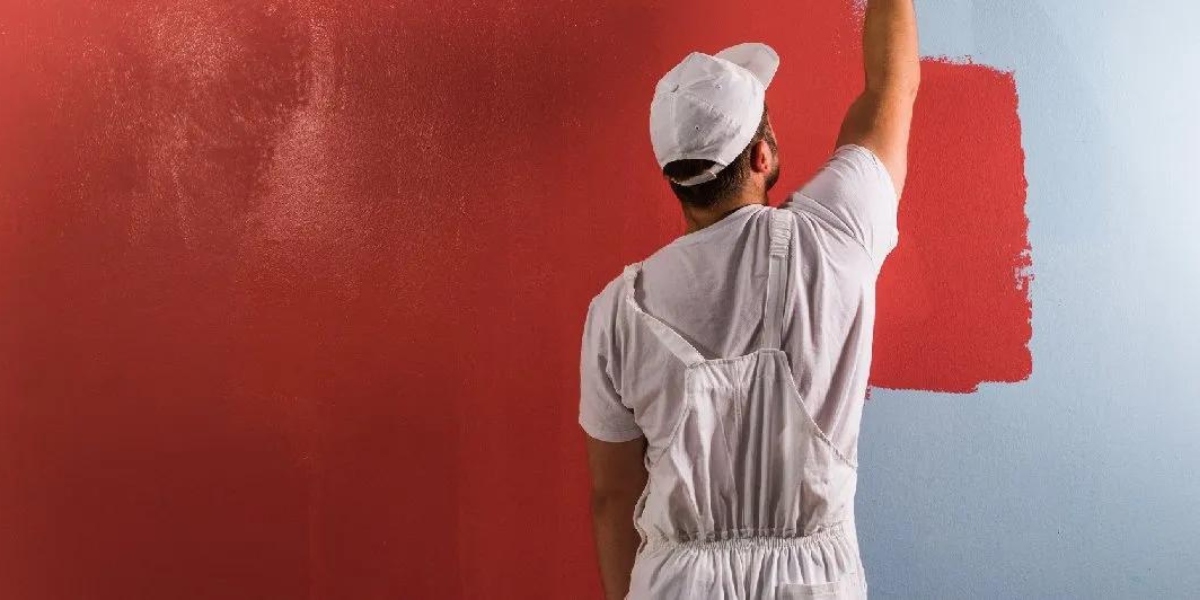
With your floors and furniture safely covered, you’re now ready to begin the painting process. Take your time, follow the manufacturer’s instructions for your chosen paint, and enjoy transforming your space with a fresh new look!
Conclusion
Preparing your interior walls for painting is a vital step in achieving a professional-looking and long-lasting finish. By following the steps outlined in this article, you can ensure that your paint adheres smoothly and evenly, resulting in a beautiful transformation of your space.
Starting with clearing the room and protecting your floors and furniture, you create a safe and spacious environment for your painting project. Cleaning the walls thoroughly removes any dirt or contaminants that may hinder paint adhesion, while patching and sanding address any holes, cracks, or imperfections for a smooth surface.
Priming the walls is crucial for ensuring proper paint adhesion and color accuracy, while also minimizing the amount of paint needed. Finally, taking the time to protect your floors and furniture with drop cloths or plastic sheets safeguards them from accidental spills or drips.
As you embark on your interior painting journey, remember to choose the right tools and high-quality materials for the best results. Take your time, follow the manufacturer’s instructions, and enjoy the process of giving your space a fresh new look.
By investing time and effort in properly preparing your interior walls for painting, you can achieve a stunning finish that will leave you with a sense of satisfaction and pride in your home.
So, gather your supplies, put on your painting clothes, and get ready to transform your interior walls into a canvas of beauty and style.
Frequently Asked Questions about How To Prepare Interior Walls For Painting
Was this page helpful?
At Storables.com, we guarantee accurate and reliable information. Our content, validated by Expert Board Contributors, is crafted following stringent Editorial Policies. We're committed to providing you with well-researched, expert-backed insights for all your informational needs.


0 thoughts on “How To Prepare Interior Walls For Painting”