Articles
How To Clean Interior Walls
Modified: February 24, 2024
Learn the best techniques and products for cleaning interior walls in this comprehensive guide. Find step-by-step articles to help you achieve a spotless and fresh-looking home.
(Many of the links in this article redirect to a specific reviewed product. Your purchase of these products through affiliate links helps to generate commission for Storables.com, at no extra cost. Learn more)
Introduction
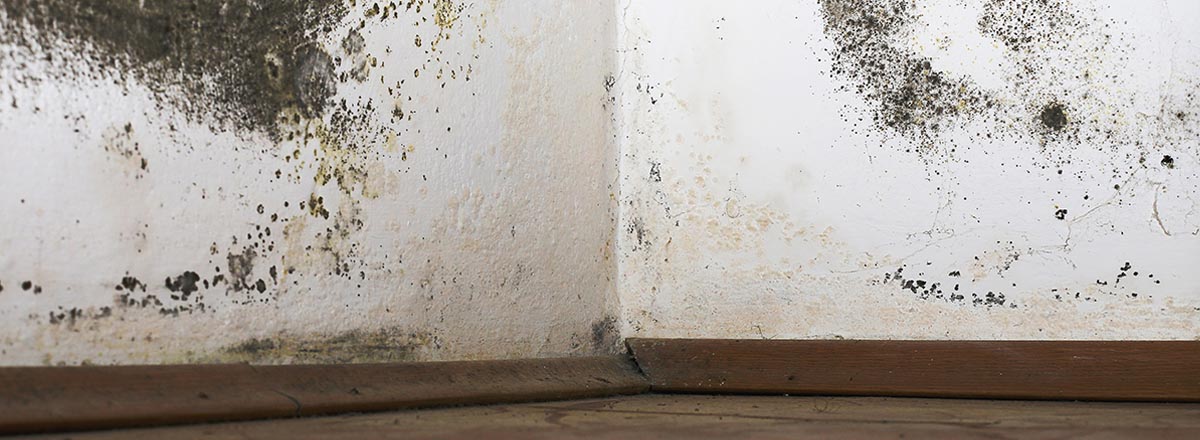
When it comes to keeping your home clean and well-maintained, it’s easy to focus on the floors, countertops, and furniture. However, one often overlooked area that accumulates dust, dirt, and stains over time is the interior walls of your home. Regularly cleaning your walls not only improves the overall aesthetic appeal of your space but also helps to maintain a hygienic environment.
While wall cleaning may seem like a daunting task, it can be made much easier with the right approach and supplies. In this article, we will guide you through the step-by-step process of cleaning your interior walls effectively, depending on their condition and materials. Whether you have painted walls, wallpapered walls, textured walls, wood-paneled walls, or even dry-erase or chalkboard walls, we have you covered.
Before diving into the specifics of cleaning each type of wall, it is essential to gather the necessary supplies. This will help ensure you have everything you need within reach throughout the process. Let’s move on to the next section to discover and gather your cleaning supplies.
Key Takeaways:
- Keep your interior walls clean and hygienic by following specific cleaning techniques for different wall types, from painted and wallpapered walls to textured and wood-paneled walls. Gather supplies, prepare the area, and add finishing touches for a fresh and inviting living space.
- Maintain the beauty of your home by dusting, removing stains, and applying gentle cleaning methods to various wall surfaces. Remember to test cleaning products, refresh paint or wallpaper, and declutter for a visually appealing and well-maintained environment.
Read more: How To Clean Interior Brick Walls
Gather Supplies
Before you begin cleaning your interior walls, it’s important to gather all the necessary supplies. Having everything ready in advance will save you time and prevent interruptions during the cleaning process. Here’s a list of the essential supplies you’ll need:
- Microfiber cloths or dusters: These will help remove dust and cobwebs from the walls.
- All-purpose cleaner: Choose a mild, non-abrasive cleaner that is safe to use on your specific wall type.
- Bucket: A bucket will be useful for mixing your cleaning solution and dipping your cloth or sponge.
- Sponges or cleaning pads: Use these to scrub away stains and spots on the walls.
- Diluted vinegar solution: Vinegar is a natural and effective cleaner that can be used on various wall surfaces.
- Soft-bristle brush: This will come in handy for cleaning textured walls or reaching tight corners.
- Rubber gloves: Protect your hands from harsh chemicals and potential skin irritations.
- Protective goggles: Safeguard your eyes from any cleaning solution splashes or debris.
- Drop cloths or plastic sheets: Cover your furniture, floors, and any other items nearby to protect them from splatters or drips.
- Step ladder or extension pole: Depending on the height of your walls, you may need a step ladder or extension pole to reach high areas.
Once you have gathered all the necessary supplies, you’re ready to move on to the next step – preparing the area for wall cleaning. Ensuring proper preparation will help to protect your surroundings and make the cleaning process more efficient. Let’s dive into the details in the following section.
Prepare the Area
Before you start cleaning your interior walls, it’s important to prepare the surrounding area. This will help protect your floors, furniture, and other items from any potential damage or mess during the cleaning process. Here’s how you can prepare the area:
- Remove any artwork, pictures, or decorations hanging on the walls. Store them in a safe place away from the cleaning area.
- Clear the room of any furniture or objects that may obstruct your access to the walls. If it’s not possible to move certain items, cover them with drop cloths or plastic sheets to protect them from splatters or drips.
- Place drop cloths or plastic sheets on the floor beneath the walls you’ll be cleaning. This will catch any drips or spills and prevent them from damaging the flooring.
- Open windows or doors to allow for proper ventilation during the cleaning process. This will help to disperse any fumes from cleaning products and promote faster drying of the walls.
- If you’re using a ladder or extension pole to reach high areas, make sure it is stable and secure before climbing. Follow proper ladder safety guidelines to prevent any accidents or injuries.
By taking the time to prepare the area before cleaning, you’ll create a safe and organized space for wall cleaning. Now, let’s move on to the next step – dusting the walls to remove any surface debris and cobwebs.
Dusting the Walls
Before diving into the actual cleaning process, it’s important to remove any surface dust, dirt, and cobwebs from your interior walls. Dusting will prevent these particles from spreading and smearing when you start applying cleaning solutions. Here’s how to effectively dust your walls:
- Start by equipping yourself with a microfiber cloth or a duster. These tools are ideal for capturing dust and preventing it from scattering in the air.
- Begin at the top corner of the room and work your way down, moving horizontally or vertically. This will help ensure you cover the entire surface of the walls.
- Use long, sweeping motions to gently wipe the walls, applying light pressure. Make sure to reach into corners and along baseboards where dust tends to accumulate.
- If you encounter cobwebs, gently brush them away using a broom or a long-handled duster. Be careful not to damage any delicate paint or wallpaper.
- Continue dusting until you’ve covered the entire surface of the walls. If your cloth or duster becomes too dirty, rinse it out or replace it with a clean one.
By dusting the walls thoroughly, you’ll remove the initial layer of dirt and dust, making the cleaning process more effective. Once you’ve finished dusting, it’s time to address any stains or spots that may be marring your walls. We will cover methods for removing various types of stains in the next section.
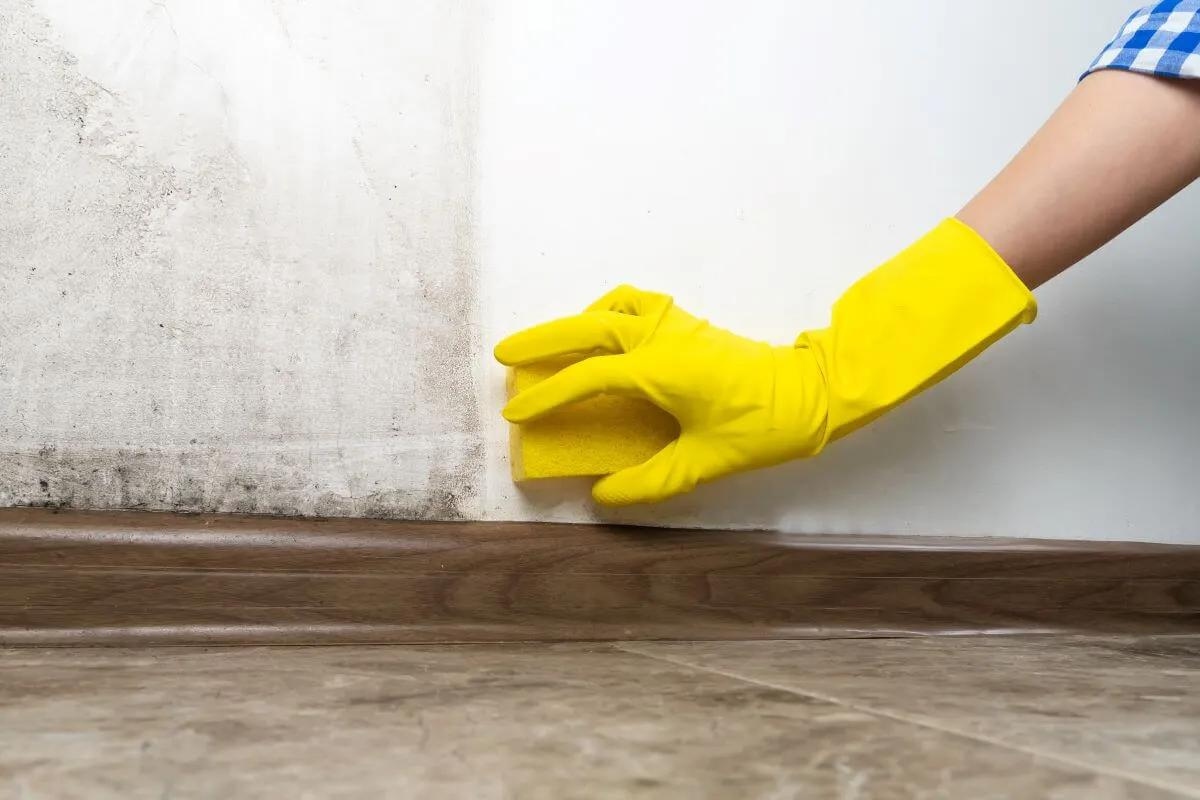
Removing Stains and Spots
Over time, your interior walls may accumulate stains and spots due to various factors such as spills, fingerprints, or marks from everyday life. Removing these blemishes will help restore the pristine appearance of your walls. The methods for removing stains and spots may vary depending on the type of wall surface you have. Let’s explore some common techniques:
Cleaning Painted Walls:
- For light stains, start by wiping the area with a mild all-purpose cleaner using a sponge or cloth.
- If the stain persists, create a paste by mixing baking soda with water. Gently apply the paste to the stain, allowing it to sit for a few minutes before wiping it off with a damp cloth.
- For stubborn stains, you can try using a magic eraser or a specialized wall cleaning product. Test it in an inconspicuous area first to ensure it doesn’t damage the paint.
Cleaning Wallpapered Walls:
- Before attempting to remove stains from wallpaper, check the manufacturer’s guidelines for cleaning instructions.
- For light stains on washable wallpaper, dampen a sponge or cloth with a mild detergent solution and gently blot the stain. Avoid rubbing, as it can cause damage.
- If the stain persists, you may need to use a wallpaper cleaner specifically designed for your type of wallpaper. Follow the instructions provided on the product.
- For non-washable wallpaper or delicate paper, it’s best to consult a professional to avoid causing further damage.
Cleaning Textured Walls:
- For textured walls, start by vacuuming the surface with a soft-bristle brush attachment to remove loose dirt and debris.
- Dampen a soft cloth or sponge with a diluted vinegar solution and gently scrub the stained area. Rinse the cloth or sponge as needed and continue until the stain is removed.
- For tougher stains, you can use a soft-bristle brush dipped in the vinegar solution to scrub the area more vigorously. Be careful not to damage the texture.
Cleaning Wood Paneled Walls:
- For painted wood paneling, follow the cleaning instructions for painted walls outlined earlier.
- If your wood paneled walls have a clear or stained finish, use a wood cleaner or a mixture of mild detergent and water. Wipe the stained area gently with a cloth or sponge, following the grain of the wood.
- After cleaning, it’s important to dry the wood paneling thoroughly to prevent warping or damage.
Read more: How To Soundproof Interior Walls
Cleaning Dry-Erase or Chalkboard Walls:
- For dry-erase walls, use a whiteboard cleaner or a solution of water and mild dish soap. Apply it to a cloth or sponge and wipe the surface clean. Rinse and dry with a clean cloth.
- For chalkboard walls, use a damp cloth or sponge to remove any chalk residue. Follow up with a chalkboard cleaner or a mixture of vinegar and water. Wipe the surface clean and dry with a cloth.
By utilizing the appropriate cleaning methods for your specific wall surfaces, you can effectively remove stains and spots, restoring the beauty of your walls. Next, we will delve into the detailed steps for cleaning different types of walls, starting with painted walls.
Cleaning Painted Walls
Painted walls are a common feature in many homes. Over time, they can become dirty, stained, or marked, diminishing the overall appearance of your space. Here’s a step-by-step guide on how to effectively clean painted walls:
- Start by dusting the walls using a microfiber cloth or duster, as mentioned earlier. Removing surface dust and debris will make the cleaning process more effective.
- If you notice any stains or spots on the walls, try cleaning them with a mild all-purpose cleaner. Dilute the cleaner according to the instructions provided and apply it to a clean sponge or cloth.
- Gently rub the stained area using the sponge or cloth, applying light pressure. Be cautious not to scrub too hard, as it may damage the paint.
- If the stain persists, you can make a paste by mixing baking soda with water. Apply the paste to the stain and let it sit for a few minutes. Then, use a damp cloth to wipe away the paste.
- For stubborn stains, you may need to use a magic eraser or a specialized wall cleaning product. Test it in an inconspicuous area first to ensure it does not cause any damage to the paint.
- After spot-cleaning, it’s best to give the entire wall a gentle wipe-down. This will help maintain a consistent appearance and remove any hidden dirt or grime.
- Prepare a bucket with clean water and a fresh sponge or cloth. Dip the sponge or cloth into the water and wring out the excess moisture.
- Starting from the top corner of the wall, work your way down in a horizontal or vertical motion. Use the damp sponge or cloth to wipe the entire surface of the wall, rinsing and wringing out the sponge or cloth as needed.
- Pay extra attention to areas that are prone to dirt or smudges, such as near light switches and doorknobs. Give these areas an extra wipe to ensure they are clean.
- After cleaning, allow the walls to air dry. Avoid using excessive water or leaving puddles on the walls, as it can damage the paint or cause watermarks.
By following these steps, you can effectively clean your painted walls and restore them to their original beauty. However, always remember to test any cleaning solution or product in a small, inconspicuous area before applying it to the entire wall to avoid any potential damage. Next, we will explore the specific steps for cleaning wallpapered walls.
Cleaning Wallpapered Walls
Wallpaper adds a touch of personality and style to any room. However, it can also accumulate dust, stains, or marks over time. Cleaning wallpapered walls requires a gentle approach to avoid causing damage. Here’s a step-by-step guide on how to effectively clean wallpapered walls:
- Begin by dusting the wallpapered walls using a microfiber cloth or duster. This will help remove loose dust and debris.
- Check the manufacturer’s guidelines or the wallpaper label for any specific cleaning instructions. Different types of wallpaper may have different requirements.
- If the wallpaper is washable, create a mild cleaning solution by mixing water with a small amount of mild detergent.
- Dip a sponge or cloth into the cleaning solution and gently wring out the excess moisture. Be careful not to make the wallpaper too wet, as it can cause damage.
- Starting from the top corner of the wall, work your way down in a horizontal or vertical motion. Use the damp sponge or cloth to gently wipe the wallpaper, being cautious not to rub too hard.
- Pay extra attention to any visible stains or spots, gently blotting them with the damp sponge or cloth. Avoid scrubbing or rubbing vigorously to prevent damage to the wallpaper.
- For stubborn stains, you can try using a specialized wallpaper cleaner. Apply it to a clean cloth and gently dab the stain. Always test the cleaner in an inconspicuous area first to ensure it doesn’t cause any discoloration or damage.
- Once you have cleaned the wallpaper, dampen a clean cloth or sponge with plain water and use it to remove any soap residue or cleaning solution from the walls.
- After cleaning, it’s essential to allow the wallpaper to air dry. Avoid using excessive water and ensure proper ventilation in the room to speed up the drying process.
- For non-washable or delicate wallpaper, it’s best to consult a professional wallpaper cleaner. They have the expertise to handle specialized cleaning methods without causing any damage.
By following these steps, you can effectively clean your wallpapered walls and restore their original beauty. Always remember to be gentle and avoid excessive moisture to prevent any damage to the wallpaper. Next, we will explore the specific steps for cleaning textured walls.
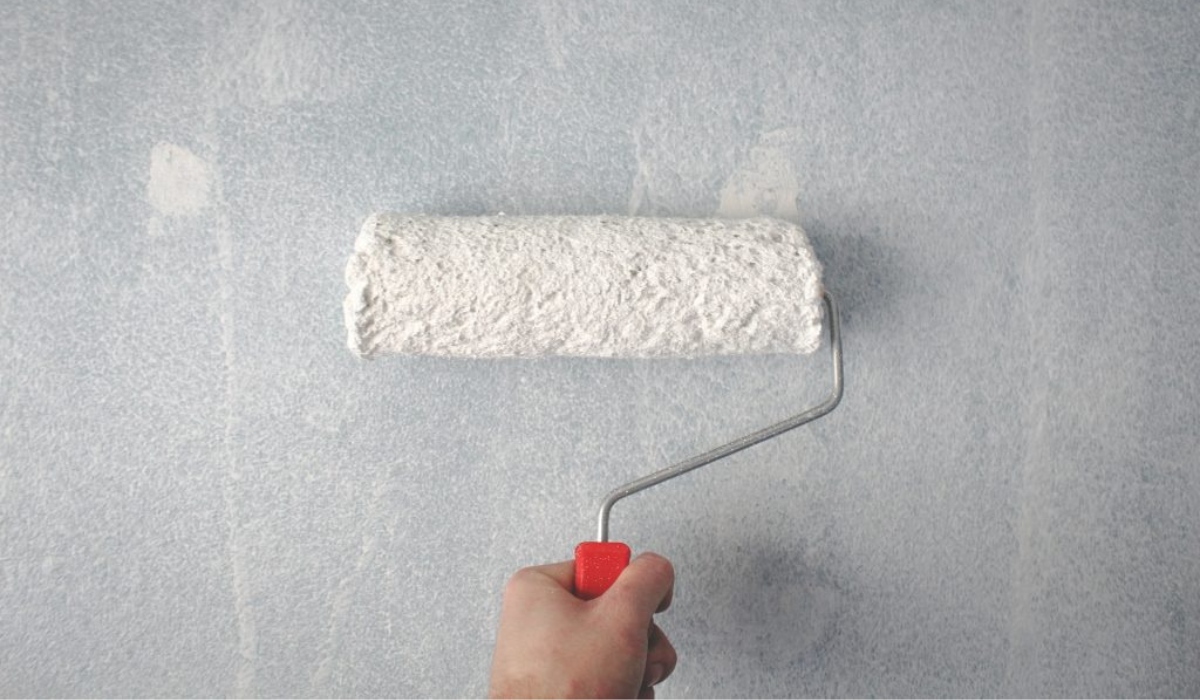
Cleaning Textured Walls
Textured walls add depth and visual interest to a room, but they can also collect dust and dirt in their crevices. Cleaning textured walls requires a bit of extra care to ensure that the texture remains intact. Here’s a step-by-step guide on how to effectively clean textured walls:
- Start by vacuuming the walls using a soft-bristle brush attachment. This will help remove loose dust and debris from the textured surface.
- Prepare a cleaning solution by diluting vinegar with water. The ratio should be 1 part vinegar to 3 parts water. Alternatively, you can use a mild all-purpose cleaner suitable for textured surfaces.
- Dip a soft cloth or sponge into the cleaning solution and gently wring out the excess liquid. It’s important not to saturate the cloth or sponge, as excessive moisture can damage the texture.
- Starting from the top corner of the wall, work your way down in a horizontal or vertical motion. Use the damp cloth or sponge to gently scrub the textured surface, paying attention to any visible dirt or stains.
- For tougher stains, you can use a soft-bristle brush dipped in the cleaning solution. Gently scrub the stained area, being careful not to scrub too hard and cause damage to the texture.
- Rinse the cloth or sponge frequently in clean water and wring out the excess moisture. This will help remove any dirt or cleaning solution residue from the textured walls.
- After cleaning, use a clean, dry cloth to blot the walls and remove any remaining moisture. This will prevent watermarks or streaks from forming as the walls dry.
- Ensure proper ventilation in the room to allow the textured walls to air dry completely. Avoid using fans or blow dryers directly on the walls, as it may cause the texture to loosen or become damaged.
- If the texture is particularly delicate or prone to damage, it’s best to test the cleaning solution in a small, inconspicuous area first to ensure it doesn’t cause any harm to the walls.
By following these steps, you can effectively clean your textured walls and maintain their unique appearance. Remember to be gentle and avoid excessive moisture to preserve the integrity of the texture. Next, we will explore the specific steps for cleaning wood-paneled walls.
Read more: How To Build Interior Walls
Cleaning Wood Paneled Walls
Wood-paneled walls add warmth and character to any space, but they can accumulate dust, dirt, and grime over time. Cleaning wood-paneled walls requires a gentle approach to preserve the natural beauty of the wood. Here’s a step-by-step guide on how to effectively clean wood-paneled walls:
- Start by dusting the wood-paneled walls using a microfiber cloth or duster. This will help remove loose dust and debris from the surface of the wood.
- If the wood paneling has a clear or stained finish, create a mild cleaning solution by mixing a small amount of mild detergent with water.
- Dampen a soft cloth or sponge with the cleaning solution. Be sure to wring out the excess moisture to avoid saturating the wood.
- Starting from the top corner of the wall, work your way down in a horizontal or vertical motion. Use the damp cloth or sponge to gently wipe the wood paneling, making sure to follow the grain of the wood.
- Pay extra attention to any visible stains or spots, gently rubbing them with the damp cloth or sponge. Avoid applying excessive pressure to prevent scratching or damaging the wood surface.
- If there are stubborn stains or dirt buildup, you can use a soft-bristle brush dipped in the cleaning solution to gently scrub the affected areas. Again, be careful not to scrub too hard.
- Once you have cleaned the wood paneling, dampen a clean cloth with plain water and use it to wipe away any soap residue or cleaning solution.
- After cleaning, it’s important to dry the wood-paneled walls thoroughly to prevent warping or damage. Use a clean, dry cloth to blot any remaining moisture from the wood surface.
- If the wood paneling is untreated or raw, it’s best to consult a professional or follow the manufacturer’s cleaning instructions to avoid damaging the wood.
By following these steps, you can effectively clean your wood-paneled walls and maintain their natural beauty. Remember to be gentle and avoid using harsh abrasives or excessive moisture, as it can damage the wood. Next, we will explore the specific steps for cleaning dry-erase or chalkboard walls.
Cleaning Dry-Erase or Chalkboard Walls
Dry-erase and chalkboard walls are popular features in offices, classrooms, and even homes. These surfaces can easily become marked or stained with regular use. Cleaning dry-erase or chalkboard walls requires specific methods to remove marks and maintain their functionality. Here’s a step-by-step guide on how to effectively clean dry-erase or chalkboard walls:
Cleaning Dry-Erase Walls:
- Start by wiping the dry-erase wall with a clean, dry cloth or eraser to remove any dry-erase marker residue.
- If there are stubborn marks or stains, you can use a whiteboard cleaner specifically designed for dry-erase surfaces. Follow the instructions provided on the cleaner.
- Apply the whiteboard cleaner to a clean cloth or sponge and gently wipe the marked areas. Avoid using excessive pressure, as it may damage the surface.
- Rinse the cloth or sponge with water and use it to wipe away any residue from the cleaning solution.
- Dry the dry-erase wall with a clean, dry cloth or let it air dry.
Cleaning Chalkboard Walls:
- Start by removing any loose chalk dust from the chalkboard wall using an eraser or a dry cloth.
- Dampen a cloth or sponge with water and gently wring out the excess moisture. Make sure the cloth or sponge is not soaking wet.
- Gently wipe the chalkboard wall, working from top to bottom or left to right in a smooth motion. Avoid scrubbing or rubbing too hard, as it may damage the surface.
- If there are stubborn marks or stains on the chalkboard wall, you can create a paste by mixing water with a small amount of baking soda.
- Apply the baking soda paste to a clean cloth or sponge and use it to gently scrub the stained areas. Rinse the cloth or sponge with water and wipe away any residue.
- Dry the chalkboard wall with a clean, dry cloth or allow it to air dry.
By following these steps, you can effectively clean your dry-erase or chalkboard walls and maintain their functionality. Remember to use the appropriate cleaning products specifically designed for these surfaces and be gentle to avoid any damage. Next, we will wrap up the cleaning process with some finishing touches.
Use a mixture of warm water and mild dish soap to gently scrub interior walls with a soft sponge or cloth. Avoid using harsh chemicals that can damage the paint or finish.
Read more: Why Insulate Interior Walls
Finishing Touches
After cleaning your interior walls, it’s important to add some finishing touches to ensure they look their best. Here are a few final steps to complete the cleaning process:
- Inspect the walls for any missed spots or smudges. Use a clean cloth or sponge to touch up and remove any remaining dirt or residue.
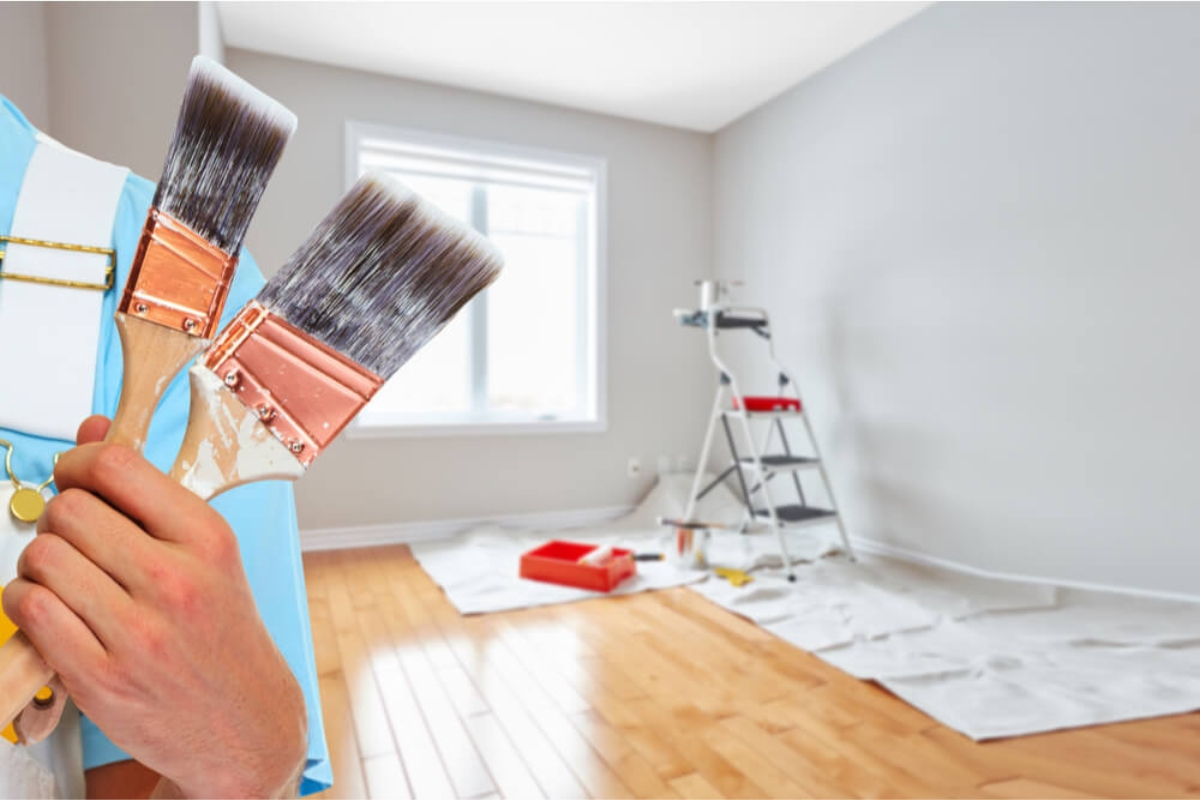
- If you have painted walls, you may consider applying a fresh coat of paint to rejuvenate the appearance. This can help cover up any stubborn stains that couldn’t be completely removed.
- For wallpapered walls, inspect the seams and edges to ensure they are intact. If you notice any peeling or lifting, use wallpaper adhesive to secure it back into place.
- Replace any decorations or artwork that were removed before cleaning. Arrange them in a visually pleasing way to enhance the overall aesthetics of the room.
- Take this opportunity to declutter and organize the room. Remove any unnecessary items that may detract from the clean and visually appealing walls.
- Consider adding a fresh touch with new curtains, rugs, or decorative elements that complement the newly cleaned walls.
- Regular maintenance is important to keep your walls clean in the long run. Make it a habit to dust them regularly and address any spills or stains promptly.
- Lastly, step back and admire your clean and refreshed walls. Enjoy the renewed ambiance and take pride in your well-maintained living space.
By completing these finishing touches, you’ll ensure that your interior walls are not only clean but also aesthetically pleasing. Remember, regular cleaning and maintenance will help prolong the life of your walls and maintain a fresh and inviting atmosphere in your home. With these tips, you’re well-equipped to keep your walls in top condition. Happy cleaning!
Thank you for reading our comprehensive guide on how to clean interior walls. We hope you find these steps helpful in maintaining the cleanliness and beauty of your home. If you have any further questions or need assistance, feel free to reach out to us.
Conclusion
Keeping your interior walls clean is an essential part of maintaining a beautiful and hygienic living space. By following the step-by-step process outlined in this guide, you can effectively clean a variety of wall types, including painted walls, wallpapered walls, textured walls, wood-paneled walls, and even dry-erase or chalkboard walls.
Remember to gather all the necessary supplies before starting the cleaning process to ensure a smooth and efficient experience. Prepare the area by removing any decorations or furniture that may obstruct your access to the walls, and protect surrounding surfaces with drop cloths or plastic sheets.
Dusting the walls is the first step in the cleaning process, as it removes loose debris and prepares the surface for further cleaning. Always be gentle when removing stains and spots, using appropriate cleaning solutions or natural alternatives depending on the wall type. Test any cleaning product on an inconspicuous area first to avoid potential damage.
Each wall type requires specific cleaning techniques. When cleaning painted walls, take care not to scrub too hard to avoid damaging the paint. For wallpapered walls, follow the manufacturer’s instructions and use gentle cleaning methods to prevent any harm to the paper. Textured walls may require a soft-bristle brush for effective cleaning, while wood-paneled walls should be cleaned with a mild detergent solution to preserve the natural beauty of the wood. Dry-erase and chalkboard walls require specific cleaners or gentle wiping with a damp cloth.
Finally, add the finishing touches to your clean walls by inspecting for any missed spots, refreshing the paint or wallpaper if needed, and arranging decorations or artwork to enhance the room’s aesthetics. Regular maintenance and cleaning will help keep your walls in top condition in the long run.
We hope this comprehensive guide has provided you with valuable insights and practical techniques to clean your interior walls effectively. By implementing these methods, you can transform your living space into a clean, inviting environment that you can be proud of. Happy cleaning!
If you have any further questions or need assistance, feel free to reach out to us.
Frequently Asked Questions about How To Clean Interior Walls
Was this page helpful?
At Storables.com, we guarantee accurate and reliable information. Our content, validated by Expert Board Contributors, is crafted following stringent Editorial Policies. We're committed to providing you with well-researched, expert-backed insights for all your informational needs.


0 thoughts on “How To Clean Interior Walls”