Home>Articles>What To Clean Interior Walls With Before Painting
Articles
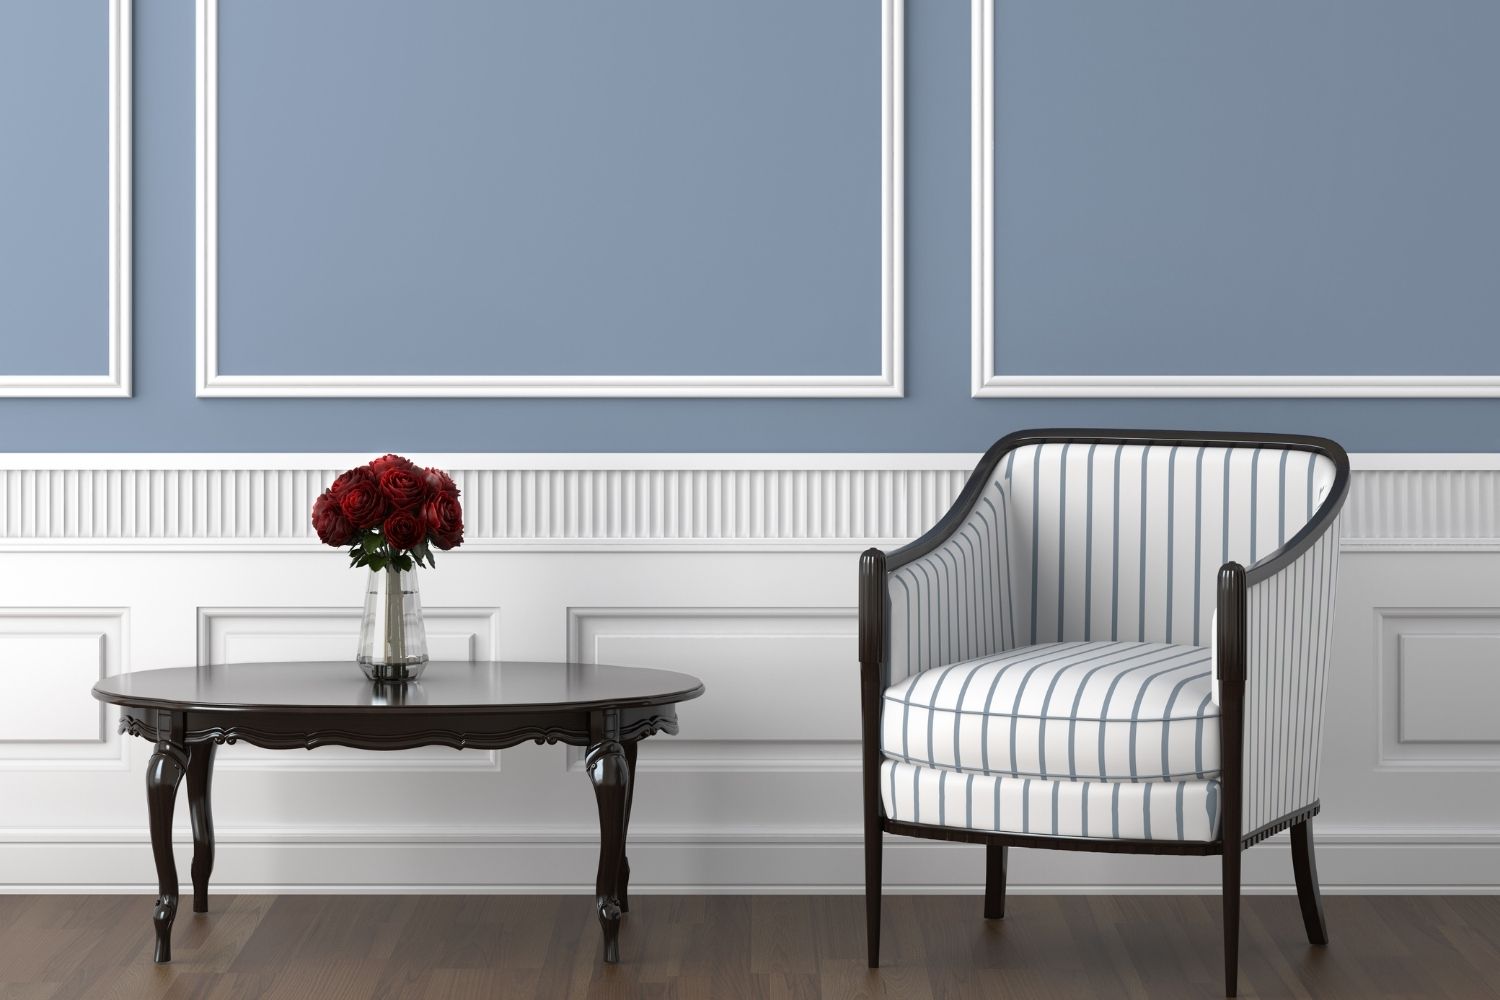
What To Clean Interior Walls With Before Painting
Modified: January 19, 2024
Learn about the best articles to clean interior walls with before painting, ensuring a smooth and long-lasting finish. Boost your painting results with our expert tips and recommendations.
(Many of the links in this article redirect to a specific reviewed product. Your purchase of these products through affiliate links helps to generate commission for Storables.com, at no extra cost. Learn more)
Introduction
When it comes to painting the interior walls of your home or office, preparation is key. One often overlooked step in the painting process is properly cleaning the walls before applying a fresh coat of paint. Cleaning the interior walls not only ensures a smooth and professional-looking finish but also helps the paint adhere better and last longer.
Before you pick up a paintbrush, it’s important to understand the importance of cleaning interior walls and the benefits it brings to your painting project. By taking the time to clean your walls, you can remove dirt, dust, grime, and grease that may have accumulated over time. This not only improves the aesthetics of your walls but also creates a clean and pristine surface for the paint to adhere to, resulting in a more durable and flawless finish.
Furthermore, cleaning your interior walls before painting can help in identifying any stains, marks, or imperfections that may require additional treatment or repairs. By addressing these issues beforehand, you can ensure a smoother painting process and achieve the desired results.
It’s important to note that the type of surface you have will determine the cleaning methods and products you should use. Different wall surfaces, such as painted drywall, wallpaper, or textured surfaces, may require specific cleaning techniques and solutions. Understanding the specific needs of your wall surface will help you choose the appropriate cleaning solution and tools.
In the following sections, we will delve into the importance of cleaning interior walls before painting, the different types of wall surfaces, and the steps and tools you’ll need to effectively clean your walls. By following our comprehensive guide, you can ensure a successful painting project with a beautifully finished result.
Key Takeaways:
- Properly cleaning interior walls before painting is essential for a flawless finish, improved paint adhesion, and a longer-lasting paint job. It also creates a healthier and more visually appealing living or working space.
- Understanding the specific cleaning requirements for different wall surfaces, choosing the right cleaning solution, and following a thorough step-by-step cleaning process are crucial for achieving beautifully clean walls and a successful painting project.
Read more: What Paint Finish For Interior Walls
Importance of Cleaning Interior Walls before Painting
Although cleaning interior walls may seem like an extra step in the painting process, it is an essential one that should never be skipped. Here are some key reasons why cleaning your walls before painting is important:
- Removes dirt and grime: Over time, interior walls can accumulate dust, dirt, and grime from everyday activities. This can make the surface appear dull and dirty. Cleaning the walls removes these contaminants, giving you a fresh canvas to work with.
- Ensures a smooth finish: Painting over a dirty or uneven surface will result in a less-than-perfect finish. By cleaning the walls, you can eliminate any bumps, lumps, or imperfections, creating a smooth surface for the paint to adhere to. This will result in a professional-looking finish that enhances the overall appearance of the room.
- Improves paint adhesion: If you paint over a dirty or greasy surface, the paint may not adhere properly, leading to peeling or flaking in the future. Cleaning the walls removes any grease, oil, or residue, allowing the paint to bond more effectively to the surface. This ensures that the paint job lasts longer and remains intact over time.
- Identifies necessary repairs: Cleaning the walls before painting allows you to closely inspect the surface for any cracks, holes, or damage that may need to be repaired. By addressing these issues beforehand, you can ensure a more stable and durable paint job. It’s much easier to fix these problems before painting rather than after, so take the time to inspect and repair as needed.
- Creates a healthier environment: A clean and hygienic living or working space is essential for our overall well-being. Dust, mold, and other allergens can accumulate on interior walls, contributing to poor indoor air quality. Thoroughly cleaning the walls helps to remove these allergens, creating a healthier environment for you and your family or colleagues.
- Enhances the longevity of the paint: By properly cleaning the walls before painting, you are setting the foundation for a long-lasting paint job. When the surface is clean and prepped correctly, the paint adheres better and stays put. This means your newly painted walls will maintain their vibrancy and beauty for years to come.
Overall, cleaning interior walls before painting is an essential step that should not be overlooked. It not only improves the visual appeal of your space but also ensures a superior and long-lasting paint job. So, before you dive into your next painting project, take the time to properly clean your walls. You’ll be rewarded with a flawless finish and a stunning transformation of your space.
Types of Interior Wall Surfaces
When it comes to cleaning your interior walls before painting, it’s important to consider the specific type of surface you will be working with. Different wall surfaces require different cleaning methods and solutions. Here are some common types of interior wall surfaces and how to clean them:
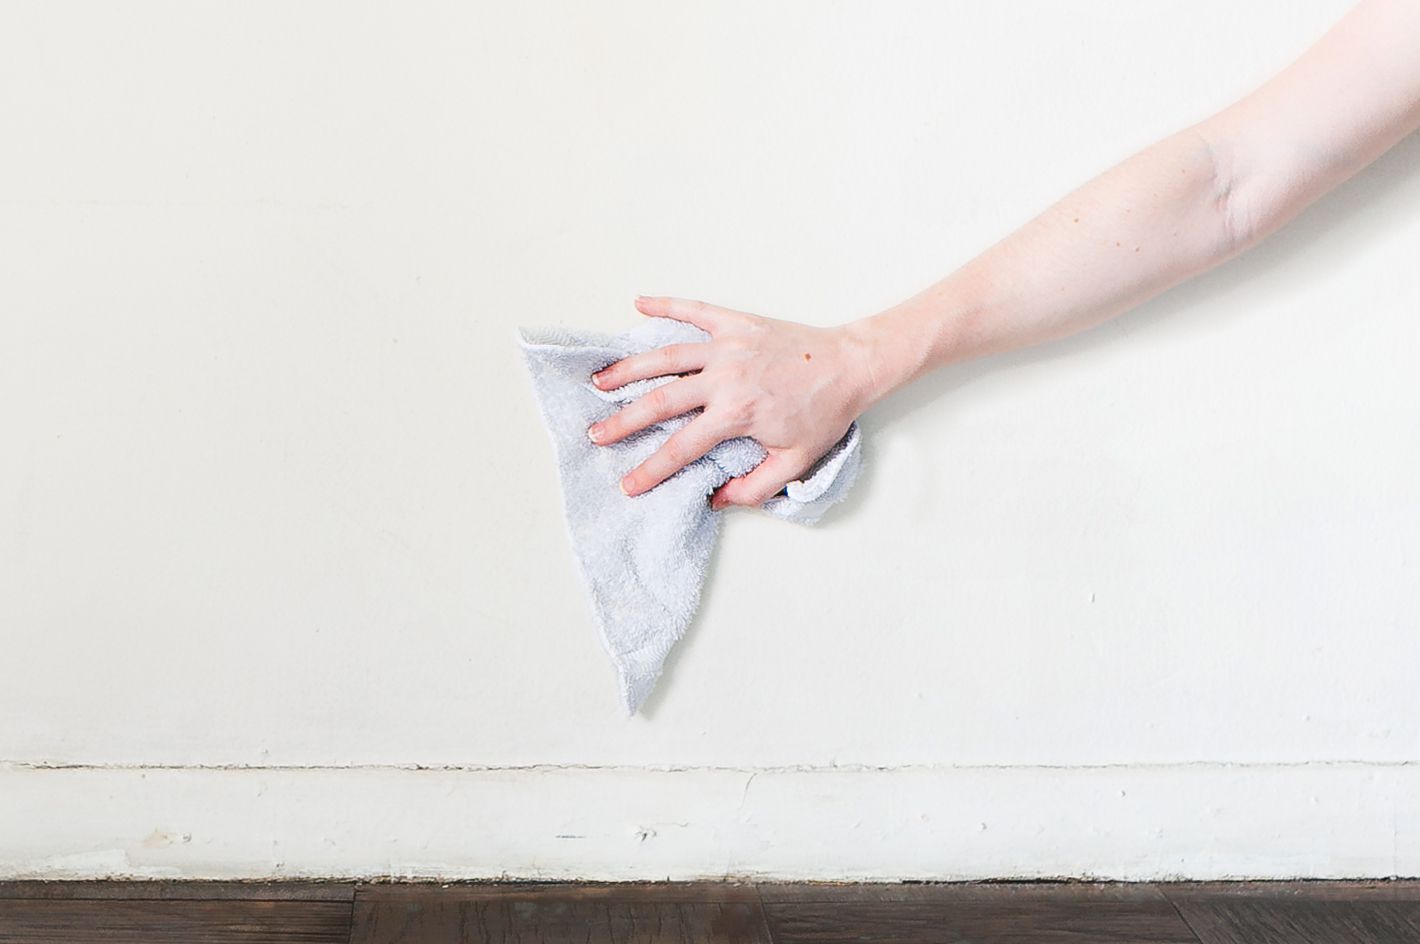
- Painted Drywall: Drywall is a popular wall surface found in most homes and offices. To clean painted drywall, start by removing any dust or debris using a soft brush or vacuum with a brush attachment. Next, prepare a mild detergent solution by mixing warm water with a few drops of dish soap. Using a sponge or microfiber cloth, gently scrub the walls in a circular motion. Avoid applying too much pressure as it can damage the paint. Finally, rinse the walls with clean water and allow them to dry thoroughly before painting.
- Textured Walls: Textured walls, such as popcorn, stucco, or knockdown finishes, require special attention during cleaning. These surfaces tend to trap dust and dirt, making it challenging to remove them. Start by using a soft brush or vacuum with a brush attachment to remove loose debris. Then, take a damp cloth or sponge and gently wipe the textured surface. Avoid using excessive water or aggressive scrubbing, as it can damage the texture. For stubborn stains, try using a mild detergent solution and a soft-bristle brush. Rinse with clean water and allow the walls to dry completely.
- Wallpaper: Cleaning wallpaper requires a delicate approach to avoid causing any damage. Start by dusting the wallpaper with a soft brush or vacuum attachment. Avoid using water directly on the wallpaper, as it can loosen the adhesive. Instead, prepare a mild cleaning solution by mixing warm water with a small amount of dish soap. Dip a clean cloth or sponge into the solution and gently blot the wallpaper. Avoid rubbing or scrubbing to prevent tearing or peeling. For stubborn stains, try using a wallpaper cleaning spray, following the manufacturer’s instructions. It’s important to test any cleaning solution in an inconspicuous area first to ensure it doesn’t damage the wallpaper.
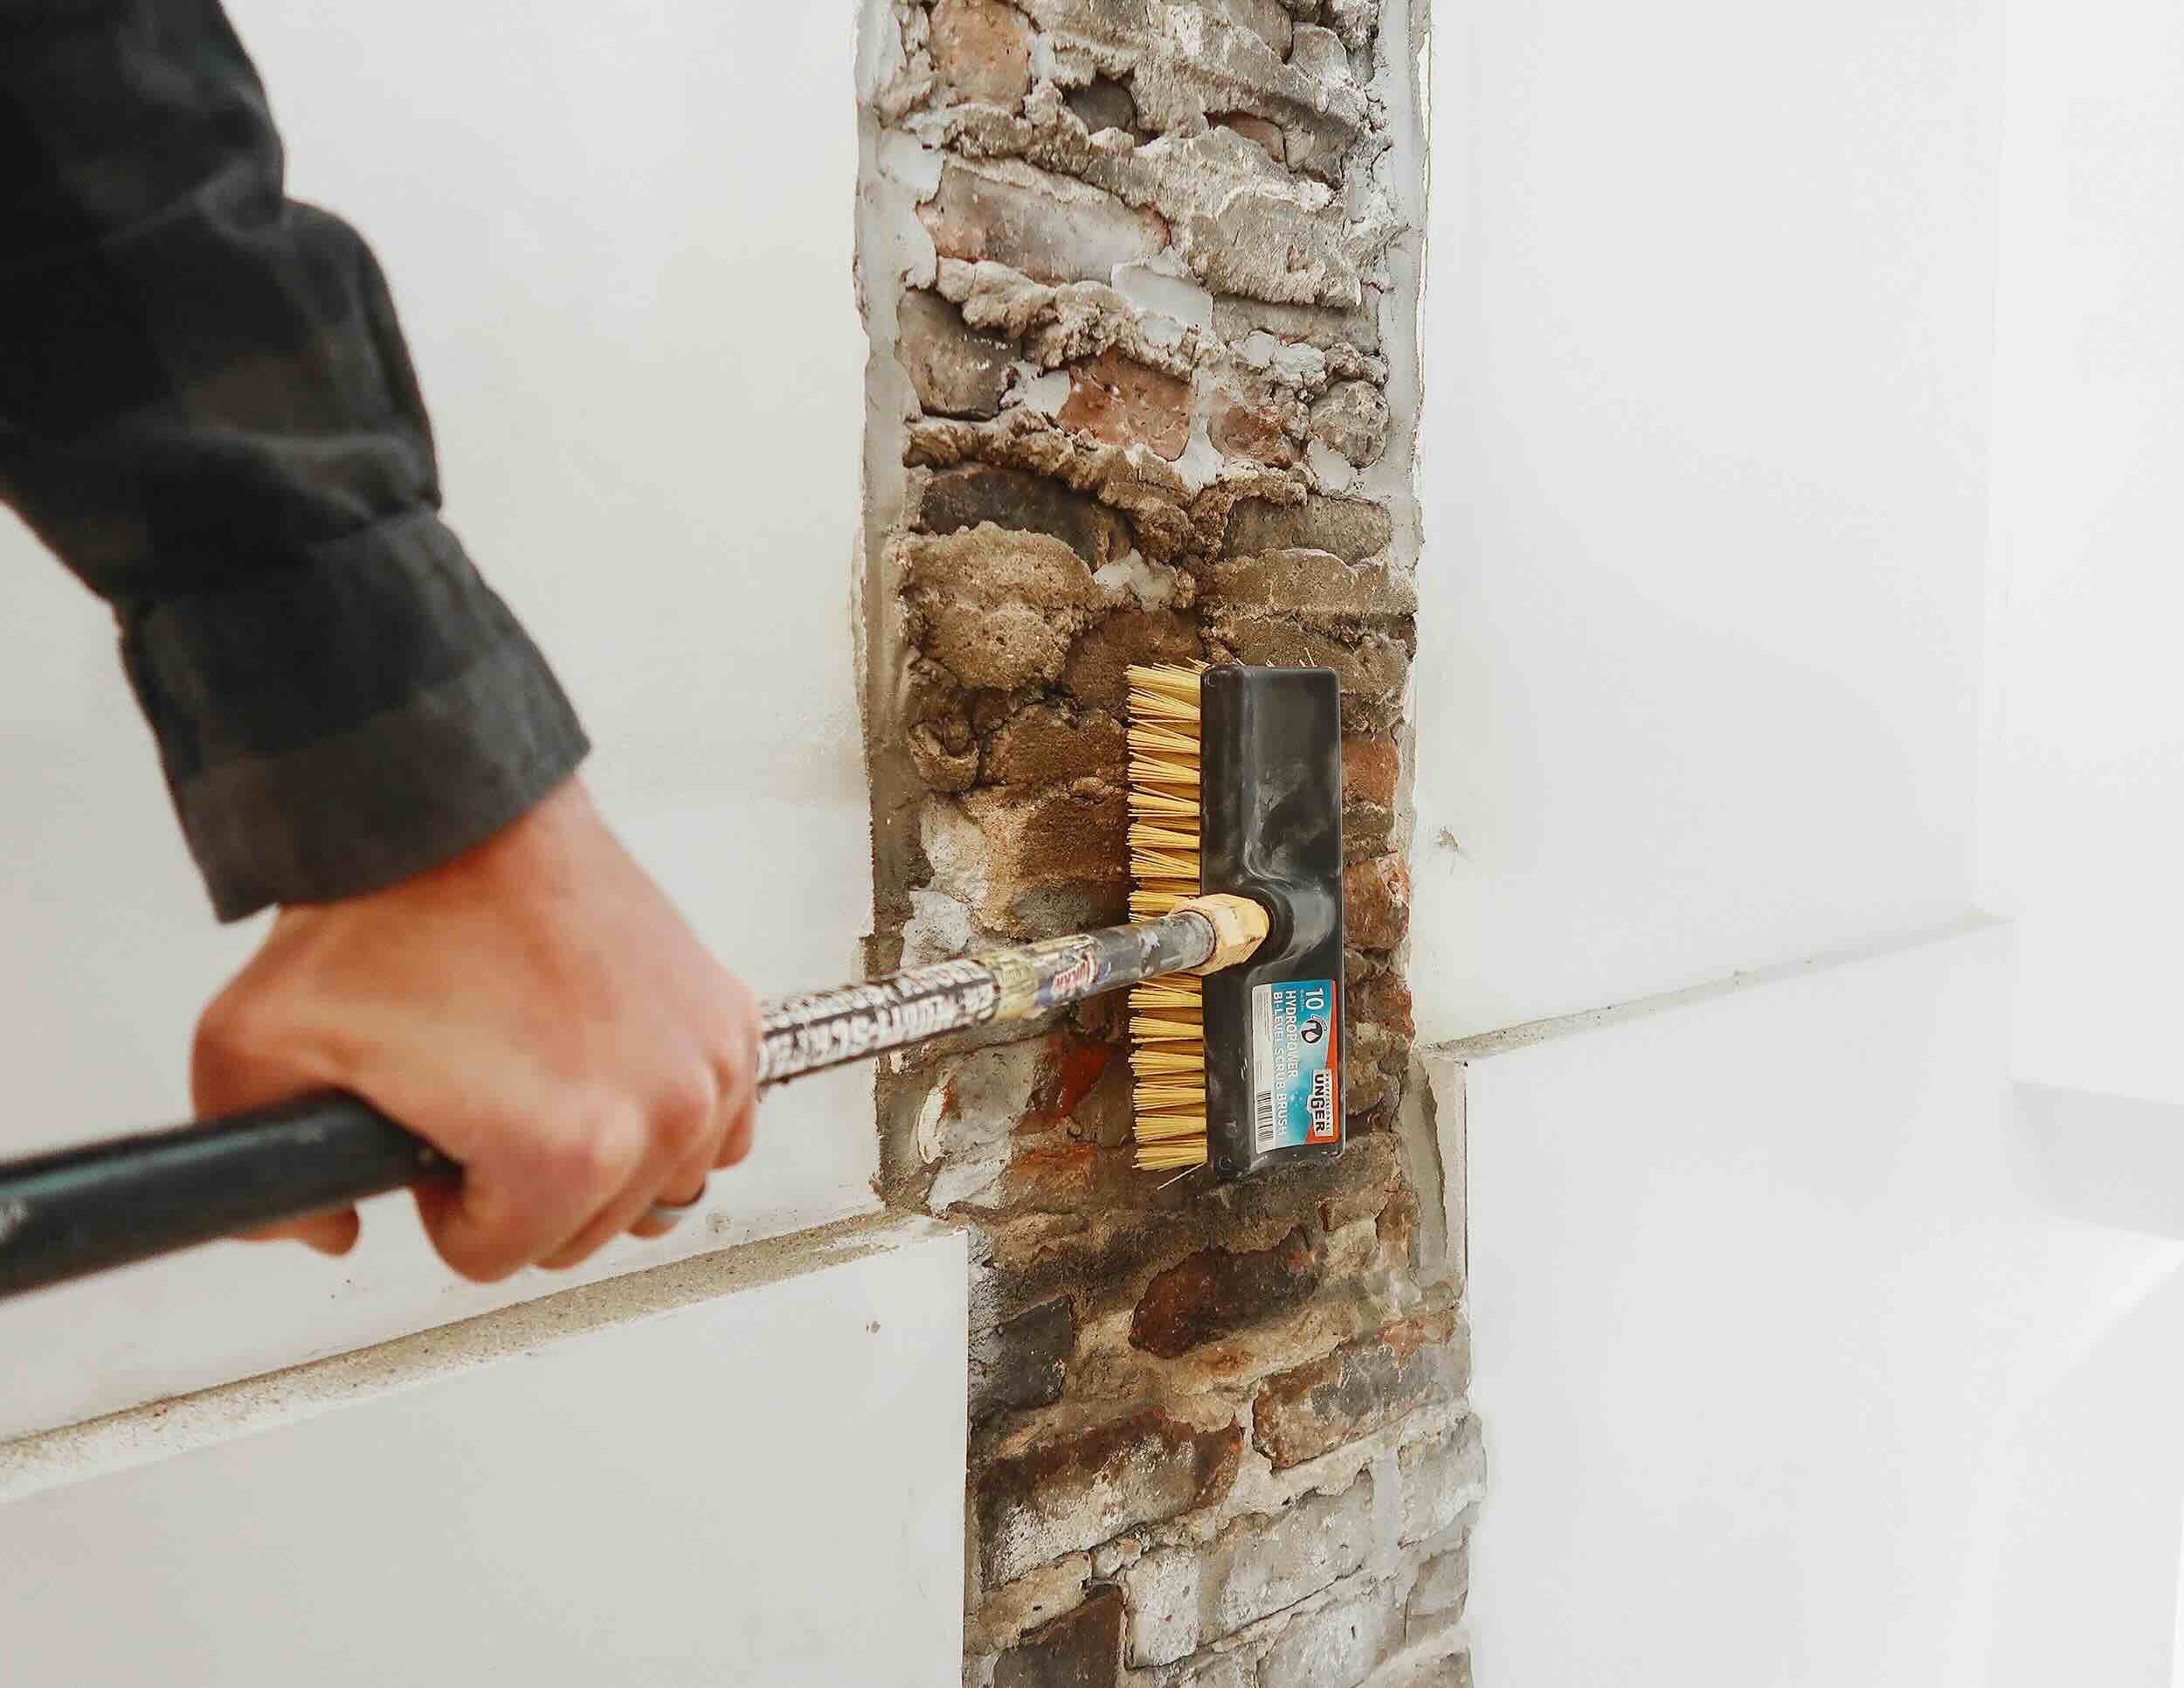
- Brick or Stone Walls: Cleaning brick or stone walls requires a slightly different approach. Start by removing any loose debris using a soft brush or vacuum with a brush attachment. Next, prepare a cleaning solution by mixing warm water with a specialized masonry cleaner. Apply the solution to the walls using a sponge or brush, working in small sections. Gently scrub the surface, paying attention to any stained or dirty areas. Rinse the walls with clean water and allow them to dry thoroughly before painting.
It’s important to remember that the cleaning methods and products for wall surfaces may vary depending on the specific manufacturer’s instructions or the condition of the walls. Always follow the instructions provided by the wall surface manufacturer or consult with a professional if you are unsure about the cleaning process.
By understanding the specific cleaning requirements for your interior wall surfaces, you can ensure a thorough and effective cleaning process before painting. This will help create the ideal canvas for a flawless paint job and a beautiful transformation of your space.
Choosing the Right Cleaning Solution
When it comes to cleaning your interior walls before painting, choosing the right cleaning solution is crucial. The type of solution you use will depend on the specific needs of your wall surface, as well as the level of dirt or stains present. Here are some factors to consider when selecting a cleaning solution:
- Mild Detergent Solution: For most painted surfaces and lightly soiled walls, a mild detergent solution is often sufficient. You can create a gentle cleaning solution by mixing warm water with a few drops of dish soap or a mild household cleaner. This solution is effective in removing everyday dirt and grime without damaging the paint or surface.
- Specialized Cleaners: Some wall surfaces may require specialized cleaners to effectively remove stains, grease, or stubborn dirt. For example, textured walls, brick, or stone surfaces may benefit from masonry cleaners or specific textured wall cleaners. These cleaners are designed to target specific stains and are formulated to be safe for the specific surface material.
- Homemade Solutions: If you prefer to use natural cleaning solutions, there are several options you can make at home. For gentle cleaning, a mixture of equal parts vinegar and water can be effective in removing light stains and dirt. Baking soda paste can also be used for more stubborn stains. However, it’s important to test any homemade solution in an inconspicuous area first to ensure it doesn’t damage the wall surface.
- Avoid Harsh Chemicals: It’s important to avoid using harsh chemicals or abrasive cleaners on interior wall surfaces, as they can damage the paint, texture, or finish. Avoid products that contain bleach, ammonia, or strong acids. These chemicals can not only harm the walls but also pose health risks due to fumes or skin irritation.
- Follow Manufacturer’s Instructions: Always refer to the manufacturer’s instructions, especially if you are using a specific cleaning solution recommended for your wall surface. The manufacturer’s instructions will provide guidance on how to safely and effectively use the solution without causing any damage.
Remember, when choosing a cleaning solution, it’s important to consider the specific needs of your wall surface and the level of dirt or stains present. Always start with the mildest solution possible and gradually increase the strength if necessary. Test any cleaning solution in an inconspicuous area first to ensure it doesn’t cause discoloration or damage. By selecting the right cleaning solution, you can effectively remove dirt, stains, and grime, preparing your walls for a flawless paint job.
Tools and Supplies Needed for Cleaning
Before you begin cleaning your interior walls, it’s important to gather the necessary tools and supplies to ensure an effective and efficient cleaning process. Here are the essential tools and supplies you’ll need:
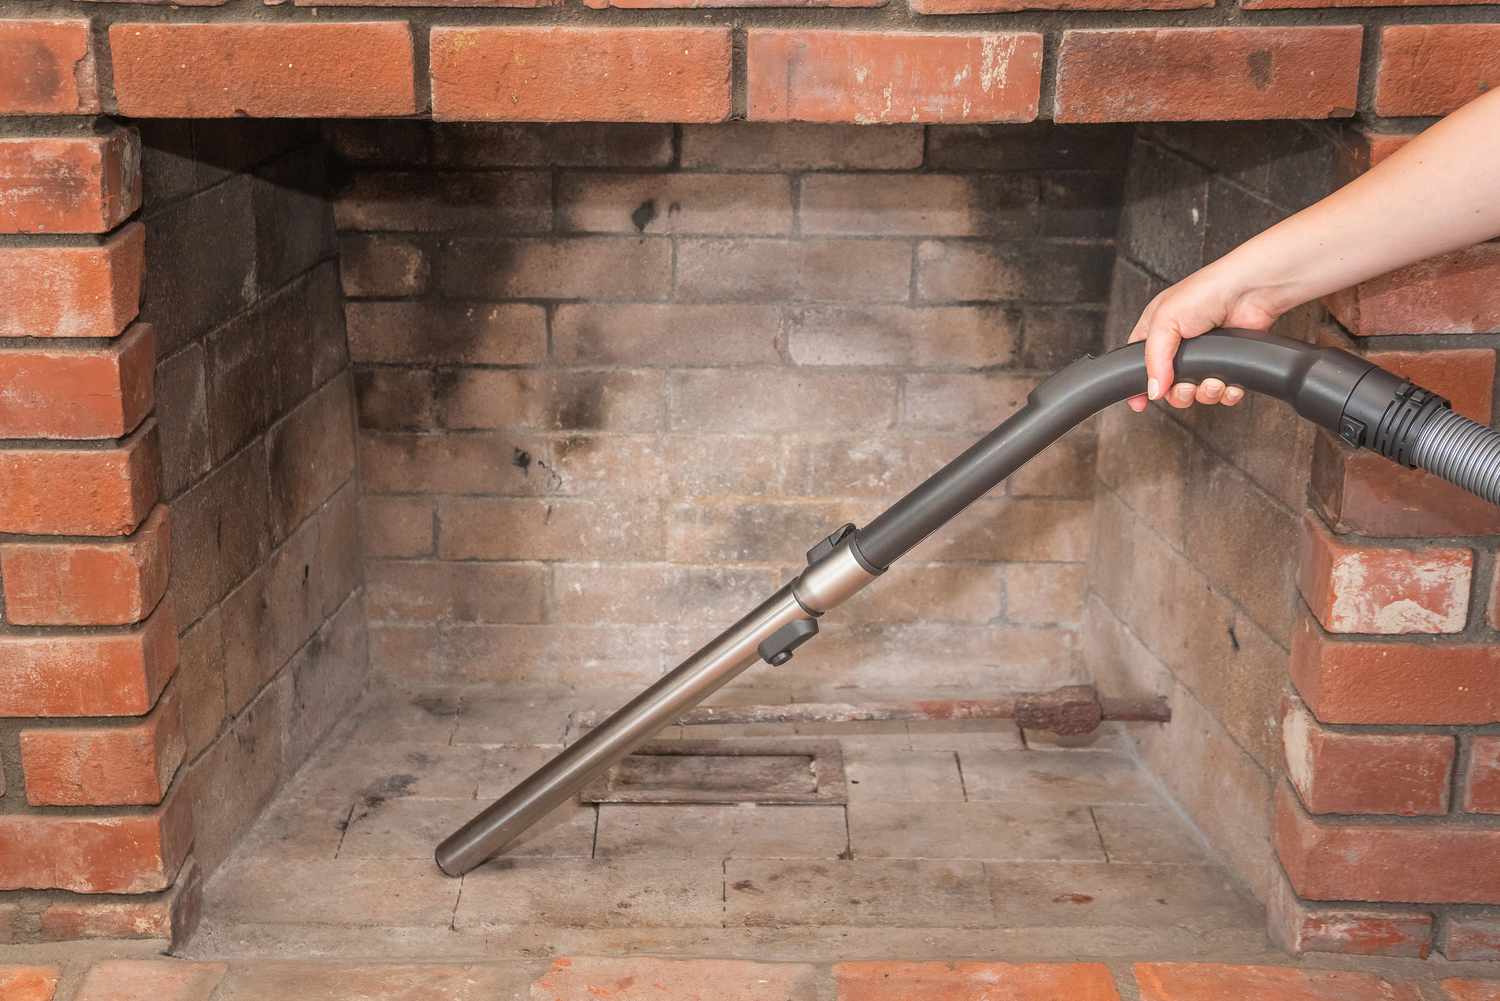
- Soft Bristle Brush or Vacuum: A soft bristle brush or a vacuum cleaner with a brush attachment is essential for removing loose dust and debris from the walls. Use the brush to gently sweep the surface or the vacuum to carefully suck up any loose dirt.
- Sponge or Microfiber Cloth: A sponge or microfiber cloth is ideal for cleaning painted drywall or other smooth wall surfaces. Make sure to choose a non-abrasive sponge or cloth to avoid damaging the paint. Microfiber cloths are highly effective in picking up dirt and grease without leaving streaks or lint behind.
- Buckets: You’ll need two buckets for your cleaning process: one for the cleaning solution and another for clean water. The bucket for the cleaning solution should be filled with warm water and your chosen cleaning solution.
- Mild Detergent or Cleaning Solution: Depending on the level of dirt and stains, you’ll need a mild detergent or cleaning solution. As mentioned earlier, a mixture of warm water and a few drops of dish soap or a mild household cleaner is usually sufficient for most surfaces. For specialized surfaces, such as brick or stone, use a masonry cleaner or a product recommended for that specific surface.
- Protective Gloves: It’s a good idea to wear disposable or rubber gloves to protect your hands from any cleaning solutions or chemicals that you’ll be using during the cleaning process.
- Ladder or Step Stool: Depending on the height of your walls, you may need a ladder or step stool to access higher areas. Ensure that the ladder or step stool is sturdy and placed on a stable surface for your safety.
- Drop Cloths or Tarps: To protect your floors, furniture, and other surfaces from any drips or spills, lay down drop cloths or tarps. This will prevent any damage to your belongings and make the cleanup process easier.
- Optional: Stain Remover or Magic Eraser: If you have stubborn stains or marks on your walls, it may be helpful to have a stain remover or a magic eraser on hand. These can be effective in tackling specific stains without damaging the surface.
- Optional: Wallpaper Cleaner: If you have wallpapered walls, consider using a specialized wallpaper cleaner. These cleaners are designed to gently remove dirt and stains from wallpaper without causing damage.
Having these tools and supplies ready before you start cleaning your interior walls will ensure a smooth and efficient process. It’s important to use the appropriate tools and cleaning solutions for your specific wall surfaces to avoid any damage. With the right tools in hand, you’ll be well-prepared to tackle the cleaning process and achieve beautifully clean walls for your painting project.
Before painting interior walls, clean them with a mixture of water and mild detergent to remove dirt, grease, and other contaminants. This will ensure better adhesion and a smoother finish for your paint job.
Step-by-Step Guide to Cleaning Interior Walls
Follow this step-by-step guide to effectively clean your interior walls before painting:
- Prepare the Room: Start by removing any furniture, decorations, or wall hangings that may get in the way of your cleaning process. Cover the floor and any remaining furniture with drop cloths or tarps to protect them from any drips or spills.
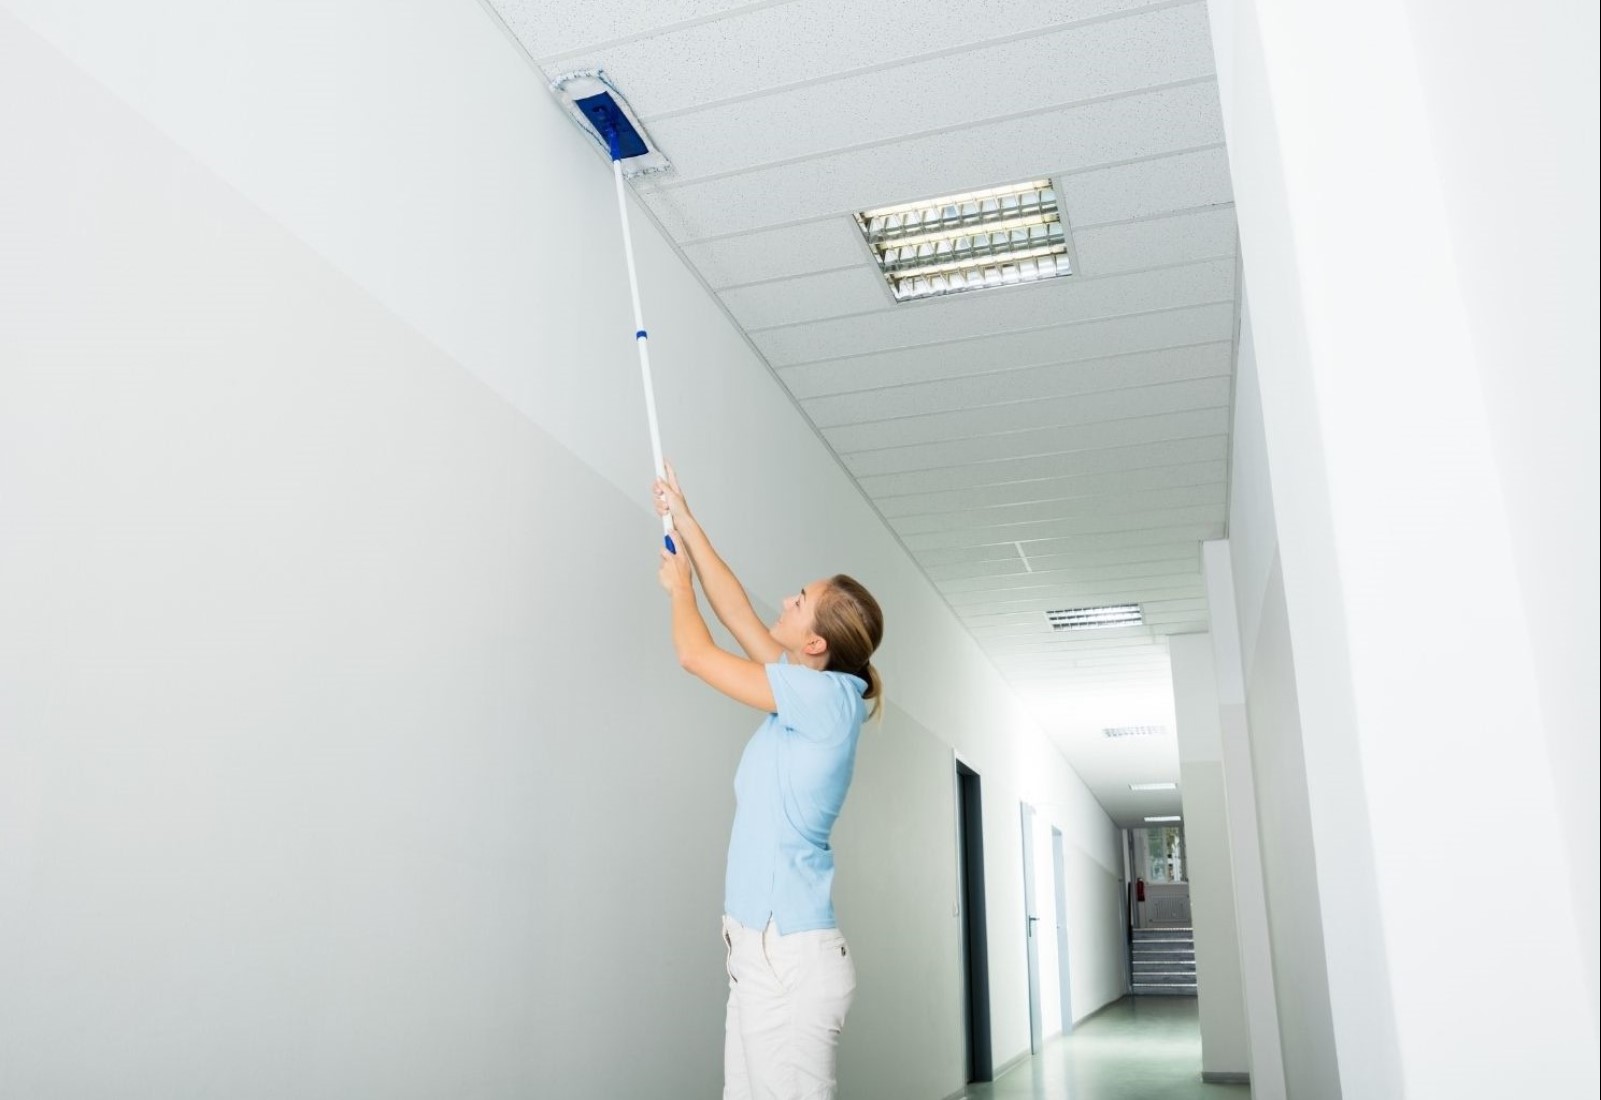
- Dust and Vacuum: Use a soft bristle brush or a vacuum cleaner with a brush attachment to remove any loose dust and debris from the walls. Gently sweep the walls or carefully run the vacuum over the surface to eliminate surface dirt.
- Prep the Cleaning Solution: Fill one bucket with warm water and add a few drops of mild dish soap or a suitable cleaning solution. Mix well to create a gentle cleaning solution.
- Test in an Inconspicuous Area: Before applying the cleaning solution to the entire wall, test it in a small, inconspicuous area. This will ensure that the solution does not cause any discoloration or damage to the wall surface.
- Clean from Top to Bottom: Starting from the top of the wall, dip a sponge or microfiber cloth into the cleaning solution and wring out any excess liquid. Begin wiping the wall in a gentle circular motion, gradually working your way down. Ensure that the entire surface is covered, paying special attention to any areas with stains or marks.
- Rinse the Walls: Fill the second bucket with clean water. Take a clean sponge or cloth and dampen it with the clean water. Wipe down the walls again, this time using only water to rinse off any remaining cleaning solution. This step is crucial to remove any residue that may affect paint adhesion.
- Dry the Walls: Use a clean, dry cloth or allow the walls to air dry completely. Ensure that the walls are thoroughly dry before proceeding to the next step.
- Inspect for Stubborn Stains: After the walls have dried, inspect them for any stubborn stains or marks that may still be present. If necessary, use a stain remover or a magic eraser to tackle these specific areas. Follow the instructions provided with the stain remover or magic eraser for best results.
- Final Touches: Once the walls are clean and dry, take a final look around the room to ensure that all areas have been thoroughly cleaned. Remove any drop cloths or tarps from the floor and furniture, and return any previously removed items back to their original places.
By following these step-by-step instructions, you can effectively clean your interior walls and create a clean and smooth surface for your painting project. Cleaning the walls before painting ensures that the new paint adheres properly and results in a professional-looking finish.
Removing Stubborn Stains or Marks
While cleaning your interior walls, you may encounter stubborn stains or marks that require some extra effort to remove. Here are some methods you can try to effectively tackle these stubborn stains:
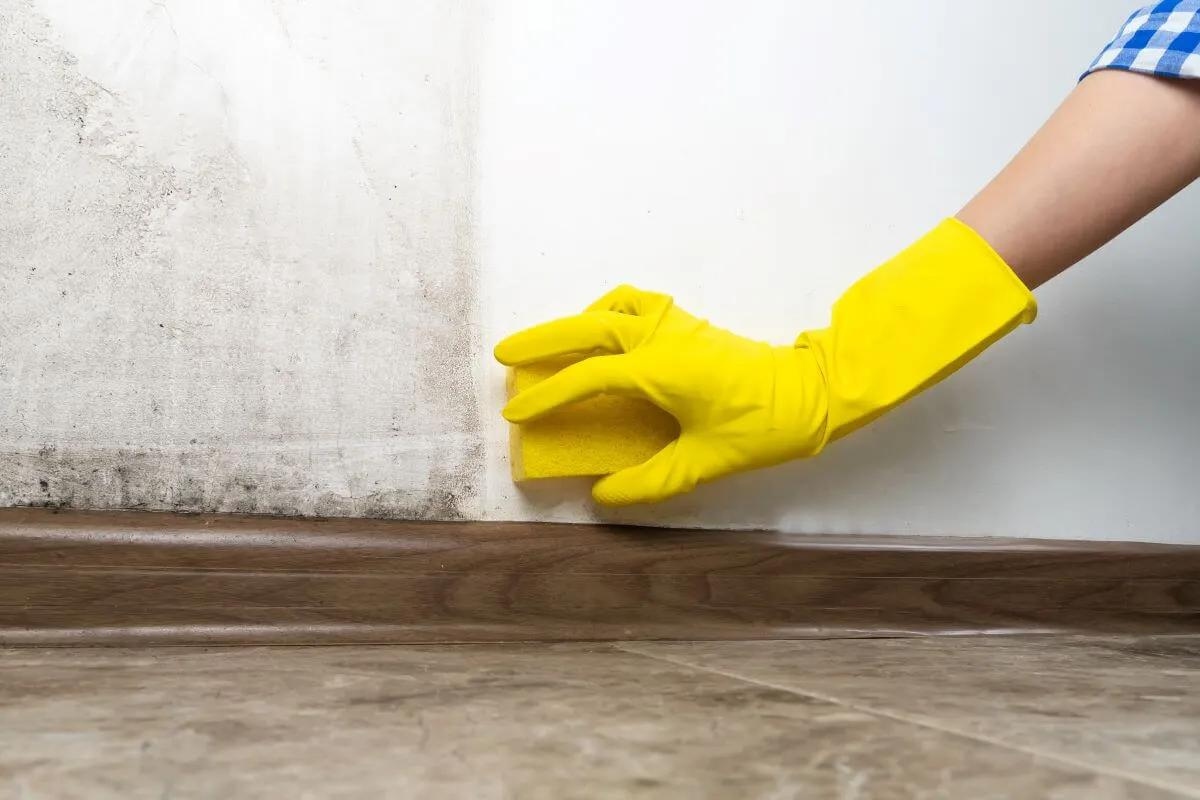
- Spot Cleaning: If the stain or mark is small and localized, you can try spot cleaning the area. Wet a cloth or sponge with the cleaning solution and gently scrub the stained area in a circular motion. Avoid applying too much pressure to prevent damaging the wall surface. Rinse the area with clean water and pat dry with a cloth.
- Stain Remover: For tougher stains such as crayon marks, grease, or ink, you may need to use a specialized stain remover. Look for a stain remover that is suitable for the specific type of stain and safe for your wall surface. Follow the manufacturer’s instructions for application and use a clean cloth or sponge to gently treat the stained area. Rinse with water and dry thoroughly.
- Magic Eraser: Magic erasers are effective tools for removing stubborn marks and stains on painted surfaces. These sponges contain micro-abrasive particles that help lift dirt and grime without damaging the paint. Wet the magic eraser and gently rub the stained area in a circular motion. Take care not to rub too hard as it may remove the paint. Rinse the area with water and pat dry with a cloth.
- Baking Soda Paste: Baking soda can be used as a natural cleaning agent for tougher stains. Mix baking soda with water to create a thick paste. Apply the paste to the stain and let it sit for a few minutes. Gently scrub the area with a soft brush or cloth, then rinse with water and dry thoroughly.
- Consult a Professional: If you have tried various methods but are still unable to remove stubborn stains or marks, it may be best to consult a professional. They will have the expertise and specialized tools to effectively treat and remove difficult stains without causing damage to your walls.
It’s important to note that the success of stain removal may vary depending on the type and severity of the stain, as well as the specific wall surface. Always test any cleaning method or product in an inconspicuous area first to ensure it doesn’t cause any damage or discoloration.
By utilizing these methods and being persistent, you can effectively remove stubborn stains or marks from your interior walls, leaving them clean and ready for a fresh coat of paint.
Drying and Preparing Walls for Painting
Once you have thoroughly cleaned your interior walls, it’s essential to allow them to dry completely before proceeding with the next step of painting. Here are the steps to ensure your walls are properly dried and prepared:
- Air Circulation: Open windows and doors to promote air circulation in the room. This will help facilitate quicker drying of the walls.
- Use Fans or Dehumidifiers: If the room is not well-ventilated or if you need to expedite the drying process, you can use fans or dehumidifiers to help remove excess moisture from the walls and the air.
- Check for Dampness: Before proceeding with painting, ensure that the walls are completely dry. One way to check for dampness is by placing a plastic sheet against the walls and leaving it in place for a few hours. If there is condensation on the plastic sheet, it indicates that the walls are not fully dry and need more time.
- Inspect for Any Remaining Stains: Once the walls are dry, inspect them for any signs of remaining stains or marks. If you notice any, refer to the previous section on removing stubborn stains or marks to treat them further.
- Repair Any Imperfections: Inspect the walls for any cracks, holes, or imperfections that may require repair. Use spackle or filler to fill in any gaps or cracks, then sand the area smooth once it’s dry. This step ensures that your walls have a smooth and even surface for painting.
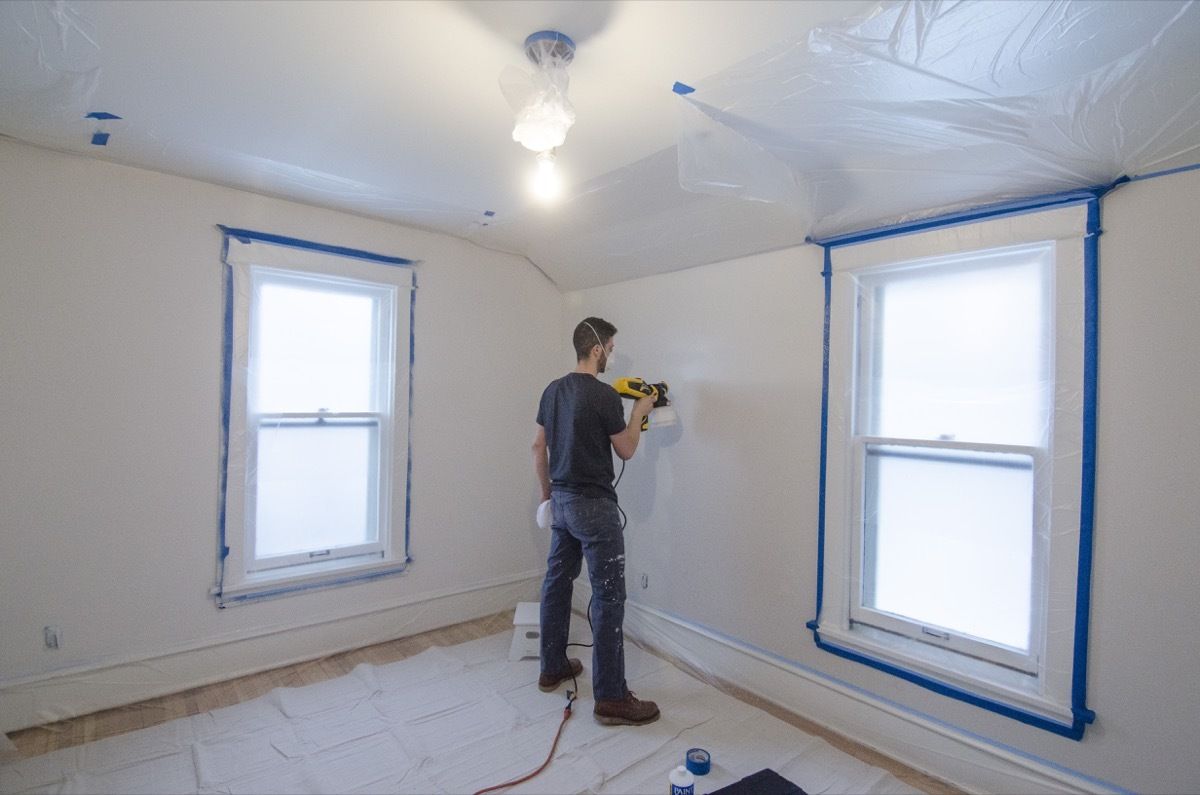
- Protect Adjacent Surfaces: Before you begin painting, protect any adjacent surfaces, such as trim, baseboards, or windows, with painter’s tape or plastic sheeting. This will prevent accidental paint splatters or smudges on these surfaces.
- Prime the Walls (if necessary): Depending on the condition of your walls and the type of paint you plan to use, you may need to apply a primer. Primer helps create an even base for the paint and improves adhesion. Follow the instructions on the primer label for proper application and drying times.
- Choose the Right Paint: Select a high-quality paint that is suitable for your walls and desired finish. Consider factors such as sheen, durability, and washability. Follow the manufacturer’s instructions for proper application and drying times.
- Prepare Painting Equipment: Gather all the necessary painting equipment, including brushes, rollers, paint trays, and drop cloths. Ensure that your equipment is clean and in good condition for a smooth painting process.
- Start Painting: Once your walls are dry, properly repaired, and ready for painting, begin applying your chosen paint. Follow the recommended painting techniques, such as starting from the top and working your way down, using even strokes, and allowing each coat to dry before applying the next.
By following these steps, you can ensure that your walls are properly dried and prepared for painting. Taking the time to ensure your walls are dry, repaired, and protected allows for a smoother and more successful painting process, resulting in a beautifully finished room.
Conclusion
Cleaning the interior walls before painting is a crucial step that should never be skipped. It not only enhances the visual appeal of your space but also ensures a longer-lasting and more professional paint job. By properly cleaning your walls, you remove dirt, dust, grime, and stains, creating a clean and pristine surface for the paint to adhere to.
Throughout this article, we have explored the importance of cleaning interior walls before painting, the different types of wall surfaces you may encounter, and the step-by-step process to effectively clean your walls. We have also discussed the significance of choosing the right cleaning solution and the essential tools and supplies you’ll need for the cleaning process.
Remember, different wall surfaces require different cleaning methods and solutions. It’s essential to understand the specific needs of your wall surface and follow the appropriate cleaning techniques to avoid any damage or discoloration. Testing any cleaning solution or method in an inconspicuous area is always a good practice to ensure it works well without adverse effects.
After thoroughly cleaning the walls, it’s crucial to allow them to dry completely before proceeding with painting. This ensures proper paint adhesion and prevents any moisture-related issues down the line. Additionally, inspecting for any remaining stains or marks and addressing them before painting will contribute to a flawless end result.
Preparing your walls for painting by repairing imperfections, priming (if necessary), and selecting the right paint and equipment are all crucial steps in the process. Taking the time to properly prepare your walls will result in a smooth and professional-looking paint job that transforms your space.
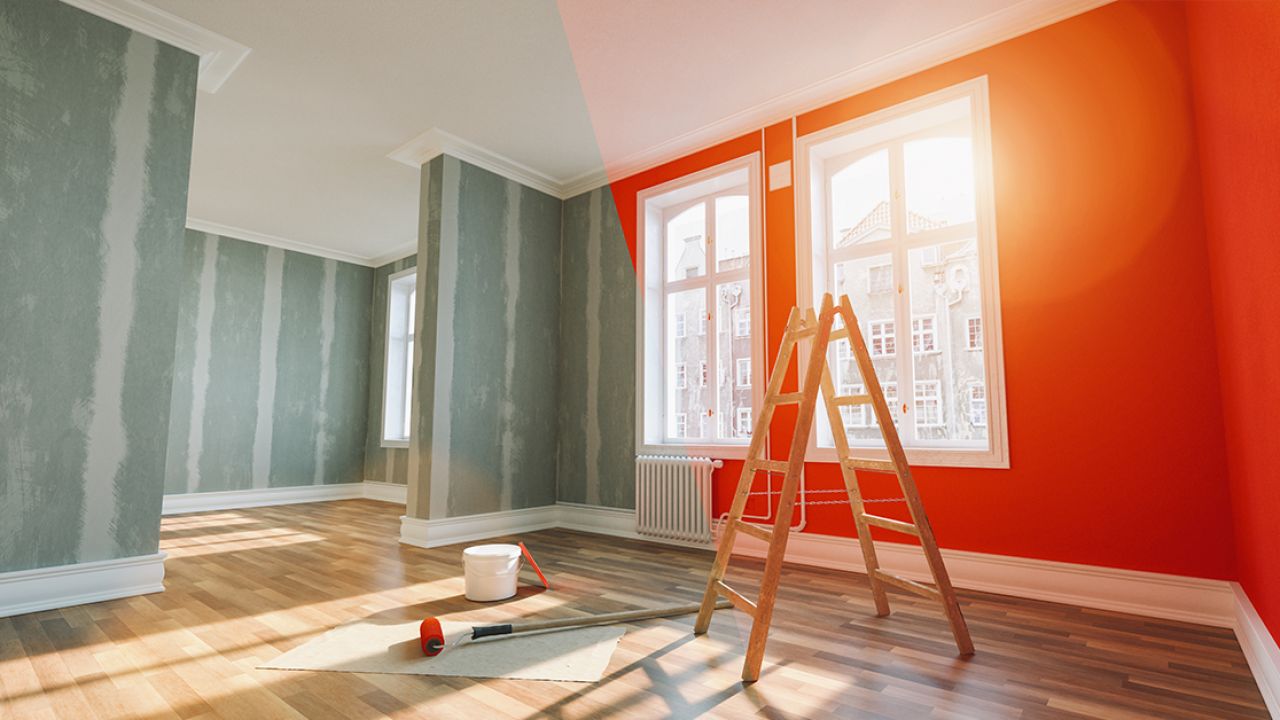
In conclusion, the process of cleaning and preparing your interior walls before painting may require some effort, but it is well worth the investment. By giving your walls the attention they deserve, you create a clean canvas for your painting project, ensuring a beautiful and long-lasting finish. So, before you pick up that paintbrush, take the time to clean your walls thoroughly, and enjoy the satisfying results of a well-prepared space.
Frequently Asked Questions about What To Clean Interior Walls With Before Painting
Was this page helpful?
At Storables.com, we guarantee accurate and reliable information. Our content, validated by Expert Board Contributors, is crafted following stringent Editorial Policies. We're committed to providing you with well-researched, expert-backed insights for all your informational needs.


0 thoughts on “What To Clean Interior Walls With Before Painting”