Home>Home Appliances>Laundry Appliances>How To Disconnect A Washing Machine
Laundry Appliances
How To Disconnect A Washing Machine
Modified: August 27, 2024
Learn how to safely disconnect a washing machine with our step-by-step guide. Keep your laundry appliances in top condition with our expert tips.
(Many of the links in this article redirect to a specific reviewed product. Your purchase of these products through affiliate links helps to generate commission for Storables.com, at no extra cost. Learn more)
Preparation before Disconnecting
Before you begin the process of disconnecting your washing machine, it's crucial to take some preparatory steps to ensure a smooth and hassle-free experience. By following these preparatory measures, you can minimize the risk of water leakage, electrical mishaps, and physical strain. Here's what you need to do to prepare for disconnecting your washing machine:
-
Gather Necessary Tools: Start by collecting all the tools and materials you'll need for the disconnection process. This may include an adjustable wrench, pliers, a bucket, old towels, and a small container for storing small parts such as screws and clamps. Having these items within reach will streamline the disconnection process and help you stay organized.
-
Clear the Surrounding Area: Clear the space around the washing machine to create a safe and unobstructed working environment. Remove any obstacles, such as laundry baskets, cleaning supplies, or other items that may impede your access to the machine. This will give you ample room to maneuver and carry out the disconnection process without any hindrances.
-
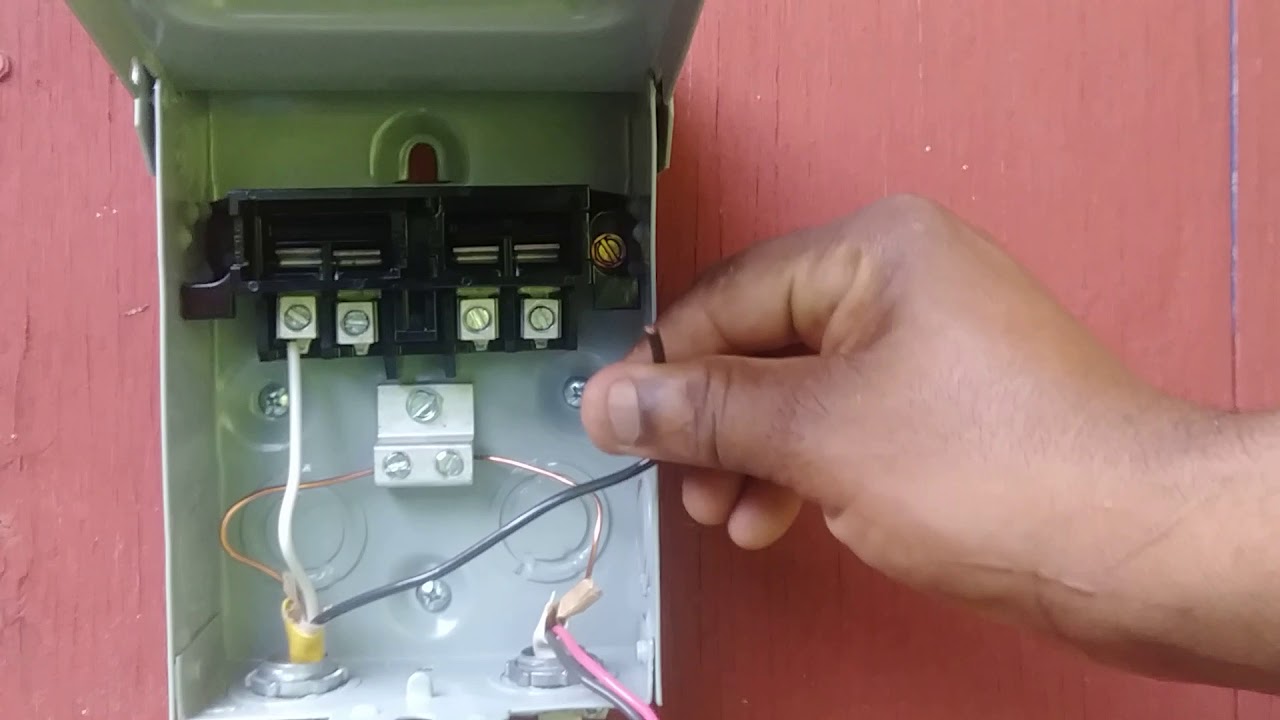
Turn Off the Power: Locate the power source for your washing machine and switch it off to cut off the electrical supply. This step is crucial for safety and prevents the risk of electric shock during the disconnection process. If your washing machine is hardwired, consider turning off the circuit breaker that controls the appliance to ensure complete electrical isolation.
-
Prepare for Water Spillage: Since there may be residual water in the hoses and the washing machine itself, it's essential to prepare for potential spillage. Place old towels or a bucket near the machine to catch any water that may leak out during the disconnection of the hoses. This proactive measure will help prevent water damage to the surrounding area and minimize cleanup efforts.
-
Refer to the User Manual: If available, refer to the user manual for your specific washing machine model. The manual may contain manufacturer-specific instructions for disconnecting the appliance, along with valuable tips to ensure a safe and efficient disconnection process. Familiarizing yourself with the manufacturer's guidelines can provide valuable insights and prevent potential errors.
By taking these preparatory steps, you can set the stage for a successful and stress-free disconnection of your washing machine. These measures not only enhance safety but also contribute to a more organized and efficient disconnection process, allowing you to proceed with confidence and peace of mind.
Key Takeaways:
- Prepare for a Smooth Disconnection
Gather tools, clear space, turn off power and water, refer to manual, and be ready for potential water spillage. These steps ensure a safe and organized washing machine disconnection. - Move Your Washing Machine with Care
Assess the pathway, secure cords and hoses, enlist help, use proper lifting techniques, protect flooring, navigate stairs cautiously, and position the machine carefully. Moving a washing machine requires coordination and safety measures.
Read more: How To Disconnect Doorbell
Turning off the Water Supply
Before you embark on disconnecting your washing machine, it's crucial to turn off the water supply to prevent potential leaks and water damage. This step is essential for ensuring a smooth and hassle-free disconnection process. Here's a detailed guide on how to turn off the water supply for your washing machine:
-
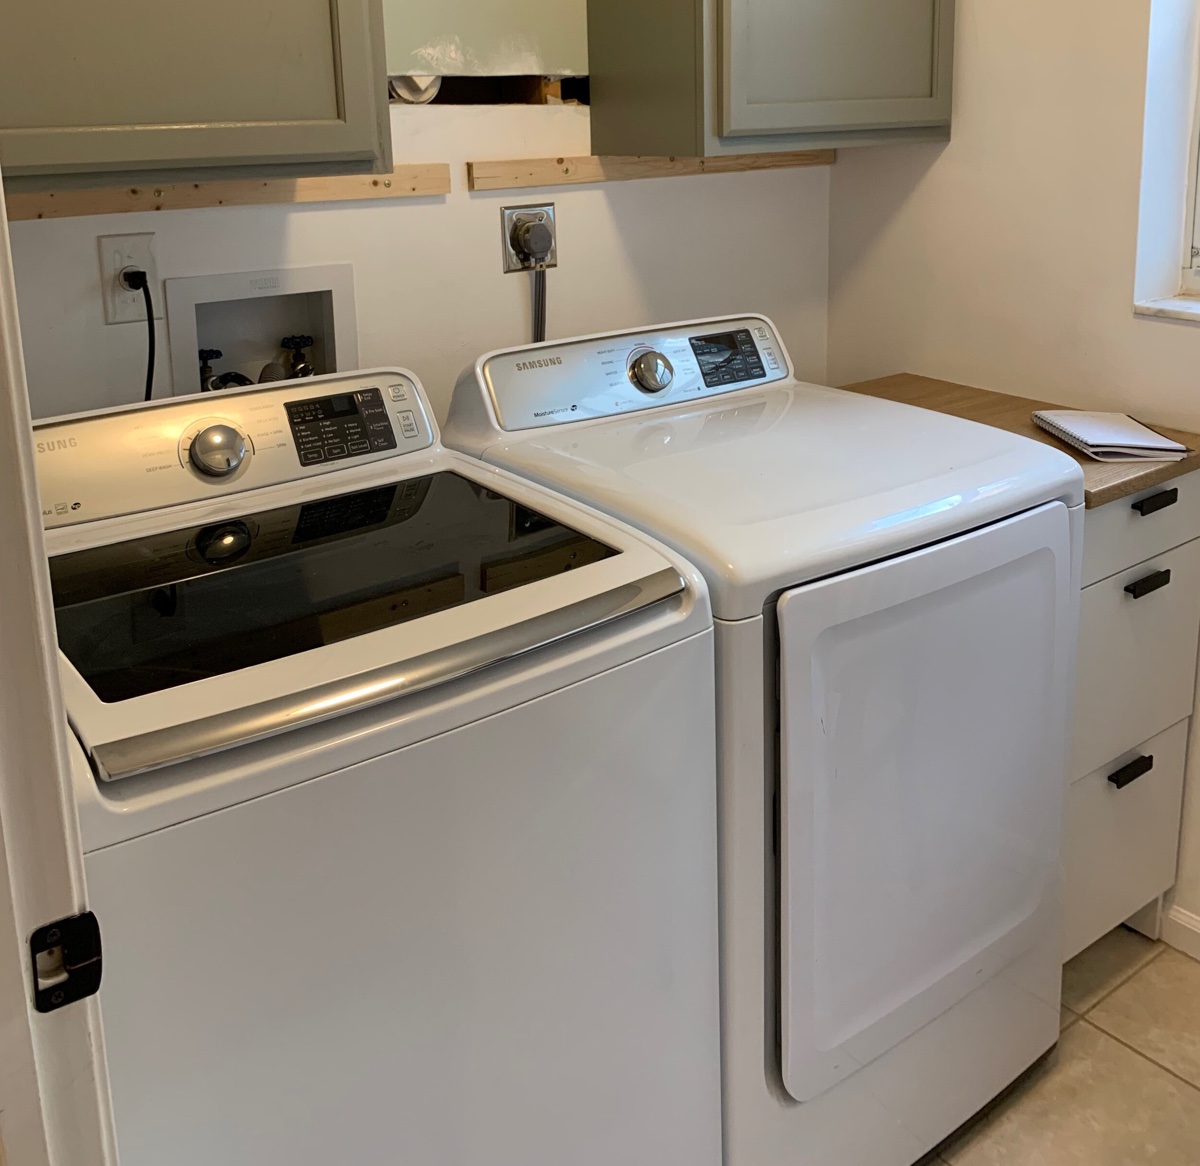
Locate the Water Shut-Off Valve: Begin by locating the water shut-off valve that supplies water to your washing machine. This valve is typically located behind the appliance or along the water supply line. It may be a lever-style valve or a knob that you can turn to shut off the water flow.
-
Turn Off the Valve: Once you've located the water shut-off valve, turn it clockwise to shut off the water supply. This action will stop the flow of water into the washing machine, minimizing the risk of leaks and water spillage during the disconnection process.
-
Verify the Water Supply: After turning off the valve, it's advisable to verify that the water supply has been successfully shut off. You can do this by attempting to start a wash cycle on the washing machine. If the appliance does not fill with water, it indicates that the water supply has been effectively turned off.
-
Release Pressure from the Hoses: To release any remaining water pressure in the hoses, you can run a short rinse cycle on the washing machine after the water supply has been turned off. This will help drain any residual water from the hoses, reducing the likelihood of leaks when disconnecting the hoses.
-
Double-Check for Leaks: After turning off the water supply and releasing any pressure from the hoses, take a moment to inspect the area around the water connections for any signs of leaks. This precautionary step ensures that there are no existing leaks that could pose a risk during the disconnection process.
By following these steps to turn off the water supply, you can effectively prepare your washing machine for the disconnection process. This proactive measure minimizes the risk of water-related mishaps and sets the stage for a safe and efficient disconnection of the appliance's water supply. With the water shut-off valve securely closed, you can proceed with confidence, knowing that you've taken the necessary precautions to prevent water leaks and ensure a smooth disconnection process.
Unplugging the Washing Machine
Unplugging the washing machine is a critical step in the process of disconnecting the appliance from its power source. This step is essential for ensuring safety and preventing the risk of electric shock during the disconnection process. Here's a detailed guide on how to safely unplug your washing machine:
-
Locate the Power Cord: Begin by locating the power cord of the washing machine. In most cases, the power cord is situated at the back of the appliance, near the top or bottom. It is typically connected to a dedicated electrical outlet or directly hardwired into the electrical system.
-
Switch Off the Power: Before unplugging the washing machine, ensure that the power is switched off. If the appliance is connected to a standard electrical outlet, simply reach behind the machine and unplug the power cord from the outlet. If your washing machine is hardwired, it's essential to turn off the circuit breaker that controls the appliance to ensure complete electrical isolation.
-
Inspect the Power Cord: Take a moment to inspect the power cord for any signs of damage, such as fraying, exposed wires, or wear and tear. If you notice any damage to the cord, refrain from unplugging it and consider seeking professional assistance to address the issue. A damaged power cord can pose serious safety hazards and should be addressed promptly by a qualified technician.
-
Handle the Power Cord Safely: When unplugging the washing machine, grasp the power cord near the outlet or the plug itself. Avoid pulling on the cord itself, as this can lead to damage and compromise the electrical connection. By handling the power cord with care, you can prevent unnecessary wear and tear, ensuring its continued safety and functionality.
-
Secure the Power Cord: Once the washing machine is unplugged, take a moment to secure the power cord to prevent it from dangling or becoming a tripping hazard. You can use a cable tie or cord organizer to neatly bundle and secure the power cord, keeping it tidy and out of the way during the subsequent steps of the disconnection process.
By following these steps to unplug your washing machine, you can ensure a safe and seamless disconnection of the appliance from its power source. This proactive measure minimizes the risk of electrical mishaps and sets the stage for a smooth transition to the next phase of the disconnection process. With the washing machine safely unplugged, you can proceed with confidence, knowing that you've taken the necessary precautions to prioritize safety and efficiency.
Before disconnecting a washing machine, make sure to turn off the water supply and unplug the machine. Then, use a wrench to disconnect the hoses and carefully move the machine away from the wall.
Disconnecting the Hoses
Disconnecting the hoses from your washing machine is a crucial step in the process of disconnection, as it involves separating the appliance from its water supply and drainage system. By following a systematic approach and exercising caution, you can effectively disconnect the hoses without encountering water leaks or causing damage to the surrounding area. Here's a detailed guide on how to disconnect the hoses from your washing machine:
-
Prepare the Work Area: Before proceeding with the disconnection of the hoses, it's important to prepare the work area by placing old towels or a bucket near the connections. This proactive measure will help contain any residual water that may spill out during the disconnection process, minimizing the risk of water damage and simplifying cleanup.
-
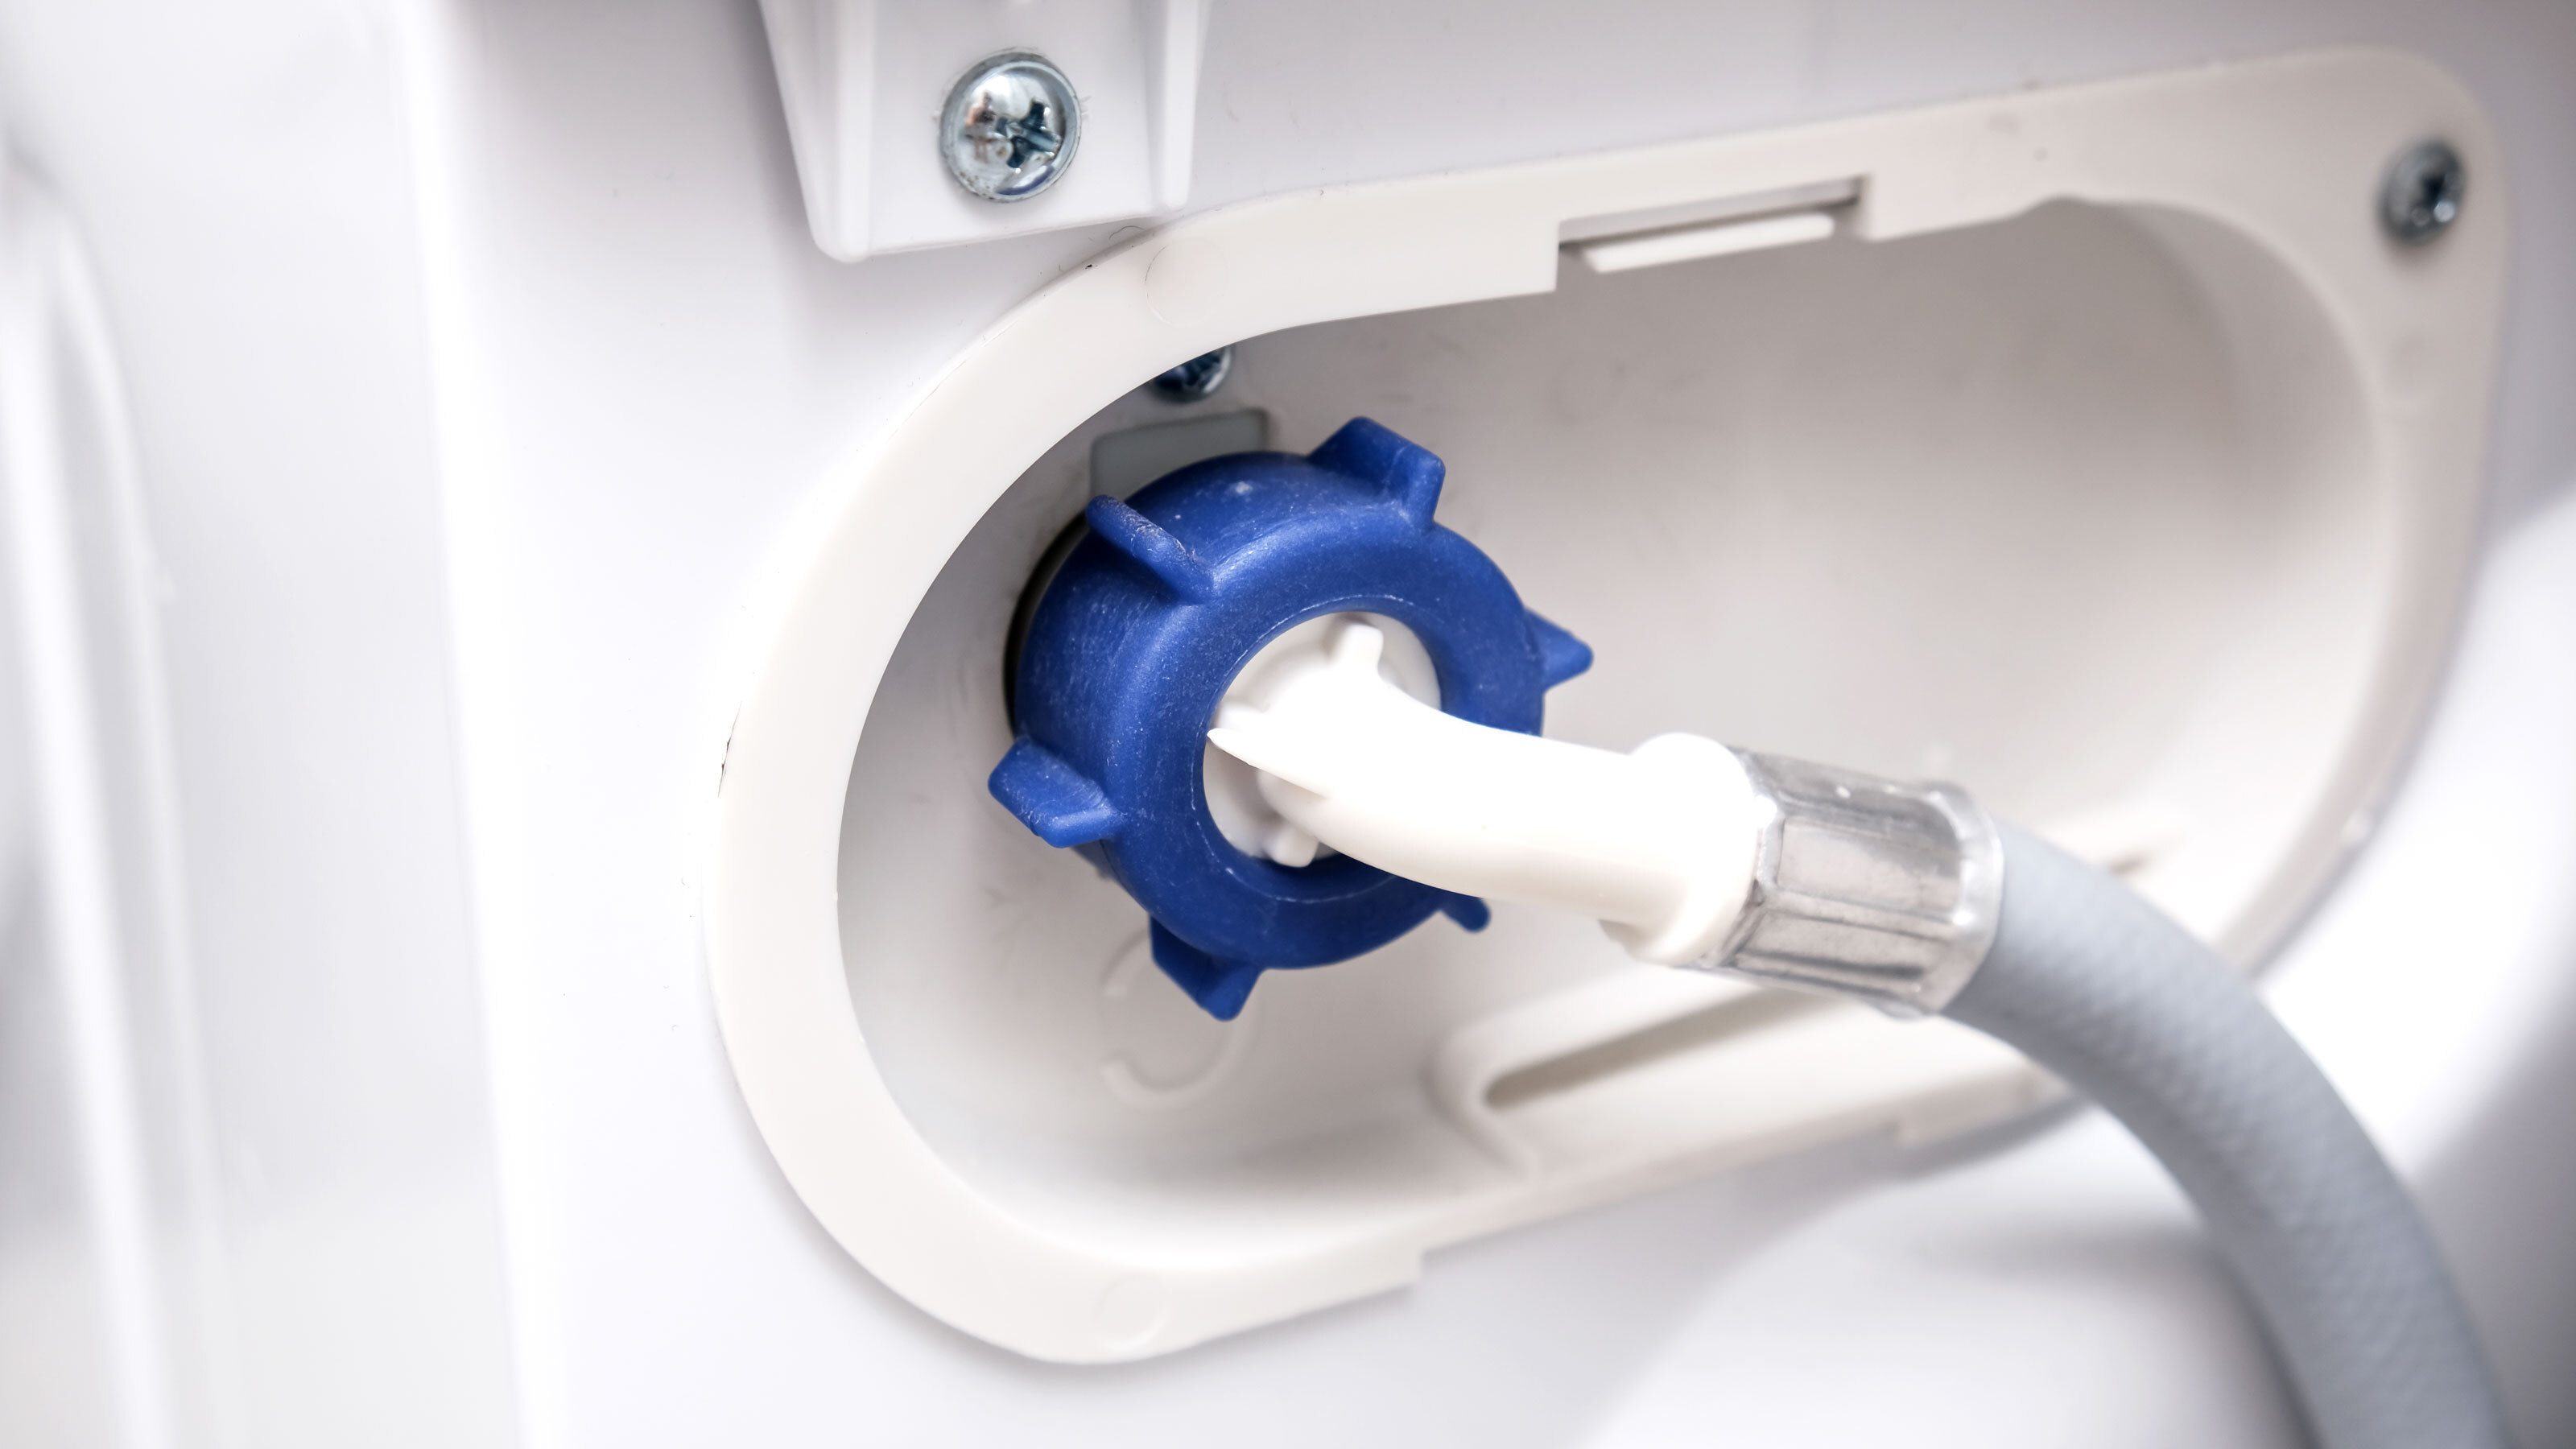
Identify the Hoses: Locate the hoses connected to the back of the washing machine. Typically, there are two hoses – one for hot water and the other for cold water. These hoses are usually secured to the appliance with threaded fittings or hose clamps, depending on the specific installation.
-
Turn Off the Water Supply: If you haven't already done so, ensure that the water supply to the washing machine is turned off. This step is crucial for preventing water from flowing out of the hoses when they are disconnected, minimizing the risk of water spillage and leaks.
-
Release Pressure from the Hoses: To release any remaining water pressure in the hoses, you can run a short rinse cycle on the washing machine after the water supply has been turned off. This will help drain any residual water from the hoses, reducing the likelihood of leaks when disconnecting them.
-
Disconnect the Hoses: Using an adjustable wrench or pliers, carefully loosen the fittings or hose clamps that secure the hoses to the water inlet valves at the back of the washing machine. Turn the fittings counterclockwise to loosen them, and then gently pull the hoses away from the connections. Be prepared for some residual water to drain out of the hoses as they are disconnected.
-
Inspect the Hoses and Connections: Once the hoses are disconnected, take a moment to inspect them for any signs of damage, wear, or deterioration. Similarly, inspect the water inlet valve connections on the washing machine for any debris or buildup that may impede water flow.
-
Cap the Water Inlet Valves (Optional): If you plan to leave the washing machine disconnected for an extended period, consider capping the water inlet valves to prevent debris from entering and to maintain the integrity of the connections.
By following these steps to disconnect the hoses from your washing machine, you can effectively prepare the appliance for relocation or maintenance without encountering water-related mishaps. This systematic approach prioritizes safety and thoroughness, ensuring that the disconnection process is carried out with precision and care. With the hoses successfully disconnected, you can proceed with confidence, knowing that you've taken the necessary steps to safeguard the appliance and the surrounding area.
Moving the Washing Machine
Moving a washing machine requires careful planning and execution to ensure the appliance is relocated safely and without causing damage to the surrounding area. Whether you're moving to a new home or simply repositioning the washing machine within your current residence, following a systematic approach is essential. Here's a comprehensive guide on how to move your washing machine with precision and care:
-
Assess the Pathway: Before attempting to move the washing machine, assess the pathway along which the appliance will be transported. Clear any obstacles, such as furniture, rugs, or debris, to create an unobstructed path. This proactive measure minimizes the risk of tripping or encountering obstacles while moving the appliance.
-
Secure the Power Cord and Hoses: Prior to moving the washing machine, ensure that the power cord and hoses are securely tucked away and not dangling. Use cable ties or cord organizers to neatly bundle and secure the power cord, hot and cold water hoses, and the drainage hose. This prevents the cords and hoses from getting caught or tangled during the relocation process.
-
Enlist Assistance: Moving a washing machine is a two-person job due to its weight and bulkiness. Enlist the help of a friend or family member to assist with lifting and maneuvering the appliance. Clear communication and coordination are essential to ensure a smooth and safe relocation process.
-
Use Proper Lifting Techniques: When lifting the washing machine, bend at the knees and use your leg muscles to lift, rather than straining your back. Lift with a straight back and maintain a firm grip on the appliance. Avoid jerky movements and take your time to ensure a steady and controlled lift.
-
Protect the Flooring: If the washing machine is being moved across a hard surface floor, place furniture sliders or a durable mat underneath the appliance to prevent scratching or scuffing. For carpeted areas, consider using a sturdy dolly or appliance cart to facilitate smooth movement.
-
Navigate Staircases Safely: If the washing machine needs to be moved up or down a staircase, exercise extreme caution. Ascertain that the pathway is clear, and the person at the lower end supports the weight while the person at the upper end guides the appliance. Take it one step at a time, maintaining a steady and controlled descent or ascent.
-
Positioning in the New Location: Once the washing machine has been transported to its new location, carefully lower it into place. Ensure that the appliance is level and stable, and that the hoses and power cord can reach their respective connections without strain.
By following these guidelines, you can move your washing machine with confidence and precision, ensuring a seamless relocation process. Prioritizing safety, coordination, and careful handling, you can successfully relocate your washing machine without encountering mishaps or causing damage to the appliance or its surroundings.
Frequently Asked Questions about How To Disconnect A Washing Machine
Was this page helpful?
At Storables.com, we guarantee accurate and reliable information. Our content, validated by Expert Board Contributors, is crafted following stringent Editorial Policies. We're committed to providing you with well-researched, expert-backed insights for all your informational needs.


0 thoughts on “How To Disconnect A Washing Machine”