Articles
How To Get A Hose Off A Faucet
Modified: August 31, 2024
Learn how to easily remove a hose from a faucet with our step-by-step guide. Read our informative articles to master this DIY skill.
(Many of the links in this article redirect to a specific reviewed product. Your purchase of these products through affiliate links helps to generate commission for Storables.com, at no extra cost. Learn more)
Introduction
Removing a hose from a faucet may seem like a simple task, but it can quickly turn into a frustrating experience if you don’t know the proper techniques. Whether you’re replacing an old hose, storing it for the winter, or simply disconnecting it temporarily, it’s important to do it correctly to prevent any damage to the faucet or hose.
In this article, we will guide you step-by-step on how to safely and effectively remove a hose from a faucet. We will also provide you with some helpful tips to ensure a smooth and hassle-free process.
Before we begin, please keep in mind that it’s crucial to follow the instructions carefully, as improper removal techniques can lead to leaks, damage to the faucet, or even personal injury. So, let’s dive in and learn how to get a hose off a faucet gracefully and easily.
Key Takeaways:
- Safely remove a hose from a faucet by turning off the water supply, loosening the connection, and using lubricant if necessary. Proper storage ensures the longevity of the hose for future use.
- Inspect and clean the faucet after removing the hose to maintain its optimal performance. Properly store the hose to prevent damage and ensure it’s ready for future use.
Read more: How To Connect A Hose To A Faucet
Tools and Materials Needed
Before starting the process of removing a hose from a faucet, it’s essential to gather all the necessary tools and materials. Having these items on hand will make the task much more convenient and efficient. Here are the tools and materials you will need:
- Adjustable pliers or a wrench: These tools will help you loosen and remove stubborn hose connections.
- Lubricant: It can be useful for loosening tight connections and making the removal process smoother.
- Gloves: Wearing gloves will protect your hands and provide a better grip while handling the hose and tools.
- Clean cloth: You may need a clean cloth to wipe away any dirt or debris from the faucet and hose.
- Bucket or container: This will be useful to catch any water remaining in the hose when it is disconnected.
- Waterproof tape (optional): If you plan to reconnect the hose in the future, using waterproof tape can help create a secure and leak-free connection.
Make sure you have all these tools and materials within reach before you start removing the hose. It will save you time and effort, ensuring a smooth and successful process.
Step 1: Turn Off the Water Supply
Before you begin removing the hose from the faucet, it’s crucial to turn off the water supply. This step will prevent any water flow and avoid unwanted leaks during the process. Here’s how you can do it:
- Locate the water shut-off valve: The water shut-off valve is usually located near the faucet or plumbing fixture you are working on. It may be under the sink, in a utility room, or outside your house.
- Close the shut-off valve: Turn the valve clockwise to shut off the water supply. If it’s a lever-style valve, you may need to flip it to the closed or off position.
- Drain any remaining water: To ensure there is no water pressure in the hose, open the faucet and let any remaining water drain out completely. This will make the hose removal process easier and minimize the chances of water leakage.
Remember, turning off the water supply is an important safety precaution to avoid any accidents or damage. Always take the time to locate and close the shut-off valve before proceeding with the next steps.
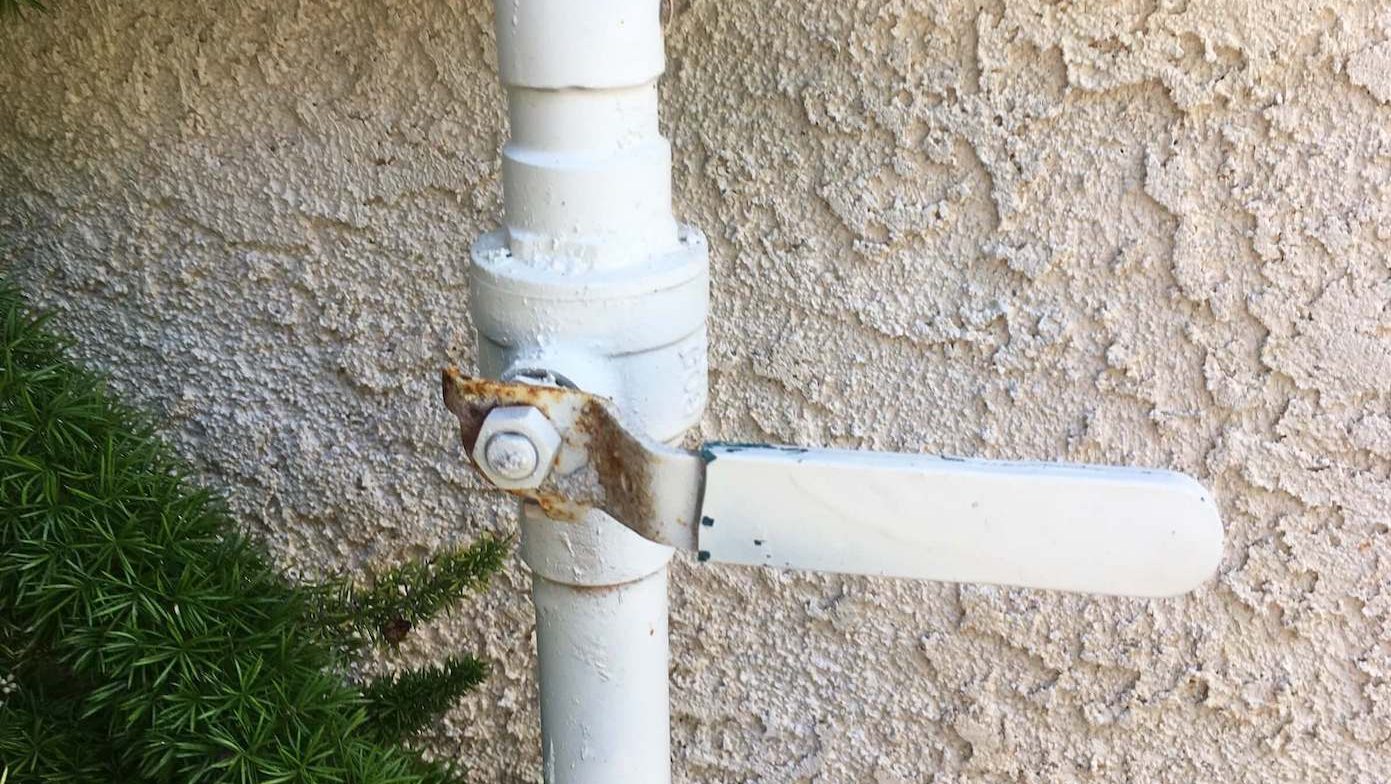
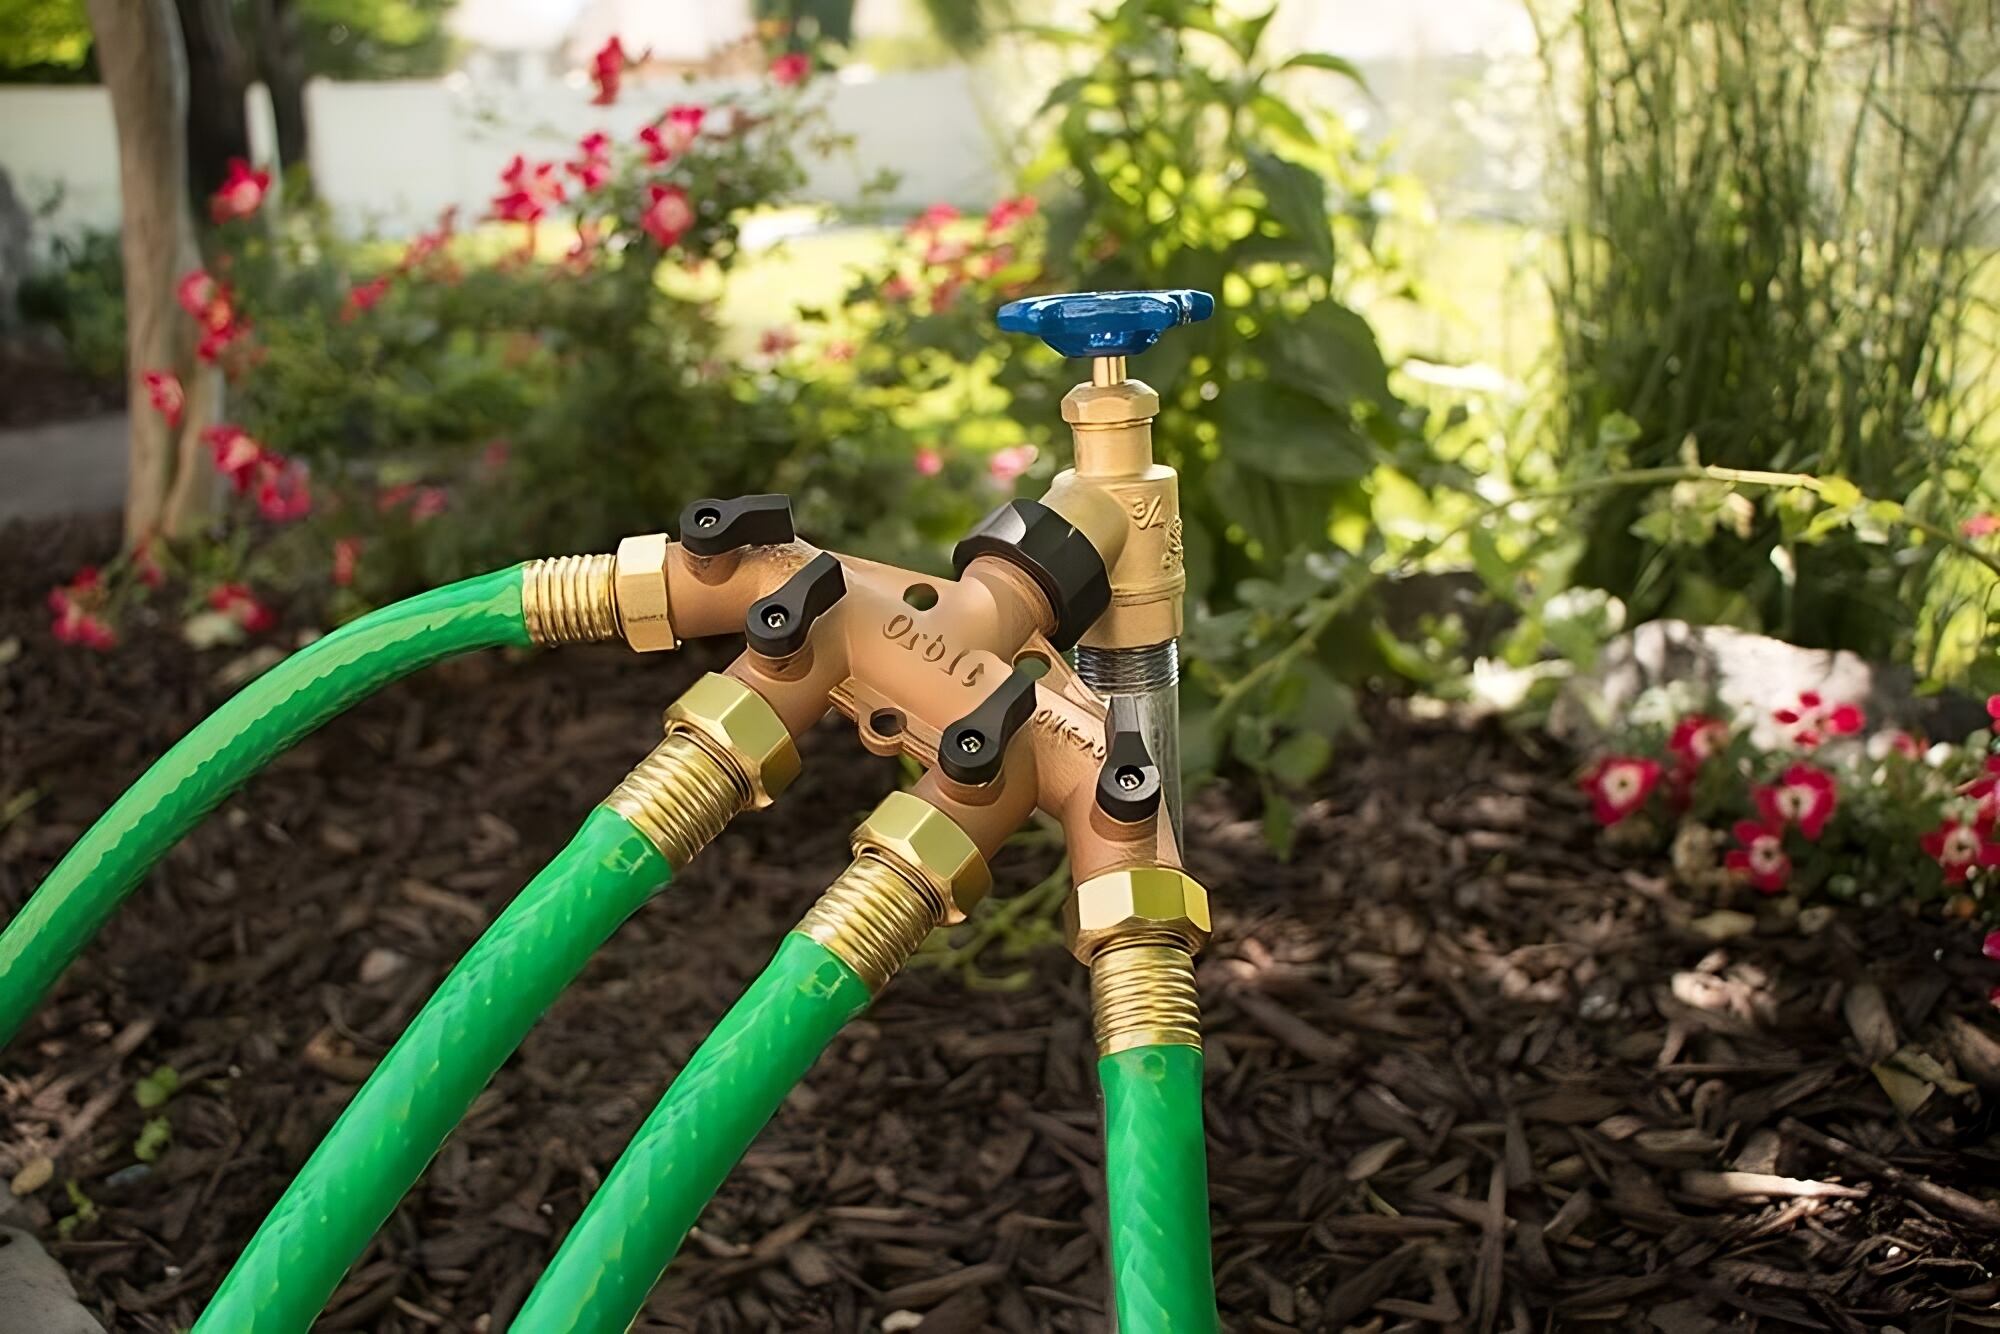
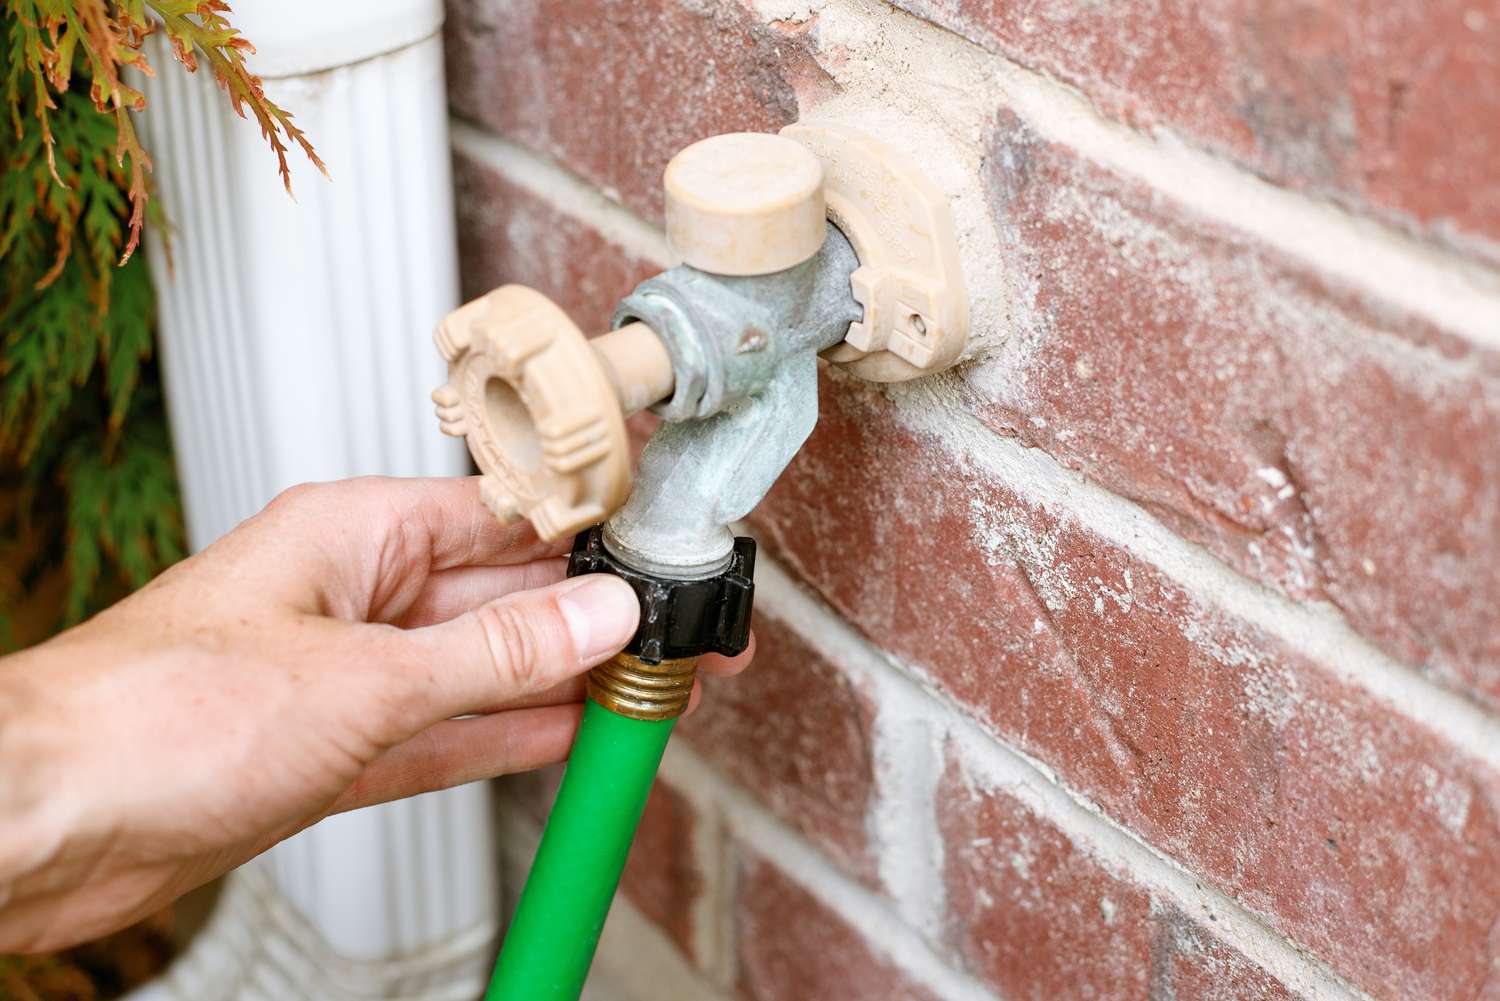
Step 2: Loosen the Hose Connection
With the water supply turned off, it’s time to loosen the hose connection from the faucet. This step may vary depending on the type of faucet you have, but the general process is as follows:
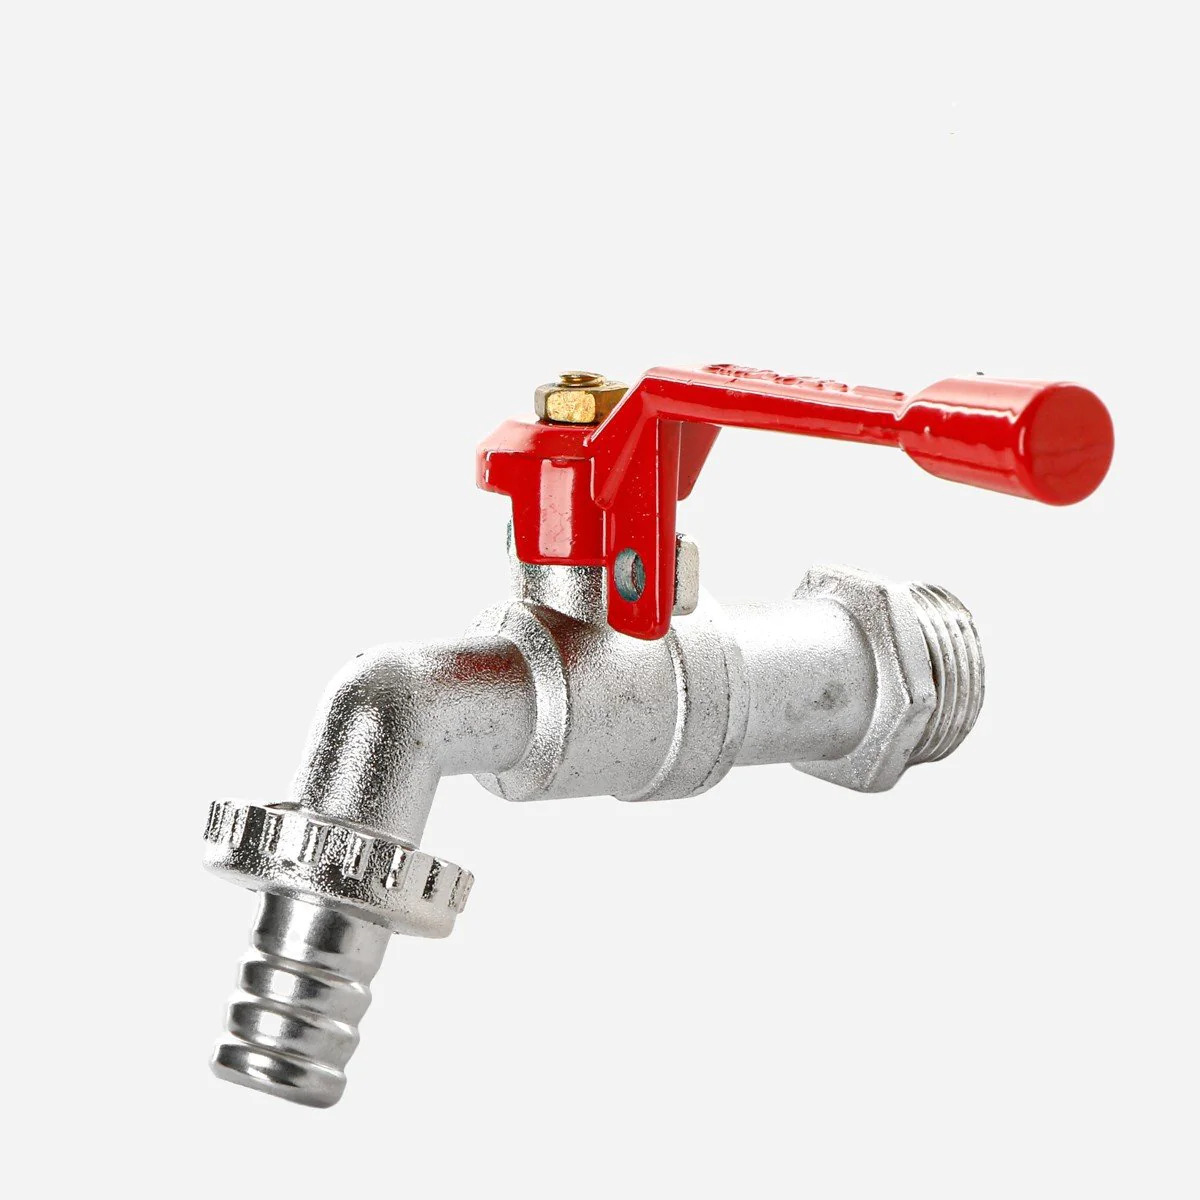
- Inspect the hose connection: Take a close look at the area where the hose is connected to the faucet. You may find a threaded connection, a quick-connect fitting, or a clamp.
- Threaded connection: If you have a threaded connection, grip the hose near the faucet with one hand and use the other hand to twist the connection counterclockwise. Be gentle but firm to avoid damaging the threads.
- Quick-connect fitting: For a quick-connect fitting, you may need to press or squeeze the collar or lever near the connection to release it. Once released, pull the hose straight out to detach it.
- Clamp: Some hoses may be secured with a clamp. Use pliers or a screwdriver to loosen the clamp, and then slide it away from the connection. Gently pull the hose to remove it once the clamp is loose.
- Rotate or wiggle the hose: In some cases, the hose may be stuck or stubborn due to dirt, corrosion, or tight connections. Try rotating the hose back and forth or wiggling it gently to loosen it before proceeding to the next step.
Remember to take your time and use caution when loosening the hose connection. If you encounter any difficulties, do not force it, as this can lead to damage. Instead, move on to the next step for additional assistance.
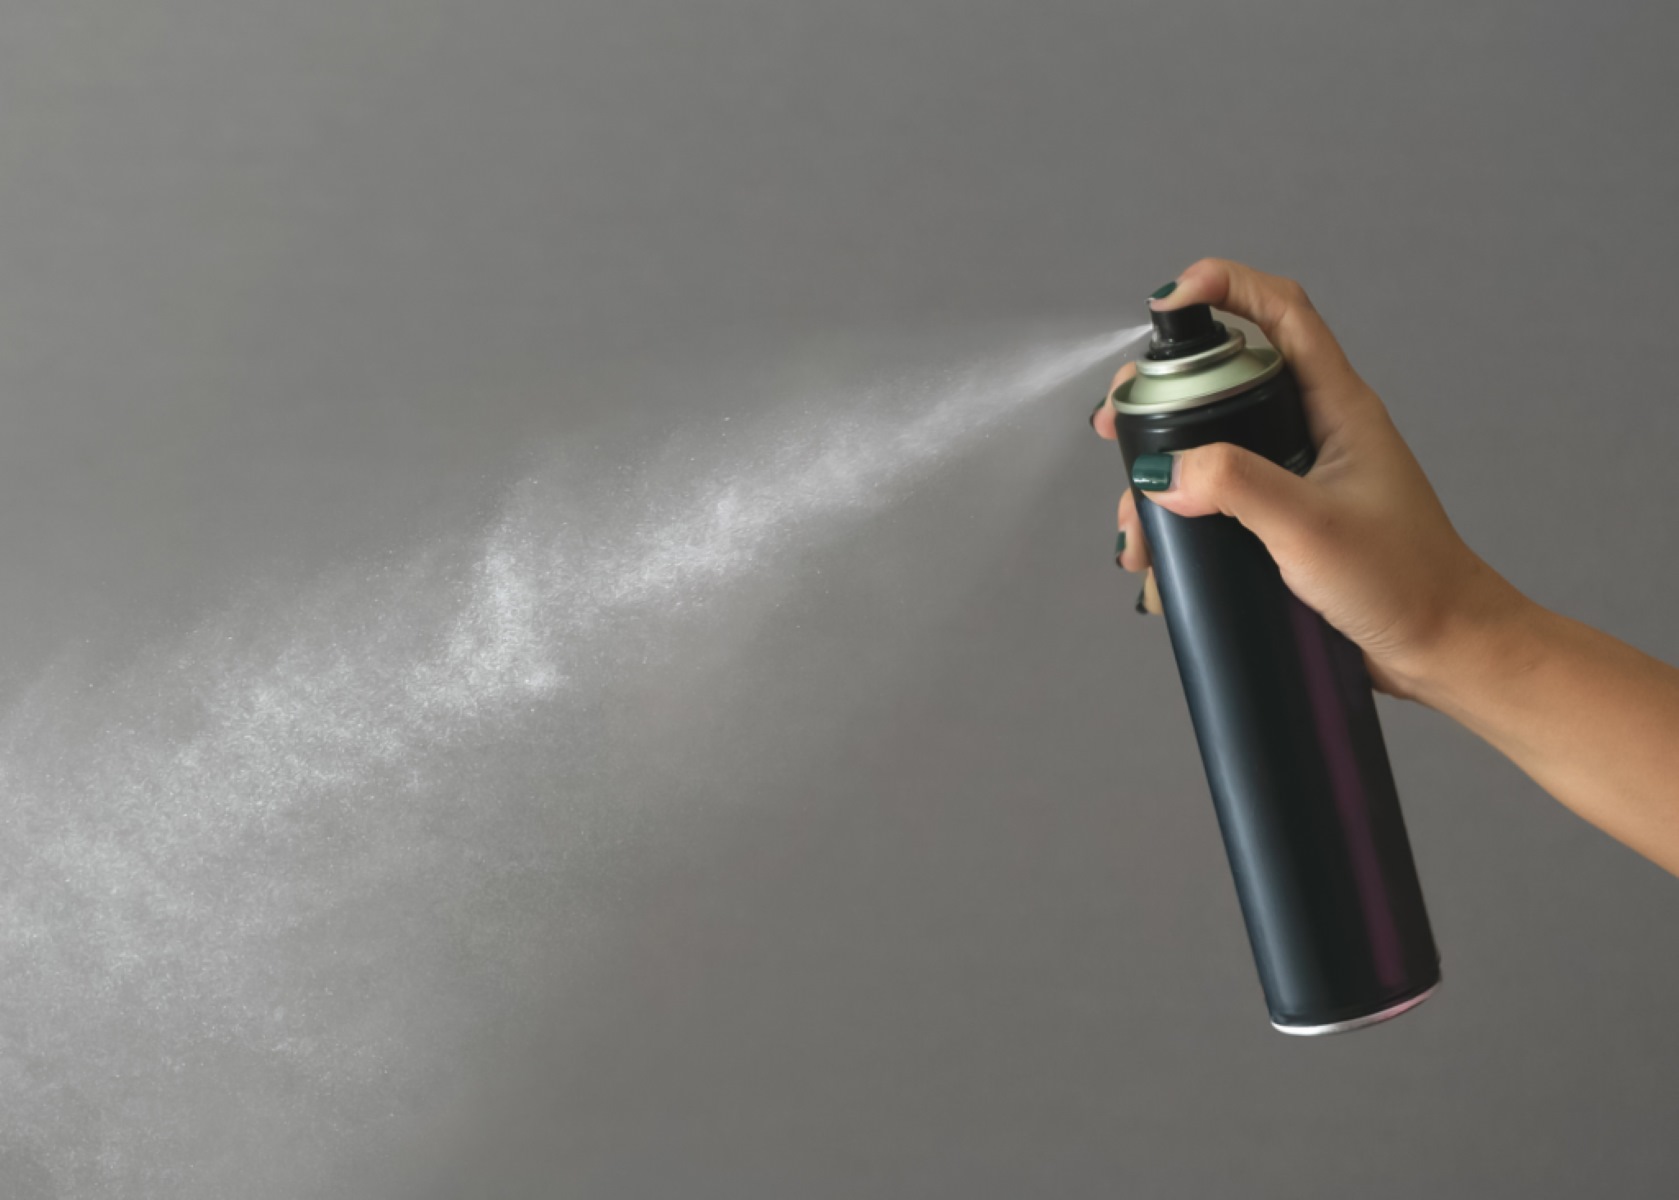
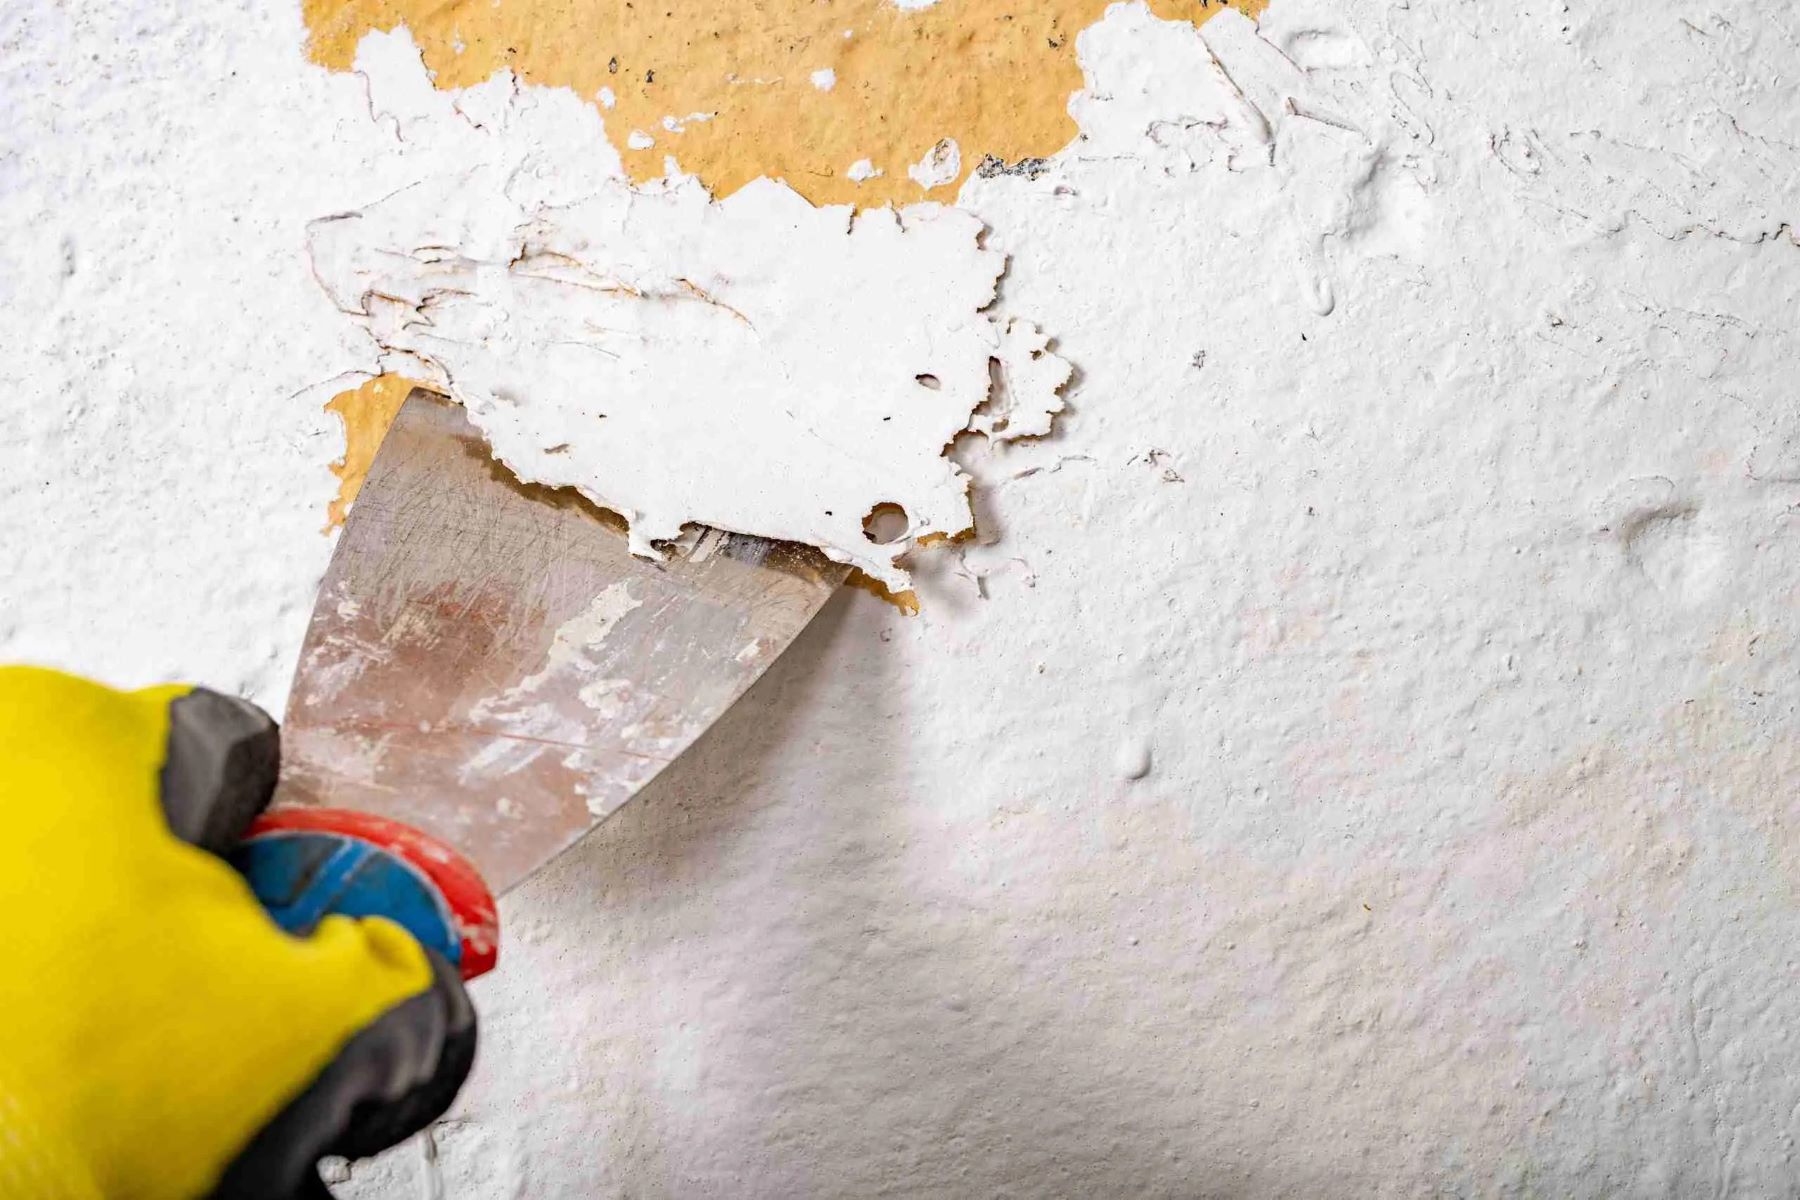
Step 3: Apply Lubricant (if necessary)
Applying lubricant can be extremely helpful when dealing with stubborn or corroded hose connections. It can make the removal process smoother and reduce the risk of damaging the faucet or the hose. Here’s how you can apply lubricant, if needed:
- Select the appropriate lubricant: Choose a lubricant that is safe to use with plumbing materials and is suitable for the type of hose and faucet you have. Silicone-based lubricants or multipurpose lubricants are commonly used for this purpose.
- Apply a small amount of lubricant: Use a clean cloth or your fingertips to apply a small amount of lubricant to the area where the hose is connected to the faucet. Be careful not to apply too much, as excess lubricant can cause slipping and difficulty in gripping the hose.
- Allow the lubricant to penetrate: Give the lubricant some time to work its magic. Depending on the product, you may need to wait a few minutes or follow the manufacturer’s instructions before attempting to remove the hose again.
- Try removing the hose: Once the lubricant has had a chance to work, try loosening and removing the hose using the methods mentioned in Step 2. The lubricant should help reduce friction and make the process easier.
Remember to clean up any excess lubricant after removing the hose to prevent it from attracting dirt or causing slippery surfaces. It’s also a good idea to wash your hands thoroughly to remove any residual lubricant.
Note: Lubricants should be used sparingly and only when necessary. If you’re working with a new or easily removable hose, lubricant may not be needed, so use your judgment accordingly.
Use a pair of adjustable pliers to grip the hose fitting and twist it counterclockwise to loosen it from the faucet. If it’s stuck, try spraying some lubricant around the fitting to help loosen it.
Read more: How To Fix A Leaky Hose Faucet
Step 4: Use Pliers or Wrench to Remove Stubborn Hose
If you’re dealing with a particularly stubborn hose connection that won’t budge with just your hands, you can use pliers or a wrench to provide additional leverage. Here’s how:
- Select the appropriate tool: Choose a pair of adjustable pliers or a wrench that will fit securely around the hose connection without damaging it.
- Grip the hose connection: Use the pliers or wrench to grip the hose connection firmly. Ensure that you have a good grip and that the tool is securely in place.
- Turn counterclockwise: With a strong grip on the hose connection, turn the pliers or wrench counterclockwise. Apply steady pressure, but be cautious not to use excessive force that could cause damage.
- Rotate back and forth: If the hose connection is still stubborn, try moving the pliers or wrench back and forth in small increments. This motion can help loosen the connection by working it from different angles.
- Continue until the hose is detached: Keep turning the pliers or wrench counterclockwise until the hose connection loosens completely and you can remove the hose from the faucet.
Remember to take your time and be patient while using pliers or a wrench. Applying too much force or using improper techniques can damage the faucet or hose. If you’re unsure about using these tools, it’s best to seek assistance from a professional plumber.
Once the stubborn hose is removed, proceed to the next step to ensure the faucet is in good condition and to clean the area before storing the hose properly.
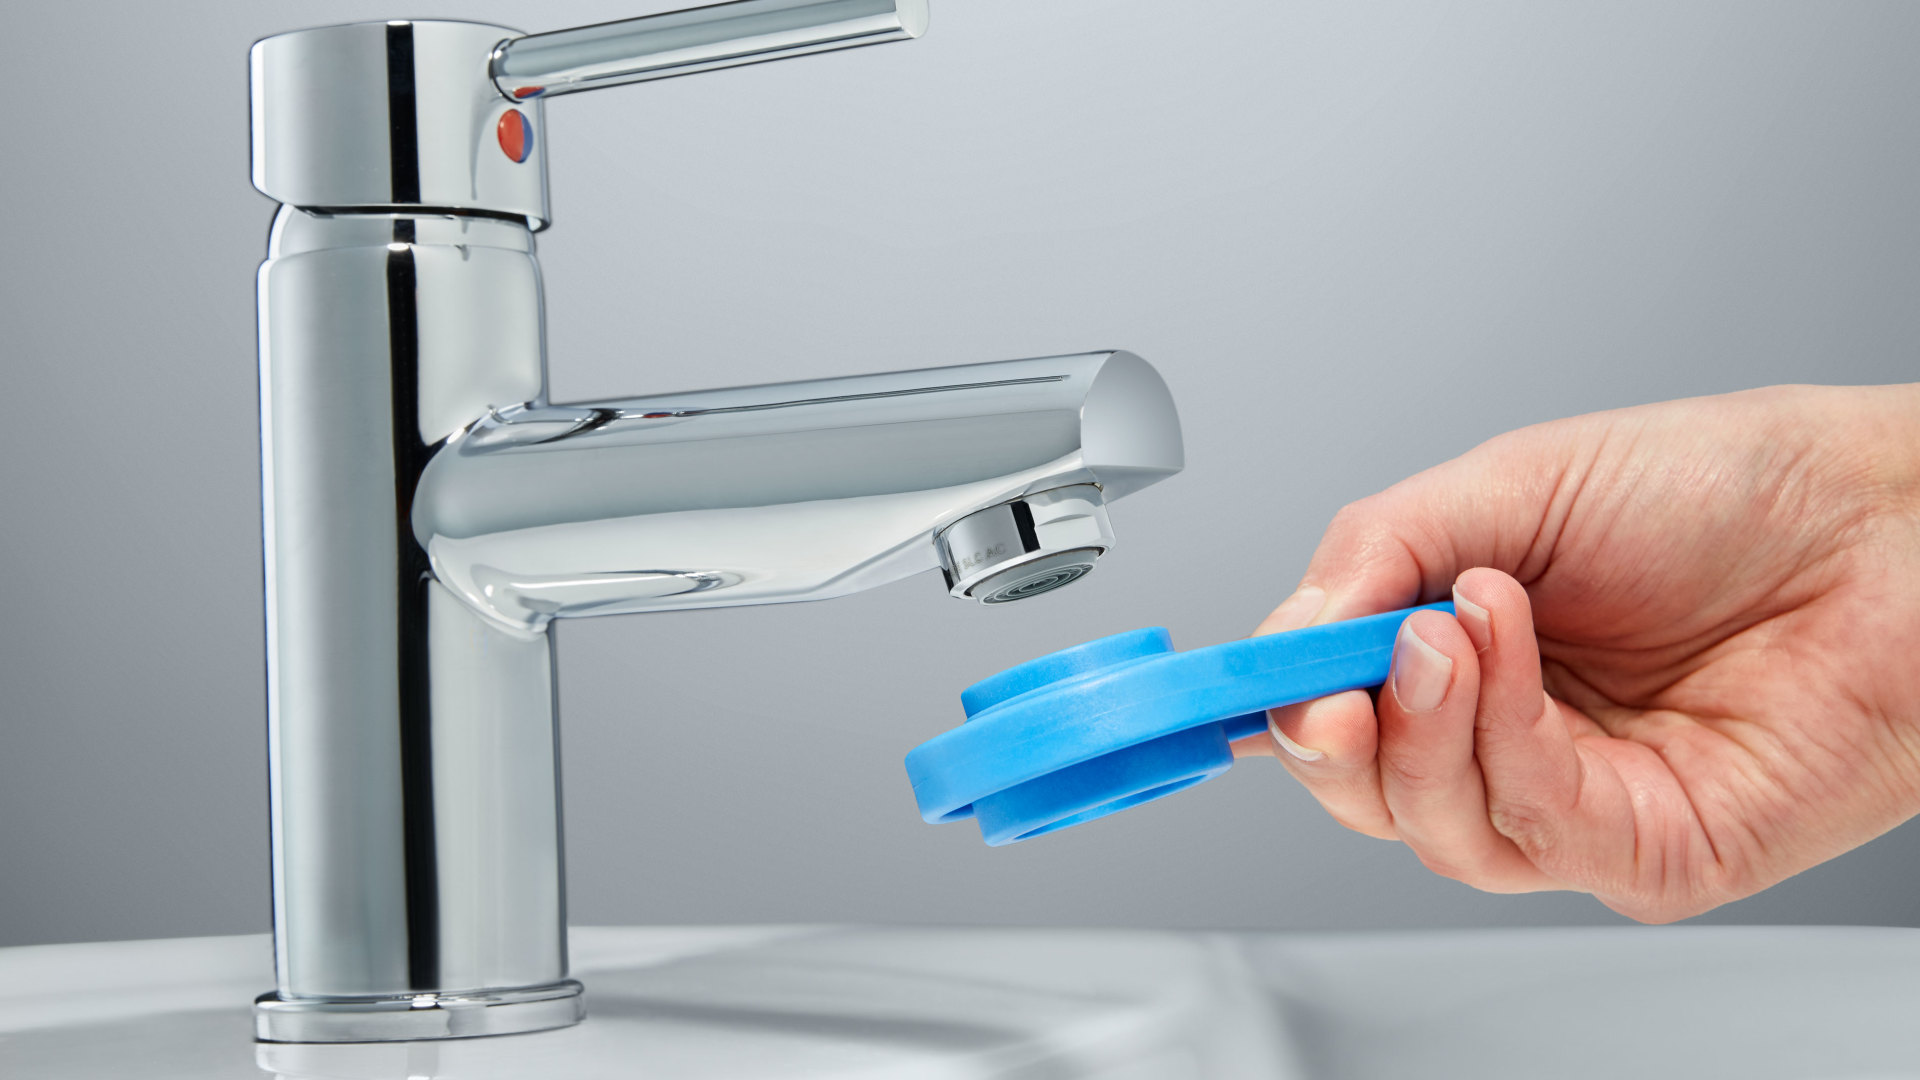
Step 5: Inspect and Clean the Faucet
After removing the hose, it’s essential to inspect and clean the faucet to ensure its proper functioning and longevity. Here are the steps to follow:
- Inspect for damage: Take a closer look at the faucet and check for any signs of damage or wear and tear. Look for cracks, leaks, or any loose parts that may need repair or replacement.
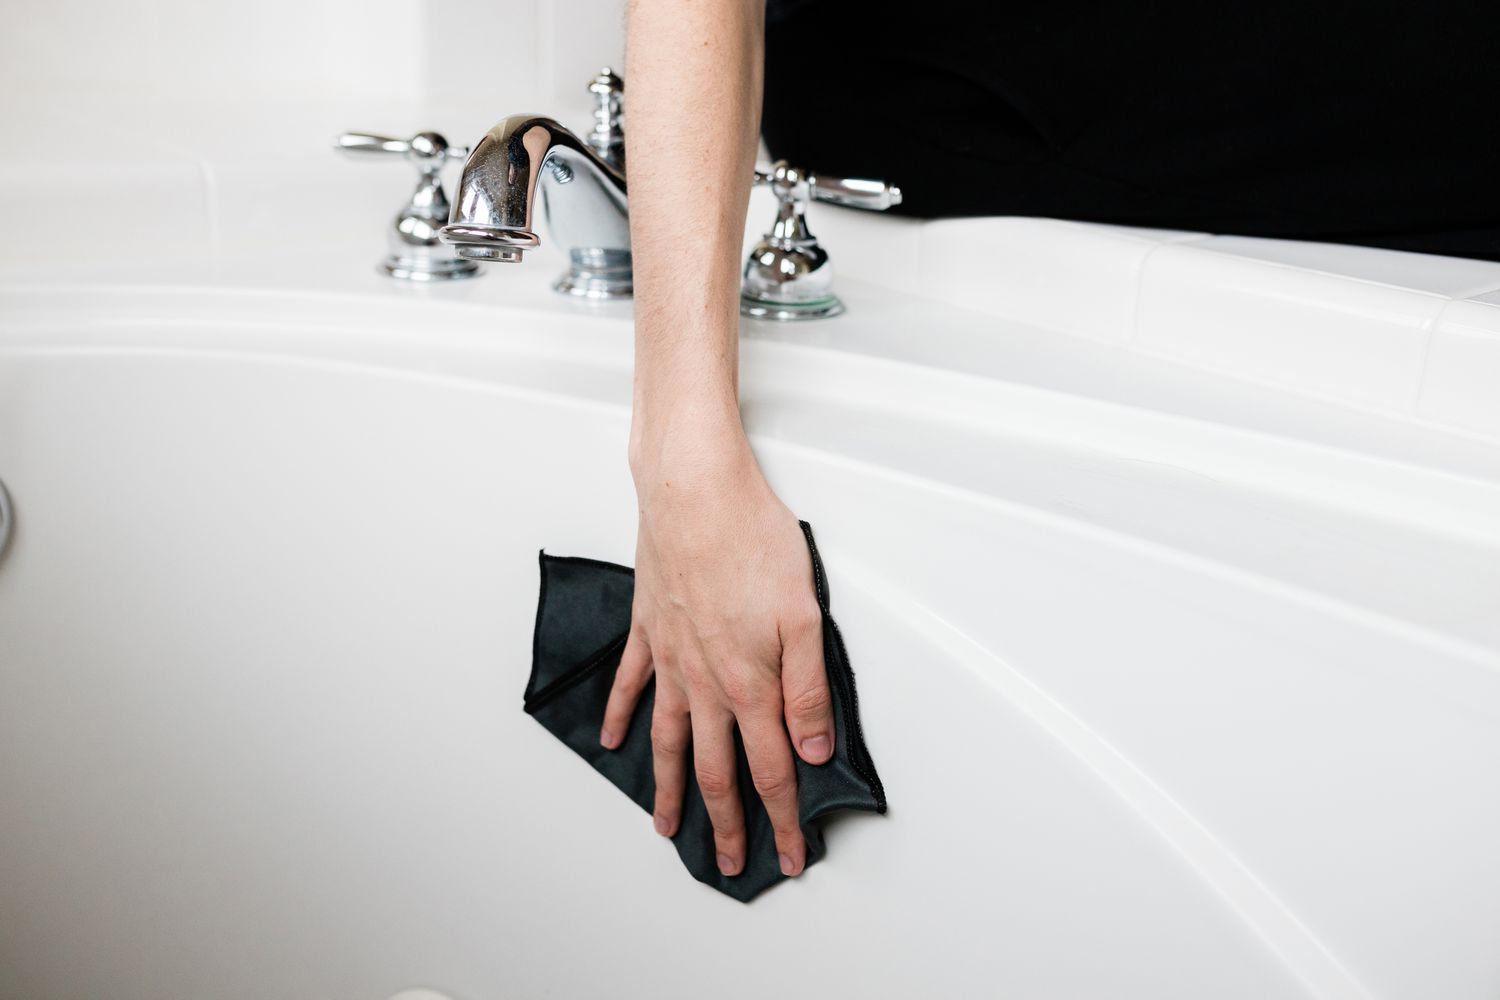
- Remove any debris: Use a clean cloth or a soft brush to remove any dirt, debris, or mineral deposits from the faucet and the surrounding areas. Pay close attention to the area where the hose connection was, as it can accumulate grime over time.
- Clean with gentle detergent: If the faucet has stubborn stains or residues, you can use a gentle detergent or mild soap mixed with water. Dampen a cloth with the soapy solution and gently wipe away the stains. Rinse thoroughly with clean water afterward.
- Check the O-rings: O-rings are small rubber rings that create a watertight seal in the faucet. Inspect them for any signs of wear or damage. If necessary, replace them to ensure a tight connection when reattaching a hose in the future.
By inspecting and cleaning your faucet regularly, you can maintain its optimal performance and prevent any issues in the long run. Good maintenance practices can extend the lifespan of your faucet and ensure a leak-free connection when reattaching a hose or using the faucet normally.
Now that your faucet is clean and in good condition, let’s move on to the final step – properly storing the hose to maintain its longevity.
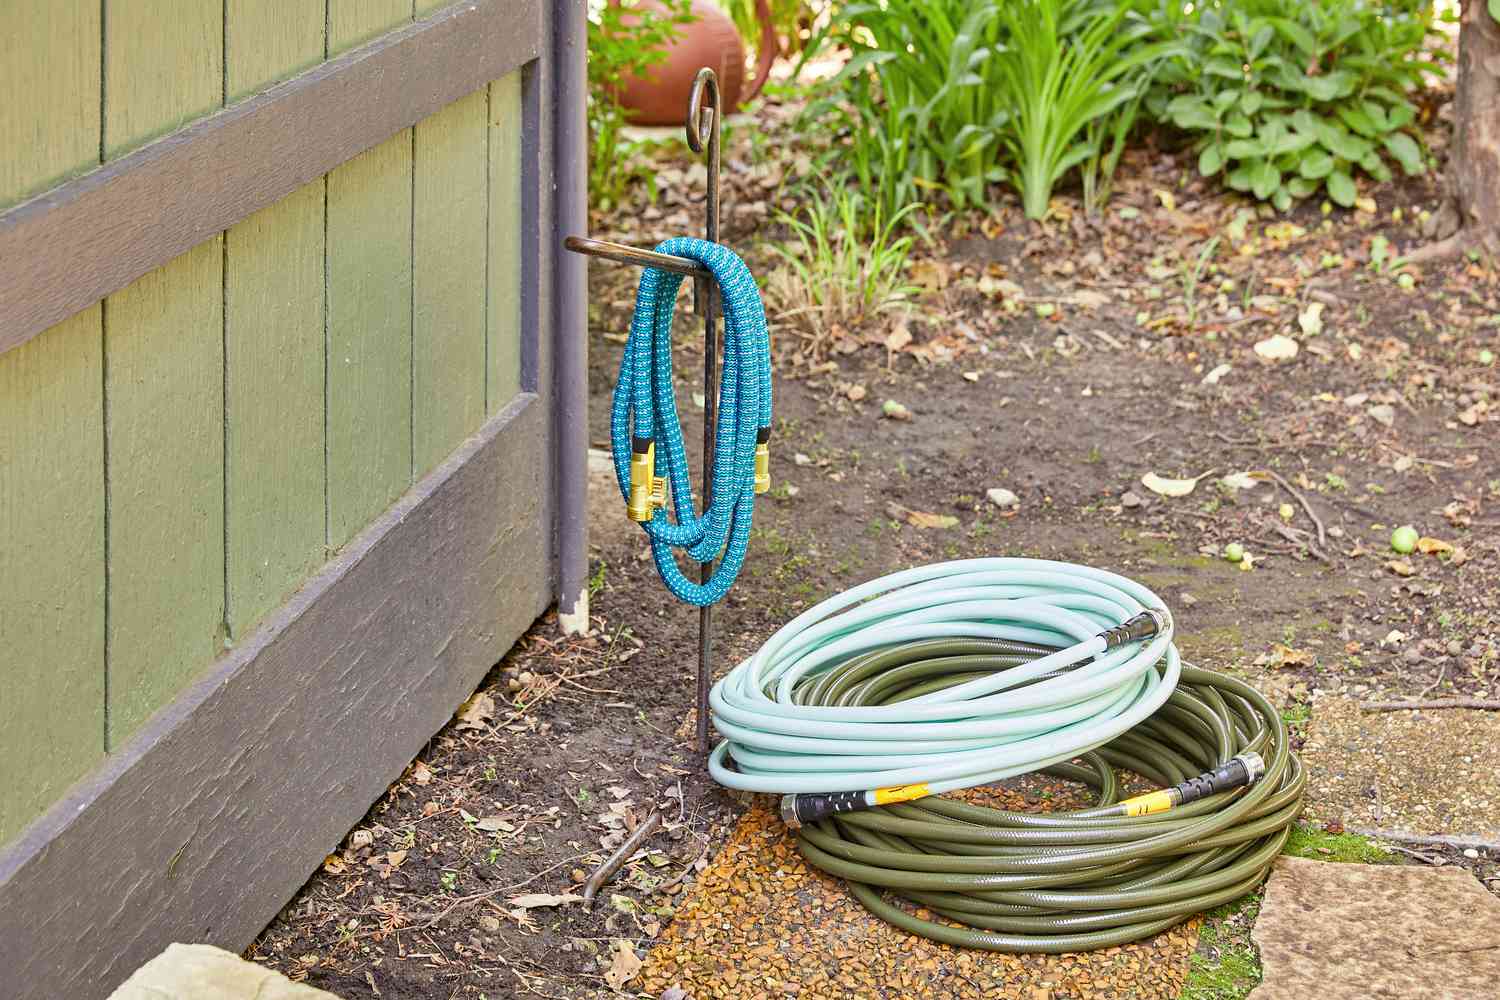
Step 6: Store the Hose Properly
Properly storing your hose when it’s not in use is crucial to maintain its longevity and prevent damage. Here’s how you can store the hose correctly:
- Drain the water: Before storing the hose, it’s essential to drain any remaining water to prevent freezing, which can cause the hose to expand and potentially burst. Disconnect the hose from the faucet and hold it downhill to allow the water to drain completely.
- Clean the hose: If your hose is dirty or has any residues, give it a quick rinse with clean water and gently scrub off any debris. Allow it to dry completely to prevent mold or mildew growth during storage.
- Avoid direct sunlight: Store the hose in a shaded area or a hose reel with a cover to protect it from excessive exposure to sunlight. UV rays can cause the hose material to deteriorate over time.
- Coil the hose: Start coiling the hose in a large, loose loop. Avoid kinks or knots, as they can weaken the hose and hinder proper water flow. If you have a hose reel, use it to neatly and evenly wrap the hose around it.
- Elevate the hose: If possible, elevate the coiled hose off the ground to prevent it from getting dirty or damaged. You can use hooks, brackets, or a hose hanger to keep it off the floor.
- Store in a dry place: Choose a storage location that is dry and protected from extreme temperatures. Moisture and temperature fluctuations can damage the hose material. A garage, shed, or basement are ideal storage options.
By following these storage practices, you can prolong the lifespan of your hose and ensure that it’s in good condition when you need to use it again. Taking the time to store it properly will save you from dealing with tangled or damaged hoses in the future.
With these steps completed, you have successfully removed the hose from the faucet and stored it correctly. Congratulations!
Conclusion
Removing a hose from a faucet may seem like a simple task, but it’s important to do it correctly to prevent any damage to the faucet or hose. By following the step-by-step guide provided in this article, you can safely and effectively remove a hose from a faucet with ease.
Remember to gather all the necessary tools and materials before starting the process. Turn off the water supply, loosen the hose connection, and apply lubricant if necessary. Use pliers or a wrench to remove stubborn hoses, inspect and clean the faucet, and store the hose properly to maintain its longevity.
By taking the time to perform these steps, you’ll ensure that your faucet remains in good condition and your hose is ready for use when needed. Proper removal and storage practices not only prevent damage but also contribute to the overall lifespan and functionality of your hose and faucet.
Now that you have the knowledge and understanding of how to get a hose off a faucet, you can confidently tackle this task whenever the need arises. So go ahead, give it a try, and enjoy a hassle-free hose removal process!
Frequently Asked Questions about How To Get A Hose Off A Faucet
Was this page helpful?
At Storables.com, we guarantee accurate and reliable information. Our content, validated by Expert Board Contributors, is crafted following stringent Editorial Policies. We're committed to providing you with well-researched, expert-backed insights for all your informational needs.
0 thoughts on “How To Get A Hose Off A Faucet”