Home>Home Appliances>Laundry Appliances>How To Remove A Washing Machine Hose

Laundry Appliances
How To Remove A Washing Machine Hose
Modified: November 2, 2024
Learn how to safely remove a washing machine hose with our step-by-step guide. Keep your laundry appliances in top condition with our expert tips.
(Many of the links in this article redirect to a specific reviewed product. Your purchase of these products through affiliate links helps to generate commission for Storables.com, at no extra cost. Learn more)
Introduction
Removing a washing machine hose may seem like a daunting task, but with the right guidance and tools, it can be a straightforward process. Over time, washing machine hoses can become clogged with debris or develop leaks, necessitating their removal for inspection, cleaning, or replacement. By following the steps outlined in this guide, you can effectively remove a washing machine hose and address any issues that may be affecting its performance.
Whether you are a seasoned DIY enthusiast or a novice homeowner, understanding how to remove a washing machine hose is a valuable skill that can save you time and money in the long run. By taking the time to inspect and maintain your washing machine hoses, you can prevent potential water damage and ensure that your appliance continues to function optimally.
In the following sections, we will walk you through the step-by-step process of removing a washing machine hose, providing clear instructions and valuable tips to help you complete the task with confidence. Before diving into the removal process, it's important to gather the necessary tools and materials to ensure a smooth and efficient experience. With the right preparation and guidance, you can tackle this maintenance task with ease and keep your laundry appliances in top condition.
Key Takeaways:
- Regularly inspect and clean washing machine hoses to prevent leaks and water damage. By following simple steps, you can maintain your appliance and save time and money in the long run.
- Turning off the water supply and using basic tools, you can confidently remove, inspect, and reconnect washing machine hoses. This DIY task ensures your appliance functions optimally and minimizes potential water-related issues.
Read more: How To Remove Washer Hose
Tools and Materials Needed
Before embarking on the process of removing a washing machine hose, it's essential to gather the necessary tools and materials to facilitate a seamless and efficient experience. Here's a comprehensive list of items you'll need to have on hand:
Tools:
- Adjustable Wrench: This versatile tool will enable you to loosen and tighten the hose connections securely.
- Bucket: Having a bucket nearby will allow you to catch any residual water that may drain from the hose during the removal process.
- Flashlight: A flashlight can be invaluable for illuminating the area behind the washing machine, making it easier to access and inspect the hose connections.
- Towels or Rags: Keep a few towels or rags handy to wipe up any spills or drips that may occur during the hose removal.
Materials:
- Replacement Hose (Optional): If you are inspecting or replacing the existing hose, it's advisable to have a replacement hose on hand in case the current one shows signs of wear or damage.
- Gloves: Wearing gloves can protect your hands from any sharp edges or debris that may be encountered while handling the hose.
- White Vinegar or Mild Cleaning Solution: If you plan to clean the hose during the removal process, having white vinegar or a mild cleaning solution available will be beneficial for removing any built-up residue or debris.
By ensuring that you have these tools and materials readily available, you can streamline the process of removing a washing machine hose and address any maintenance or replacement needs effectively. With the right preparation, you'll be well-equipped to tackle this task with confidence and achieve optimal results for your laundry appliance.
Step 1: Turn Off the Water Supply
Before initiating the process of removing a washing machine hose, it is crucial to begin by turning off the water supply to the appliance. This step is essential to prevent any potential leaks or water spillage during the hose removal process. Here's a detailed guide on how to effectively turn off the water supply for your washing machine:
-
Locate the Water Shut-Off Valve: Begin by identifying the water shut-off valve that supplies water to your washing machine. This valve is typically located behind the appliance or along the wall in close proximity to the machine. It may be connected to a pair of hoses, one for hot water and the other for cold water.
-
Turn Off the Valve: Once you have located the water shut-off valve, use your hand to turn the valve in a clockwise direction until it is fully closed. This action will stop the flow of water to the washing machine, ensuring that the hose removal process can be carried out without any water leakage.
-
Verify the Water Supply: After closing the shut-off valve, it is advisable to verify that the water supply has been effectively turned off. You can do this by attempting to start a washing machine cycle to ensure that no water is entering the appliance. Additionally, you can check the hoses and connections for any signs of water flow to confirm that the supply has been successfully shut off.
By following these steps to turn off the water supply, you can create a safe and controlled environment for removing the washing machine hose. This precautionary measure helps to minimize the risk of water damage and ensures that the subsequent steps in the hose removal process can be carried out smoothly and efficiently.
Remember, safety should always be a top priority when working with household appliances and plumbing fixtures. By taking the time to properly turn off the water supply, you can set the stage for a successful hose removal process and maintain a secure and dry environment in your laundry area.
Read more: How To Hide Washing Machine Hoses
Step 2: Disconnect the Hose from the Washing Machine
With the water supply turned off and the necessary tools and materials at hand, you are now ready to proceed with disconnecting the hose from the washing machine. Follow these detailed steps to ensure a smooth and effective disconnection process:
-
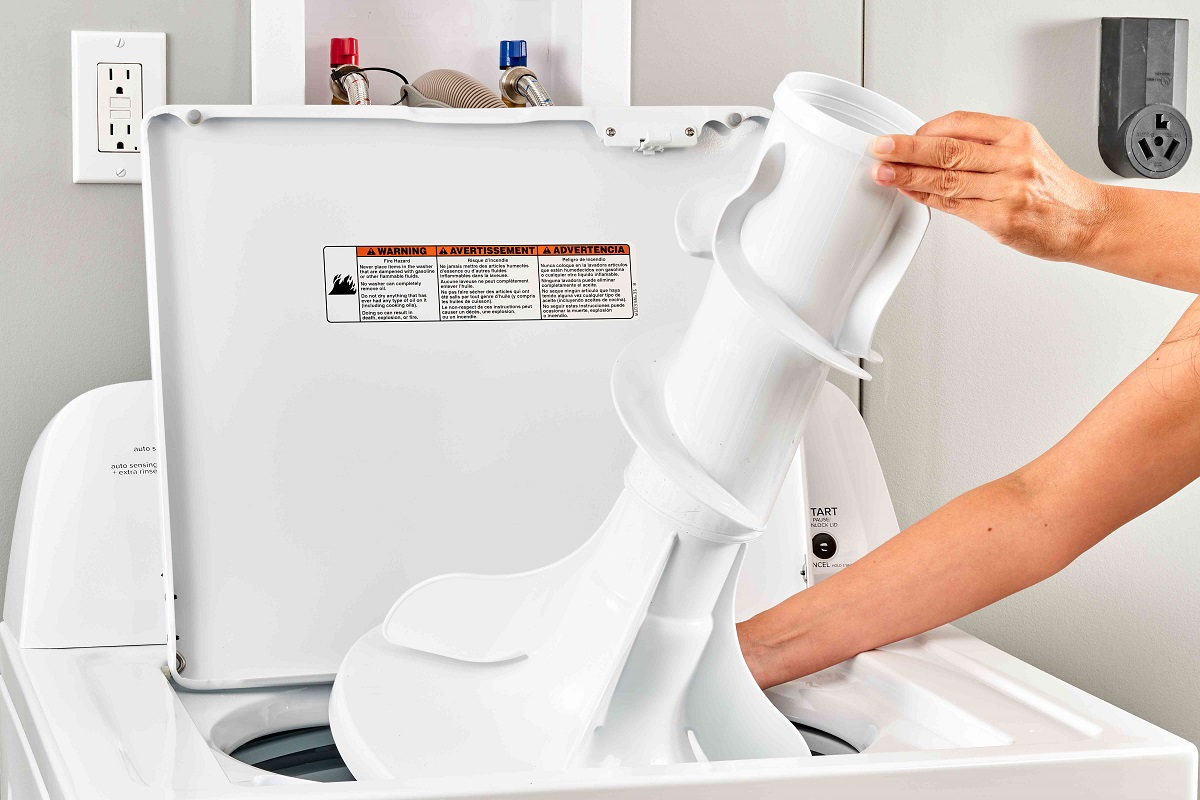
Access the Rear of the Washing Machine: Begin by carefully pulling the washing machine away from the wall to create ample space for accessing the rear of the appliance. If necessary, enlist the help of a friend or family member to assist with moving the machine, ensuring that it is done so safely and without causing damage to the flooring.
-
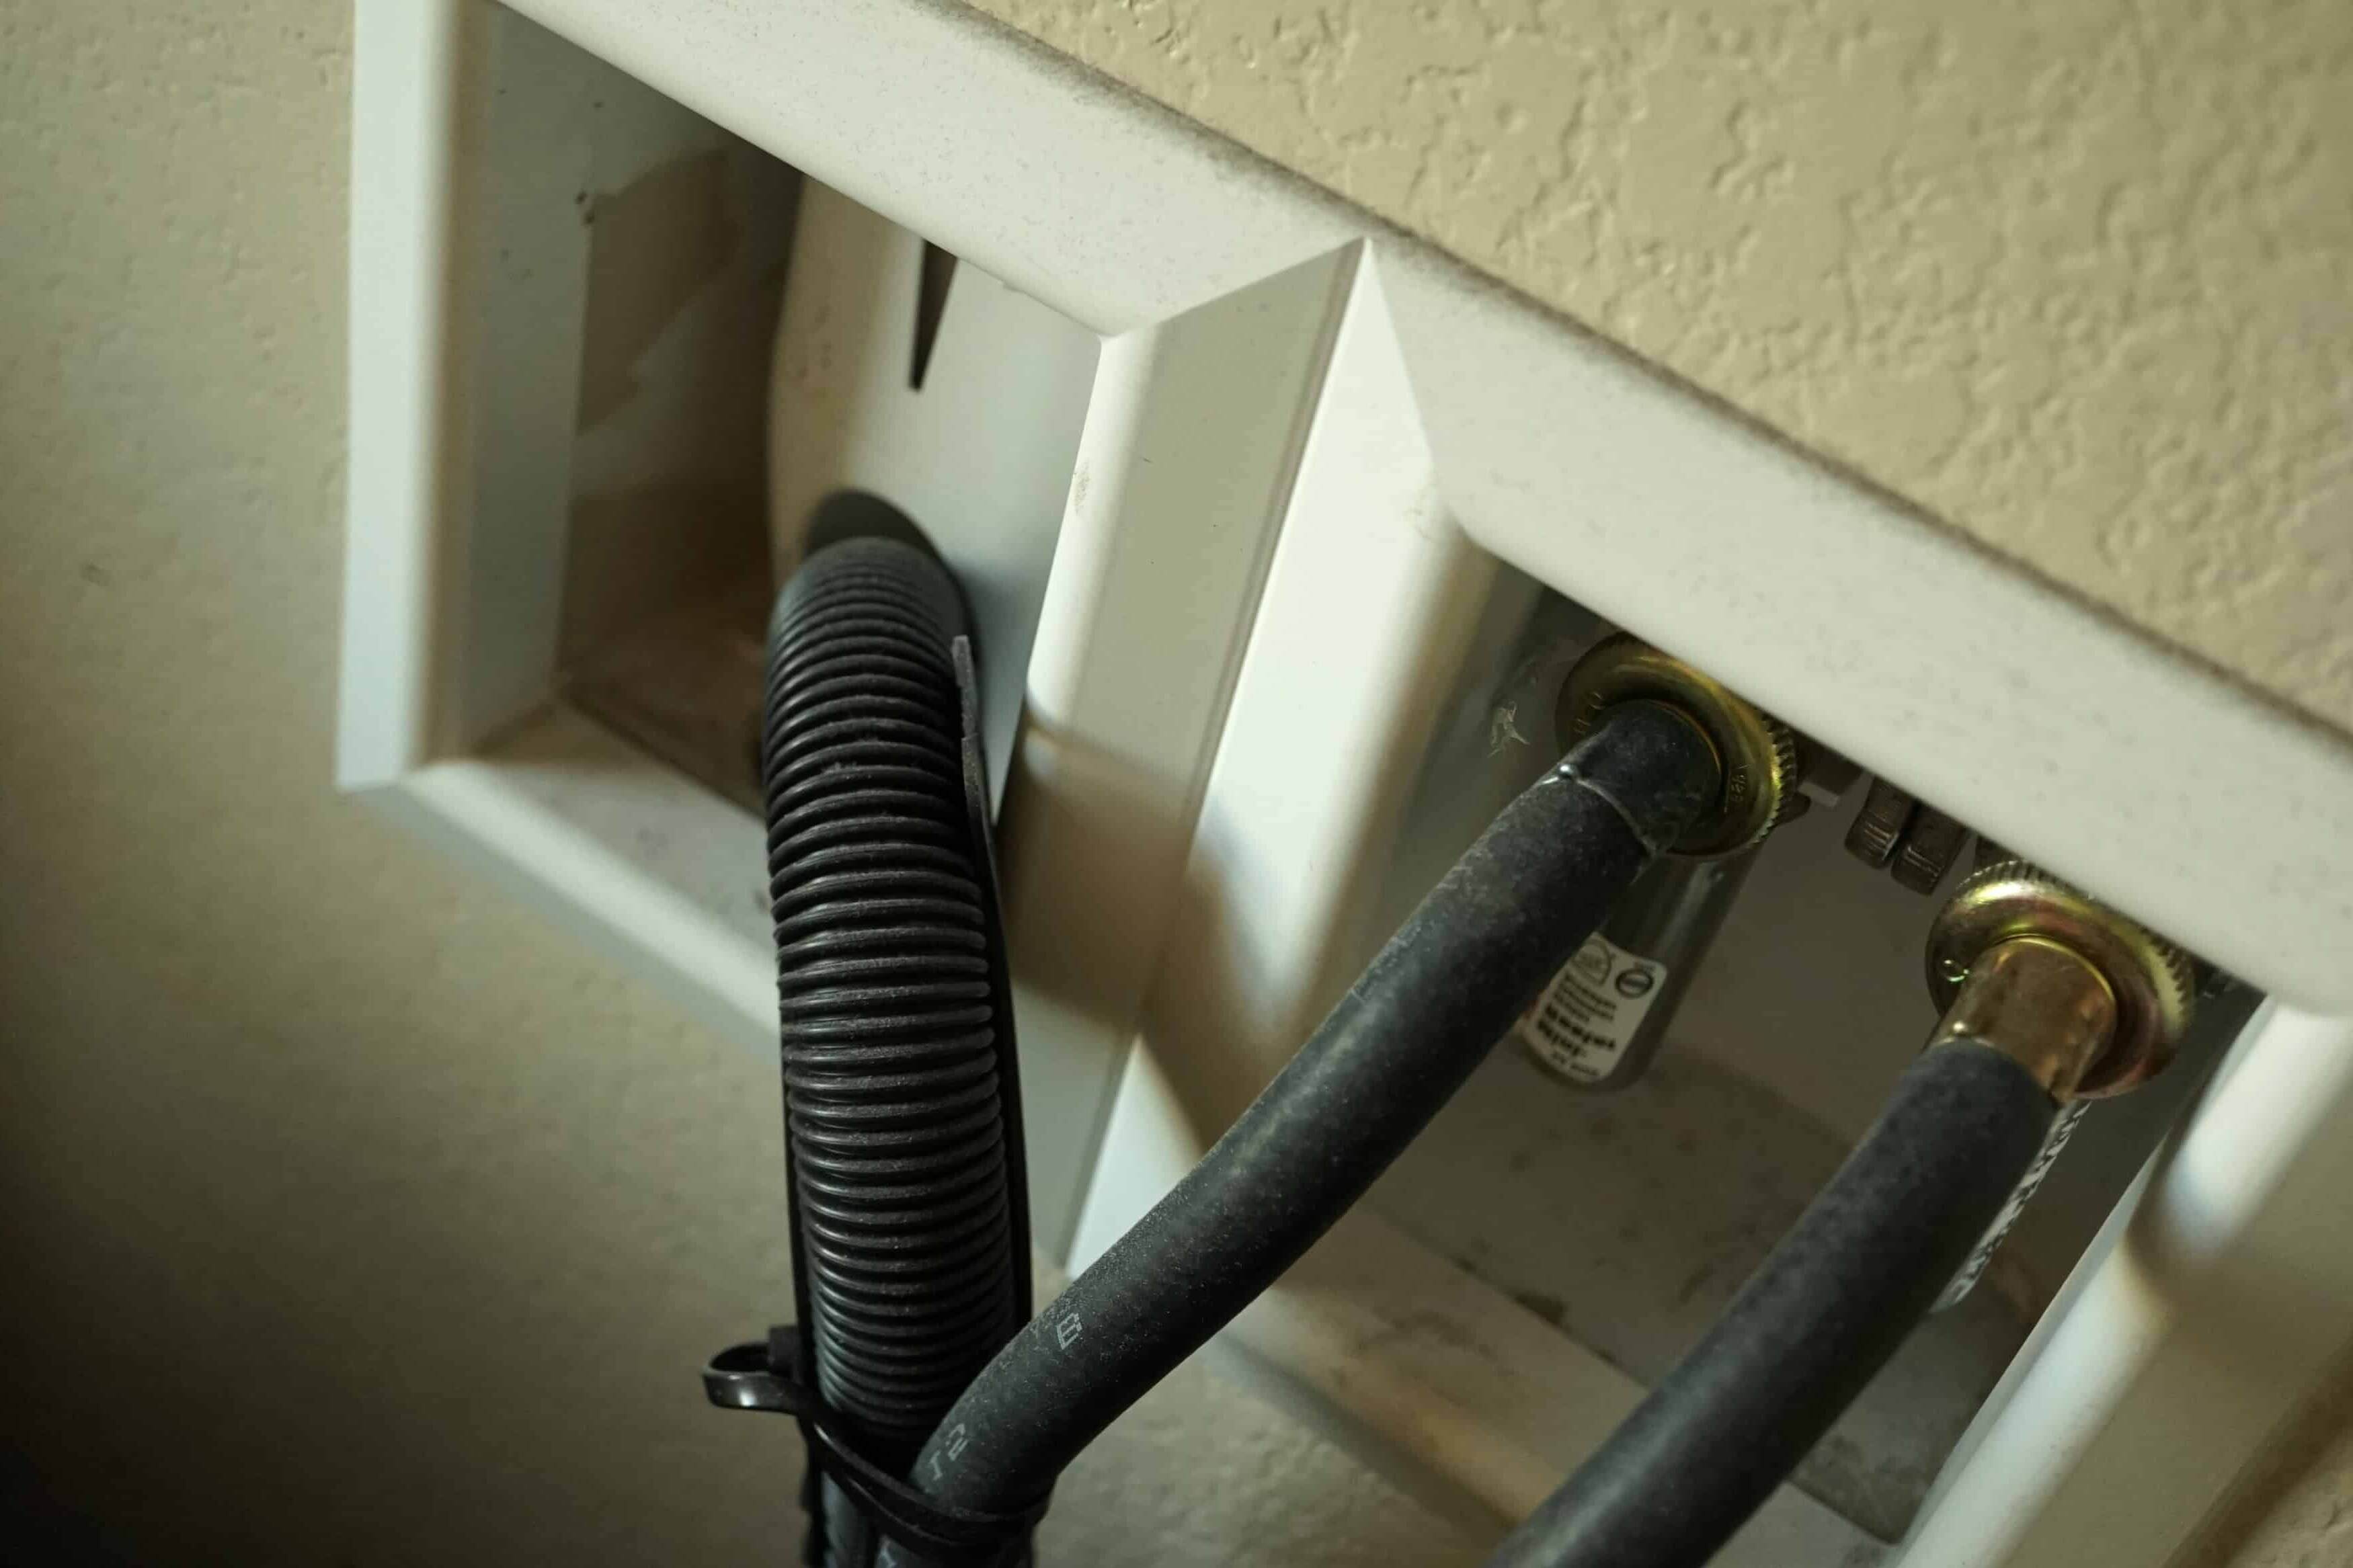
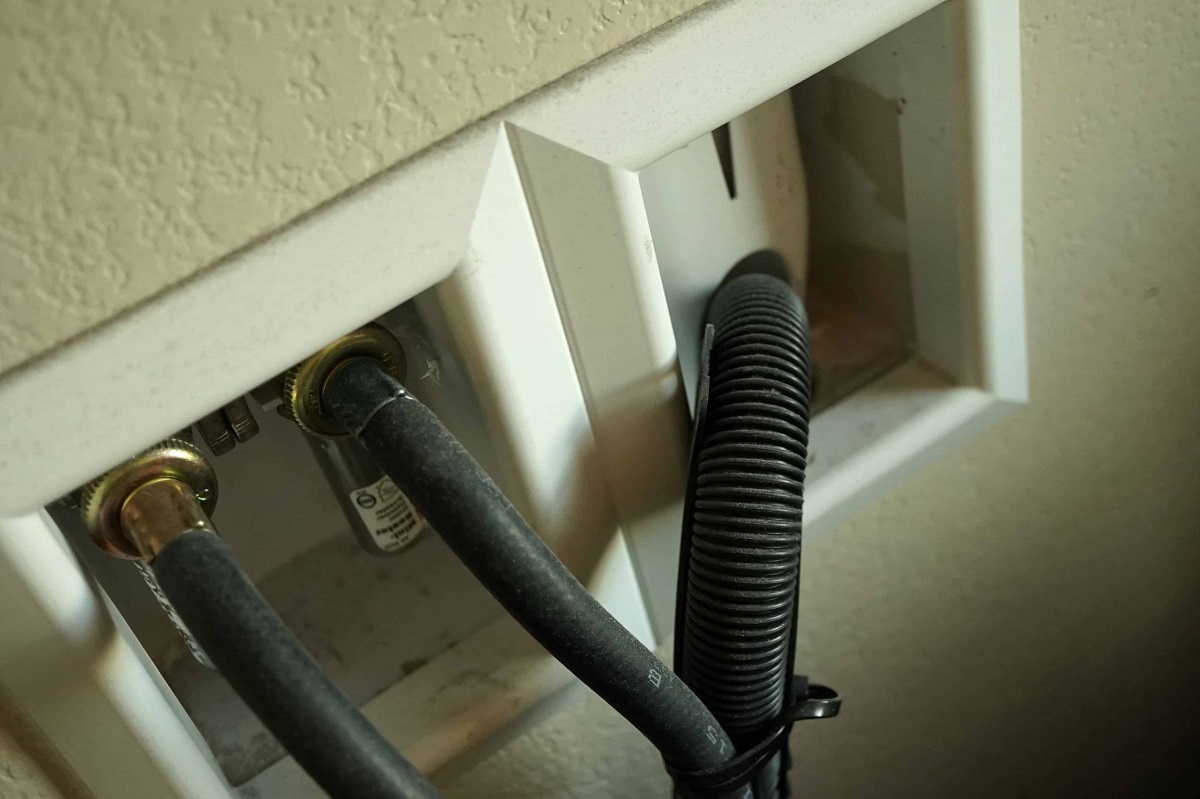
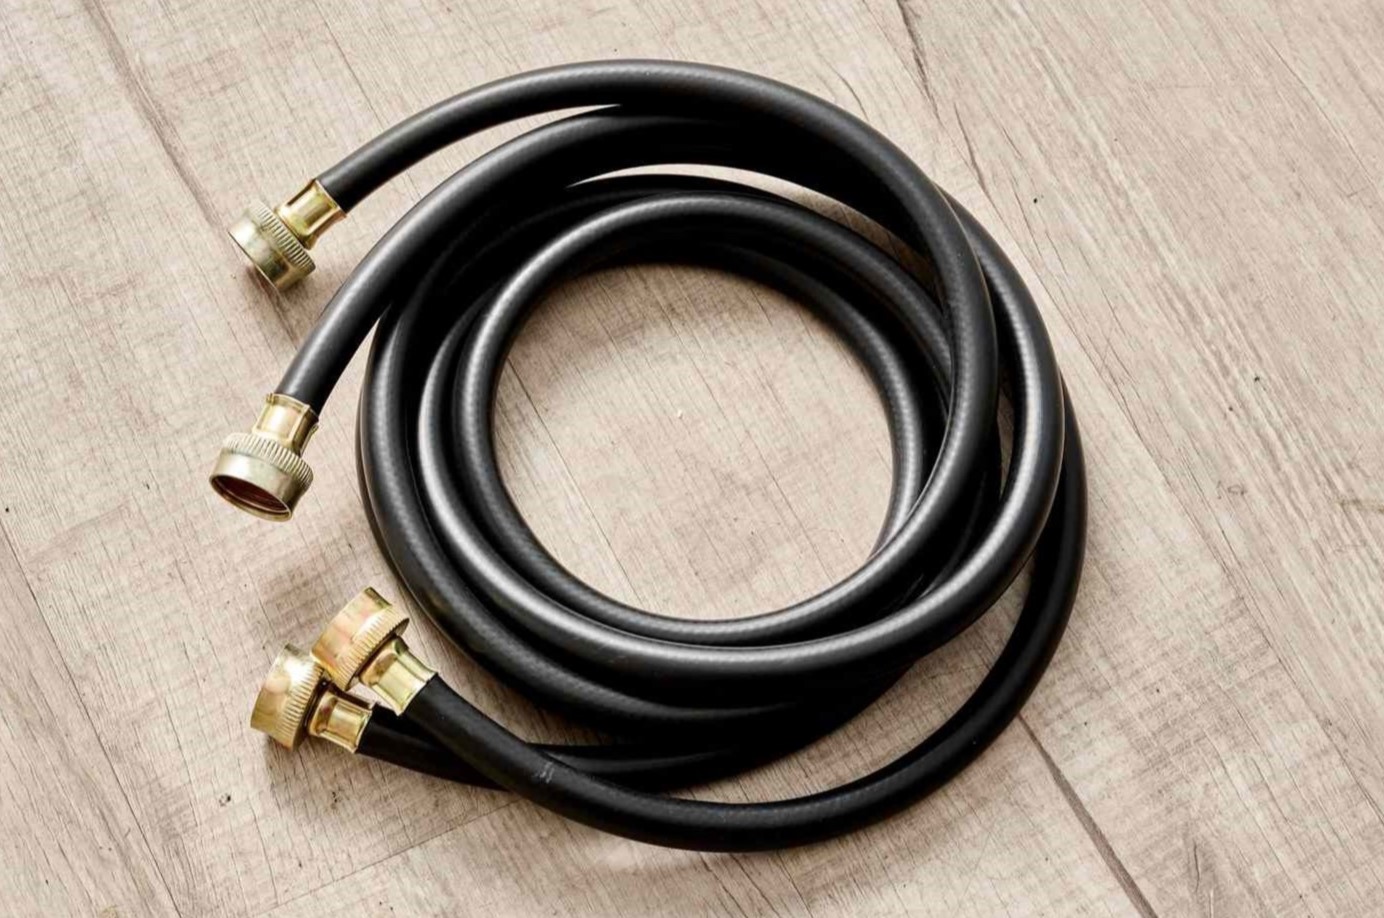
Locate the Hose Connections: Once you have clear access to the rear of the washing machine, identify the hose connections at the back of the appliance. Typically, there will be two hoses – one for hot water and the other for cold water. These hoses are secured to the washing machine with threaded fittings or hose clamps.
-
Use the Adjustable Wrench: Select the appropriate size of the adjustable wrench and use it to loosen the fittings or hose clamps that secure the washing machine hoses in place. Turn the wrench in a counterclockwise direction to loosen the connections, taking care not to apply excessive force that could damage the fittings or hoses.
-
Detach the Hoses: Once the fittings or clamps have been sufficiently loosened, carefully detach the hoses from the washing machine by gently pulling them away from the connections. Be prepared for some residual water to drain from the hoses, so it's advisable to have a bucket and towels or rags nearby to catch any spills and minimize mess.
-
Inspect the Hose and Connections: With the hoses disconnected, take a moment to inspect the condition of the hoses and the connections on the washing machine. Look for any signs of wear, damage, or debris accumulation that may have contributed to the need for hose removal. This inspection will help you determine if the hoses require cleaning, replacement, or if there are any underlying issues that need to be addressed.
By following these steps, you can effectively disconnect the washing machine hoses, paving the way for further inspection, cleaning, or replacement as needed. With the hoses removed from the appliance, you can proceed to the next steps in the maintenance process, confident in your ability to address any issues affecting the performance of your washing machine.
Step 3: Remove the Hose from the Water Supply
With the washing machine hoses successfully disconnected from the appliance, the next crucial step is to remove the hoses from the water supply. This process involves detaching the hoses from the water supply valves, which are typically located on the wall behind the washing machine. Follow these detailed steps to ensure a smooth and effective removal of the hoses from the water supply:
-
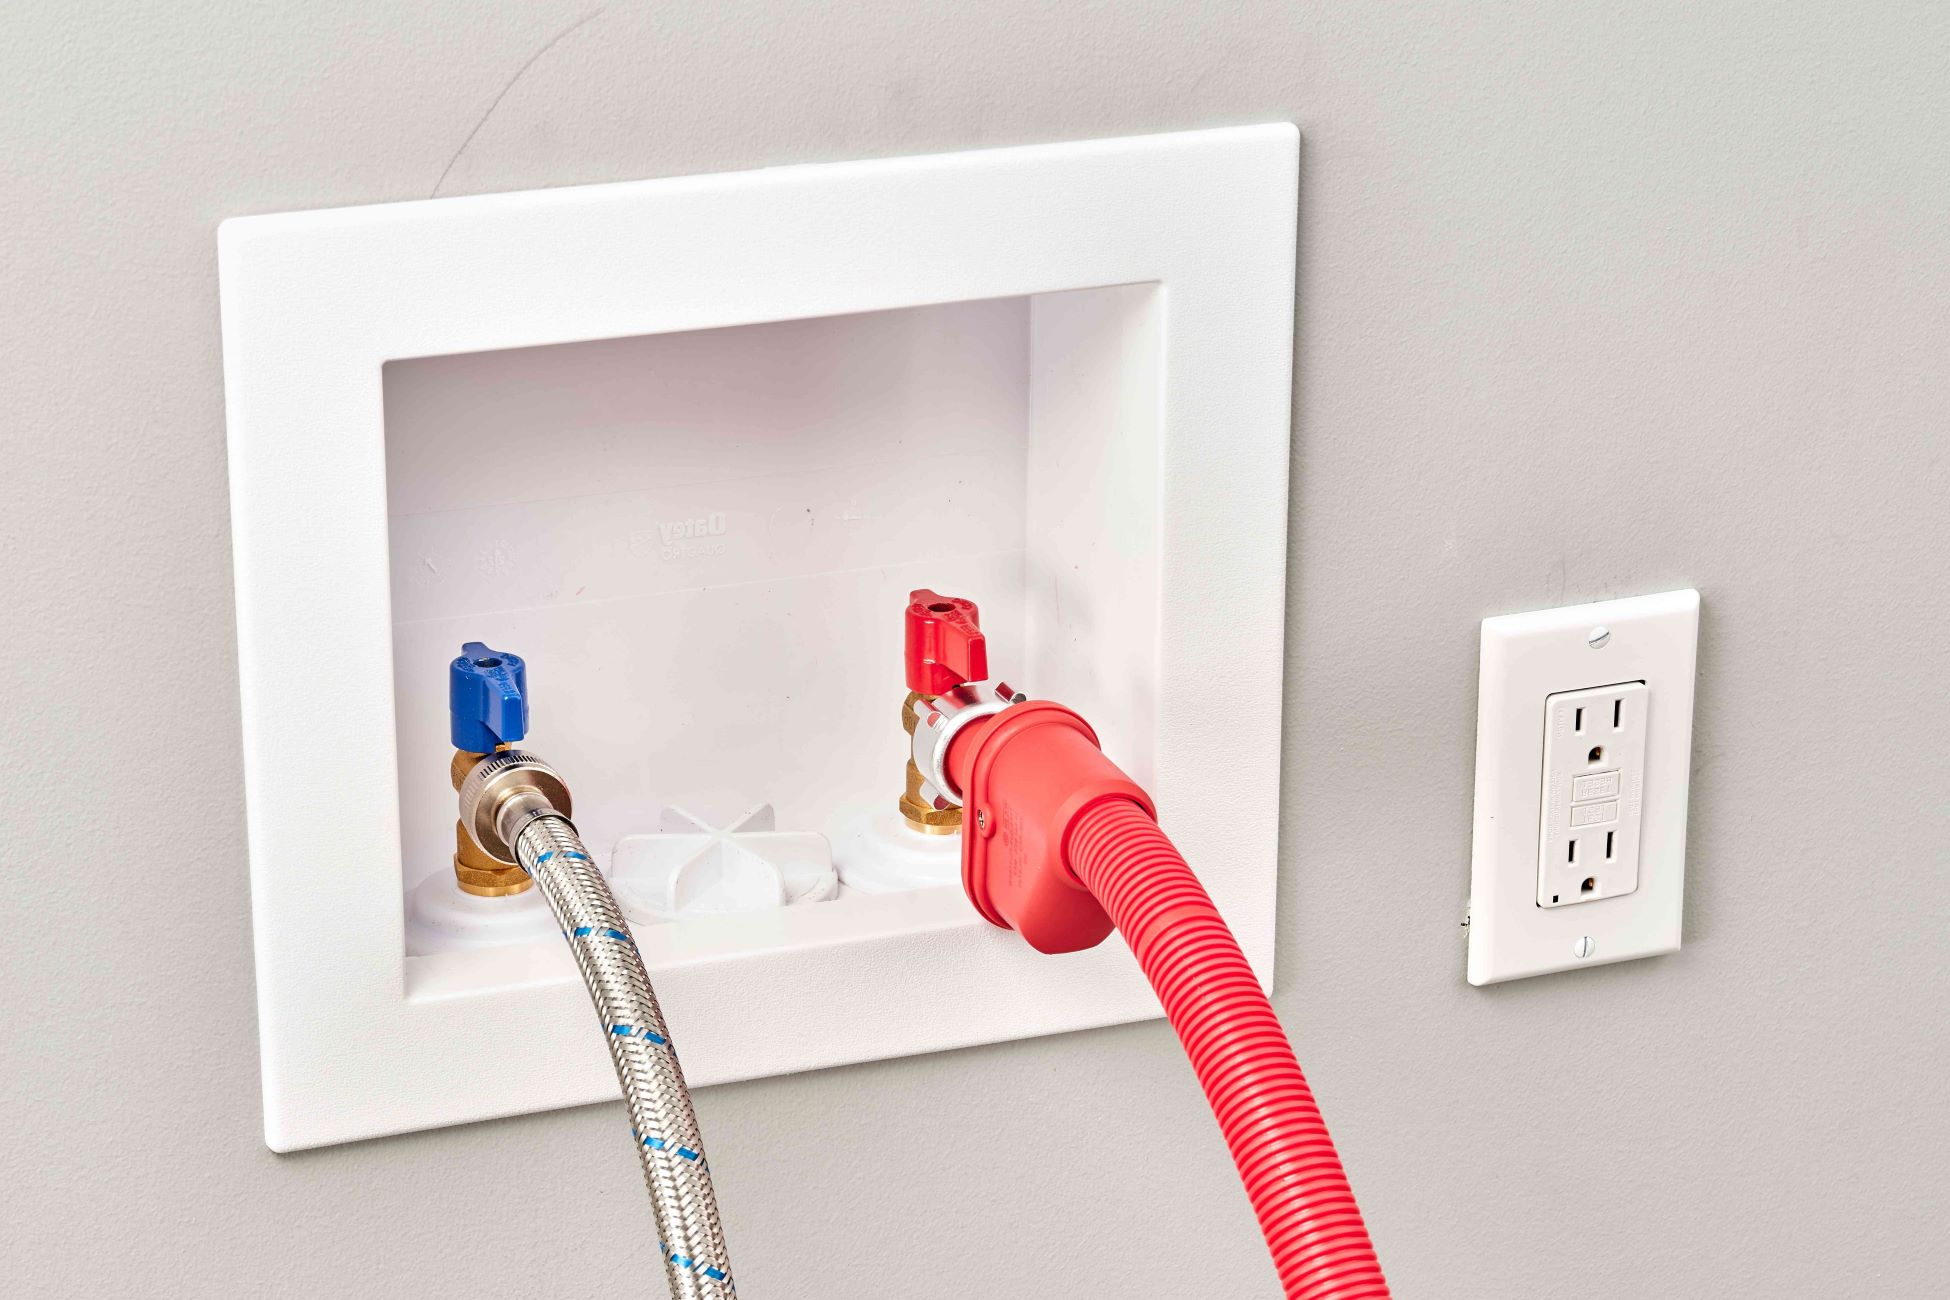
Locate the Water Supply Valves: Begin by identifying the hot and cold water supply valves positioned on the wall behind the washing machine. These valves are usually connected to the corresponding hoses that provide water to the appliance. It's essential to ensure that you are working with the correct valves to avoid disrupting the water supply to other areas of the household.
-
Turn Off the Water Supply: Using your hand, turn the hot and cold water supply valves in a clockwise direction until they are fully closed. This action will stop the flow of water to the hoses, preventing any potential leaks or spills during the removal process. Verifying that the water supply has been effectively turned off is crucial before proceeding to the next steps.
-
Loosen the Hose Connections: Once the water supply valves are closed, use the adjustable wrench to loosen the fittings or hose clamps that secure the hoses to the water supply valves. Turn the wrench in a counterclockwise direction to loosen the connections, taking care to apply gentle and controlled force to avoid damaging the valves or the surrounding plumbing.
-
Detach the Hoses from the Water Supply: With the fittings or clamps sufficiently loosened, carefully detach the hoses from the water supply valves by gently pulling them away from the connections. As with the previous step, be prepared for some residual water to drain from the hoses, so it's advisable to have a bucket and towels or rags nearby to catch any spills and minimize mess.
-
Inspect the Water Supply Valves: After removing the hoses, take a moment to inspect the condition of the water supply valves and the surrounding plumbing. Look for any signs of leaks, corrosion, or damage that may require attention. This inspection will help you identify any potential issues with the water supply system that need to be addressed.
By following these steps, you can effectively remove the washing machine hoses from the water supply, completing an essential phase of the maintenance process. With the hoses detached from both the appliance and the water supply, you are now ready to proceed with inspecting, cleaning, and addressing any maintenance needs before reattaching the hoses and restoring the water supply to the washing machine.
Step 4: Inspect and Clean the Hose
With the washing machine hoses removed from both the appliance and the water supply, it's essential to thoroughly inspect and clean the hoses to ensure optimal performance and longevity. This step allows you to identify any signs of wear, damage, or debris accumulation that may have contributed to potential issues with your washing machine. Here's a detailed guide on how to effectively inspect and clean the hoses:
Inspection:
- Visual Examination: Begin by visually inspecting the entire length of each hose, checking for any signs of wear, such as cracks, bulges, or fraying. Pay close attention to the hose connections, as these areas are prone to damage and leaks.
- Flexibility and Firmness: Gently squeeze the hoses to assess their flexibility and firmness. Hoses that have become stiff or brittle over time may be more susceptible to leaks and should be considered for replacement.
- Debris and Blockages: Use a flashlight to inspect the interior of the hoses for any debris or blockages that may impede water flow. Look for mineral deposits, sediment buildup, or foreign objects that could affect the hose's performance.
Read more: How To Fix Pressure Washer Hose
Cleaning:
- Rinsing with Water: If the hoses show signs of debris or buildup, rinse them thoroughly with water to dislodge any loose particles. Use a gentle stream of water to flush out the interior of the hoses, ensuring that any accumulated residue is removed.
- White Vinegar Solution: For stubborn deposits or mineral buildup, create a solution of white vinegar and water. Submerge the affected end of the hose in the solution and allow it to soak for a few hours to dissolve mineral deposits effectively.
- Brushing and Wiping: Use a soft-bristled brush or cloth to gently scrub the exterior and interior of the hoses, removing any remaining residue or debris. Pay particular attention to the hose connections, ensuring that they are free from any obstructions.
Drying and Reassessment:
- Air Drying: After cleaning, allow the hoses to air dry completely before reinstallation. Ensure that both ends of the hoses are thoroughly dry to prevent moisture-related issues.
- Reinspection: Once the hoses are dry, perform a final inspection to verify that they are free from debris, damage, and blockages. Flex the hoses again to confirm that they have regained their flexibility and are in optimal condition for reinstallation.
By meticulously inspecting and cleaning the washing machine hoses, you can address any underlying issues that may have impacted their performance. This proactive maintenance approach helps to extend the lifespan of the hoses and ensures that your washing machine operates efficiently, minimizing the risk of leaks and water-related damage.
Step 5: Reconnect the Hose to the Washing Machine
After inspecting and cleaning the washing machine hoses, the next crucial step is to reconnect them to the appliance. This process involves securely attaching the hoses to the corresponding connections on the washing machine, ensuring a proper fit to prevent leaks and maintain optimal water flow. Follow these detailed steps to effectively reconnect the hoses to the washing machine:
-
Identify the Hose Connections: Begin by locating the hose connections at the rear of the washing machine. Typically, there will be two distinct connections – one for hot water and the other for cold water. Ensure that you are aligning the correct hoses with their respective connections to avoid any confusion during the reconnection process.
-
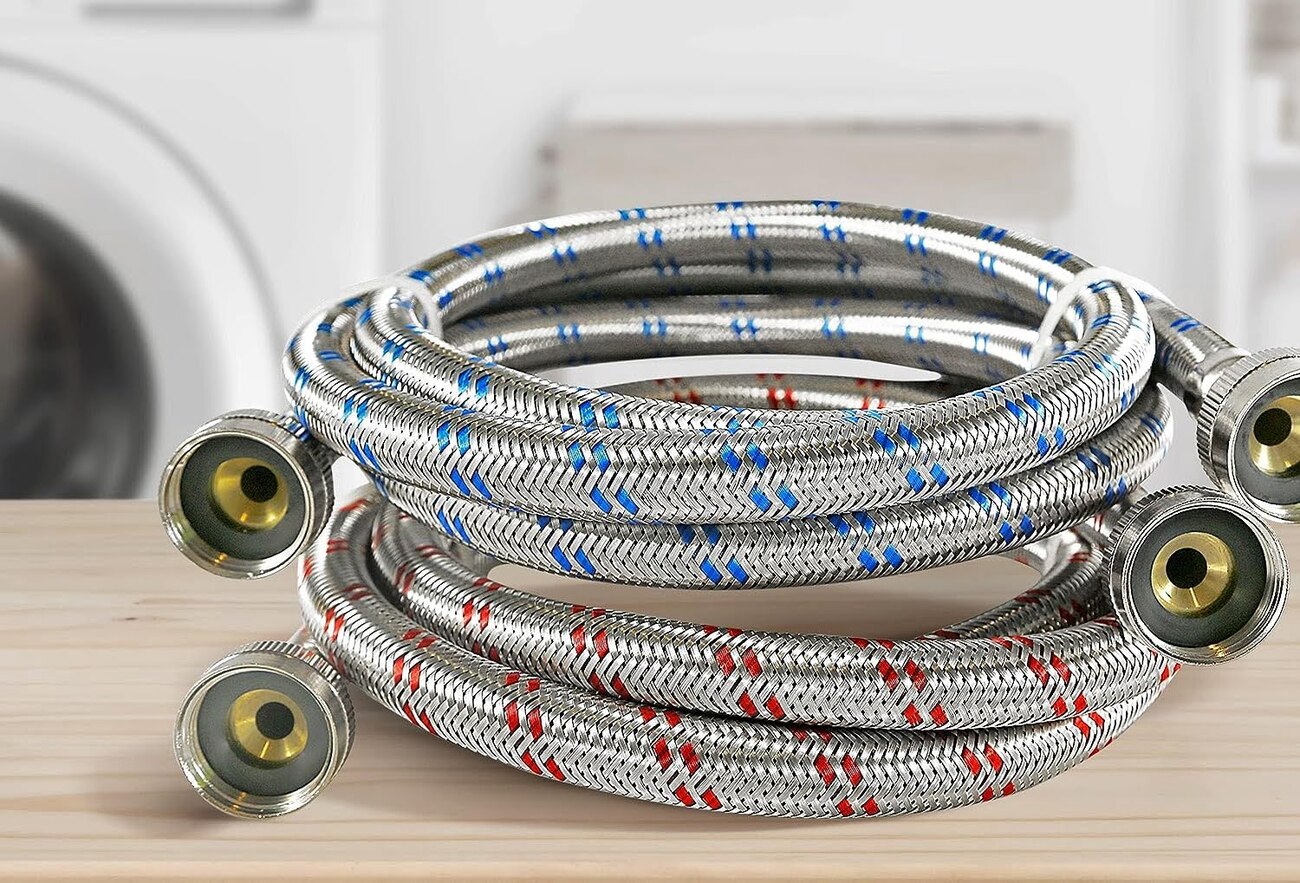
Position the Hoses: Carefully position the clean and dry hoses near the corresponding connections on the washing machine. Take note of any labels or color-coded indicators that may differentiate between the hot and cold water hoses, ensuring that they are correctly matched with the appropriate connections.
-
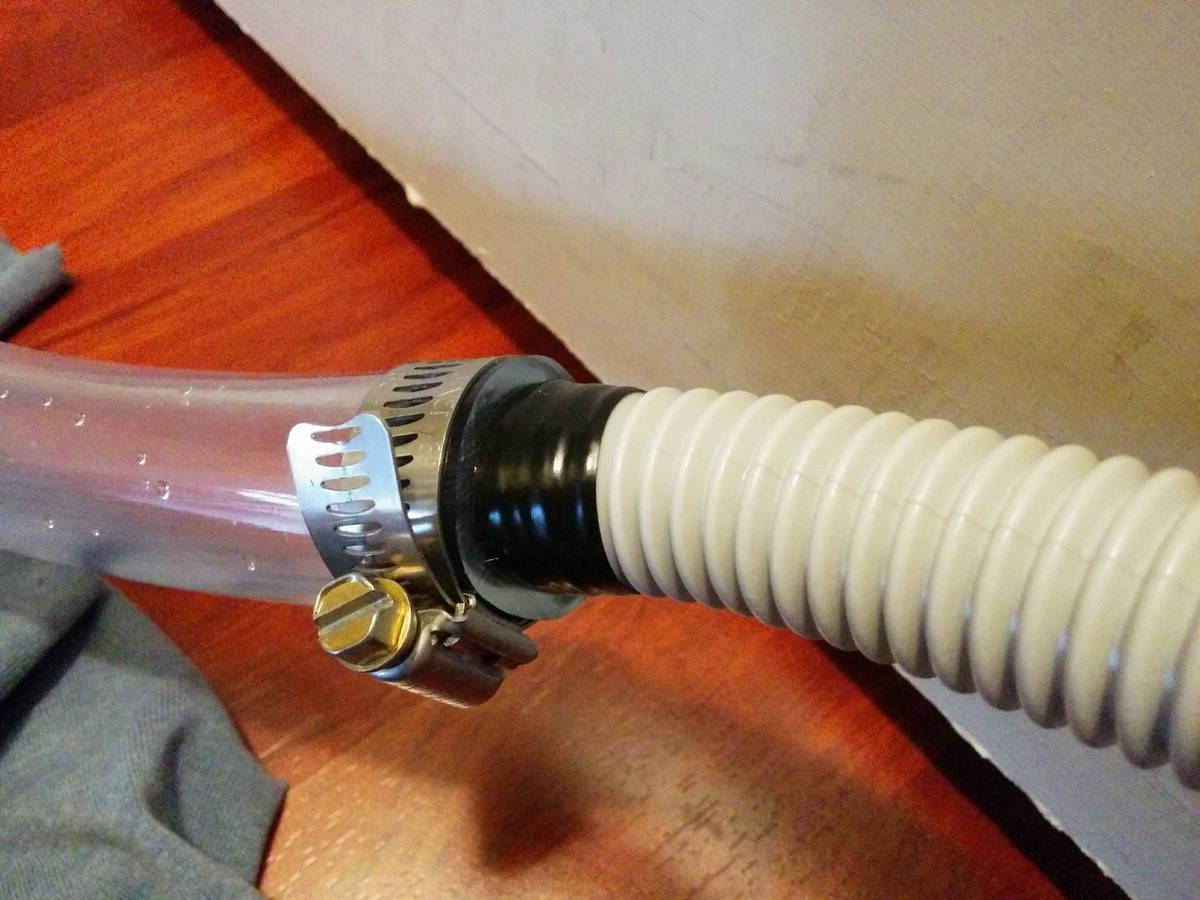
Attach the Hoses: With the hoses properly positioned, gently insert them onto the corresponding connections on the washing machine. Apply firm and even pressure to ensure a snug fit, taking care not to overtighten the fittings, which could lead to damage or leaks. If the hoses are equipped with hose clamps, secure them in place to prevent any movement or dislodging during operation.
-
Use the Adjustable Wrench: Once the hoses are in place, use the adjustable wrench to tighten the fittings securely. Turn the wrench in a clockwise direction to ensure that the connections are firmly fastened, providing a reliable seal that prevents water leakage. Exercise caution to avoid over-tightening, as this could potentially damage the fittings or hoses.
-
Inspect for Leaks: After reconnecting the hoses, carefully inspect the connections for any signs of leaks or drips. Turn on the water supply and run a brief washing machine cycle to verify that the hoses are securely attached and that water is flowing through them without any issues. Keep an eye on the connections during this test to ensure that there are no leaks or abnormalities.
By following these steps, you can effectively reconnect the washing machine hoses, completing an essential phase of the maintenance process. With the hoses securely attached to the appliance, you can proceed with confidence, knowing that your washing machine is ready to resume its regular operation with properly installed and maintained hoses.
Before removing the washing machine hose, make sure to turn off the water supply and unplug the machine. Use pliers to loosen the hose connections, and have a bucket ready to catch any water left in the hoses. Be careful not to damage the hose or the connections while removing them.
Step 6: Turn On the Water Supply
With the washing machine hoses successfully reconnected to the appliance, the final crucial step is to turn on the water supply, restoring the flow of water to the washing machine. This process involves reopening the water supply valves and verifying that the hoses are receiving water without any leaks or issues. Follow these detailed steps to effectively turn on the water supply for your washing machine:
-
Open the Water Supply Valves: Begin by locating the hot and cold water supply valves positioned on the wall behind the washing machine. Using your hand, turn each valve in a counterclockwise direction to gradually reopen the water supply. Take care to turn the valves slowly to allow the water to flow into the hoses without causing sudden pressure surges.
-
Verify Water Flow: After opening the water supply valves, closely monitor the hoses and connections for any signs of leaks or drips. Observe the flow of water into the hoses, ensuring that it is steady and without irregularities. Keep an eye on the hose connections at both the washing machine and the water supply valves to confirm that they are securely sealed and free from leaks.
-
Check for Leaks: Once the water supply has been restored, conduct a thorough inspection of the hose connections for any indications of leaks or drips. Use a flashlight to illuminate the areas around the connections, paying close attention to any potential water accumulation. If any leaks are detected, promptly tighten the fittings using the adjustable wrench to achieve a secure seal.
-
Run a Test Cycle: To further verify the integrity of the hose connections and the water flow, initiate a brief washing machine cycle. Observe the hoses and connections throughout the cycle, ensuring that there are no leaks or abnormalities. Listen for any unusual sounds that may indicate water leakage or pressure issues, and be prepared to turn off the water supply if any problems arise.
-
Final Inspection: After running the test cycle, perform a final visual inspection of the hose connections and the surrounding area for any signs of water leakage. Confirm that the water supply valves are fully open and that the hoses are receiving water as intended. Take note of any irregularities and address them promptly to prevent potential water damage.
By following these steps, you can effectively turn on the water supply for your washing machine, completing the comprehensive process of removing, inspecting, cleaning, and reconnecting the hoses. With the water supply restored and the hoses securely attached, you can have confidence in the proper functioning of your washing machine, knowing that the maintenance task has been successfully completed.
Read more: How To Connect Hose To Pressure Washer
Conclusion
In conclusion, the process of removing a washing machine hose is a valuable maintenance task that can contribute to the optimal performance and longevity of your laundry appliance. By following the step-by-step guide outlined in this article, you have gained valuable insights into the essential procedures for safely and effectively removing, inspecting, cleaning, and reconnecting washing machine hoses.
The initial steps of turning off the water supply and disconnecting the hoses from both the washing machine and the water supply valves are critical for creating a controlled environment and preventing potential water leakage. These precautions set the stage for a seamless and efficient hose removal process, allowing you to address any maintenance needs with confidence.
The subsequent steps of inspecting and cleaning the hoses provide an opportunity to identify and address any underlying issues that may have impacted the performance of your washing machine. By meticulously examining the hoses for signs of wear, damage, or debris accumulation, and employing effective cleaning techniques, you can ensure that the hoses are in optimal condition for reinstallation.
Reconnecting the hoses to the washing machine and turning on the water supply mark the final stages of the maintenance process, culminating in the restoration of the appliance's functionality. By carefully securing the hoses and verifying the water flow without any leaks or abnormalities, you can have peace of mind knowing that your washing machine is ready to resume its regular operation.
It's important to note that regular inspection and maintenance of washing machine hoses are essential for preventing potential water damage and ensuring the efficient performance of your appliance. By incorporating this maintenance task into your household routine, you can proactively address any issues that may arise, ultimately saving time and expenses associated with potential water-related damage.
In essence, the knowledge and skills acquired through the process of removing a washing machine hose empower you to take proactive measures in maintaining the integrity of your laundry appliances. By staying attentive to the condition of the hoses and performing regular inspections and maintenance, you can safeguard your home against potential water damage and enjoy the reliable performance of your washing machine for years to come.
Frequently Asked Questions about How To Remove A Washing Machine Hose
Was this page helpful?
At Storables.com, we guarantee accurate and reliable information. Our content, validated by Expert Board Contributors, is crafted following stringent Editorial Policies. We're committed to providing you with well-researched, expert-backed insights for all your informational needs.

0 thoughts on “How To Remove A Washing Machine Hose”