
Articles
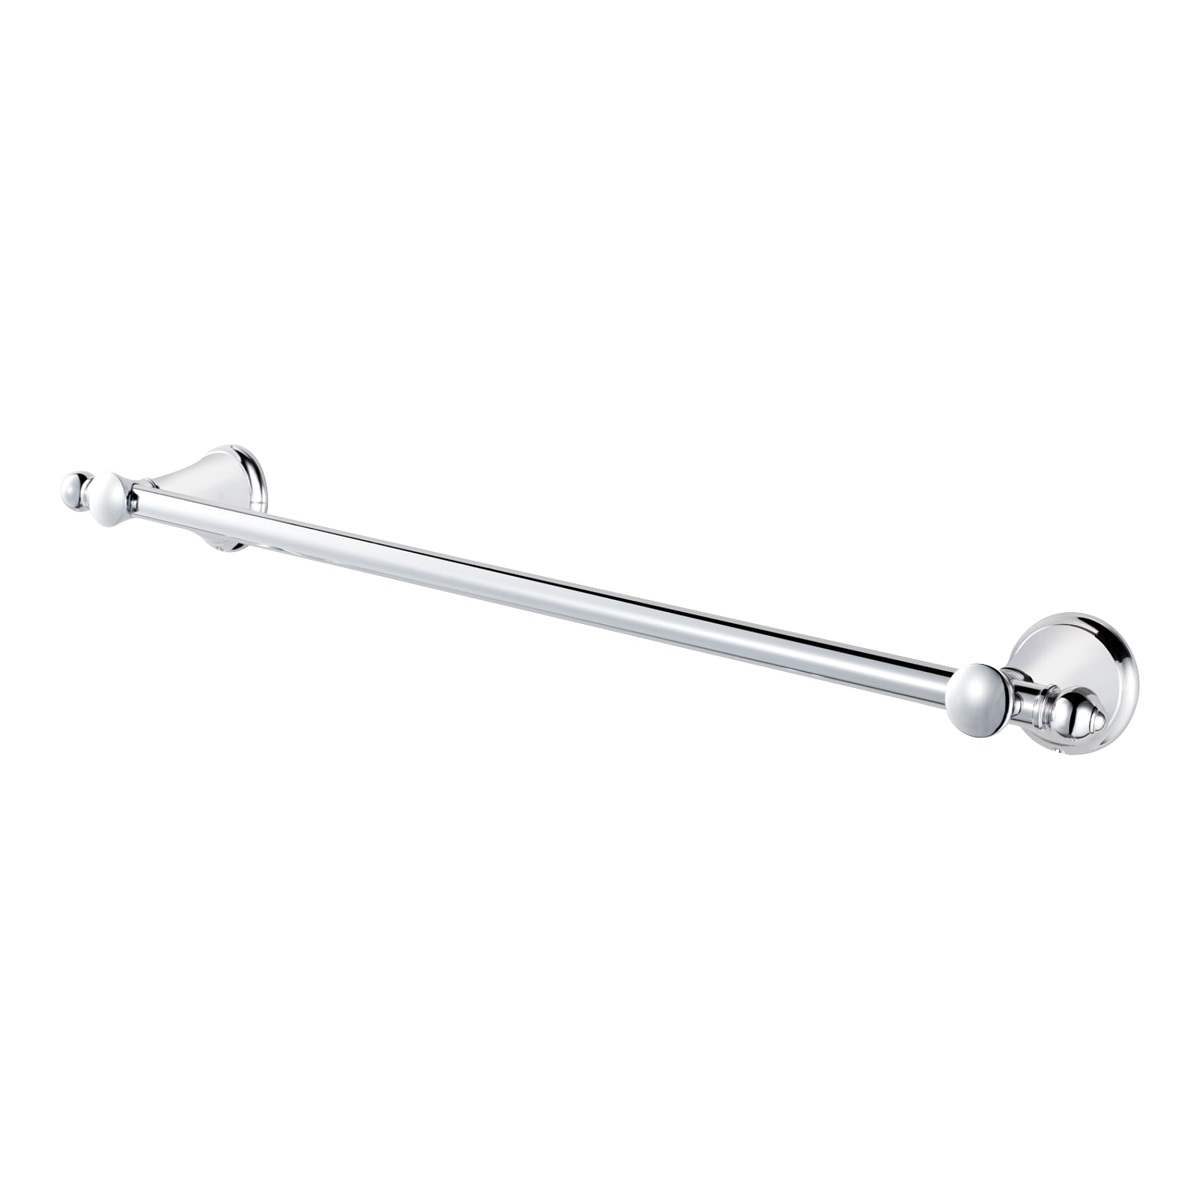
How To Remove Pfister Towel Bar
Modified: October 20, 2024
Learn how to easily remove a Price Pfister towel bar with these helpful step-by-step articles. Remove towel bar without any hassle!
(Many of the links in this article redirect to a specific reviewed product. Your purchase of these products through affiliate links helps to generate commission for Storables.com, at no extra cost. Learn more)
Introduction
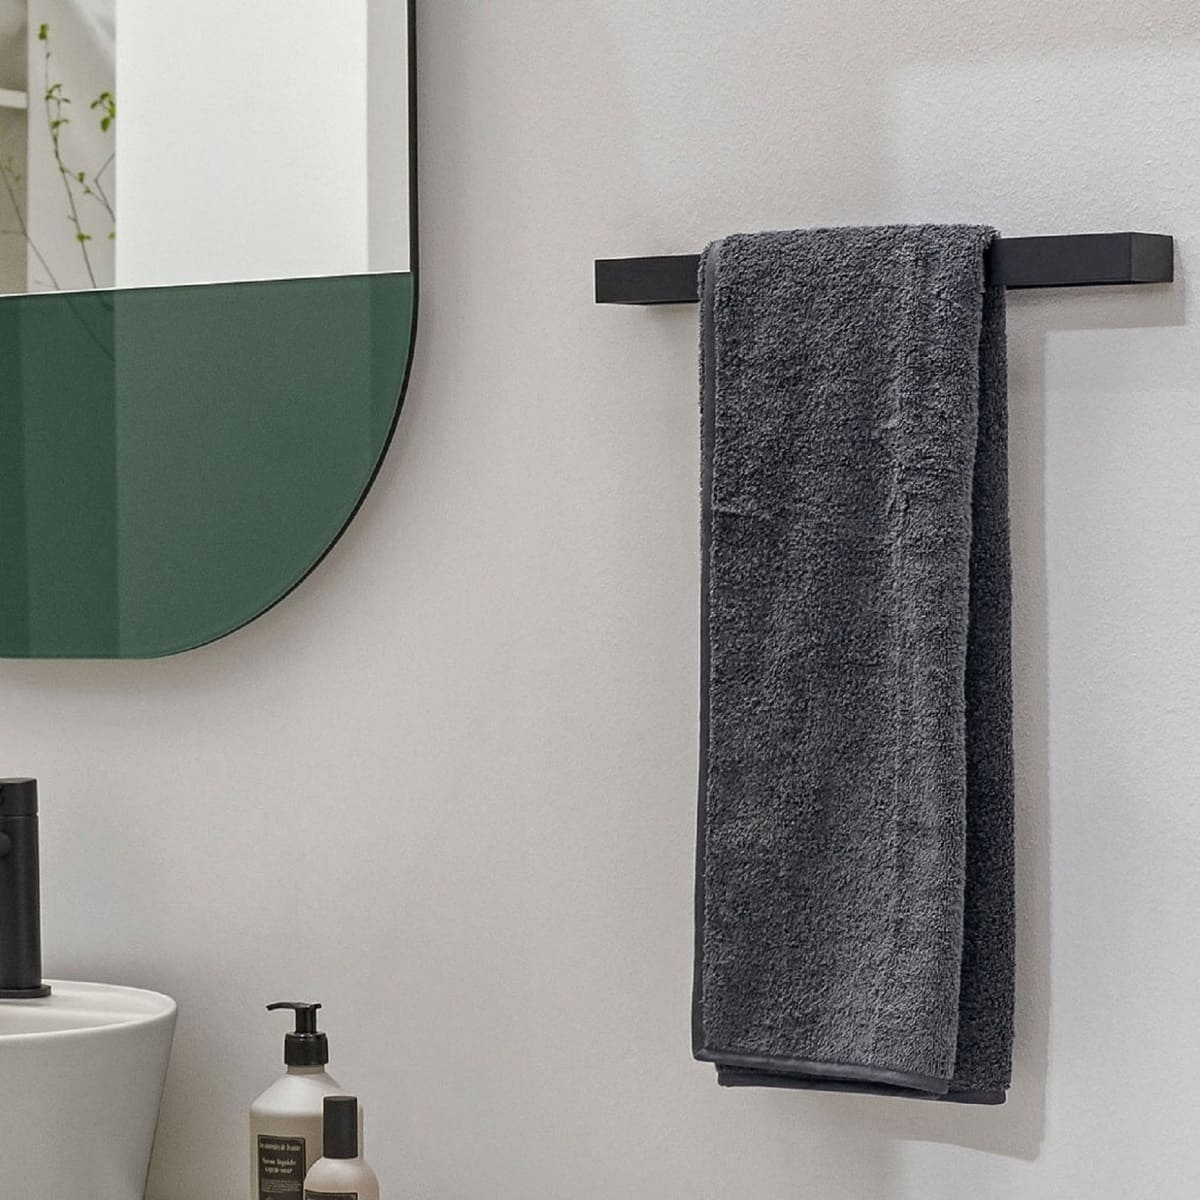
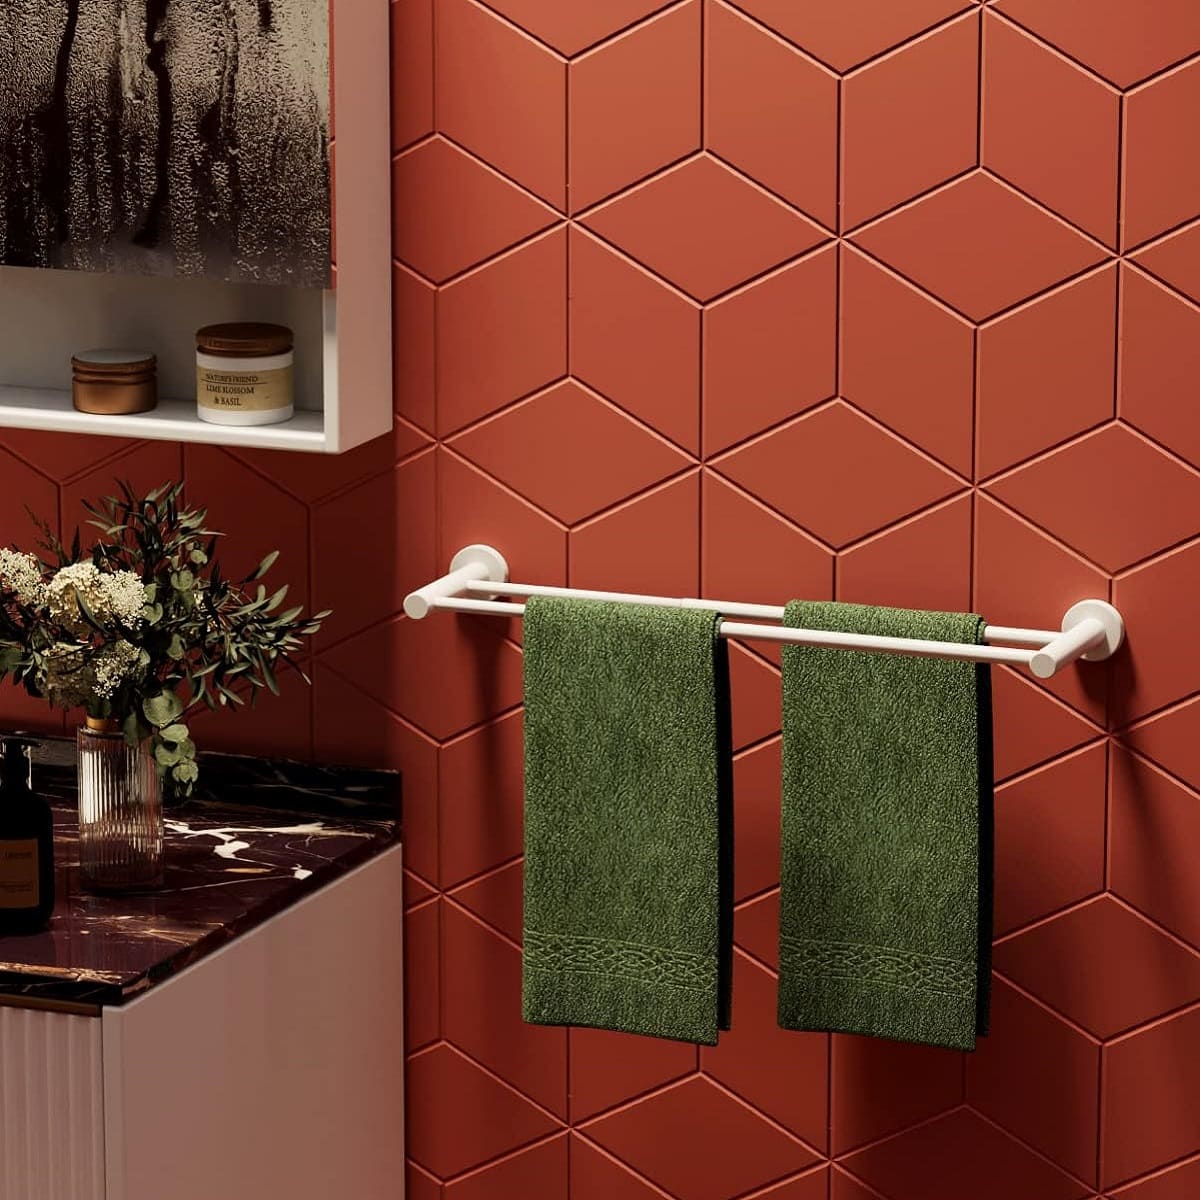
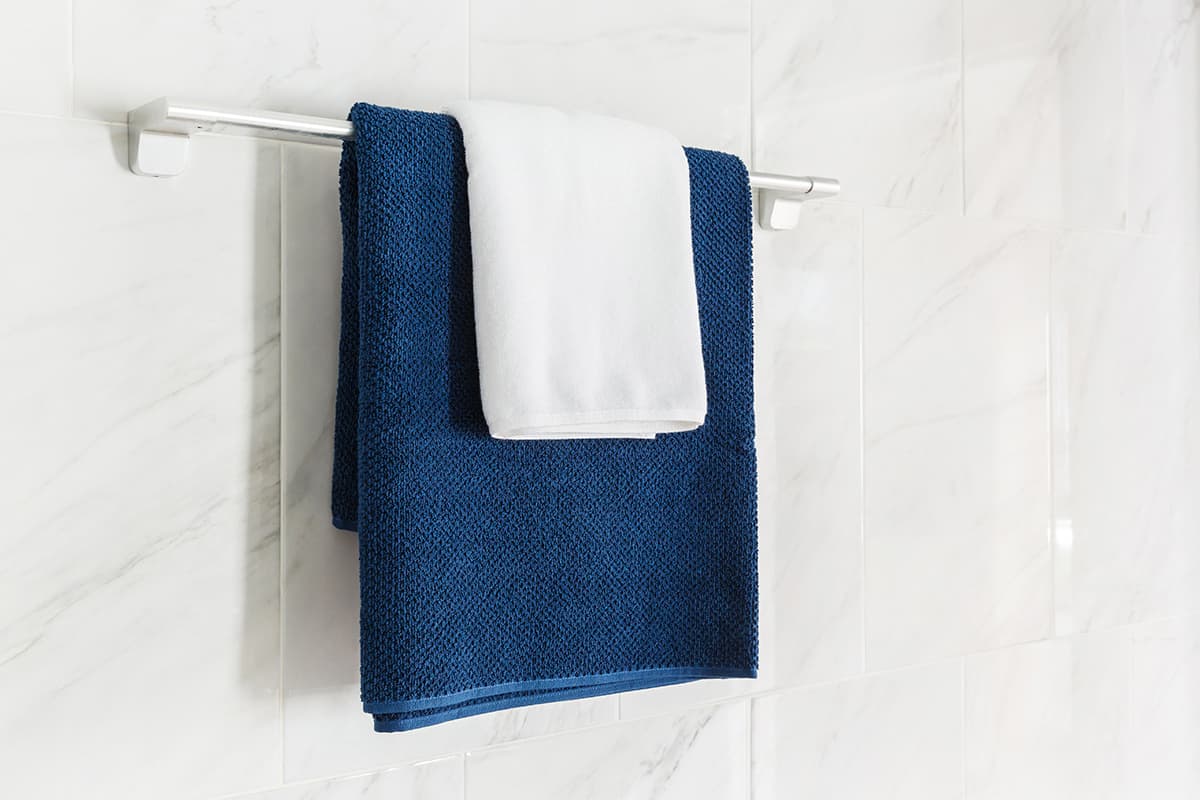
Having a towel bar in your bathroom not only adds convenience but also enhances the overall aesthetic of the space. However, there may come a time when you need to remove a Price Pfister towel bar. Whether you’re redecorating, replacing it with a different style, or repairing the wall behind it, removing the towel bar can seem like a daunting task.
In this article, we will guide you through the steps to safely and effectively remove a Price Pfister towel bar. By following these instructions and using the right tools, you can successfully complete the task without causing any damage to your bathroom wall.
Before we dive into the process, it’s important to note that different models of Price Pfister towel bars may have slight variations in their installation and removal methods. Thus, it’s a good practice to consult the specific installation manual or instructions provided by Price Pfister for your model, if available. Additionally, ensure that you have the necessary tools at hand to carry out the removal process smoothly.
Key Takeaways:
- Safely remove a Price Pfister towel bar by preparing the right tools, locating and removing mounting plates, loosening set screws, and patching any wall damage for a seamless bathroom transformation.
- Upgrade your bathroom with a new towel bar by following simple steps to install it securely, giving your space a fresh and updated look without any hassle.
Read more: How To Remove Delta Towel Bar
Step 1: Prepare the necessary tools
Before you begin removing the Price Pfister towel bar, gather all the tools you will need. Having the right tools will make the process much more efficient and prevent any unnecessary damage to your bathroom walls.
Here are the tools you will need:
- Phillips head screwdriver
- Flathead screwdriver
- All-purpose adhesive remover
- Putty knife
- Pliers
- Masking tape
- Safety goggles
- Dust mask
- Wall patching compound (if you plan on repairing any damage)
- Sanding block or sandpaper (if you plan on repairing any damage)
Having these tools at your disposal will ensure that you are prepared for any situation that may arise during the removal process. It’s always better to be over-prepared than under-prepared when it comes to DIY projects.
Once you have gathered all the necessary tools, you can move on to the next step of locating and removing the mounting plates.
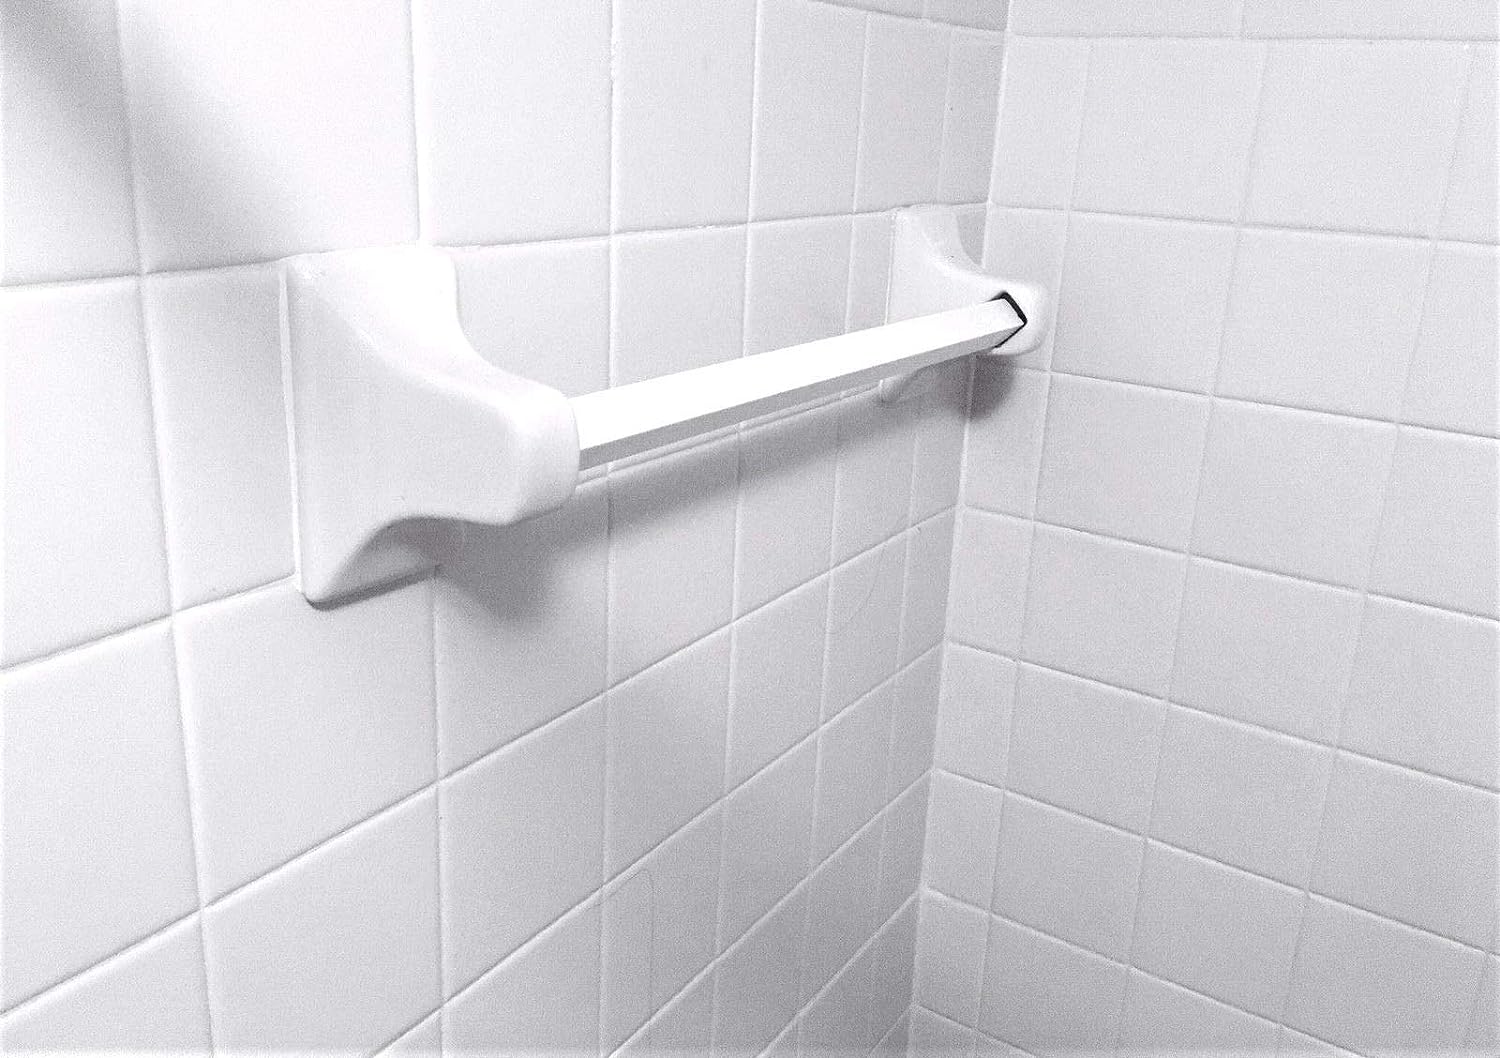
Step 2: Locate and remove the mounting plates
Before you can remove the Price Pfister towel bar, you first need to locate the mounting plates. These plates are responsible for securing the towel bar to the wall.
Here’s how you can locate and remove the mounting plates:
- Begin by examining the towel bar. Look for any visible screws or set screws holding the towel bar in place. The mounting plates are typically positioned at either end of the towel bar.
- Use a Phillips head screwdriver or a flathead screwdriver (depending on the type of screws used) to remove any visible screws from the mounting plates. This will release the towel bar from the wall.
- If there are no visible screws, you may need to look under the decorative end caps of the towel bar. Use a putty knife or a flathead screwdriver to gently pry off the end caps.
- Once the end caps are removed, you will likely find additional screws or set screws hidden underneath. Remove these screws to detach the mounting plates.
Remember to keep the screws and any other small parts in a safe place so that they are not lost during the process. These parts may be needed if you plan on reusing the towel bar or installing a new one.
With the mounting plates removed, you’re now ready to move on to the next step of loosening and detaching the set screws.
Step 3: Loosen and detach the set screws
After removing the mounting plates, the next step in removing a Price Pfister towel bar is to loosen and detach the set screws. These screws are responsible for holding the towel bar firmly in place.
Follow these steps to loosen and detach the set screws:
- Locate the set screws on the underside of the towel bar. They are typically small screws that secure the towel bar to the mounting brackets.
- Using a Phillips head screwdriver or an appropriate screwdriver, turn the set screws counterclockwise to loosen them. Be gentle while turning the screws to avoid stripping them.
- Once the set screws are loosened, carefully lift the towel bar away from the wall. The towel bar should now be detached from the mounting brackets.
- If the towel bar still feels secure or is difficult to remove, you can use pliers to get a better grip on the towel bar while you loosen the set screws further. However, be cautious not to apply excessive force that could result in damage to the towel bar or wall.
Once the set screws are completely loosened and the towel bar is detached, set aside the towel bar and the set screws in a safe place. These parts may be reusable or may need to be replaced if you are installing a new towel bar.
With the towel bar removed, you can move on to the next step of removing the towel bar from the wall.
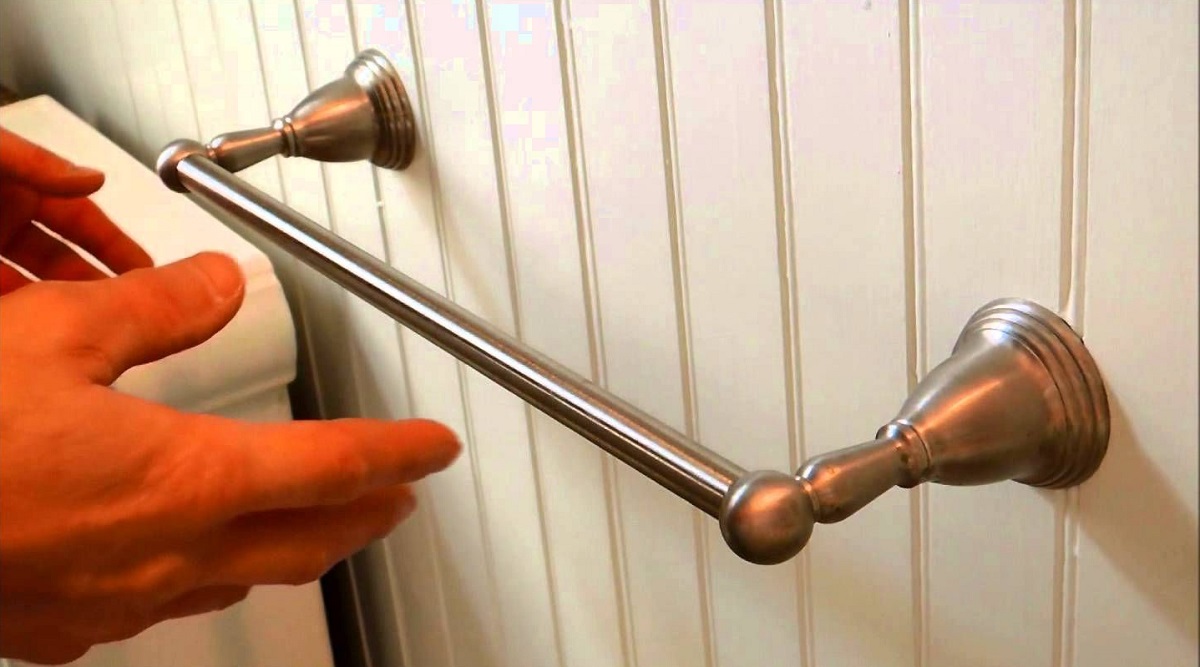
To remove a Price Pfister towel bar, start by locating the set screw on the base of the bar and use an Allen wrench to loosen it. Once the set screw is removed, the bar should slide off easily. If there are any wall anchors, carefully remove them with a screwdriver.
Step 4: Remove the towel bar from the wall
Now that the set screws have been loosened and the towel bar is detached from the mounting brackets, it’s time to remove the towel bar from the wall.
Follow these steps to remove the towel bar from the wall:
- Gently pull the towel bar away from the wall, applying even pressure. The towel bar should start to come away from the wall easily.
- As you remove the towel bar, be mindful of any adhesive or caulk that may have been used to secure it to the wall. If necessary, use a putty knife to carefully loosen any adhesive or caulk.
- Continue pulling the towel bar away from the wall until it is completely removed. If necessary, reposition your grip or use pliers to gain better leverage.
Once the towel bar is removed from the wall, inspect the area for any remaining adhesive, caulk, or residue. Use an all-purpose adhesive remover and a clean cloth to remove any stubborn residue or marks left behind.
It’s important to note that removing the towel bar may expose small holes or damage on the wall where the mounting plates were attached. If you plan on installing a new towel bar or wish to repair the wall, it’s recommended to patch and repair any holes or damage before proceeding.
With the towel bar successfully removed from the wall, you can now move on to the next step of patching and repairing any holes or damage.
Read more: How To Remove Towel Bar With No Screws
Step 5: Patch and repair any holes or damage
After removing the Price Pfister towel bar, it’s important to inspect the wall for any holes or damage caused by the mounting plates or previous towel bar installation. Patching and repairing these areas will ensure a smooth and seamless surface for future use.
Here’s how you can patch and repair any holes or damage on the wall:
- Start by cleaning the area around the holes or damage using a clean cloth or sponge. Remove any dust, debris, or loose particles to ensure proper adhesion of the patching compound.
- If the holes are small, you can use a premixed wall patching compound. Apply a thin layer of the compound over the holes using a putty knife. Smooth out the surface and remove any excess compound.
- For larger holes or damage, you may need to use a patching kit or drywall repair compound. Follow the manufacturer’s instructions to mix the compound and apply it over the holes or damaged areas. Use a putty knife to smooth out the surface.
- Allow the patching compound to dry completely according to the manufacturer’s recommendations. This may take a few hours or overnight.
- Once the compound is dry, use a sanding block or sandpaper to gently sand the patched areas. Smooth out any rough edges or uneven surfaces.
- Wipe away any dust or debris created from sanding using a clean cloth or sponge.
After patching and repairing the holes or damage, the wall should now be ready for further use or the installation of a new towel bar.
If you plan on painting the wall or making any cosmetic changes, ensure that the patched areas are properly primed and painted to match the surrounding wall.
With the holes patched and the wall repaired, you can now move on to the final step of installing a new towel bar (if desired) or conclude the removal process.
Step 6: Install a new towel bar (optional)
If you have decided to replace the Price Pfister towel bar with a new one, you can follow these steps to install it. Please note that this step is optional and can be skipped if you do not intend to install a new towel bar.
Here’s how you can install a new towel bar:
- Start by determining the desired height and location for the towel bar. Use a measuring tape to ensure that the placement is level and aligned with your preferences.
- Using the mounting brackets or hardware included with your new towel bar, position and mark the mounting hole locations on the wall. Make sure to take into account the initial holes from the previous towel bar installation.
- Using a drill and appropriate drill bit, create pilot holes at the marked locations. Ensure that the holes are the appropriate size and depth for the mounting hardware.
- Insert the anchors or wall plugs into the pilot holes. These anchors will help secure the mounting brackets to the wall.
- Attach the mounting brackets to the wall using screws or other hardware provided with your new towel bar. Make sure the brackets are securely fastened and level.
- If necessary, apply a small amount of clear silicone adhesive or construction adhesive to the back of the towel bar brackets to provide additional stability.
- Slide the towel bar onto the mounting brackets. Ensure that it is level and secure.
- If your new towel bar has set screws, tighten them using a screwdriver to secure the towel bar in place.
With the new towel bar installed, give it a gentle tug to ensure it is securely in place. Make any necessary adjustments or tighten the set screws if needed.
Remember to follow the specific instructions provided with your new towel bar for installation guidelines and any additional steps that may be required.
Now you have successfully installed a new towel bar, giving your bathroom a fresh and updated look!
Conclusion
Removing a Price Pfister towel bar from your bathroom might seem like a daunting task, but with the right tools and steps, it can be a straightforward process. By following our guide, you can safely and effectively remove the towel bar without causing damage to your bathroom walls.
We started by preparing the necessary tools, ensuring you have everything you need for the task at hand. Then, we walked through the steps of locating and removing the mounting plates, loosening and detaching the set screws, and finally removing the towel bar from the wall.
If you encounter any holes or damage from the previous towel bar installation, we recommended you patch and repair those areas before proceeding. This step will provide a smooth and flawless surface for future use or the installation of a new towel bar.
Lastly, if you choose to install a new towel bar, we provided instructions on how to do so. However, this step is optional, and you can skip it if you do not intend to replace the towel bar.
Remember, it’s essential to consult the specific installation manual or instructions provided by Price Pfister for your towel bar model, if available, for any specific guidance or variations in the process.
By following these steps, you can successfully remove a Price Pfister towel bar, giving you the freedom to redecorate or replace it with a new style that suits your bathroom’s aesthetics and your personal preferences.
Take your time, proceed with caution, and enjoy the process of transforming your bathroom’s look and functionality. Good luck!
Frequently Asked Questions about How To Remove Pfister Towel Bar
Was this page helpful?
At Storables.com, we guarantee accurate and reliable information. Our content, validated by Expert Board Contributors, is crafted following stringent Editorial Policies. We're committed to providing you with well-researched, expert-backed insights for all your informational needs.


0 thoughts on “How To Remove Pfister Towel Bar”