Articles
How To Clean Whirlpool Stove Burners
Modified: December 7, 2023
Learn how to clean Whirlpool stove burners with these helpful articles. Get expert tips and tricks to keep your stove burners looking sparkling clean.
(Many of the links in this article redirect to a specific reviewed product. Your purchase of these products through affiliate links helps to generate commission for Storables.com, at no extra cost. Learn more)
Introduction
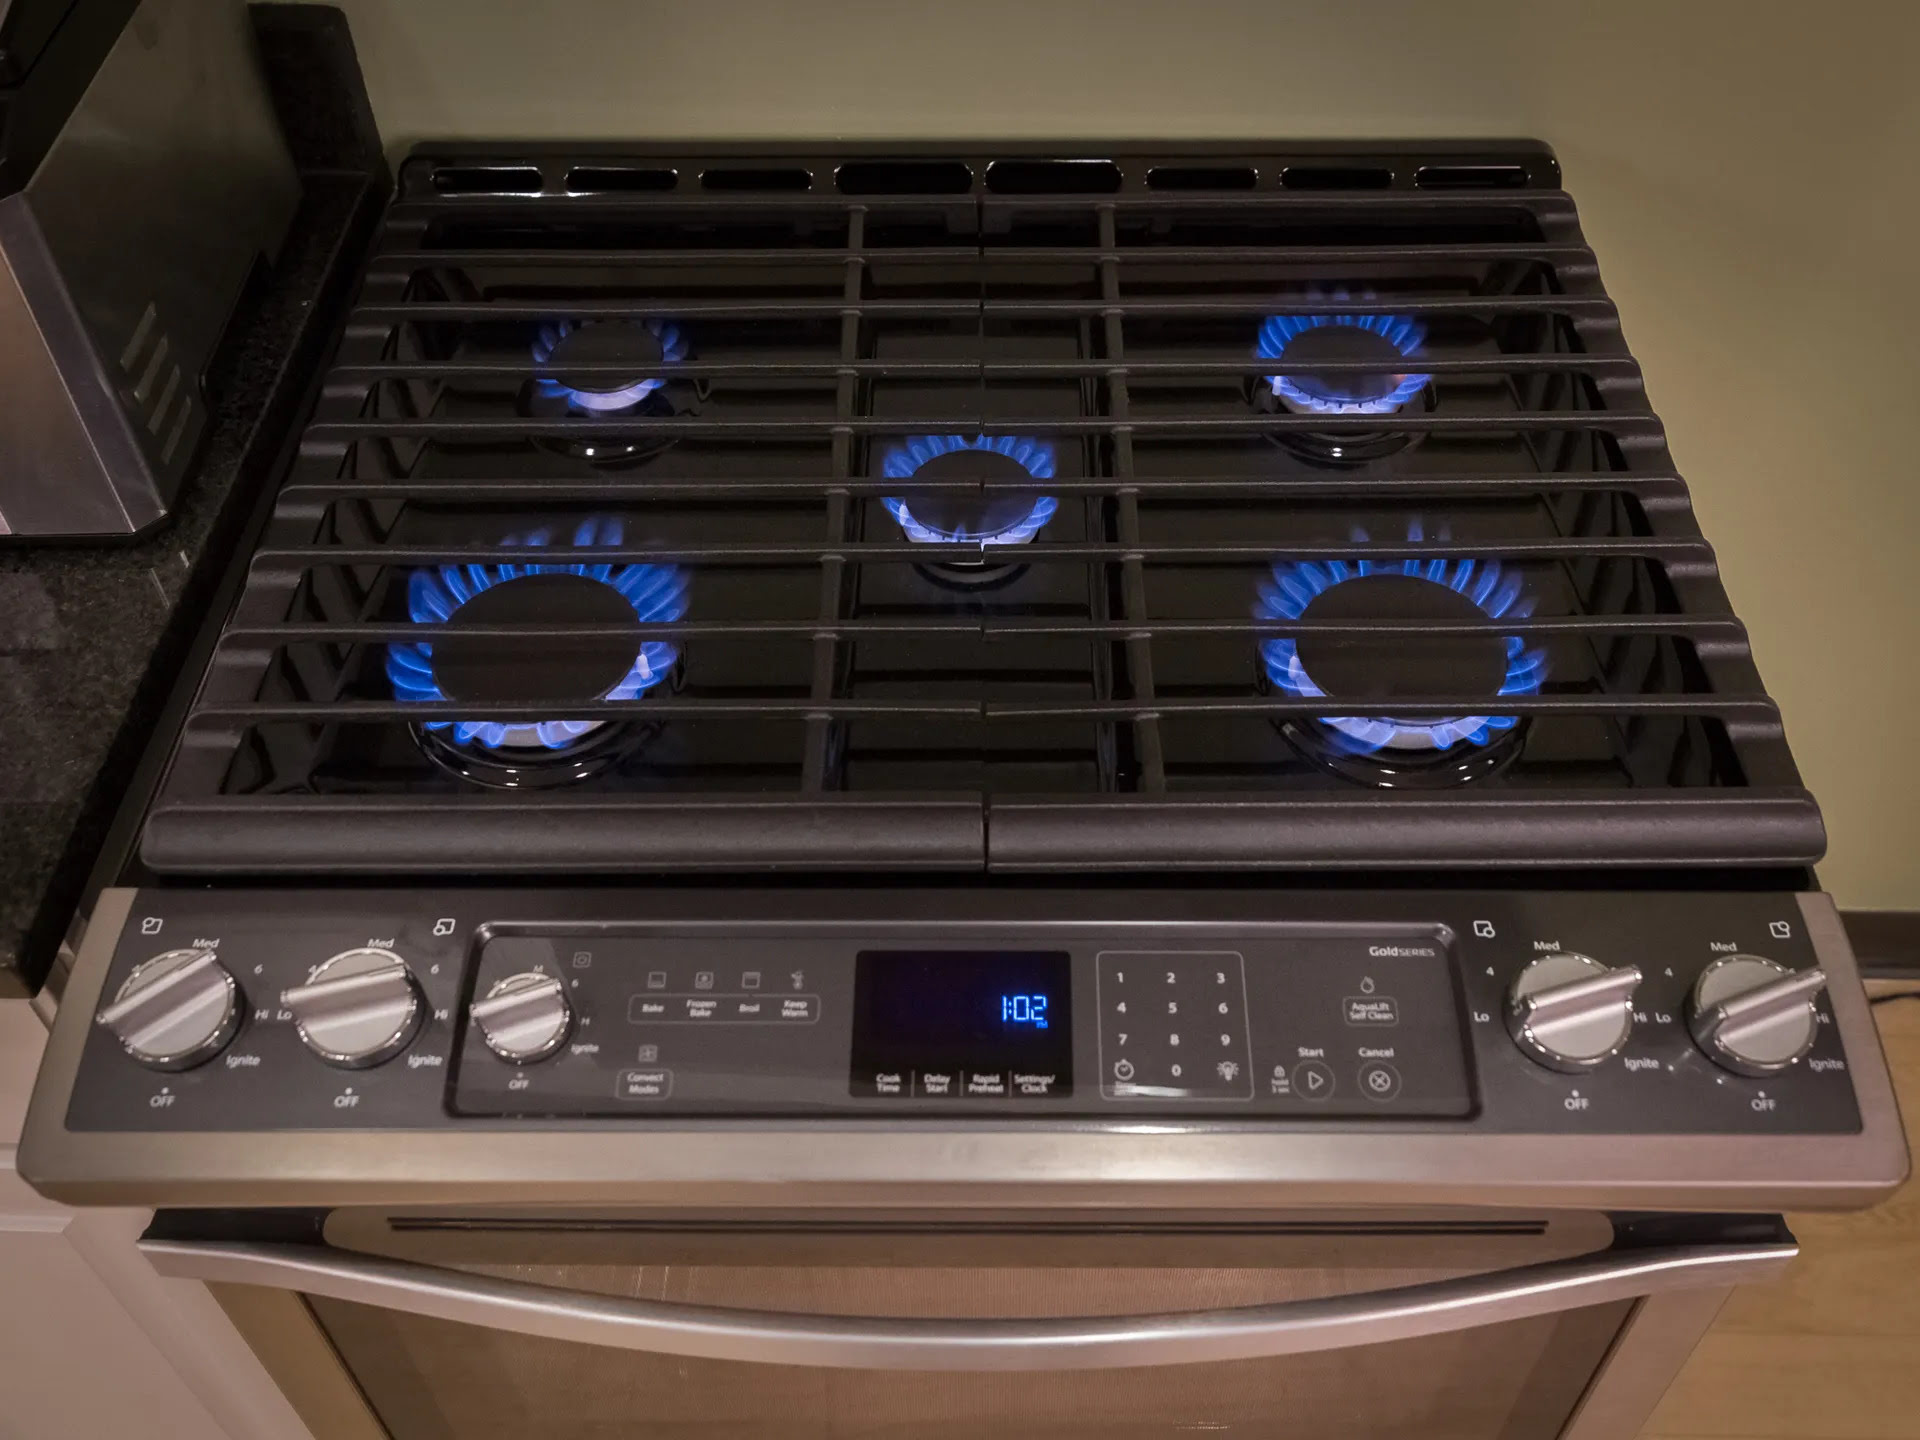
Having a Whirlpool stove in your kitchen is a great convenience, allowing you to cook delicious meals with ease. However, over time, the stove burners can become dirty and greasy, affecting both the appearance and performance of your appliance. Regular cleaning of the stove burners is essential to ensure optimal cooking results and maintain the longevity of your Whirlpool stove.
In this article, we will guide you through the step-by-step process of cleaning Whirlpool stove burners to help restore their shine and efficiency. Follow these simple instructions, and your stove burners will be spotless in no time!
Key Takeaways:
- Regularly cleaning your Whirlpool stove burners with simple household items like mild dish soap, vinegar, and warm water can ensure optimal cooking results and maintain the longevity of your appliance.
- Prioritizing safety, gathering necessary materials, and following a step-by-step cleaning process will help you keep your Whirlpool stove burners spotless, efficient, and ready for many delicious meals ahead.
Read more: How To Clean Kitchen Stove Burners
Necessary Materials
Before you begin cleaning your Whirlpool stove burners, gather the following materials:
- Mild dish soap
- Warm water
- Scrub brush or sponge
- Microfiber cloth or towel
- Vinegar
- Bucket or sink
Make sure you have all these items handy before you start the cleaning process. Having everything prepared in advance will help streamline the process and allow for seamless cleaning.
Step 1: Safety Precautions
Before you begin cleaning your Whirlpool stove burners, it is vital to take some safety precautions to ensure your well-being. Here are a few essential steps to follow:
- Ensure that the stove is turned off and cool to the touch before you start cleaning. This will prevent any accidental burns or injuries.
- Disconnect the stove from the power source by unplugging it from the electrical outlet or turning off the circuit breaker. This will minimize the risk of electric shock while cleaning.
- Wear protective gloves to shield your hands from any harsh cleaning chemicals or residue.
- If you are using any cleaning products, make sure to read and follow the instructions and warnings provided by the manufacturer.
By adhering to these safety precautions, you can ensure a safe and effective cleaning process. Now that you have taken the necessary precautions, you are ready to move on to the next step: removing the burner grates and caps.
Step 2: Removing Burner Grates and Caps
To effectively clean your Whirlpool stove burners, you will need to remove the burner grates and caps first. Follow these steps:
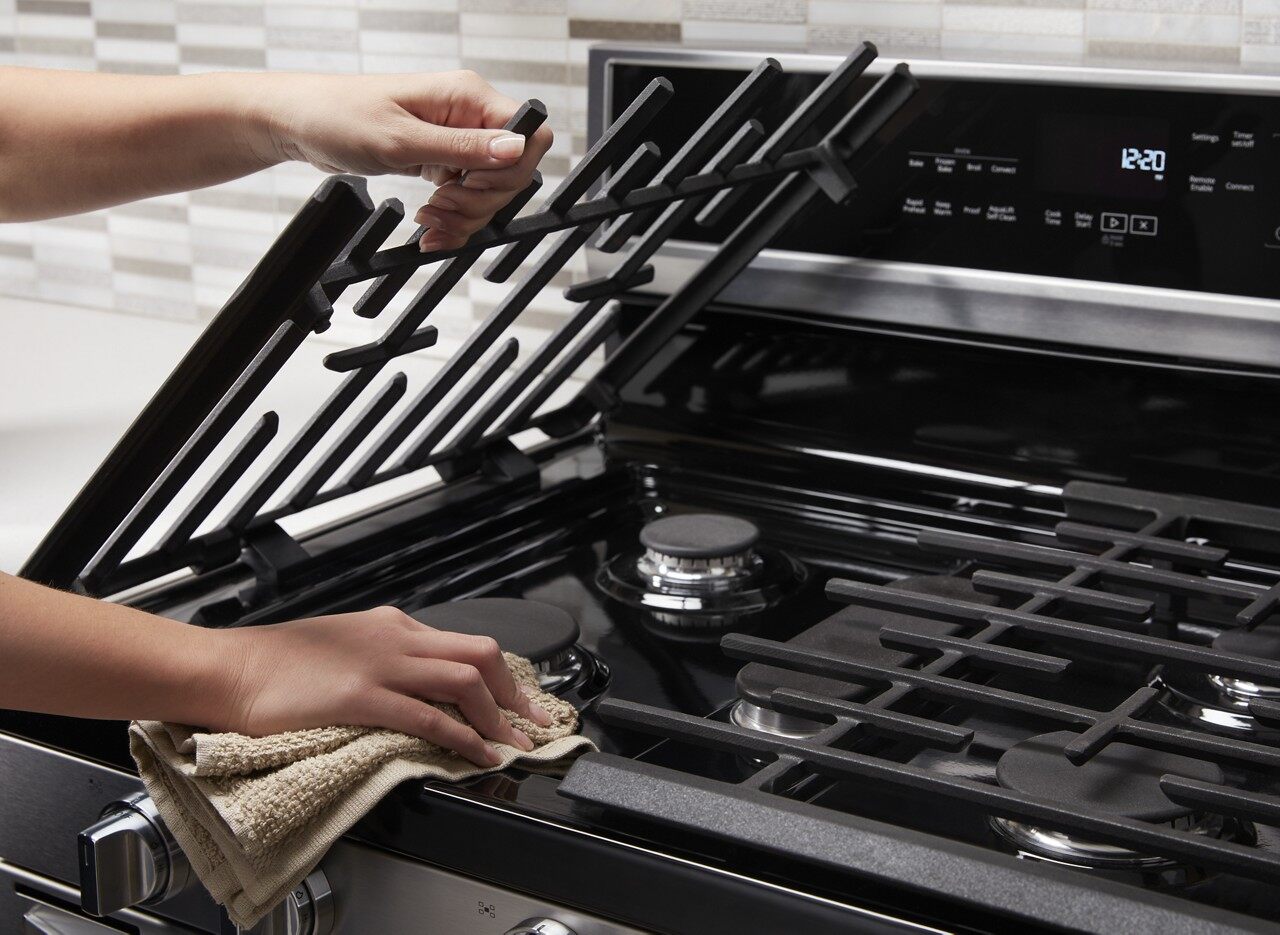
- Gently lift the burner grates off the stove surface and set them aside.
- If your stove has burner caps, carefully lift them off as well. Burner caps are typically located on top of the burner heads.
- Inspect the burner grates and caps for any excess debris or food particles. If you notice any buildup, use a soft brush or sponge to remove it.
By removing the burner grates and caps, you will have better access to clean the stove burners thoroughly. Now that you have completed this step, it’s time to move on to the next one: cleaning the burner grates and caps.
Step 3: Cleaning the Burner Grates and Caps
Now that you have removed the burner grates and caps, it’s time to clean them to remove any dirt, grease, or food residue. Follow these steps to clean the burner grates and caps effectively:
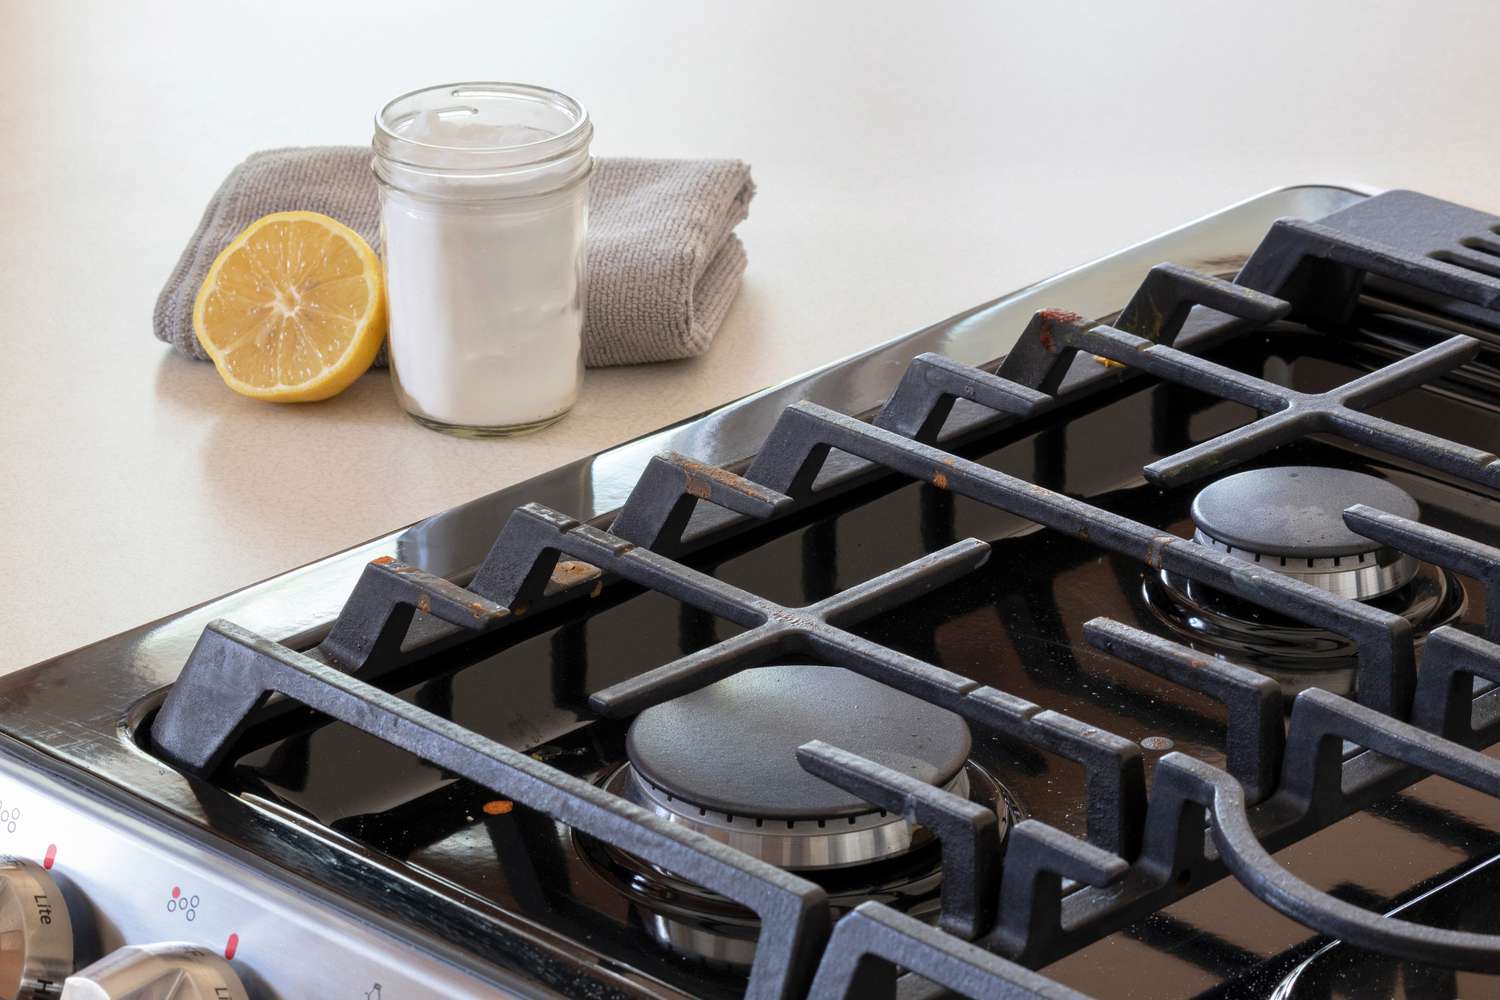
- Prepare a mixture of warm water and mild dish soap in a bucket or sink. Use a ratio of approximately one tablespoon of dish soap per gallon of water.
- Place the burner grates and caps in the soapy water and let them soak for about 15-20 minutes. This will help loosen any stubborn debris.
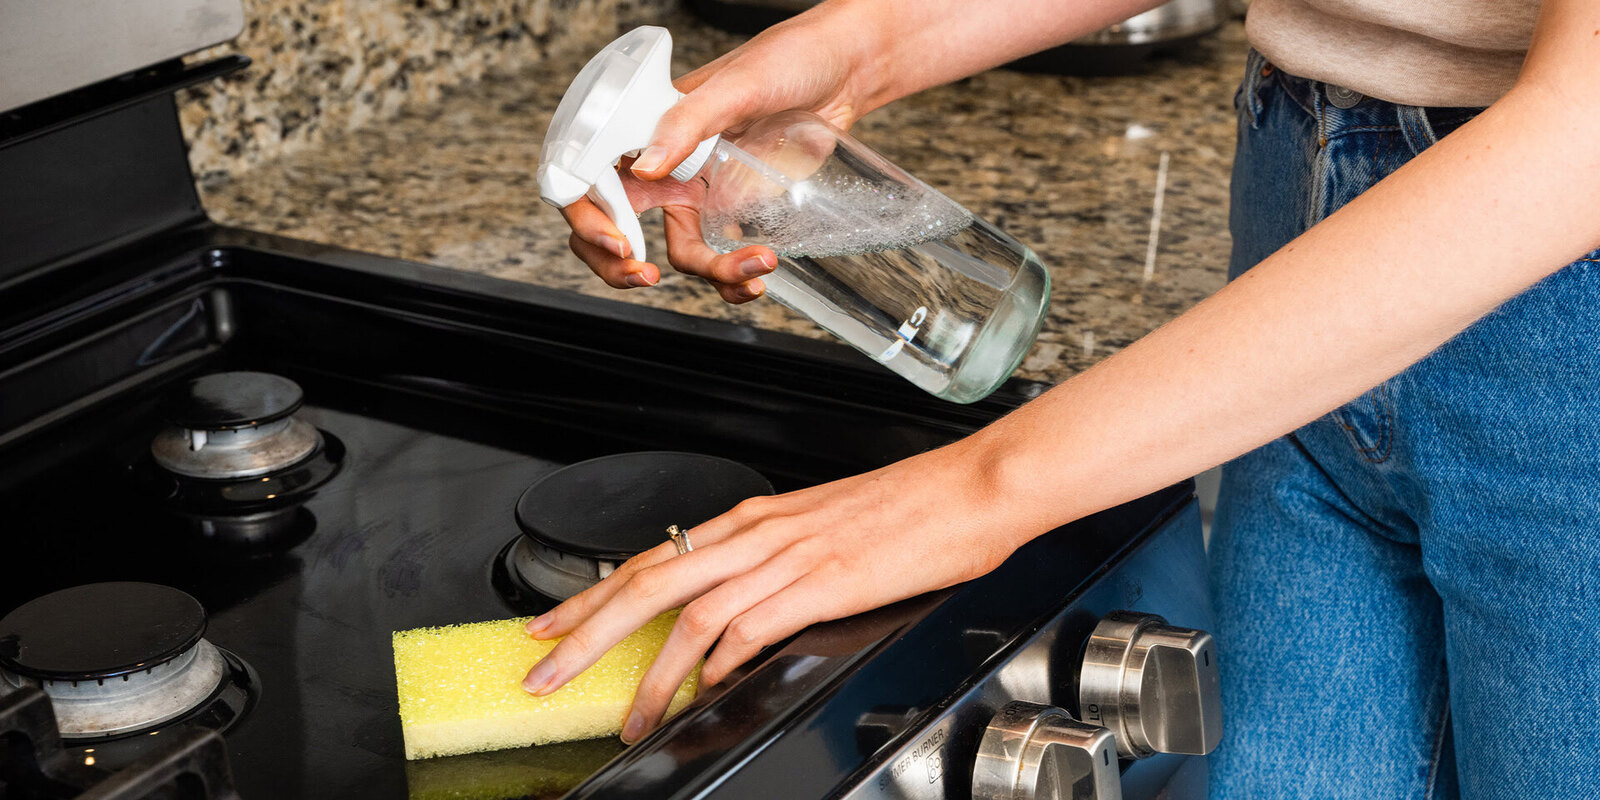
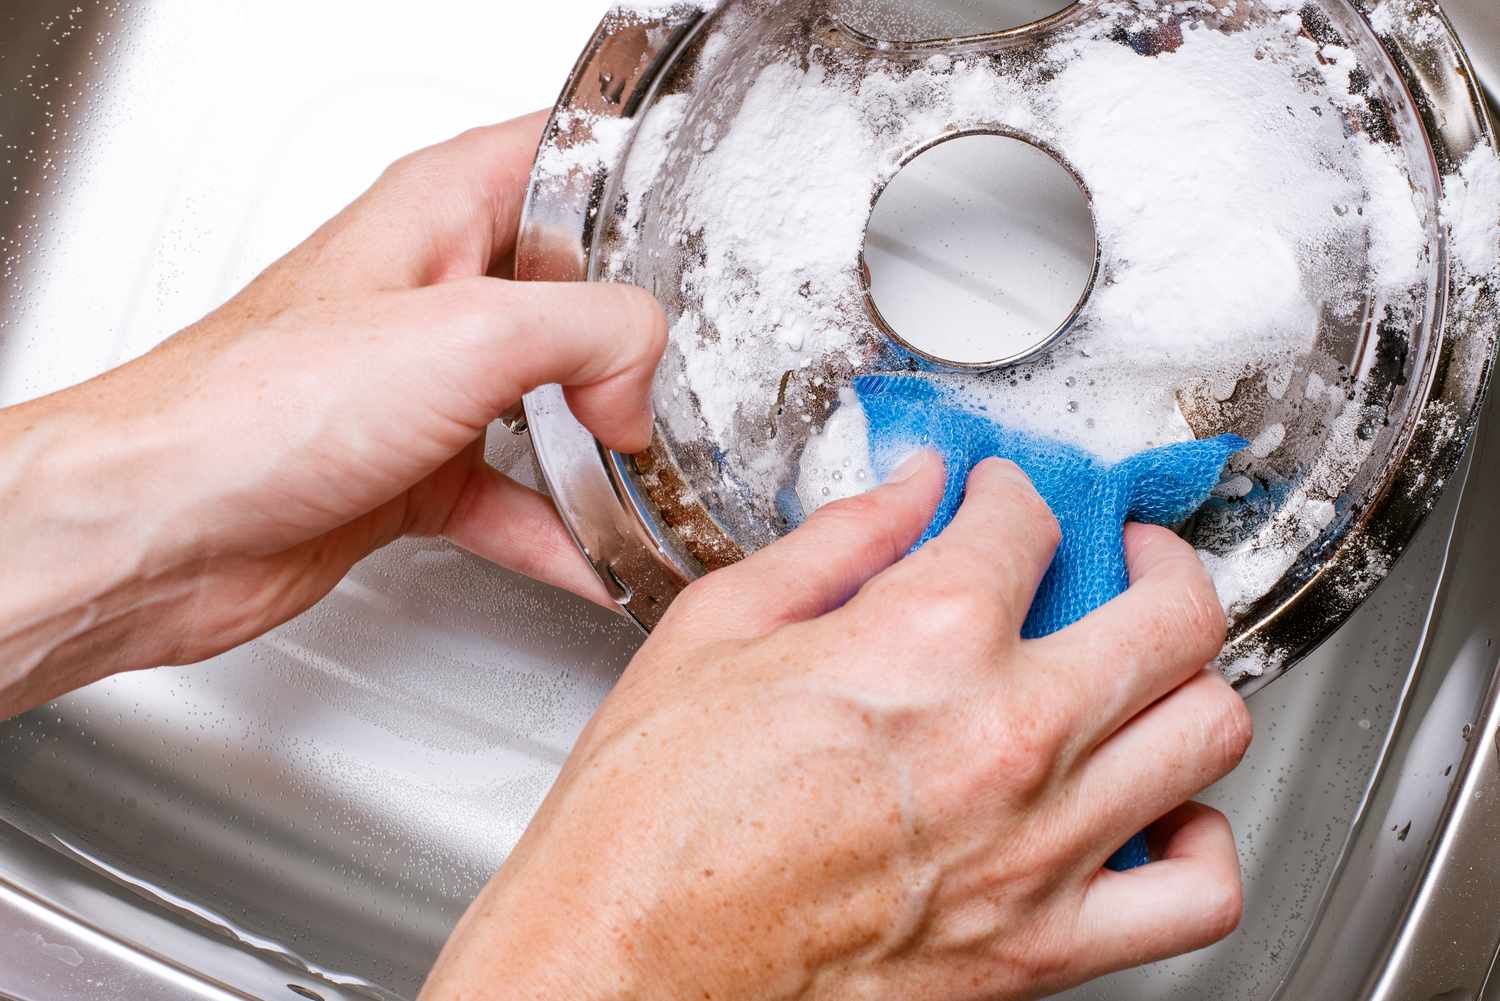
- After soaking, use a scrub brush or sponge to gently scrub the burner grates and caps, removing any remaining dirt or grease. Pay special attention to any areas with heavy buildup.
- Rinse the burner grates and caps thoroughly with clean water to remove any soap residue.
- Dry the burner grates and caps with a microfiber cloth or towel before reattaching them to the stove.
By following these steps, you will effectively clean the burner grates and caps, ensuring that they are free from any dirt or grease. Now that the grates and caps are clean, it’s time to move on to the next step: removing the burner heads.
To clean Whirlpool stove burners, remove the burners and soak them in a mixture of warm water and dish soap. Use a soft brush to scrub off any residue, then rinse and dry thoroughly before reassembling.
Read more: How To Clean Brass Stove Burners
Step 4: Removing Burner Heads
Once you have cleaned the burner grates and caps, the next step is to remove the burner heads for thorough cleaning. Here’s how to do it:
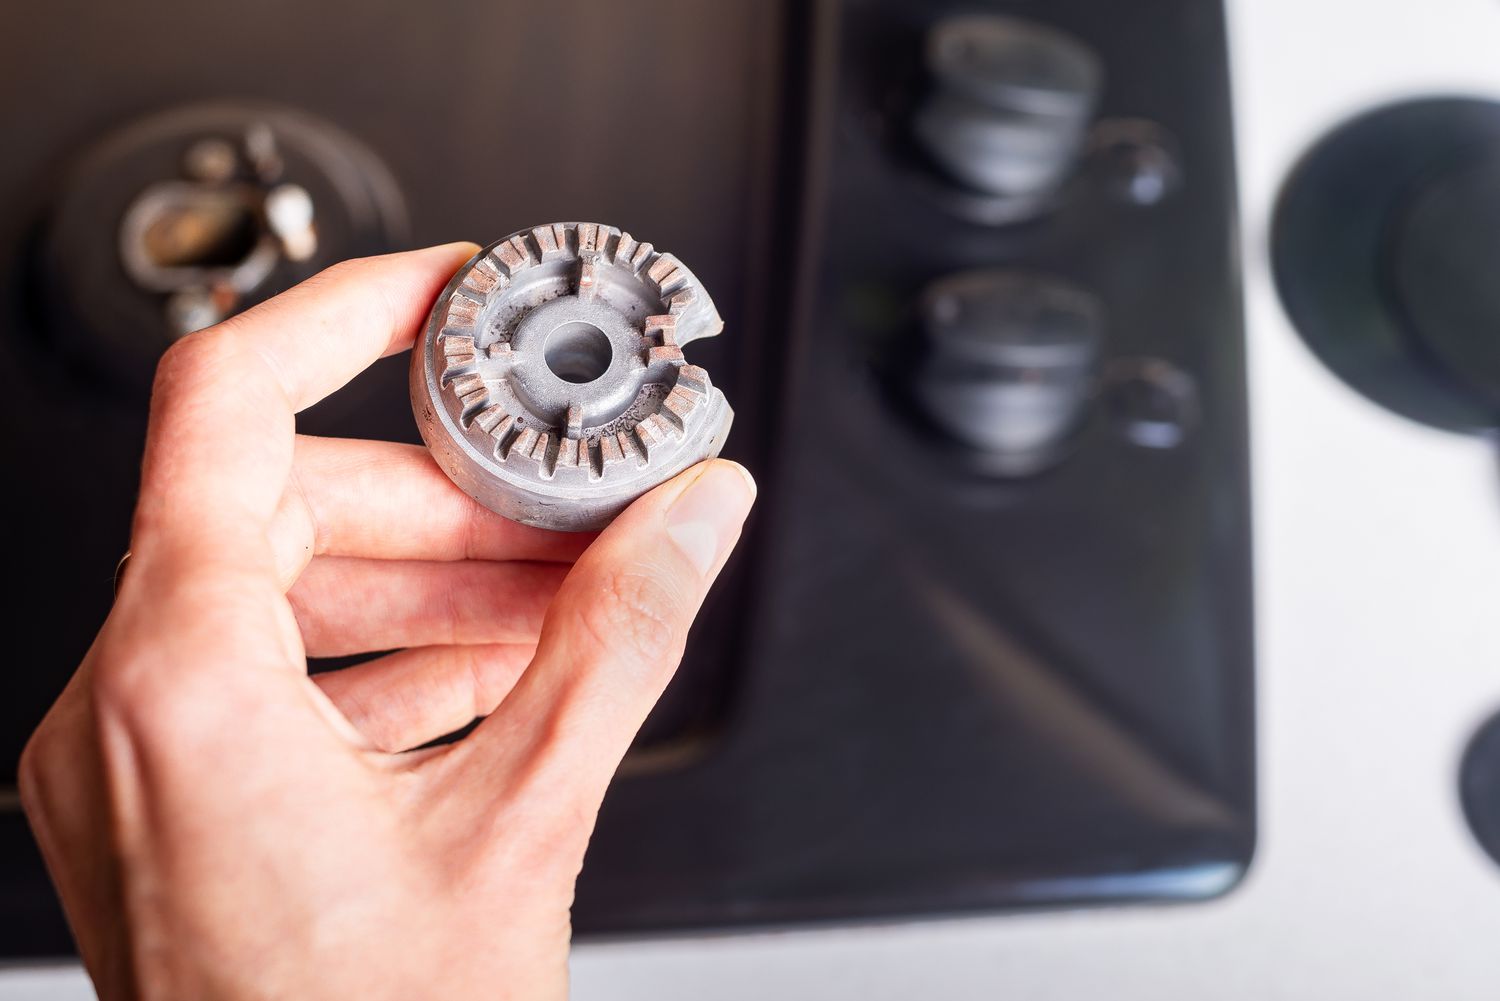
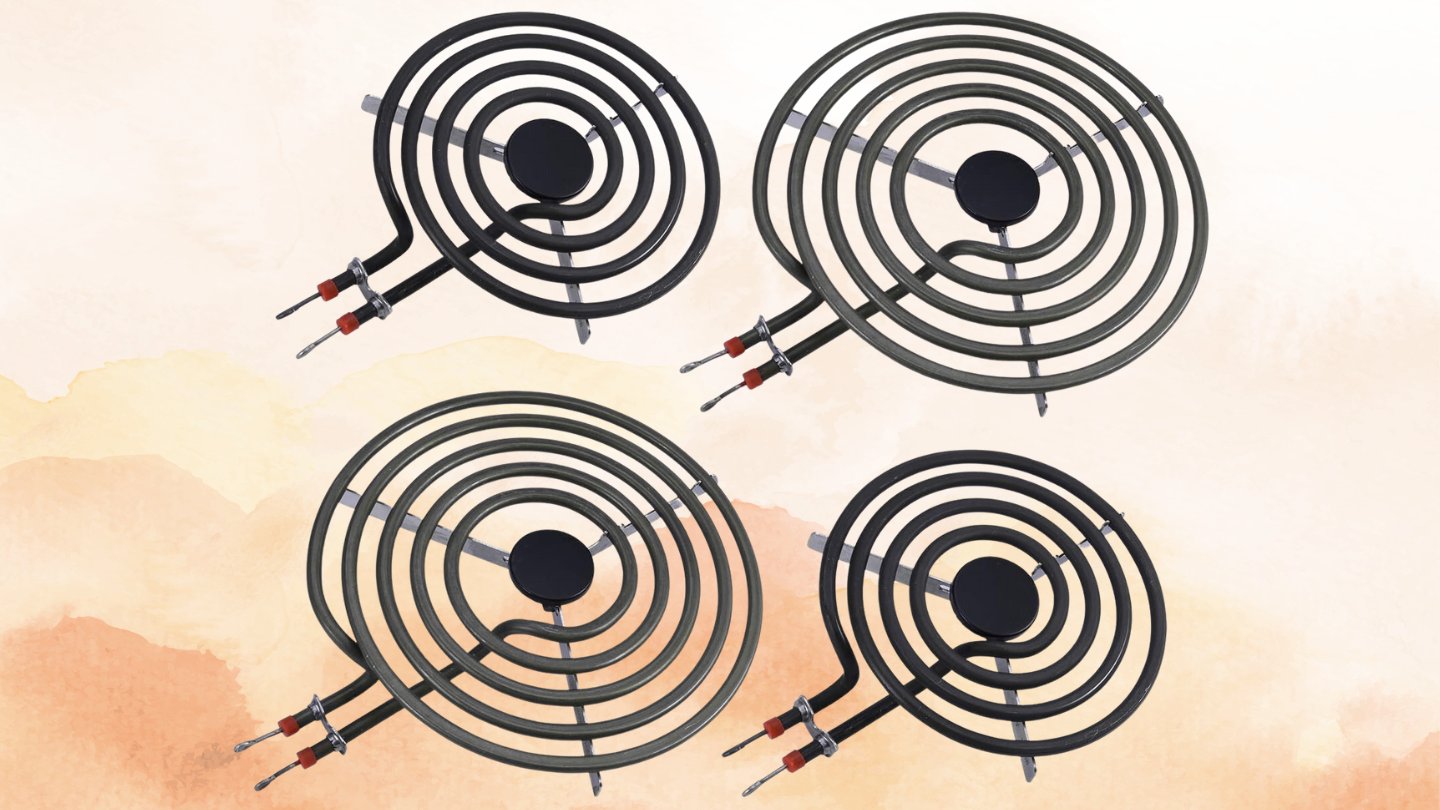
- Locate the burner heads, which are the round metal plates underneath the burner caps.
- Gently lift the burner heads off the stove, taking care not to damage the gas ports or any other components.
- Inspect the burner heads for any clogs or debris. If you notice any buildup, use a soft brush or toothbrush to remove it.
Removing the burner heads will provide better access to clean its individual components. Once you’ve completed this step, it’s time to move on to the next one: cleaning the burner heads.
Step 5: Cleaning the Burner Heads
Now that you have removed the burner heads, it’s time to clean them to ensure they are free from any debris or clogs. Follow these steps to clean the burner heads effectively:
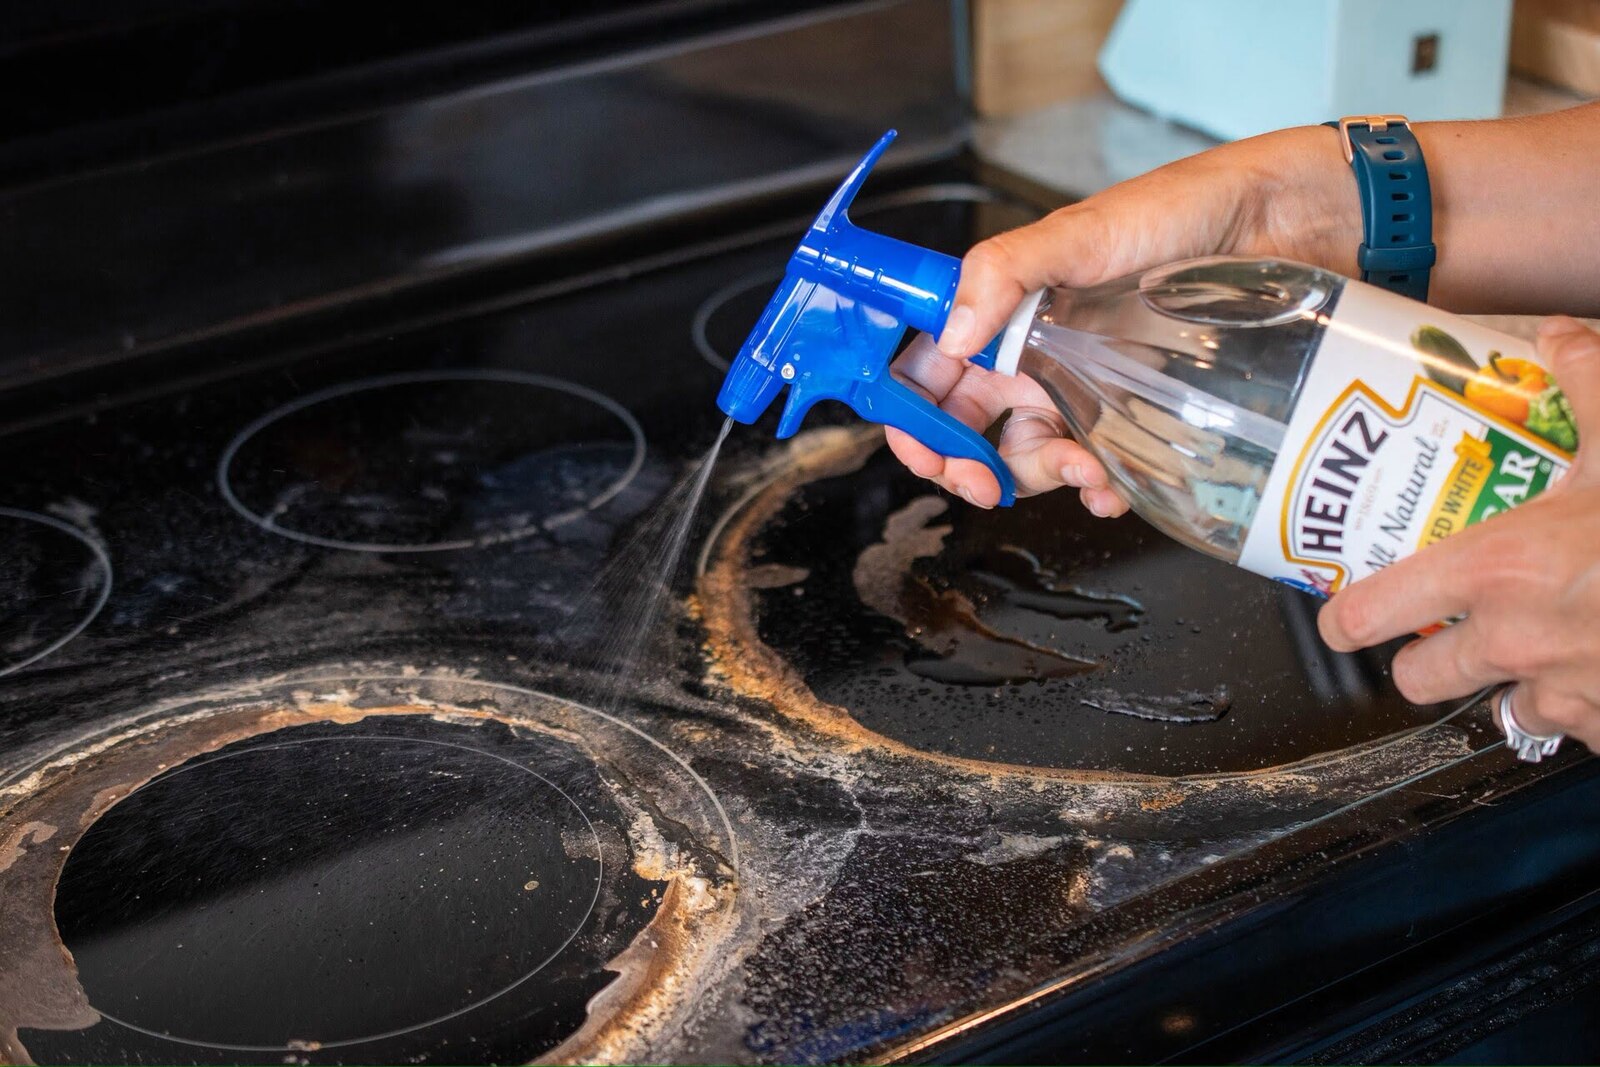
- Prepare a solution of equal parts vinegar and warm water in a small bowl or container.
- Place the burner heads in the vinegar and water solution, making sure they are fully submerged.
- Allow the burner heads to soak in the solution for about 15-20 minutes. This will help dissolve any stubborn residue.
- After soaking, use a soft brush or toothbrush to gently scrub the burner heads, paying attention to the gas ports and any other areas with buildup.
- Rinse the burner heads thoroughly with clean water to remove any vinegar residue.
- Pat the burner heads dry with a cloth or towel before reattaching them to the stove.
By following these steps, you will effectively clean the burner heads, ensuring that they are free from any clogs or debris. Now that the burner heads are clean, it’s time to move on to the next step: cleaning the gas ports.
Step 6: Cleaning the Gas Ports
To ensure optimal performance, it’s essential to clean the gas ports of your Whirlpool stove burners. Here’s how to clean the gas ports effectively:
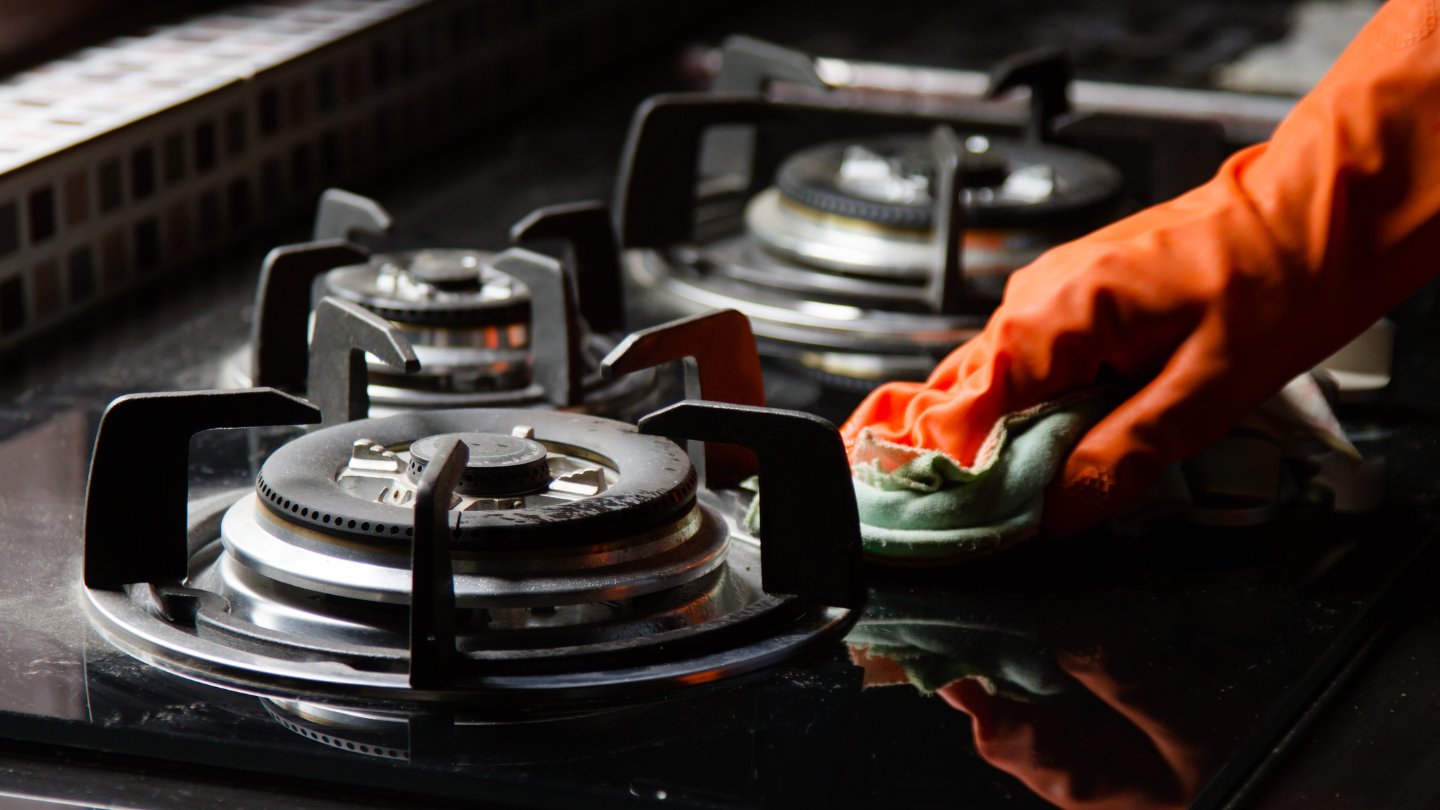
- Locate the gas ports on the burner heads. These small holes allow the gas to flow and create a flame.
- Use a soft brush or a straightened paperclip to gently clean each gas port. Be careful not to push too hard or damage the ports.
- Remove any debris or residue that may be clogging the gas ports. This will ensure proper gas flow and prevent uneven flames.
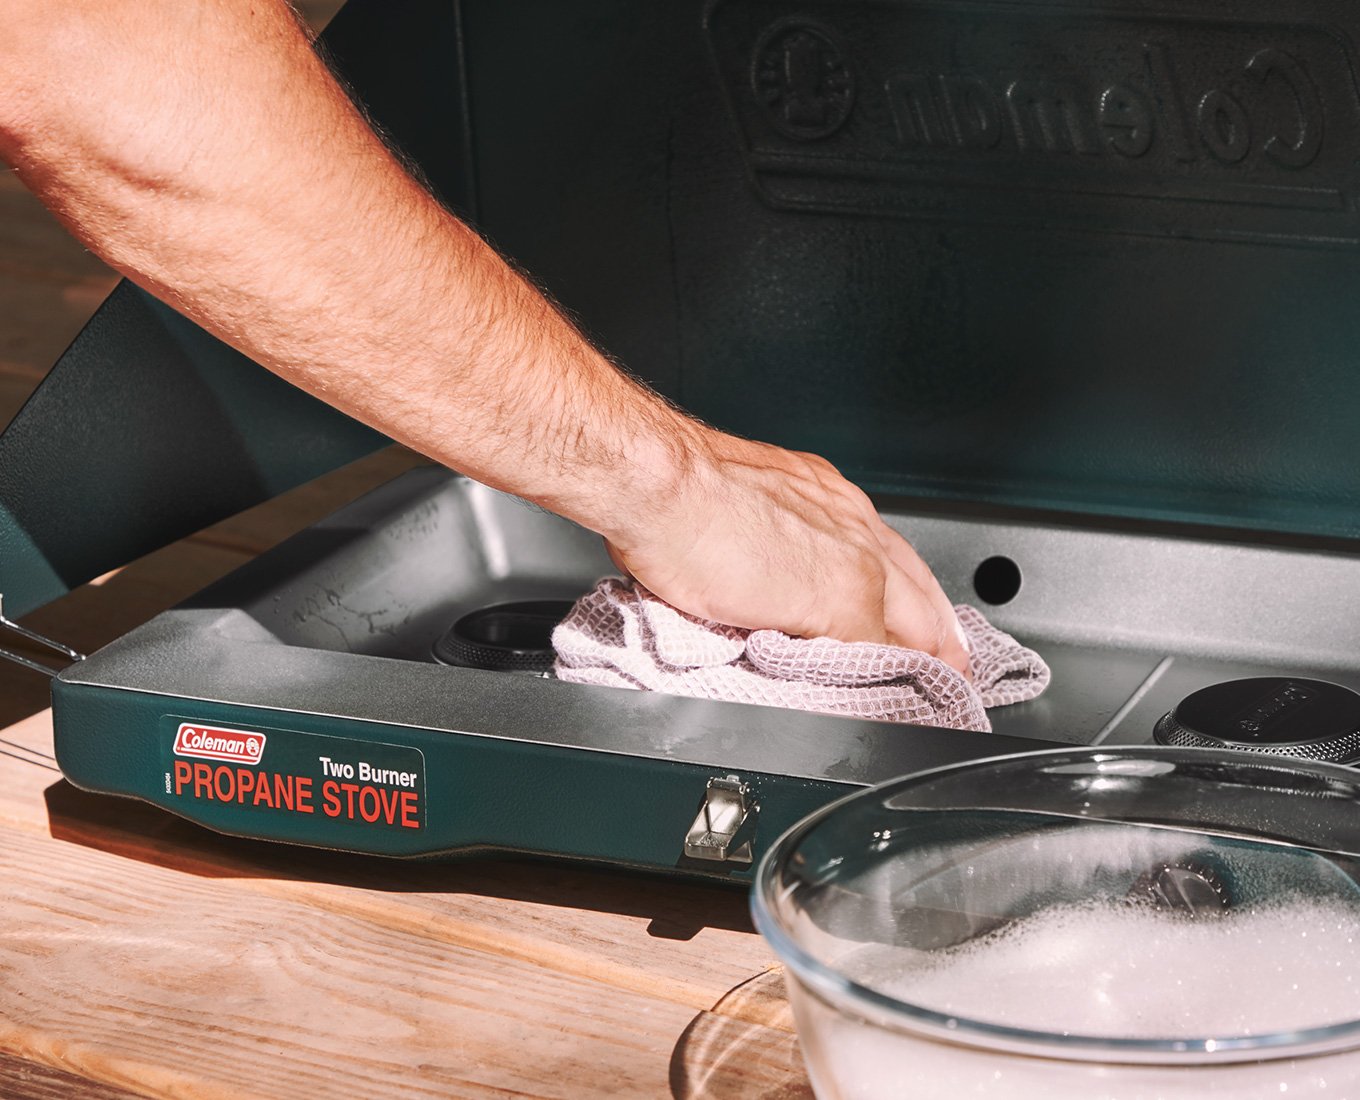
- Once you have cleaned all the gas ports, wipe the burner heads with a cloth or towel to remove any loosened debris.
By cleaning the gas ports, you will help maintain the efficiency and performance of your stove burners. With the gas ports cleaned, it’s time to move on to the final step: reassembling the burners.
Step 7: Reassembling the Burners
Now that you have completed the cleaning process for your Whirlpool stove burners, it’s time to reassemble them. Follow these steps to reassemble the burners:
- Start by placing the clean burner heads back onto the stove, ensuring they are aligned correctly.
- If your stove has burner caps, place them back on top of the burner heads. Make sure they fit snugly.
- Take the cleaned burner grates and carefully place them back onto the stove surface. Ensure they are properly aligned and sitting flat.
- Double-check that all components are correctly reassembled and securely in place.
Once you have reassembled the burners, it’s time to reconnect the power source to the stove. Plug the stove back into the electrical outlet or turn on the circuit breaker, depending on the type of power connection in your kitchen.
With the burners reassembled and the power reconnected, your Whirlpool stove is ready for use. Enjoy cooking with clean and efficient stove burners!
Remember to clean your stove burners regularly to maintain their performance and prolong their lifespan. A clean stove not only looks great but also ensures optimal cooking results.
Following these steps will help you keep your Whirlpool stove burners in excellent condition, ensuring many delicious meals ahead. Happy cooking!
Read more: How To Clean Coil Stove Burners
Conclusion
Cleaning your Whirlpool stove burners is a simple yet essential task that should be done regularly to maintain their performance and appearance. By following the step-by-step process outlined in this article, you can effectively clean your stove burners and ensure optimal cooking results.
Throughout the cleaning process, it’s important to prioritize safety by taking precautionary measures such as turning off the stove, disconnecting it from the power source, and wearing protective gloves. This will ensure a safe and hassle-free cleaning experience.
The necessary materials for cleaning your stove burners include mild dish soap, warm water, a scrub brush or sponge, a microfiber cloth or towel, vinegar, and a bucket or sink. Having these materials ready before you begin will help streamline the process.
Remember to remove the burner grates and caps first, cleaning them separately from the burner heads. Soaking the grates and caps in warm soapy water and gently scrubbing them will help remove any dirt and grease. Similarly, cleaning the burner heads and gas ports with a vinegar and water solution will ensure they are free from debris and clogs.
Once all the individual components are clean, reassembling the burners is the final step. Make sure all the parts are properly aligned and securely in place before restoring power to the stove.
Regularly cleaning your Whirlpool stove burners will not only enhance the visual appeal of your appliance but also ensure efficient and consistent cooking. By following the steps in this article, you can keep your burners in excellent condition and enjoy many delicious meals for years to come.
So, don’t procrastinate on cleaning your stove burners. Take the time today to give them the cleaning they deserve and reap the benefits of a well-maintained and efficient Whirlpool stove!
Frequently Asked Questions about How To Clean Whirlpool Stove Burners
Was this page helpful?
At Storables.com, we guarantee accurate and reliable information. Our content, validated by Expert Board Contributors, is crafted following stringent Editorial Policies. We're committed to providing you with well-researched, expert-backed insights for all your informational needs.


0 thoughts on “How To Clean Whirlpool Stove Burners”