Articles
How To Clean Coil Stove Burners
Modified: August 26, 2024
Learn effective techniques for cleaning coil stove burners in this informative article. Find step-by-step instructions and expert tips to keep your burners sparkling clean.
(Many of the links in this article redirect to a specific reviewed product. Your purchase of these products through affiliate links helps to generate commission for Storables.com, at no extra cost. Learn more)
Introduction
A coil stove burner is a popular choice in many kitchens, known for its efficient heating capabilities. However, over time, these burners can become dirty and caked with residue from cooking, which can affect their performance and appearance. Cleaning coil stove burners is an essential task to ensure that your stove continues to function optimally and that your kitchen remains clean and hygienic.
This article will guide you through the step-by-step process of effectively cleaning coil stove burners. By following these instructions and using the right materials, you can easily restore your burners to their original condition.
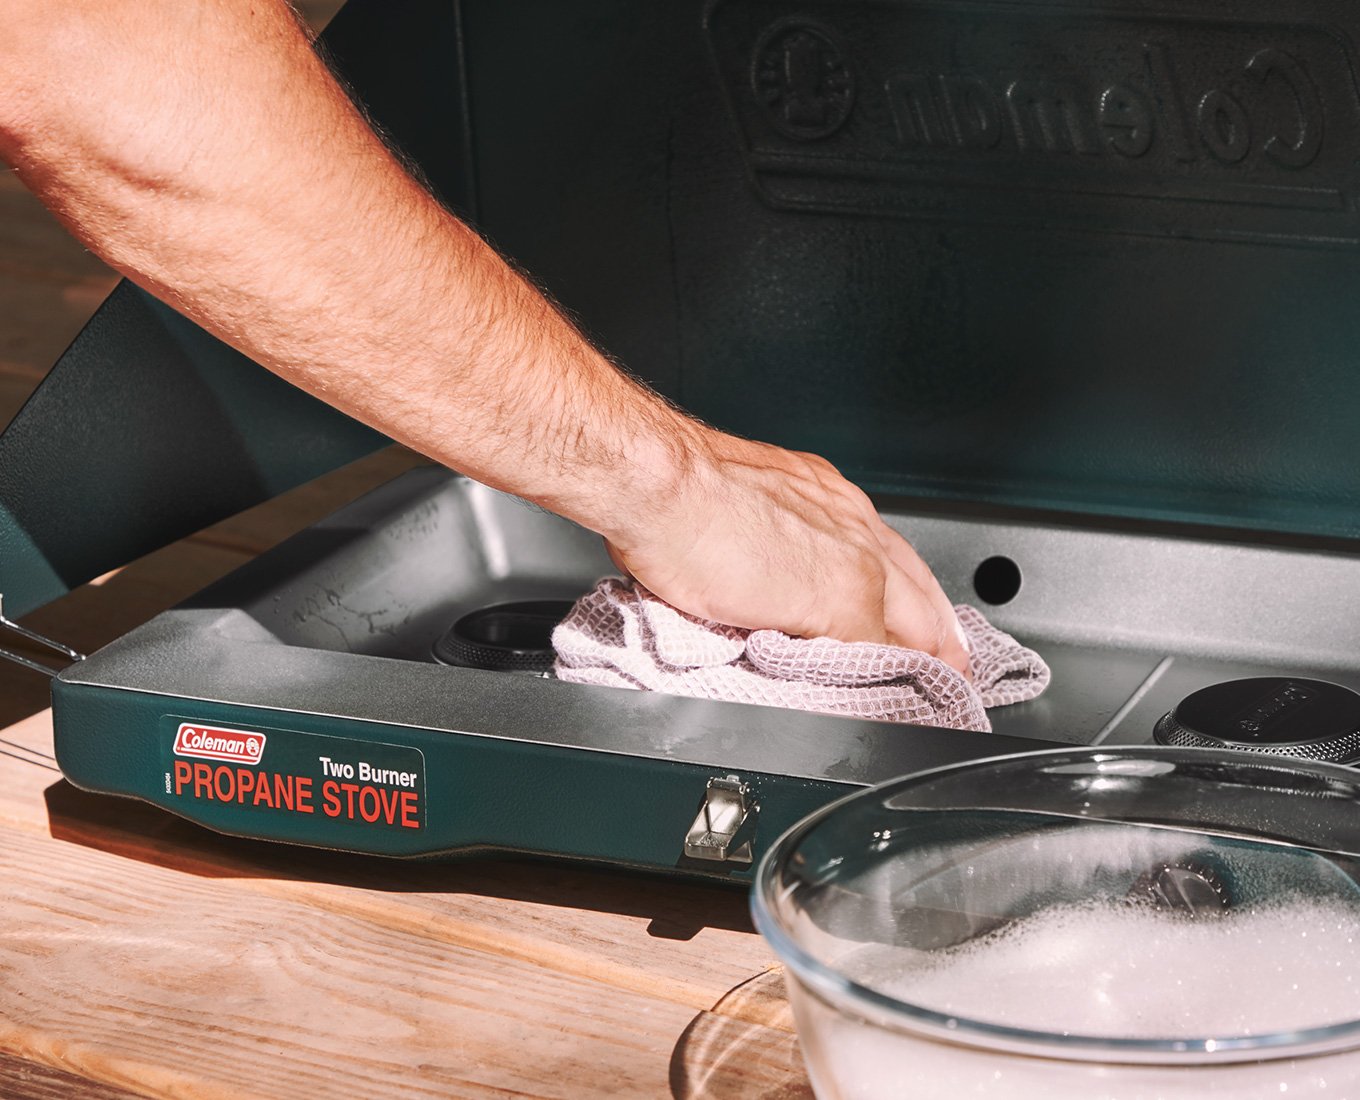
Before starting the cleaning process, it’s important to gather all the necessary materials. This will help make the cleaning process more efficient and ensure that you have everything you need at hand. Let’s take a look at the materials you’ll need:
Key Takeaways:
- Regularly cleaning coil stove burners with hot soapy water, vinegar, and baking soda ensures optimal performance and a hygienic kitchen environment. Don’t forget to disconnect, soak, scrub, and test for a sparkling and efficient stovetop.
- Properly preparing, disconnecting, soaking, scrubbing, and reassembling coil stove burners with the right materials and techniques ensures a thorough and successful cleaning result. Enjoy a clean and efficient cooking experience for years to come.
Read more: How To Clean Kitchen Stove Burners
Materials Needed
Before you begin cleaning your coil stove burners, gather the following materials:
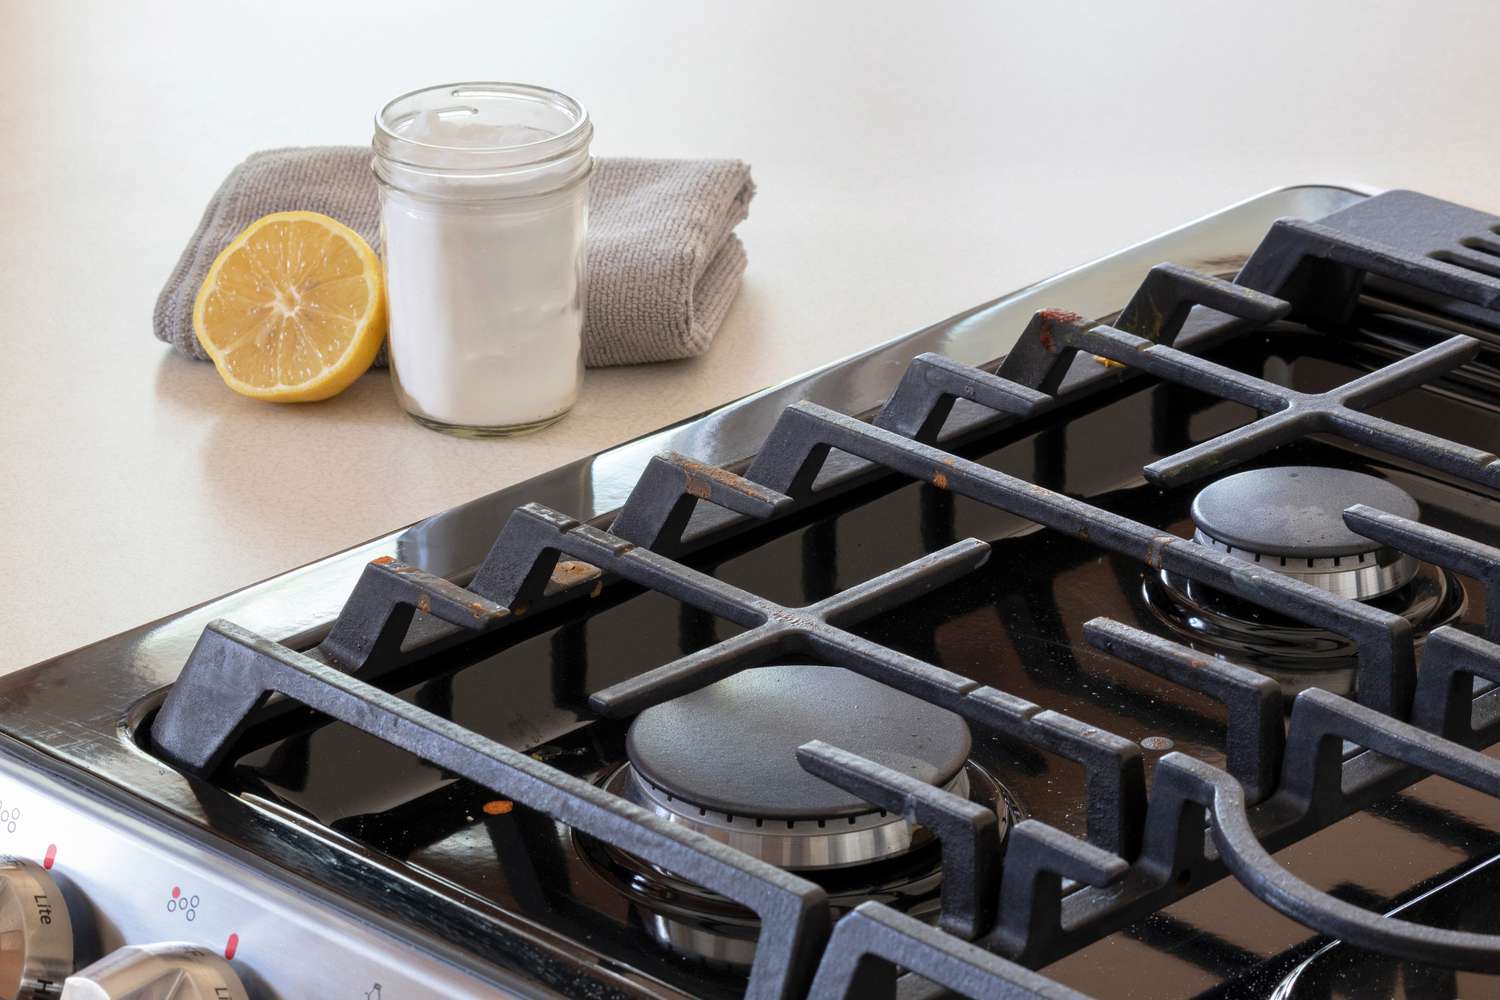
- Hot soapy water: Prepare a mixture of dish soap and hot water in a bucket or sink.
- Vinegar: This natural cleaning agent can help remove grease and grime.
- Baking soda: An effective and gentle abrasive cleaner.
- A scrub brush or sponge: Choose a brush or sponge with stiff bristles to scrub away stubborn stains and residue.
- A toothbrush: This small brush is useful for reaching tight spaces on the burners.
- Microfiber cloths: These cloths are great for wiping away dirt and absorbing excess moisture.
- Gloves: Protect your hands from cleaning agents and hot water by wearing rubber gloves.
Once you have gathered all the necessary materials, you are ready to begin the cleaning process. Follow the steps below to effectively clean your coil stove burners.
Step 1: Prepare the Stove Burners
Before diving into the cleaning process, it is important to prepare the stove burners for cleaning. Start by ensuring that the stove is turned off and cool to the touch. Safety should always be a top priority when working with any kitchen appliances.
Next, remove any pots, pans, or other items from the stovetop. Clearing the area will give you ample space to work and prevent any accidental damage to your cookware.
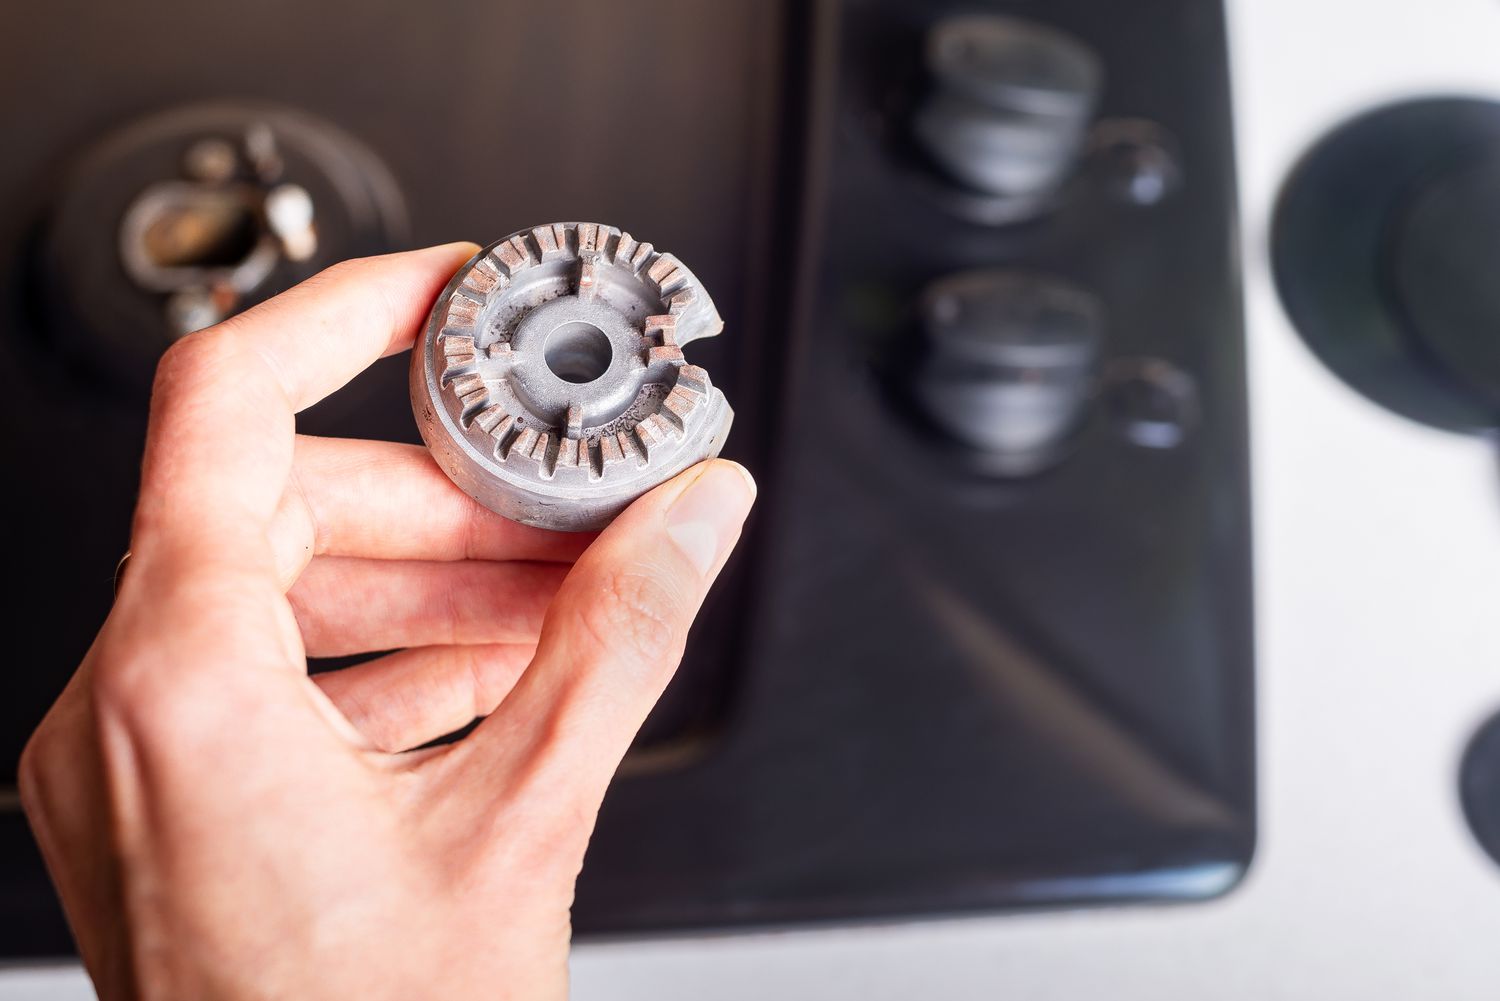
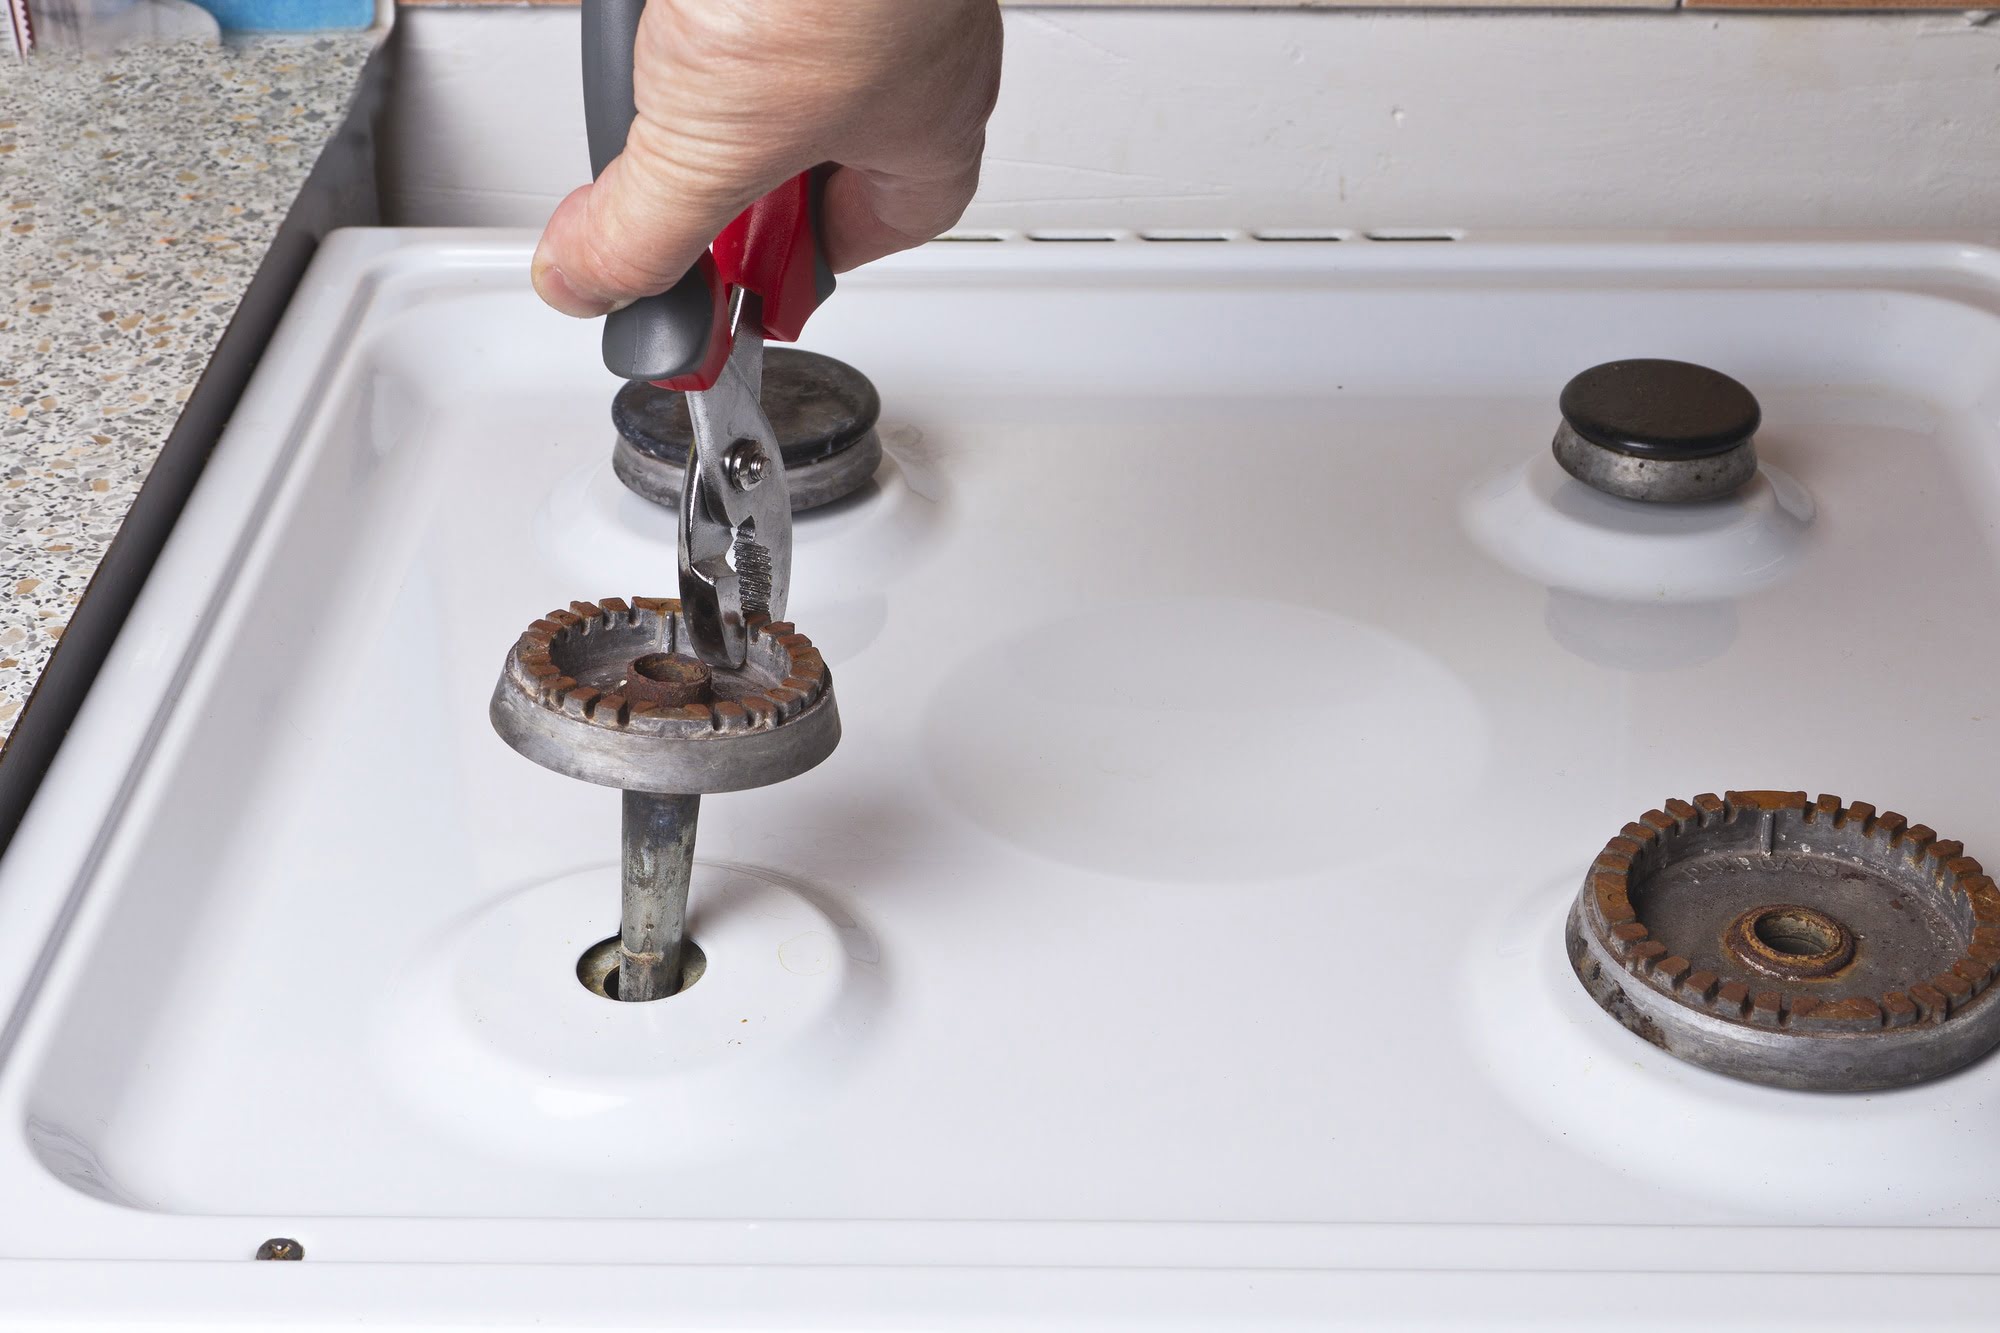
Now, carefully lift and remove the burner coils from the stovetop. These coils typically sit on a metal bracket or socket. Gently tug on the coil from the front to release it from its socket. Take extra care not to force it or damage the electrical connections.
Place the removed coils in a safe location away from your working area. This will prevent them from getting dirty or damaged during the cleaning process.
With the burners removed, you can now access the drip pans. These pans sit beneath the burners and collect any spills or drips during cooking. Lift the pans out of their slots and set them aside for cleaning later.
Once the burners and drip pans are removed, you are now ready to proceed to the next step of the cleaning process. By properly preparing the stove burners, you ensure a more streamlined and effective cleaning experience.
Step 2: Disconnect the Burners and Drip Pans
Now that the stove burners and drip pans have been removed from the stovetop, it’s time to disconnect them completely. This step will make it easier to clean each component individually.
Start by locating the connection point where the coils are connected to the stove. Depending on the model of your stove, this connection point may vary. Look for a small plug or prong that is inserted into the socket.
Gently pull out the plug or prong from the socket to disconnect the burner from the stove. Be cautious not to tug too forcefully, as you don’t want to damage the electrical connections. Repeat this step for each burner.
Next, focus on the detached drip pans. These pans can either be removed by lifting them out of their slots or by unscrewing them from the stove. Check your stove’s user manual if you are unsure how to remove the drip pans.
Once the burners and drip pans are disconnected, carefully place them on a sturdy surface for cleaning. This will allow you to clean them thoroughly and prevent any damage to your countertops or floors.
Now that the burners and drip pans are disconnected, you are ready to move on to the next step of the cleaning process. By disconnecting the components, you can clean them more effectively and ensure a spotless result.
Step 3: Remove Loose Debris
With the stove burners and drip pans disconnected and prepared, it’s time to remove any loose debris that may have accumulated. This step will help clear away any loose particles, such as food crumbs or grease, before proceeding with the deep cleaning process.
Start by using a dry cloth or paper towel to wipe away any visible loose debris from the burners and drip pans. Gently brush off any crumbs or residue that may have settled on the surface.
Next, examine the burners and drip pans closely for any stubborn debris that may be stuck. Use a toothbrush or a small brush with stiff bristles to dislodge and remove any buildup. Apply gentle pressure while scrubbing to avoid damaging the surface of the burners and pans.
If there are any stubborn stains or hardened residues, you can sprinkle baking soda onto the affected areas. Baking soda acts as a natural abrasive cleaner and can help break down tough grime. Allow the baking soda to sit for a few minutes before scrubbing it away with a brush or sponge.
For the drip pans, you may also encounter stubborn grease or residue. In such cases, soak the pans in hot, soapy water for about 15-20 minutes to loosen the debris. This will make it easier to scrub away the buildup later on.
Once you have removed all the loose debris from the burners and drip pans, you are ready to proceed to the next step of the cleaning process. By starting with this crucial step, you’ll ensure a cleaner and more effective cleaning result.
To clean coil stove burners, remove them from the stove and soak in a mixture of hot water and dish soap. Use a non-abrasive sponge to scrub off any residue, then dry thoroughly before reassembling.
Read more: How To Clean Brass Stove Burners
Step 4: Soak the Burners and Drip Pans
Now that you have removed the loose debris from the stove burners and drip pans, it’s time to give them a thorough soak. Soaking helps to break down stubborn grease and grime, making it easier to remove during the cleaning process.
Start by filling a basin or sink with hot, soapy water. Add a generous amount of dish soap to create a cleaning solution. The hot water will help to loosen any remaining residue, while the soap will work as a degreaser.
Place the stove burners and drip pans into the soapy water, ensuring that they are fully submerged. Allow them to soak for about 30 minutes to an hour. This soaking period will give the cleaning agents enough time to penetrate and loosen the dirt and grime.
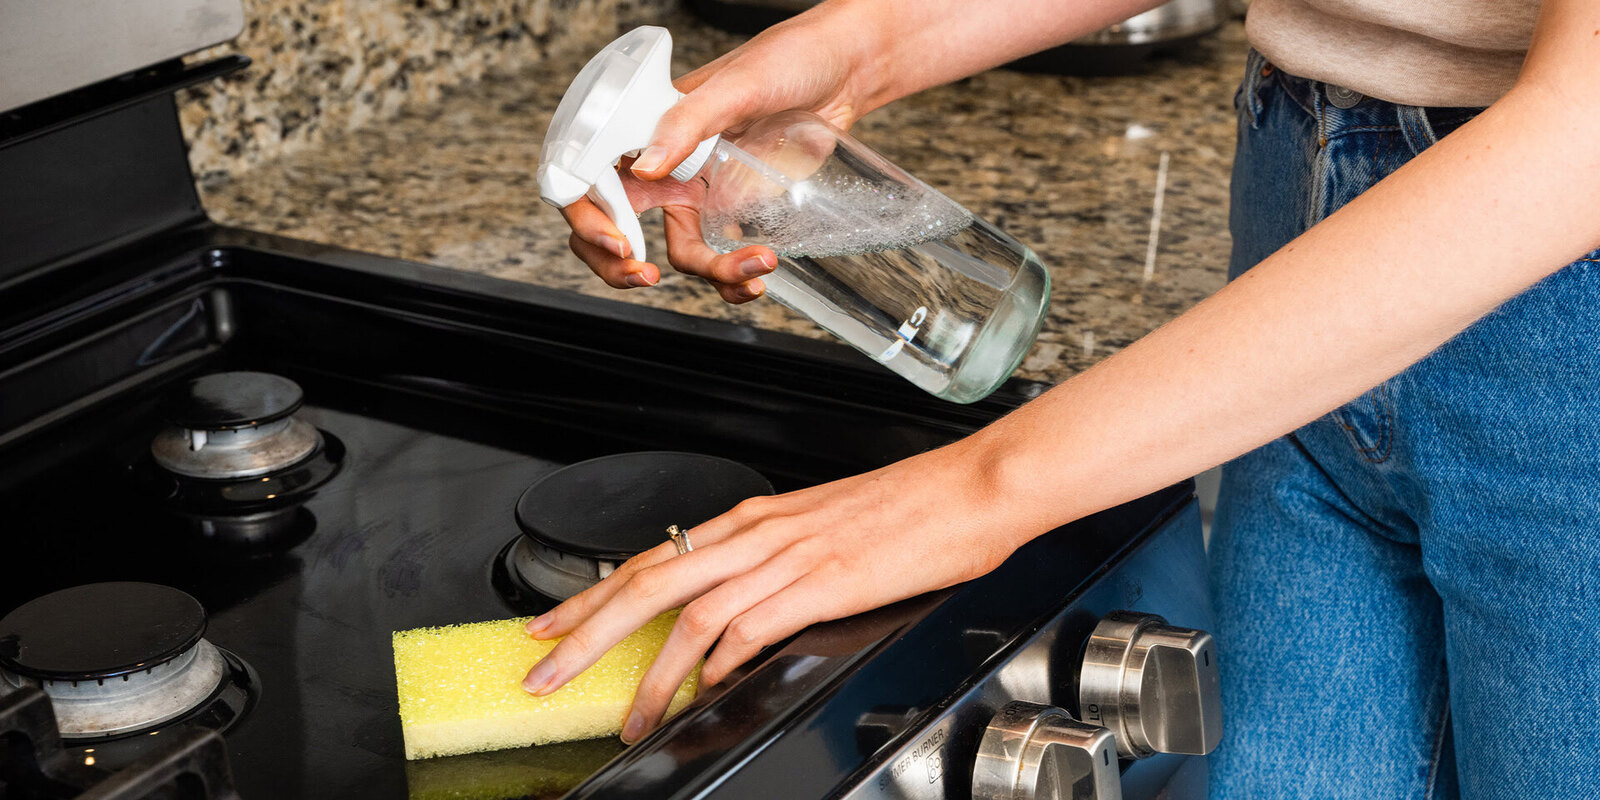
While the burners and drip pans are soaking, take this time to clean the stovetop area. Wipe down the surface with a damp cloth or sponge to remove any leftover debris or spills. This will ensure that your stove is clean and ready for reassembly once the burners and drip pans are cleaned.
After the soaking period, remove the burners and drip pans from the soapy water. Use a scrub brush or sponge to gently scrub away any remaining residue or stains. Pay close attention to the areas with stubborn grease or grime, applying a bit of extra pressure if needed.
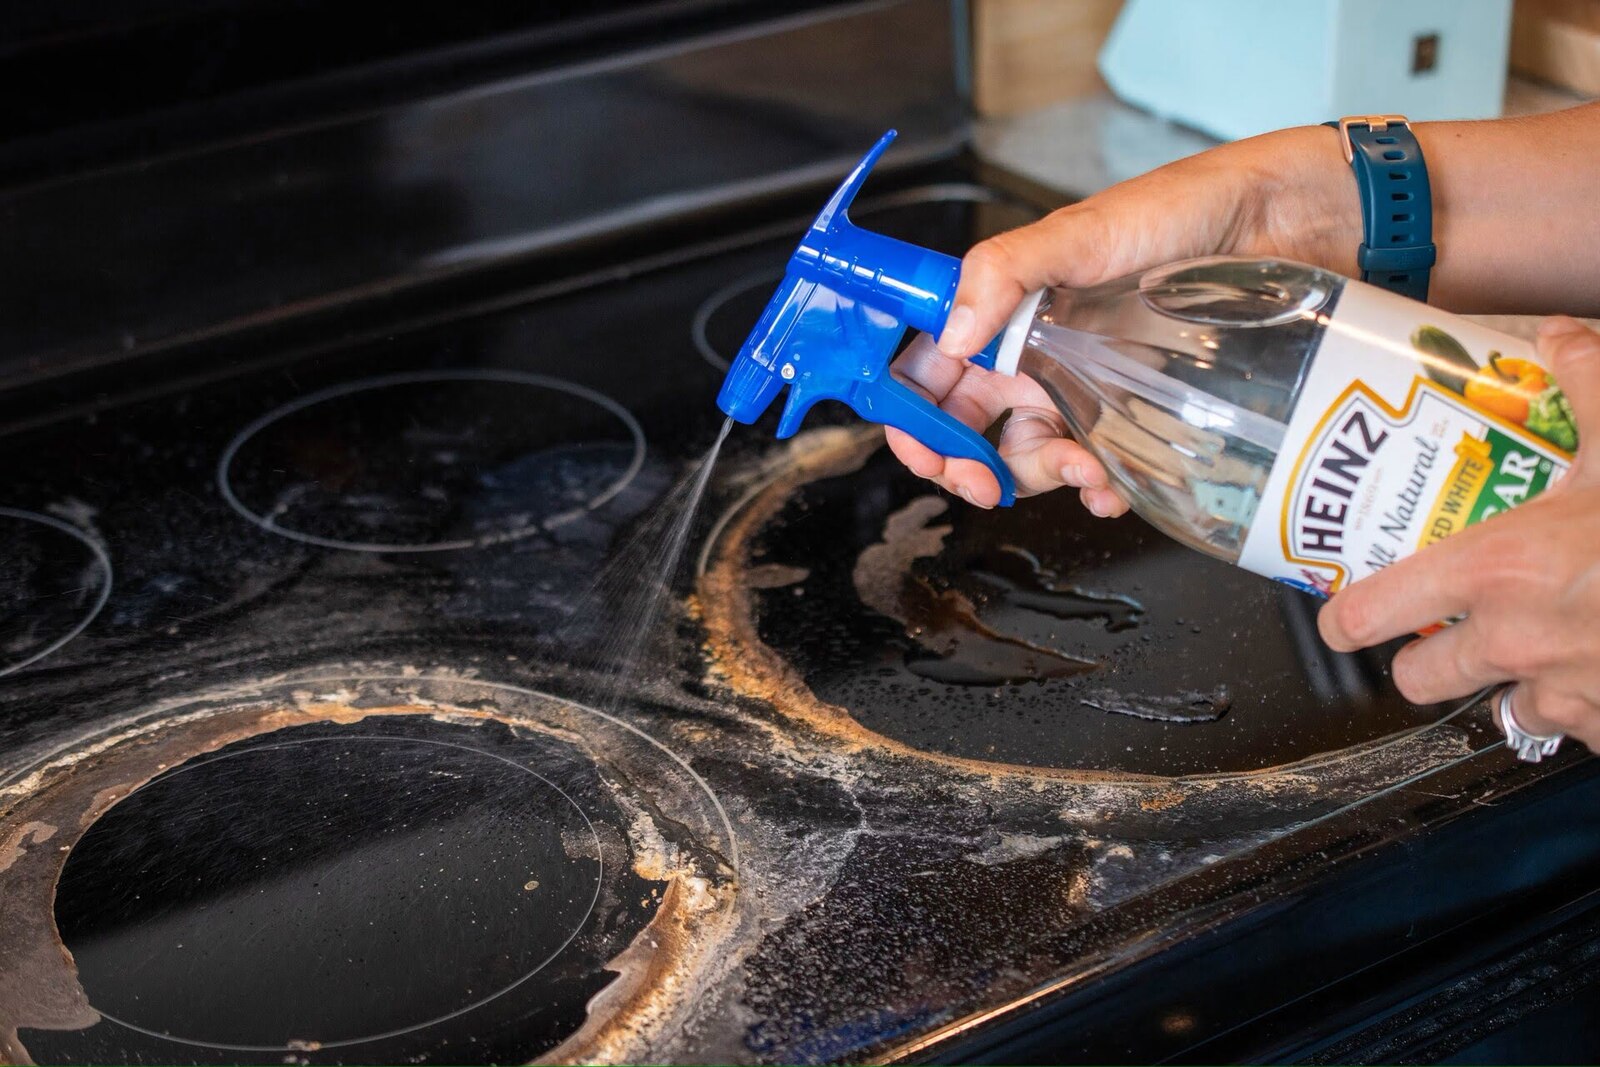
If there are any particularly stubborn stains or buildup, you can create a vinegar and water solution. Mix equal parts of white vinegar and water and apply it to the affected areas. Allow the solution to sit for a few minutes before scrubbing away the stain.
Once you have thoroughly scrubbed the burners and drip pans, rinse them under clean water to remove any soap residue. Shake off any excess water and pat them dry with a clean towel or let them air dry.
With the burners and drip pans now cleaned and dried, you are ready to move on to the next step of the cleaning process. Soaking the burners and drip pans ensures a more effective cleaning and removes tough stains and grease.
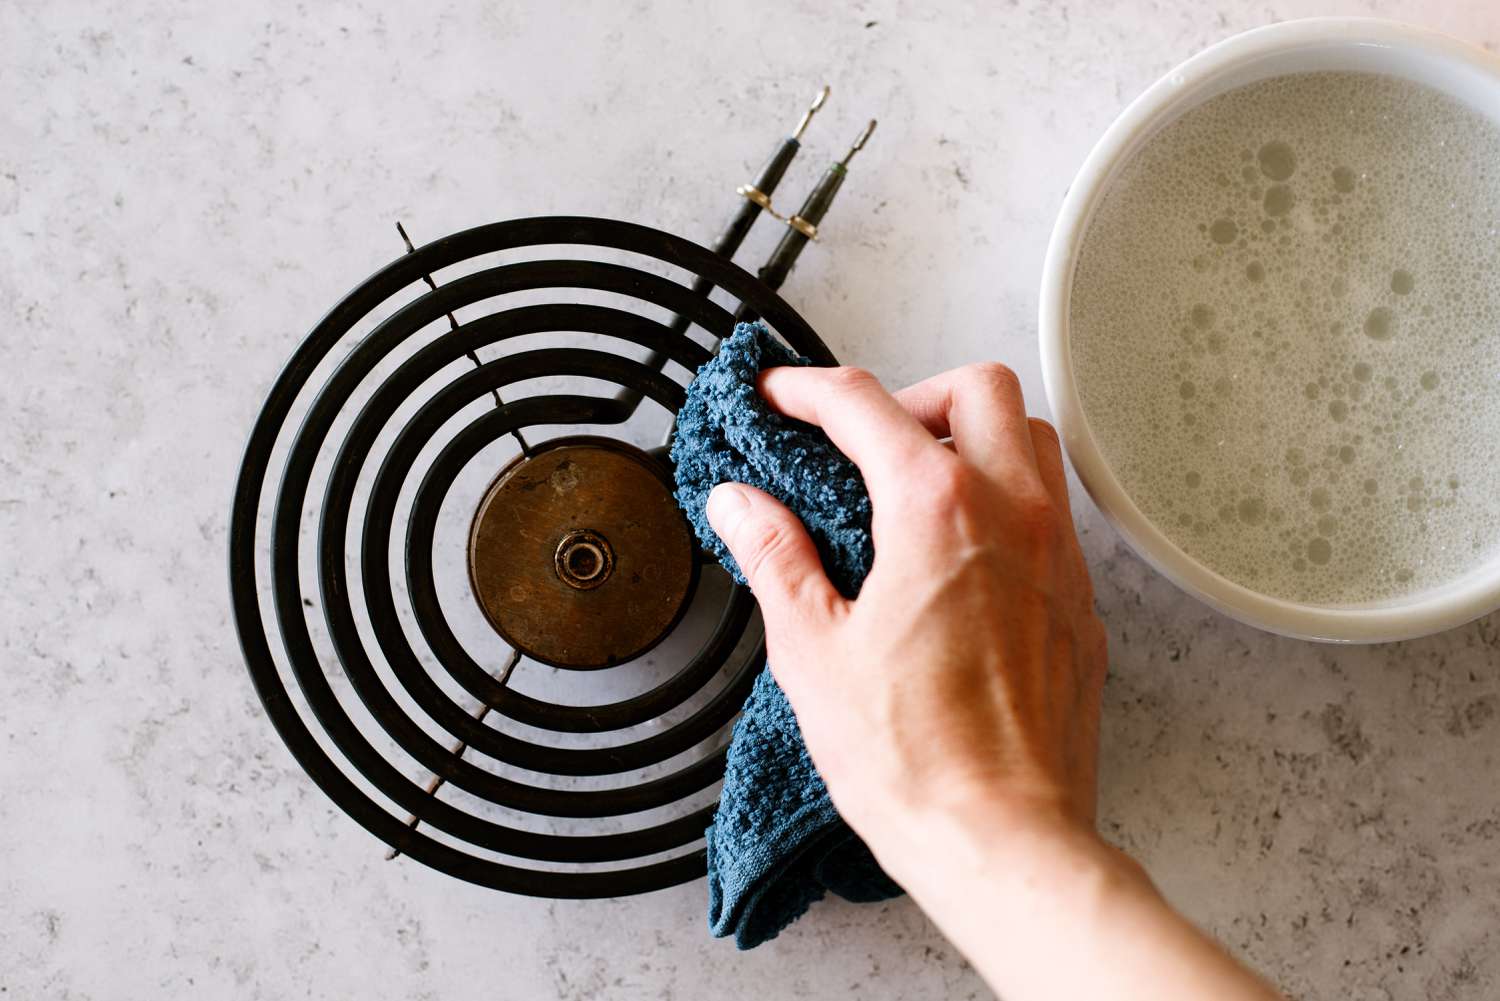
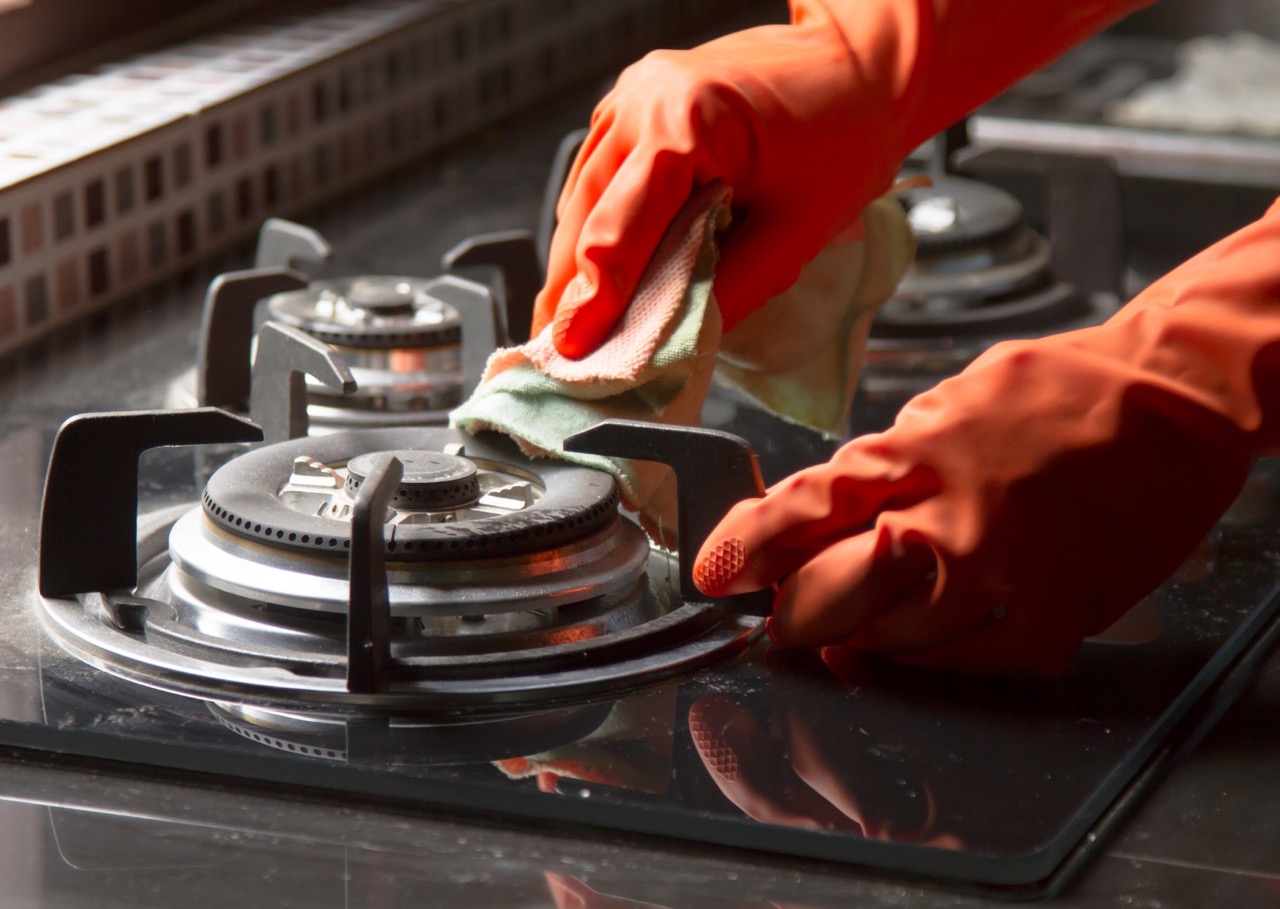
Step 5: Scrub the Burners and Drip Pans
After soaking the stove burners and drip pans, it’s time to give them a thorough scrub to remove any remaining grime and stains. This step will help restore the appearance and functionality of the burners and pans.
Start by using a scrub brush or sponge to gently scrub the burners. Pay close attention to the coil surface and the areas around the electrical connections. Scrub in circular motions to dislodge any stubborn buildup or stains.
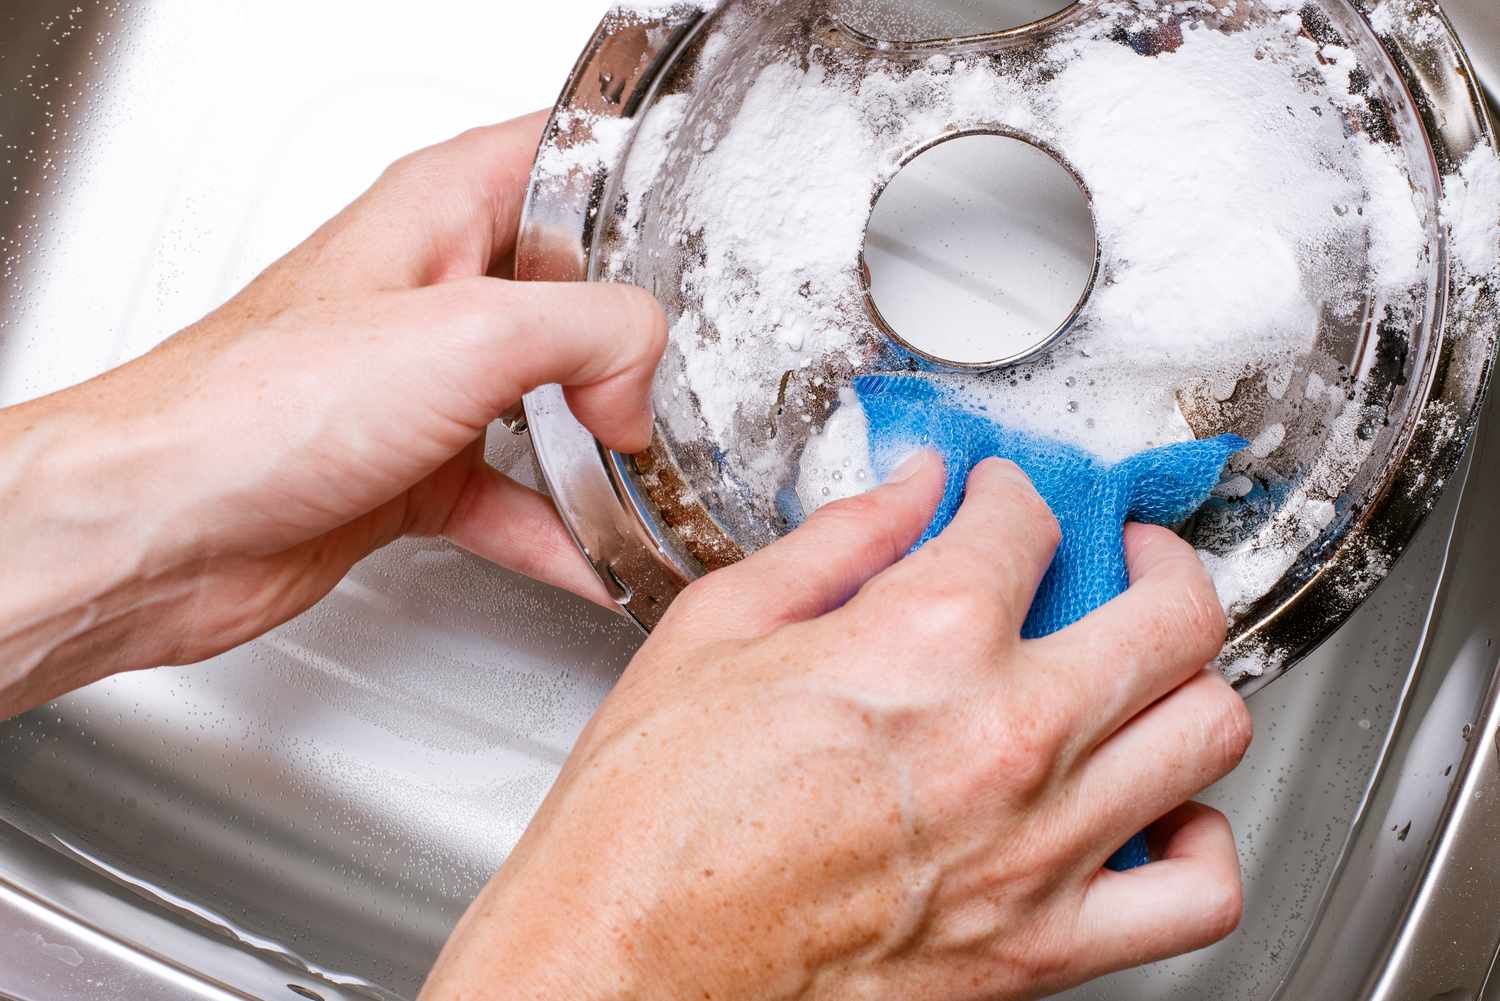
For any stubborn stains or hardened residue, create a paste using baking soda and water. Apply the paste to the affected areas and let it sit for a few minutes to loosen the grime. Then, use the scrub brush or sponge to scrub away the stains.
Continue scrubbing each burner until they are clean and free from any visible dirt or stains. Rinse the burners under running water to remove any residue or cleaning agents. Shake off any excess water and set them aside to air dry.
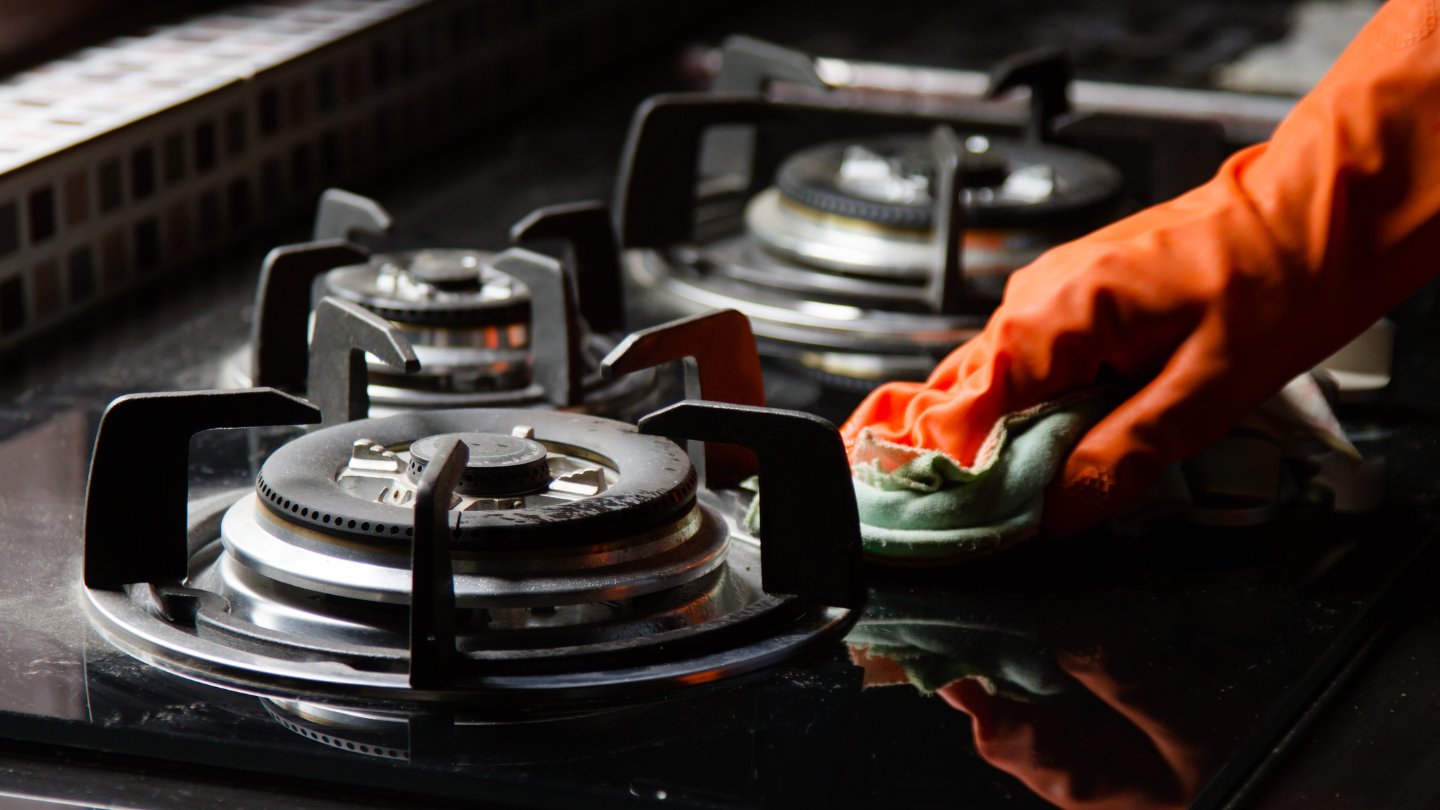
Next, focus on scrubbing the drip pans. Use a sponge or scrub brush to clean both the interior and exterior of the pans. Pay attention to the corners and edges where grease and residue can accumulate.
For any stubborn stains or baked-on grease, you can create a mixture of vinegar and baking soda. Apply the mixture to the affected areas and let it sit for a few minutes to dissolve the grime. Then, scrub away the stains with the brush or sponge.
Continue scrubbing each drip pan until they are free from any residue or stains. Rinse them thoroughly under running water to remove any cleaning agents. Shake off any excess water and pat them dry with a clean towel or let them air dry.
Once you have scrubbed and rinsed the burners and drip pans, check for any remaining stubborn stains. If needed, repeat the scrubbing process or use a toothbrush to reach into hard-to-clean areas.
With the burners and drip pans now clean, you are ready to move on to the next step of the cleaning process. Properly scrubbing the burners and drip pans ensures a thorough and effective cleaning result.
Step 6: Rinse and Dry
After scrubbing the stove burners and drip pans, it’s important to rinse them thoroughly to remove any remaining residue or cleaning agents. This step ensures that your burners and pans are clean and ready for reassembly.
Start by rinsing the burners under running water. Use your hands to rub away any remaining soap or cleaning agents. Ensure that all the surfaces, including the coils and electrical connections, are thoroughly rinsed to remove any trace of cleaning solution.
Shake off any excess water from the burners and place them on a clean towel or let them air dry. Avoid using any heat source to hurry the drying process, as it may cause damage to the electrical components or the coating on the burners.
Next, rinse the drip pans under running water, making sure to remove any remaining soap or cleaning agents. Pay close attention to the corners and edges to ensure a thorough rinse. Shake off any excess water and set the drip pans on a clean towel or let them air dry.
While the burners and drip pans are drying, take this opportunity to clean the stovetop area. Wipe down the surface with a damp cloth or sponge to remove any residual cleaning agents or debris. Ensure that the stovetop is completely dry before proceeding with reassembling the burners and drip pans.
Before reassembling the burners and drip pans, carefully inspect them to ensure they are completely dry. Moisture can hinder the burner’s performance and cause corrosion or damage over time.
Once your burners and drip pans are fully dry, you are ready to proceed to the final step of the cleaning process.
Note: If you are in a rush and need to use your stove immediately, you can use a clean towel to pat the burners and drip pans dry. However, air drying is the recommended method to ensure complete drying and to prevent any potential damage to the burners and pans.
Step 7: Reassemble and Test
After thoroughly cleaning and drying the stove burners and drip pans, it’s time to reassemble them and test their functionality. Follow these steps to confidently put your freshly cleaned components back in place:
- Start by placing the drip pans back into their designated slots beneath the burners. Ensure that they are properly aligned and securely positioned.
- Next, carefully insert the stove burners back into their respective sockets or brackets. Gently push them in until you feel a snug fit. Double-check that each burner is connected properly and securely.
- Once everything is reassembled, take a moment to clean any visible smudges or fingerprints on the surface of the stove using a damp cloth or sponge.
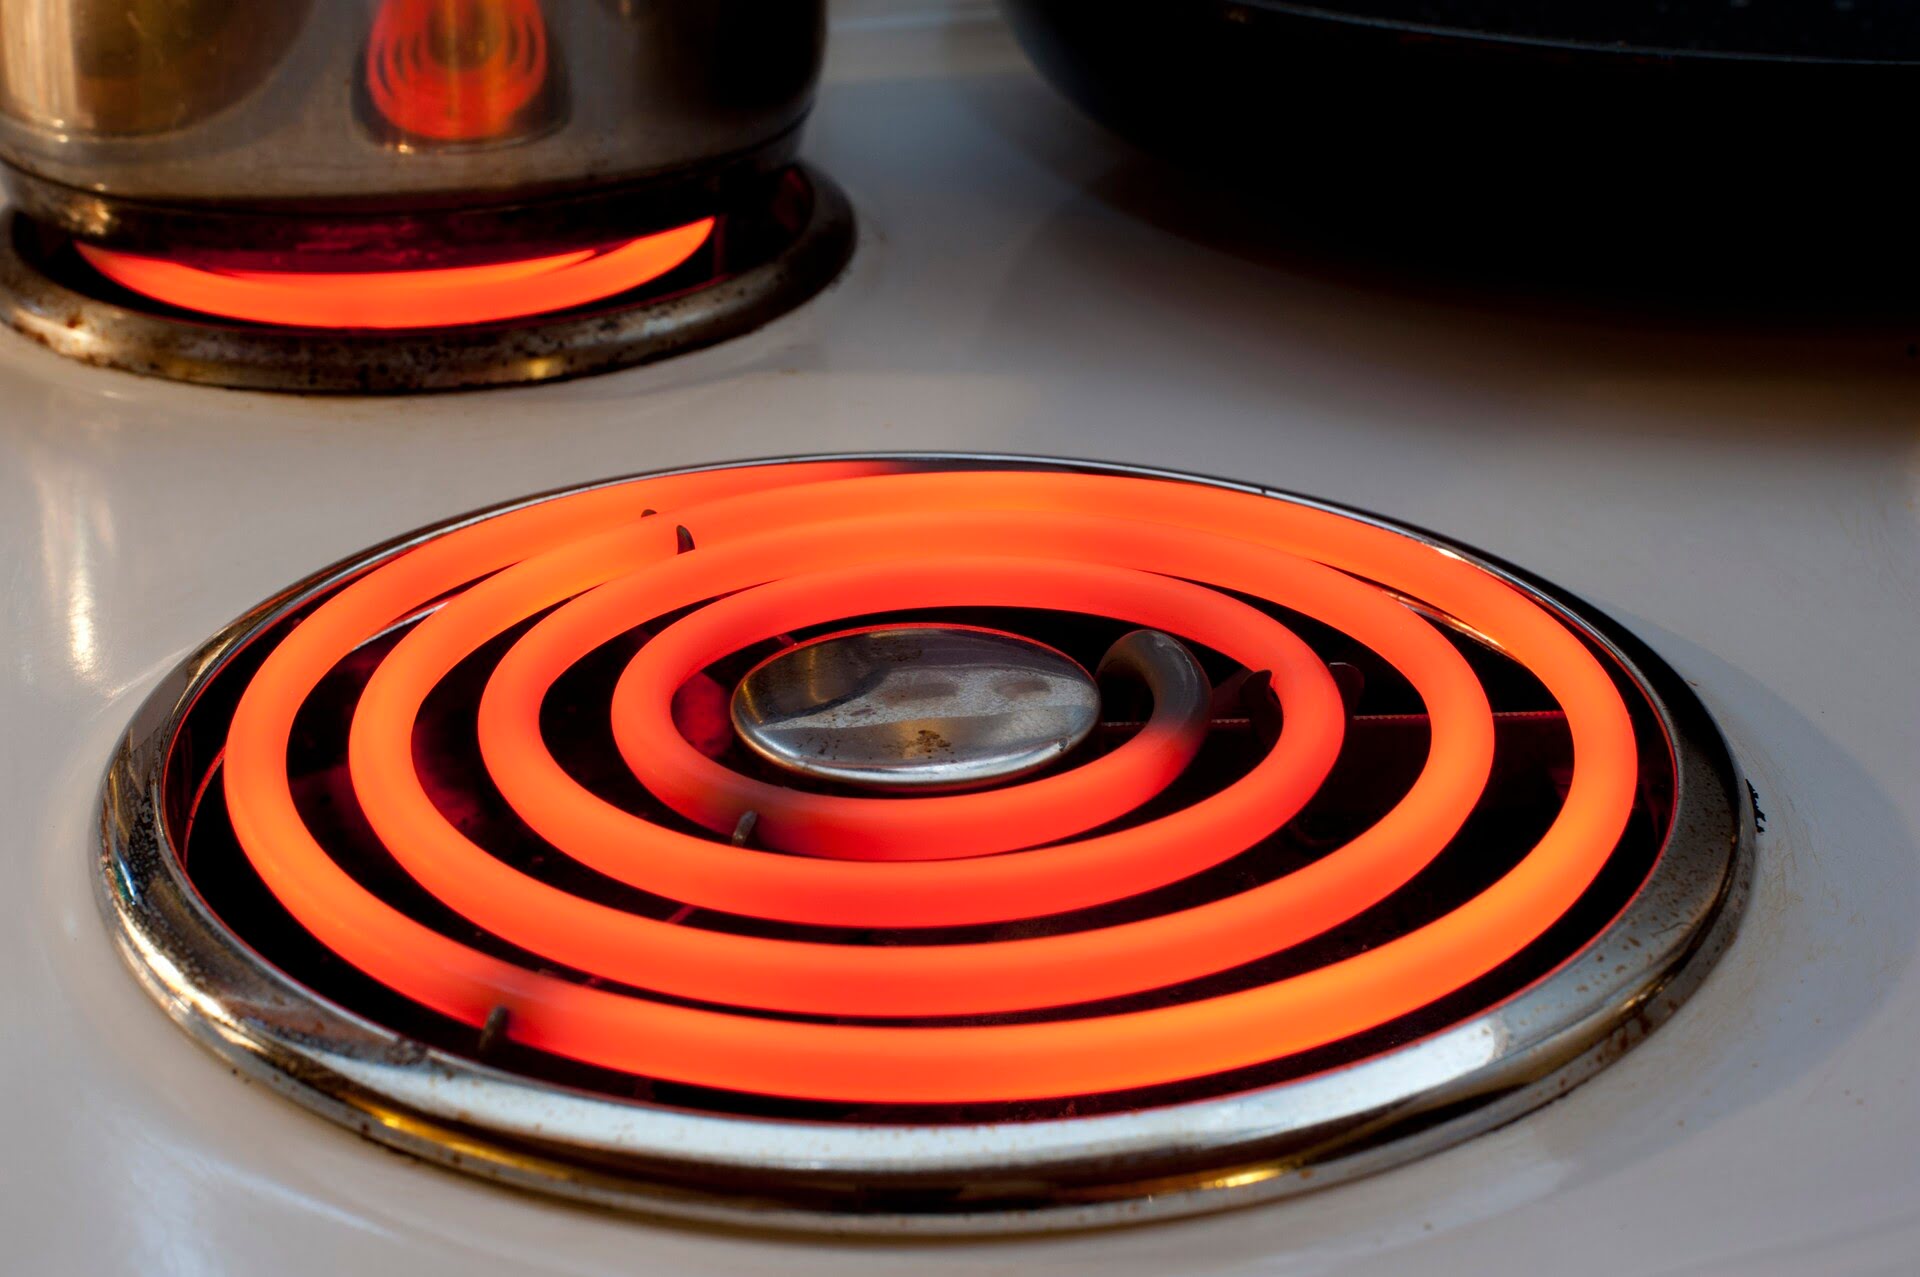
- Finally, it’s time to test the burners. Turn on each burner individually and let them heat up for a few minutes. Observe whether the coils heat up evenly and function as expected. If you notice any irregularities or issues, double-check the connection and ensure that the burner is clean and in its proper position.
As you test each burner, monitor for any strange smells or signs of malfunction. This will help you identify any potential problems that may require further attention or troubleshooting.
Congratulations! You have successfully cleaned, reassembled, and tested your stove burners and drip pans. Enjoy cooking on a clean and efficient stovetop!
Regular maintenance and cleaning of your stove burners will help prolong their lifespan and ensure optimal performance. Make it a habit to clean them on a regular basis to prevent stubborn stains and buildup. By following this step-by-step cleaning guide, you can keep your coil stove burners looking and working their best for years to come.
Read more: How To Clean Whirlpool Stove Burners
Conclusion
Cleaning coil stove burners is essential for keeping your kitchen clean, hygienic, and efficient. With regular maintenance and proper cleaning techniques, you can ensure that your burners remain in excellent condition, providing you with optimal cooking performance.
Throughout this guide, we have covered the step-by-step process to clean your coil stove burners effectively. From preparing the burners to disconnecting them, removing loose debris, soaking, scrubbing, rinsing, drying, and reassembling, each step is crucial in achieving a thorough and successful cleaning result.
By using the right materials and following the instructions provided, you can remove stubborn stains, grease, and residue from your burners and drip pans. Remember to give them a good soak, use appropriate cleaning agents, and scrub gently to avoid damaging the surfaces.
Once you have completed the cleaning process, reassemble the burners and conduct a test to ensure they are functioning correctly. This ensures that your stovetop is ready to provide you with efficient and safe cooking experiences.
Regularly cleaning your coil stove burners not only enhances the appearance of your kitchen but also enhances their performance and lifespan. It prevents buildup that can affect the heating efficiency and prevents any unpleasant odors or smoke while cooking.
Now that you are equipped with the knowledge and techniques to effectively clean your coil stove burners, make it a routine to incorporate regular cleaning into your kitchen maintenance. By doing so, you’ll ensure a clean and efficient cooking experience for years to come.
Remember, a clean and well-maintained stove not only improves the aesthetics of your kitchen but also contributes to a healthier and more enjoyable cooking environment. So don’t wait, get started on cleaning your coil stove burners today and enjoy the benefits of a sparkling and efficient stovetop.
Frequently Asked Questions about How To Clean Coil Stove Burners
Was this page helpful?
At Storables.com, we guarantee accurate and reliable information. Our content, validated by Expert Board Contributors, is crafted following stringent Editorial Policies. We're committed to providing you with well-researched, expert-backed insights for all your informational needs.


0 thoughts on “How To Clean Coil Stove Burners”