Articles
How To Add Stairs To Attic
Modified: August 31, 2024
Learn how to add stairs to your attic with our informative articles. Discover step-by-step guides, tips, and expert advice to make the process easier.
(Many of the links in this article redirect to a specific reviewed product. Your purchase of these products through affiliate links helps to generate commission for Storables.com, at no extra cost. Learn more)
Introduction
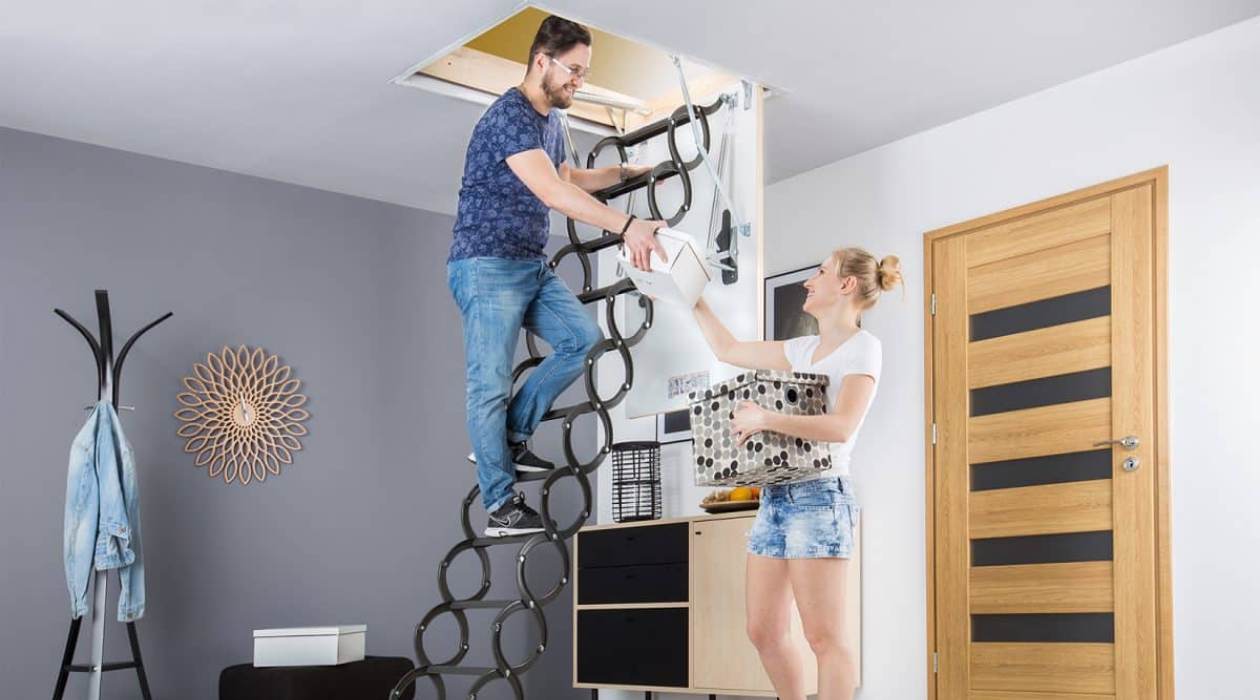
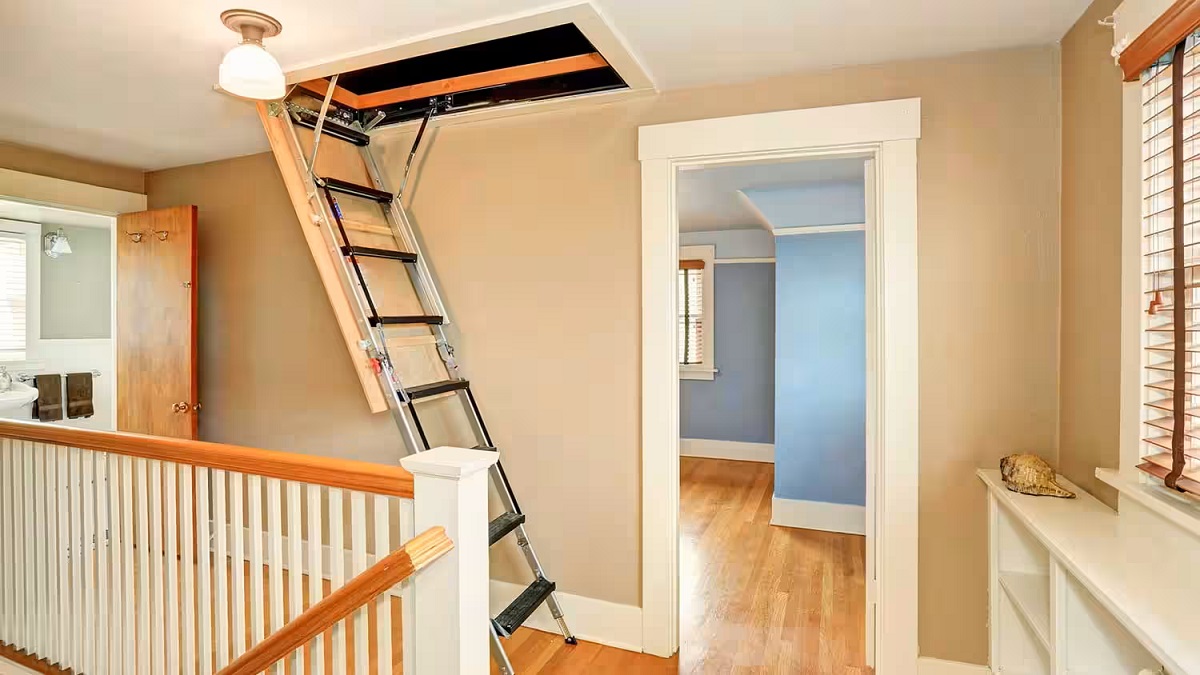
Adding stairs to an attic is a great way to maximize the usable space in your home. Whether you’re looking to create an additional bedroom, a home office, or simply increase storage space, having easy access to the attic is essential. While the task of adding stairs may seem daunting, with the right planning and preparation, it can be a manageable and rewarding DIY project.
In this article, we will guide you through the process of adding stairs to an attic, from assessing the feasibility to the finishing touches. We will discuss the importance of measuring and planning, choosing the right type of stairs, obtaining the necessary materials, preparing the attic, constructing the stairs framework, and installing the staircase. We will also cover adding handrails and safety measures to ensure the stairs meet building codes and provide a safe means of access.
So, if you’re ready to embark on this project and transform your attic into a functional and accessible space, let’s dive in and learn how to add stairs to your attic!
Key Takeaways:
- Transform your attic into a functional space by adding stairs with careful planning, precise construction, and attention to safety measures. Enjoy the benefits of increased home usability and value.
- Prioritize safety, comply with building codes, and consult professionals when needed to successfully add stairs to your attic. Unlock the potential for additional living space and enhance the functionality of your home.
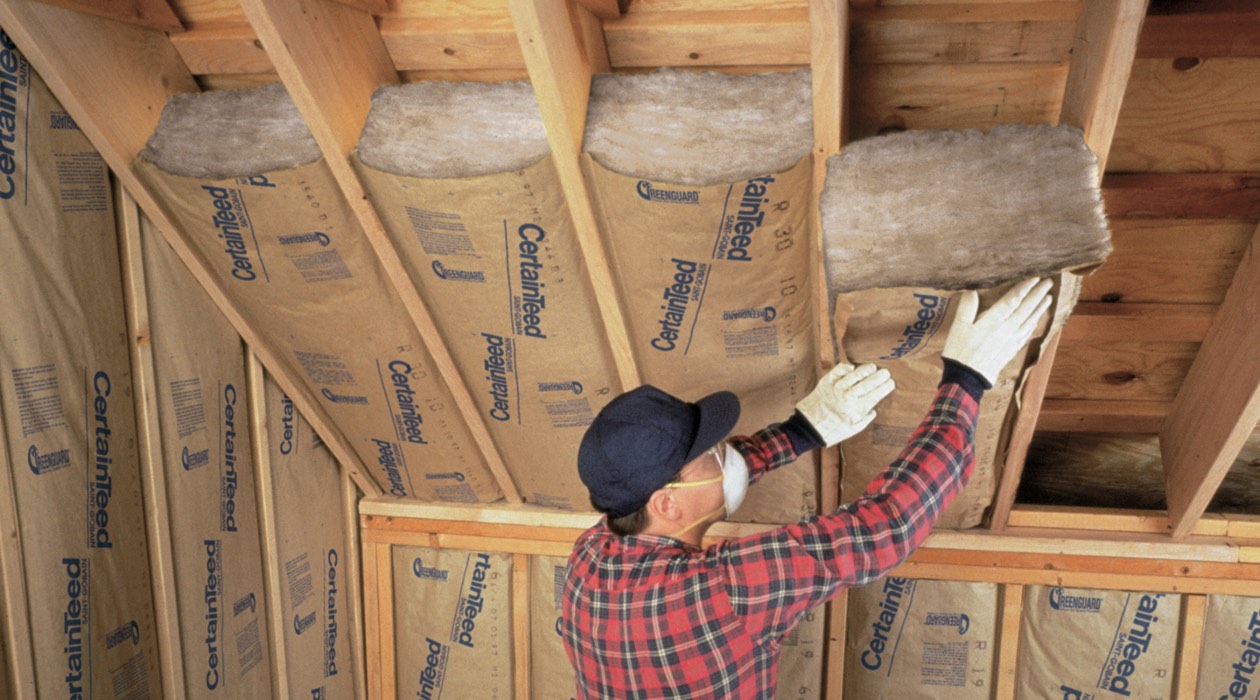
Read more: How To Add Insulation In Attic
Assessing the Feasibility
Before you begin the process of adding stairs to your attic, it’s important to assess the feasibility of the project. Here are a few key considerations:
- Structural Integrity: Check if your attic can handle the weight of stairs and foot traffic. Consult a professional if needed.
- Available Space: Measure the dimensions of the attic to determine if there is sufficient space for stairs without compromising other areas.
- Building Codes: Research local building codes and permits required for adding stairs to attics. Compliance is essential for safety and avoiding legal issues.
- Access Points: Evaluate the existing access points to the attic. Determine the optimal location for the stairs, considering convenience and aesthetic appeal.
If you have any doubts about the feasibility of the project or are unsure how to proceed, it’s recommended to consult with a professional contractor or structural engineer. They can provide valuable insight and guidance based on your specific attic and home configuration.
Once you have assessed the feasibility and feel confident about proceeding, it’s time to move on to the next step: measuring and planning.
Measuring and Planning
Measuring and planning are crucial steps in adding stairs to your attic. By carefully measuring the space and creating a detailed plan, you can ensure that the stairs fit perfectly and meet all safety requirements. Follow these steps:
- Measure the Height: Determine the vertical height from the floor to the attic entrance. This will help you determine the number of steps and the overall height of the staircase.
- Measure the Width: Measure the width of the attic entrance to determine the maximum width of the stairs. Additionally, consider the width of the landing area at the top of the stairs for easy access and safety.
- Determine the Stair Angle: Decide on the angle of the stairs, typically between 30 and 45 degrees, to ensure a comfortable and safe ascent. Use a protractor or an angle finder to measure and mark the desired angle.
- Create a Sketch: Sketch out a rough plan of the stairs, indicating the dimensions, number of steps, and the location of the landing and handrail. This will serve as a visual guide during the construction process.
Once you have accurate measurements and a detailed plan, it’s time to move on to the next step: choosing the type of stairs that best suits your attic and preferences.
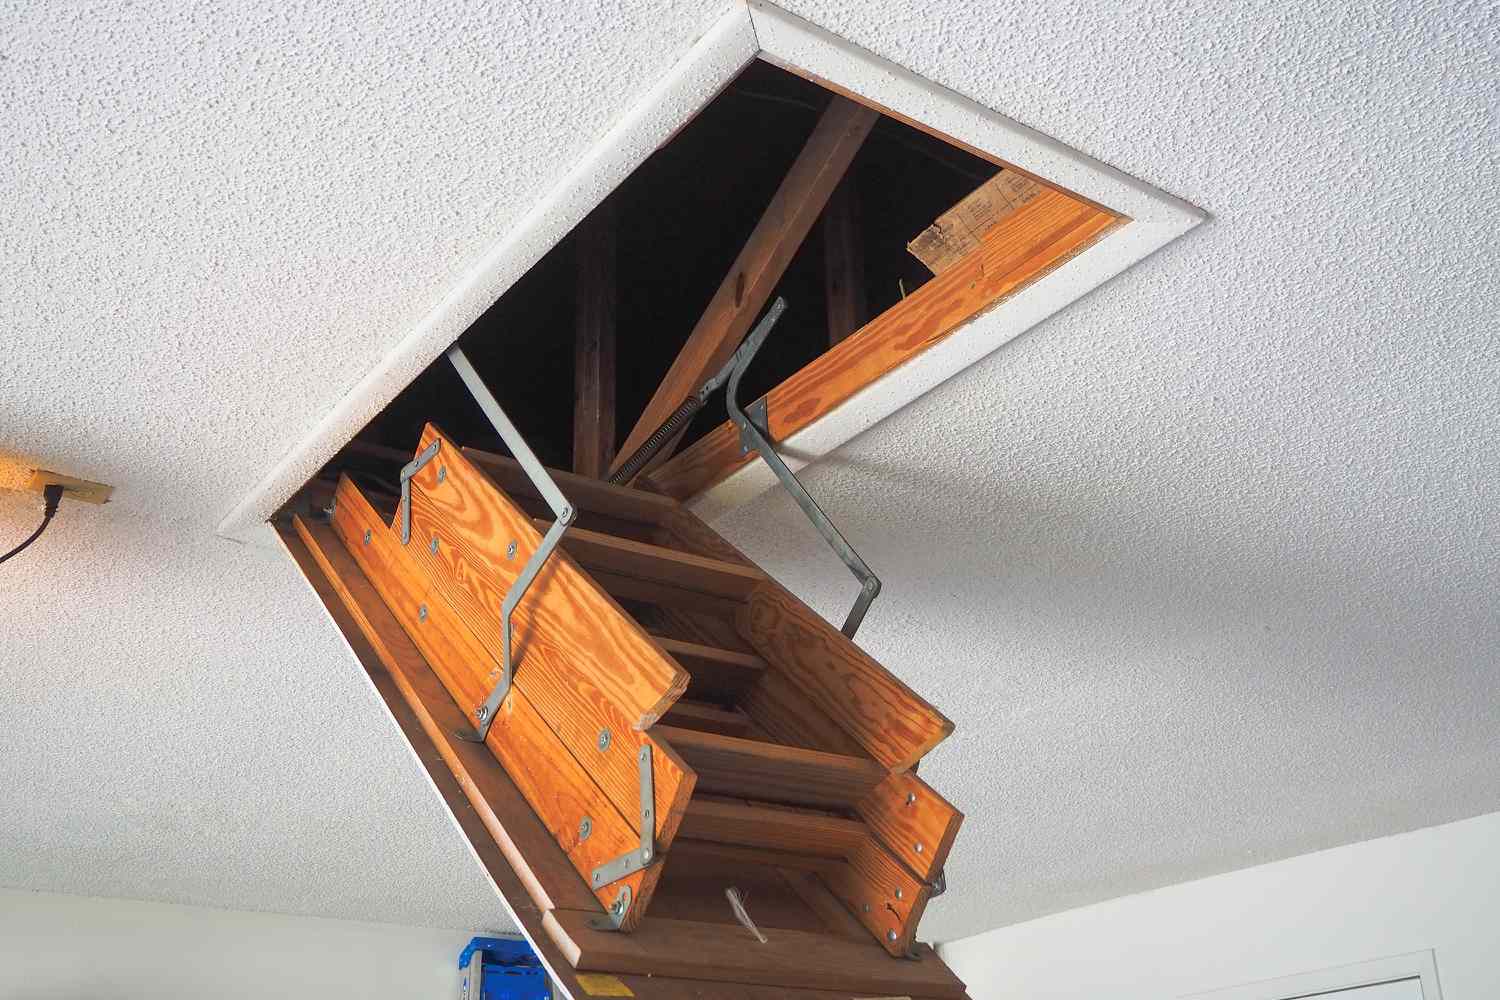
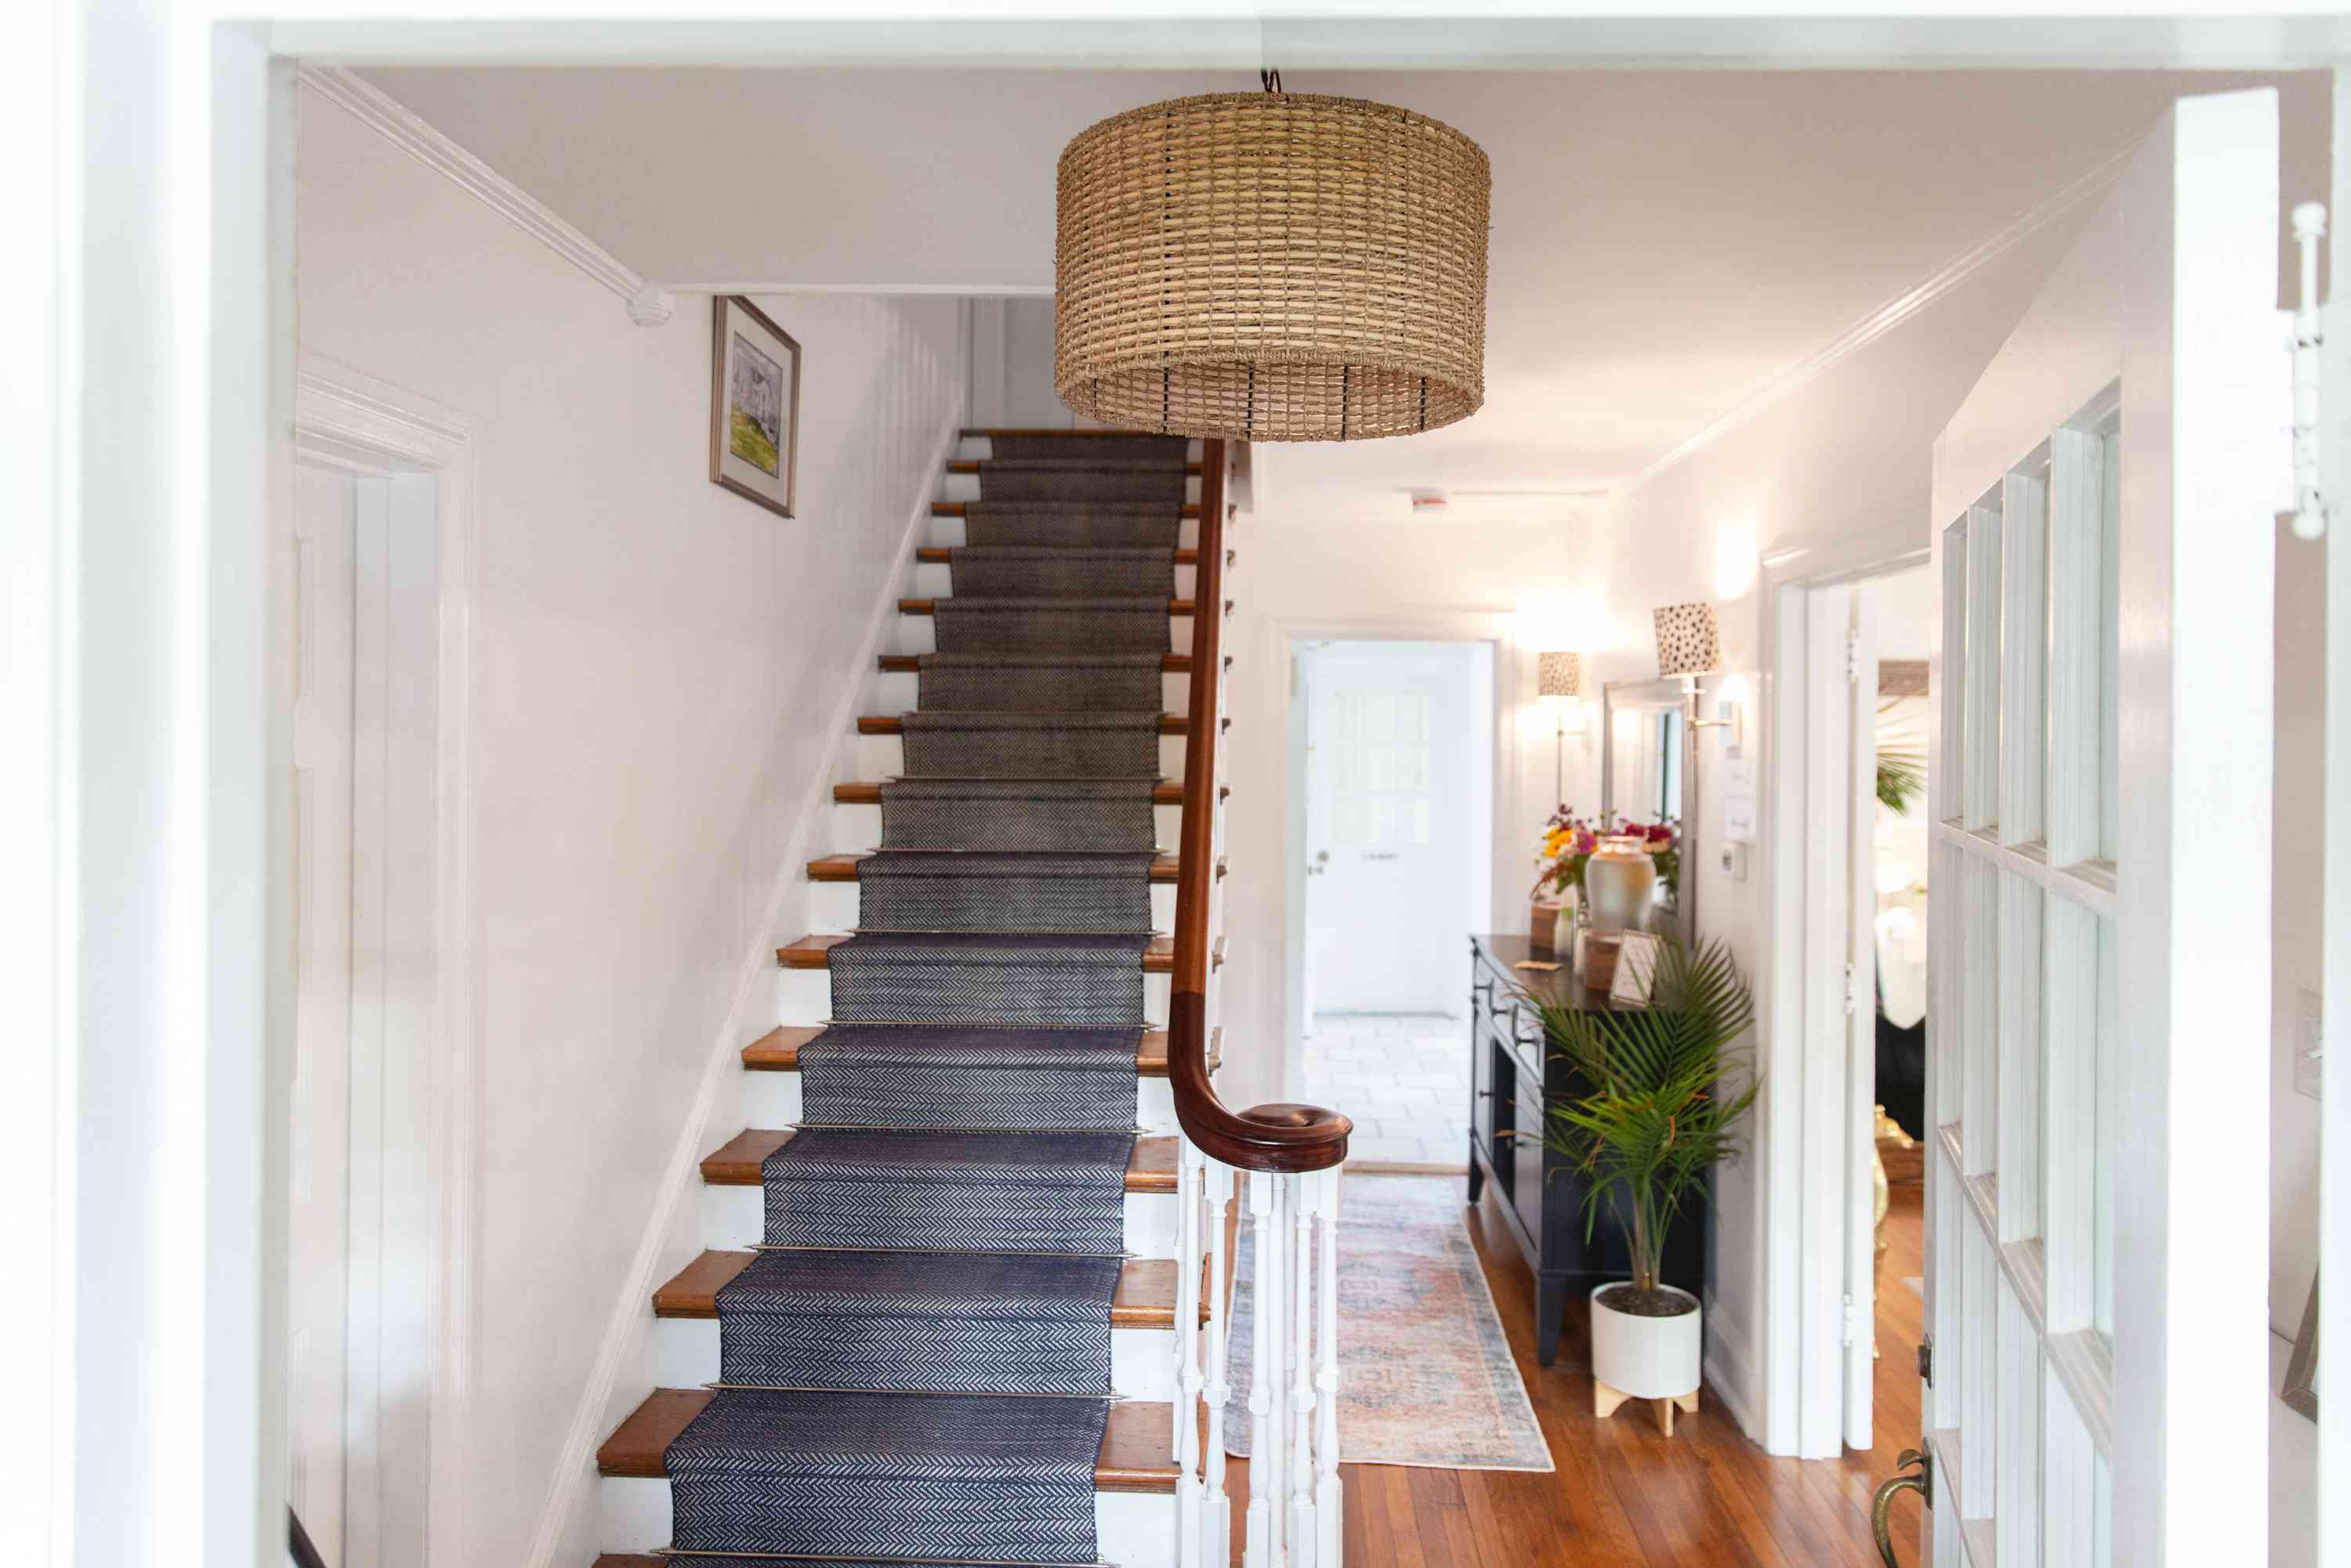
Choosing the Type of Stairs
When adding stairs to your attic, there are several types of stairs to choose from. The type you select will depend on factors such as available space, personal preference, and the overall design aesthetic you want to achieve. Here are a few common types of stairs:
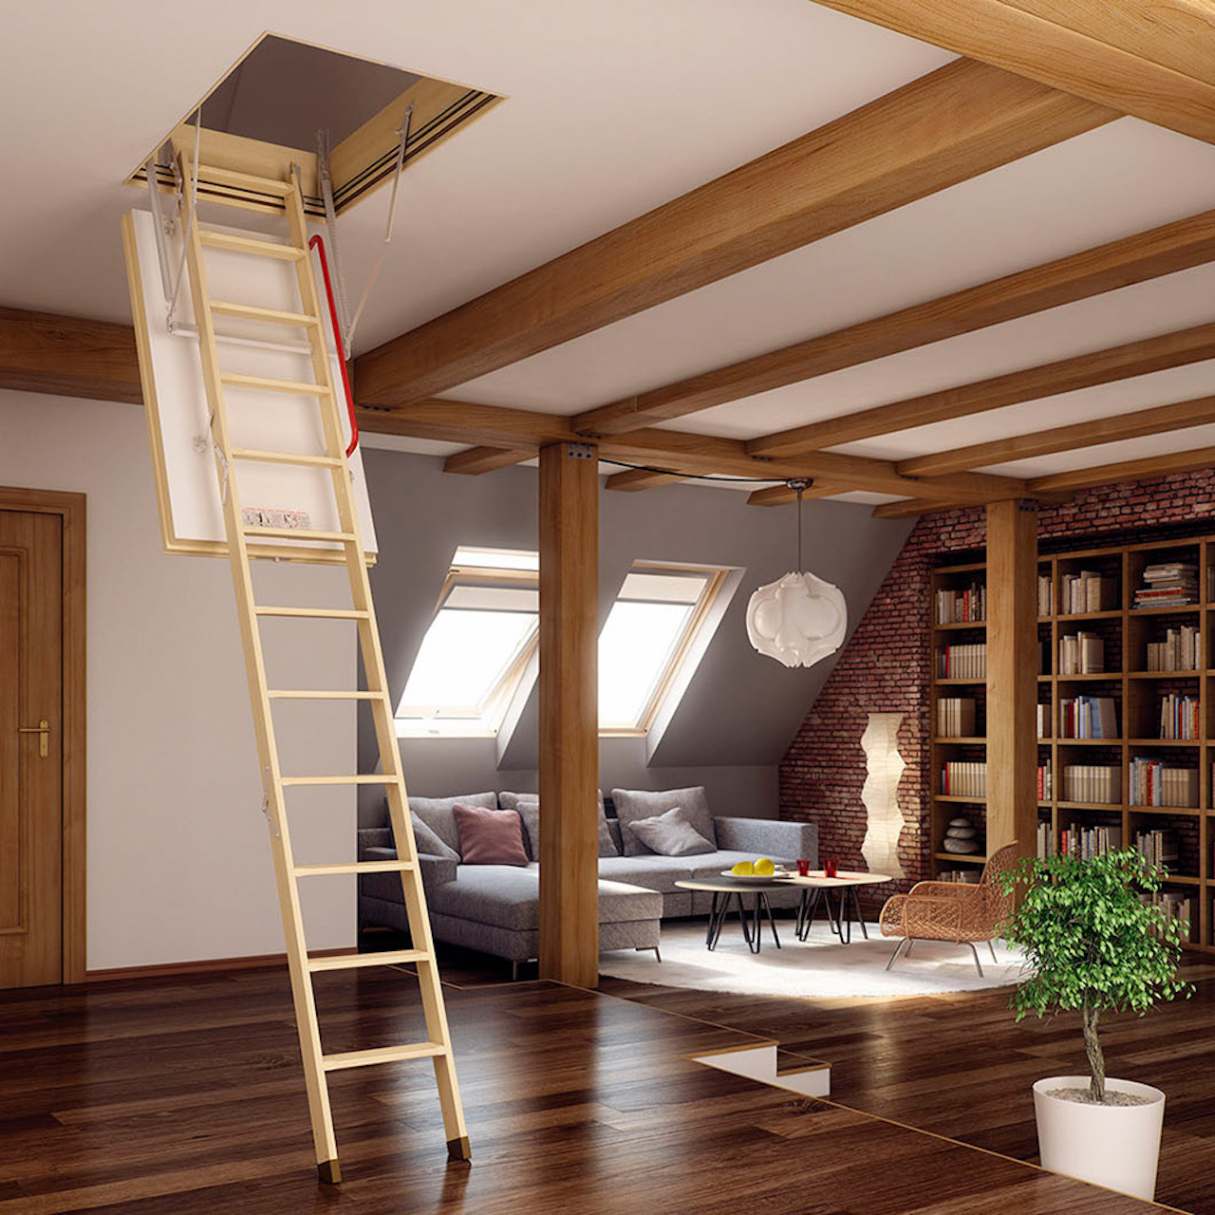
- Straight Stairs: These are the most common and straightforward type of stairs. They are ideal when there is ample linear space in the attic.
- Spiral Stairs: Spiral stairs are a great option when space is limited. They have a small footprint and can be visually appealing, adding a unique element to your attic.
- U-shaped Stairs: These stairs have a 180-degree turn, making them suitable for attics with limited space that require a change in direction.
- L-shaped Stairs: L-shaped stairs have a 90-degree turn, providing a visually appealing and functional design for attics with limited space.
Consider the layout and dimensions of your attic when selecting the type of stairs. Remember to prioritize safety and ease of use when making your decision.
Additionally, think about the materials you would like to use for the stairs. Common options include wood, metal, and various combinations of materials. Choose materials that are durable, visually appealing, and within your budget.
Once you have chosen the type of stairs and materials, the next step is to gather the necessary materials and tools for the construction process.
Obtaining Materials
Before you can start constructing the stairs for your attic, you’ll need to gather the necessary materials. Here is a list of the common materials and tools you will need:
- Lumber: Purchase high-quality lumber that is suitable for constructing the frame, steps, and handrails of the stairs. The size and quantity of lumber will depend on the dimensions of your attic and the type of stairs you have chosen.
- Screws and Nails: Stock up on screws and nails of various sizes to secure the different components of the stairs. Make sure they are appropriate for the type of material you are working with.
- Handrail and Balusters: If you plan to install a handrail for safety, choose a sturdy handrail material, such as wood or metal. Select balusters that complement the overall design and provide adequate support.
- Tools: Equip yourself with a range of tools, including a measuring tape, saw, drill, hammer, level, square, and safety equipment such as goggles and gloves. These tools will be essential during the construction process.
- Finishing Supplies: Depending on your preferences, you may need stain, paint, or varnish to finish the stairs and give them a polished look.
It’s important to gather all the materials and tools before starting the construction process to ensure a smooth workflow. Consider creating a checklist to ensure you have everything you need.
Now that you have all the necessary materials, it’s time to prepare the attic for the installation of the stairs.
Read more: How To Build Stairs To Attic
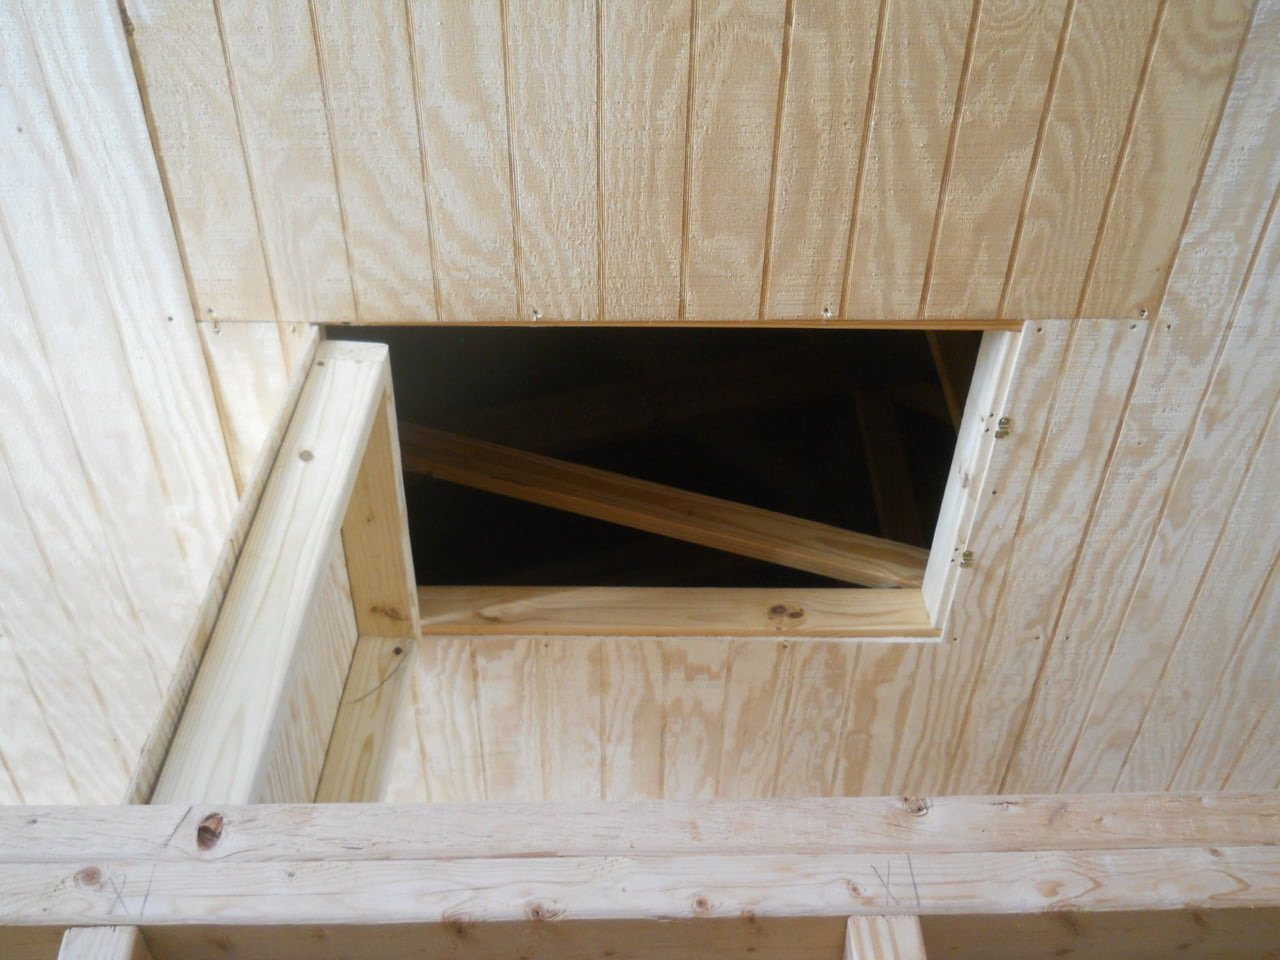
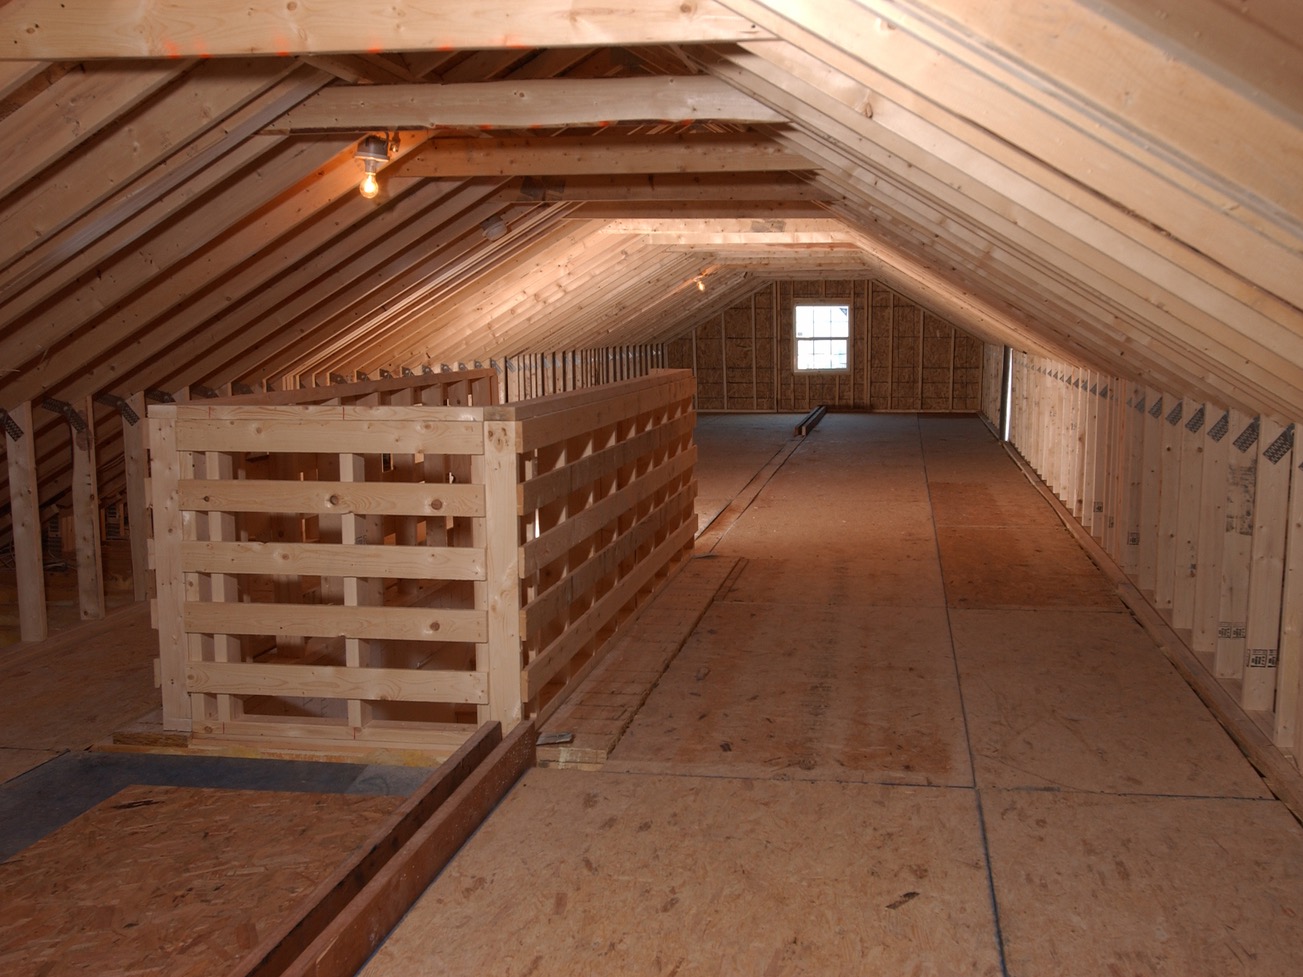
Preparing the Attic
Before you begin constructing the stairs for your attic, it’s crucial to prepare the space to ensure a smooth installation process. Here are the steps to prepare the attic:
- Clean the Attic: Remove any clutter or obstacles from the attic to create a clear and safe working area. This will also make it easier to visualize the positioning of the stairs.
- Check the Flooring: Inspect the attic flooring to ensure it is sturdy and in good condition. Reinforce or repair any weak spots or damaged areas to provide a solid foundation for the stairs.
- Install a Subfloor (if necessary): If the attic has an open joist space, consider installing a subfloor to provide a stable surface for the stairs. Follow the manufacturer’s instructions for proper installation.
- Ensure Proper Lighting and Ventilation: Adequate lighting and ventilation are essential in the attic. Consider adding additional lighting fixtures or windows to improve visibility and airflow.
- Clear the Path: Ensure there is a clear, unobstructed path from the attic entrance to the desired location of the stairs. Remove any obstacles such as wiring, insulation, or ductwork that may hinder the installation.
By taking the time to properly prepare the attic, you will create a suitable environment for installing the stairs and ensure a safe and functional end result. With the attic prepared, you can now move on to constructing the framework for the stairs.
When adding stairs to an attic, make sure to measure the available space accurately and choose a staircase design that fits the dimensions and style of the attic. Consider consulting a professional for installation to ensure safety and compliance with building codes.
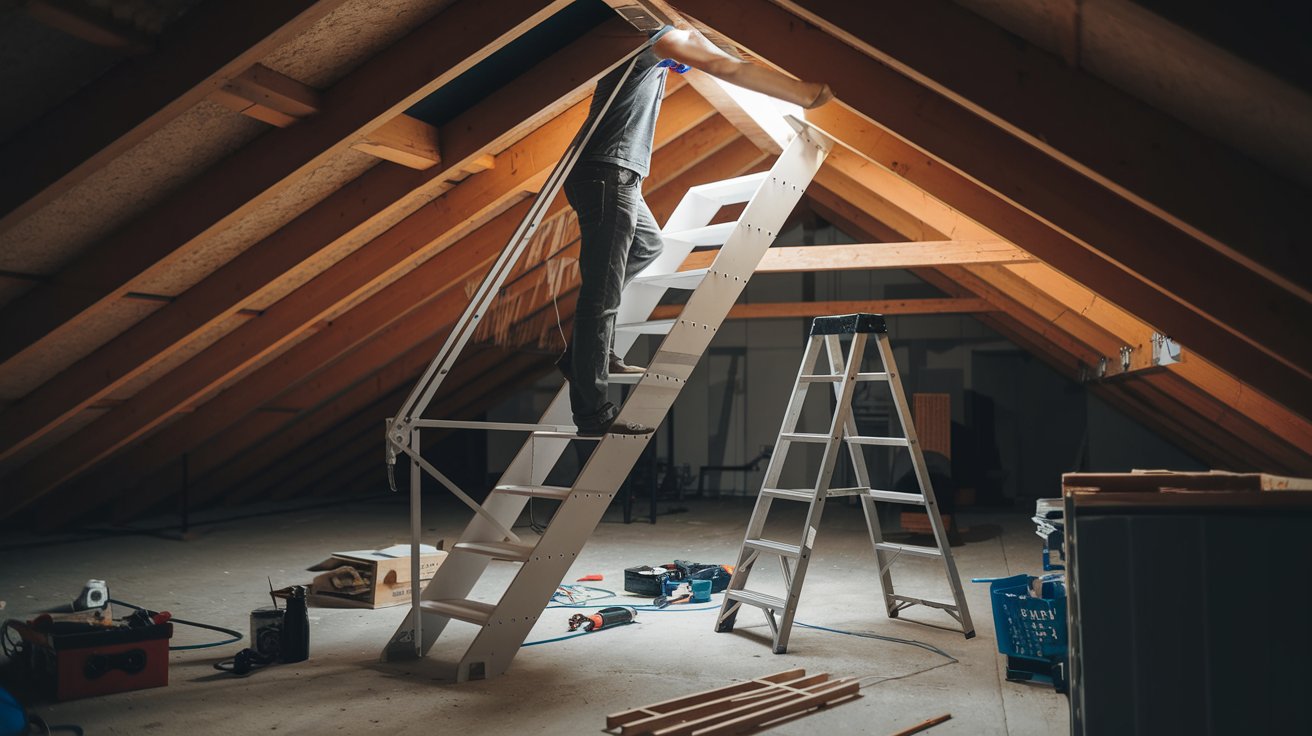
Constructing the Stairs Framework
Once the attic is prepared, it’s time to construct the framework for the stairs. This involves building the support structure that will hold the stairs in place. Follow these steps for constructing the stairs framework:
- Measure and Mark: Use your previous measurements and plan to mark the location of the stairs and the position of each step. Ensure the markings are accurate and leveled.
- Build the Stringers: Stringers are the diagonal support pieces that hold the stair treads in place. Cut and shape the stringers according to your measurements, taking into account the number of steps and the desired angle of the staircase.
- Attach the Stringers: Position the stringers in their designated locations and attach them securely to the attic floor and the landing area. Use screws or nails to secure them and ensure they are level and properly aligned.
- Add the Treads: Install the treads, which are the horizontal steps of the stairs, onto the stringers. Secure them tightly and evenly spaced using screws or nails, making sure they are level and sturdy.
- Install the Risers (optional): Risers are the vertical panels that go between each tread. Depending on your design preferences, you can choose to install risers or leave the staircase open.
During the construction process, double-check your measurements and ensure all components are securely fastened. It’s recommended to have someone assist you during this step, as it can be physically demanding and requires precision. With the stairs framework in place, it’s time to move on to installing the staircase itself.
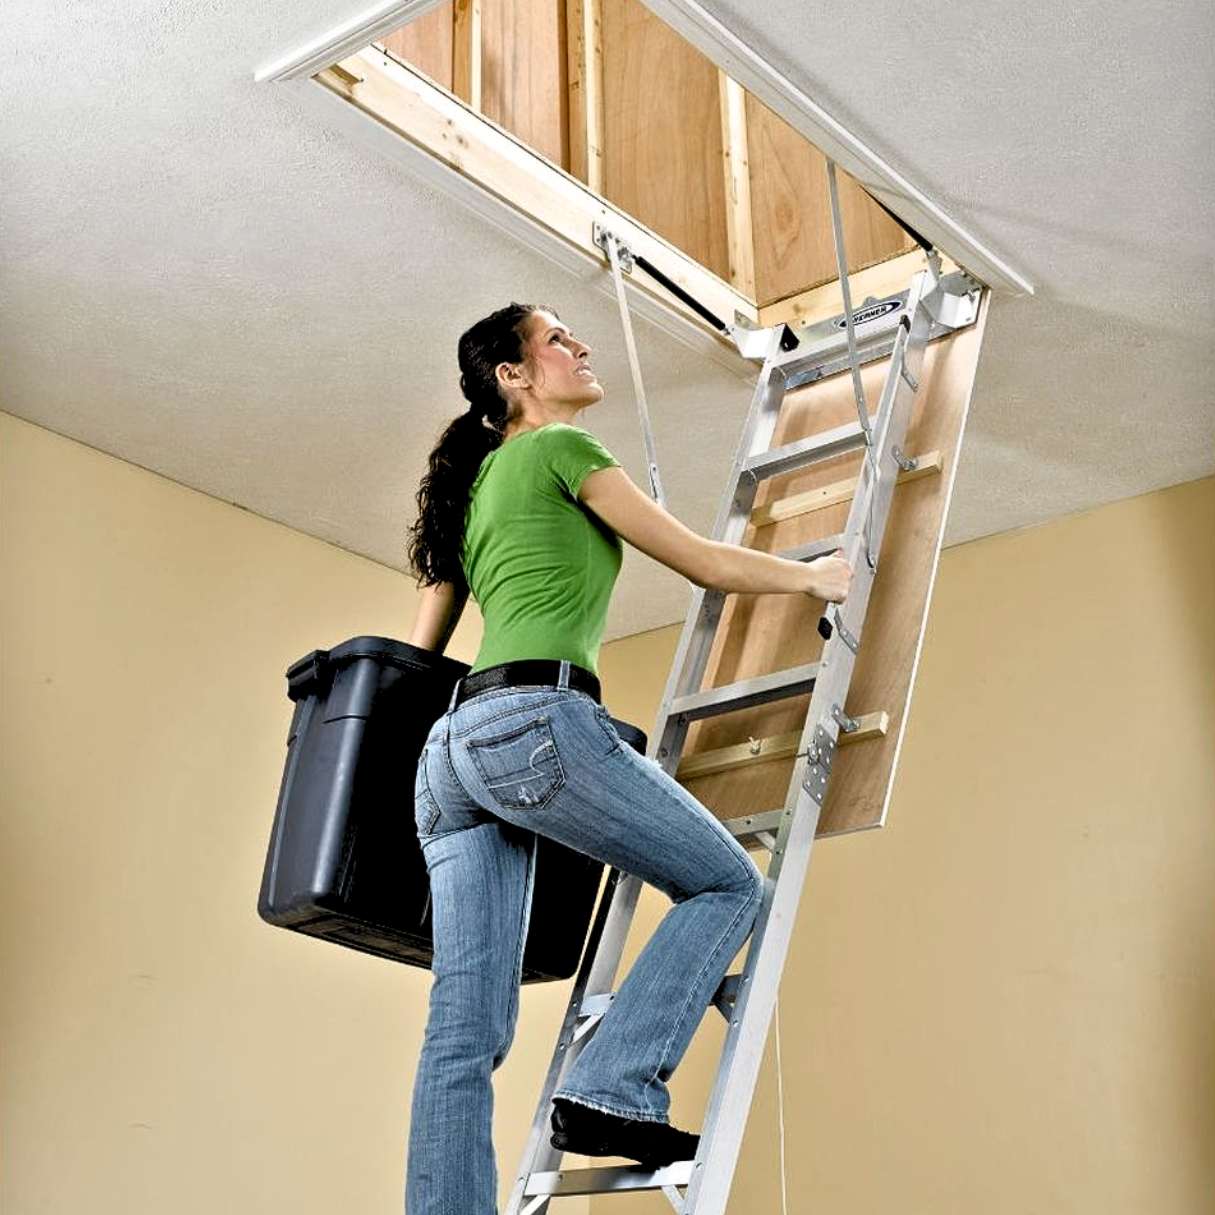
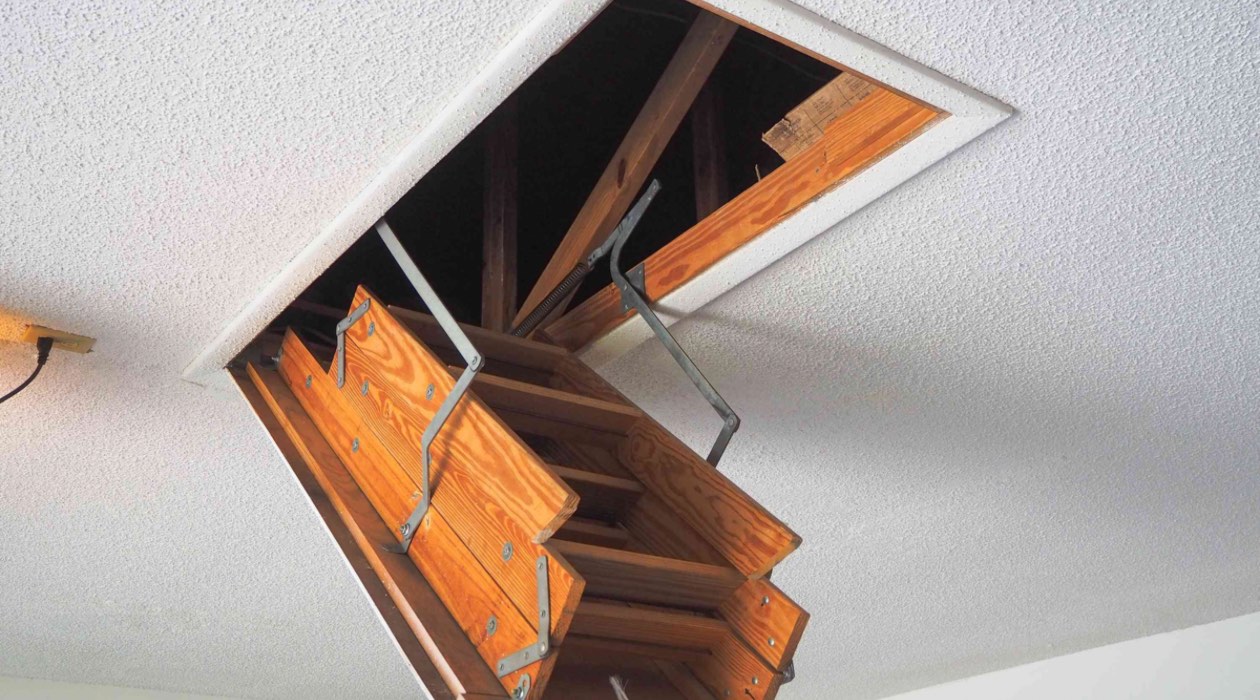
Installing the Staircase
With the stairs framework constructed, it’s now time to install the actual staircase. Follow these steps for installing the staircase:
- Position the Staircase: Carefully position the staircase onto the framework, ensuring it aligns with the stringers and is centered on the opening. Double-check that the stairs are level and secure.
- Secure the Staircase: Use screws or nails to secure the staircase to the stringers, ensuring it is firmly attached and will not move or wobble. Make sure to drive the fasteners through the sides or bottom of the staircase to conceal them.
- Test the Stability: Once the staircase is installed, test its stability by walking up and down the stairs. Check for any sounds, movements, or signs of instability. If necessary, reinforce the stairs or make adjustments to ensure safety and stability.
During installation, it’s important to consider safety measures. Ensure the staircase is well-secured, the steps are even and slip-resistant, and the handrail is sturdy and properly installed. This will provide a safe and reliable means of access to your attic.
After you have installed the staircase, the next step is to add handrails and additional safety measures.
Adding Handrails and Safety Measures
Handrails are an essential component of any staircase, providing stability and safety while ascending or descending the stairs. Here’s how to add handrails and implement additional safety measures:
- Measure and Cut the Handrail: Measure and cut the handrail to the desired length, ensuring it extends beyond the top and bottom steps. Use a saw to cut the handrail to size.
- Attach the Handrail Brackets: Secure the handrail brackets to the wall or balusters. Ensure they are spaced evenly and at a comfortable height for gripping, typically between 34 to 38 inches.
- Install the Handrail: Slide the handrail onto the brackets, making sure it is securely attached. Use screws or mounting hardware provided with the brackets to secure the handrail in place.
- Add Balusters (if applicable): If you have chosen a design with balusters, install them by attaching them securely to the treads and handrail. Ensure they are evenly spaced and meet the required safety standards.
- Implement Additional Safety Measures: Consider adding non-slip treads or adhesive strips to the steps to enhance traction and prevent slipping. Install a handrail on both sides of the staircase for increased safety, especially if the staircase is wider.
- Inspect and Test: Once the handrails and safety measures are in place, thoroughly inspect the entire staircase for any loose components or potential hazards. Test the handrails for stability and make any necessary adjustments.
By adding handrails and implementing safety measures, you not only enhance the overall safety of the staircase but also ensure compliance with building codes and regulations.
With the handrails and safety measures in place, the final step is to add the finishing touches to complete the stairs for your attic.
Read more: How To Add Carpet To Stairs
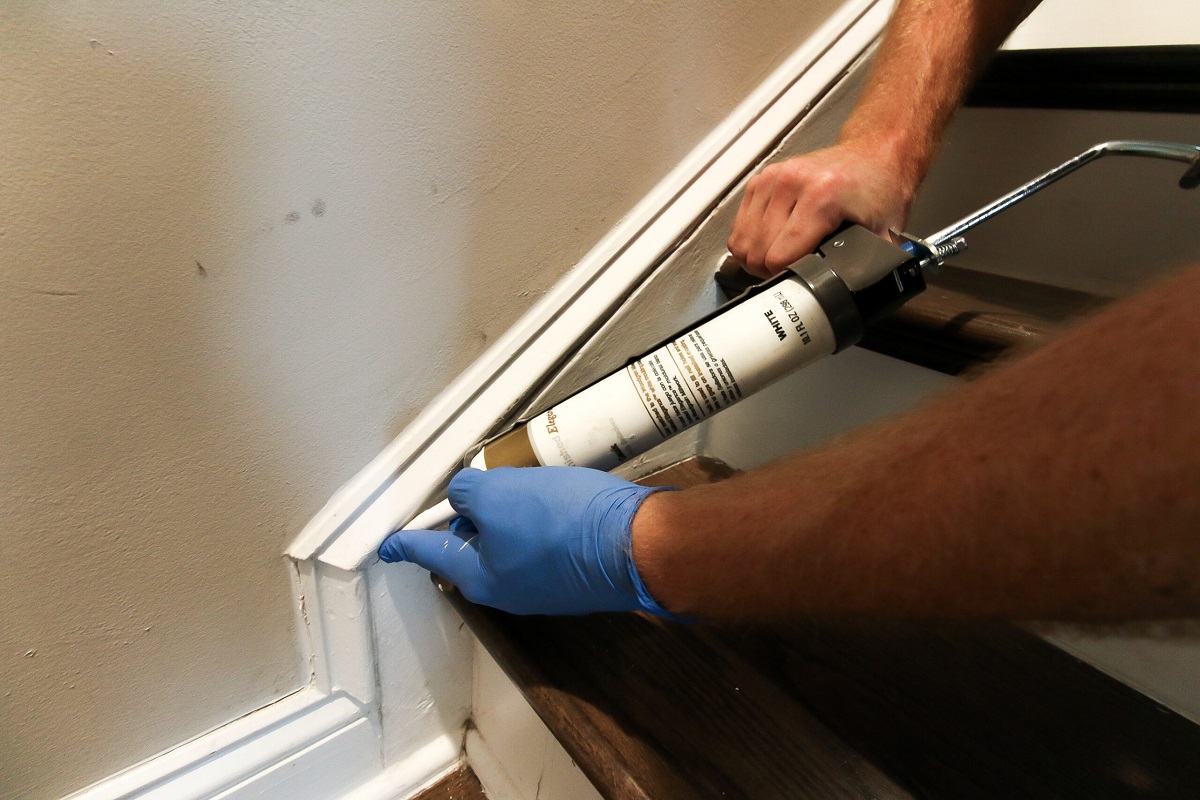
Finishing Touches
Adding the finishing touches to your attic stairs not only adds visual appeal but also ensures the longevity and durability of the staircase. Here are a few key finishing touches to consider:
- Sanding and Smoothing: Use sandpaper to smooth out any rough edges or surfaces on the stairs, handrail, and balusters. This will improve the overall appearance and minimize the risk of splinters.
- Staining or Painting: Apply a coat of stain or paint to protect the wood and enhance the aesthetic appeal of the staircase. Choose a color or finish that complements the style of your home and personal preferences.
- Sealing the Wood: Consider applying a sealant or varnish to protect the wood from moisture and wear. This will extend the lifespan of the stairs and maintain their pristine condition.
- Adding Decorative Elements: If desired, you can incorporate decorative elements such as decorative caps on the handrail posts or intricate designs on the balusters to enhance the overall look of the stairs.
- Installing Lighting: Install lighting fixtures along the stairwell or beneath the handrail to improve visibility and add ambience. This is particularly useful when accessing the attic during nighttime hours.
- Adding Carpet or Runner: Consider adding a carpet or runner on the stairs to provide comfort, noise reduction, and additional safety with its non-slip properties.
These finishing touches will not only give your attic stairs a polished and attractive appearance but also help protect them from daily wear and tear.
With the finishing touches complete, you have successfully added stairs to your attic, creating a functional and accessible space. Enjoy the benefits of this new area and the increased usability it brings to your home!
Conclusion
Adding stairs to your attic is a rewarding project that can significantly improve the functionality and value of your home. By following the steps outlined in this article, you can successfully add stairs to your attic and create easy access to this previously underutilized space.
From assessing the feasibility and measuring the space to choosing the type of stairs and obtaining the necessary materials, each step of the process is crucial for a successful installation. Preparing the attic and constructing the stairs framework require careful planning and precision, ensuring a secure and stable staircase. Adding handrails and implementing safety measures is essential to create a safe environment for users of the stairs.
By paying attention to the finishing touches, you can enhance the appearance and durability of the stairs, making them a stylish addition to your home. Sanding, staining or painting, and sealing the wood will protect it from wear and tear, while decorative elements can add a personal touch. Adding lighting, carpet, or a runner can improve safety and comfort.
Remember to always prioritize safety and comply with local building codes throughout the process. Assessing the feasibility, obtaining necessary permits, and consulting professionals when needed will ensure a smooth and compliant installation.
By adding stairs to your attic, you unlock the potential for creating additional living space, whether it be a bedroom, office, or extra storage. It’s a project that can enhance the functionality and value of your home, allowing you to make the most of every square foot.
So, are you ready to transform your attic and take on the task of adding stairs? With careful planning, proper execution, and attention to detail, you can successfully complete this project and enjoy the benefits of a more accessible and functional attic space.
Frequently Asked Questions about How To Add Stairs To Attic
Was this page helpful?
At Storables.com, we guarantee accurate and reliable information. Our content, validated by Expert Board Contributors, is crafted following stringent Editorial Policies. We're committed to providing you with well-researched, expert-backed insights for all your informational needs.

0 thoughts on “How To Add Stairs To Attic”