Articles
How To Organize An Attic
Modified: August 17, 2024
Learn how to efficiently organize your attic with these helpful articles. Maximize your space and declutter with expert tips and tricks.
(Many of the links in this article redirect to a specific reviewed product. Your purchase of these products through affiliate links helps to generate commission for Storables.com, at no extra cost. Learn more)
Introduction
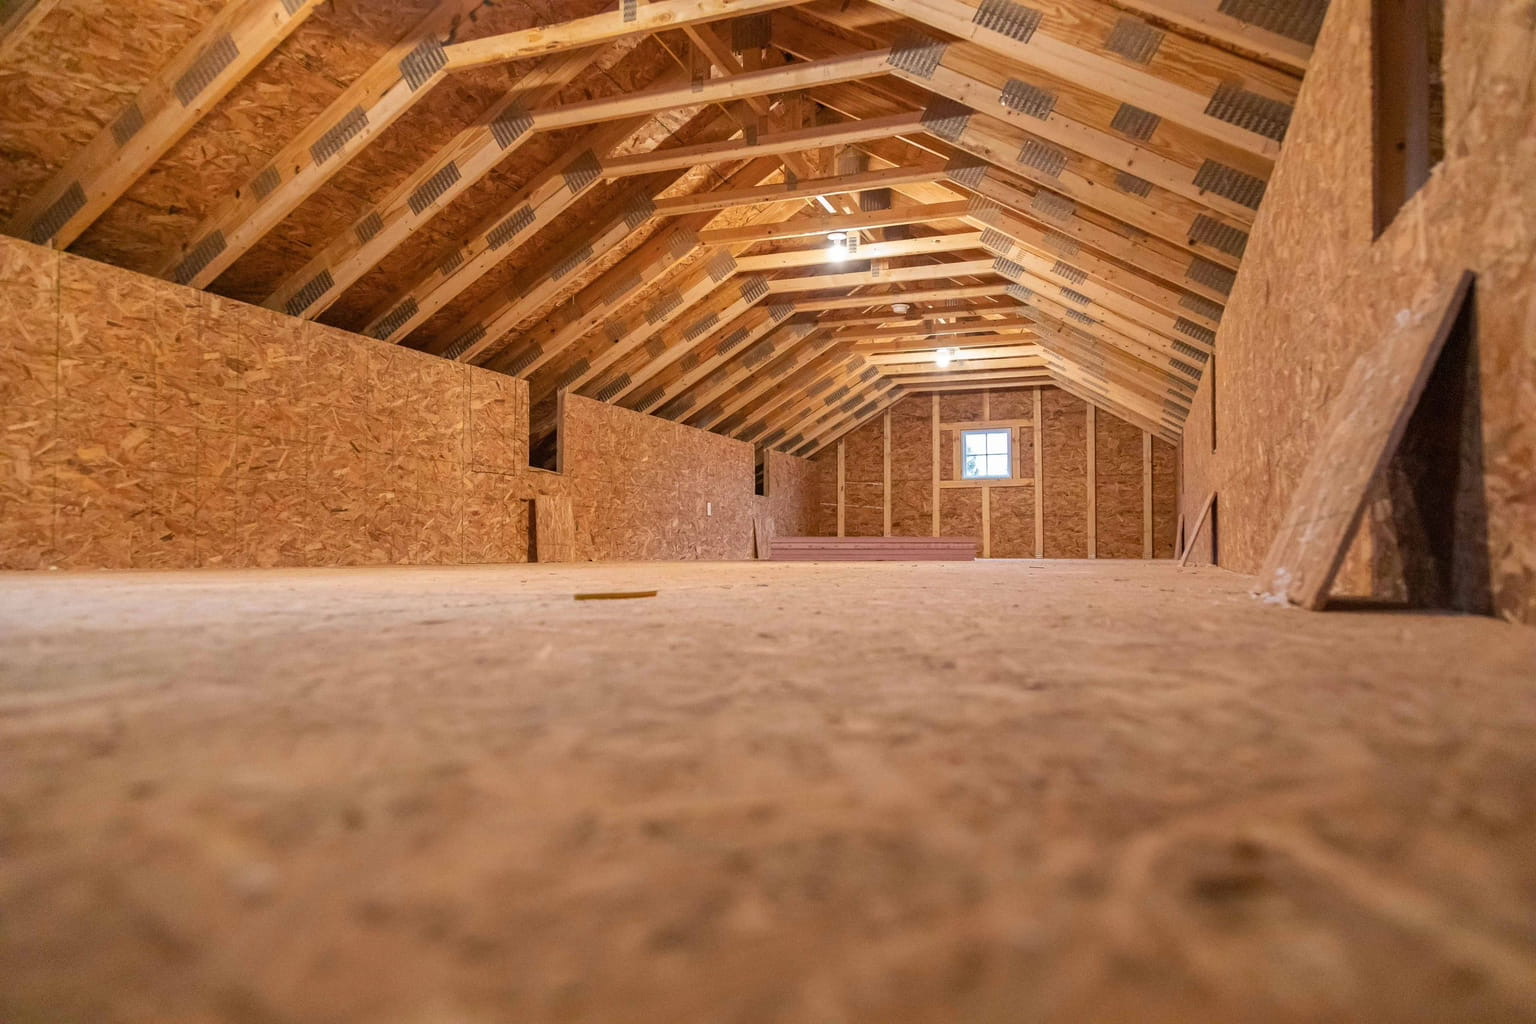
Organizing an attic can feel like a daunting task. From years of accumulated items to limited space and accessibility, it’s easy for the attic to become a cluttered and chaotic storage area. However, with a couple of simple and effective strategies, you can transform your attic into a well-organized and functional space. Whether you’re looking to create a designated storage area for seasonal items or keep your precious family heirlooms safe, this article will guide you through the process of organizing your attic.
Before you begin, it’s important to approach this task with the right mindset. Organizing an attic requires time, patience, and a willingness to let go of items that are no longer needed. By decluttering and sorting through your belongings, you can create a space that is not only organized but also reflects your contemporary needs and preferences.
In this article, we’ll walk you through a step-by-step process to organize your attic effectively. We’ll cover decluttering, sorting and categorizing items, utilizing storage containers, creating zones and sections, proper labeling techniques, maximizing vertical space, and implementing a maintenance plan. By following these steps, you’ll be well on your way to reclaiming your attic and making the most of its storage potential.
Key Takeaways:
- Decluttering is the first crucial step in organizing your attic. Be ruthless, ask the right questions, and regularly assess your belongings to create a functional and efficient storage space.
- Proper labeling, maximizing vertical space, and implementing a maintenance plan are essential for long-term attic organization. Create zones, use storage containers, and involve the whole household for a well-organized attic.
Step 1: Decluttering the Attic
Decluttering is the first and most important step in organizing your attic. It involves going through all the items stored in your attic and deciding what to keep, donate, or discard. By removing unnecessary clutter, you’ll create more space and make the organizing process much easier.
Start by taking everything out of the attic and sorting items into designated piles. Create separate piles for items you want to keep, items you want to donate or sell, and items that need to be thrown away. Be honest with yourself about what you really need and use. If you haven’t used an item in years and it doesn’t hold sentimental value, it’s time to let it go.
As you declutter, ask yourself these questions:
- Have I used this item in the past year?
- Does this item hold sentimental value?
- Is this item in good condition or is it broken or damaged?
- Do I have duplicates of this item?
Be ruthless in your decluttering process. Remember, the purpose is to create a more organized and functional attic space. Donate or sell items that are in good condition but no longer serve a purpose in your life. Dispose of broken or damaged items responsibly.
Once you have sorted through all the items, it’s time to reevaluate the items you have decided to keep. Consider if they can be downsized or organized in a more efficient manner. This will help maximize the available space in the attic.
Remember, decluttering is an ongoing process. Regularly assess the items in your attic to ensure that you are only storing what you truly need and use. By maintaining a clutter-free attic, the organizing process becomes much easier and more manageable.
Step 2: Sorting and Categorizing Items
Once you have decluttered your attic, it’s time to sort and categorize the items you have decided to keep. This step is crucial in creating a structured and organized storage system.
Begin by grouping similar items together. For example, group holiday decorations together, separate seasonal clothing from everyday clothing, and keep sports equipment in a designated area. This will make it easier to find specific items when you need them.
You can further break down each category into subcategories. For example, within the holiday decoration category, create subcategories for Christmas, Halloween, and Thanksgiving decorations. By creating subcategories, you’ll have a more detailed and focused organization system. And don’t forget to give each category and subcategory a clear and descriptive name.
As you sort and categorize, consider the frequency of use for each item. Items that you access more frequently should be placed in easily accessible areas, while items that are rarely used can be stored in more hard-to-reach areas.
When sorting items, also take into account their fragility. Fragile items such as glassware or delicate antiques should be stored separately and with extra caution. Consider using protective packaging materials such as bubble wrap or foam to ensure these items are safeguarded during storage.
Consider investing in storage containers that are sturdy, stackable, and transparent. Clear containers will make it easier to identify the contents without having to open them. Label each container with the respective category and subcategory name. This will streamline the organizing process and make it easier to locate items when needed.
Keep in mind that the key to successful categorization is creating a logical and intuitive system that works for you and your specific needs. Plus, remember to leave some room for future additions or changes. Over time, you may acquire new items or modify your storage needs, and having a flexible system will make it easier to adjust accordingly.
By sorting and categorizing your items, you’ll establish an efficient and streamlined organization system in your attic. This will save you time and frustration in the future, as you’ll be able to quickly locate specific items and maintain a clutter-free space.
Step 3: Utilizing Storage Containers
Now that you have sorted and categorized your items, it’s time to choose the right storage containers to keep everything organized and protected. Using storage containers is essential for keeping your attic neat, maximizing space, and preventing damage to your belongings.
When selecting storage containers, opt for ones that are durable, stackable, and appropriately sized for your items. Plastic containers are a popular choice as they are lightweight, resistant to moisture and pests, and can be easily labeled. Consider investing in clear containers to easily see the contents without having to open each one.
Before placing items in the containers, make sure they are clean and dry to prevent mold or mildew growth. Use tissue paper or acid-free paper to wrap delicate or fragile items such as porcelain, glassware, or artwork. This extra layer of protection will help prevent breakage during storage.
When filling the containers, optimize the space by utilizing the vertical dimension. Stack items neatly and efficiently, placing heavier items on the bottom and lighter items on top. Make use of dividers or compartments within the containers to further organize smaller items.
It’s important to pack items tightly to avoid shifting during storage. This will help prevent damage and preserve the overall organization of your attic. However, be mindful not to overstuff the containers as this can cause strain on the containers and make it difficult to access items in the future.
Label each container clearly and consistently. Use a permanent marker or labels to indicate the category and subcategory of the items inside. This will make it easier to locate specific items when needed and save you valuable time and effort.
When placing the containers back in the attic, consider the accessibility of each container. Frequently used items should be placed towards the front or in easily accessible areas, while items that are rarely needed can be placed towards the back or in higher shelves.
Maximize space by utilizing shelving units, racks, or even hanging organizers in your attic. These additional storage solutions can help further categorize items and keep everything within reach.
Remember to periodically check your storage containers and make adjustments as needed. As your storage needs change over time, you may need to reorganize or add additional containers to accommodate new items.
By utilizing storage containers, you’ll create an efficient and organized system in your attic. Your belongings will be protected, and you’ll have easy access to everything when you need it, saving you time and eliminating the frustration of searching for misplaced items.
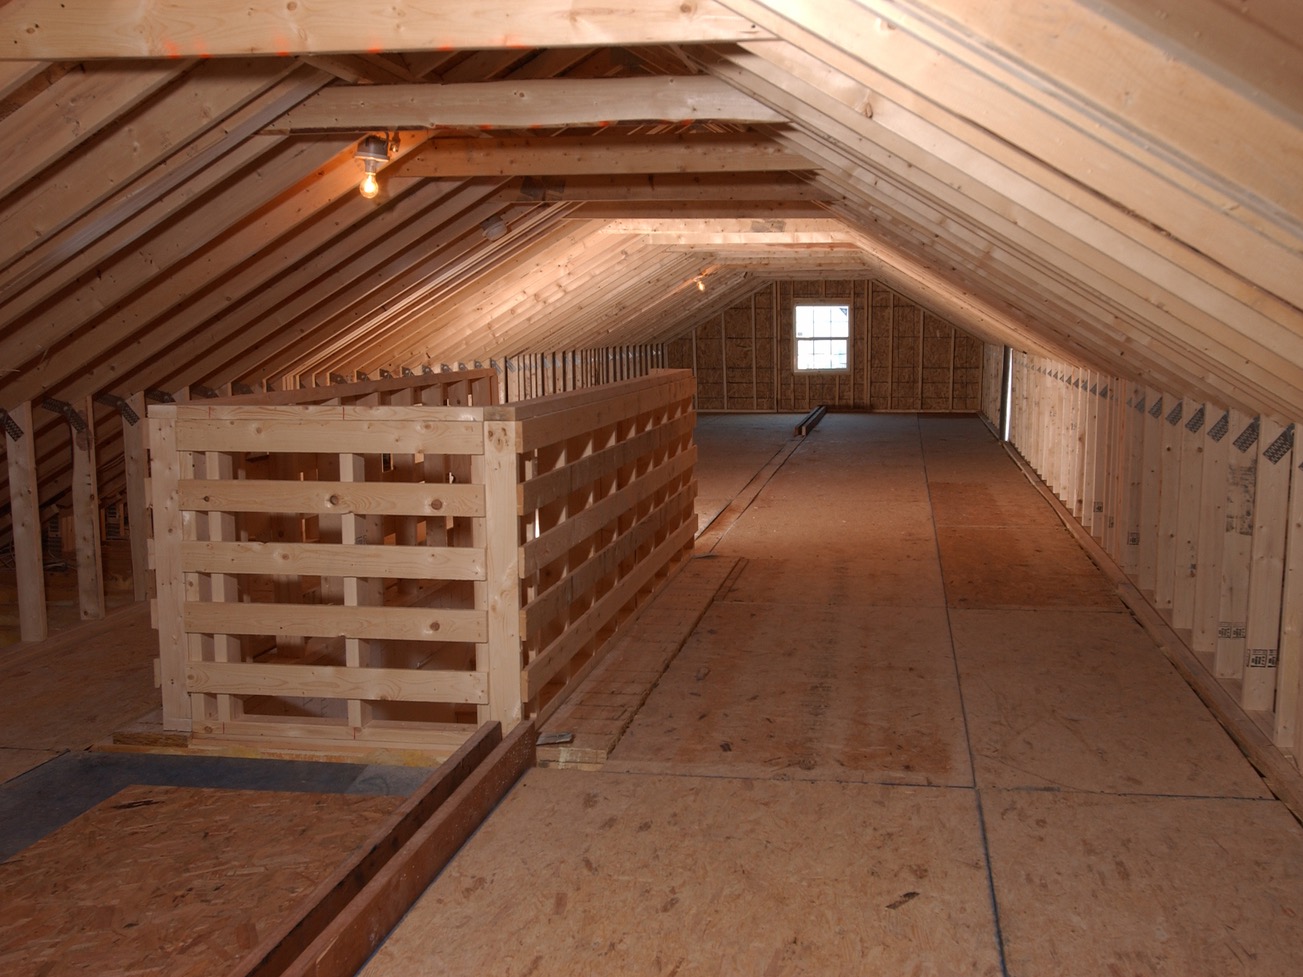
Step 4: Creating Zones and Sections
Creating zones and sections in your attic is a key step in organizing your space. By dividing your attic into distinct areas, you can maximize efficiency and easily locate items when needed. This step is especially important if you have a large or multi-purpose attic.
Start by evaluating the layout and dimensions of your attic. Determine how much space is available and envision how you can best utilize it for different purposes. Some common zones to consider include seasonal storage, household items, recreational equipment, and sentimental items.
Assign specific areas or sections for each zone. You can use tape or markers to outline the boundaries of each zone on the floor or walls, making it visually clear and easy to navigate within the attic.
When creating zones, consider the frequency of use for each category. Items that you access frequently, like seasonal decorations, should be placed in easily accessible areas. On the other hand, items that are rarely used, such as sentimental items, can be placed in harder-to-reach or higher shelves.
Within each zone, further categorize items and assign specific sections. For example, within the seasonal storage zone, you can create sections for summer, winter, and holiday items. By dividing items into sections, you’ll have a clear organizational structure and it’ll be easier to locate specific items within each zone.
Don’t forget to leave enough space for movement and easy access to each zone and section. Avoid cramming too many items into one area, as it can make it difficult to retrieve items and disrupt the overall organization.
In addition to designated zones, consider creating designated spaces for bulky or awkwardly shaped items. This could include overhead shelves for skis or surfboards or designated hooks for bicycles. By providing dedicated spaces for these items, you’ll keep them organized and prevent them from taking up valuable floor space.
As you begin organizing each zone and section, be mindful of the weight distribution of your items. Heavier items should be stored on lower shelves or closer to the ground, while lighter items can be placed higher up. This will help maintain balance and prevent any safety hazards.
Remember to consistently maintain the organization of each zone and section. Return items to their designated spot after use and periodically assess whether any adjustments need to be made. This will ensure that your attic remains organized and functional over time.
By creating zones and sections in your attic, you’ll establish an efficient and logical organization system. This will make it easier to find and retrieve items, maximize space, and maintain a clutter-free and organized attic.
Use clear plastic storage bins to organize items in your attic. Label each bin with its contents for easy identification and stack them to maximize space.
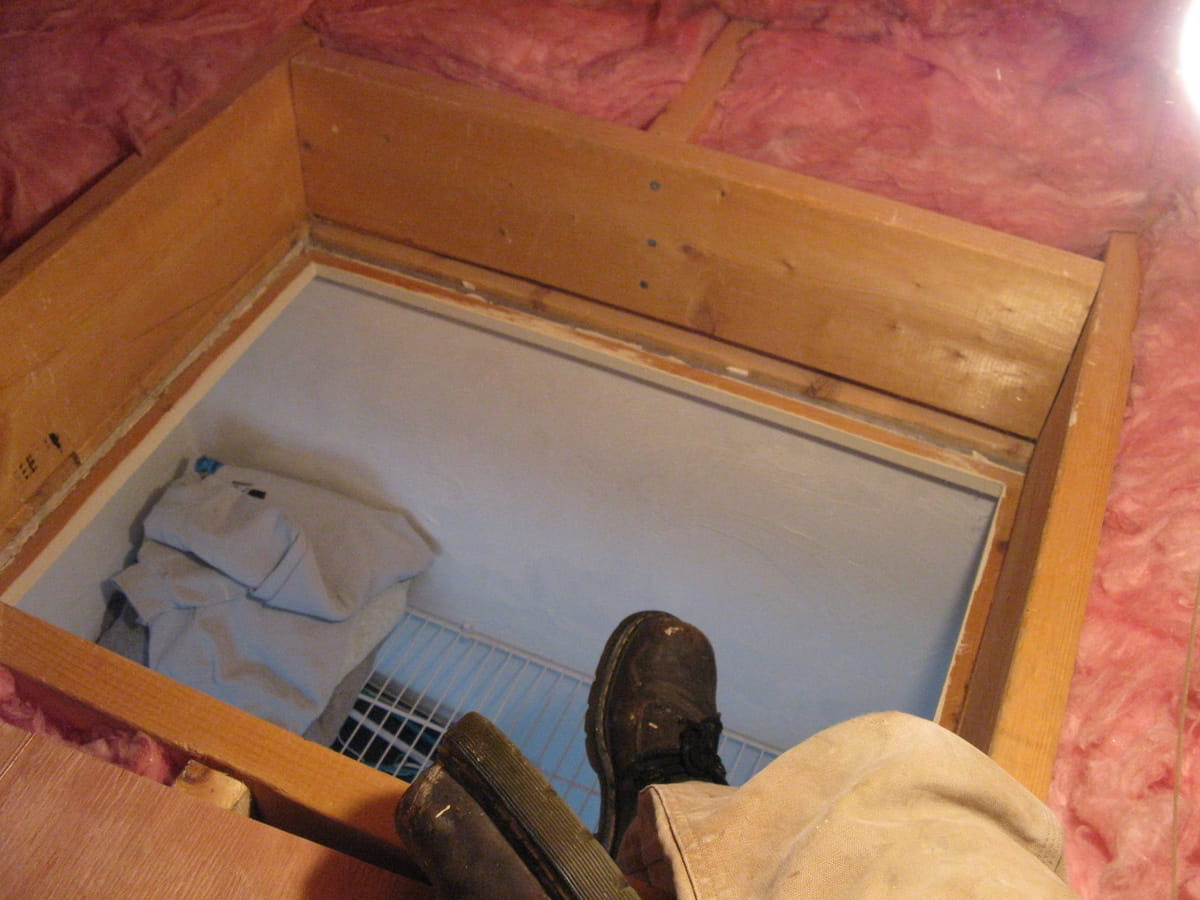
Read more: How To Access Attic
Step 5: Proper Labeling
Labeling is an essential step in organizing your attic. Properly labeling your storage containers and sections will save you time and frustration when trying to locate specific items. It ensures that everything is easily identifiable and allows for efficient retrieval.
When it comes to labeling, clarity is key. Use clear and legible labels that can be easily read at a glance. Consider using a label maker or adhesive labels for a professional and organized look.
Start by labeling each storage container with the respective category and subcategory of items inside. Be specific with the labeling, including details such as “Winter Clothing” or “Christmas Decorations.” This level of detail will help you quickly identify the contents of each container.
You can also assign a unique number or code to each storage container and create a corresponding inventory list. This will allow you to keep track of your belongings in a more systematic manner, especially if you have a large attic with numerous containers.
In addition to labeling storage containers, label each section or zone in the attic. Use clear and easily readable signs or labels to clearly indicate the purpose of each area. This will help you navigate through the attic and find the specific zone or section you need.
When labeling, be consistent in your approach. Use the same font, color, and size for all labels to maintain a cohesive and organized look. Consider using contrasting colors or bold fonts to make the labels stand out and be easily visible.
Include any special handling instructions or fragile item notations on the labels. This will ensure that delicate or valuable items are handled with care during retrieval and reduce the risk of damage.
Remember to update labels as needed. If you rearrange items or change the contents of a storage container, make sure to update the labels accordingly. By keeping labels up to date, you’ll maintain an accurate and efficient organizational system.
Lastly, take advantage of technology and digital labeling options. You can use inventory management software or smartphone apps to keep track of your attic inventory. These solutions offer the convenience of quick searches and can provide additional organization options, such as scanning barcodes or using QR codes for labeling.
Proper labeling ensures that your attic remains organized and functional. It saves you time and effort by allowing you to quickly locate specific items and maintain a clutter-free storage space.
Step 6: Maximizing Vertical Space
When it comes to organizing your attic, don’t forget to consider the vertical space available. Maximizing vertical space is a smart strategy that allows you to make the most of your attic storage capacity.
Start by investing in sturdy and adjustable shelving units. These units will help you create additional levels of storage, allowing you to stack containers and items vertically. Choose shelves with different heights and adjust them according to the size of your items.
Utilize the full height of your attic by installing tall shelves that reach up to the ceiling. This will prevent wasted space and provide ample room for storing items that are not frequently accessed.
When organizing items on the shelves, place heavier and bulkier items on the lower shelves to ensure stability. Lighter and less frequently used items can be placed on higher shelves. Use stackable storage bins or clear containers to effectively utilize vertical space and keep items neatly organized.
Make use of hooks, pegboards, or hanging organizers to take advantage of vertical wall space. These storage solutions are perfect for hanging tools, sports equipment, or holiday decorations. By utilizing the walls, you’ll free up valuable floor space and create a clutter-free environment.
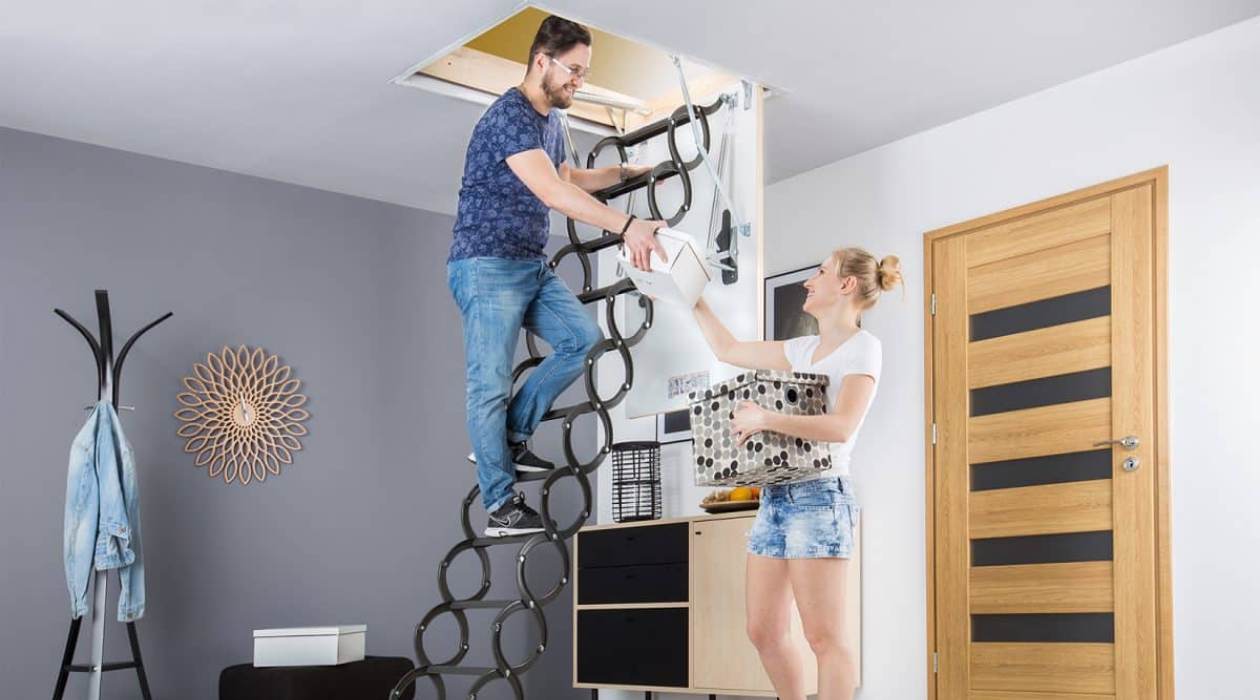
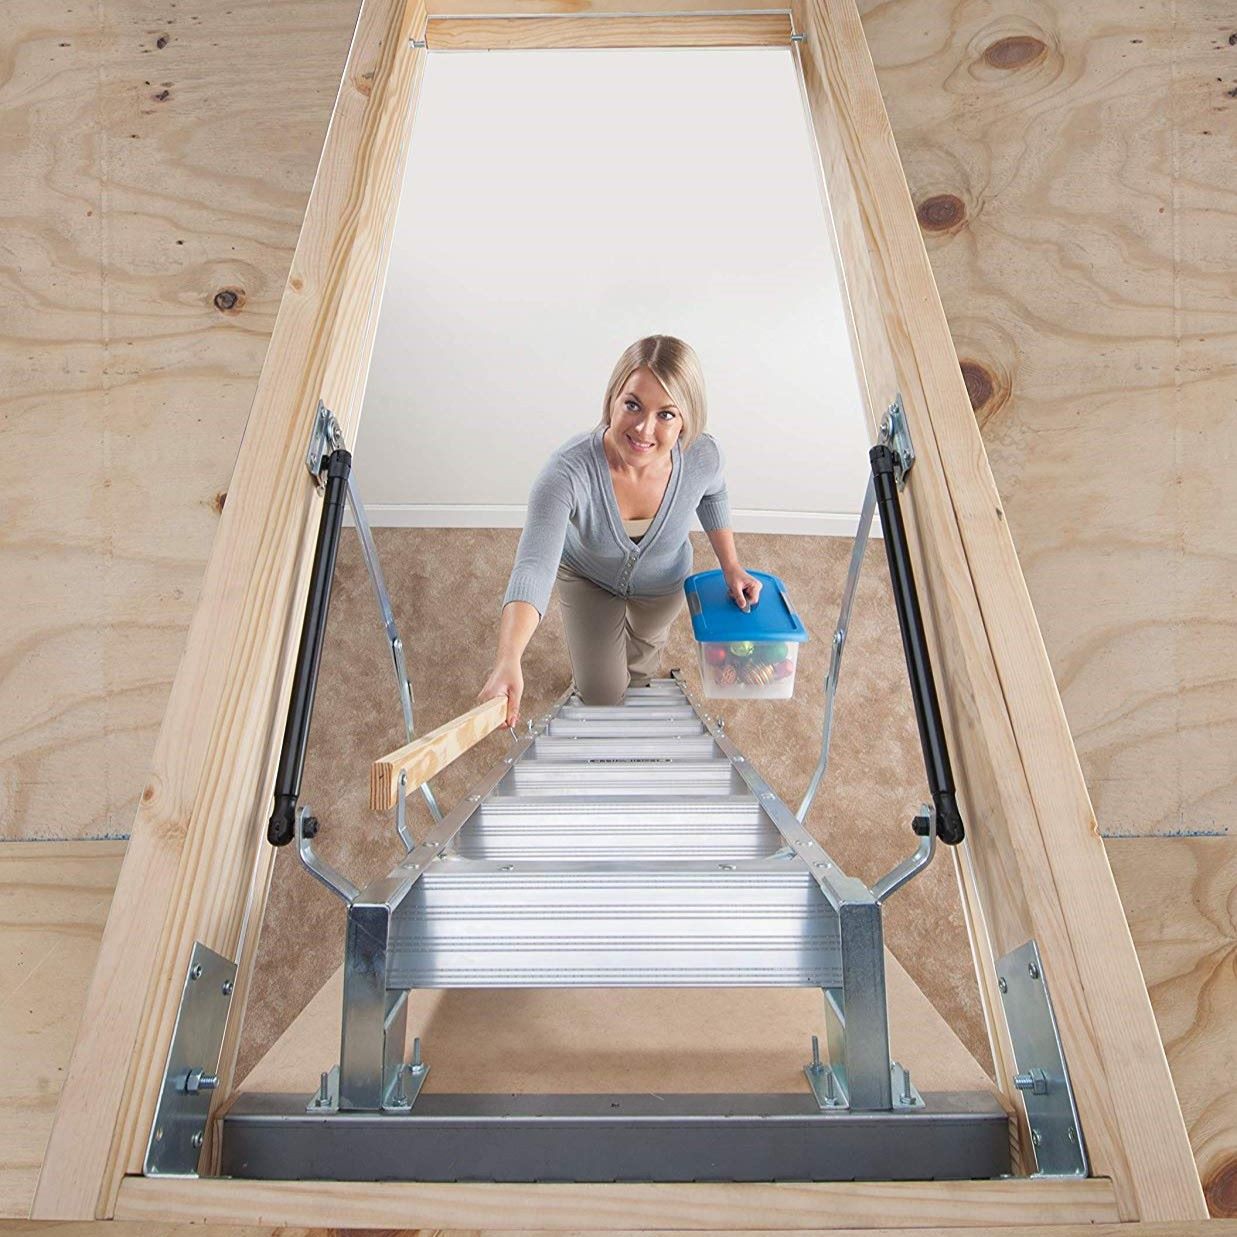
Consider installing a pulley system or attic lift to access items stored in high areas of your attic. This will make it easier to retrieve items that are placed above eye level and eliminate the need for dangerous climbing or ladders.
When stacking items vertically, be mindful of weight distribution. Place heavier items at the bottom and lighter items on top to maintain stability. Additionally, make sure that the shelves or storage units you use can support the weight of the items you plan to store.
Label each shelf or level to indicate the category or subcategory of items stored there. This will make it easy to locate specific items without having to rummage through the entire storage area.
Regularly assess and reorganize your vertical storage space as needed. As your storage needs change over time, you may need to adjust the placement of shelves or rearrange items to optimize vertical space utilization.
Maximizing vertical space allows you to effectively utilize the available area in your attic. By capitalizing on the height of the space, you can significantly increase your storage capacity and maintain a more organized and functional attic.
Step 7: Implementing a Maintenance Plan
Implementing a maintenance plan is an essential final step in ensuring the long-term organization of your attic. By regularly maintaining and reviewing your storage system, you can prevent clutter from building up and maintain the functionality of your organized space.
Start by scheduling regular maintenance sessions for your attic. Set aside specific times throughout the year to assess the organization, declutter if necessary, and reevaluate the storage system. This could be done seasonally or annually, depending on your needs and the rate at which items accumulate.
During your maintenance sessions, go through the items in your attic and evaluate their continued usefulness. Determine whether any items can be donated, sold, or discarded. By regularly decluttering, you’ll prevent your attic from becoming overwhelmed with unnecessary items.
Assess the effectiveness of your organizational system and make adjustments as needed. Consider if any zones or sections need to be rearranged or if additional storage solutions are required. Continuously improving your storage system will ensure its efficiency and adaptability.
Take the time to clean your attic and wipe down surfaces regularly. Dust and dirt can accumulate over time, affecting the condition of stored items. By keeping your attic clean, you’ll protect your belongings and maintain a pleasant storage environment.
During maintenance sessions, check the condition of your storage containers and shelving units. Replace any damaged containers or units to ensure the safety and stability of your storage system. This will prevent accidents and maintain the integrity of your organization.
Keep an inventory or record of the items stored in your attic. This will help you keep track of what you have and where it is located. Update the inventory regularly as you add or remove items. This record will save you time when looking for specific items and assist with insurance claims if necessary.
Encourage everyone in your household to follow the maintenance plan and adhere to the organization system. Teach family members how to properly store and retrieve items. By involving everyone, it becomes a collective effort to maintain a clean and organized attic.
Lastly, make adjustments to your maintenance plan as needed. As life changes and your storage needs evolve, flexible maintenance routines will ensure continued efficiency and organization.
By implementing a maintenance plan, you’ll ensure that your attic remains organized and functional in the long run. Regular decluttering, cleaning, and assessment will prevent clutter from accumulating and maintain an efficient storage system.
Conclusion
Organizing your attic may initially seem like a daunting task, but by following these seven steps, you can transform it into a well-organized and functional space. Decluttering, sorting and categorizing items, utilizing storage containers, creating zones and sections, proper labeling, maximizing vertical space, and implementing a maintenance plan are all key components of a successful attic organization project.
Remember, the key to a successful organization is taking the time to declutter and let go of items you no longer need or use. By doing so, you’ll create more space and a more efficient storage system.
Sorting and categorizing items allows you to group similar items together, making it easier to find things when you need them. Utilizing storage containers, with proper labeling, ensures your items are protected, easily identifiable, and efficiently stacked.
Creating zones and sections helps you maximize space, allowing for easy navigation within your attic. By considering the vertical space available, you can further optimize your storage capacity and create a more organized environment.
Implementing a maintenance plan is crucial for long-term organization. Regularly reviewing and decluttering your attic, cleaning surfaces, checking storage containers, and evaluating the effectiveness of your organization system will keep everything in order.
In conclusion, organizing your attic requires a systematic approach combined with regular maintenance. By following these steps, you can transform your attic from a cluttered storage space to a well-organized haven for your belongings. Enjoy the benefits of easy access, efficient storage, and peace of mind knowing that everything has its place.
Frequently Asked Questions about How To Organize An Attic
Was this page helpful?
At Storables.com, we guarantee accurate and reliable information. Our content, validated by Expert Board Contributors, is crafted following stringent Editorial Policies. We're committed to providing you with well-researched, expert-backed insights for all your informational needs.


0 thoughts on “How To Organize An Attic”