Articles
How To Open The Attic
Modified: October 18, 2024
Learn how to open the attic and access valuable storage space with our informative articles. Discover step-by-step guides and expert tips today!
(Many of the links in this article redirect to a specific reviewed product. Your purchase of these products through affiliate links helps to generate commission for Storables.com, at no extra cost. Learn more)
Introduction
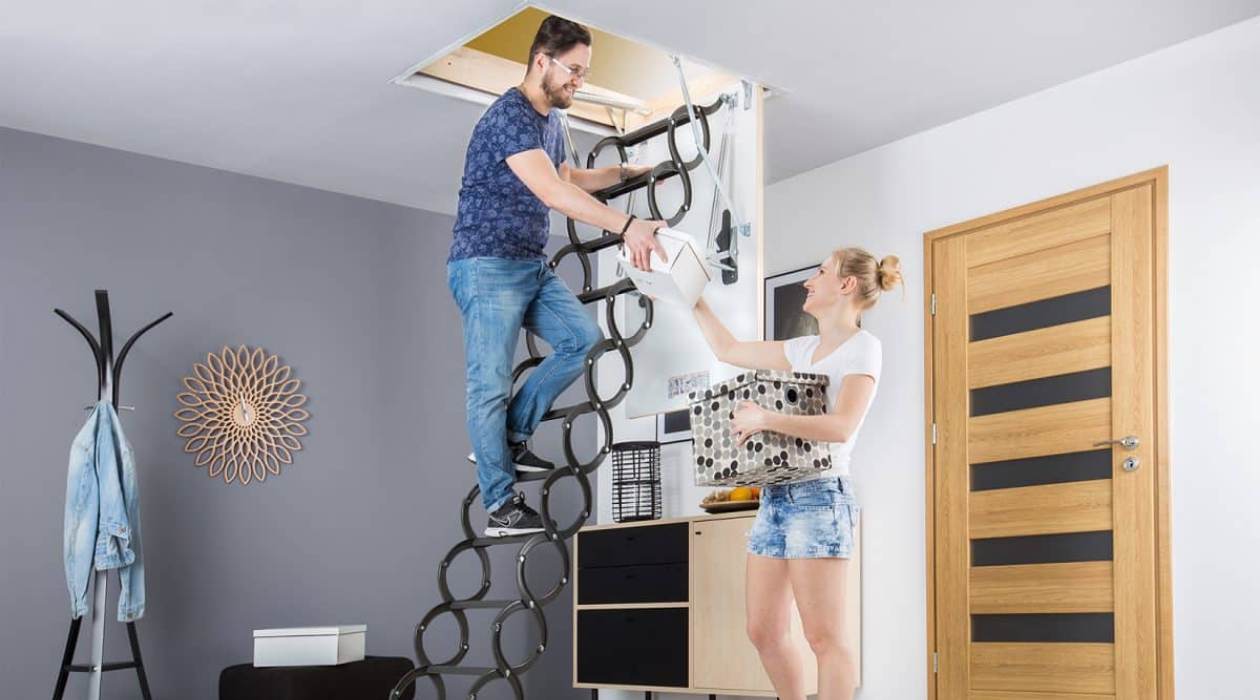
Opening the attic can be a daunting task for many homeowners, but with the right knowledge and tools, it can be a straightforward process. Whether you need to access the attic for storage, inspections, or repairs, it is important to follow certain steps to ensure a safe and successful outcome.
In this article, we will guide you through the process of opening the attic, from gathering the necessary tools to exploring and inspecting the space. By following these steps, you can gain access to your attic and make the most of its potential.
Before we begin, it is important to note that attic openings can differ depending on the design of your home. Some attics may have a dedicated access panel or door, while others may require the use of a ladder or stairs to reach. We will discuss these variations and provide guidance for each scenario.
So, let’s get started on opening your attic and uncovering the hidden treasures it may hold!
Key Takeaways:
- Safely accessing and exploring your attic requires gathering the right tools, prioritizing safety, and carefully inspecting the space for potential uses, issues, and improvements. Enjoy the expanded possibilities and hidden potential of your attic space!
- By following the step-by-step process of opening the attic, you can unlock additional storage, living space, and functionality in your home. Remember to prioritize safety and seek professional help if needed.
Read more: How To Access Attic
Step 1: Gather the Necessary Tools and Equipment
Before you begin opening the attic, it is important to gather the necessary tools and equipment to ensure a smooth process. Here are some key items you will need:
- A flashlight: Attics can be dark and poorly lit, so having a reliable flashlight is essential for proper visibility.
- A ladder or set of stairs: Depending on how your attic is accessed, you will need a sturdy ladder or a set of stairs to reach the opening safely.
- A screwdriver or drill: Many attic access panels or doors are secured with screws. Having a screwdriver or drill with the appropriate screw head will make it easier to remove them.
- Protective gear: Attics can be dusty and potentially contain allergens, so it is important to wear a dust mask, safety goggles, and gloves to protect yourself.
- Plastic sheets or drop cloths: Covering furniture and other items in the area around the attic access will help prevent dust and debris from getting on them.
- A crowbar or pry bar: If the attic access panel or door is sealed tightly, a crowbar or pry bar can be used to help remove it.
By having these tools and equipment ready, you will be prepared to tackle the task of opening the attic.
Remember to always prioritize safety when handling tools and climbing ladders. If you are uncertain about any aspect of the process, it is advisable to seek professional assistance.
Step 2: Ensure Safety Precautions
Before you proceed with opening the attic, it is crucial to prioritize safety. Attics can present potential hazards, so taking the necessary precautions will help prevent accidents and injuries. Here are some safety measures to keep in mind:
- Wear proper protective gear: As mentioned earlier, wearing a dust mask, safety goggles, and gloves is essential to protect yourself from dust, allergens, and potential sharp objects.
- Check for electrical hazards: Make sure to turn off any power sources near the attic access to minimize the risk of electric shocks. Use a voltage tester to ensure that the area is safe to work in.
- Clear the area: Remove any objects, furniture, or debris that may obstruct your way around the attic access point. This will help create a safe working environment and prevent tripping hazards.
- Secure the ladder: If you are using a ladder to access the attic, ensure that it is positioned on a stable surface and securely placed against the access point. It is recommended to have someone hold the ladder steady while you climb up.
- Use proper lifting techniques: Attic access panels or doors can be heavy, so make sure to use proper lifting techniques or ask for assistance when removing them. Avoid straining your back or causing injuries by lifting with your legs and not your back.
- Be mindful of insulation: Attics often have insulation material, such as fiberglass or cellulose. Take care when moving around to avoid disturbing or damaging the insulation, as it can cause skin irritation or respiratory issues.
- Avoid overloading the attic: When accessing the attic for storage purposes, be cautious not to overload or place excessive weight on the attic floor. Consult with a structural engineer if you have any concerns about the attic’s weight-bearing capacity.
By following these safety precautions, you can minimize risks and ensure a safe working environment while opening the attic.
Remember, safety should always be your top priority. If you are unsure about any safety aspect or feel uncomfortable, it is wise to seek professional assistance.
Step 3: Locate the Attic Access Point
Locating the attic access point is an important step in opening the attic. The access point can vary depending on the design of your home, so it’s essential to find it before proceeding. Here are some tips to help you locate the attic access:
- Check the floorplan: If you have a floorplan of your home, it may indicate where the attic access is located. Look for symbols or labels that indicate an attic entrance or access point.
- Examine the ceiling: In many homes, the attic access is located in the ceiling of a hallway or a closet. Look for any signs of a small panel or a hatch that could lead to the attic.
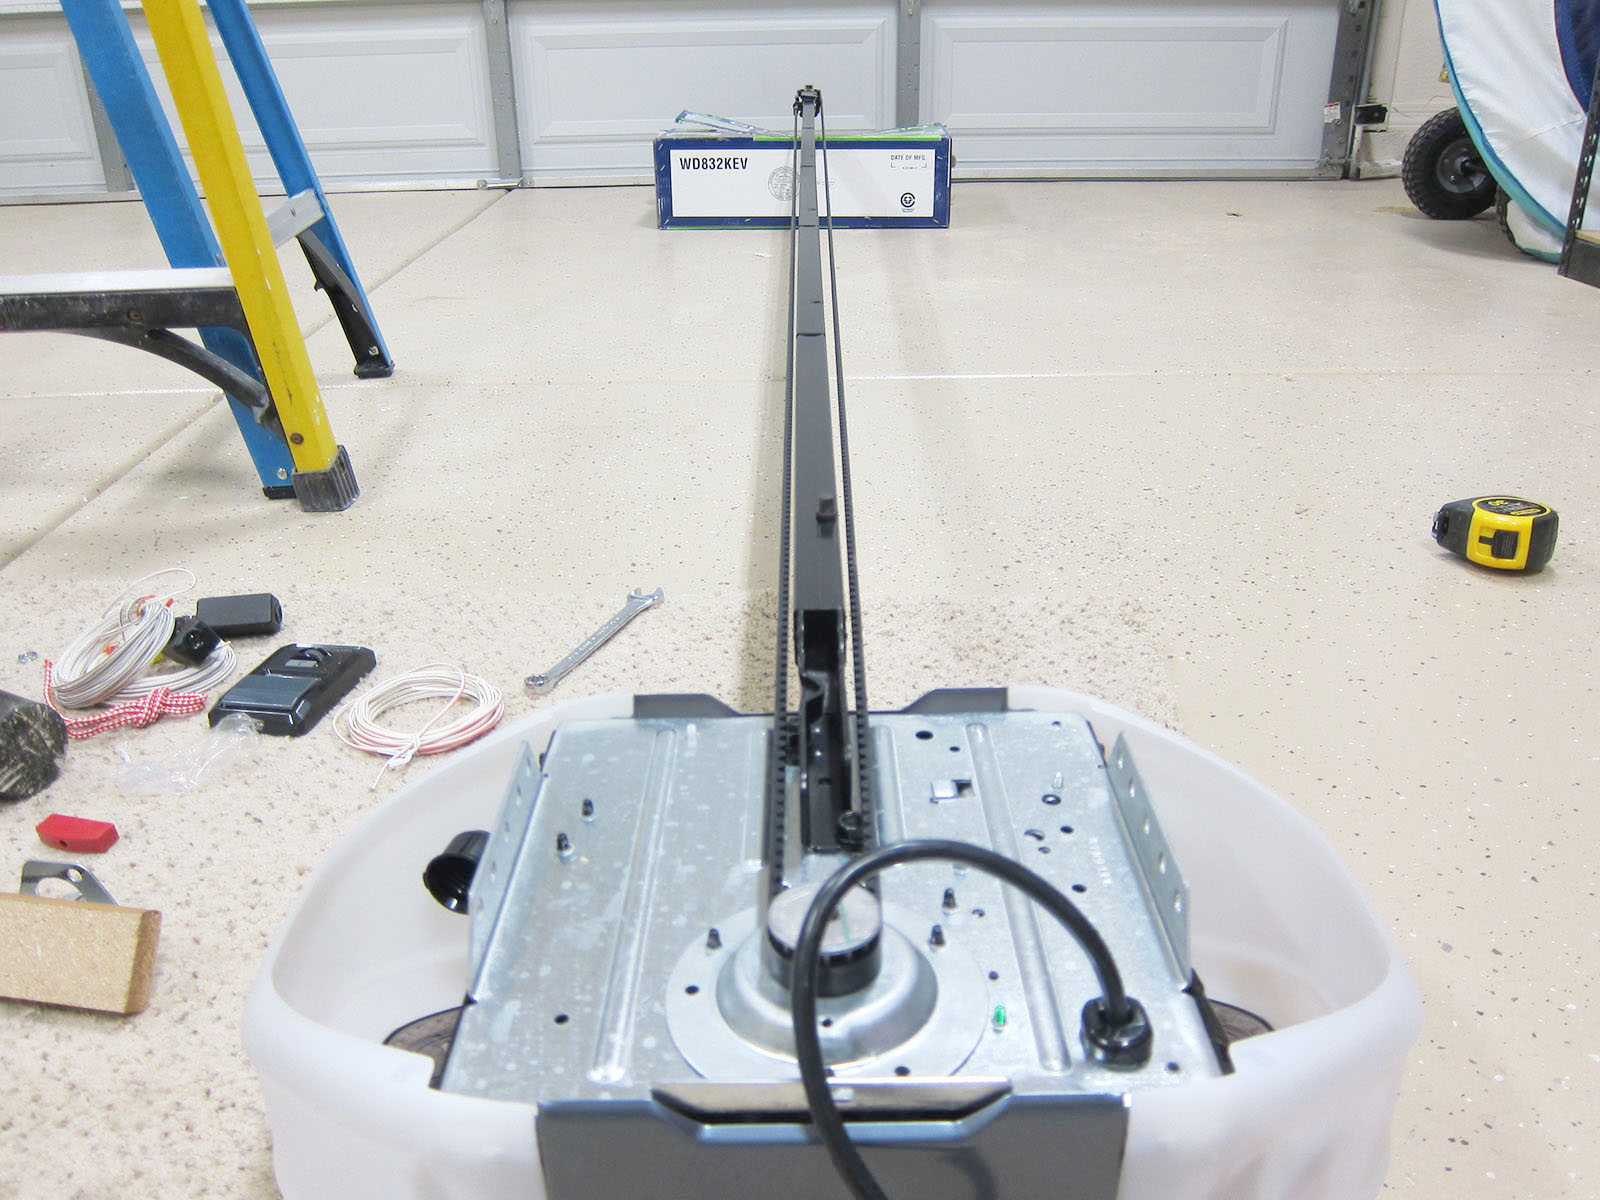
- Inspect the garage or utility room: In some houses, the attic access may be located in the garage or a utility room. Check for any panels, doors, or hatches that could provide access to the attic.
- Look for visible signs: In certain cases, the attic access may be visible from the outside of the house. Look for any vents, grilles, or small windows near the roofline, as they could indicate the location of the attic access.
- Consult with the builder or previous homeowners: If you are unsure about the location of the attic access, reach out to the builder or previous homeowners for guidance. They may be able to provide you with valuable information.
Once you have located the attic access point, mark it or take note of its position for future reference.
Keep in mind that attic access points can sometimes be concealed or blend in with the surrounding area. Take your time and thoroughly search for the access point to avoid any unnecessary damage or frustration.
Now that you have successfully located the attic access point, you’re ready to move on to the next step.
Step 4: Clear the Area Around the Access Point
Before you proceed with opening the attic, it’s important to clear the area around the access point. This will provide you with a safe and unobstructed workspace. Here are some steps to follow for clearing the area:
- Remove furniture and objects: If there are any furniture pieces or belongings near the attic access, remove them from the area. This will prevent any accidents or damage to your belongings while you work.
- Cover nearby items: If you’re unable to move larger items from the vicinity of the access point, cover them with plastic sheets or drop cloths. This will protect them from dust and debris during the process.
- Clear any obstacles: Check for any obstacles such as boxes, storage containers, or debris that may be blocking the access point. Make sure to clear them away to provide a clear path to the attic.
- Ensure proper lighting: Attics are often poorly lit, so it’s advisable to set up additional lighting in the area. Use portable work lights or a flashlight to illuminate the space, allowing you to see clearly as you open the attic.
- Protect flooring: Use additional drop cloths or plastic sheets to protect the flooring around the attic access, especially if you’re working in a carpeted or hardwood area. This will make it easier to clean up any dust or debris that may fall during the process.
By clearing the area around the access point, you create a safe and organized workspace. This will enable you to navigate the area more efficiently and minimize the risk of accidents or damage to your belongings.
Once the area is clear, you’re now ready to move on to the next step of opening the attic.
Make sure to wear appropriate clothing and protective gear before attempting to open the attic. Use a sturdy ladder and have someone spot you for safety. Check for any obstructions or hazards before opening.
Read more: How To Open A Can With A Wine Opener
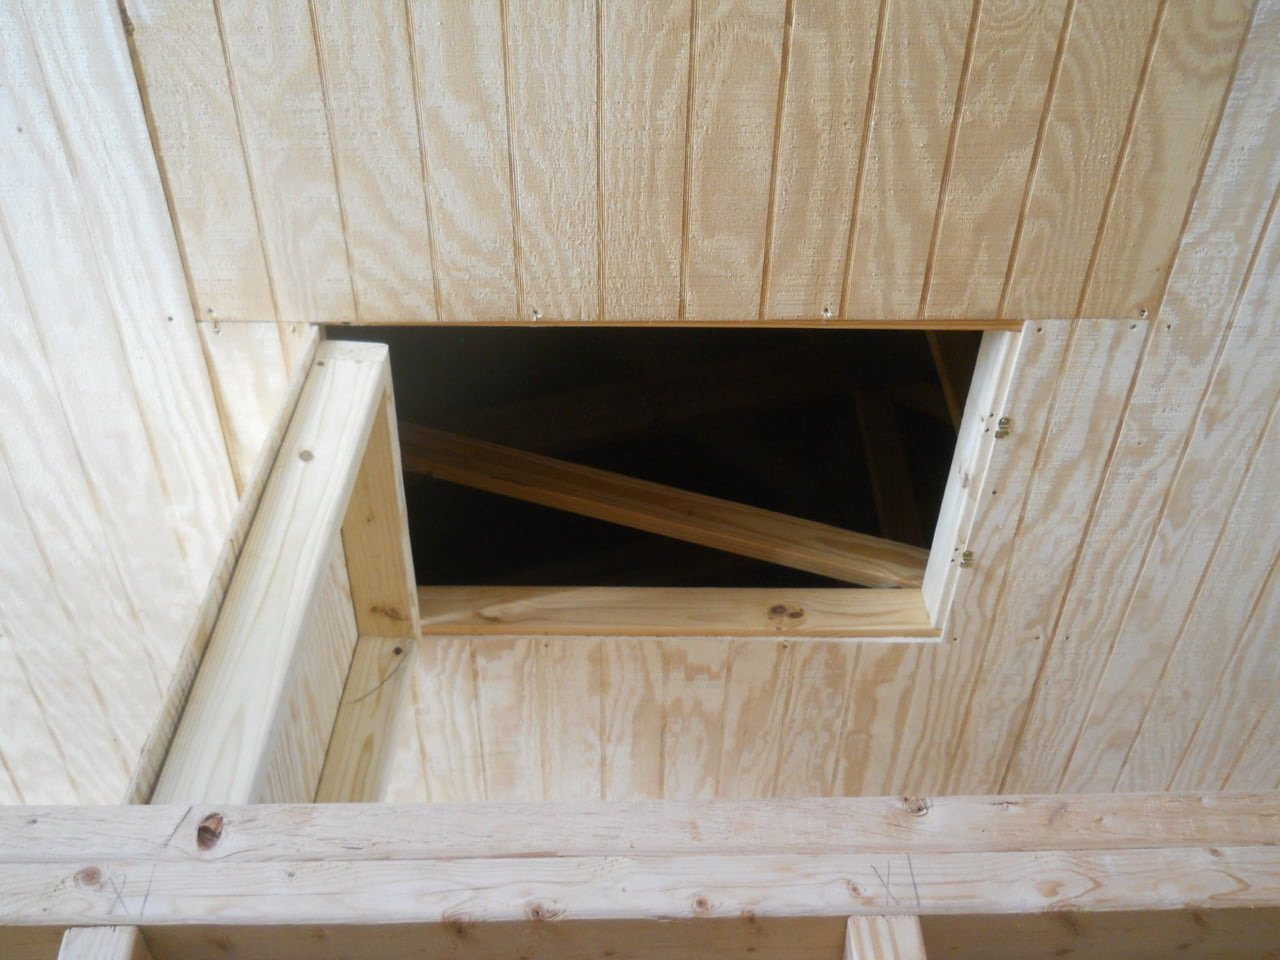
Step 5: Remove the Attic Access Panel or Door
Now that you’ve cleared the area around the attic access point, it’s time to remove the attic access panel or door. The method of removal will depend on the type of access point you have. Here are some steps to guide you through the process:
- Inspect the access panel or door: Take a close look at the attic access panel or door to determine how it is secured in place. It may be held in place by screws, hinges, latches, or other fastening mechanisms.
- Prepare your tools: Depending on how the access panel or door is secured, gather the appropriate tools. This may include a screwdriver, drill, crowbar, or pry bar.
- Remove screws or fasteners: If the access panel or door is secured with screws, use a screwdriver or drill to unscrew them. Keep the screws in a safe place as you may need them for reinstallation later.
- Release latches or hinges: Some access points may have latches or hinges preventing them from opening. Carefully release the latches or unhinge the door to gain access to the attic.
- Use a crowbar or pry bar: If the access point appears to be sealed tightly, you may need to use a crowbar or pry bar to gently pry it open. Be cautious not to damage the surrounding area or the access point itself.
- Set aside the access panel or door: Once you have removed the access panel or door, set it aside in a safe location. You may need to reinstall it later.
Always exercise caution when removing the access panel or door to prevent any injuries or damage. If you encounter any difficulties or are unsure about the removal process, it is recommended to consult a professional for assistance.
With the access panel or door removed, you have successfully opened the path to the attic. Let’s move on to the next step, which is accessing the attic itself.
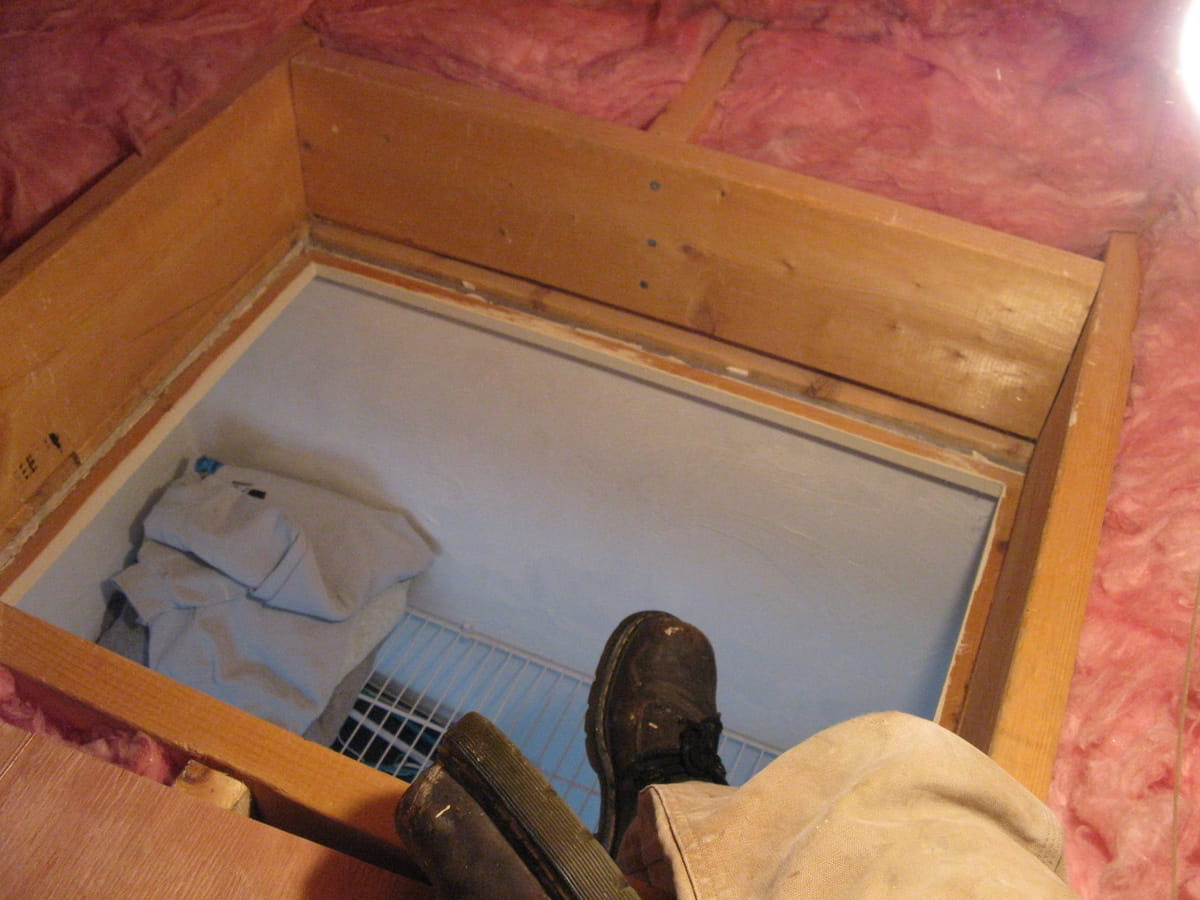
Step 6: Use a Ladder or Stairs to Access the Attic
Now that you have opened the attic access point, it’s time to use a ladder or stairs to safely access the attic. The method of access will depend on the design and configuration of your home. Here are some steps to guide you:
- Assess the type of access required: Determine whether your attic can be accessed through a set of built-in stairs or if you need to use a ladder. This will depend on the layout and construction of your home.
- If you have built-in stairs:
- Locate the stairs: Find the stairs that lead up to the attic. They are typically found in areas such as hallways or bedrooms.
- Ensure the stairs are safe and secure: Inspect the stairs to make sure they are in good condition and can safely support your weight. Look for any signs of damage or instability.
- Use the stairs to access the attic: Carefully climb the stairs, using the handrails for support if available. Take your time and watch your step to avoid tripping or slipping.
- If you have a ladder:
- Choose a suitable ladder: Select a ladder that is appropriate for the height and configuration of your attic access point. Ensure that the ladder is stable and in good working condition.
- Position the ladder correctly: Place the ladder on a stable surface, such as the floor or ground. Position it at a safe angle, with the top of the ladder extending beyond the attic access point.
- Climb the ladder with caution: Ascend the ladder slowly and carefully, facing the ladder and using both hands to grip the rungs. Make sure all four ladder feet are secure on the ground or floor.
When using a ladder, it’s important to follow proper ladder safety practices. Always maintain three points of contact with the ladder, avoid overreaching, and never climb higher than the recommended step or rung.
Whether you’re using stairs or a ladder, take your time and proceed with caution. Safety should always be your top priority when accessing the attic.
Now that you have reached the attic, it’s time to explore and inspect the space. Let’s move on to the next step!
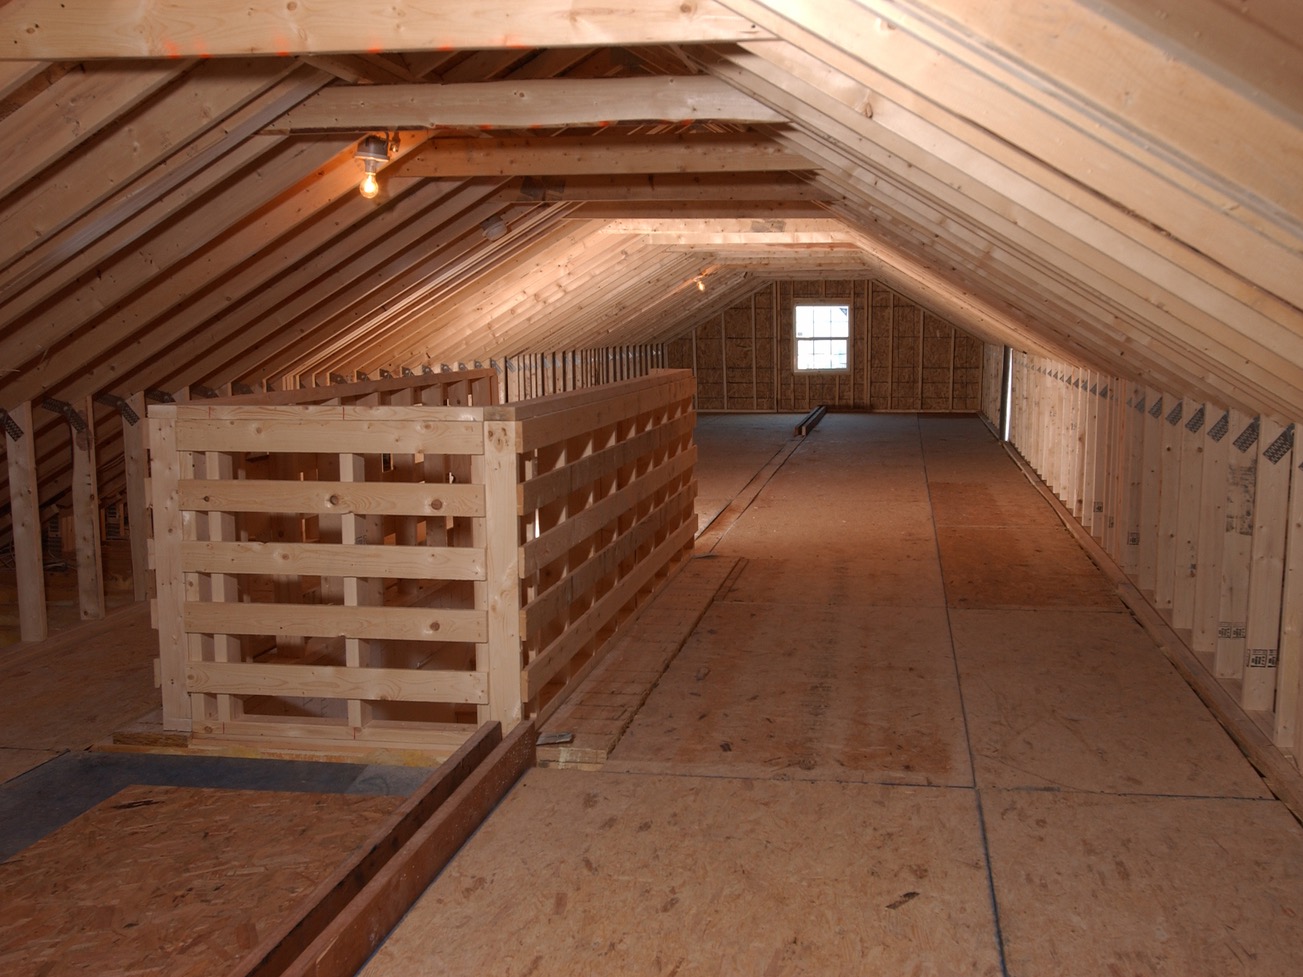
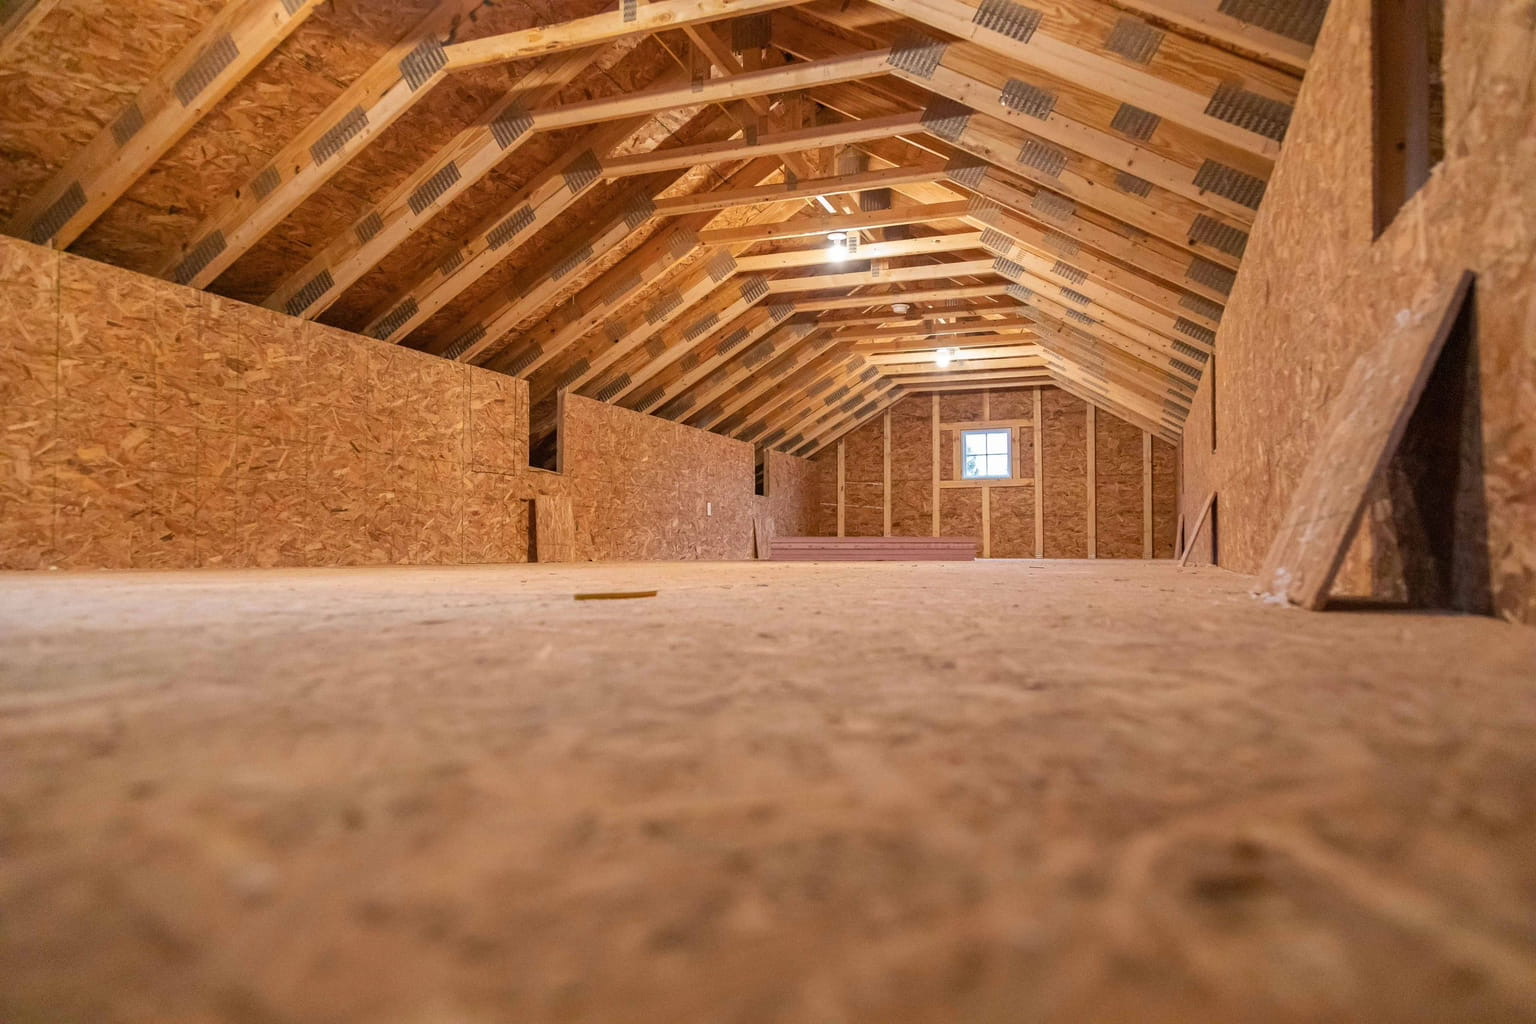
Step 7: Explore and Inspect the Attic
Now that you have safely accessed the attic, it’s time to explore and inspect the space. This step is crucial for gaining a better understanding of your attic’s layout, condition, and potential uses. Here are some steps to guide you:
- Bring your flashlight: Attics are typically poorly lit, so having a reliable flashlight is essential for proper visibility. Illuminate your path as you navigate through the attic.
- Observe the layout: Take a moment to observe the layout of the attic. Note any structural beams, electrical wiring, or ventilation systems that may be present. This will help you determine potential storage areas or areas to avoid.
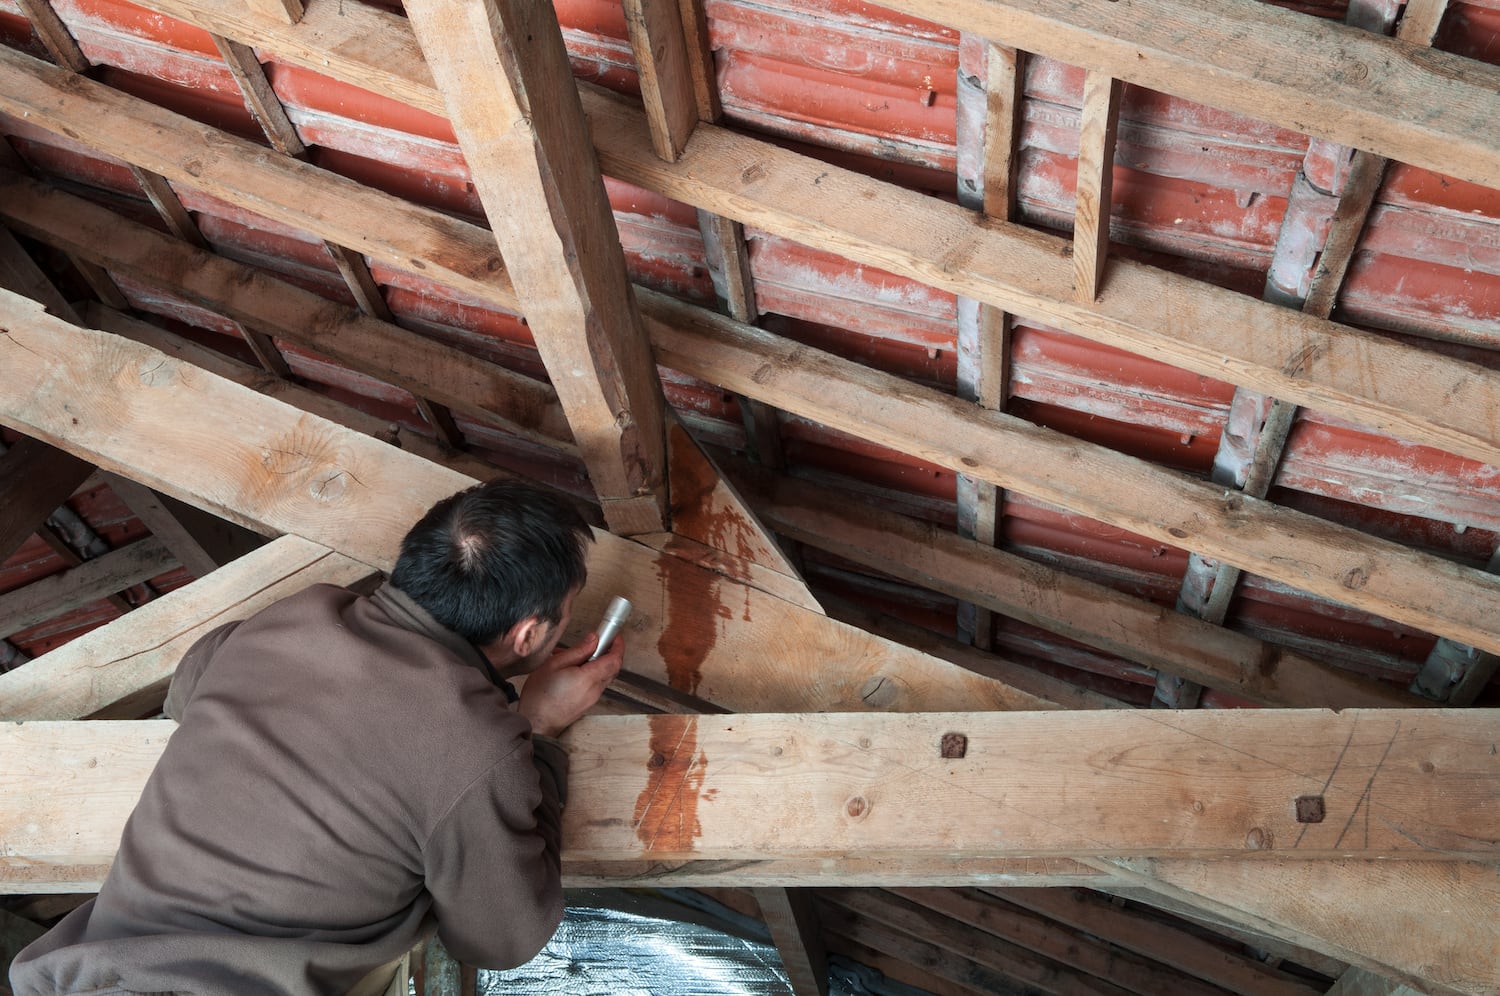
- Inspect for any signs of damage: Look for any signs of water leaks, mold growth, pests, or other damage within the attic. Pay special attention to areas near the roof, vents, and eaves. If you notice any major issues, it’s advisable to consult a professional for further assessment and repairs.
- Take measurements: If you plan to use the attic for storage or other purposes, it’s a good idea to take measurements of the available space. This will help you plan and organize the area more effectively.
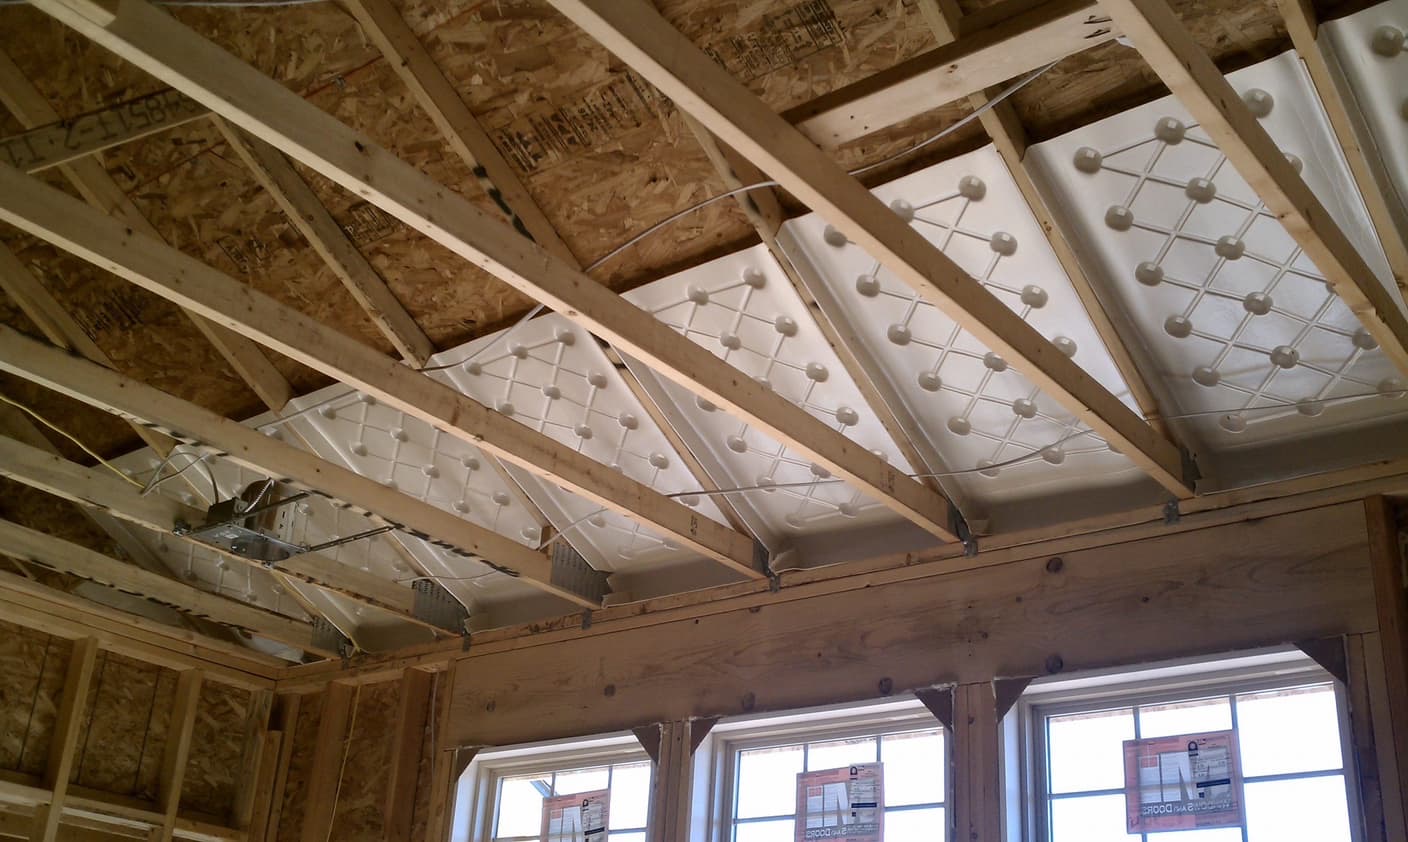
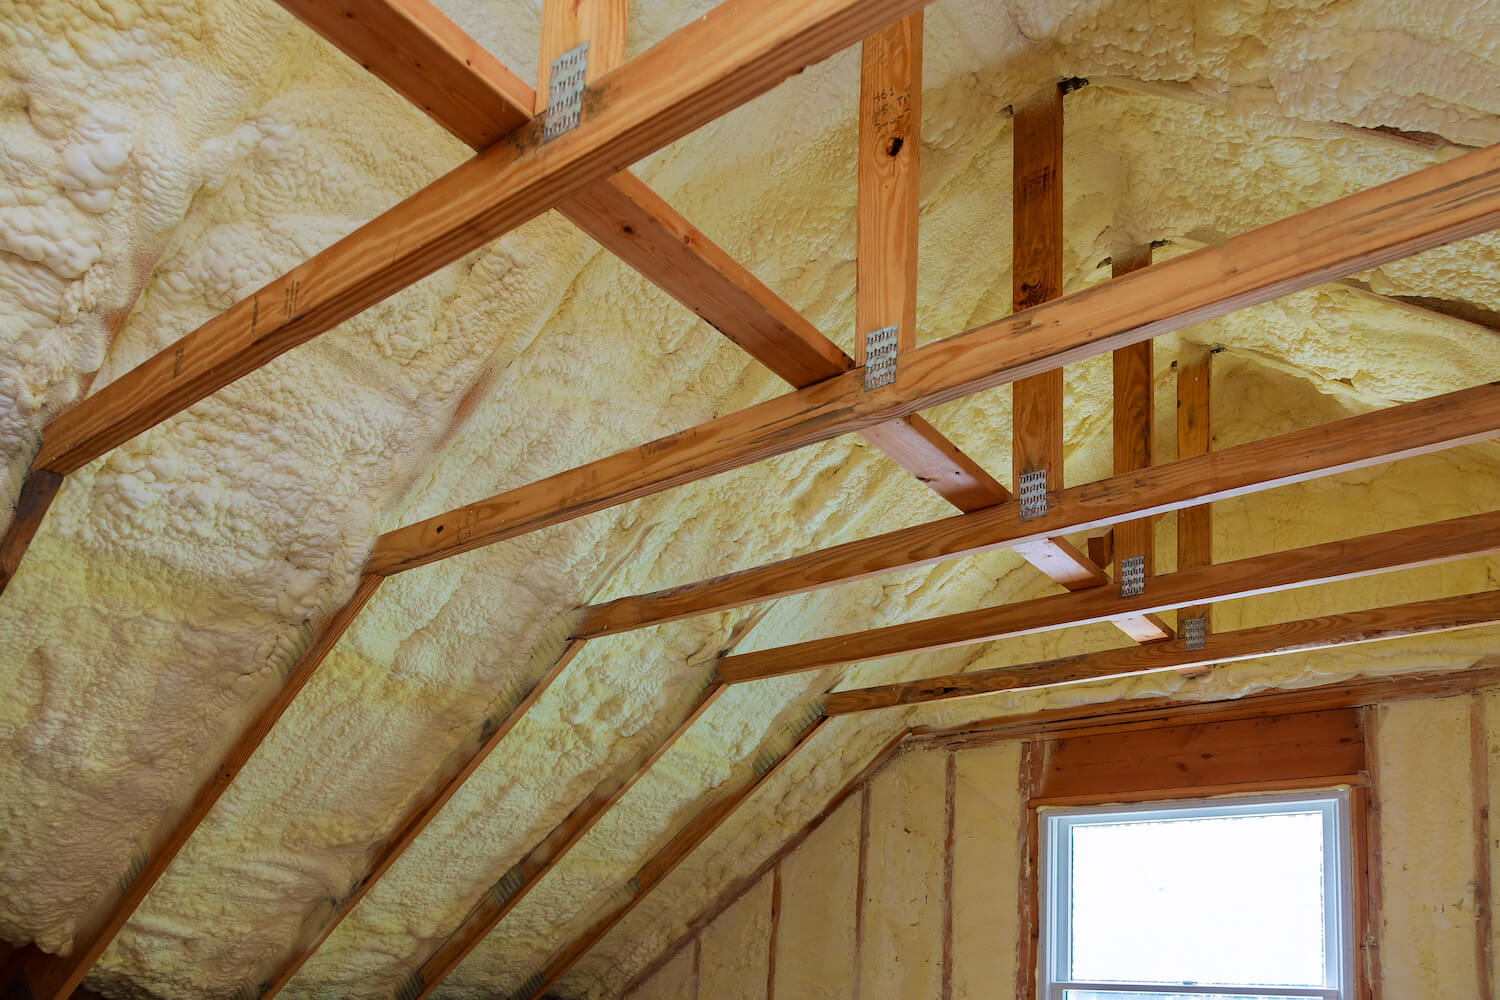
- Check for insulation: Insulation is important for temperature regulation and energy efficiency. Assess the condition of the insulation in the attic and consider adding or upgrading it if necessary.
- Look for potential hazards: Be aware of any exposed wires, sharp objects, or other hazards within the attic. Take necessary precautions and consider making repairs or improvements to eliminate these hazards.
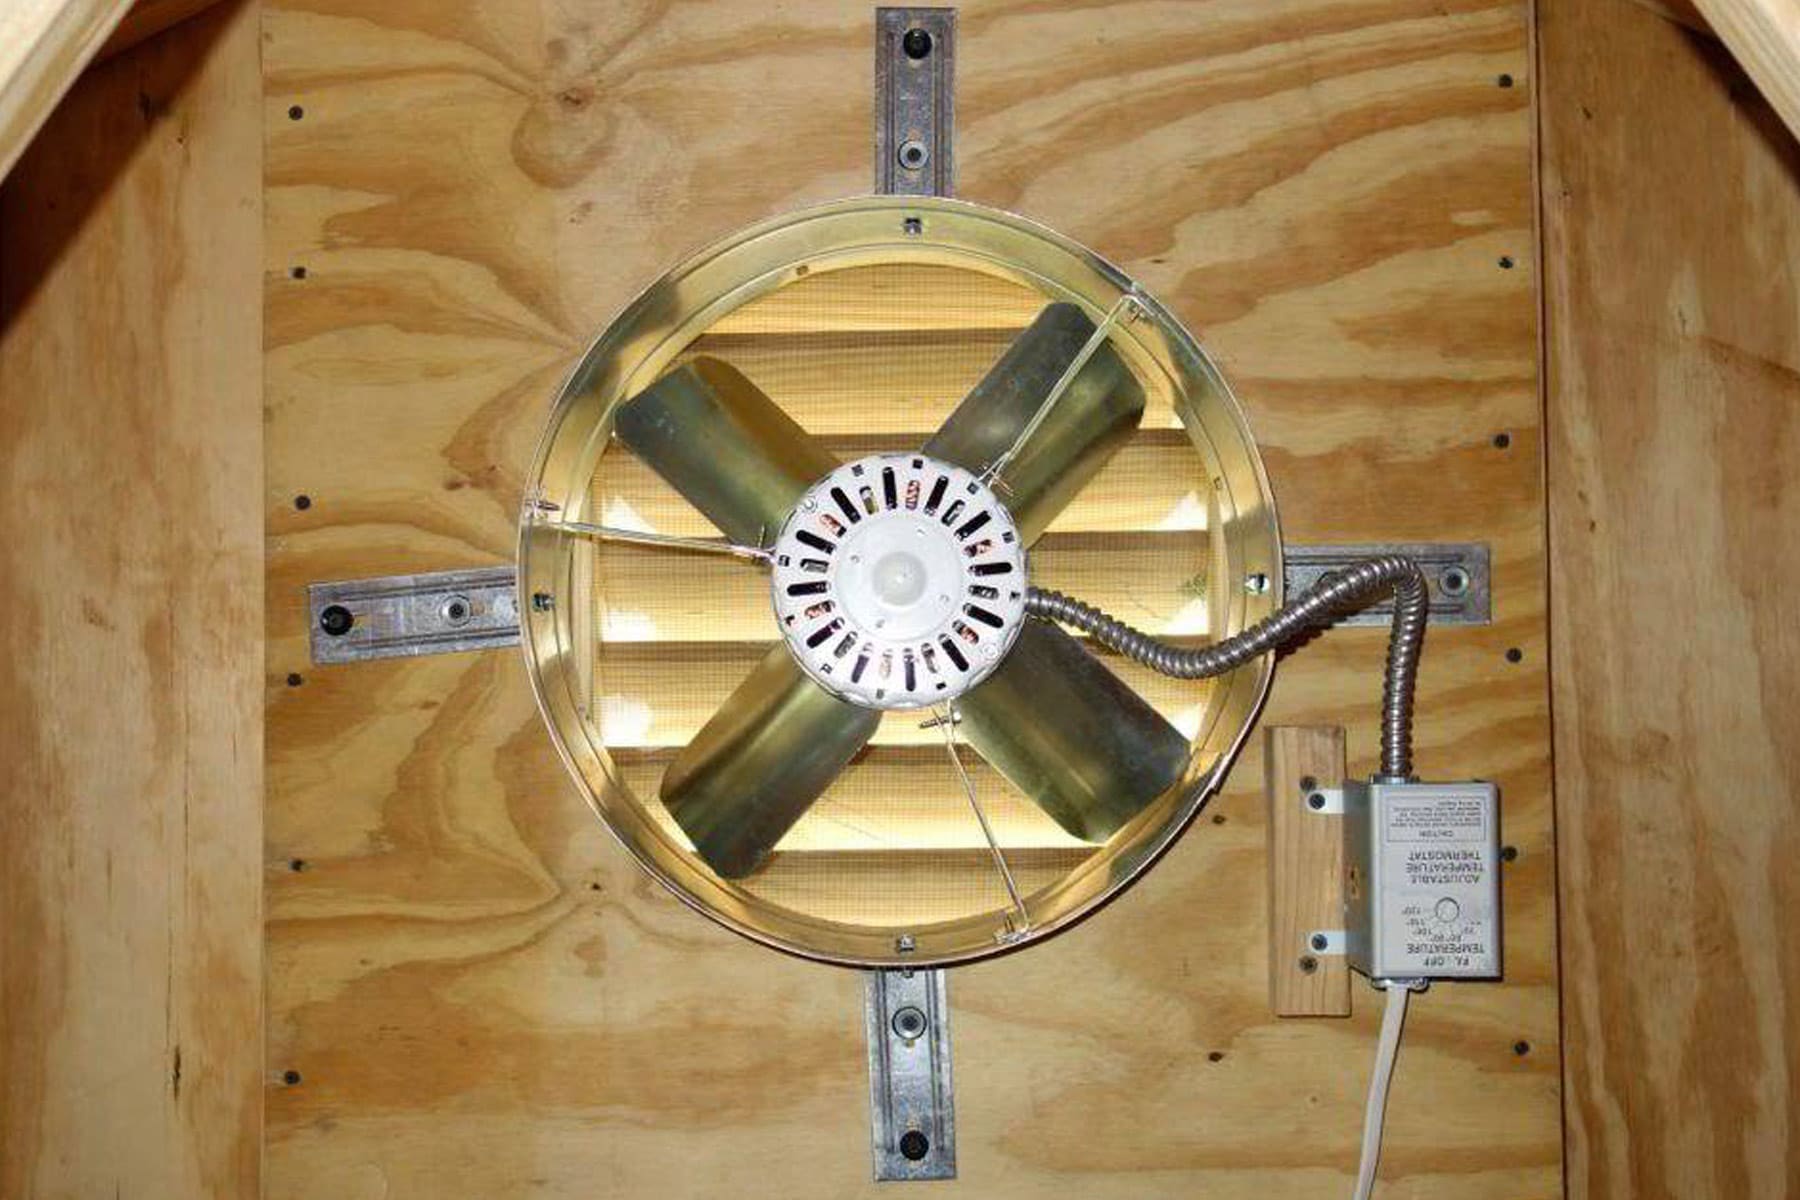
- Consider ventilation: Check if the attic has proper ventilation to prevent moisture buildup and maintain good air quality. Consider installing vents or fans if needed.
- Evaluate structural integrity: Assess the overall condition of the attic’s structure. Look for any signs of sagging beams, cracks, or other structural issues that may require attention.
By thoroughly exploring and inspecting the attic, you can gain valuable insights into its condition and potential uses. This information will guide you in making informed decisions about storage, renovations, or repairs.
If you have any concerns or encounter significant issues during the inspection, it’s recommended to consult a professional contractor or home inspector for further guidance.
Now that you have explored and inspected the attic, let’s move on to the final step of closing and securing the attic access point.
Step 8: Close and Secure the Attic Access Point
After exploring and inspecting the attic, it’s time to close and secure the attic access point. Properly sealing the access point will help maintain the integrity of your home and prevent unwanted access to the attic. Here are some steps to follow:
- Replace the access panel or door: If you removed an access panel or door to open the attic, carefully place it back into position. Ensure that it aligns properly with the surrounding area.
- Reattach screws or fasteners: If the access panel or door was secured with screws or fasteners, use a screwdriver or drill to reattach them. Make sure they are tightened securely but not overly tightened.
- Check for proper alignment: Ensure that the access panel or door is aligned correctly and fits snugly within the frame. This will help prevent drafts and maintain insulation efficiency.
- Install weatherstripping (if necessary): If you notice any gaps or drafts around the access point, consider adding weatherstripping to create a tighter seal. This will help improve energy efficiency and prevent air leakage.
- Lock or secure the access point (if applicable): If your attic access point has a lock or locking mechanism, make sure it is engaged to prevent unauthorized access. If no lock is present, consider installing one for added security.
- Clean up the surrounding area: Remove any plastic sheets, drop cloths, or debris from the area around the attic access point. Vacuum or sweep the area to ensure a clean and tidy space.
By closing and securing the attic access point, you ensure that the attic remains safely and securely inaccessible when not in use. This helps protect the attic and maintain the overall integrity of your home.
Remember to keep the attic access key or any necessary tools in a secure location. If you have any concerns about the security of the attic, consider adding additional security measures such as an alarm system or motion sensor lighting.
Congratulations! You have successfully completed the process of opening and exploring your attic. By following these steps, you can now enjoy the benefits of a well-accessed and well-maintained attic space.
Enjoy the additional storage, flexibility, and potential that your attic provides!
Read more: How To Open A Glass Bottle Without Opener
Conclusion
Opening the attic may seem like a challenging task, but by following the steps outlined in this article, you can safely and effectively access this valuable space in your home. From gathering the necessary tools to exploring and inspecting the attic, each step has been designed to ensure a smooth and successful process.
By properly preparing and gathering the required tools, you set yourself up for a seamless opening experience. Ensuring safety precautions are in place is essential to prevent accidents and injuries. Locating the attic access point and clearing the area around it create a safe and organized working environment.
Removing the attic access panel or door allows you to gain entry into the attic, while using a ladder or stairs ensures a secure and stable ascent. Once in the attic, you can explore and inspect the space, taking note of any potential uses, issues, or improvements needed.
Lastly, by closing and securing the attic access point, you maintain the integrity of your home and ensure that the attic remains safely inaccessible when not in use.
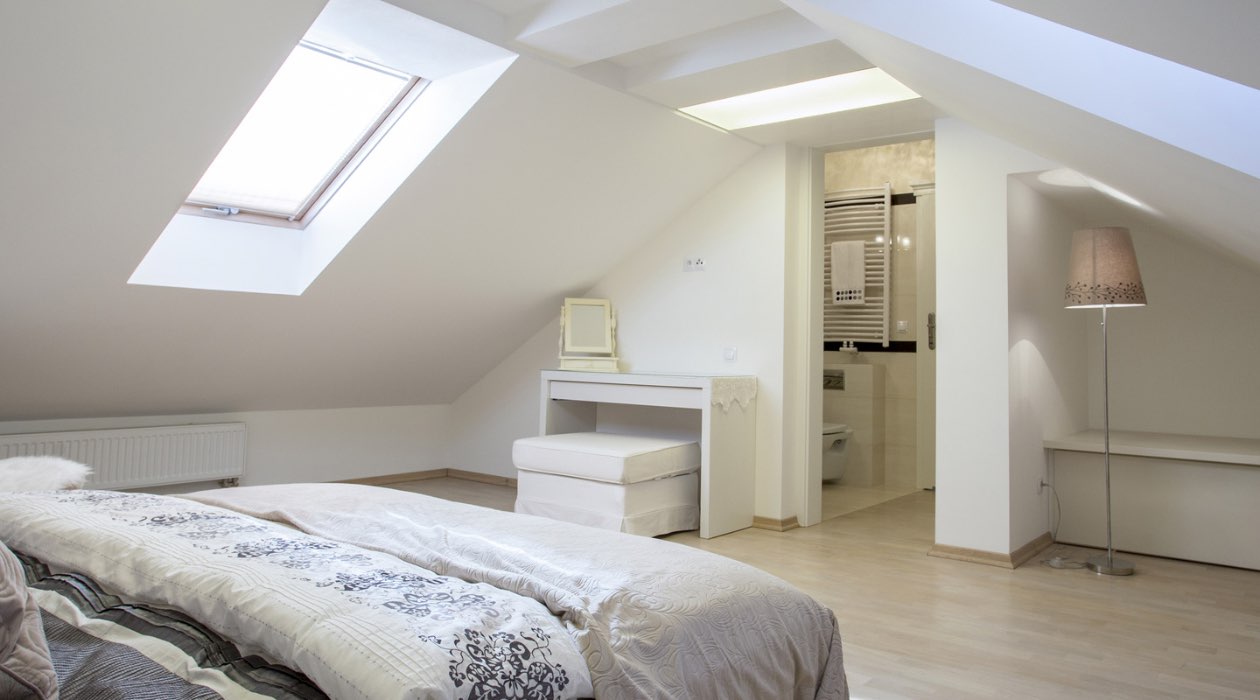
Opening the attic provides a multitude of opportunities, such as additional storage, a potential living space, or a place for inspections and repairs. It allows you to make the most of the available square footage in your home and adds functionality to your living environment.
Remember, safety should always be your top priority when opening and accessing the attic. If you have any concerns or encounter significant issues during the process, it is advisable to seek professional help.
Now that you have the knowledge and steps to open the attic, it’s time to embark on this exciting journey. Enjoy the expanded possibilities and the hidden potential that your attic space holds!
Frequently Asked Questions about How To Open The Attic
Was this page helpful?
At Storables.com, we guarantee accurate and reliable information. Our content, validated by Expert Board Contributors, is crafted following stringent Editorial Policies. We're committed to providing you with well-researched, expert-backed insights for all your informational needs.


0 thoughts on “How To Open The Attic”