Home>Articles>How To Repair Aluminum Siding In Less Than An Hour
Articles
How To Repair Aluminum Siding In Less Than An Hour
Modified: August 24, 2024
Learn how to quickly repair aluminum siding with our informative articles. Get step-by-step instructions and expert tips in less than an hour.
(Many of the links in this article redirect to a specific reviewed product. Your purchase of these products through affiliate links helps to generate commission for Storables.com, at no extra cost. Learn more)
Introduction
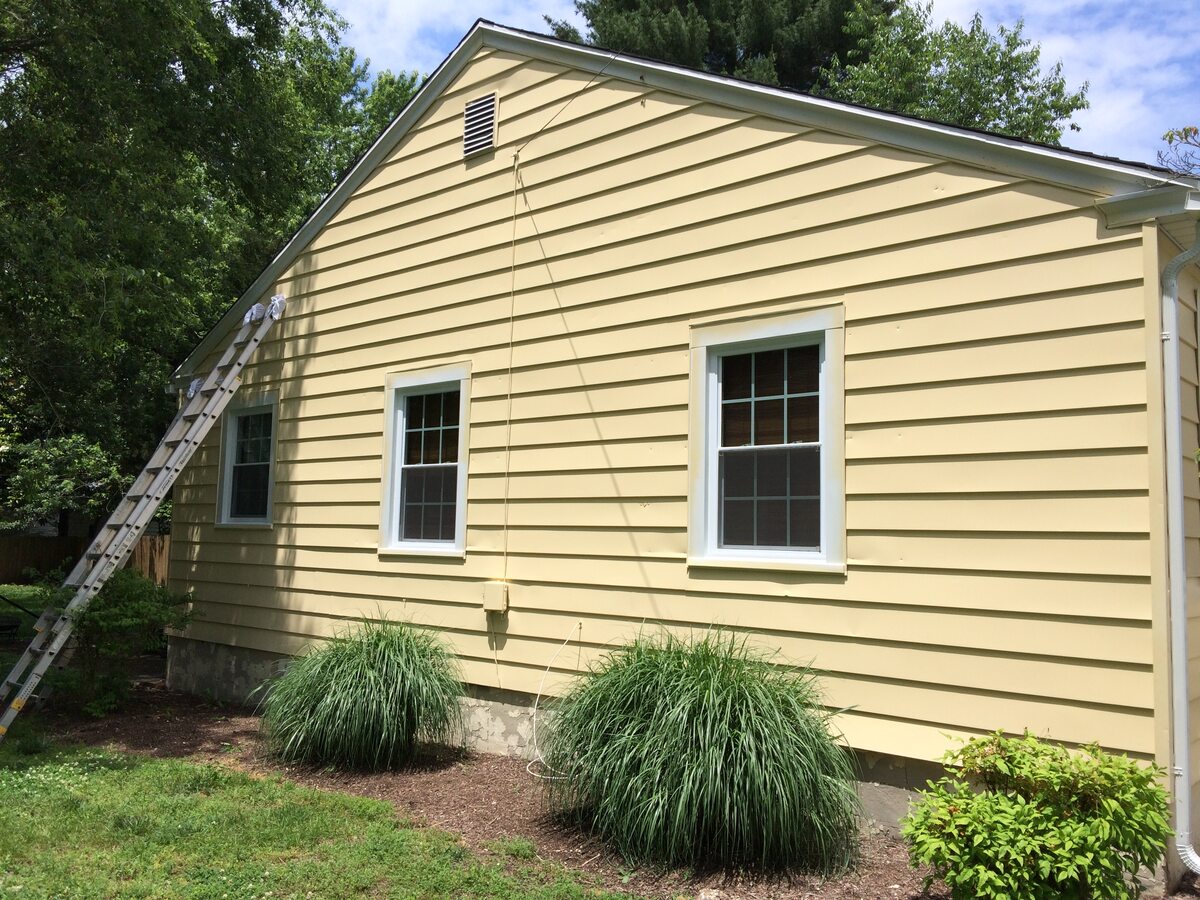
Aluminum siding is a popular choice among homeowners due to its durability, low maintenance, and ability to withstand harsh weather conditions. However, over time, it may suffer from wear and tear, resulting in dents, scratches, or even small holes. While these damages may seem daunting to repair, the good news is that you can easily fix them in less than an hour with the right materials and techniques.
In this article, we will guide you through the step-by-step process of repairing aluminum siding quickly and effectively. Whether you’re a seasoned DIY enthusiast or a beginner, this guide will equip you with the necessary knowledge to restore the beauty and integrity of your siding.
Key Takeaways:
- Quickly repair aluminum siding in less than an hour with a patch kit, cleaning solution, and safety equipment. Follow the step-by-step process to seamlessly blend and restore the integrity of your siding.
- Gather necessary materials, clean the damaged area, apply the patch kit, smooth and blend the repaired area, allow it to dry, and inspect for any touch-ups. With the right tools and techniques, you can easily maintain the beauty of your aluminum siding.
Read more: How To Fix A Hole In Aluminum Siding
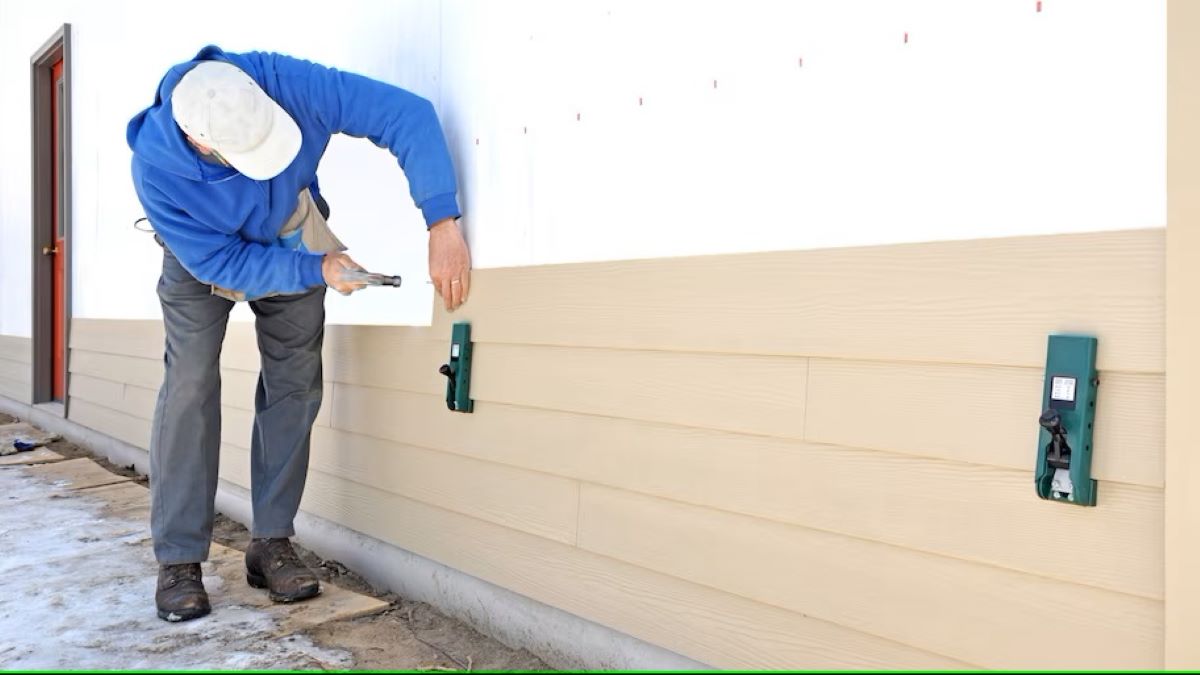
Step 1: Gather the Necessary Materials
Before you start repairing your aluminum siding, it’s important to gather all the materials you’ll need. Having everything on hand will make the process smoother and more efficient. Here are the essential materials you’ll need:
- Aluminum Siding Patch Kit: Look for a patch kit specifically designed for aluminum siding. It typically includes a patch, adhesive, and primer.
- Cleaning Solution: Choose a mild detergent or a specialized siding cleaner to remove dirt, grime, and any existing adhesive from the damaged area.
- Soft Brushes or Sponges: These will be used to scrub the siding and ensure it’s clean before applying the patch.
- Putty Knife: A putty knife with a flat, flexible blade will help you apply the adhesive and smooth out the patch.
- Safety Equipment: Don’t forget to protect yourself by wearing gloves and safety goggles during the repair process.
Once you have gathered all these materials, you’ll be well-prepared to move on to the next steps and get your siding looking as good as new.
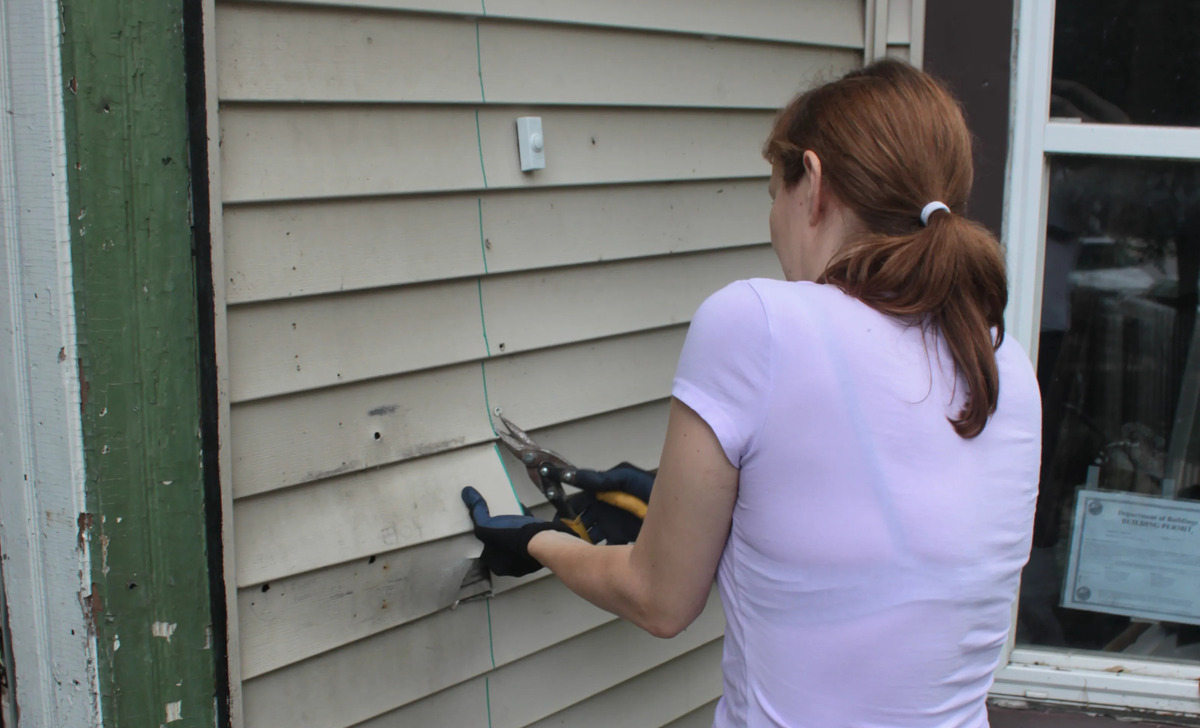
Step 2: Clean the Damaged Area
Before applying the patch, it’s crucial to clean the damaged area thoroughly. Cleaning the area ensures proper adhesion of the patch and removes any dirt or debris that may interfere with the repair.
Here’s how you can clean the damaged area:
- First, mix a mild detergent with water or use a specialized siding cleaner according to the manufacturer’s instructions.
- Dip a soft brush or sponge into the cleaning solution and scrub the damaged area gently. Be sure to remove any dirt, dust, or grime.
- Rinse the area with clean water to remove any residue from the cleaning solution.
- Allow the area to dry completely before moving on to the next step.
By thoroughly cleaning the damaged area, you create a clean and smooth surface for the patch to adhere to. This step is crucial for a successful repair.
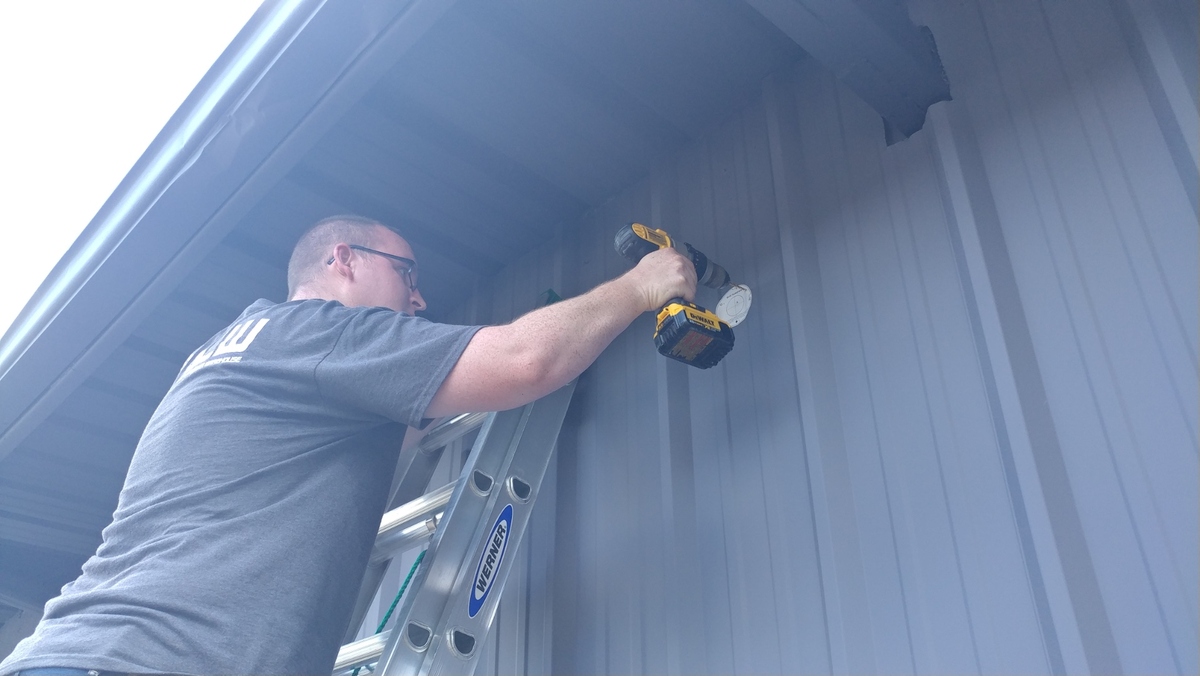
Step 3: Apply Aluminum Siding Patch Kit
Now that the damaged area is clean and dry, it’s time to apply the aluminum siding patch kit. This kit typically contains a patch, adhesive, and primer, which are designed to seamlessly blend with your existing siding color.
Here’s how you can apply the patch kit:
- Take the patch and carefully cut it to the size of the damaged area. Ideally, the patch should be slightly larger than the damaged section to ensure complete coverage.
- Apply a layer of adhesive onto the back of the patch. Make sure to spread the adhesive evenly to ensure proper adhesion.
- Place the patch over the damaged area, aligning it as accurately as possible.
- Press the patch firmly onto the siding, ensuring it adheres securely.
- Use a putty knife to smooth out the patch and remove any air bubbles or excess adhesive.
Following the instructions provided with the patch kit is essential for achieving the best results. Keep in mind that the adhesive may have a specific drying time, so allow it to set according to the manufacturer’s instructions before moving on to the next step.
By applying the aluminum siding patch kit, you can effectively repair the damaged area and restore the integrity of your siding.
When repairing aluminum siding, use a small amount of aluminum patching compound to fill in any holes or dents. Smooth it out with a putty knife and let it dry before painting.
Step 4: Smooth and Blend the Patched Area
After applying the patch, it’s important to smooth and blend the patched area with the rest of the siding to create a seamless finish. This step ensures that the repaired area is practically invisible and blends in with the surrounding siding.
Here’s how you can smooth and blend the patched area:
- Once the adhesive has completely dried, use a fine-grit sandpaper to lightly sand the patched area. This helps to smooth out any rough edges or imperfections.
- Be gentle while sanding to avoid damaging the surrounding siding. Take your time and focus on creating a smooth and even surface.
- After sanding, wipe away any dust or debris using a clean, damp cloth.
- Inspect the repaired area to ensure that it blends seamlessly with the rest of the siding. If there are any noticeable differences in color or texture, you can use touch-up paint or a siding restoration product to further blend the patched area.
By smoothing and blending the patched area, you can achieve a professional-looking repair that seamlessly integrates with the rest of your aluminum siding.
Read more: What Is Aluminum Siding
Step 5: Allow the Patched Area to Dry
Once you have smoothed and blended the patched area, it’s crucial to allow it to dry completely. This ensures that the adhesive or any touch-up paint applied fully adheres to the siding and creates a durable finish.
Here’s what you need to do to allow the patched area to dry effectively:
- Refer to the instructions provided with the adhesive or touch-up paint for the recommended drying time. This can vary depending on the specific products used.
- Avoid touching or applying any pressure on the patched area while it is drying. This will help prevent any damage or smudging of the repair.
- Ensure that the patched area is protected from rain, direct sunlight, or extreme temperature changes during the drying process. This can interfere with the drying time and the overall quality of the repair.
By giving the patched area ample time to dry, you are allowing the adhesive or touch-up paint to fully cure and create a strong bond with the siding. This ensures a long-lasting and effective repair.
Step 6: Inspect and Touch Up if Necessary
Once the patched area has thoroughly dried, it’s essential to inspect the repair to ensure its quality and durability. This step allows you to identify any imperfections or areas that may require further touch-up.
Here’s what you need to do to inspect and touch up the repaired area:
- Carefully examine the patched area, paying close attention to the color, texture, and overall appearance. Look for any noticeable differences between the repaired section and the surrounding siding.
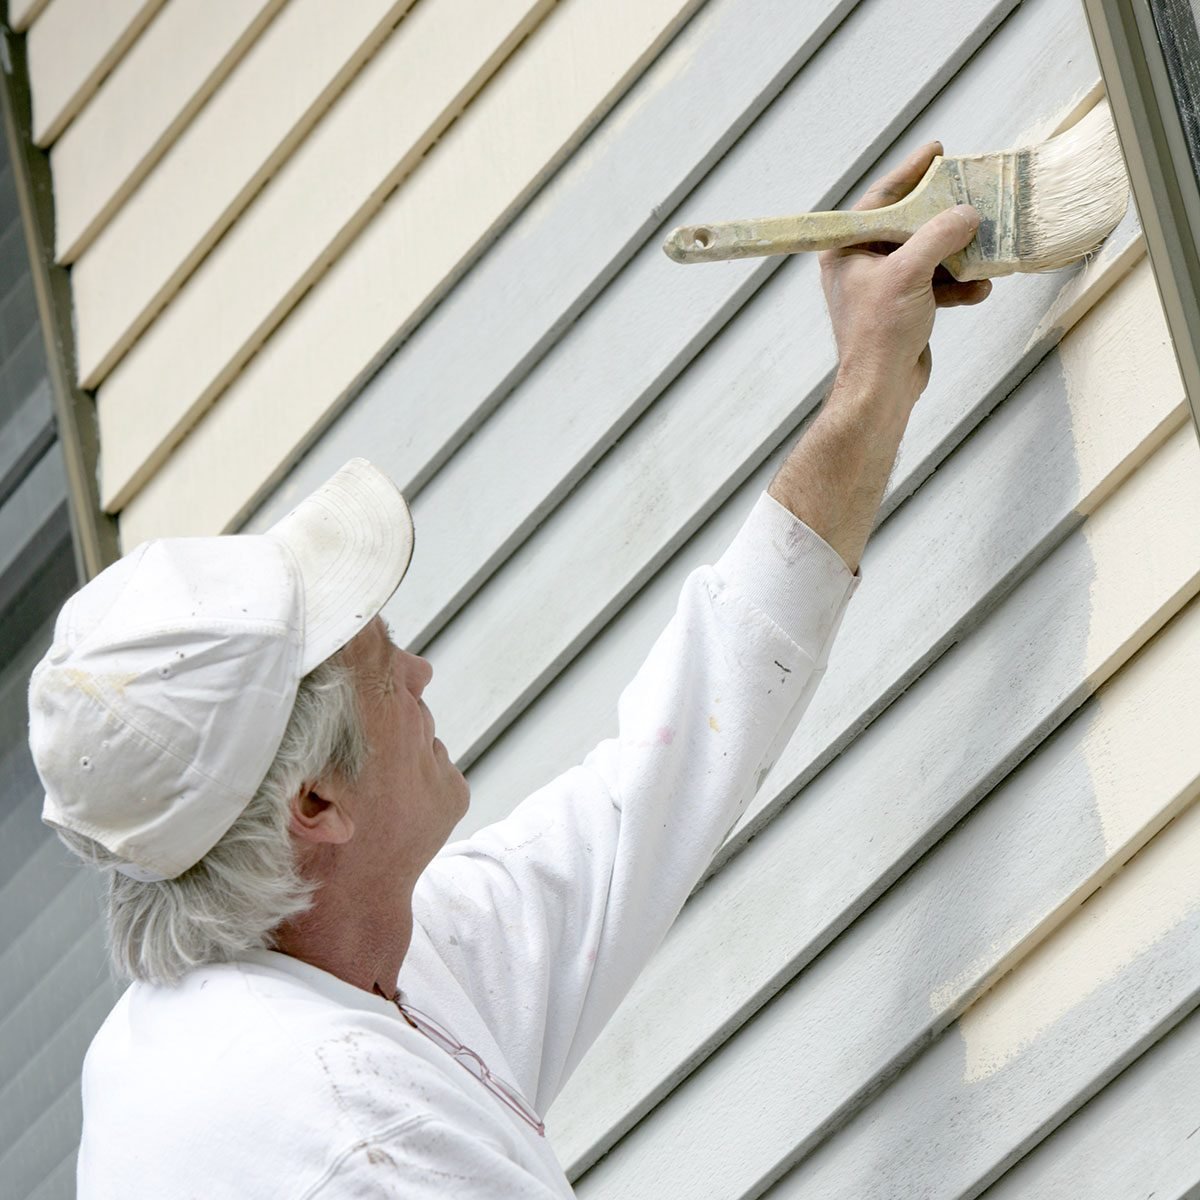
- If there are any color discrepancies, you can use touch-up paint specifically formulated for aluminum siding to blend the patched area with the rest of the siding. Follow the instructions provided with the touch-up paint for the best results.
- For any small imperfections or blemishes, you can use a specialized siding restoration product to further refine the appearance of the repair. These products are designed to restore the original texture and finish of the siding, making it virtually indistinguishable from the surrounding areas.
- Allow any touch-up paint or siding restoration product to dry completely before finalizing the repair.
By inspecting and touching up if necessary, you can ensure that the repair is seamless and visually appealing. Taking the time to address any minor imperfections will result in a professional-looking finish.
Conclusion
Repairing aluminum siding may seem like a daunting task, but with the right materials and techniques, it can be done quickly and effectively. By following the step-by-step process outlined in this article, you can restore the beauty and integrity of your siding in less than an hour.
Remember, gathering the necessary materials is the first step. Make sure you have an aluminum siding patch kit, cleaning solution, soft brushes or sponges, a putty knife, and the appropriate safety equipment. Once you have everything you need, you can proceed to clean the damaged area to ensure a proper repair.
After cleaning, apply the aluminum siding patch kit, making sure to cut the patch to the size of the damaged area and evenly spread the adhesive. Once the patch is in place, use a putty knife to smooth and remove any excess adhesive.
Smooth and blend the patched area using fine-grit sandpaper, and inspect the repair to ensure it blends seamlessly with the rest of the siding. Allow the patched area to dry completely, following the recommended drying time provided with the adhesive or touch-up paint.
Finally, inspect the repair and touch up if necessary. Address any color discrepancies or imperfections using touch-up paint or specialized siding restoration products, and allow them to dry completely.
By following these steps, you can bring new life to your aluminum siding and maintain its aesthetic appeal for years to come. Remember, proper maintenance and prompt repair are key to keeping your siding in great condition and protecting your home’s exterior.
Now, armed with the knowledge and confidence to repair your aluminum siding, you can tackle any damage that may arise, taking pride in the fact that you can complete the task in less than an hour.
Frequently Asked Questions about How To Repair Aluminum Siding In Less Than An Hour
Was this page helpful?
At Storables.com, we guarantee accurate and reliable information. Our content, validated by Expert Board Contributors, is crafted following stringent Editorial Policies. We're committed to providing you with well-researched, expert-backed insights for all your informational needs.


0 thoughts on “How To Repair Aluminum Siding In Less Than An Hour”