Articles
How To Remove Caulk From Vinyl Siding
Modified: January 8, 2024
Learn the best techniques to remove caulk from vinyl siding with these informative articles. Say goodbye to stubborn caulk stains and restore the beauty of your siding effortlessly.
(Many of the links in this article redirect to a specific reviewed product. Your purchase of these products through affiliate links helps to generate commission for Storables.com, at no extra cost. Learn more)
Introduction
Removing caulk from vinyl siding can be a challenging task, but with the right tools and techniques, it can be done effectively. Over time, caulk can deteriorate, leaving unsightly gaps and compromising the integrity of the siding. Whether you’re looking to replace the old caulk or simply remove it for aesthetic reasons, this step-by-step guide will walk you through the process.
This article will provide you with detailed instructions on how to remove caulk from vinyl siding. We will also discuss the tools and materials needed, as well as provide tips to make the job easier and more efficient.
Key Takeaways:
- Proper preparation, the right tools, and technique are essential for effectively removing caulk from vinyl siding. Soften the caulk, scrape it off carefully, and clean the siding for a flawless finish.
- Applying new caulk is optional but can enhance the appearance and protection of vinyl siding. Follow proper application techniques for a durable and seamless finish.
Tools and Materials Needed
Before you begin removing caulk from vinyl siding, it’s important to gather all the necessary tools and materials. Here’s a list of what you’ll need:
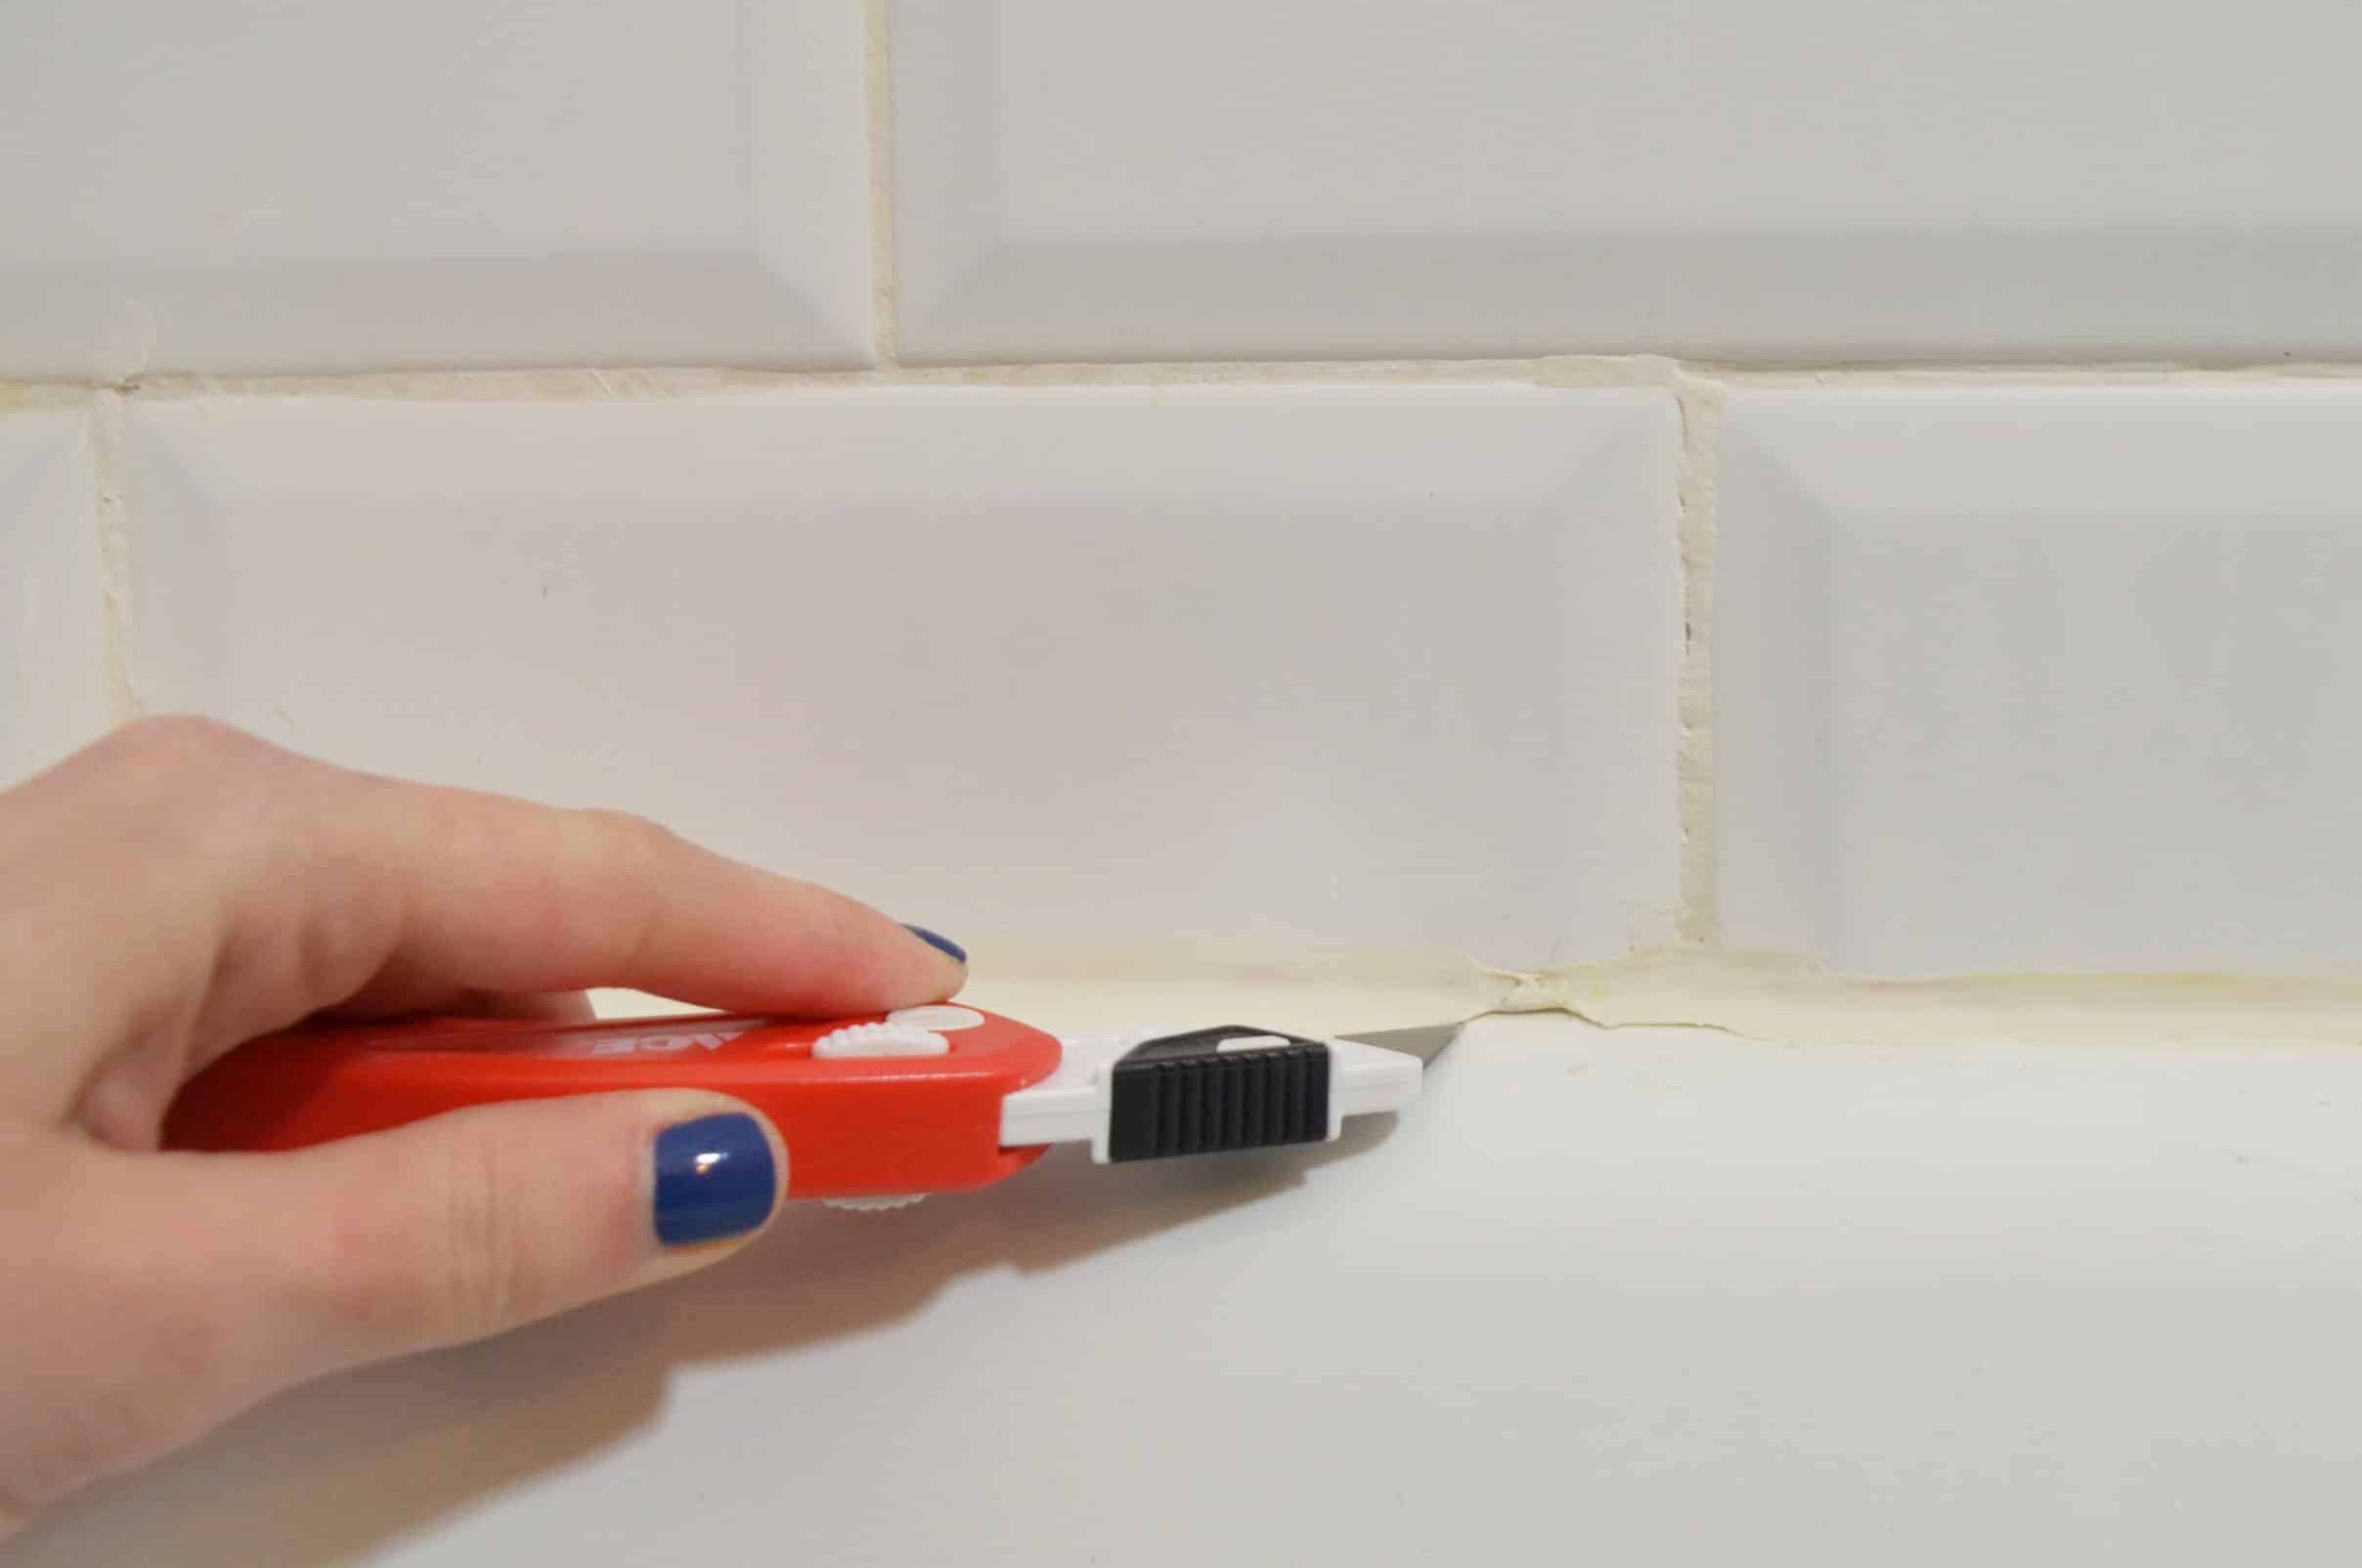
- A caulk removal tool or utility knife
- A heat gun or hair dryer
- A plastic putty knife or scraper
- A wire brush
- A bucket of warm water
- A mild detergent or soap
- A soft sponge or scrub brush
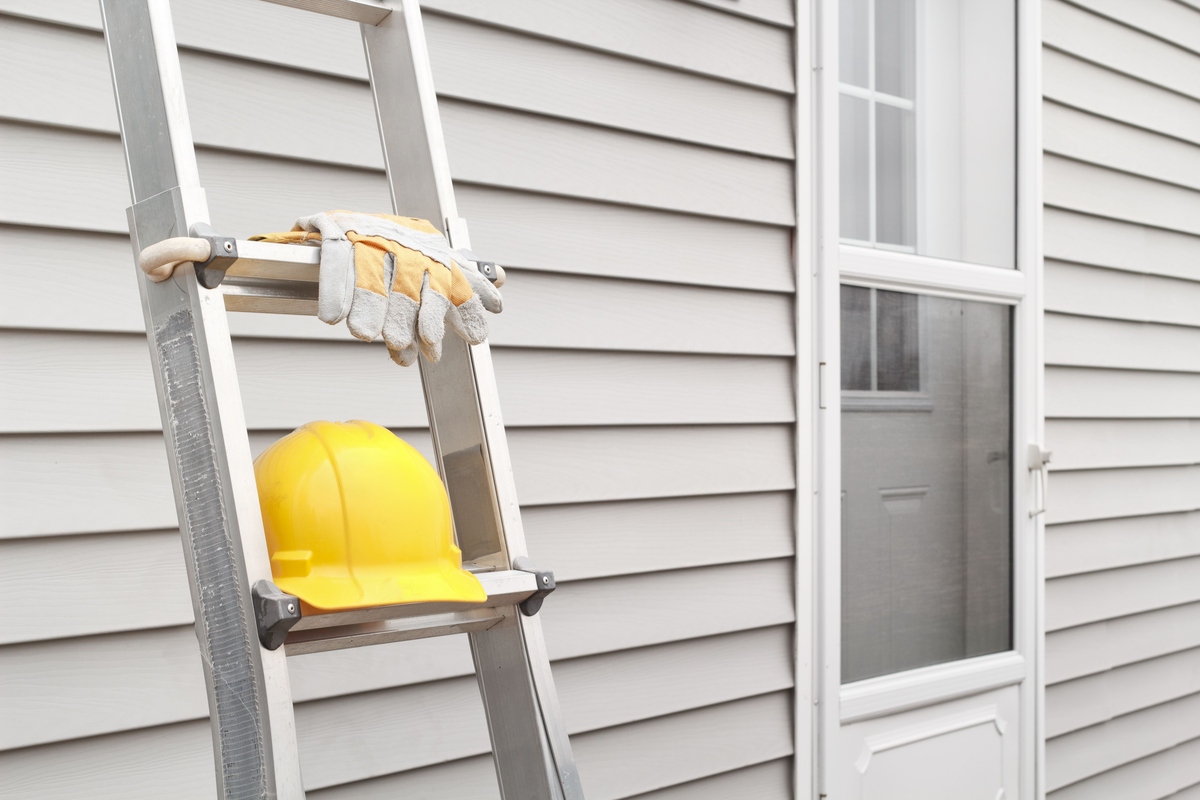
- A ladder or step stool (if necessary)
- Rubber gloves
- Safety glasses
The caulk removal tool or utility knife will be used to score and loosen the caulk, making it easier to remove. The heat gun or hair dryer will help soften the caulk, making it more pliable for scraping. A plastic putty knife or scraper will be used to scrape off the softened caulk without damaging the vinyl siding.
A wire brush can also come in handy for removing any remaining bits of caulk or residue from the vinyl siding. The bucket of warm water and mild detergent or soap will be used for cleaning the siding once the caulk has been removed. A soft sponge or scrub brush will help remove any dirt or grime that may have accumulated on the siding.
Lastly, it’s important to wear rubber gloves and safety glasses to protect your hands and eyes during the caulk removal process. If you need to access higher areas of the siding, make sure to use a ladder or step stool for your safety.
Now that you have all the necessary tools and materials, let’s move on to the step-by-step process of removing caulk from vinyl siding.
Step 1: Prepare the Area
Before diving into the process of removing caulk from vinyl siding, it’s important to properly prepare the area to ensure a smooth and efficient job. Follow these steps to get started:
- Ensure that the weather conditions are suitable for the task. Avoid working in extreme heat or cold, as these conditions may affect the effectiveness of the caulk removal process.
- Put on your rubber gloves and safety glasses to protect yourself from any potential harm during the process.
- Clean the surrounding area to remove any dirt, debris, or loose caulk. Use a broom, brush, or vacuum cleaner to clear the space.
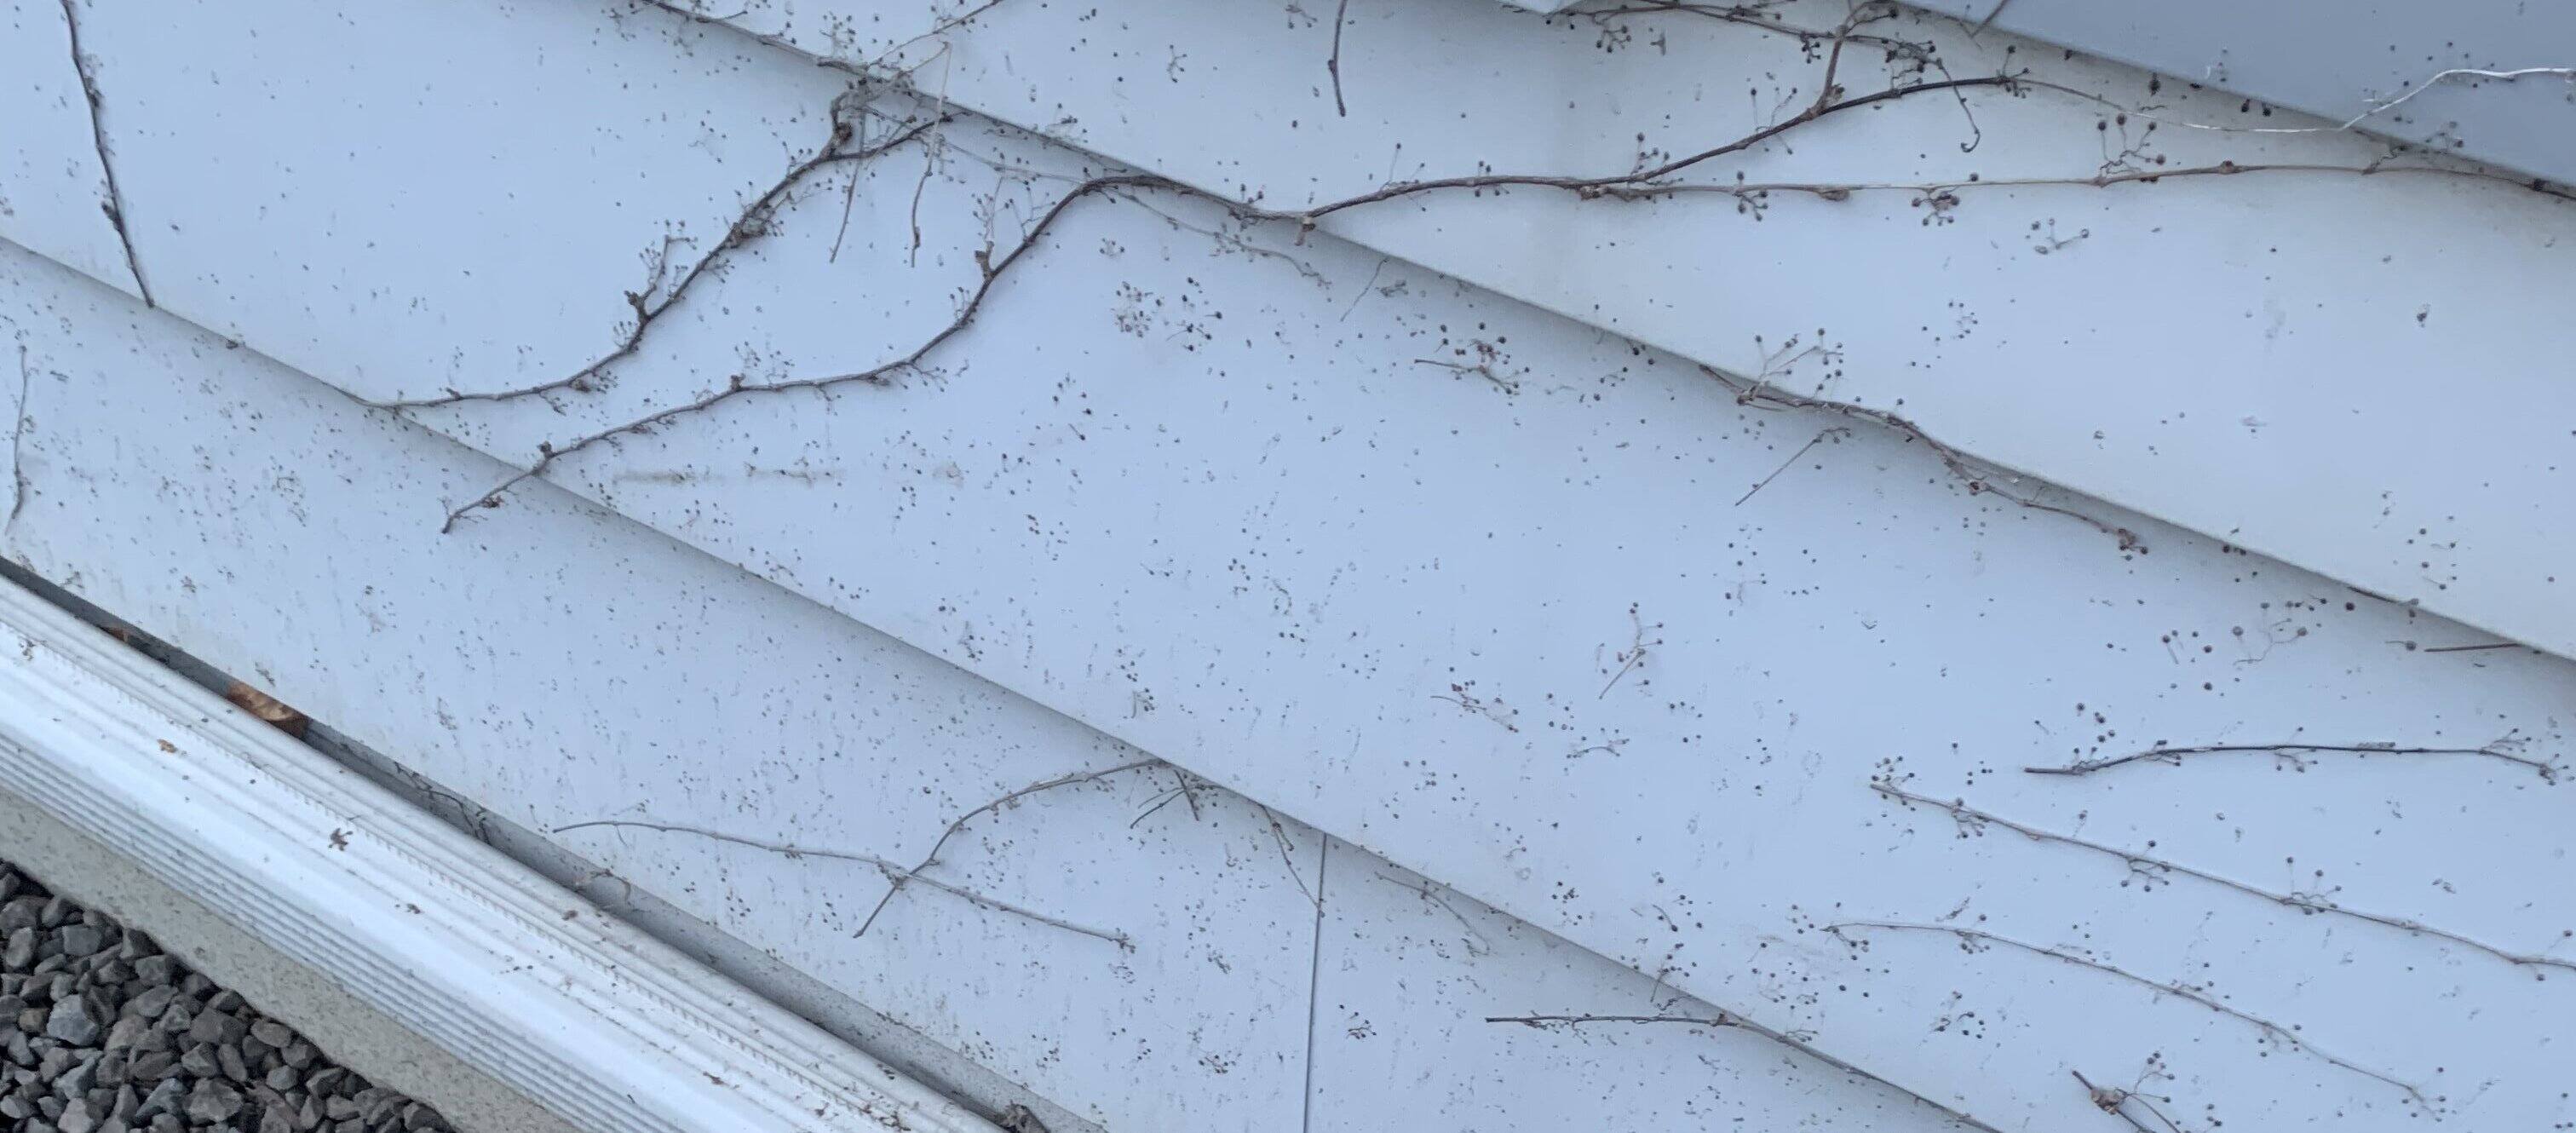
- Inspect the vinyl siding for any damages or cracks. If you notice any, consider repairing or replacing the affected sections before proceeding with the caulk removal.
- If necessary, set up a ladder or step stool to access higher areas of the siding. Ensure that it is stable and secure before climbing up.
- Gather all the tools and materials mentioned in the previous section and have them readily accessible.
By taking the time to properly prepare the area, you’ll create a clean and safe work environment which will make the caulk removal process more efficient. It will also help to prevent any further damage to the siding and ensure a successful outcome.
Step 2: Soften the Caulk
Once the area is properly prepared, it’s time to start softening the caulk before removing it. Follow these steps to effectively soften the caulk:
- Plug in the heat gun or turn on the hair dryer and set it to a moderate heat setting. Hold the heat gun or hair dryer about 6-8 inches away from the caulked area.
- Move the heat source back and forth across the caulk, heating it for about 1-2 minutes. The goal is to soften the caulk without causing any damage to the vinyl siding. Be cautious not to overheat the area.
- Test the caulk by gently pressing on it with the plastic putty knife or your finger. If it feels soft and pliable, it’s ready for the next step. If not, continue heating the caulk for another minute or so.
By heating the caulk, you’re making it more flexible and easier to remove. The heat softens the caulk, allowing it to be scraped off more effortlessly and minimizing the risk of damaging the vinyl siding.
Now that the caulk is softened, it’s time to move on to the next step – scraping off the caulk.
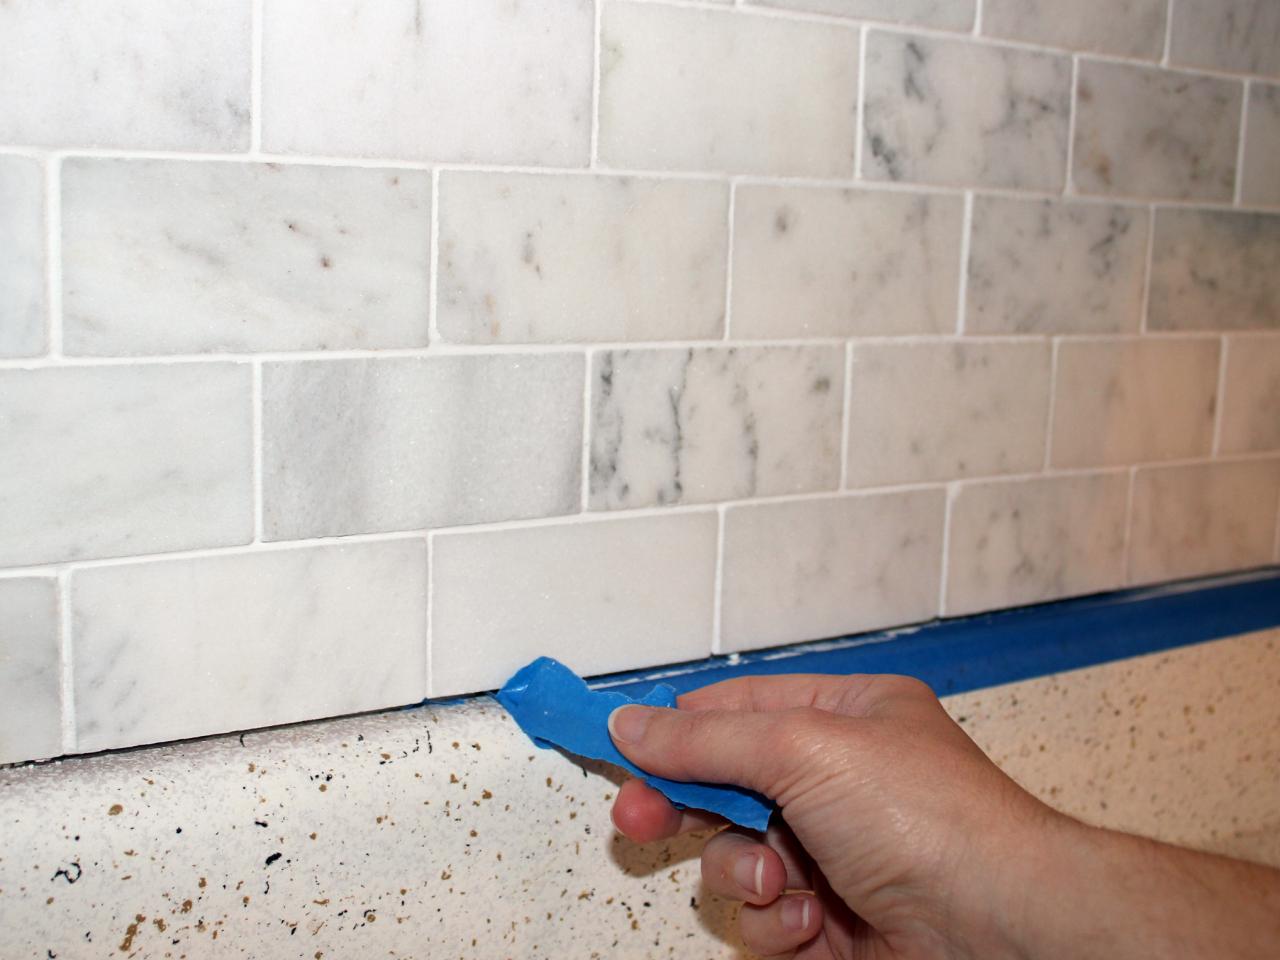
Use a caulk removal tool or a utility knife to carefully cut and remove the old caulk from the vinyl siding. Be sure to clean the area thoroughly before applying new caulk.
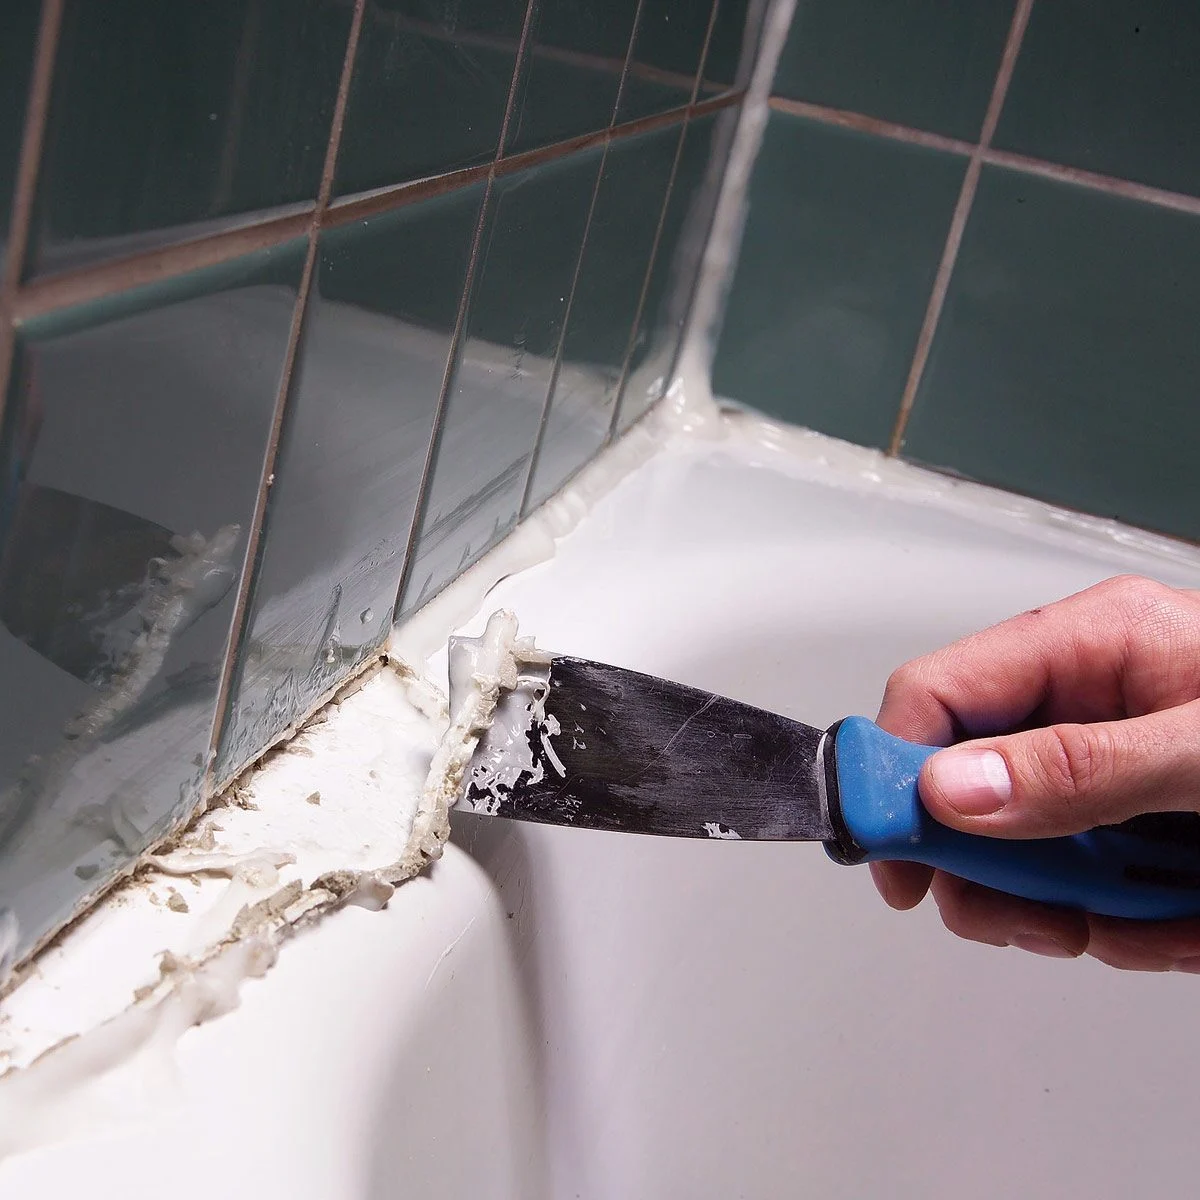
Step 3: Scrape off the Caulk
With the caulk now softened, it’s time to proceed with scraping off the caulk from the vinyl siding. Follow these steps to effectively remove the caulk:
- Take the plastic putty knife or scraper and gently insert it at an angle between the caulk and the siding.
- Apply steady pressure and carefully slide the putty knife or scraper along the length of the caulk to loosen it from the siding. Be careful not to gouge or damage the siding while doing so.
- Continue working along the entire length of the caulk, gradually removing it bit by bit. You may need to use a combination of scraping and pulling motions to free the caulk from the siding.
- If you encounter stubborn or resistant caulk, you can repeat the heating process with the heat gun or hair dryer to further soften it.
- Use a wire brush to gently scrub any remaining bits of caulk or residue from the siding. Be cautious not to scrub too forcefully to avoid scratching the vinyl.
As you scrape off the caulk, periodically wipe the putty knife or scraper with a cloth or paper towel to remove any accumulated caulk. This will help to maintain its effectiveness and prevent it from spreading caulk to other areas.
Continue this process until all of the caulk has been successfully removed from the vinyl siding. Take your time and work carefully to ensure a thorough and clean removal.
Now that the caulk has been removed, it’s time to move on to the next step – cleaning the siding.
Step 4: Clean the Siding
After successfully removing the caulk, it’s important to clean the vinyl siding to restore its appearance and remove any remaining residue. Follow these steps to effectively clean the siding:
- Fill a bucket with warm water and add a small amount of mild detergent or soap. Stir the solution gently to create a soapy mixture.
- Dip a soft sponge or scrub brush into the soapy water and begin scrubbing the siding. Work in small sections, applying moderate pressure to remove any dirt, grime, or remaining caulk residue.
- Rinse the cleaned section of the siding with clean water from a hose or a bucket. Make sure to thoroughly rinse off any soap residue.
- Continue this process, moving along the length of the siding, until the entire surface is clean and free from any caulk remnants or debris.
- For stubborn stains or difficult-to-remove residue, you may need to use a vinyl siding cleaner or a mixture of vinegar and water. Follow the manufacturer’s instructions or mix vinegar and water in a 1:1 ratio, and apply it to the stained area with a sponge or brush. Rinse thoroughly afterwards.
Once you have finished cleaning the siding, step back and inspect the results. The vinyl siding should now look clean, fresh, and free from any caulk residue or dirt.
If desired, you can also use this opportunity to inspect the siding for any further damages or cracks. Repair or replace any areas that show signs of deterioration to maintain the integrity of your vinyl siding.
Now that the siding is clean and in good condition, you may choose to proceed to the optional step of applying new caulk.
Step 5: Apply New Caulk (Optional)
After removing the old caulk and cleaning the vinyl siding, you have the option to apply new caulk to seal any gaps or joints. Follow these steps if you choose to proceed with this optional step:
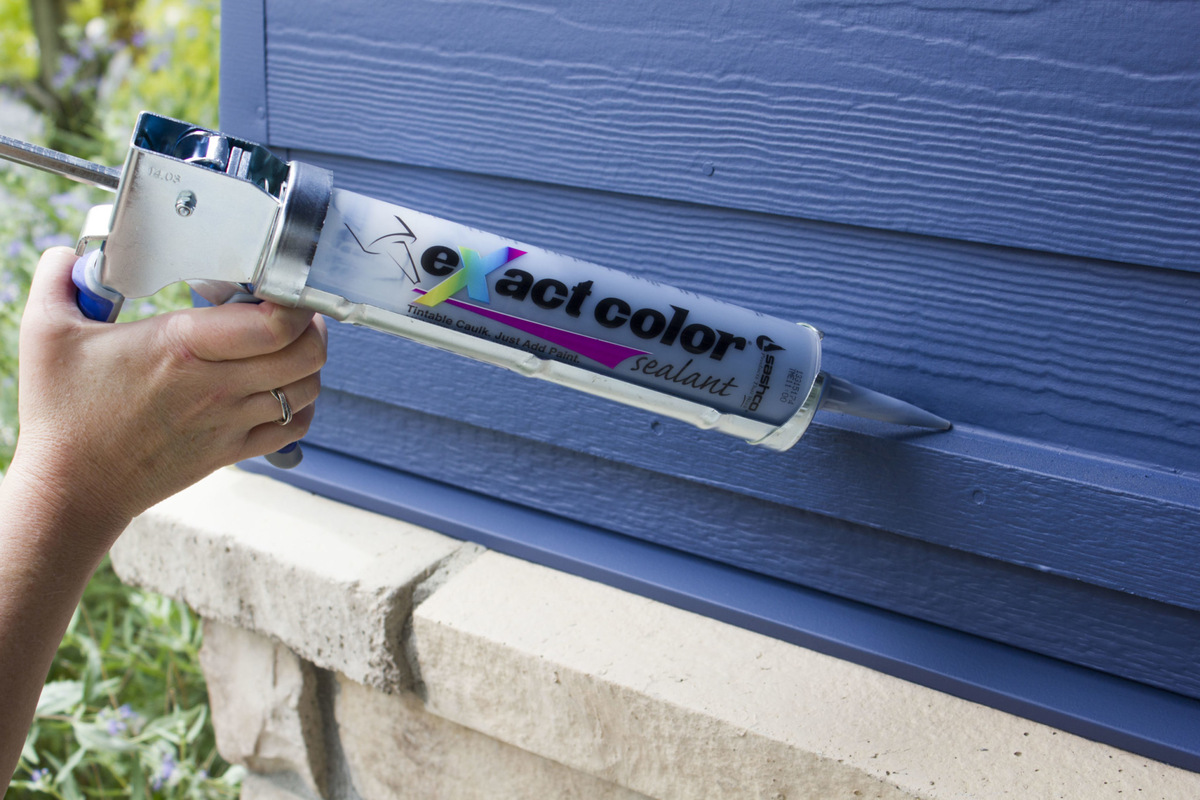
- Select a high-quality caulk that is specifically designed for outdoor use and compatible with vinyl siding. Choose a color that matches or complements your siding for a seamless appearance.
- Cut the tip of the caulk tube at a 45-degree angle to create a small opening.
- Load the caulk tube into a caulk gun and squeeze the trigger to begin applying the caulk to the desired areas. Start at one end and work your way along the gaps or joints, applying a steady and even bead of caulk.
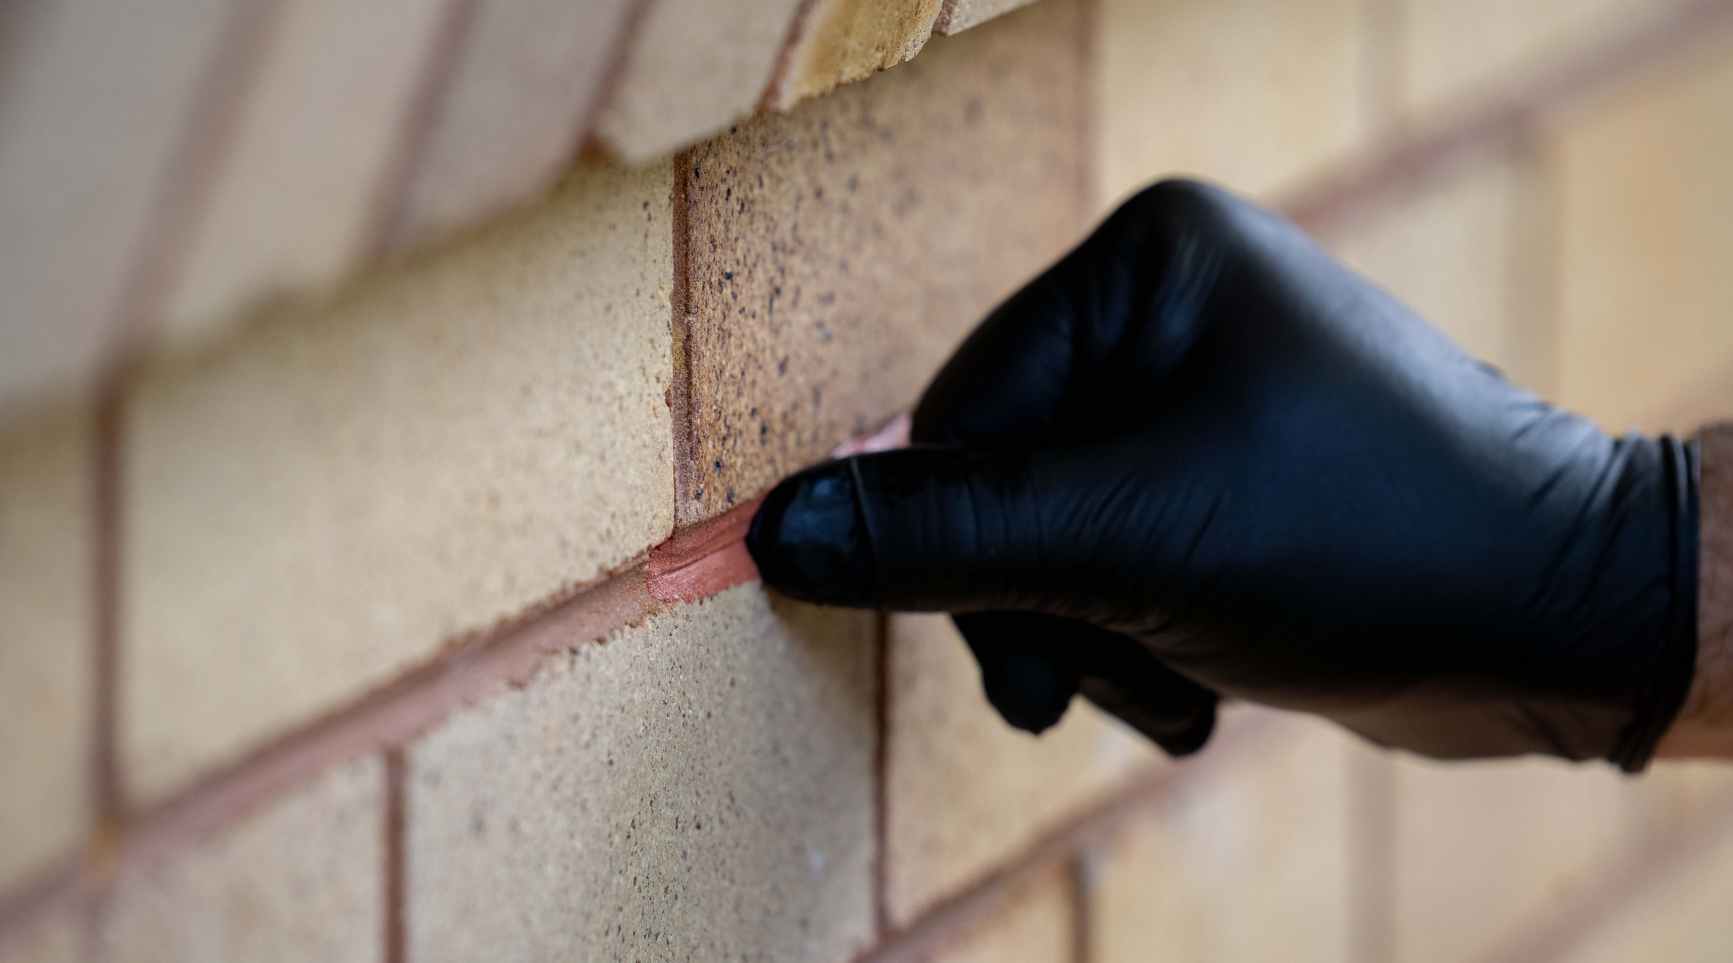
- Use a caulk smoothing tool or your finger to smooth out the caulk, ensuring a neat and clean finish. Wipe away any excess caulk with a damp cloth or sponge.
- Allow the caulk to dry according to the manufacturer’s instructions before exposing it to water or weather conditions.
Applying new caulk can help to enhance the appearance of your vinyl siding and provide an additional layer of protection against moisture and weather elements. It’s important to follow proper caulk application techniques to ensure a durable and long-lasting seal.
Remember, applying new caulk is an optional step, and you can choose to skip it if you are satisfied with the appearance and condition of your vinyl siding after removing the old caulk.
With the completion of this step, you have successfully removed caulk from your vinyl siding and, if applicable, applied new caulk. Your siding should now be clean, free from gaps, and restored to its original condition.
Conclusion
Removing caulk from vinyl siding is a task that requires careful preparation, the right tools, and proper technique. By following the step-by-step guide outlined in this article, you can successfully remove caulk and restore the appearance of your siding.
Start by preparing the area and gathering all the necessary tools and materials. Soften the caulk using a heat gun or hair dryer, and then carefully scrape off the softened caulk using a plastic putty knife or scraper. Clean the siding thoroughly to remove any remaining residue or dirt.
If desired, you can also apply new caulk to seal any gaps or joints in the siding. This step will help improve the overall appearance and integrity of your vinyl siding.
Remember to work carefully and be mindful of the safety precautions throughout the process. Take your time and ensure that each step is carried out with precision.
By removing caulk and maintaining your vinyl siding, you can protect it from further damage and prolong its lifespan. Regular inspection and maintenance will help keep your siding in excellent condition and enhance the overall curb appeal of your home.
With the knowledge and skills gained from this guide, you can confidently tackle caulk removal from vinyl siding and enjoy a fresh and flawless-looking exterior for years to come.
Frequently Asked Questions about How To Remove Caulk From Vinyl Siding
Was this page helpful?
At Storables.com, we guarantee accurate and reliable information. Our content, validated by Expert Board Contributors, is crafted following stringent Editorial Policies. We're committed to providing you with well-researched, expert-backed insights for all your informational needs.


0 thoughts on “How To Remove Caulk From Vinyl Siding”