Articles
How To Fix A Hole In Aluminum Siding
Modified: February 23, 2024
Learn how to fix a hole in your aluminum siding with our informative articles. Get step-by-step guides and expert tips for seamless repairs.
(Many of the links in this article redirect to a specific reviewed product. Your purchase of these products through affiliate links helps to generate commission for Storables.com, at no extra cost. Learn more)
Introduction
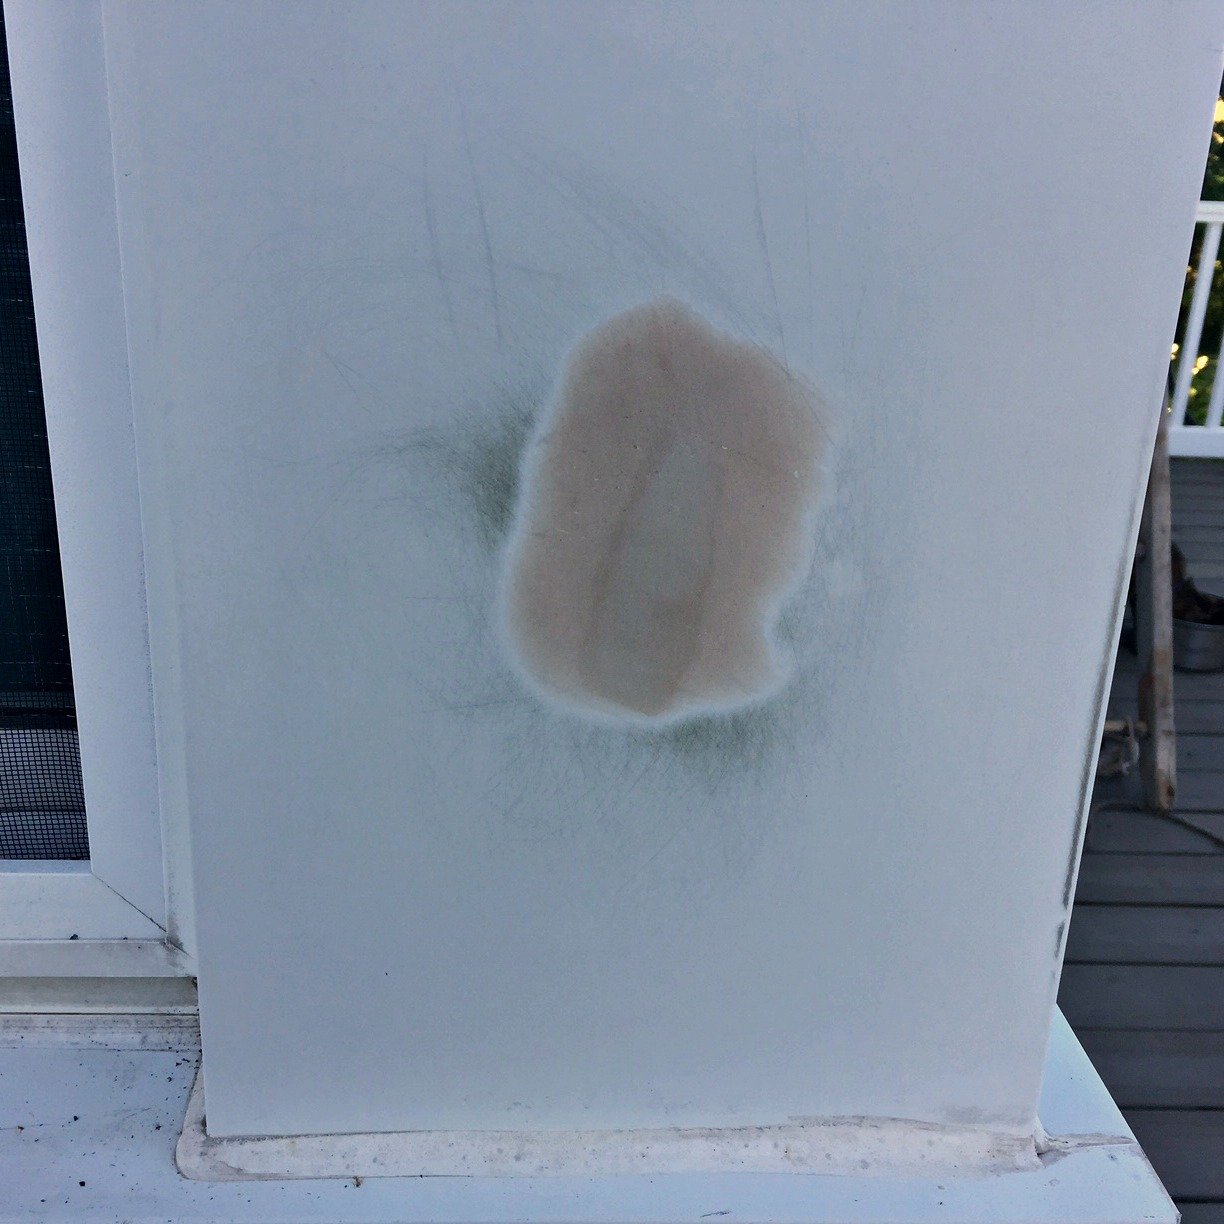
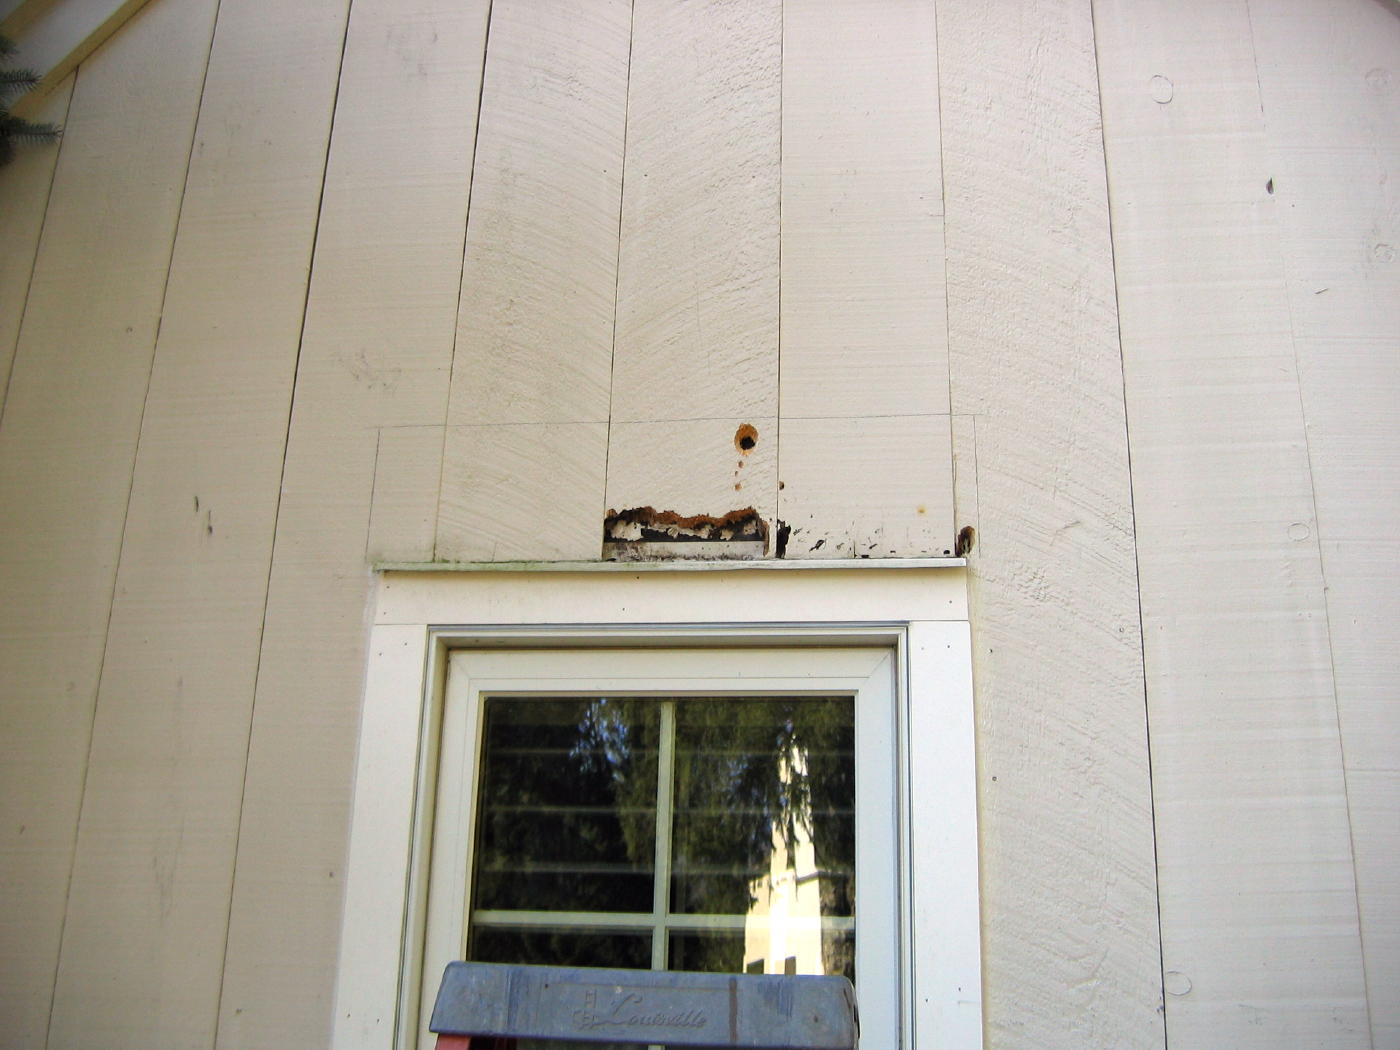
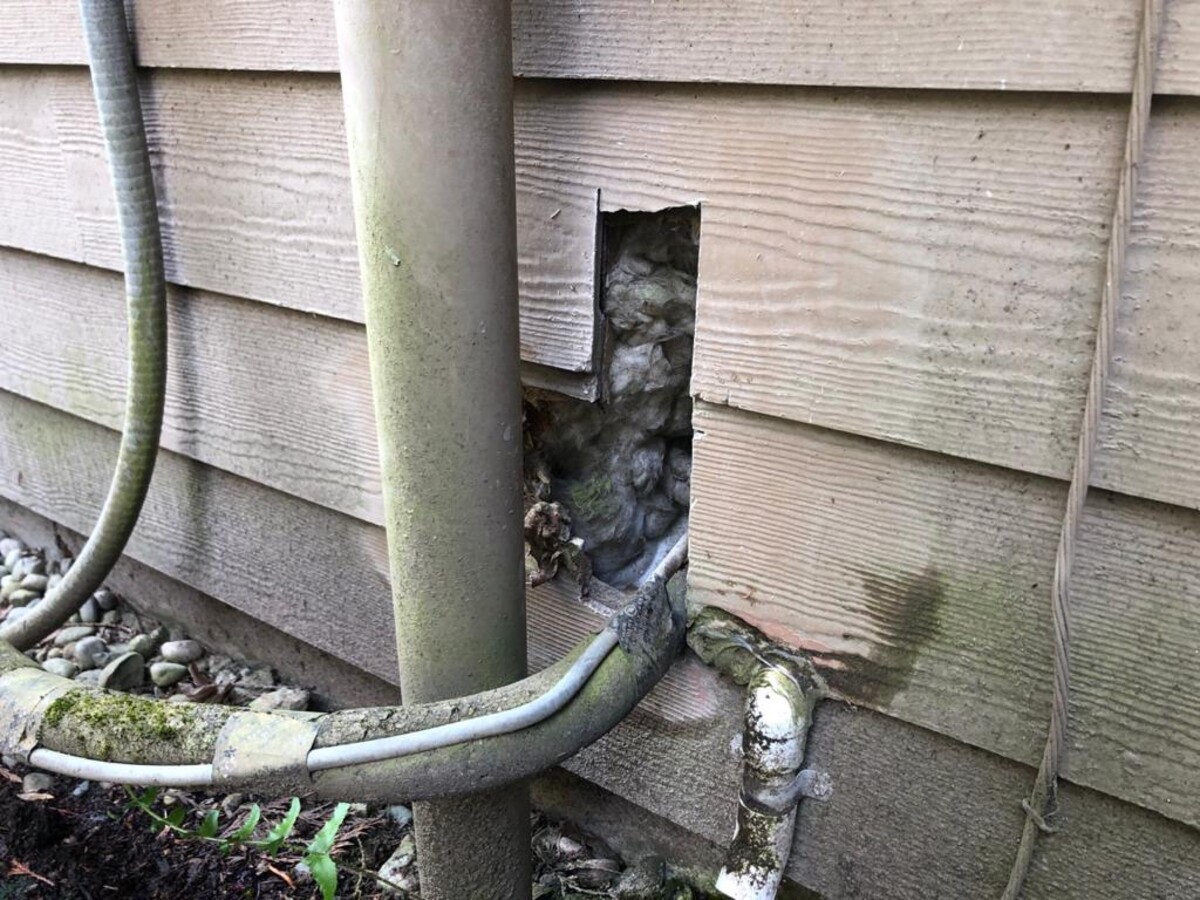
Aluminum siding is a durable and popular choice for homeowners due to its low maintenance and ability to withstand the elements. However, even the most well-maintained siding can develop holes over time, whether due to accidental damage or natural wear and tear. These holes not only compromise the aesthetics of your home but can also allow moisture and pests to enter, leading to potential structural damage.
If you have recently discovered a hole in your aluminum siding, don’t worry! The good news is that fixing it is a relatively straightforward process that you can do yourself with a few basic materials and some handyman know-how. In this article, we will provide you with a step-by-step guide on how to fix a hole in aluminum siding, helping you restore the appearance and integrity of your home.
Before we dive into the repair process, let’s gather the materials you will need:
Key Takeaways:
- Fixing a hole in aluminum siding is a manageable DIY project with the right materials and steps. Regular maintenance and prompt repairs are essential for preserving the integrity and aesthetics of your home’s exterior.
- By following the step-by-step guide, you can confidently tackle the repair yourself, saving time and money. However, if unsure, consult a professional for assistance to ensure the job is done properly.
Read more: How To Fix Holes In Siding
Materials Needed
- Aluminum patch
- Utility knife
- Fine-grit sandpaper
- Bonding adhesive
- Putty knife
- Primer
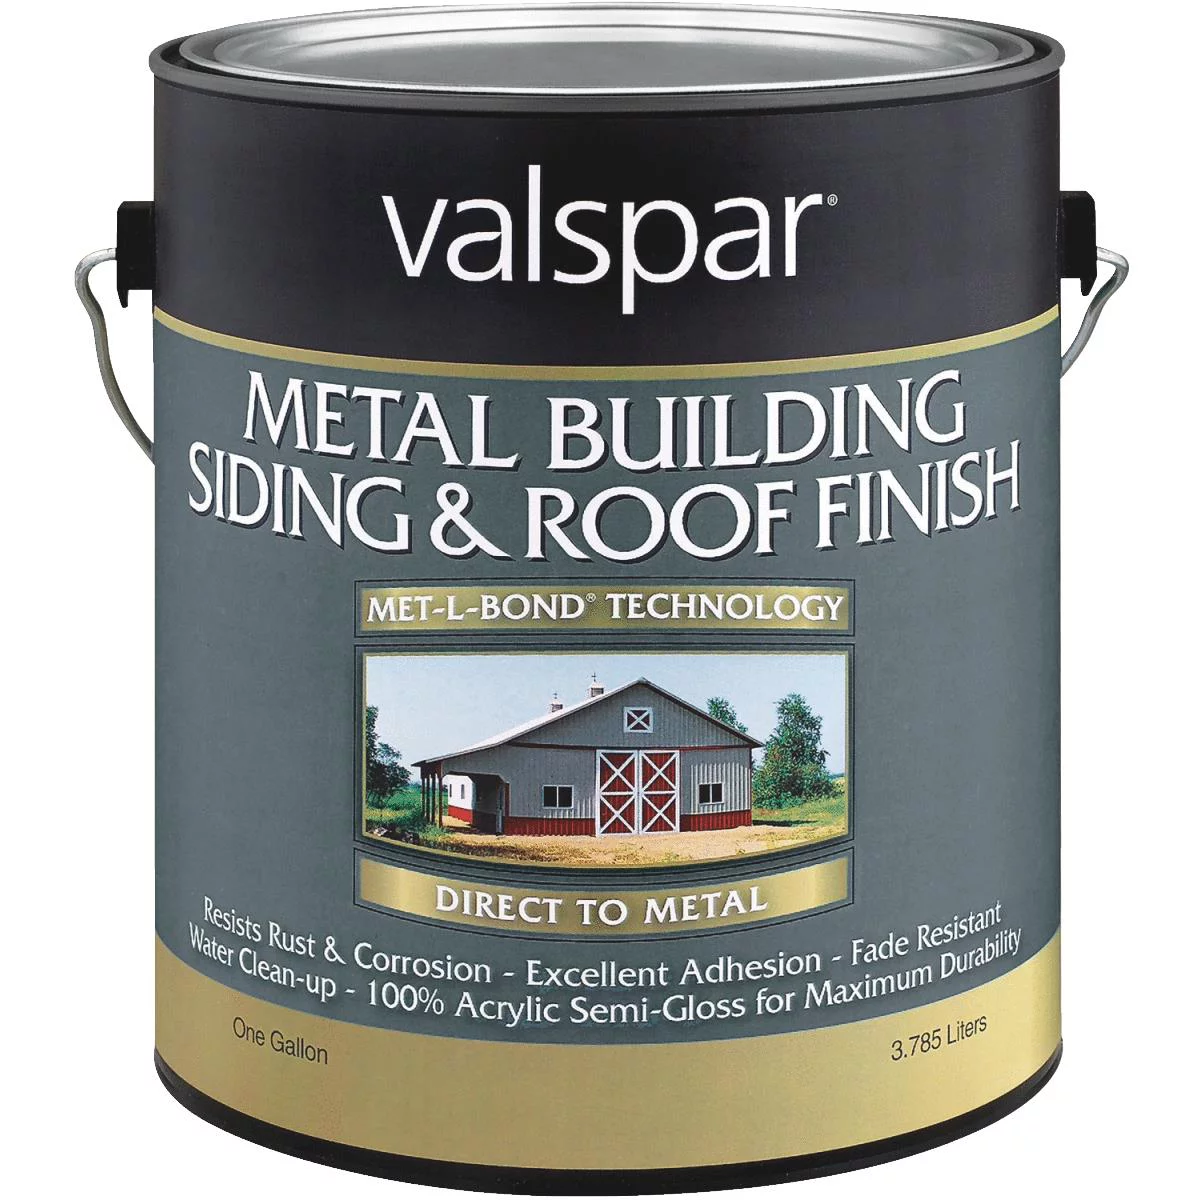
- Exterior paint (matching the siding color)
- Paintbrush
- Sealant (optional)
Now that we are all set with the materials, let’s move on to the step-by-step process:
Key Takeaways:
- Fixing a hole in aluminum siding is a manageable DIY project with the right materials and steps. Regular maintenance and prompt repairs are essential for preserving the integrity and aesthetics of your home’s exterior.
- By following the step-by-step guide, you can confidently tackle the repair yourself, saving time and money. However, if unsure, consult a professional for assistance to ensure the job is done properly.
Read more: How To Fix Holes In Siding
Materials Needed
When it comes to fixing a hole in aluminum siding, you will need a few essential materials to ensure a successful repair job. Here is a list of what you will need:
- Aluminum patch: You will need an aluminum patch that matches the texture and color of your existing siding. This patch will be used to cover the hole and blend seamlessly with the surrounding area.
- Utility knife: A utility knife with a sharp blade will be necessary for cutting and shaping the aluminum patch to the appropriate size and shape.
- Fine-grit sandpaper: Sandpaper will be needed to smooth the edges of the hole and create a clean surface for the patch to adhere to.
- Bonding adhesive: A strong bonding adhesive specifically designed for outdoor use is essential for securing the aluminum patch to the damaged area.
- Putty knife: A putty knife will be used to apply the bonding adhesive evenly to the surface and ensure secure attachment of the patch.
- Primer: Applying a coat of primer to the repaired area will help promote adhesion and ensure uniformity when it comes time to paint the patch.
- Exterior paint (matching the siding color): To complete the repair, you will need exterior paint that matches the color of your aluminum siding. This will be used to paint over the patch and blend it with the rest of the siding.
- Paintbrush: A paintbrush with synthetic bristles is recommended for smooth and even application of the exterior paint.
- Sealant (optional): Depending on the size and location of the hole, you may choose to apply a sealant to provide an extra layer of protection against moisture and pests.
Having these materials ready will ensure that you can complete the repair process efficiently and effectively. Before you begin the repair, it’s important to prepare the area properly, which we will cover in the next step.
Step 1: Prepare the Area
Before you start repairing the hole in your aluminum siding, it’s crucial to properly prepare the area. This will ensure that the repair is done smoothly and that the patch adheres securely to the surface. Here’s how to prepare the area:
- Clean the surrounding area: Use a soft cloth or sponge and mild detergent to clean the area around the hole. Remove any dirt, dust, or debris that could interfere with the repair process. Make sure the surface is dry before moving on to the next step.
- Remove loose or damaged siding: If there are any loose or damaged pieces of siding around the hole, gently remove them using a putty knife or your fingers. This will allow you to create a smooth and even surface for the patch.
- Inspect for any underlying issues: While preparing the area, take the time to inspect the hole and surrounding siding for any underlying issues. Look for signs of water damage, pests, or structural problems that may need to be addressed before proceeding with the repair. If you notice any significant issues, it’s best to consult a professional.
By properly preparing the area, you are setting the stage for a successful repair. Once the area is clean and any loose or damaged siding has been removed, you can move on to the next step: cleaning the hole itself.
Step 2: Clean the Hole
After preparing the area, it’s time to clean the hole in your aluminum siding. Proper cleaning is essential to ensure a strong bond between the patch and the surface. Here’s how to clean the hole:
- Use a fine-grit sandpaper: Take a piece of fine-grit sandpaper and gently sand the edges of the hole. This will smooth out any rough or jagged edges and create a clean surface for the patch to adhere to. Be careful not to sand too aggressively, as you don’t want to damage the surrounding siding.
- Remove any debris: After sanding, use a soft brush or cloth to remove any dust or debris from the hole. It’s important to have a clean and debris-free surface to achieve a proper bond.
- Wipe with a clean, damp cloth: Dampen a clean cloth with water and use it to wipe the hole, ensuring it is free from any remaining dust or residue. Allow the area to dry completely before proceeding to the next step.
By cleaning the hole thoroughly, you are creating an optimal surface for the patch to adhere to. Once the hole is clean and dry, it’s time to move on to the next step: applying the aluminum patch.
Use a patch kit specifically designed for aluminum siding. Clean the area around the hole, apply the patch, and seal the edges with silicone caulk for a waterproof seal.
Read more: How Do You Fix A Hole In Vinyl Siding
Step 3: Apply Aluminum Patch
Now that you have prepared the area and cleaned the hole, it’s time to apply the aluminum patch. This patch will cover the hole and blend in seamlessly with the surrounding siding. Here’s how to apply the aluminum patch:
- Measure and cut the patch: Take the aluminum patch and measure it against the size of the hole. Use a utility knife to carefully cut the patch to the appropriate size and shape. Make sure the patch has a slight overlap with the hole for better coverage.
- Apply bonding adhesive: Apply a generous amount of bonding adhesive to the back of the aluminum patch, spreading it evenly to ensure proper adhesion. It’s important to use a bonding adhesive specifically designed for outdoor use to withstand weather conditions.
- Press the patch over the hole: Carefully position the aluminum patch over the hole, ensuring that it covers the entire area. Press it firmly against the siding, applying even pressure to ensure a secure bond.
- Smooth out any air bubbles or wrinkles: Use a putty knife or your fingers to smooth out any air bubbles or wrinkles in the patch. Work from the center towards the edges to ensure a smooth and seamless finish.
- Allow the adhesive to dry: Follow the manufacturer’s instructions to determine the drying time for the bonding adhesive. It’s important to allow the adhesive to fully dry before proceeding to the next step.
By applying the aluminum patch properly, you are effectively covering the hole and creating a seamless appearance. Once the patch is firmly in place and the adhesive is dry, it’s time to move on to the next step: smoothing and blending the patch with the surrounding siding.
Step 4: Smooth and Blend
After applying the aluminum patch, the next step is to smooth and blend it with the surrounding siding. This will ensure that the repaired area looks seamless and matches the rest of your aluminum siding. Here’s how to smooth and blend the patch:
- Sand the patch: Use fine-grit sandpaper to gently sand the edges of the patch. This will help smooth out any rough or raised areas, creating a flush surface that blends with the rest of the siding. Be careful not to sand too aggressively to avoid damaging the patch or surrounding areas.
- Prime the patch: Apply a coat of primer to the patch and the sanded area around it. This will help promote adhesion and ensure that the paint adheres evenly to the surface.
- Allow the primer to dry: Follow the manufacturer’s instructions to determine the drying time for the primer. It’s important to allow the primer to fully dry before proceeding to the next step.
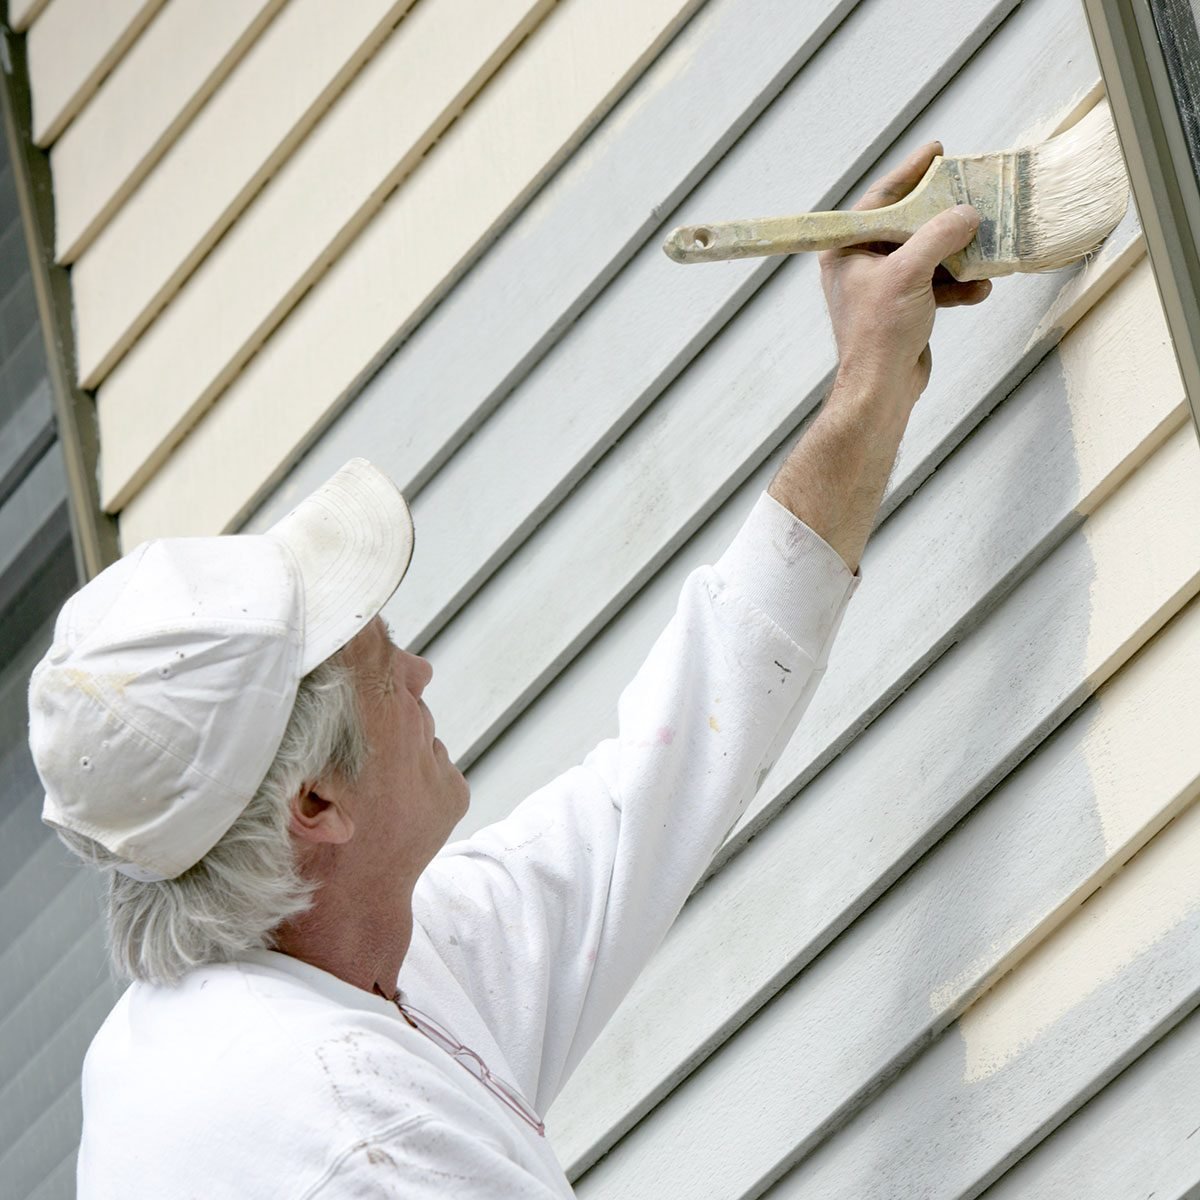
- Paint the patch: Use exterior paint that matches the color of your aluminum siding to paint the patch. Apply the paint with a brush, covering the patch and blending it with the surrounding area. Take care to ensure a smooth and even application.
- Allow the paint to dry: Follow the paint manufacturer’s instructions for drying time. Make sure to give the paint enough time to dry completely before proceeding to any further steps.
By smoothing and blending the patch with the surrounding siding, you will achieve a seamless appearance and restore the visual integrity of your aluminum siding. Once the paint is dry, you can move on to the final step: painting or sealing the repaired area.
Step 5: Paint or Seal
After smoothing and blending the patch, the final step is to either paint or seal the repaired area. This will provide added protection and ensure a cohesive appearance with the rest of your aluminum siding. Here’s what you need to do:
- Paint the repaired area: If you have painted the patch during the previous step, make sure to paint the entire repaired area. Apply a coat of exterior paint that matches the color of the rest of your siding. This will help the repaired area blend in seamlessly with the surrounding surface. Use a brush to apply the paint evenly and allow it to dry according to the manufacturer’s instructions.
- Seal the repaired area (optional): If you prefer, you can choose to apply a sealant over the repaired area for added protection. This is particularly recommended for larger holes or areas prone to moisture exposure. Use a sealant specifically designed for outdoor use and follow the product instructions for application. Allow the sealant to dry completely before considering the repair process complete.
By painting or sealing the repaired area, you are not only enhancing its durability but also maintaining a cohesive and aesthetically pleasing appearance. Make sure to carefully follow the instructions provided by the paint or sealant manufacturer for the best results.
Now that you have completed the repair process, step back and admire the restored appearance of your aluminum siding. Not only have you successfully fixed the hole, but you have also saved money by doing it yourself.
Remember, regular maintenance and prompt repairs are key to keeping your aluminum siding in top shape. By addressing any issues as soon as they arise, you can maintain the beauty and longevity of your home’s exterior.
Thank you for following along with our step-by-step guide on how to fix a hole in aluminum siding. We hope this article has been helpful and that your repair project was a success!
If you have any further questions or need additional assistance, don’t hesitate to reach out to a professional or seek advice from your local hardware store.
Conclusion
Fixing a hole in aluminum siding may seem like a daunting task, but with the right materials and a little bit of know-how, it can be a straightforward process. By following the step-by-step guide outlined in this article, you can restore the appearance and integrity of your aluminum siding.
Remember to gather all the necessary materials before starting the repair, including an aluminum patch, utility knife, fine-grit sandpaper, bonding adhesive, putty knife, primer, exterior paint, and a paintbrush. These materials will ensure that you have everything you need to complete the repair successfully.
Begin by preparing the area, cleaning the hole, and then applying the aluminum patch. Take the time to smooth and blend the patch, sanding any rough edges and applying primer before painting the repaired area. Optionally, seal the area with a sealant for added protection.
Regular maintenance and prompt repairs are essential in preserving the durability and aesthetics of your aluminum siding. By addressing holes and damage as soon as they appear, you can prevent further issues and maintain the overall integrity of your home’s exterior.
With this comprehensive guide, you now have the knowledge and understanding to confidently fix a hole in your aluminum siding. By following these steps, you can save money and time by tackling the repair yourself.
However, if at any point you feel unsure or uncomfortable with the repair process, it is always wise to consult a professional for assistance. They will be able to provide guidance and ensure the job is done properly.
We hope that this article has been helpful to you in your repair journey. Remember to stay diligent in maintaining your aluminum siding, and your home will continue to look beautiful for years to come.
Thank you for reading, and best of luck with your aluminum siding repair!
Frequently Asked Questions about How To Fix A Hole In Aluminum Siding
Was this page helpful?
At Storables.com, we guarantee accurate and reliable information. Our content, validated by Expert Board Contributors, is crafted following stringent Editorial Policies. We're committed to providing you with well-researched, expert-backed insights for all your informational needs.

0 thoughts on “How To Fix A Hole In Aluminum Siding”