Articles
How To Drill Into Aluminum Siding
Modified: May 6, 2024
Learn the proper technique for drilling into aluminum siding with our informative articles. Get the tips and tools you need for a successful project.
(Many of the links in this article redirect to a specific reviewed product. Your purchase of these products through affiliate links helps to generate commission for Storables.com, at no extra cost. Learn more)
Introduction
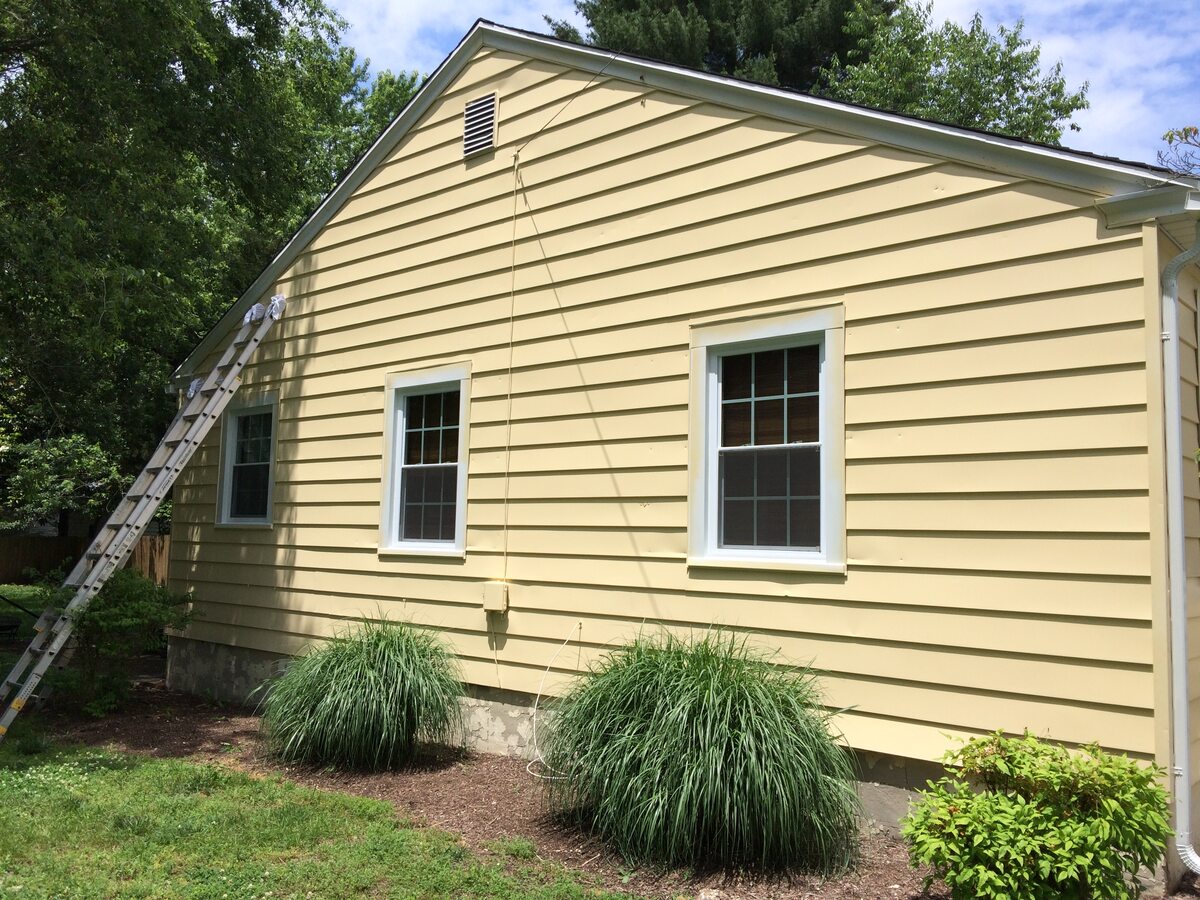
Drilling into aluminum siding may seem like a daunting task, but with the right tools and techniques, it can be a straightforward process. Whether you need to hang a decorative item, install outdoor lighting, or mount a security camera, drilling into aluminum siding allows you to customize your home exterior to suit your needs.
In this article, we will guide you through the step-by-step process of drilling into aluminum siding safely and effectively. We will discuss the tools and materials you’ll need, how to prepare your siding for drilling, and tips for choosing the right drill bit. Additionally, we will provide you with valuable tips to ensure your drilling project is a success.
So, let’s dive in and learn how to drill into aluminum siding like a pro!
Key Takeaways:
- Preparing for drilling into aluminum siding is essential for success. Clean the surface, mark hole locations, secure the siding, and choose the right drill bit to achieve clean and precise holes.
- Prioritize safety when drilling into aluminum siding. Wear safety gear, be mindful of electrical wires, take caution on ladders, and follow manufacturer’s instructions for a safe and successful drilling experience.
Read more: What Is Aluminum Siding
Tools and Materials Needed
Before you begin drilling into aluminum siding, it’s essential to gather all the necessary tools and materials. Having everything prepared will not only make the process smoother but also help ensure the safety of your project. Here are the tools and materials you’ll need:
- Power Drill: A power drill is a must-have tool for any drilling project. Make sure it is in good working condition with a fully charged battery.
- Drill Bits: When drilling into aluminum siding, it’s crucial to have the right drill bits. High-speed steel (HSS) or cobalt drill bits are recommended for drilling through aluminum. Select a bit that matches the size you need for your specific project.
- Painter’s Tape: Painter’s tape can help protect the surface of the siding from scratches and provide a guideline for drilling. It can also prevent the drill bit from slipping as you start drilling.
- Measuring Tape: Accurate measurements are essential to ensure proper placement of the holes. Use a measuring tape to measure and mark the desired location for your drill holes.
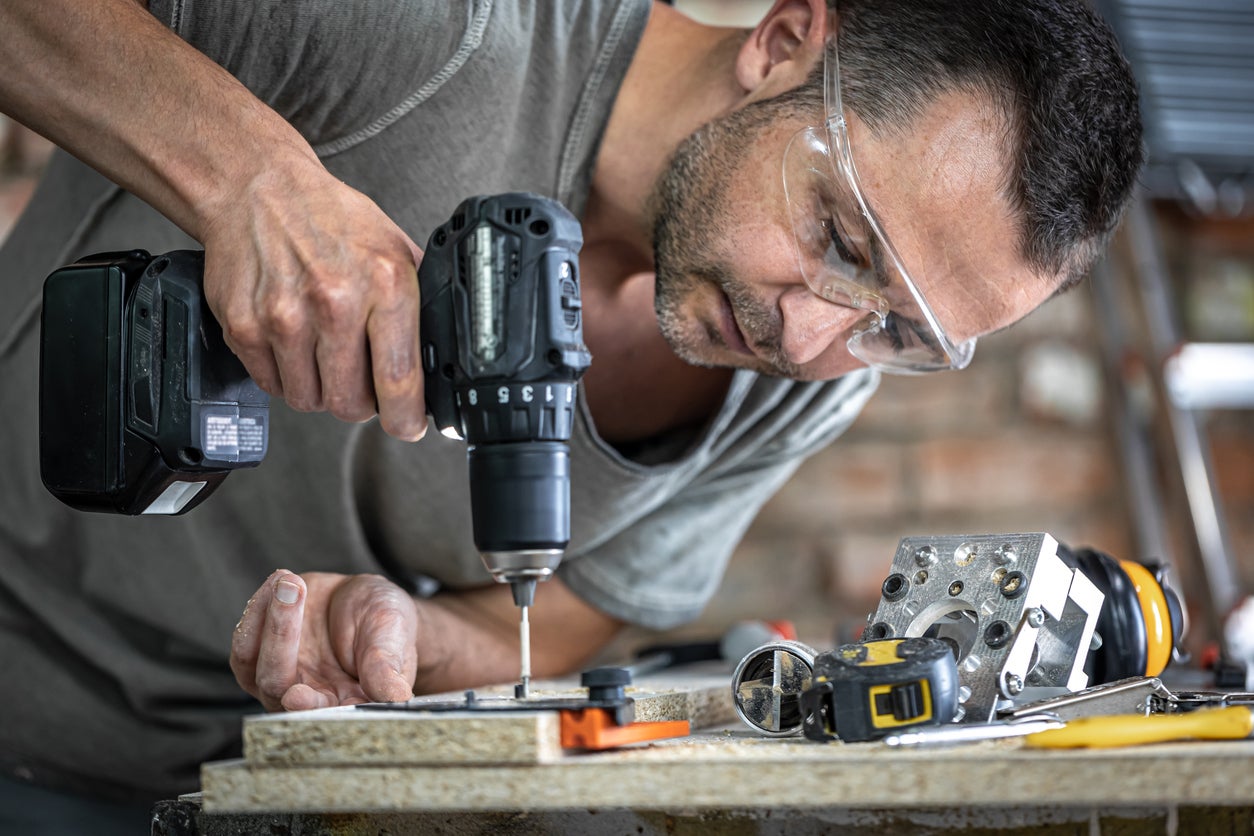
- Safety Glasses: Safety should always be a top priority when working with power tools. Wear safety glasses to protect your eyes from flying debris during the drilling process.
- Gloves: It’s a good idea to wear gloves to protect your hands from sharp edges and to provide a better grip on the drill.
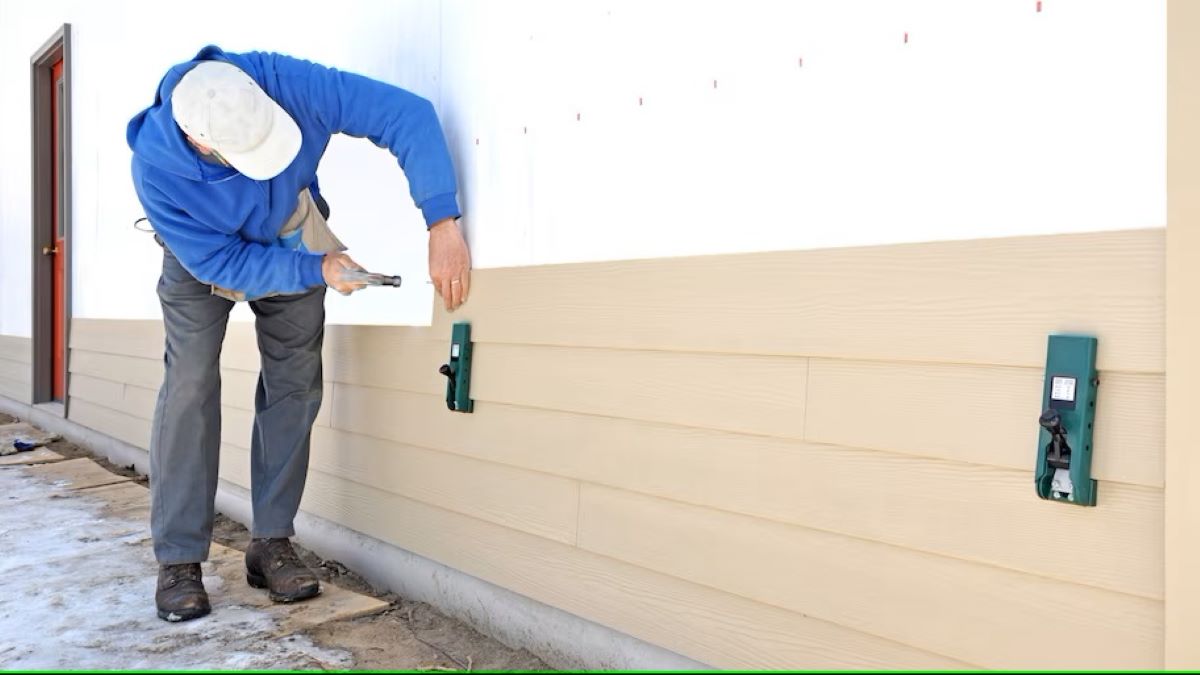
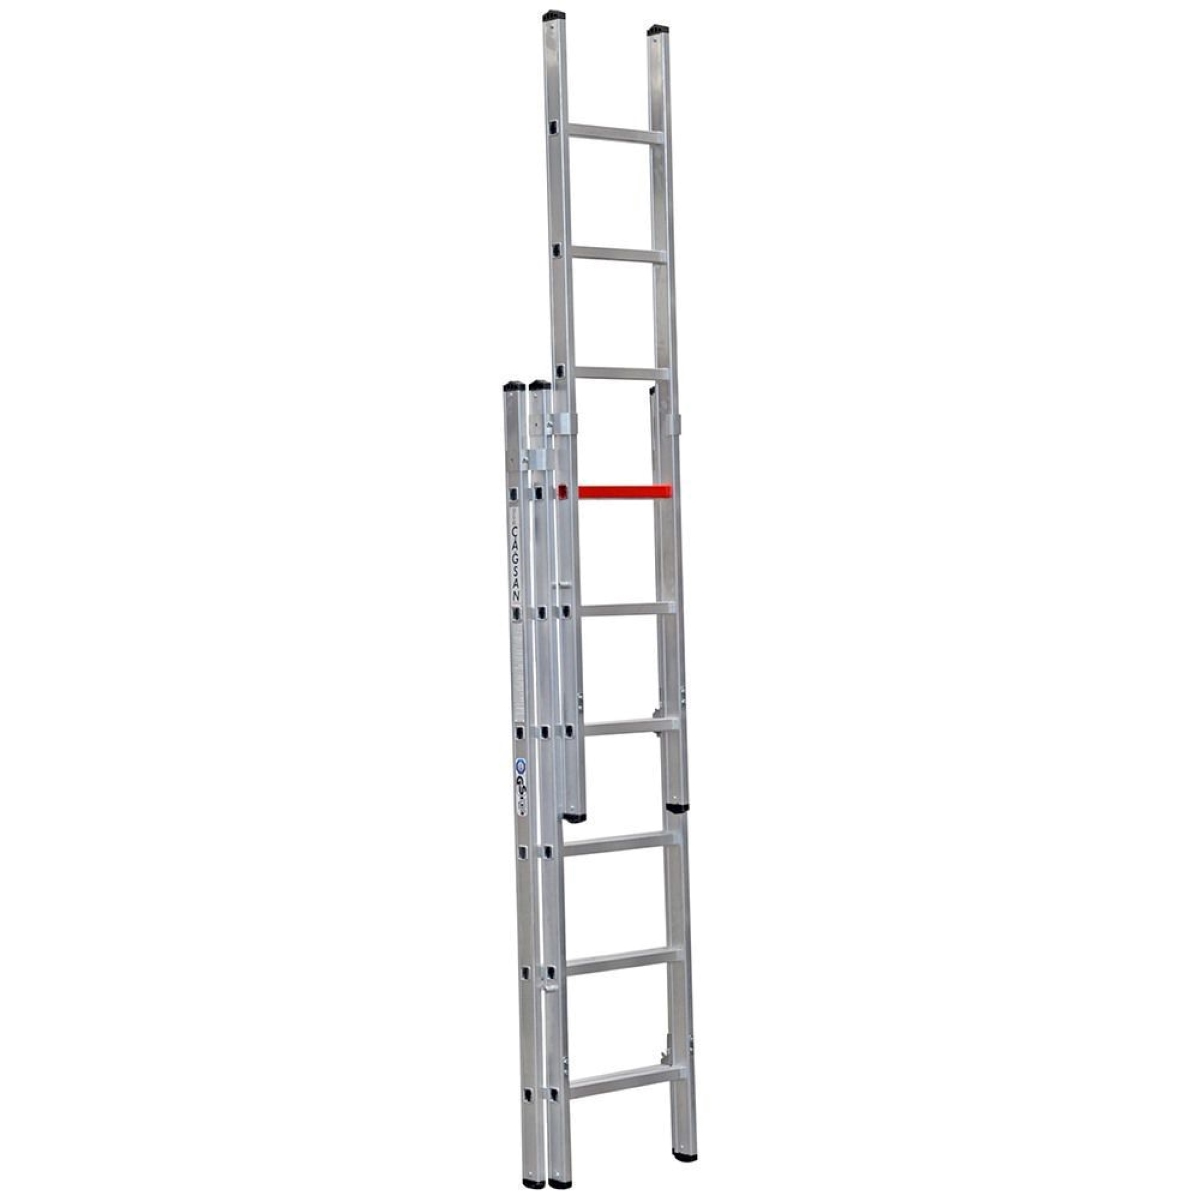
- Ladder: Depending on the height of your siding, you may need a ladder to access and work on the area where the holes will be drilled.
- Dust Mask: Aluminum particles and dust can be released during the drilling process. Wearing a dust mask can help prevent inhaling these particles and protect your respiratory system.
Having these tools and materials ready before you start drilling will save you time and ensure a smoother drilling experience. Now that you have everything you need, let’s move on to the next step: preparation.
Preparation
Proper preparation is crucial for a successful drilling project on aluminum siding. By taking the time to prepare the surface and gather the necessary materials, you can ensure a clean and accurate result. Follow these steps to prepare for drilling:
- Clean the Siding: Before drilling, it’s important to clean the area of the siding where the holes will be made. Use a mild detergent and water to remove any dirt, debris, or grime. Wipe the cleaned area dry with a soft cloth to prevent water spots.
- Mark the Hole Locations: Use a measuring tape to mark the exact spots where you want to drill your holes. Make sure to measure carefully and mark the locations with a pencil or marker. Using painter’s tape, create a small “X” or “+” over the marked spots. The tape will help prevent the drill bit from slipping and provide a clear guide for drilling.
- Secure the Siding: Aluminum siding can be flexible and prone to warping. To stabilize the area where you’ll be drilling, you can use a block of wood or a clamp to hold the siding securely in place. This will minimize movement and reduce the risk of damaging the siding during the drilling process.
- Put on Safety Gear: Before you start drilling, make sure to put on your safety glasses and gloves. It’s important to protect your eyes and hands from any potential hazards during the drilling process.
Once you have completed these preparation steps, you’re ready to move on to the next stage: choosing the right drill bit for the job.
Choosing the Right Drill Bit
When it comes to drilling into aluminum siding, selecting the appropriate drill bit is crucial for achieving clean and precise holes. Using the wrong drill bit can result in damage to the siding or an ineffective drilling process. Here are some factors to consider when choosing the right drill bit:
- Material: Opt for high-speed steel (HSS) or cobalt drill bits specifically designed for drilling through metal. These types of drill bits are more durable and capable of cutting through aluminum with ease.
- Size: The size of the drill bit will depend on the diameter of the hole you need. Measure the diameter of the screws, anchors, or fasteners you plan to use and select a drill bit that matches that size. Ensure that the bit is slightly smaller than the screw or anchor to allow for a snug fit.
- Point Angle: Drill bits typically have either a 118-degree or 135-degree point angle. For aluminum siding, a drill bit with a 118-degree point angle is recommended as it provides a more aggressive cutting action. This allows for cleaner and faster drilling.
- Coating: Consider using a drill bit with a titanium or carbide coating. These coatings reduce friction and heat buildup, allowing for smoother drilling and extending the life of the drill bit.
- RPM Considerations: Take into account the recommended RPM (Rotations Per Minute) for drilling aluminum. Operating the drill at a lower RPM will help prevent overheating and ensure more controlled drilling.
Remember, using the right drill bit will greatly affect the success and efficiency of your drilling project. Once you have selected the appropriate drill bit, it’s time to move on to drilling into aluminum siding with confidence.
When drilling into aluminum siding, use a sharp drill bit specifically designed for metal. Start with a small pilot hole to prevent the siding from cracking, and use a slow, steady drilling speed to avoid damaging the material.
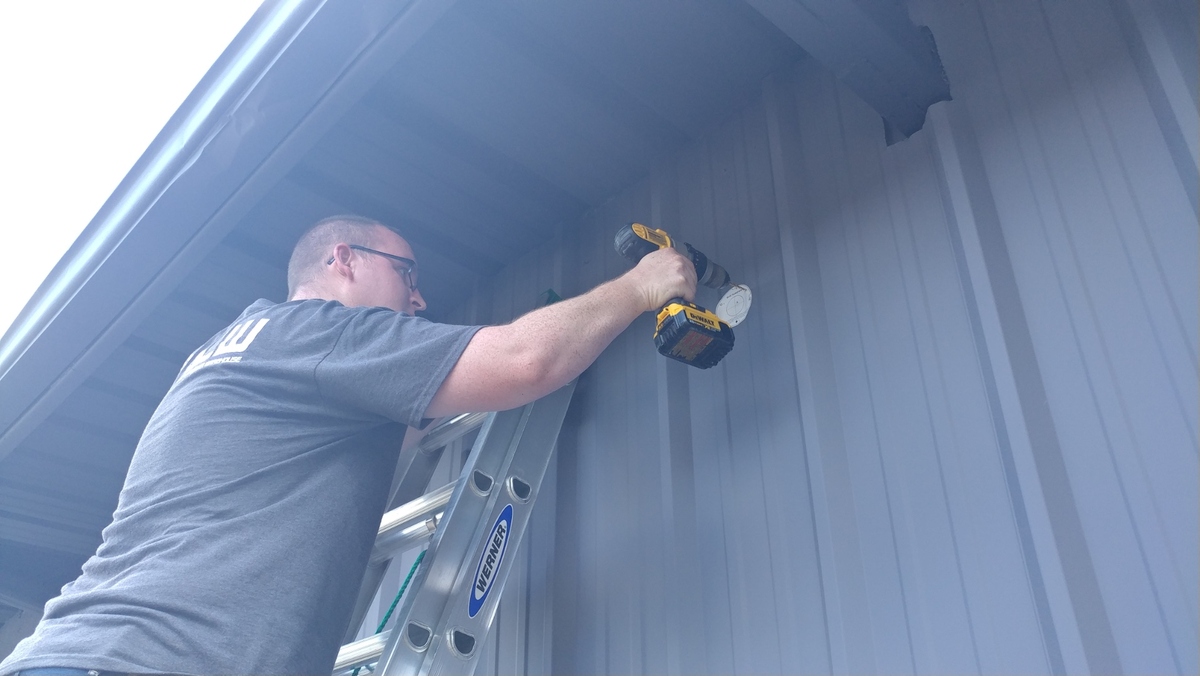
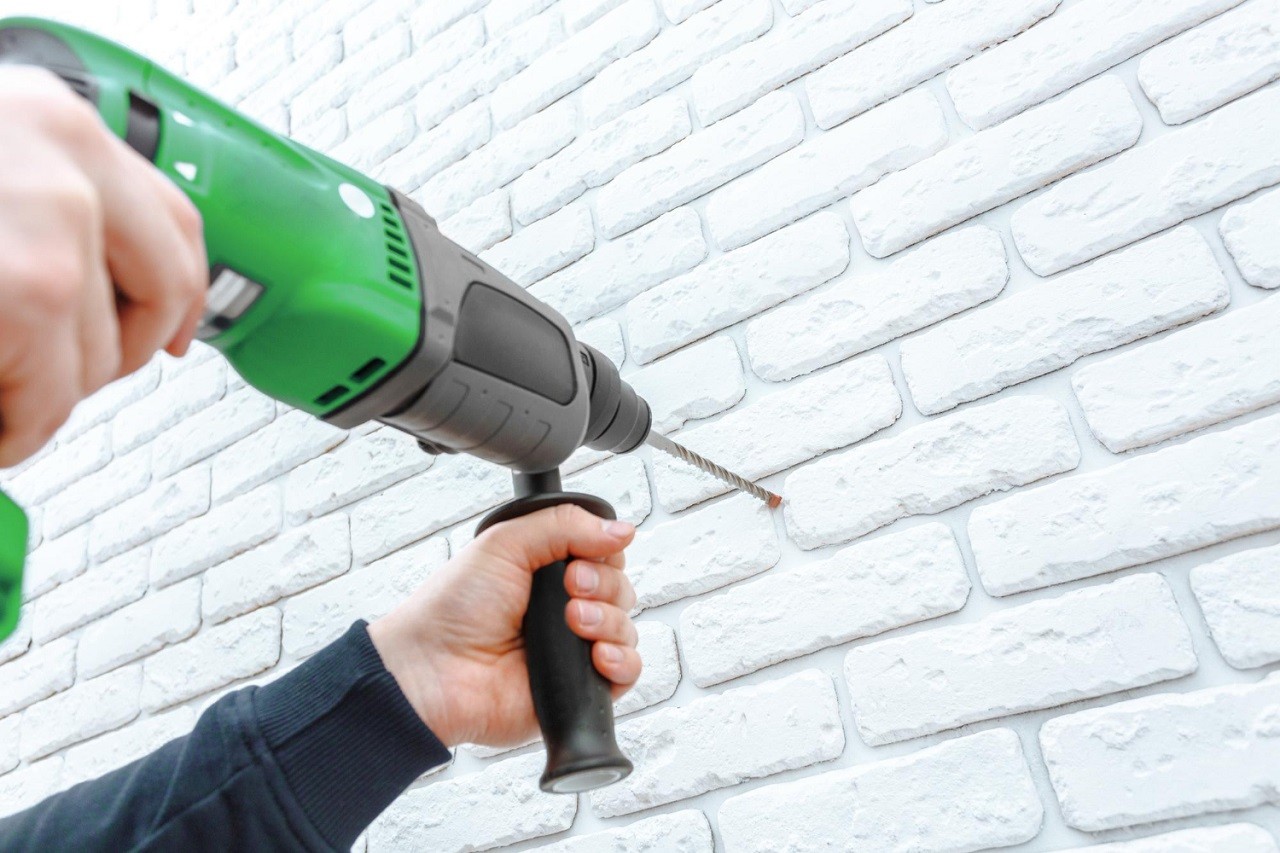
Drilling Into Aluminum Siding
Now that you have prepared the surface and chosen the right drill bit, it’s time to start drilling into aluminum siding. Follow these steps carefully to ensure a successful drilling process:
- Secure the Drill: Firmly hold the power drill with both hands, ensuring a steady grip and better control over the drilling process.
- Align the Drill Bit: Position the tip of the drill bit precisely at the marked spot on the aluminum siding. Make sure the drill bit is perpendicular to the siding surface.
- Apply Steady Pressure: Apply gentle, steady pressure on the drill as you slowly start to drill into the siding. Let the drill bit do the work and avoid using excessive force, as it can lead to damage or overheating.
- Drill at a Controlled Speed: Use a slower speed setting on your power drill to maintain control and prevent the drill bit from overheating. This will also help avoid slipping or damaging the siding.
- Continue Drilling: Keep drilling until you reach the desired depth. Pause periodically to clear any aluminum chips or dust from the hole by withdrawing the drill slightly.
- Remove the Drill: Once the hole is complete, release the drill’s trigger and carefully withdraw the drill bit from the hole. Take caution to avoid scratching the surrounding siding with the drill bit.
- Clean the Hole: Use a brush or compressed air to remove any leftover debris from the hole. This will ensure a clean and secure fit for any screws, anchors, or fasteners you plan to install.
Repeat these steps for each hole you need to drill, maintaining precision and safety throughout the process. By following these guidelines, you can achieve clean, accurate holes in your aluminum siding for any desired installation or mounting purpose.
Read more: How To Drill Into Vinyl Siding
Tips for Success
Drilling into aluminum siding can be a breeze when you have the right tools and follow the proper techniques. To ensure a successful drilling project, consider these tips:
- Start with a Pilot Hole: If you’re drilling large holes or installing heavier objects, it’s a good idea to start with a smaller pilot hole. This will help guide the larger drill bit and prevent the siding from cracking or splitting.
- Use Lubrication: Applying lubrication such as cutting oil or silicone spray to the drill bit can help reduce friction and heat buildup during the drilling process. This makes the drilling smoother and extends the life of your drill bit.
- Take Breaks: Aluminum can be a good conductor of heat, so it’s important to prevent your drill bit from overheating. Take breaks between drilling holes to allow the drill bit to cool down and maintain its effectiveness.
- Work with a Partner: If you’re dealing with high or hard-to-reach areas, having a partner to assist you can ensure better stability and safety during the drilling process.
- Practice on Scrap Material: If you’re not familiar with drilling into aluminum, it’s a good idea to practice on a piece of scrap siding first. This will give you a chance to get a feel for the material and perfect your drilling technique before working on your actual siding.
- Inspect Your Drill Bit: Before you start drilling, check your drill bit for any signs of damage or wear. A dull or damaged drill bit will not perform as efficiently and may cause damage to the siding. Replace the drill bit if necessary.
- Take Safety Precautions: Always prioritize safety when working with power tools. Wear safety glasses, gloves, and a dust mask to protect yourself from potential hazards, and ensure the work area is clear of any obstacles.
By following these tips, you’ll be well-prepared to tackle your aluminum siding drilling project with confidence and achieve excellent results.
Safety Precautions
When working with power tools and drilling into aluminum siding, it’s essential to prioritize safety to prevent accidents and injuries. Here are some important safety precautions to keep in mind:
- Wear Safety Gear: Protect your eyes with safety glasses to prevent any potential eye injuries from flying debris. Additionally, wear gloves to protect your hands from sharp edges and provide a better grip on the drill.
- Use a Dust Mask: When drilling into aluminum, dust and particles can be released into the air. Wear a dust mask to prevent inhaling these particles, as they can irritate your respiratory system.
- Secure the Work Area: Make sure the area around the drilling site is clear of any obstructions to ensure safe and unobstructed movement. Remove any loose objects or debris that may interfere with the drilling process.
- Be Mindful of Electrical Wires: Before drilling into aluminum siding, check for any hidden electrical wires using a stud finder. Ensure you are aware of their location and avoid drilling near or into them to prevent electrical hazards.
- Take Caution on Ladders: If you need to use a ladder to reach higher areas of the siding, ensure it is secure and on a stable surface. Use caution when climbing and avoid overreaching to maintain balance and prevent falls.
- Inspect the Siding: Before drilling, check the integrity of the aluminum siding. If you notice any signs of damage or deterioration, it may be necessary to repair or replace the affected areas before proceeding with drilling.
- Avoid Overheating: Aluminum conducts heat efficiently, so be mindful of the heat generated during drilling. Take breaks between drilling to allow the drill bit to cool down. Excessive overheating can lead to damage to the siding or the drill bit.
- Follow Manufacturer’s Instructions: Always read and follow the manufacturer’s instructions for both the power drill and the drill bit. Pay attention to recommended operating speeds, safety guidelines, and any other specifications.
Remember, safety should always be your top priority when working with power tools and conducting any DIY project. By taking these safety precautions, you can ensure a safe and successful drilling experience on your aluminum siding.
ConclusionDrilling into aluminum siding is a task that, with the right tools and techniques, can be accomplished smoothly and successfully. By following the step-by-step process outlined in this article, you can confidently customize your home exterior, whether it’s for hanging decorations, installing outdoor lighting, or mounting security devices.
Remember to gather all the necessary tools and materials before you begin, including a power drill, the right drill bits, painter’s tape, measuring tape, safety glasses, gloves, ladder, and a dust mask. Preparation is key, so clean the siding, mark the hole locations, and secure the area for drilling.
Choosing the right drill bit is crucial for achieving clean and precise holes. Opt for high-speed steel (HSS) or cobalt drill bits with the appropriate size, point angle, and coating. Take into account the recommended RPM and apply lubrication for smoother drilling.
When actually drilling into the aluminum siding, maintain a steady grip on the drill, align the drill bit to the marked spot, apply gentle pressure, and drill at a controlled speed. Clear the hole periodically to remove debris, and clean the hole before proceeding with screws or fasteners.
To ensure a successful drilling project, follow the tips provided, such as starting with a pilot hole, practicing on scrap material, and inspecting your drill bit. Always prioritize safety by wearing safety gear, securing the work area, and being mindful of electrical wires and ladder safety.
By implementing these techniques and safety measures, you can confidently drill into aluminum siding and achieve the desired results without compromising the integrity of your home’s exterior. So, grab your tools, follow the guidelines, and enjoy the satisfaction of a job well done!
Now that you've mastered drilling into aluminum siding, why stop there? Expand your DIY skills with our comprehensive guide on DIY home improvement. You'll find practical advice and creative ideas to transform your space without breaking the bank. Also, don't overlook regular upkeep; our detailed rundown on home maintenance ensures your habitat stays in top shape year-round. Both guides are packed with savvy tips to help you get the most out of your home projects.
Frequently Asked Questions about How To Drill Into Aluminum Siding
Was this page helpful?
At Storables.com, we guarantee accurate and reliable information. Our content, validated by Expert Board Contributors, is crafted following stringent Editorial Policies. We're committed to providing you with well-researched, expert-backed insights for all your informational needs.


0 thoughts on “How To Drill Into Aluminum Siding”