Articles
How To Repair Broken Pipe Plumbing
Modified: December 7, 2023
Learn how to repair broken pipes with helpful plumbing articles. Fix your plumbing issues quickly and efficiently with our step-by-step guides and expert tips.
(Many of the links in this article redirect to a specific reviewed product. Your purchase of these products through affiliate links helps to generate commission for Storables.com, at no extra cost. Learn more)
Introduction
Dealing with a broken pipe can be a homeowner’s worst nightmare. Not only does it cause inconvenience and potential water damage, but it can also be quite costly to repair if left unattended. Fortunately, with the right knowledge and tools, repairing a broken pipe in your plumbing system can be a manageable task.
In this article, we will guide you through the step-by-step process of repairing a broken pipe in your plumbing system. From identifying the issue to testing for leaks, we will cover everything you need to know to get your pipes back in working order.
Before we jump into the repair process, it’s important to note that if you are uncomfortable or unsure about performing these tasks, it’s always best to contact a professional plumber. They have the expertise and experience to handle any plumbing issue efficiently and safely.
Now, let’s get started with the first step: identifying the broken pipe.
Key Takeaways:
- Identifying the signs of a broken pipe, turning off the water supply, and draining the pipes are crucial initial steps in successfully repairing a broken pipe in your plumbing system.
- Properly preparing and attaching the replacement pipe, testing for leaks, and gradually turning on the water supply are essential for a successful and long-lasting repair.
Step 1: Identify the Broken Pipe
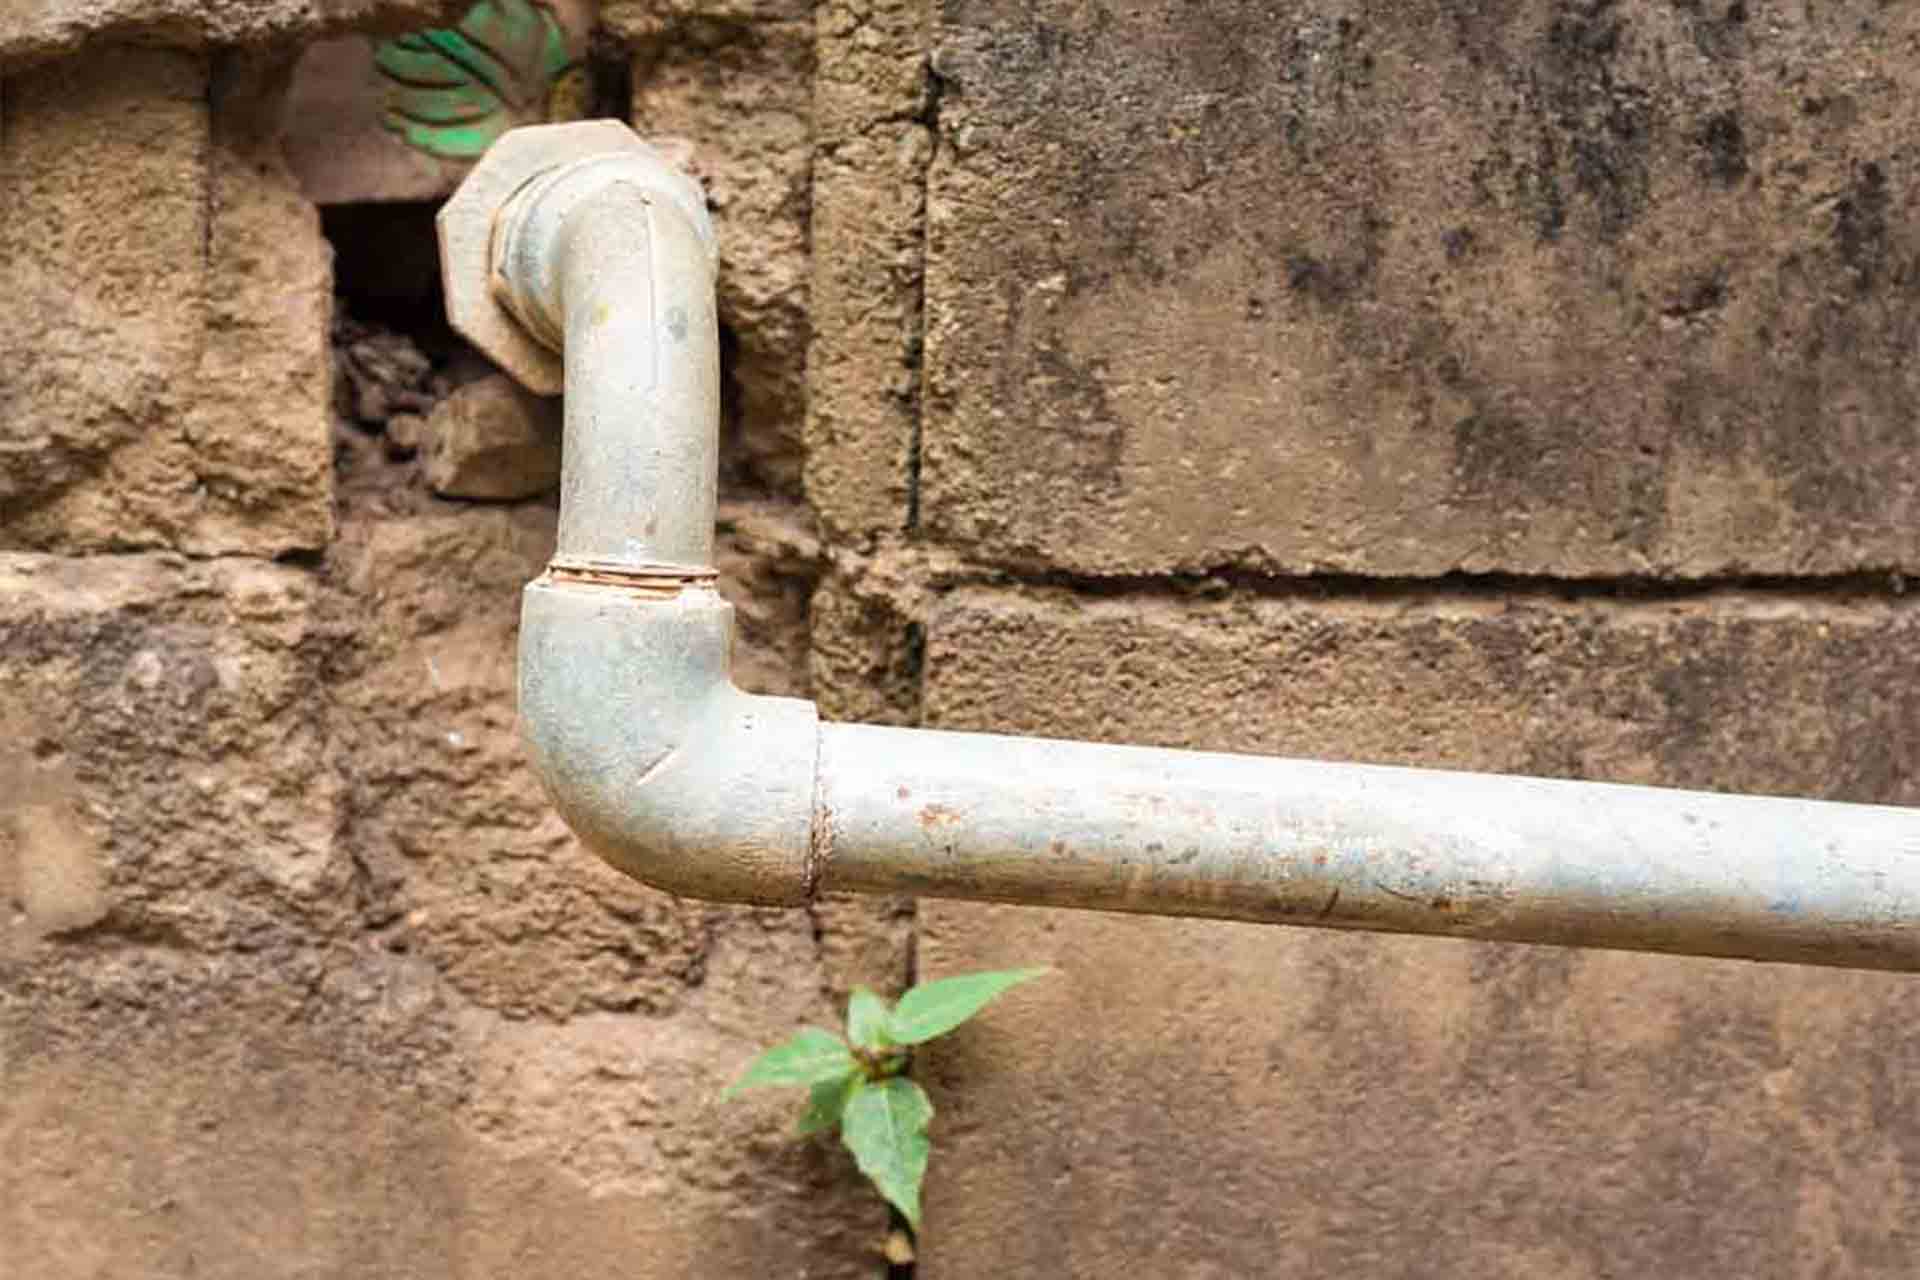
The first step in repairing a broken pipe is to identify the location of the damage. This can often be challenging, as pipes are hidden behind walls, under floors, or in other hard-to-reach areas. However, there are a few signs that can help you pinpoint the source of the problem.
1. Water leaks: Look for any visible signs of water leaks, such as dripping water, damp spots, or water stains on walls, floors, or ceilings. Follow the trail of the water to find the source of the leak.
2. Water pressure issues: If you notice a sudden drop in water pressure in certain areas of your home, it could be a sign of a broken pipe nearby. Check the affected areas and listen for the sound of running water behind walls or under floors.
3. Strange sounds: Unusual sounds, such as hissing, gurgling, or rattling, coming from your pipes can indicate a broken or damaged pipe. Pay attention to any unusual noises and try to locate the source.
4. Mold or mildew: Excessive moisture caused by a broken pipe can lead to the growth of mold and mildew. If you notice a musty odor or see mold or mildew on walls, it may be a sign of a hidden pipe leak.
Once you have identified the general area of the broken pipe, it’s time to move on to the next step: turning off the water supply.
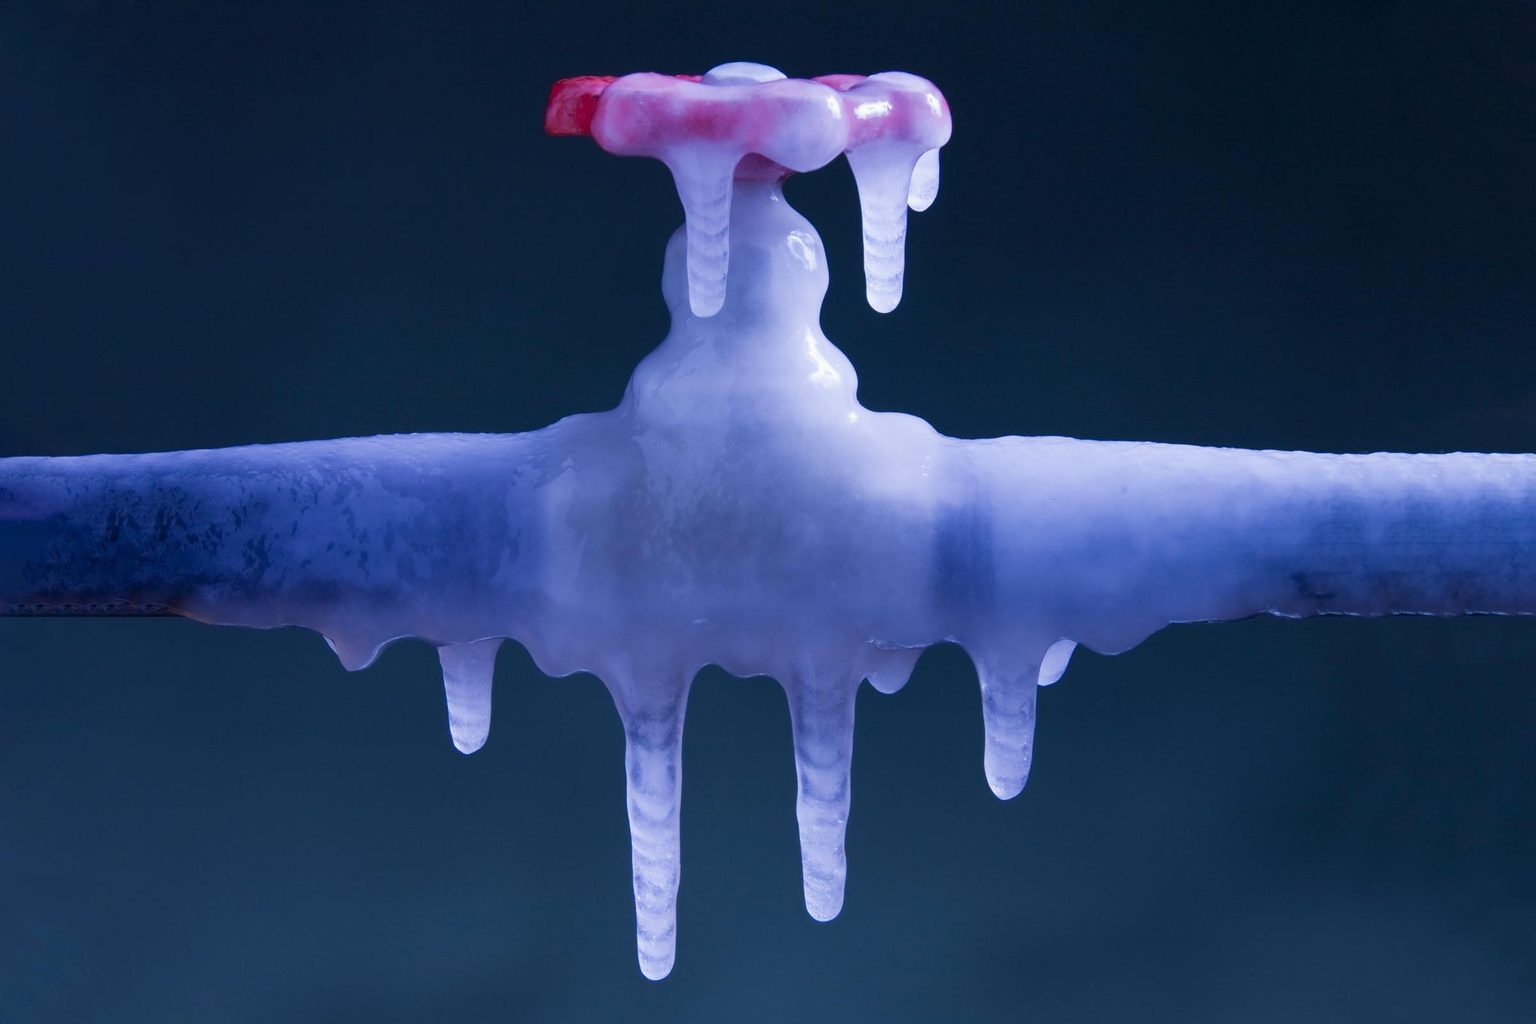
Step 2: Turn Off the Water Supply
Before you start working on repairing the broken pipe, it’s crucial to turn off the water supply to prevent any further damage or flooding. Shutting off the water supply is relatively easy and can be done in a few simple steps.
1. Locate the main water shutoff valve: The main water shutoff valve is typically located near the water meter or where the main water line enters your home. This valve controls the entire water supply to your house.
2. Turn off the main water shutoff valve: Use a wrench or pliers to turn the valve clockwise until it is fully closed. This will stop the flow of water into your home, preventing any additional water damage.
3. Drain excess water: After shutting off the main water supply, open all faucets, showers, and flush the toilets to drain any excess water from the pipes. This will help reduce the pressure and minimize the risk of water spills when you start repairing the broken pipe.
It’s important to note that some homes may have individual shut-off valves for different areas or fixtures. If you can’t locate the main water shutoff valve or need to isolate a specific section of your plumbing system, look for individual shut-off valves near the affected area.
Once the water supply is turned off, you can move on to the next step: draining the water from the pipes.
Step 3: Drain the Water from the Pipes
In order to effectively repair a broken pipe, it’s important to drain any remaining water from the pipes. This will prevent water spills and make it easier to work on the damaged area.
Here’s how you can drain the water from the pipes:
1. Open faucets and drain valves: Start by opening all the faucets, including the ones closest to the affected area. This will allow air to enter the pipes and help water to flow out more smoothly. Additionally, if you have drain valves on your plumbing system, open them to facilitate the drainage process.
2. Flush toilets: Next, flush all the toilets in your home to remove as much water as possible from the plumbing system. This will help reduce the pressure in the pipes and prevent any unexpected water flow during the repair process.
3. Use gravity and towels: If there is still water remaining in the pipes, you can use gravity and towels to remove it. Place towels or buckets under the broken pipe to catch any water that may come out during the repair. By positioning the towels strategically and angling the pipes downward, you can encourage the water to flow out and minimize potential water damage.
It’s important to be patient during this step, as it might take some time for all the water to completely drain from the pipes. Once you are confident that the pipes are drained, you can proceed to gather the necessary tools and materials for the repair.
Step 4: Gather Necessary Tools and Materials
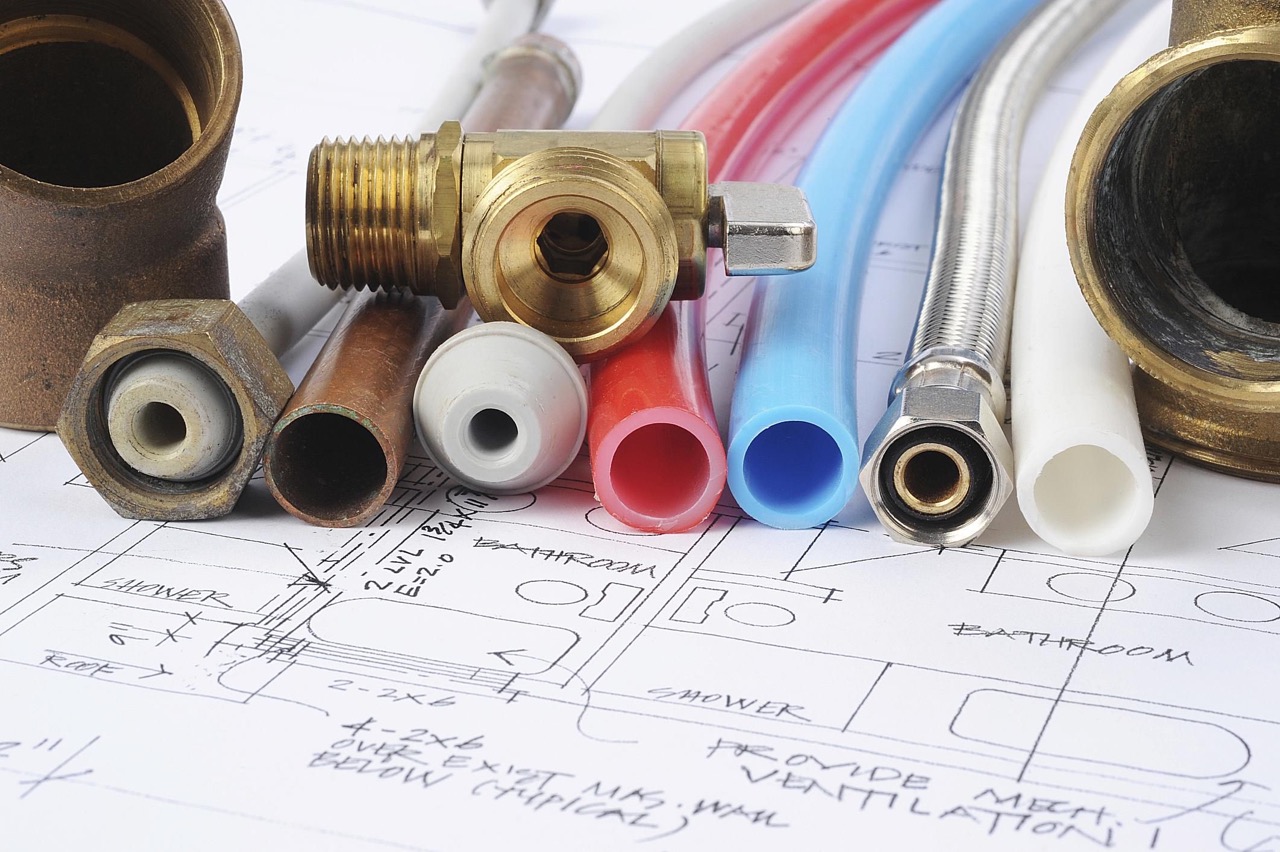
Before you can begin repairing the broken pipe, it’s essential to gather all the necessary tools and materials. Having the right supplies on hand will ensure a smooth and efficient repair process. Here is a list of the common tools and materials you might need:
1. Pipe cutter: This tool is used to cut out the damaged section of the pipe. You can choose between a traditional pipe cutter that requires manual rotation or a mini pipe cutter that fits in tight spaces.
2. Adjustable wrench: An adjustable wrench will be useful for loosening and tightening pipe fittings.
3. Pipe reamer or deburring tool: After cutting the pipe, you will need to smooth out the edges with a reamer or deburring tool to ensure a proper fit for the replacement pipe.
4. Replacement pipe: Purchase a new section of pipe that matches the material and size of the broken pipe. It’s important to measure the diameter and length accurately to ensure a proper fit.
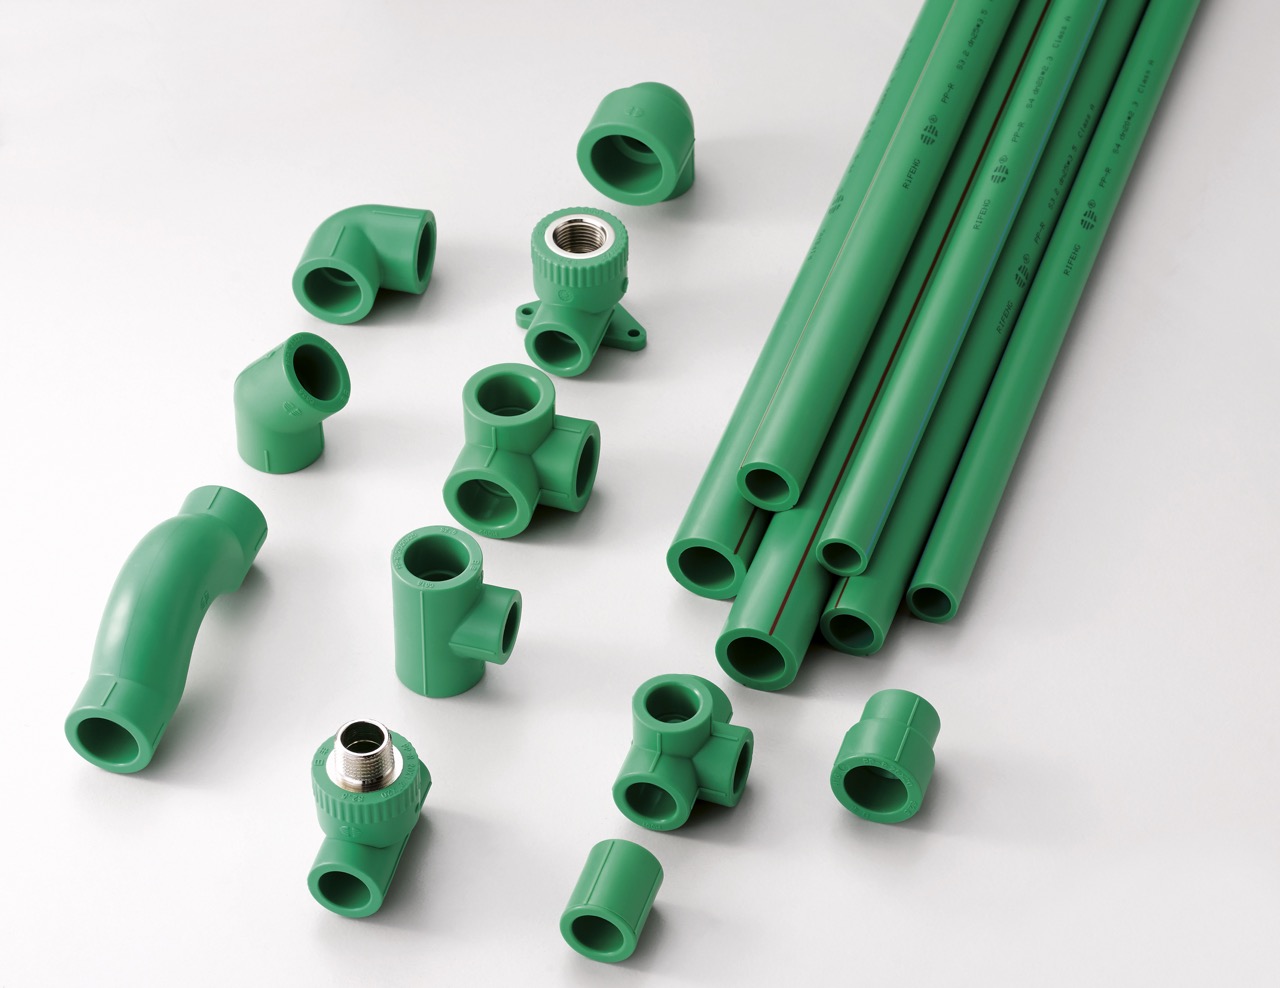
5. Pipe fittings: Depending on the repair, you may need elbow fittings, couplings, tees, or other types of pipe fittings to connect the replacement pipe to the existing plumbing system.
6. Pipe primer and cement: If you are working with PVC or CPVC pipes, you will need pipe primer and cement to create a strong and watertight connection.
7. Pipe tape: Teflon pipe tape or thread sealant tape can be used to create a tight seal on threaded pipe connections.
8. Gloves and safety goggles: It’s important to protect your hands and eyes during the repair process. Wear gloves to prevent injuries and safety goggles to shield your eyes from any debris.
Make sure you have all the necessary tools and materials readily available before proceeding with the repair. This will save you time and prevent any delays during the process. With everything in order, you can move on to the next step: cutting out the damaged section of the pipe.
Read more: How To Use Flex Pipe For Plumbing
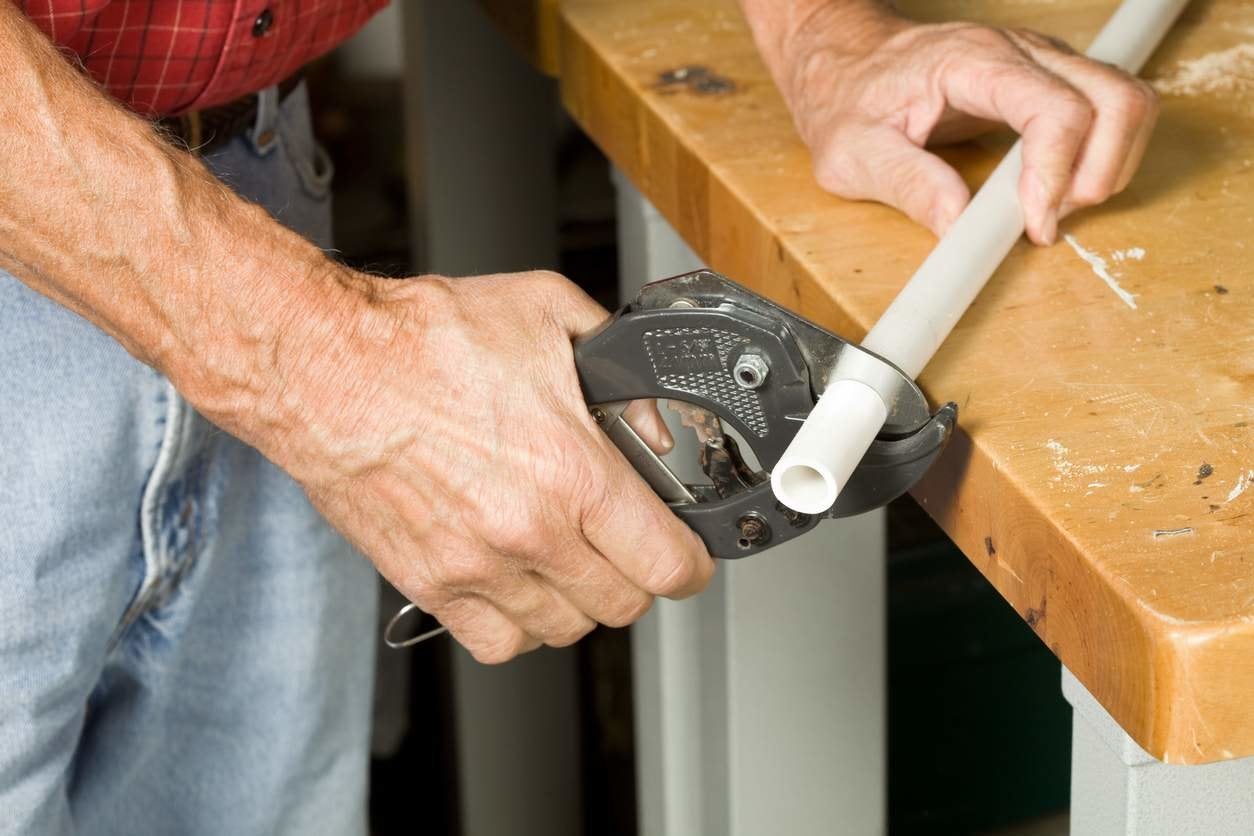
Step 5: Cut Out the Damaged Section of Pipe
Now that you have gathered all the necessary tools and materials, it’s time to cut out the damaged section of the pipe. Cutting out the damaged portion will allow you to replace it with a new section of pipe, creating a seamless repair.
Follow these steps to cut out the damaged section of pipe:
1. Measure and mark: Use a measuring tape to determine the length of the damaged section of pipe that needs to be removed. Mark the areas on both sides of the damage with a pencil or marker.
2. Secure the pipe: Use a pipe cutter to score the marked areas on the pipe. Make sure to apply even pressure as you rotate the cutter around the pipe. This will gradually cut through the pipe and create a clean, straight cut.
3. Remove the damaged section: Once the pipe is scored, use an adjustable wrench to loosen and remove any pipe fittings connected to the damaged section. Then, gently twist and pull the damaged section of pipe out of the plumbing system.
4. Clean the pipe ends: After removing the damaged section, clean the ends of the remaining pipes using a pipe reamer or deburring tool. This will remove any burrs or rough edges that can hinder the fitting of the replacement pipe.
Remember to exercise caution during this step to avoid any injuries. Use appropriate safety gear, such as gloves and safety goggles, and take your time to ensure accurate measurements and clean cuts.
With the damaged section removed, you are ready to move on to the next step: preparing the replacement pipe.
When repairing a broken pipe, make sure to turn off the water supply to the affected area before starting any repairs. This will prevent further water damage and make the repair process easier.
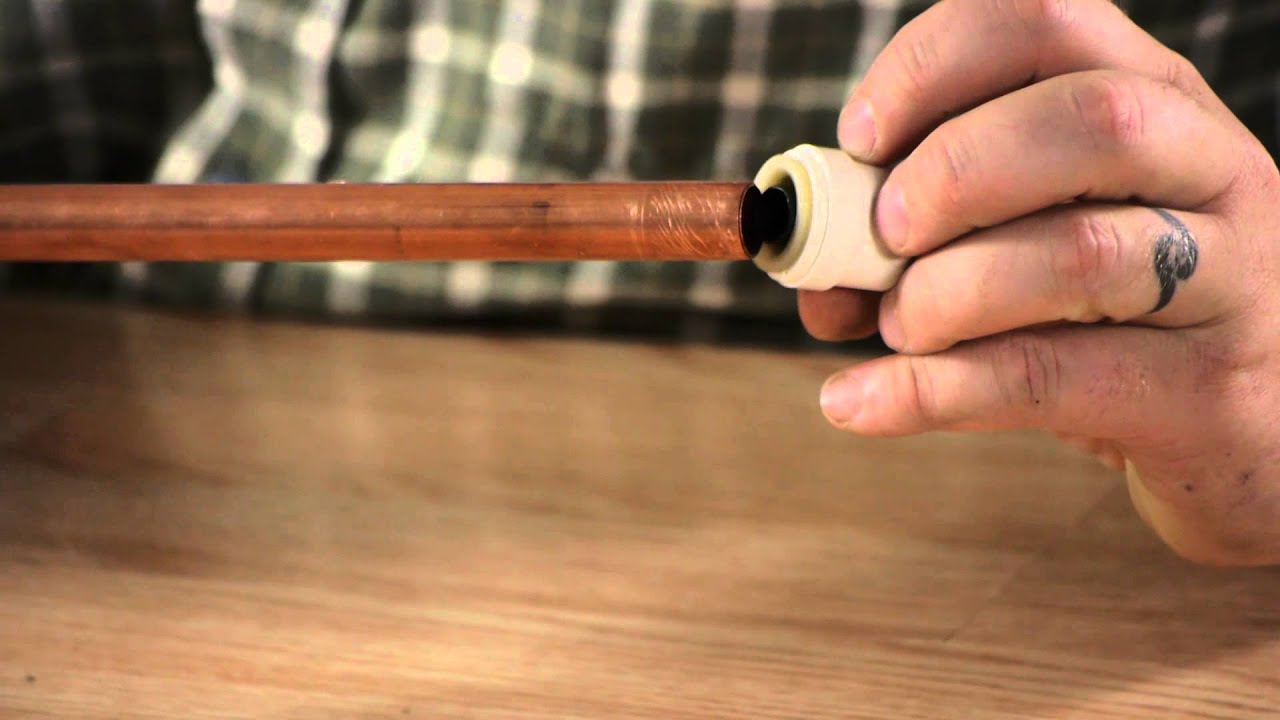
Step 6: Prepare the Replacement Pipe
Now that you have cut out the damaged section of the pipe, it’s time to prepare the replacement pipe. This step involves ensuring a proper fit and preparing the pipe for installation.
Follow these steps to prepare the replacement pipe:
1. Measure and cut the replacement pipe: Measure the length of the gap left by the removed section of pipe. Use a pipe cutter to cut the replacement pipe to the appropriate length. Ensure that the cut is clean and straight.
2. Smooth the pipe ends: Use a pipe reamer or deburring tool to smooth out the ends of the replacement pipe. This will remove any burrs or rough edges that can hinder the fitting process and create a snug connection.
3. Dry fit the replacement pipe: Before applying any adhesive or making permanent connections, perform a dry fit by inserting the replacement pipe into the existing pipe ends. Ensure that the pipes align properly and that there are no obstructions or misalignments.
4. Make necessary adjustments: If the replacement pipe is too long, use a pipe cutter to trim it to the desired length. It’s better to have the pipe slightly shorter than necessary, as you can always make additional adjustments if needed.
5. Clean the pipe ends: Wipe the pipe ends with a clean cloth to remove any dust, debris, or moisture. This will ensure a proper seal when connecting the replacement pipe.
It’s important to pay attention to the details during this step to ensure a proper fit and secure connection. Take your time to measure accurately, cut precisely, and clean thoroughly. With the replacement pipe prepared, you are ready to move on to the next step: attaching the replacement pipe.
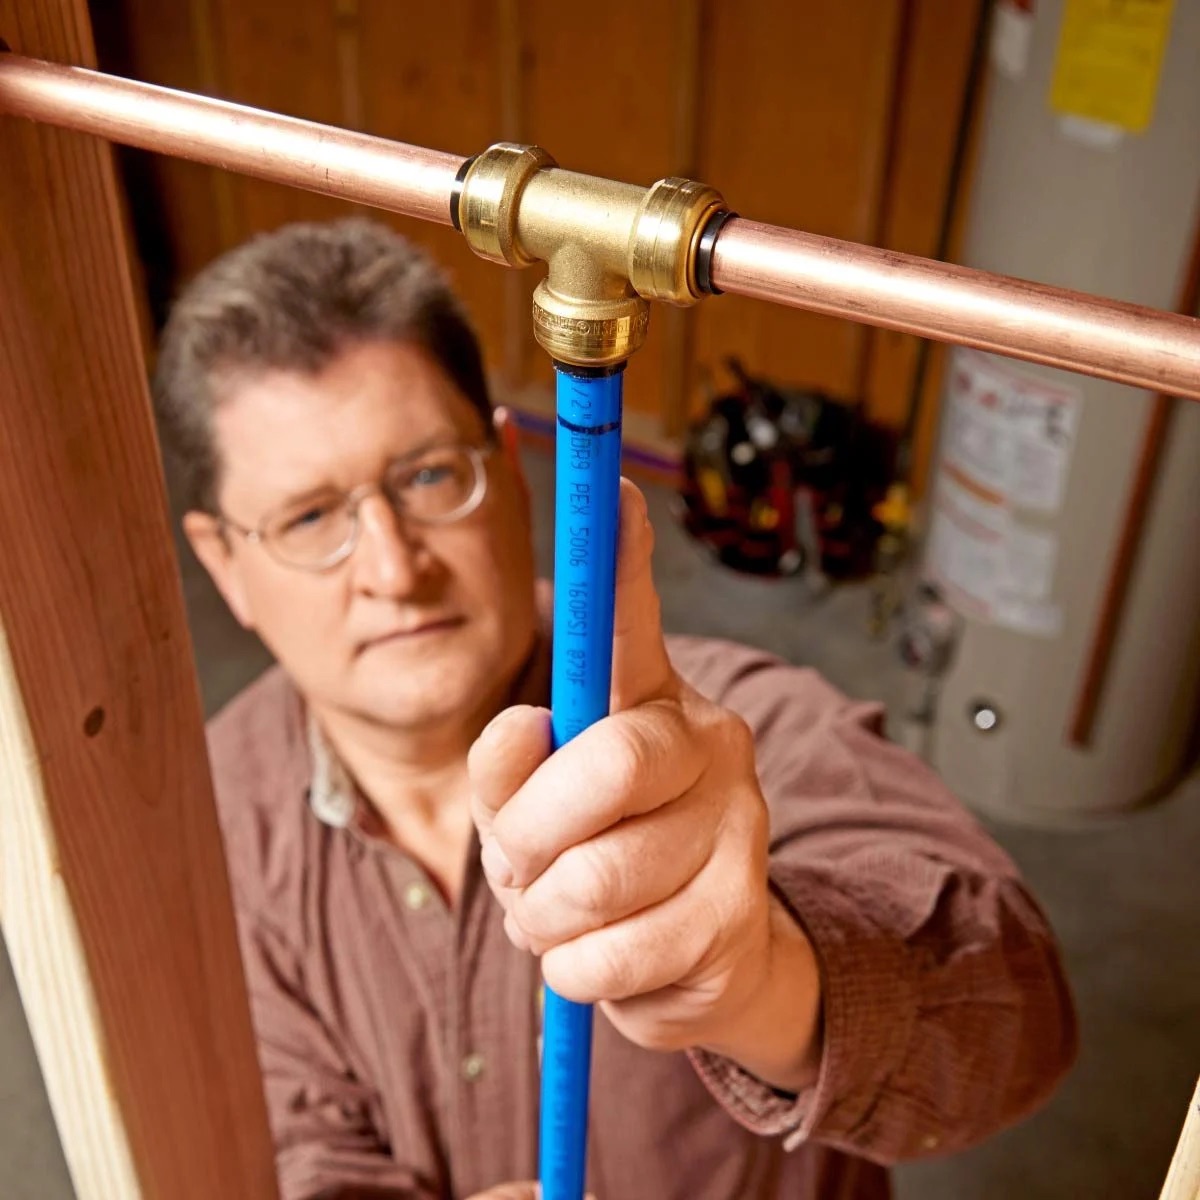
Step 7: Attach the Replacement Pipe
With the replacement pipe prepared, it’s time to attach it to the existing plumbing system. This step involves making a secure connection and ensuring a watertight seal.
Follow these steps to attach the replacement pipe:
1. Apply adhesive (if applicable): If you are working with PVC or CPVC pipes, apply a primer to the outside of the existing pipe and the inside of the replacement pipe. Then, apply a layer of cement to both surfaces. Make sure to follow the manufacturer’s instructions for the specific adhesive you are using.
2. Insert the replacement pipe: Insert the replacement pipe into the existing pipe ends, making sure that they fit snugly together. Give the pipe a slight twist to evenly distribute the adhesive and ensure proper bonding.
3. Make necessary adjustments: Use a pipe cutter to trim the replacement pipe if it is too long or does not align properly with the existing pipe ends. Remember to make small, incremental adjustments to achieve the desired fit.
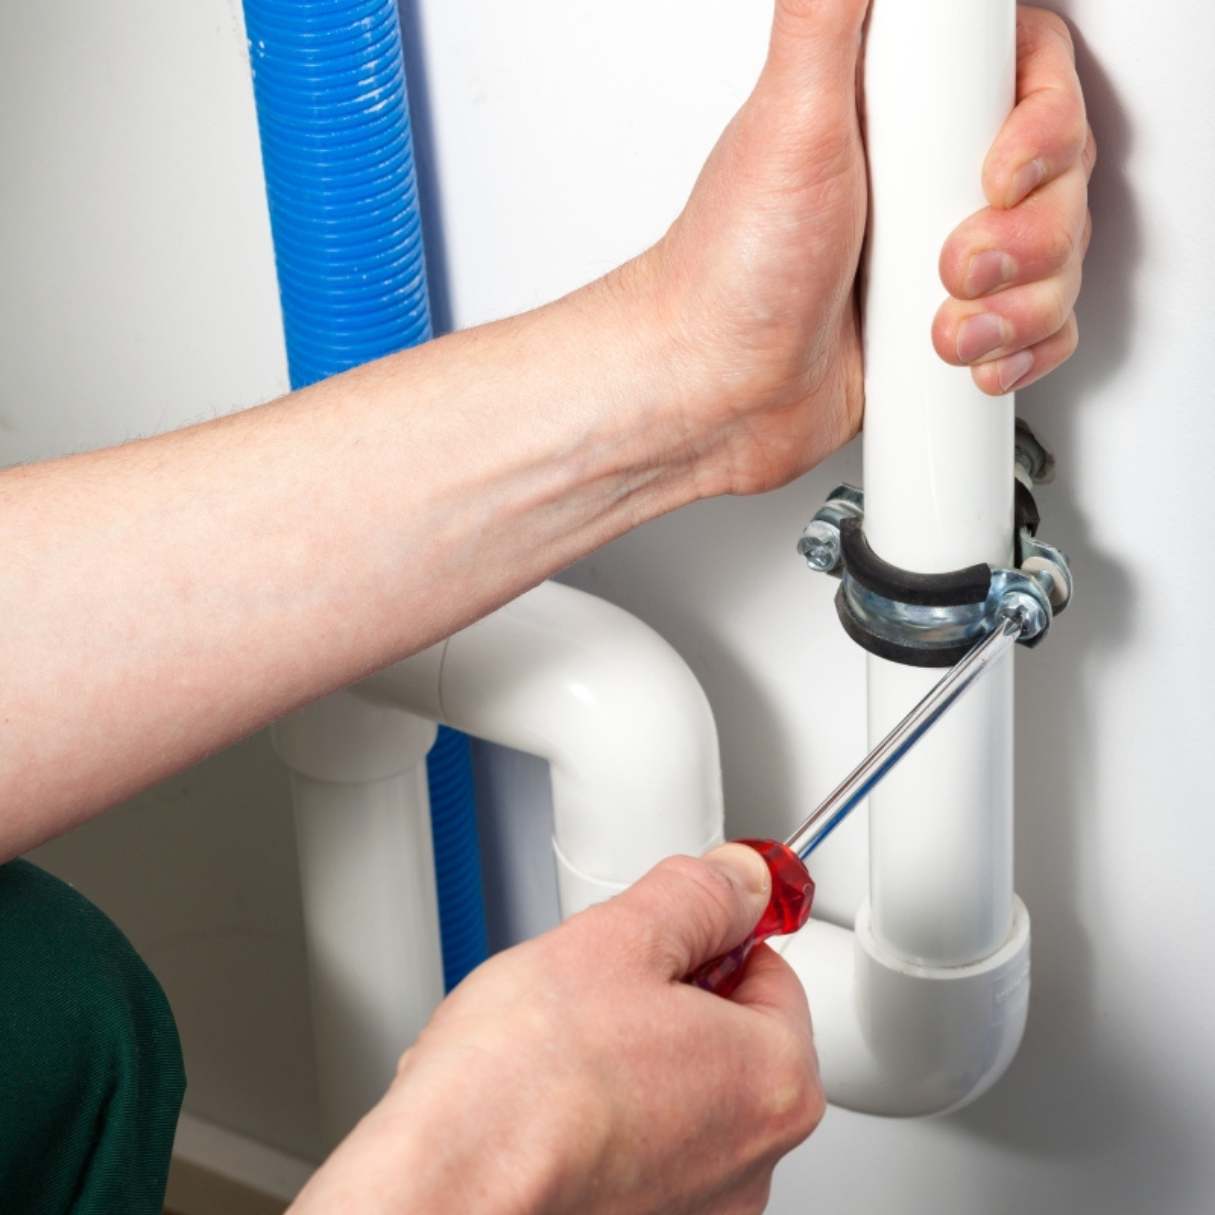
4. Secure with fittings: Depending on the specific repair, you may need to use pipe fittings such as couplings, elbows, or tees to connect the replacement pipe to the existing plumbing system. Use an adjustable wrench to tighten the fitting securely.
5. Check for proper alignment: Ensure that the replacement pipe is properly aligned with the surrounding pipes, fixtures, or structures. This will prevent any unnecessary strain or stress on the connection.
6. Clean up excess adhesive: Immediately clean up any excess adhesive that may have squeezed out during the connection process. Use a clean cloth or a rag dampened with a suitable solvent for the adhesive you used.
7. Allow time for curing (if applicable): If you used adhesive, allow sufficient time for it to cure according to the manufacturer’s instructions. This will ensure a strong and reliable connection.
It’s crucial to follow the proper techniques and guidelines for the specific type of pipe and adhesive you are working with. This will ensure a secure and reliable connection that will withstand water pressure and usage. Once the replacement pipe is securely attached, you can proceed to the next step: testing for leaks.
Step 8: Test for Leaks
After attaching the replacement pipe, it’s important to test for leaks before fully completing the repair. Testing for leaks ensures that the connection is secure and that there are no issues that could lead to water damage or further plumbing problems.
Follow these steps to test for leaks:
1. Turn on the water supply: Carefully turn on the main water supply or the specific water supply to the repaired area. Slowly increase the water pressure to allow the system to pressurize gradually.
2. Inspect the connection: Carefully examine the area where the replacement pipe is connected to the existing plumbing system. Look for any signs of water leaks or dripping water. Pay close attention to the joints, fittings, and the area surrounding the repair.
3. Check for drips or moisture: Use a clean cloth to wipe the joints and connections to check for any drips or signs of moisture. Even a small drip can indicate a potential issue that needs to be addressed.
4. Monitor for a period of time: Gradually increase the water flow and let it run for a few minutes. Observe the repair area closely for any signs of leaking during this time. If possible, check the area periodically over a span of several hours to ensure there are no hidden leaks.
If you notice any leaks during the testing process, it’s important to address them promptly. Disassemble the connection, clean off the old adhesive, and reapply a new layer of adhesive following the manufacturer’s instructions. Repeat the testing process to ensure a watertight connection.
On the other hand, if no leaks are detected, you can proceed to the final step: turning on the water supply.
It’s crucial to thoroughly test for leaks to minimize the risk of water damage and ensure the success of your repair. Taking the time to check for and address any leaks will ensure the long-term functionality of the repaired pipe.
Read more: How To Clean Plumbing Pipes
Step 9: Turn On the Water Supply
After successfully testing for leaks and ensuring a secure connection, it’s time to turn on the water supply and restore the flow of water to your plumbing system.
Follow these steps to turn on the water supply:
1. Close all faucets and valves: Make sure all faucets, showers, and valves in your home are closed. This will prevent any excess water from pouring out when you turn on the water supply.
2. Gradually turn on the water supply: Slowly turn on the main water supply valve or the specific water supply valve for the repaired area. This gradual increase in water flow will prevent any sudden changes in pressure that could potentially damage the plumbing system.
3. Monitor for leaks: Keep a close eye on the repaired area and the surrounding pipes for any signs of new leaks or dripping water. Pay attention to any unusual sounds or changes in water pressure that could indicate a problem.
4. Check all fixtures and drains: Open each faucet, shower, and flush each toilet to ensure that water flows freely without any issues. Check for proper drainage in sinks, showers, and bathtubs to ensure there are no clogs or plumbing problems.
5. Verify complete functionality: Test each fixture and appliance that relies on water, such as dishwashers or washing machines, to ensure they function properly and that there are no leaks or malfunctions.
If you notice any new leaks or issues after turning on the water supply, immediately turn off the water again and address the problem. It may be necessary to disassemble the connection, reapply adhesive, or consult a professional plumber for further assistance.
Congratulations! You have successfully repaired the broken pipe and restored the water supply to your plumbing system. However, it’s important to continue monitoring the repaired area in the coming days to verify that there are no hidden issues that could cause future problems.
It’s always a good idea to keep an eye on your plumbing system and perform regular maintenance to prevent potential issues. Regularly inspect your pipes, look for any signs of leaks or damage, and address any problems promptly to avoid more extensive repairs in the future.
Remember, if you are uncomfortable or unsure about performing any plumbing repairs, it’s best to contact a professional plumber who can safely and efficiently handle the situation.
With the repair completed and the water flowing smoothly, you can enjoy the peace of mind that comes with a properly functioning plumbing system.
Conclusion
Repairing a broken pipe in your plumbing system may seem like a daunting task, but with the right knowledge and tools, it can be done successfully. By following the step-by-step process outlined in this article, you can identify and address a broken pipe, ensuring the proper functioning and integrity of your plumbing system.
It all starts with identifying the broken pipe and turning off the water supply to prevent further damage. Draining the water from the pipes and gathering the necessary tools and materials sets the stage for a smooth repair process.
With the damaged section of the pipe cut out and the replacement pipe prepared, you can attach the new pipe securely to the existing plumbing system. It’s essential to test for any leaks to verify the effectiveness of the repair and make any necessary adjustments.
Finally, once you have thoroughly tested for leaks and confirmed the integrity of the repair, you can turn on the water supply and enjoy the restored water flow in your home. Regular monitoring and proper maintenance will help prevent future plumbing issues and ensure the long-term functionality of your pipes.
Remember, if you are uncertain or uncomfortable with performing plumbing repairs, it is always best to consult a professional plumber. They have the expertise and experience to handle any plumbing issue efficiently and safely.
By being proactive in identifying and repairing broken pipes, you can avoid costly water damage, maintain the integrity of your plumbing system, and enjoy the peace of mind that comes with a properly functioning home.
Frequently Asked Questions about How To Repair Broken Pipe Plumbing
Was this page helpful?
At Storables.com, we guarantee accurate and reliable information. Our content, validated by Expert Board Contributors, is crafted following stringent Editorial Policies. We're committed to providing you with well-researched, expert-backed insights for all your informational needs.

0 thoughts on “How To Repair Broken Pipe Plumbing”