Articles
How To Repair PVC Plumbing Pipe
Modified: December 7, 2023
Learn how to repair PVC plumbing with our informative articles. Get step-by-step instructions and expert tips for fixing leaks and replacing fittings.
(Many of the links in this article redirect to a specific reviewed product. Your purchase of these products through affiliate links helps to generate commission for Storables.com, at no extra cost. Learn more)
Introduction
When it comes to plumbing systems, PVC (polyvinyl chloride) is a popular choice due to its durability, affordability, and ease of installation. However, like any plumbing material, PVC pipes can sometimes develop issues such as leaks or cracks. The good news is that you can repair PVC plumbing yourself with just a few tools and materials.
In this article, we will guide you through the step-by-step process of repairing PVC plumbing. Whether you are a DIY enthusiast or a homeowner looking to save some money on plumbing repairs, this guide will provide you with the knowledge and skills you need.
Before we dive into the repair process, it’s important to gather the necessary tools and materials to ensure a smooth and successful repair job. Let’s take a look at what you will need.
Key Takeaways:
- DIY PVC plumbing repair is achievable with the right tools, safety precautions, and step-by-step guidance. By following the process outlined in this article, you can save time and money while gaining the satisfaction of a successful repair.
- Prioritize safety, measure accurately, and allow for proper drying time to ensure a reliable PVC plumbing repair. By being thorough and vigilant, you can confidently tackle DIY plumbing projects and prevent future issues.
Read more: How To Cut Plumbing PVC Pipe
Tools and Materials Needed
Before attempting to repair PVC plumbing, it’s important to gather the necessary tools and materials to ensure a successful and efficient repair. Here’s a list of items you will need:
Tools:
- Measuring tape
- Hacksaw or PVC pipe cutter
- Deburring tool or sandpaper
- Adjustable wrench
- Plumber’s tape
- Paintbrush or applicator
Materials:
- Replacement PVC pipe
- PVC primer
- PVC cement
- Clean rag or cloth
It’s important to note that the size and length of the replacement PVC pipe should match the existing pipe. Make sure to measure the damaged section accurately to ensure a proper fit.
Additionally, PVC primer and cement are essential for creating a strong and secure bond between the replacement piece and the existing plumbing.
Once you have collected all the necessary tools and materials, you are ready to proceed with the repair process. However, before diving in, it’s crucial to take some safety precautions to protect yourself and your property.
Safety Precautions
Handling PVC plumbing repairs requires caution and adherence to safety precautions. Here are some important guidelines to follow:
Read more: How To Repair Copper Plumbing Pipe
1. Wear Protective Gear:
Prioritize your safety by wearing appropriate protective gear such as safety goggles, gloves, and a dust mask. This will shield you from potential debris, chemical fumes, and any other hazards that may arise during the repair process.
2. Ensure Proper Ventilation:
When working with PVC primer and cement, make sure you are in a well-ventilated area. These products can emit strong and potentially harmful fumes, so adequate ventilation is essential to prevent any health risks.
3. Disconnect the Water Supply:
Before starting any repair work, turn off the water supply to the affected area. This will prevent any water flow and minimize the risk of accidental flooding or water damage while you’re working on the repair.
4. Keep a Fire Extinguisher Nearby:
PVC primer and cement are flammable substances. It is wise to have a fire extinguisher nearby to mitigate any fire hazards that may arise during the repair process.
Read more: How To Repair Broken Pipe Plumbing
5. Use Tools Correctly:
Make sure to use tools and equipment correctly and follow the manufacturer’s instructions. This will help prevent accidents and ensure a smooth repair process.
6. Follow Proper Techniques:
Be cautious when cutting and handling PVC pipes. Always cut away from yourself and others to minimize the risk of injury. Use steady, controlled movements and avoid rushing the process.
By following these safety precautions, you can minimize any potential risks and carry out your PVC plumbing repair project without any avoidable incidents.
Step 1: Identifying the PVC Plumbing Issue
Before you can begin the repair process, it’s crucial to identify the exact issue with your PVC plumbing. Here are some common problems you may encounter:
1. Leaks:
Leaks are one of the most common issues with PVC plumbing. These can occur at joints, cracks, or punctures in the pipes. Look for any signs of water dripping or pooling, as well as dampness or water stains on walls or floors.
Read more: How To Store PVC Pipe
2. Cracks or Breaks:
Inspect the PVC pipes for any visible cracks or breaks. These can occur due to age, pressure, or external factors. Look for any obvious signs of damage, such as visible gaps or disconnected sections.
3. Blockages:
If you notice water flow issues or slow drainage, there may be a blockage in the PVC plumbing. This can be caused by debris, sediment buildup, or tree roots intruding into the pipes. Take note of any areas where water is backing up or drains are sluggish.
4. Misalignments:
Check for any misalignments or disconnections between PVC pipes. Over time, the pipes can shift or become disconnected due to ground movement or improper installation. Look for gaps or offsets in the pipe connections.
Once you have identified the specific issue with your PVC plumbing, you can move on to the next step of gathering the necessary replacement parts and materials for the repair.
Step 2: Gathering Necessary Replacement Parts
After identifying the issue with your PVC plumbing, it’s time to gather the necessary replacement parts and materials for the repair. Here’s what you’ll need:
Read more: How To Install PVC Pipe Gutters
1. Replacement PVC Pipe:
The first step is to measure and determine the size and length of the damaged section of the PVC pipe. You will need a replacement pipe that matches these specifications. Measure the length accurately to ensure a proper fit.
2. PVC Primer:
PVC primer is an essential component for creating a strong and secure bond. It prepares the surface of the PVC pipe for the cement and ensures a proper adhesion between the pipes.
3. PVC Cement:
PVC cement is used to bond the replacement pipe to the existing plumbing. It forms a strong and permanent joint, ensuring a leak-free connection. Choose a cement that is compatible with your specific PVC pipes.
4. Clean Rag or Cloth:
A clean rag or cloth will be used to wipe away any excess primer or cement during the repair process. It’s important to keep the work area clean to achieve a neat and professional finish.
Read more: How To Use Flex Pipe For Plumbing
5. Additional Tools:
Along with the replacement parts, you will also need the tools mentioned earlier, such as a measuring tape, hacksaw or PVC pipe cutter, deburring tool or sandpaper, adjustable wrench, plumber’s tape, and a paintbrush or applicator.
Make sure you have all the necessary replacement parts and materials on hand before proceeding with the repair. This will ensure a smooth and efficient repair process without any interruption.
Step 3: Cutting Out the Damaged Section of PVC Pipe
Now that you have gathered all the necessary replacement parts and materials, it’s time to cut out the damaged section of the PVC pipe. Here’s how you can do it:
1. Turn Off the Water Supply:
Before starting any cutting or repair work, make sure to turn off the water supply to the affected area. This will prevent any water flow and minimize the risk of accidental flooding or water damage.
2. Measure and Mark:
Using a measuring tape, carefully measure the section of PVC pipe that needs to be removed. Mark the cutting points on either side of the damaged area. Ensure that the marks are straight and aligned properly.
Read more: How To Insulate Plumbing Pipes
3. Use a Hacksaw or PVC Pipe Cutter:
With the measurements and marks in place, you can now proceed to cut out the damaged section of the PVC pipe. You can use either a hacksaw or a PVC pipe cutter for this task.
If using a hacksaw, make sure to use long, even strokes, applying gentle pressure. Keep the blade perpendicular to the pipe to ensure a straight cut. Take your time and follow the marked lines.
If using a PVC pipe cutter, align the cutter’s blade with the marked cutting point. Squeeze the handles of the cutter to apply pressure and rotate the cutter around the pipe. Repeat this process until the pipe is cut through.
4. Smooth the Edges:
Once you have cut out the damaged section, use a deburring tool or sandpaper to smooth the edges of the cut. This will remove any burrs or rough edges, ensuring a clean and proper fit for the replacement pipe.
By following these steps, you can safely and accurately remove the damaged section of the PVC pipe. In the next step, we will cover how to prepare the replacement piece for installation.
Step 4: Preparing the Replacement Piece
After cutting out the damaged section of the PVC pipe, it’s time to prepare the replacement piece. Here’s what you need to do:
1. Measure the Replacement Piece:
Take the measurement of the removed section and transfer it onto the replacement PVC pipe. Use a measuring tape to ensure accurate measurements for a proper fit. Mark the cutting point on the replacement piece.
Read more: How To Make A PVC Pipe Towel Rack
2. Cut the Replacement Piece:
Using a hacksaw or PVC pipe cutter, cut the replacement piece to the measured length. Make sure to cut as straight as possible to achieve a clean and precise cut. Double-check the measurements before cutting to avoid any errors.
3. Smooth the Edges:
After cutting the replacement piece, use a deburring tool or sandpaper to smooth any rough edges. This will ensure a proper fit and prevent any leaks or changes in water flow.
4. Clean the Replacement Piece:
Wipe down the replacement piece with a clean rag or cloth to remove any dirt, dust, or debris. A clean surface is essential for the proper adhesion of the PVC primer and cement.
Once the replacement piece is properly prepared, you can move on to the next step, which involves applying PVC primer and cement to create a strong bond between the replacement piece and the existing plumbing.
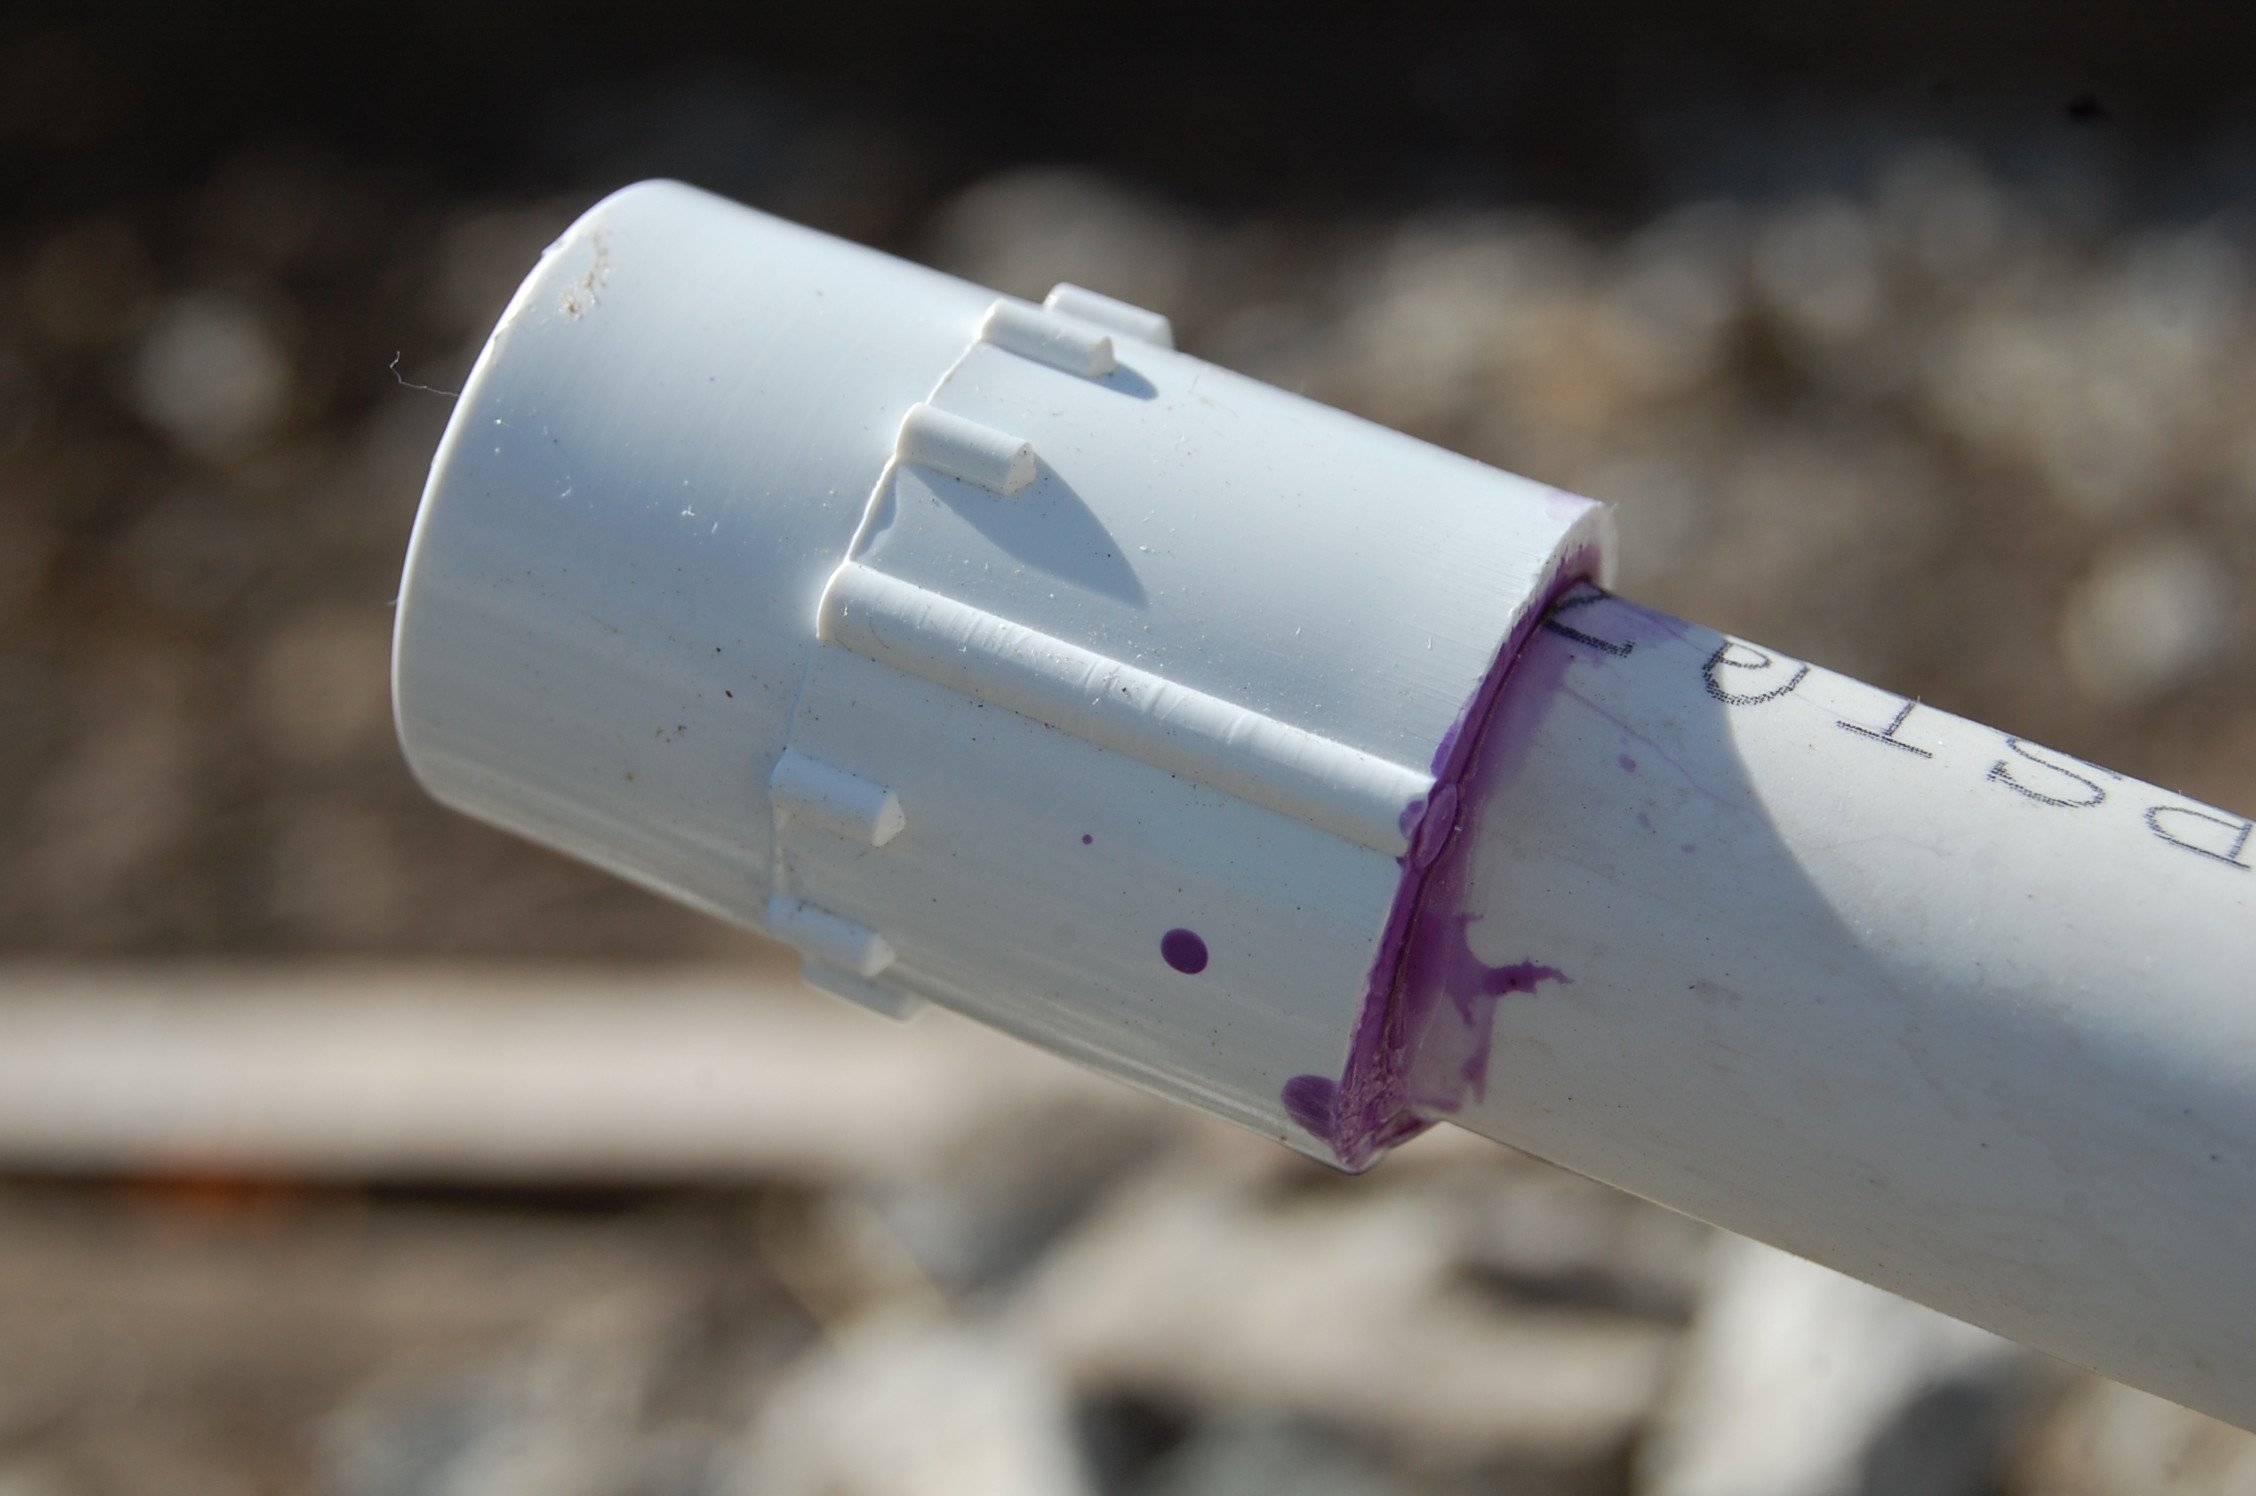
Step 5: Applying PVC Primer and Cement
Now that the replacement piece is prepared, it’s time to apply PVC primer and cement to create a strong and secure bond. Here’s how you can do it:
Read more: How To Loosen Pvc Pipe Under Sink
1. Prime the Surfaces:
Using a brush or applicator, apply PVC primer to the exterior of the existing plumbing and the interior of the replacement piece. Make sure to cover all the surfaces that will come into contact with each other during the repair.
Priming the surfaces is essential as it cleans and prepares the PVC for a proper adhesion with the cement. Follow the manufacturer’s instructions and allow the primer to dry for the recommended time.
2. Apply the Cement:
Once the primer is dry, apply PVC cement to the primed surfaces. Apply a generous amount of cement to the exterior of the existing plumbing and the interior of the replacement piece.
Make sure to work quickly but carefully as the cement dries rapidly. Align the replacement piece with the existing plumbing and firmly push it into place. Rotate the replacement piece slightly to ensure a uniform distribution of the cement.
3. Hold in Place:
After fitting the replacement piece, hold it firmly in place for a few seconds. This will help create a secure bond between the replacement piece and the existing plumbing. Avoid any movement or disturbance during the drying process.
4. Wipe Away Excess Cement:
Using a clean rag or cloth, wipe away any excess cement that may have squeezed out during the fitting process. It’s important to have a clean and neat finish.
Allow the PVC cement to dry completely according to the manufacturer’s instructions. This typically takes around 15-30 minutes. Once the joint is dry, you can move on to the next step of fitting the replacement piece into the existing plumbing.
Read more: How To Clean Plumbing Pipes
Step 6: Fitting the Replacement Piece into the Existing Plumbing
With the PVC primer and cement applied, it’s time to fit the replacement piece into the existing plumbing. Follow these steps to ensure a proper fit:
1. Insert the Replacement Piece:
Carefully insert the prepared replacement piece into the existing plumbing, aligning it with the cut ends of the original pipe. Make sure to push it in until it is fully seated.
2. Rotate and Align:
Once the replacement piece is inserted, give it a slight twist or rotation to evenly distribute the PVC cement. This will help create a strong and secure bond between the two pieces.
Ensure that the replacement piece is properly aligned with the existing plumbing to maintain the correct flow and connection of water through the system.
3. Check for Proper Fit:
Inspect the joint to ensure that it is fitted securely and without any gaps or misalignments. Give it a gentle tug to check for stability. A properly fitted joint should not move or shift.
Read more: How To Replace Plumbing Pipes
4. Allow for Bonding Time:
Once the replacement piece is fitted into the existing plumbing, allow it ample time to bond and dry. Follow the manufacturer’s instructions for the recommended drying time.
At this point, the joint is secured, and the PVC cement will continue to cure and harden over time. Next, you will need to check for any potential leaks in the repaired plumbing.
Step 7: Allowing Time for the Joint to Dry
After fitting the replacement piece into the existing plumbing, it’s crucial to allow sufficient time for the joint to dry and cure. Here’s what you need to do:
1. Follow the Manufacturer’s Instructions:
Refer to the instructions provided by the PVC cement manufacturer for the recommended drying time. Different types of cement may have varying curing times, so it’s important to follow the guidelines specific to the product you’re using.
2. Be Patient:
Avoid any movement or disturbance of the joint while it is drying. It’s important to give the cement enough time to form a strong and secure bond between the replacement piece and the existing plumbing.
Read more: How To Cut Plumbing Pipe
3. Optimal Drying Time:
The drying time will depend on various factors such as temperature, humidity levels, and the type of PVC cement used. Typically, the joint will be sufficiently dry within 15-30 minutes, but it’s best to allow several hours for a complete cure.
4. Test for Stability:
After the recommended drying time, gently test the joint to ensure it is stable and secure. Apply a slight pressure or tug to the replacement piece, checking for any movement or signs of weakness.
By allowing the joint to properly dry, you ensure the longevity and effectiveness of the repair. Once you have confirmed that the joint is fully cured, you can move on to checking for any potential leaks in the repaired plumbing.
Step 8: Checking for Leaks
After the joint has dried, it’s important to thoroughly check for any potential leaks in the repaired PVC plumbing. Here’s how you can do it:
1. Restore the Water Supply:
Turn the water supply back on to the repaired section of plumbing. Slowly increase the water flow to allow the pressure to build. Pay close attention to the joint you repaired.
Read more: How To Hide Plumbing Pipes
2. Inspect for Water Leakage:
Observe the joint carefully for any signs of water leakage. Look for drips, wet spots, or any water escaping from the joint or surrounding areas. Inspect both the interior and exterior of the joint.
3. Feel for Moisture:
Run your fingers along the joint and nearby areas to feel for any moisture. Be thorough and check every part of the joint to ensure there are no hidden leaks.
4. Use a Dry Cloth:
If you suspect a minor leak, wipe the joint with a dry cloth and observe if any water is absorbed. This will help you identify even the slightest hint of moisture.
5. Repeat the Process:
Repeat the water flow test and inspection process multiple times to be certain there are no leaks. Sometimes, leaks may only appear after several cycles of water flow.
Read more: How To Make A Vertical Garden With PVC Pipe
6. Addressing Leaks:
If you discover any leaks, you may need to repeat the repair process or apply additional PVC primer and cement to reinforce the joint. Make sure to follow the manufacturer’s instructions and take the necessary measures to rectify the issue.
By thoroughly checking for leaks, you can ensure that the PVC plumbing repair is successful and there are no further issues with the repaired section.
Step 9: Restoring Water Flow and Testing the Repaired Plumbing
Once you have confirmed that there are no leaks in the repaired PVC plumbing, it’s time to restore water flow and test the effectiveness of the repair. Here’s what you need to do:
1. Open the Water Supply Valves:
Ensure that all water supply valves associated with the repaired section are fully open. This will allow water to flow freely through the plumbing system.
2. Check Water Flow:
Observe the water flow from faucets, showers, or other outlets connected to the repaired section. Confirm that water is flowing smoothly and without any obstructions or unusual noises.
Read more: How To Make A Room Divider Using PVC Pipe
3. Monitor for Changes:
Pay attention to any changes in water pressure, temperature, or consistency. Note any irregularities that may indicate a problem with the repair or other plumbing issues.
4. Test Multiple Fixtures:
Test the repaired plumbing by running water through various fixtures and outlets associated with the repaired section. This will ensure that the repair has been effective and that water flow is normal throughout the system.
5. Remain Vigilant:
Continue to monitor the repaired plumbing over the next few days to ensure there are no recurring leaks or issues. Address any problems that arise promptly to avoid further damage or complications.
By restoring water flow and testing the repaired plumbing, you can verify the success of your repair. If everything is functioning properly, congratulations on a job well done!
Conclusion
Repairing PVC plumbing may seem like a daunting task, but with the right tools, materials, and knowledge, it is something that you can successfully accomplish on your own. By following the step-by-step process outlined in this guide, you can repair PVC plumbing issues such as leaks, cracks, or blockages.
Remember to prioritize safety by wearing protective gear and following safety precautions throughout the repair process. Take your time to accurately identify the plumbing issue, gather the necessary replacement parts, and cut out the damaged section of the PVC pipe.
Preparing the replacement piece by measuring, cutting, and smoothing the edges is crucial for a proper fit. Applying PVC primer and cement creates a strong bond between the replacement piece and the existing plumbing, ensuring a reliable repair.
Allowing sufficient time for the joint to dry is essential to ensure the longevity of the repair. Be thorough in checking for any leaks before restoring water flow and testing the repaired plumbing.
By successfully repairing your PVC plumbing, you save both time and money, while also gaining the satisfaction of accomplishing a DIY project. However, if you encounter any difficulties or doubts, it is always recommended to consult with a professional plumber.
Remember, proper maintenance and regular inspection of your PVC plumbing can help prevent future issues. Stay vigilant and keep an eye out for any signs of wear, damage, or leaks. By addressing problems early on, you can avoid costly repairs in the future.
With the knowledge gained from this guide, you are now equipped to confidently tackle PVC plumbing repairs. So roll up your sleeves, gather your tools, and take on your next DIY plumbing project with ease and efficiency.
Frequently Asked Questions about How To Repair PVC Plumbing Pipe
Was this page helpful?
At Storables.com, we guarantee accurate and reliable information. Our content, validated by Expert Board Contributors, is crafted following stringent Editorial Policies. We're committed to providing you with well-researched, expert-backed insights for all your informational needs.
0 thoughts on “How To Repair PVC Plumbing Pipe”