
Articles
How To Remove Stanley Tool Chest Drawers
Modified: August 28, 2024
Discover how to remove the drawers from your Stanley tool chest with these step-by-step articles. Simplify your organization and maintenance
(Many of the links in this article redirect to a specific reviewed product. Your purchase of these products through affiliate links helps to generate commission for Storables.com, at no extra cost. Learn more)
Introduction
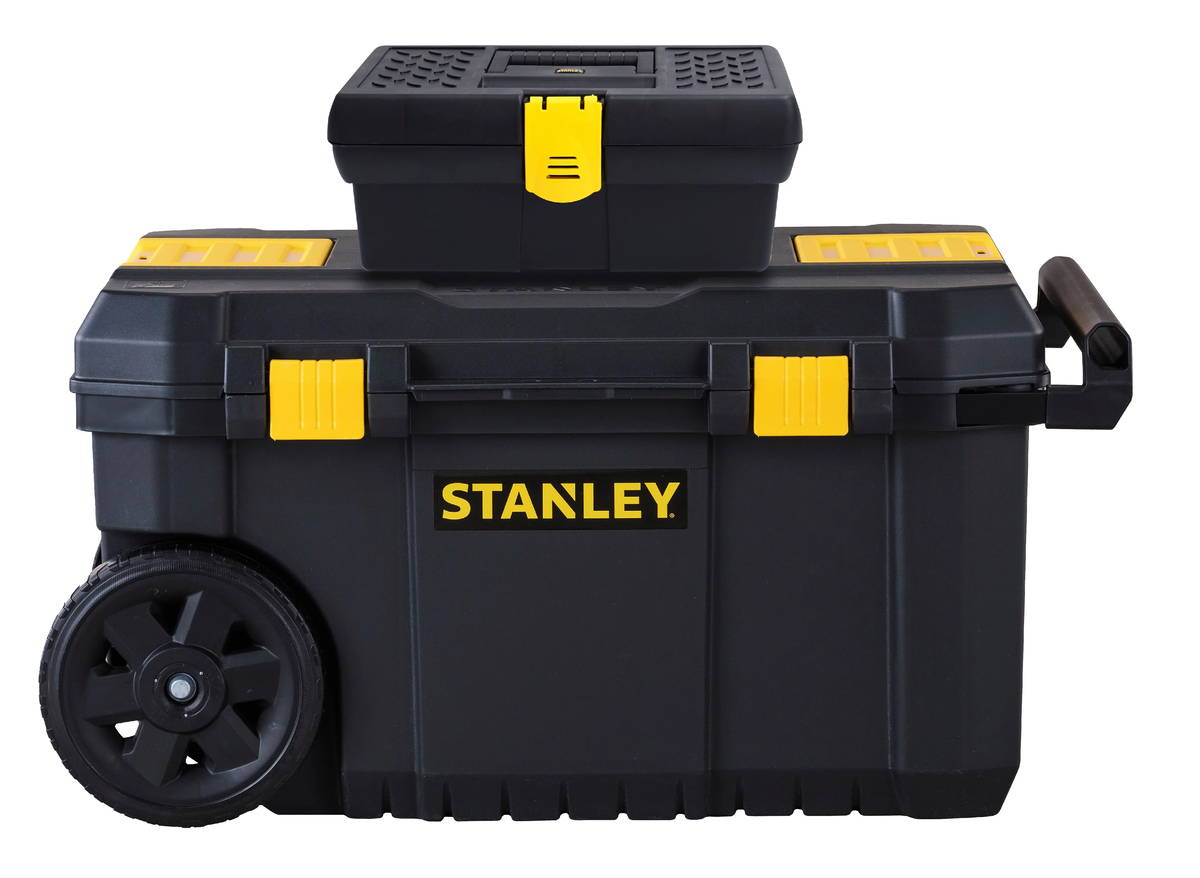
Welcome to this guide on how to remove the drawers from your Stanley tool chest. The Stanley tool chest is a popular choice for storing and organizing tools, but at times you may need to remove the drawers for various reasons. Whether you are cleaning the chest, making repairs, or simply rearranging your tools, knowing how to remove the drawers properly is essential.
Removing the drawers from a Stanley tool chest can be a simple process when you have the right tools and follow the correct steps. In this article, we will walk you through the process step-by-step, highlighting the tools and materials you will need along the way. So, let’s get started!
Key Takeaways:
- Easily remove Stanley tool chest drawers by following simple steps and using basic tools like screwdrivers and a rubber mallet. Keep your chest clean and organized for efficient tool storage.
- Reassemble the drawers with ease after cleaning or making repairs. Ensure smooth operation by aligning the slides and checking for any screws or bolts. Enjoy a well-organized tool chest!
Read more: How To Remove Drawer Craftsman Tool Chest
Tools and Materials Needed
Before you begin, make sure you have the following tools and materials ready:
- Phillips head screwdriver
- Flathead screwdriver
- Rubber mallet
- Adjustable wrench
- Clean cloth or towel
- Optional: lubricant or silicone spray
Having these tools and materials on hand will ensure a smooth and efficient process of removing the drawers from your Stanley tool chest.
Step 1: Emptying the Tool Chest
The first step in removing the drawers from your Stanley tool chest is to empty the chest of all its contents. This will make it easier to access and remove the drawers without any obstructions.
Start by removing any loose items that may be lying on top of or inside the drawers. Carefully take out all the tools, accessories, and other items stored in the chest and set them aside in a safe place. Organize them if necessary to keep track of everything and prevent any misplaced items.
Once the chest is empty, give it a quick wipe-down with a clean cloth or towel to remove any dust, dirt, or debris that may have accumulated. This will ensure a clean working environment and prevent any unwanted particles from interfering with the drawer removal process.
With the tool chest emptied and cleaned, you are now ready to move on to the next step: removing the top drawer.
Step 2: Removing the Top Drawer
Now that the tool chest is empty, it’s time to remove the top drawer. Follow these steps:
- Open the top drawer fully to access the contents.
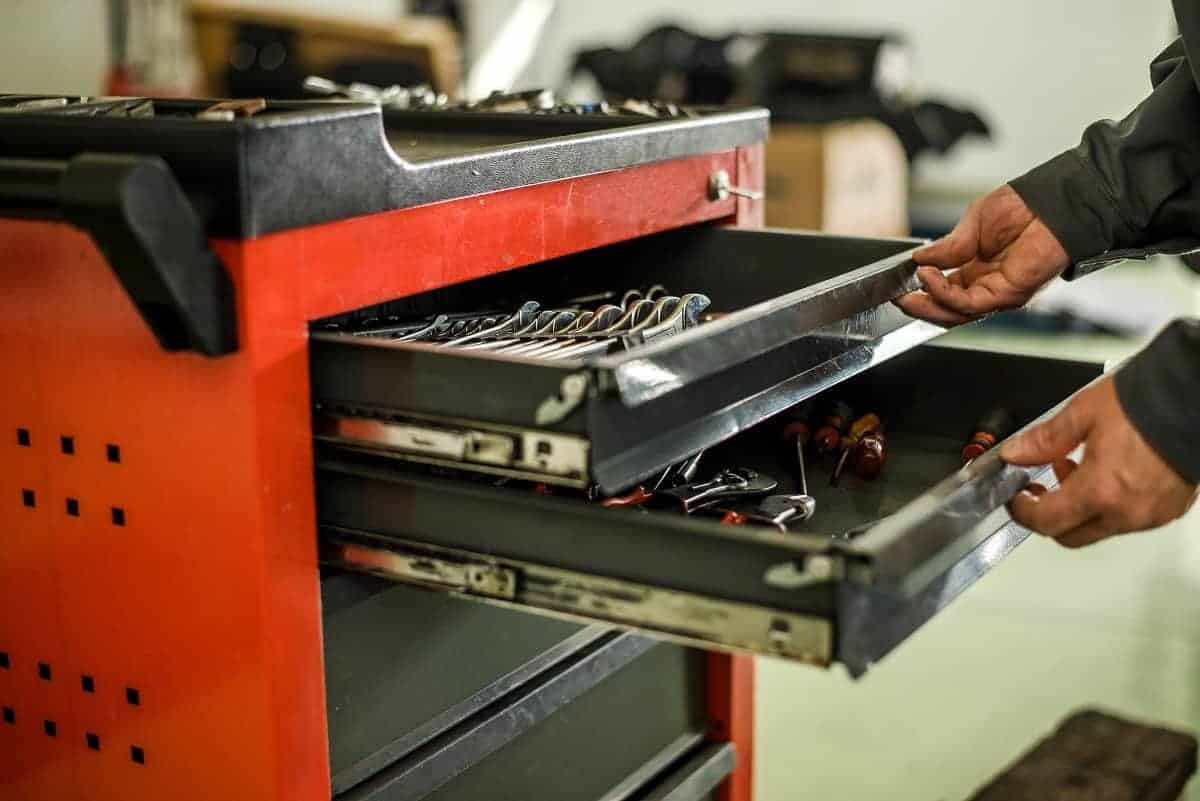
- Look for any retention clips or tabs at the back of the drawer. These clips or tabs are usually located near the slides or on the sides.
- Use a flathead screwdriver or your fingers to disengage the retention clips or tabs. Gently push or lift them to release the drawer from the slides.
- Slowly pull the drawer towards you, keeping it level and straight. If the drawer feels stuck, check for any screws or bolts that may be securing it to the slides. Use a screwdriver or wrench to remove these fasteners if necessary.
- If the drawer still won’t come out, you can try tapping the sides of the drawer with a rubber mallet. This gentle force can help loosen any stuck parts or debris that may be hindering the removal.
- Continue pulling the drawer out until it is completely removed from the tool chest.
With the top drawer successfully removed, you can now proceed to the next step: removing the middle drawer.
To remove Stanley tool chest drawers, first, open the drawer fully. Then, locate the release tabs on each side of the drawer slides and push them in while pulling the drawer out.
Step 3: Removing the Middle Drawer
With the top drawer out of the way, it’s time to move on to removing the middle drawer. Follow these steps:
- Make sure the top drawer and any remaining drawers are closed.
- Locate the slides or rails that connect the middle drawer to the tool chest. These are usually located on the sides or bottom of the drawer.
- Inspect the slides for any retention clips or tabs. These may need to be disengaged before removing the drawer.
- If there are no visible retention clips or tabs, gently pull the middle drawer towards you. Be cautious and check for any screws or bolts that may be securing the drawer to the slides.
- If there are screws or bolts, use a screwdriver or wrench to remove them. Be sure to keep track of these fasteners for reassembly later.
- If the drawer feels stuck or resistant, try tapping the sides with a rubber mallet to help loosen any stubborn parts.
- Continue pulling the drawer towards you until it is completely detached from the slides.
With the middle drawer successfully removed, you can now proceed to the final step: removing the bottom drawer.
Step 4: Removing the Bottom Drawer
Now that the top and middle drawers have been removed, it’s time to tackle the bottom drawer. Follow these steps:
- Ensure that the remaining drawers are closed.
- Inspect the bottom drawer and locate the slides or rails that connect it to the tool chest. These are usually located on the sides or bottom of the drawer.
- Check for any retention clips or tabs on the slides. These may need to be disengaged before you can remove the drawer.
- If there are no visible retention clips or tabs, gently pull the bottom drawer towards you. Always be mindful of any screws or bolts that may be securing the drawer to the slides.
- If there are screws or bolts present, use a screwdriver or wrench to remove them. Keep these fasteners safely for reassembly later.
- If the drawer is stubborn or difficult to remove, lightly tap the sides with a rubber mallet to release any stuck parts or debris.
- Continue pulling the drawer towards you until it is completely detached from the slides.
With the bottom drawer successfully removed, you have now completed the process of removing all the drawers from your Stanley tool chest. Congratulations!
Step 5: Reassembling the Tool Chest
After removing the drawers from your Stanley tool chest, it’s time to reassemble the chest. Follow these steps to put everything back together:
- Carefully align the slides or rails on the first drawer with the corresponding slots or tracks in the tool chest.
- Insert the drawer into the chest, ensuring it sits evenly and securely on the slides.
- If there were any screws or bolts used to secure the drawer, reinsert and tighten them using a screwdriver or wrench.
- Repeat steps 1-3 for the remaining drawers, starting with the middle drawer and then the bottom drawer.
- Once all the drawers are reassembled, open and close each one to ensure they glide smoothly on the slides and operate properly.
- If you encounter any issues with the drawers not fitting correctly or functioning smoothly, double-check the alignment of the slides and make any necessary adjustments.
With the drawers securely back in place, take a moment to organize your tools and belongings inside the chest. This will ensure a clean and efficient storage system for your items.
Congratulations! You have successfully reassembled your Stanley tool chest, and it is now ready to be used again.
Conclusion
Removing the drawers from your Stanley tool chest may seem like a daunting task, but with the right tools and following a step-by-step process, it can be a straightforward and manageable job. Whether you need to clean, repair, or rearrange your tools, knowing how to remove the drawers correctly is essential.
In this guide, we have walked you through the steps of emptying the tool chest, removing the top, middle, and bottom drawers, and reassembling the tool chest. By following these steps and using the necessary tools, you can safely and efficiently remove and reinsert the drawers without any hassle.
Remember to always be cautious and mindful of any screws, bolts, or retention clips that may be holding the drawers in place. Take your time and work systematically to ensure a successful outcome.
With the drawers removed, take the opportunity to clean and organize your tools before placing them back into the tool chest. This will help streamline your workflow and make accessing your tools easier in the future.
Now that you have mastered the art of removing the drawers from your Stanley tool chest, you can confidently tackle any maintenance or organization tasks that come your way. Enjoy the enhanced functionality and ease of use that a well-organized tool chest provides!
Now that you've mastered removing drawers from your Stanley tool chest, why stop there? Keep your workspace sleek and efficient by exploring our next guide on tool storage options. Whether you need a compact case or a spacious cabinet, our comprehensive review covers all bases. Stay organized and make your workshop the envy of every handyman!
Frequently Asked Questions about How To Remove Stanley Tool Chest Drawers
Was this page helpful?
At Storables.com, we guarantee accurate and reliable information. Our content, validated by Expert Board Contributors, is crafted following stringent Editorial Policies. We're committed to providing you with well-researched, expert-backed insights for all your informational needs.

0 thoughts on “How To Remove Stanley Tool Chest Drawers”