Home>Furniture>Living Room Furniture>12 Amazing Pvc Room Divider For 2025
Living Room Furniture
12 Amazing Pvc Room Divider For 2025
Modified: June 10, 2025
Discover 12 incredible PVC room dividers for 2025. Enhance your space with stylish and versatile partitions. Find your perfect PVC room divider today!
(Many of the links in this article redirect to a specific reviewed product. Your purchase of these products through affiliate links helps to generate commission for Storables.com, at no extra cost. Learn more)
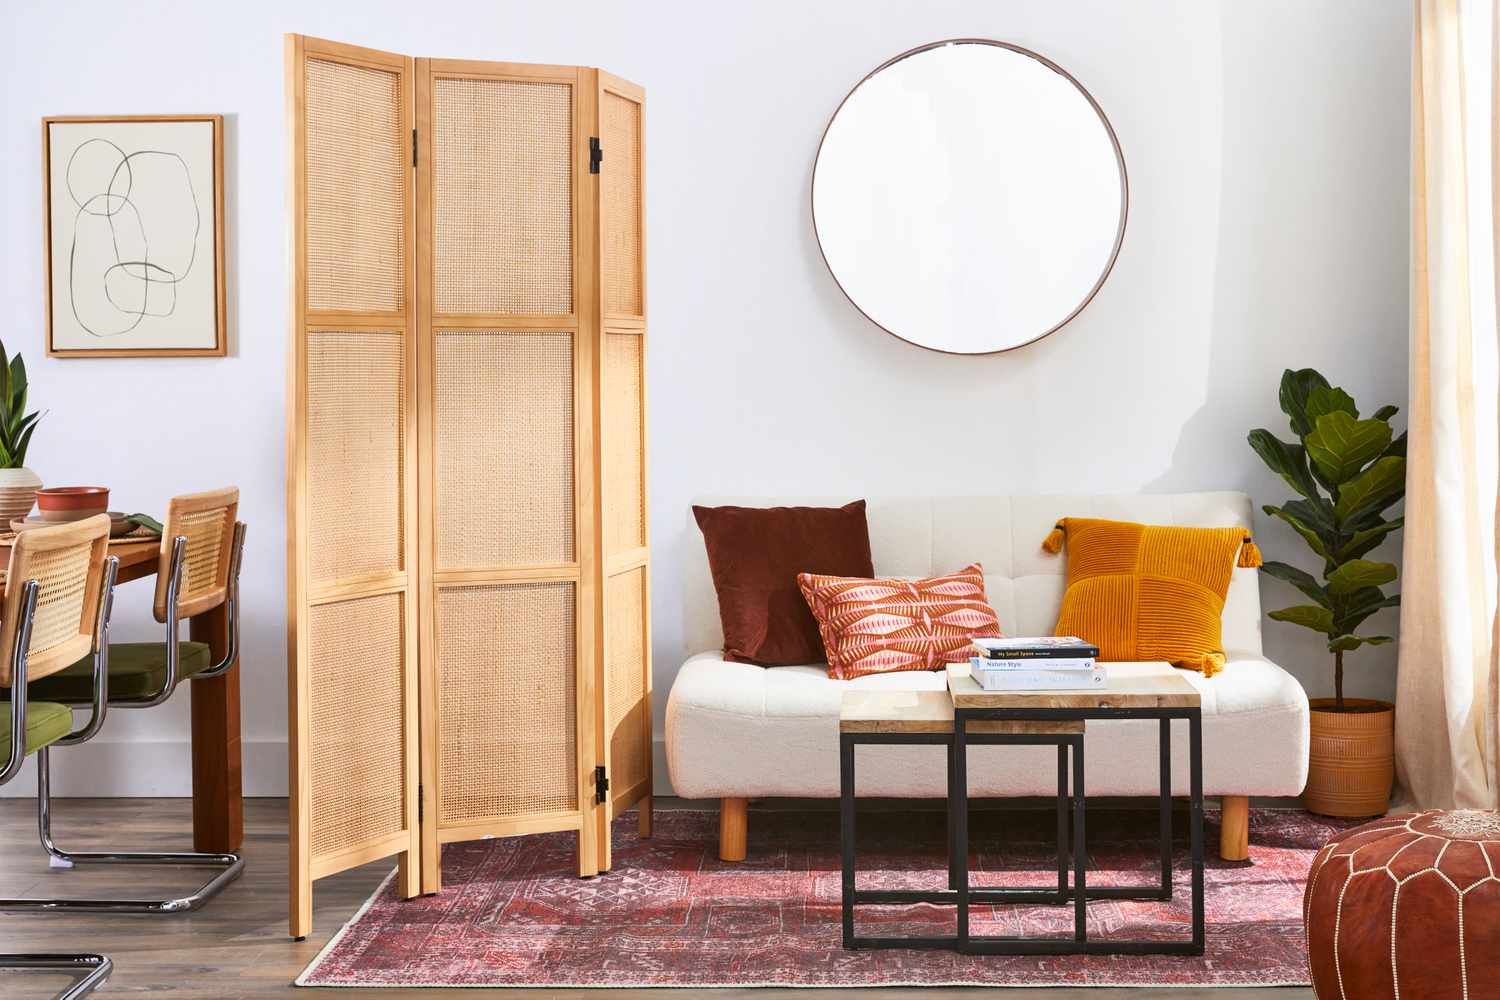
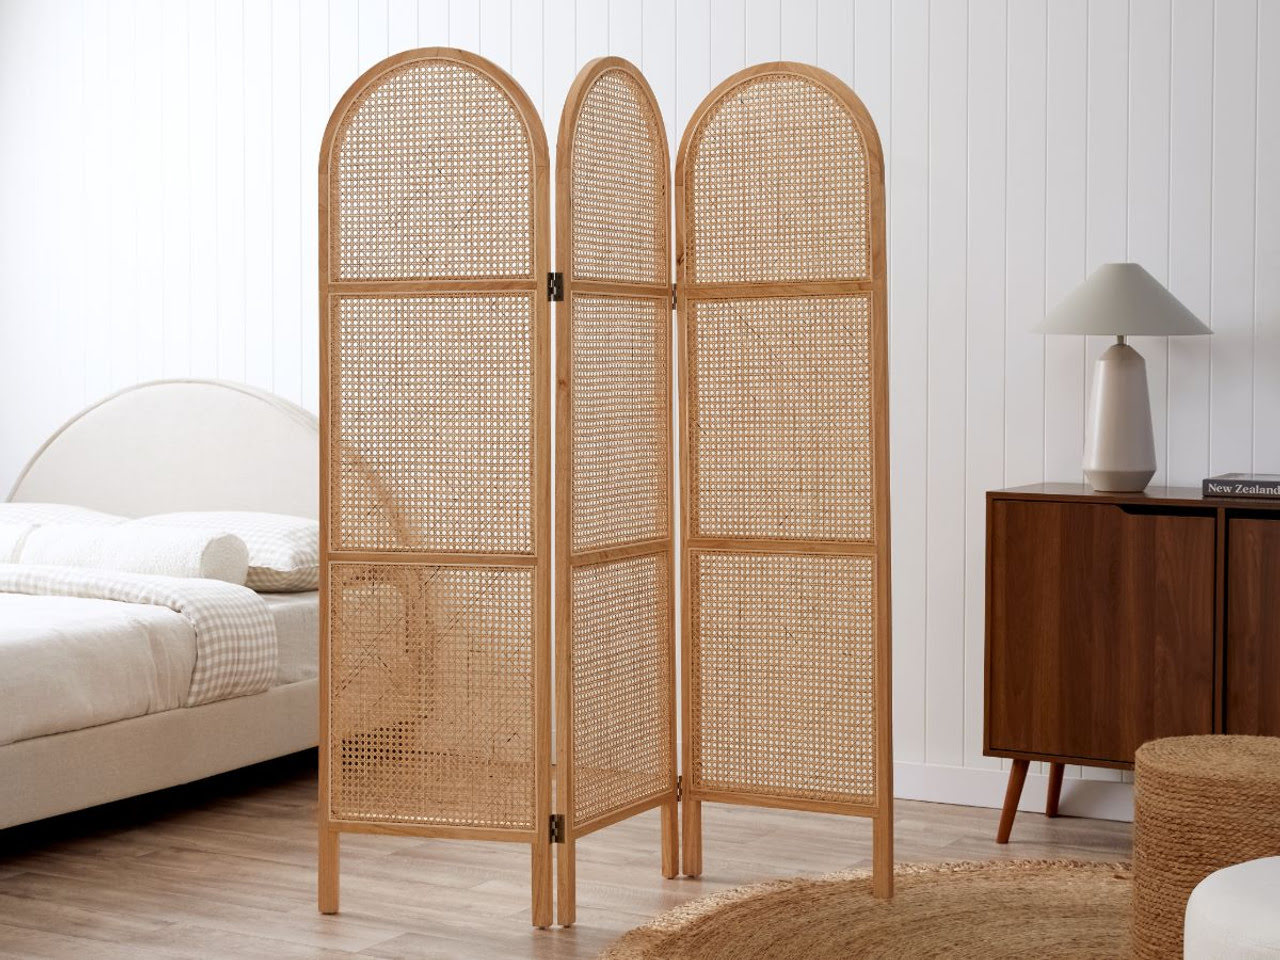
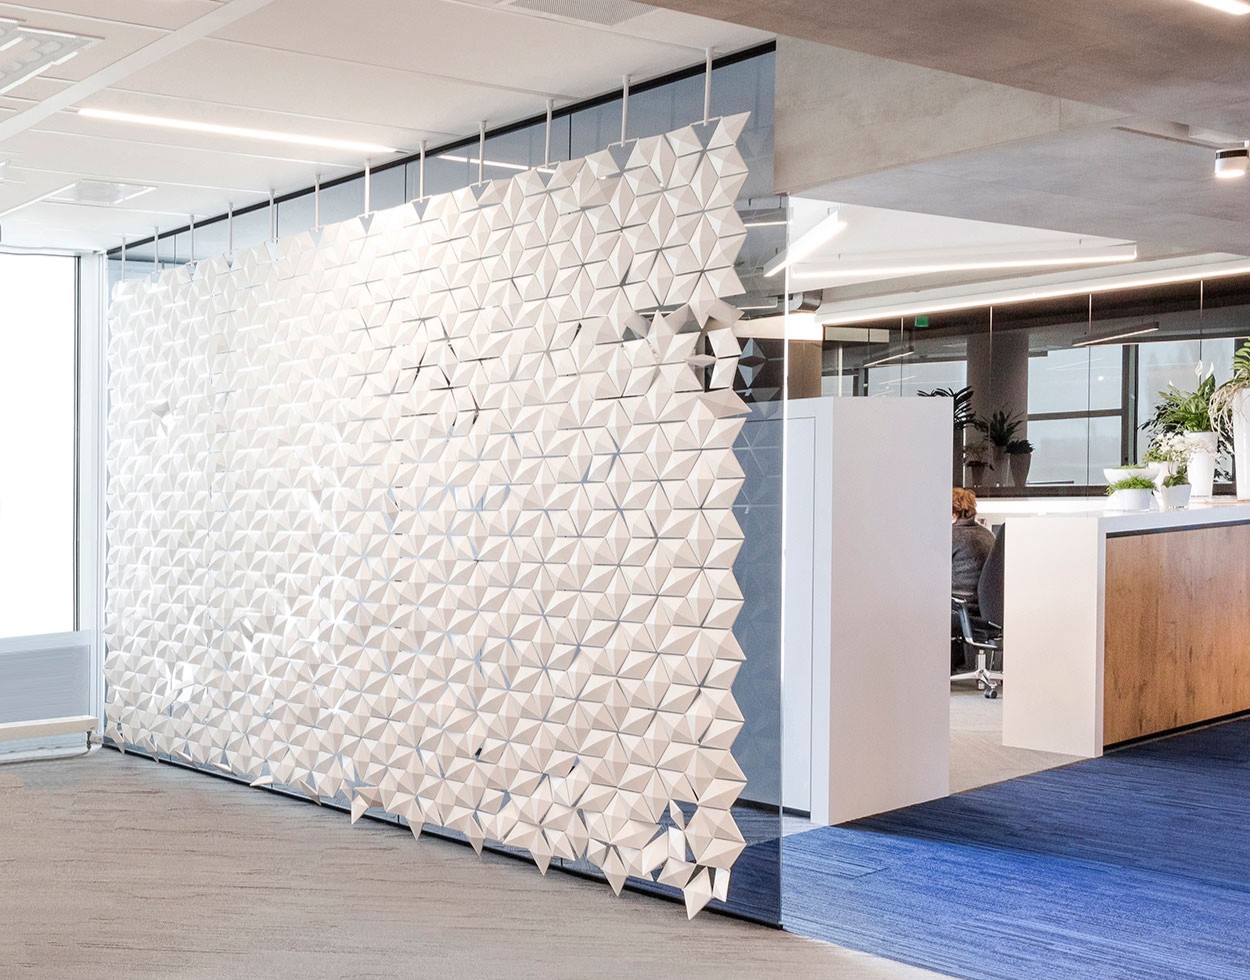
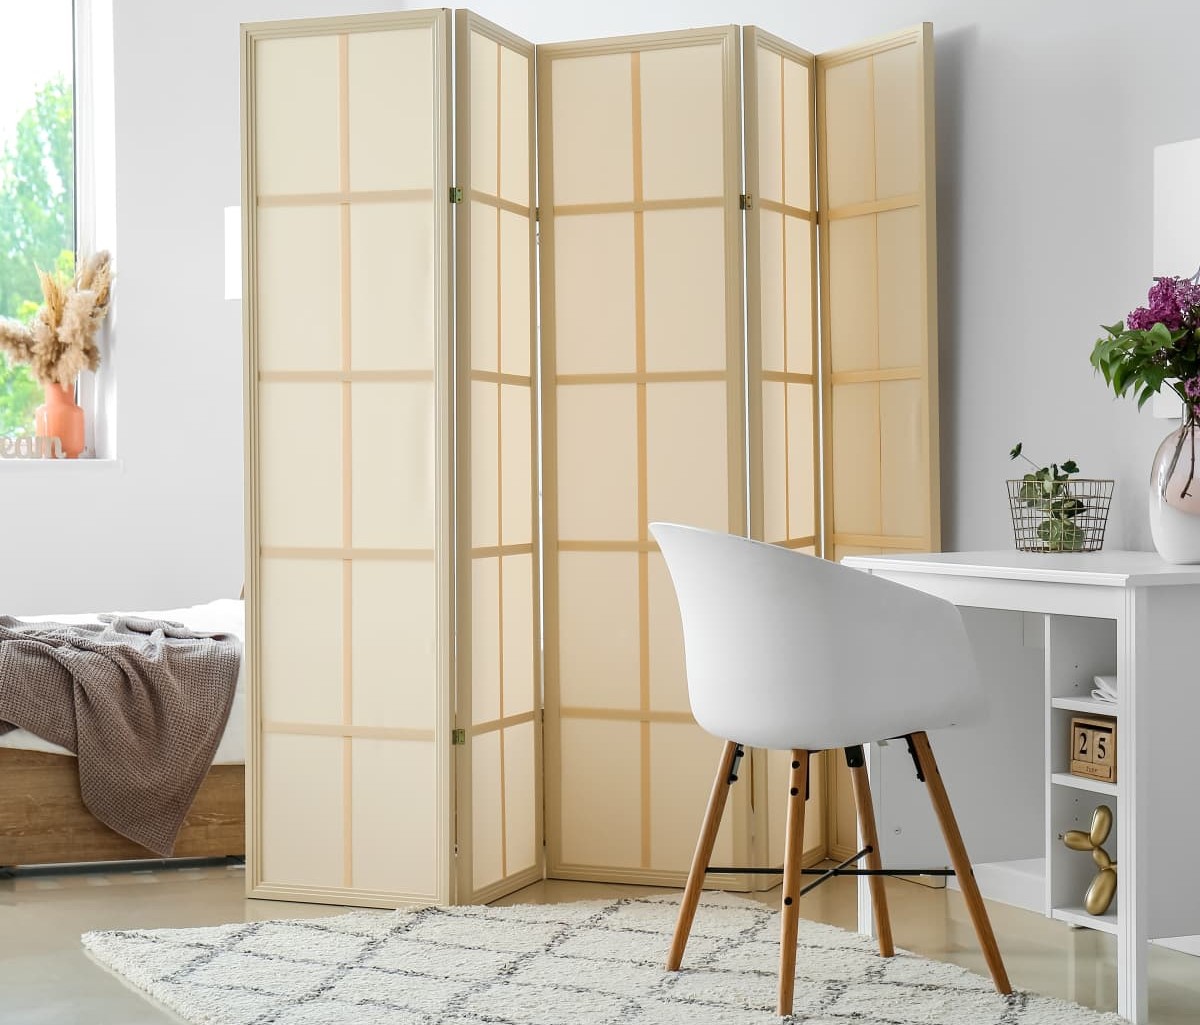
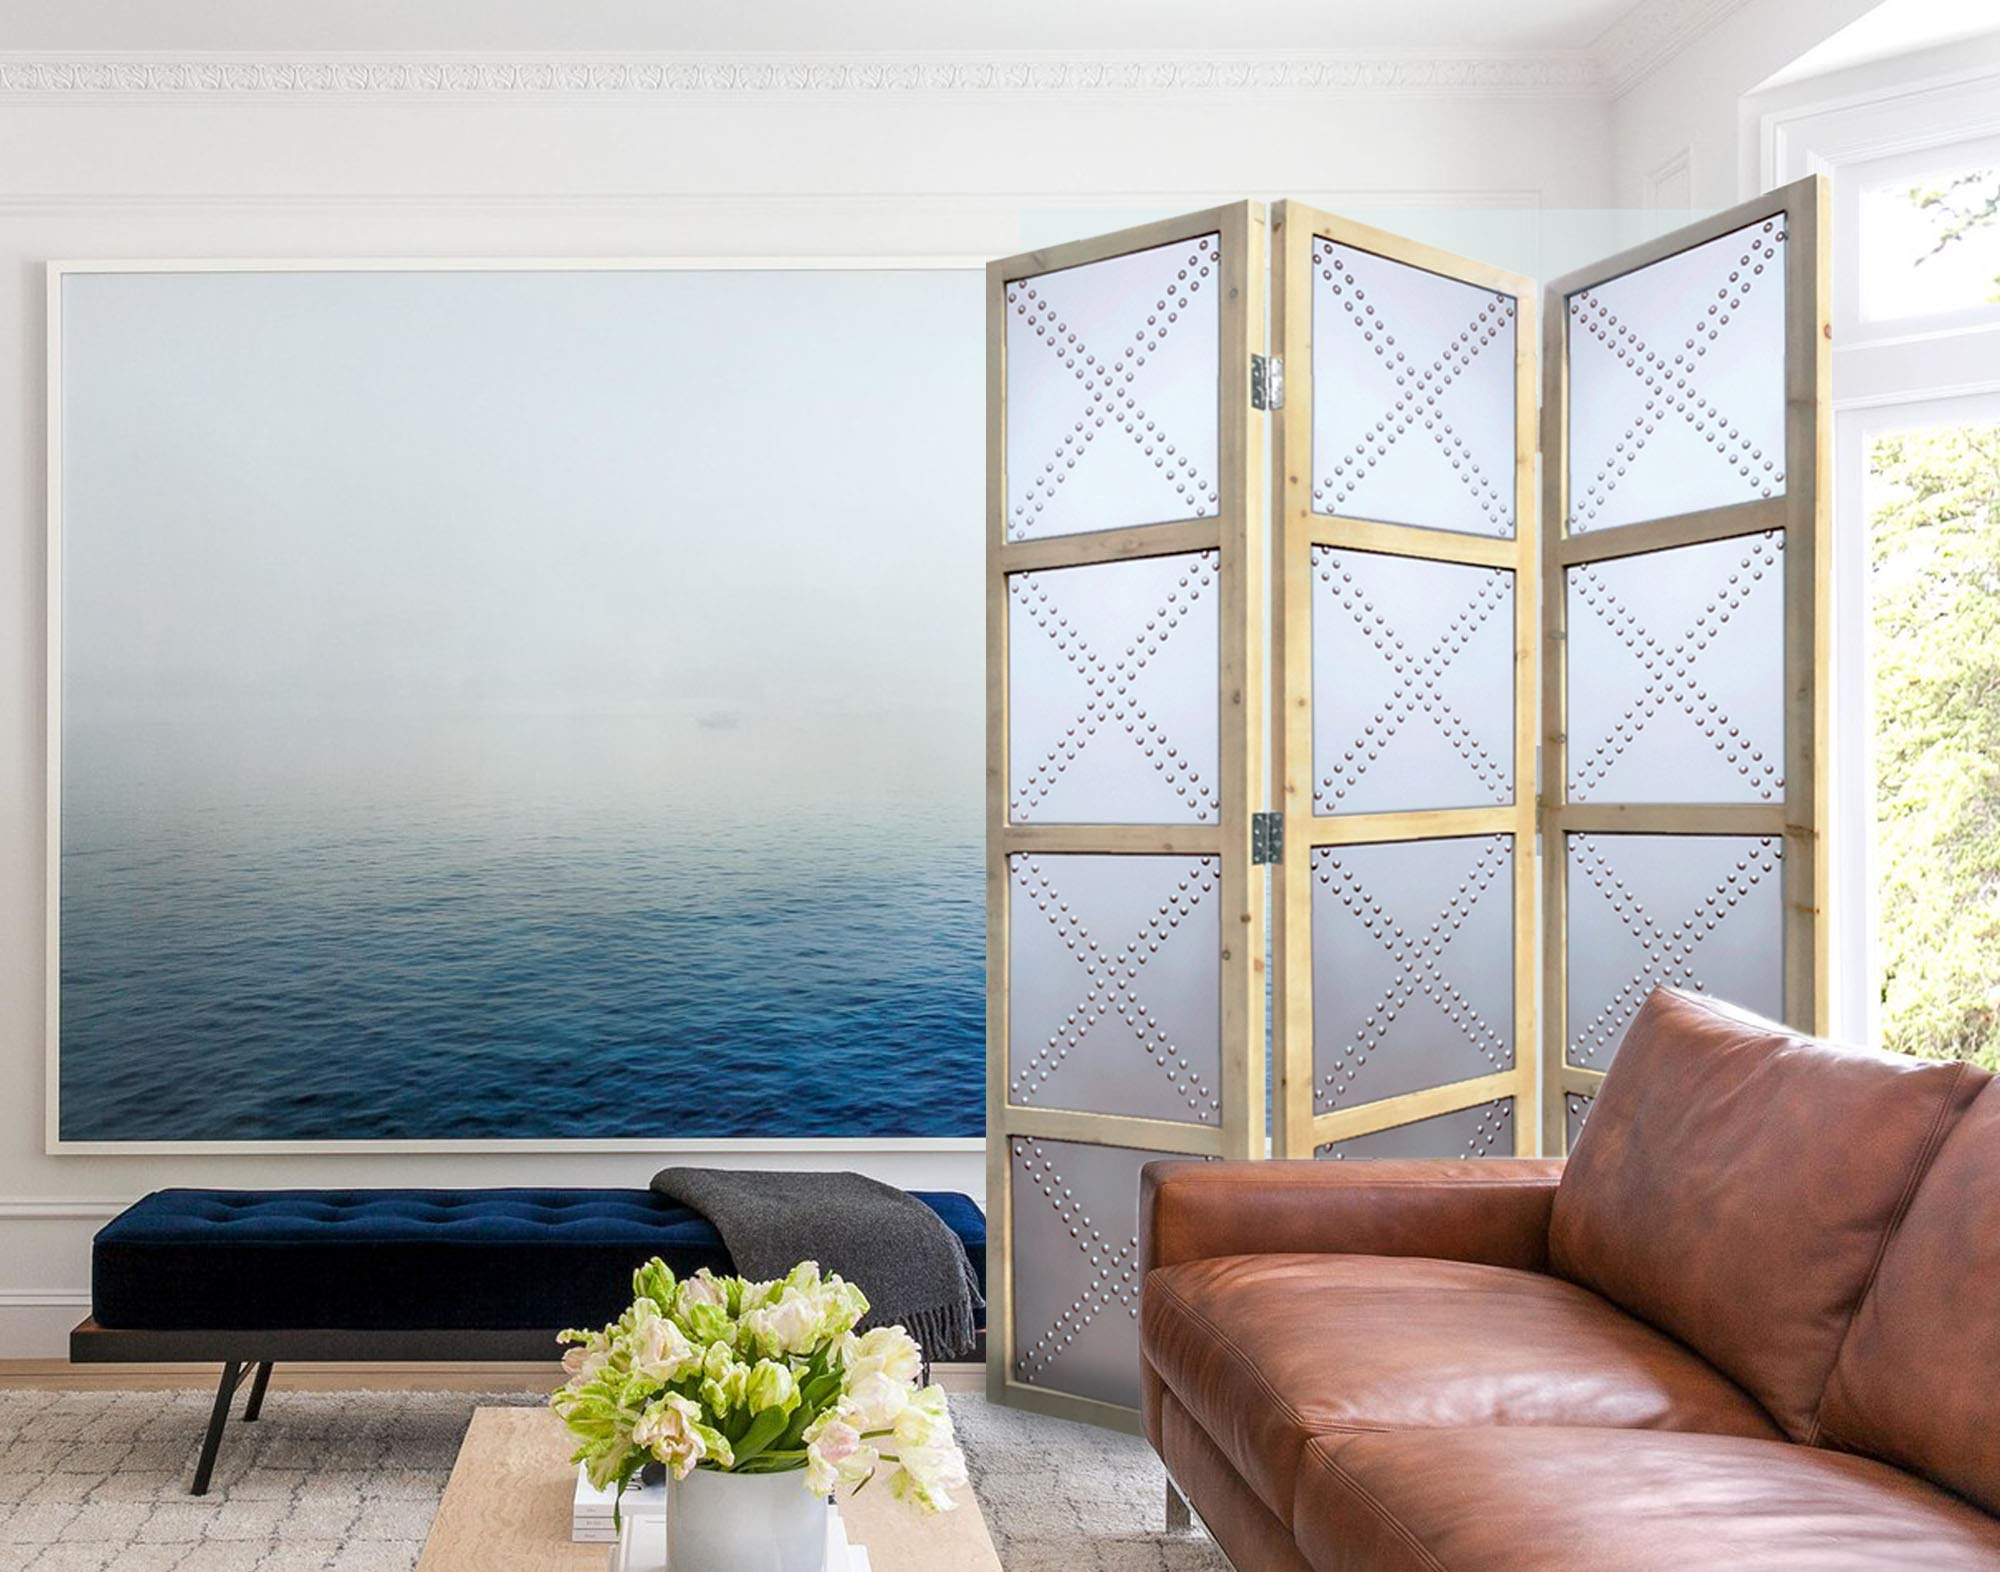
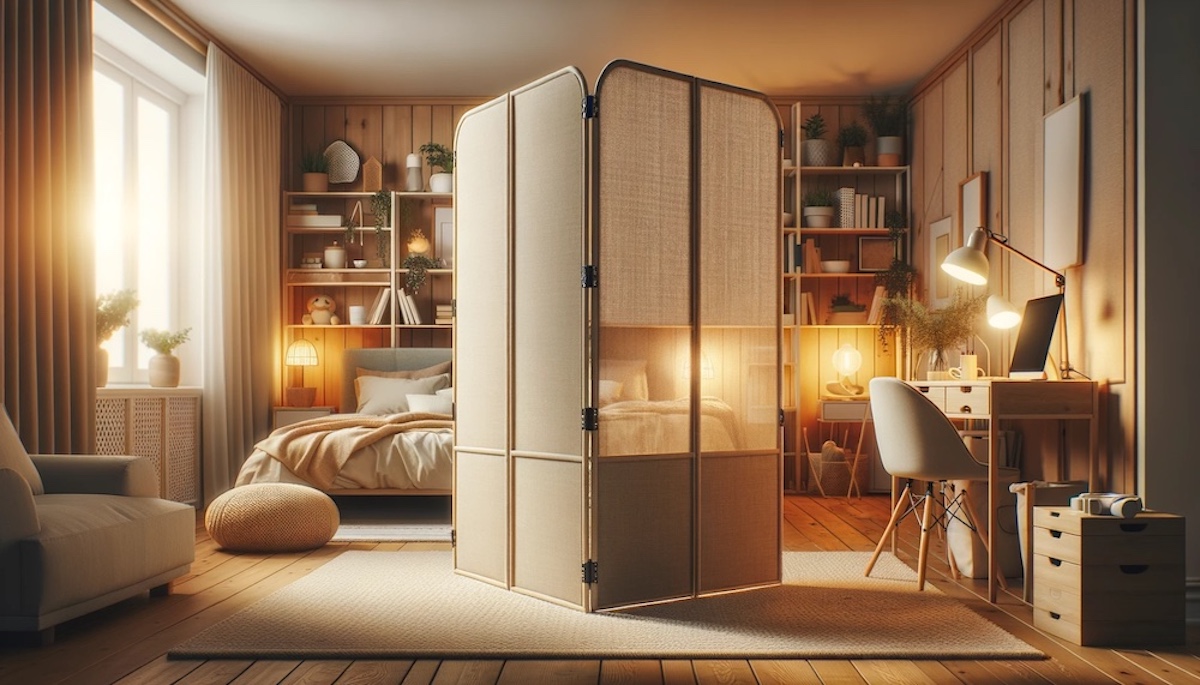
Introducing the ultimate solution to transform your space in style – 12 Amazing PVC Room Dividers for 2025. These innovative and versatile room dividers offer a perfect blend of functionality and aesthetic appeal, allowing you to create separate zones or enhance privacy with ease. Crafted from high-quality PVC materials, these dividers are not only durable but also lightweight, making them a practical choice for any room. Whether you're looking to create a cozy reading nook, a private workspace, or add a touch of elegance to your living area, these 12 Amazing PVC Room Dividers for 2025 are the perfect addition to your home decor arsenal.

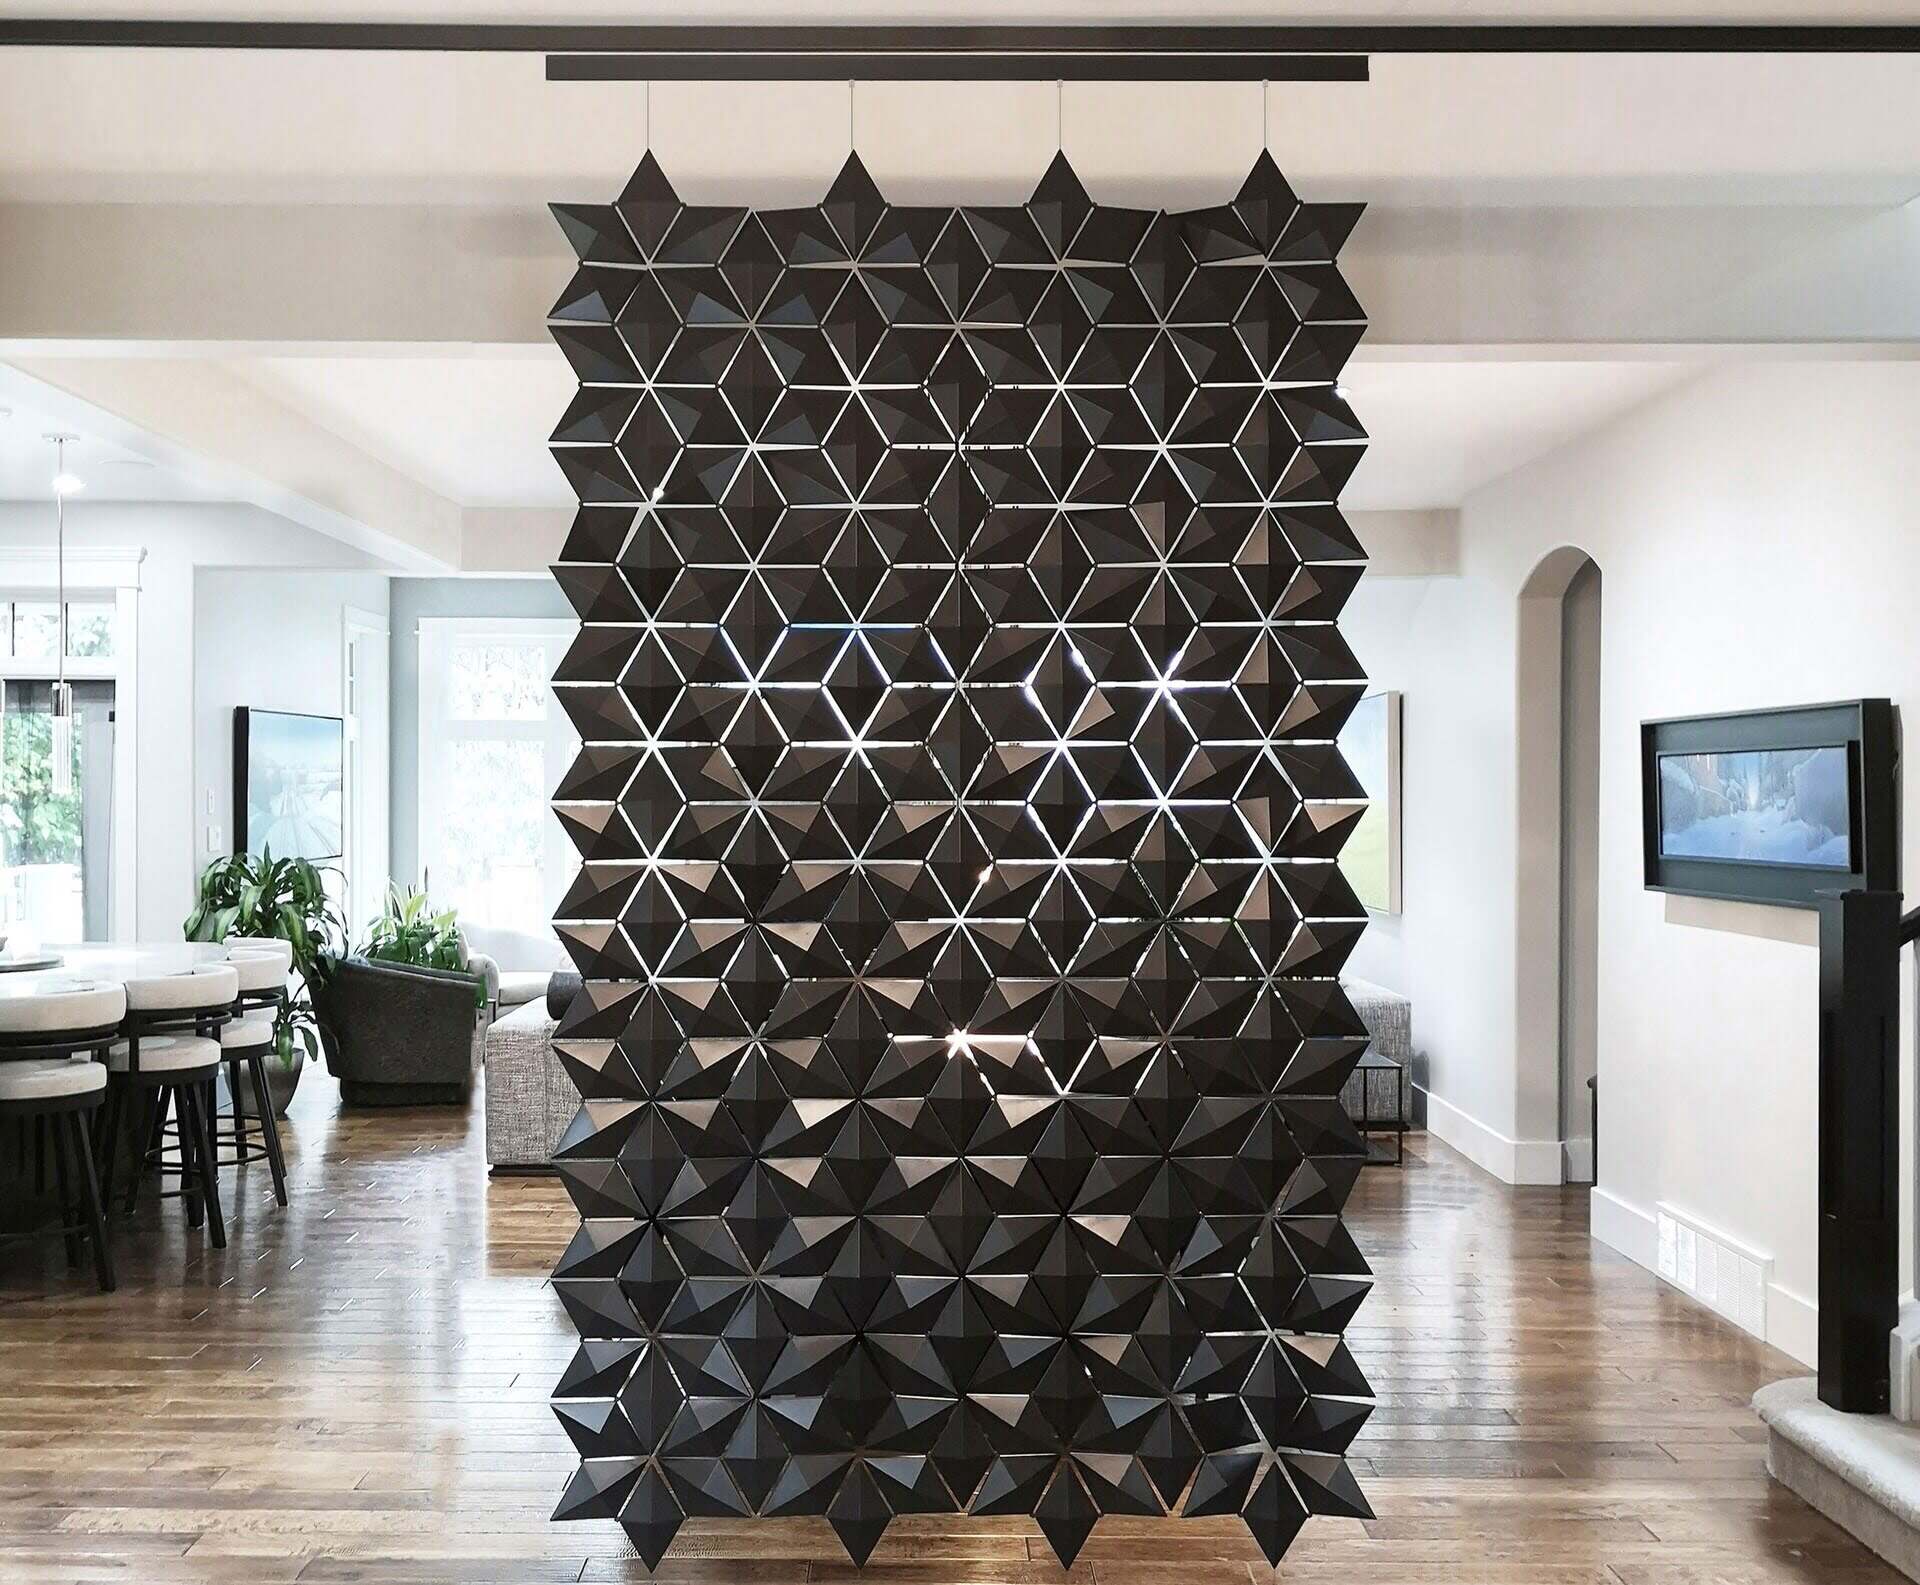
Overall Score: 8/10
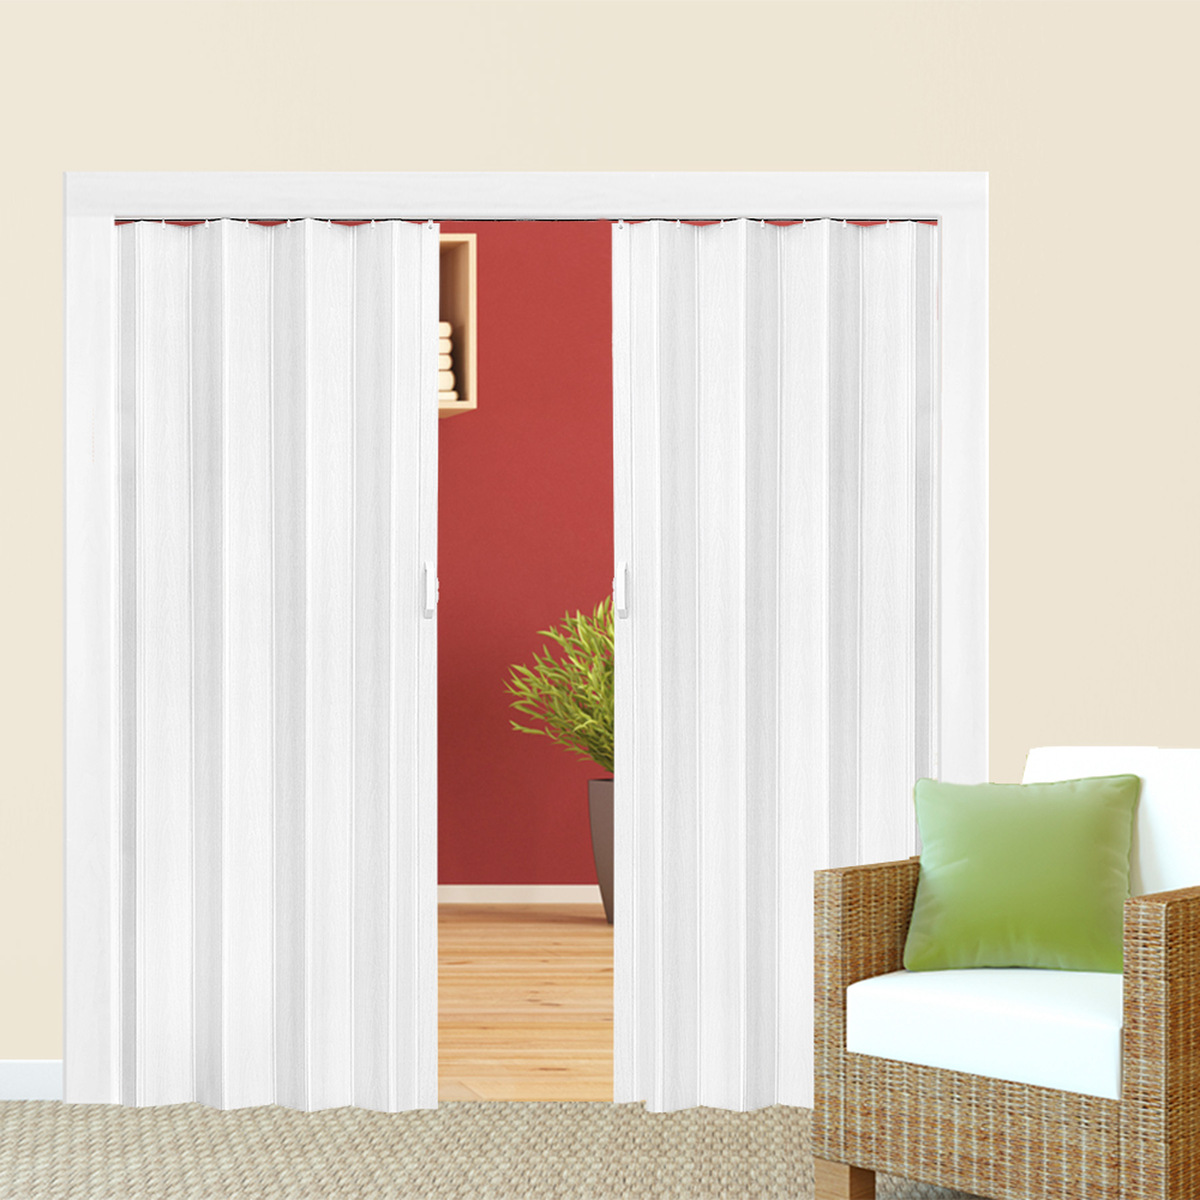
The Lchen Hanging Room Divider Panels are a versatile and environmentally friendly option for dividing or decorating a room. Made of PVC material, these panels are lightweight and easy to install. With a thickness of 0.032~0.034 inches, they are slightly thicker than other panels on the market. The panels come with a set of black clips that allow for easy assembly. They can be used not only as room dividers but also for decoration in bedrooms, living rooms, hotels, bars, and schools. The panels are easy to maintain and can be washed with a wet towel to keep them looking like new. Overall, the Lchen Hanging Room Divider Panels offer a practical and stylish solution for dividing and decorating any space.
Key Features
- Made of environmentally PVC material
- Comes with bending adjuster bar to straighten panels
- Thicker panel than other options
- Multipurpose use for various spaces
- Easy to assemble with black clips
- High-quality and durable
- Easy to install with provided studs and hooks
- Easy to maintain and clean
- Excellent after-sale service
Specifications
- Color: Black01
- Dimensions: 0.01Lx64.00Wx48.00H
Pros
- Environmentally friendly PVC material
- Versatile use for dividing or decorating
- Thicker panels for added durability
- Easy to assemble and install
- Low maintenance and easy to clean
Cons
- Some customers received different connectors than described
- Panels may be too thin for certain uses
- Can be difficult to hang without bending or warping
The Lchen Hanging Room Divider Panels are a great choice for anyone in need of a versatile and stylish solution for dividing or decorating a room. Made of environmentally friendly PVC material, these panels are not only durable but also easy to maintain. With their thicker design, they offer added durability compared to other options on the market. The panels are easy to install and can be assembled using the provided black clips. While some customers have experienced issues with different connectors or panel thickness, overall, these panels provide a practical and attractive solution for dividing and decorating various spaces. With their high-quality construction and excellent after-sale service, the Lchen Hanging Room Divider Panels are worth considering for any room or space that requires a stylish and convenient divider.

Overall Score: 8/10
The Kernorv Hanging Room Divider Decorative Screen Panels are a versatile and stylish solution for dividing your space. Made of environmentally friendly and safety PVC material, these room divider panels are both elegant and durable. With a simple flower pattern in classic black, they will enhance the beauty of any room while providing privacy. The 12 decorative panel screens can be easily combined in various shapes and lengths, allowing for creative and personalized designs. These panels are also easy to install, either through hooks and screws or adhesive hooks/sticky wall hooks. They can be washed and will maintain their like-new appearance. Enjoy a worry-free experience with Kernorv's friendly and easy-to-reach support.
Key Features
- Made of environmentally friendly and safety PVC material
- Simple flower pattern in classic black
- 12 decorative panel screens can be freely combined
- Easy installation with hooks and screws or adhesive hooks
- Washable for easy maintenance
- Friendly and easy-to-reach support
Specifications
- Color: Black-02
- Dimension: 15.70L x 0.01W x 15.70H
Pros
- Versatile and stylish solution for dividing space
- Elegant design enhances any room
- Offers privacy
- Easy to install and customize
- Durable and washable material
- Excellent customer support
Cons
- Metal clips may not be sturdy enough
- Not enough hooks for installation
- Panels may not stay straight and may bow/indent
- Can be fragile while putting up
The Kernorv Hanging Room Divider Decorative Screen Panels are a fantastic option for those looking to divide their space with style and elegance. Made of high-quality PVC material, these panels are not only visually appealing but also practical and easy to install. With the ability to freely combine the 12 panels, you can create unique designs to suit your preferences. While there are some minor concerns with the sturdiness of the metal clips and the number of hooks provided, the overall customer satisfaction and positive reviews speak for themselves. If you’re in need of a functional and decorative room divider, the Kernorv Hanging Room Divider Decorative Screen Panels are an excellent choice.

Overall Score: 7.5/10
The RANTILA Single Large Panel Room Divider is a versatile and stylish privacy screen perfect for your office or home. It features a classic and modern design that effortlessly blends with any decor. The room divider is lightweight and easy to move around, allowing you to change and rearrange your space as needed. The high-quality, durable fabric is both UV protected and waterproof, making it easy to clean. With its steel frame, this privacy screen divider is stable and long-lasting. It comes with clear instructions for easy installation, and if there are any missing or defective parts, the manufacturer offers prompt support. Add privacy and style to your space with the RANTILA Single Large Panel Room Divider.
Key Features
- Move and Store Freely
- High Quality & Durable Fabric
- Classic and modern design
- Easy to install
- Support
Specifications
- Color: Grey
- Dimension: 0.01Lx71.00Wx71.00H
- Size: 1 Large Panel
Pros
- Lightweight and easy to move
- UV protected and waterproof fabric
- Sturdy steel frame
- Clear installation instructions
- Prompt customer support
Cons
- Feet may be unstable
- Legs need frequent tightening
- Big gap when panels join
The RANTILA Single Large Panel Room Divider offers a practical and stylish solution for creating privacy in any space. Its lightweight design and easy installation make it a convenient choice, while the high-quality fabric and steel frame ensure durability. The room divider’s classic and modern design seamlessly blends with existing decor, and it comes with the added benefits of UV protection and waterproofing. While there may be some issues with stability and leg tightening, overall, this product provides excellent value for its affordable price. Whether you need to divide an office or create separation in a shared room, the RANTILA Single Large Panel Room Divider is a reliable and versatile choice.

Overall Score: 7.5/10
The Steel-AID Single-Panel Privacy Room Divider is a high-quality and multifunctional partition that offers privacy and versatility. Made with waterproof and stain-resistant materials, this room divider is perfect for creating a private space in cramped quarters or as a backdrop for pictures and interviews. With its sufficient size and easy assembly, it can be used in various settings such as dorm rooms, offices, and living rooms. The classic design of the room divider makes it blend seamlessly with any interior design. Despite some minor issues with opacity and assembly, overall, the Steel-AID Single-Panel Privacy Room Divider is a solid purchase with good value for money.
Key Features
- High-quality materials with a waterproof and stain-resistant polyester panel
- Multifunctional use as a privacy partition or backdrop
- Sufficient size for use in various settings
- Easy and solo assembly with simple instructions
- Classic design that blends with any interior
Specifications
- Color: Grey
- Dimension: 1.00Lx71.00Wx72.00H
- Size: One Panel, 72” (72” x 1)
Pros
- High-quality materials
- Multifunctional use
- Easy assembly
- Classic design
- Sufficient size
Cons
- Not fully opaque
- Some assembly defects
The Steel-AID Single-Panel Privacy Room Divider offers an affordable and versatile solution for creating privacy in various settings. With its high-quality materials, easy assembly, and classic design, it is a practical and aesthetically pleasing addition to any space. While it may not be fully opaque and may have some minor assembly defects, these issues do not outweigh its overall value and functionality. Whether you need a private space in a dorm room, office, or living room, this room divider is worth considering.

Overall Score: 9/10
The Giantex 6.2Ft Folding 4-Panel Room Divider is a freestanding partition wall designed to create privacy and separate spaces in your home, office, apartment, or studio. Measuring 87 inches in width and 6.2 feet tall, this room divider is large enough to section off a room into personalized spaces, making it perfect for avoiding distractions while working or studying. It can also create a temporary sleeping or study space. The room divider features a connect buckle between each panel, allowing you to arrange it into various shapes such as L-shaped and W-shaped. Made of premium polyester fabric and a thickened metal frame, it is durable and stable. This multipurpose folding screen panel is a chic addition to any setting. It is easy to assemble and maintain. The folding design makes it portable and suitable for various locations. Its black color adds to its style and practicality. Overall, the Giantex 6.2Ft Folding 4-Panel Room Divider offers versatility and privacy, making it an excellent storage product for personal and professional use.
Key Features
- Measures 87" in length and 74" in height
- Connect buckle allows for various folding options
- Made of premium polyester fabric with a thickened metal frame
- Chic style perfect for home, office, hotel, school, and hospital
- Easy assembly and maintenance
Specifications
- Color: Black
- Dimension: 0.01Lx87.00Wx74.00H
- Size: 4-Panel
Pros
- Large enough for personalized spaces
- Adjustable folding options
- Durable and stable construction
- Multipurpose and stylish design
- Easy to assemble and maintain
Cons
- Instructions on how to close it properly not provided
The Giantex 6.2Ft Folding 4-Panel Room Divider is a versatile and practical storage product that offers privacy and separation in various settings. Its large size, adjustable folding options, and durable construction make it a reliable choice for creating personalized spaces. Whether you need to divide a room, create a temporary sleeping or study area, or add a decorative element to your space, this room divider is a great solution. Its easy assembly and maintenance further enhance its convenience. The only downside is the lack of instructions on how to close it properly. Overall, the Giantex 6.2Ft Folding 4-Panel Room Divider is an excellent choice for those looking to enhance privacy and organization in their living or working environments.

Overall Score: 6.5/10
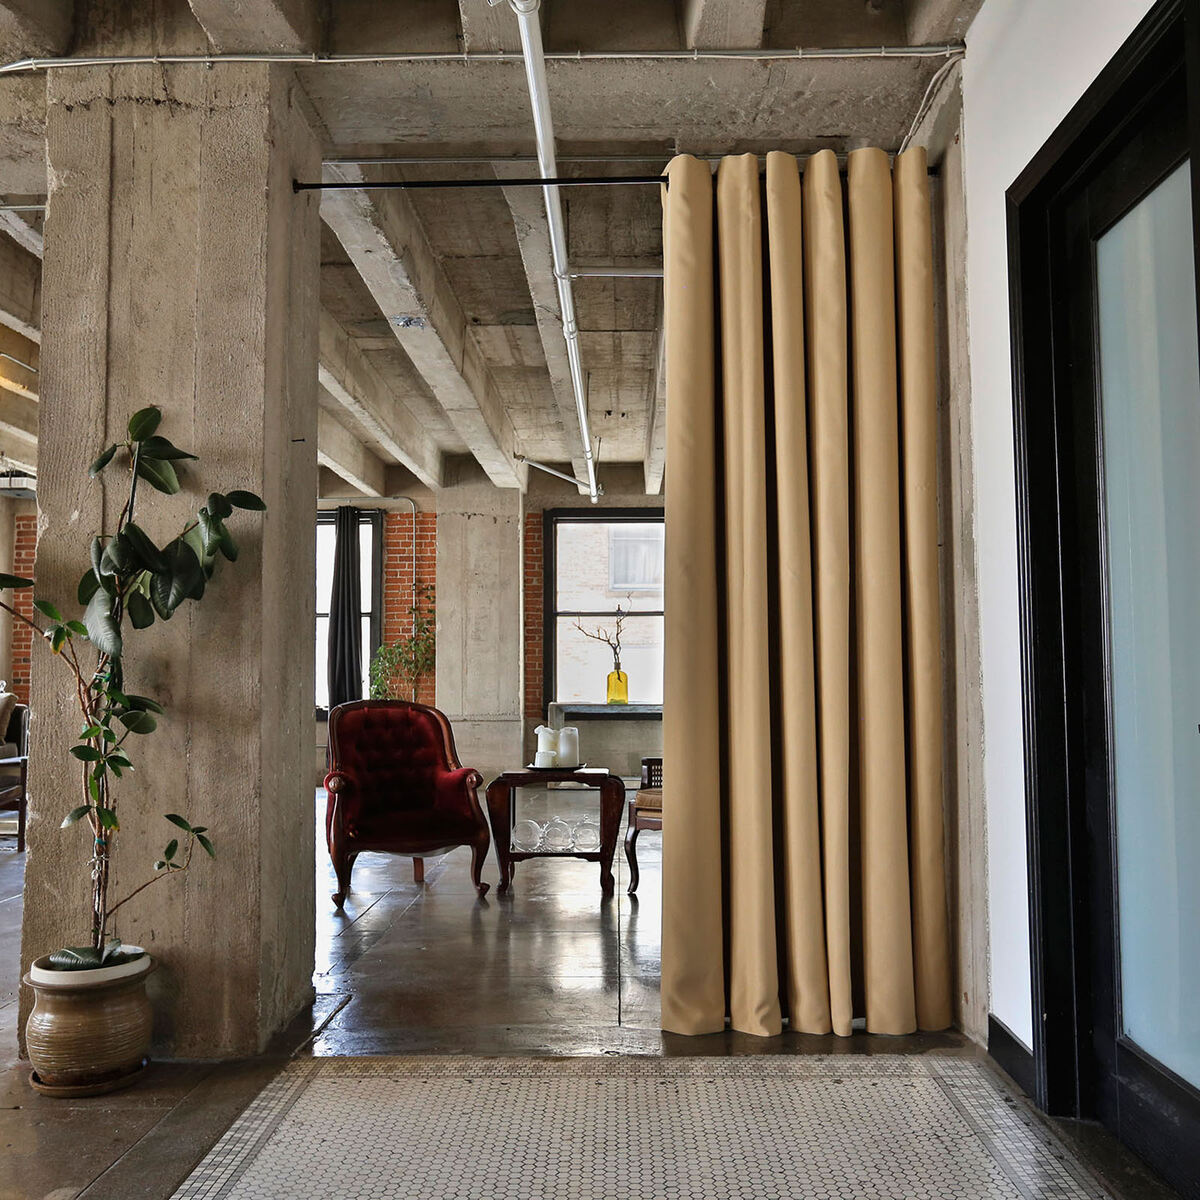
Create temporary privacy with the Morngardo Room Divider Privacy Screens. This single panel wall divider is easy to install and serves as a great alternative for overnight guests or separating a room. It can also be used to block out sunlight when placed beside a window. Made with high quality materials, this divider features a strong frame structure and classic design. Its lightweight and portable nature allows for easy transportation and it can be used in various settings such as homes, schools, offices, and more. The Morngardo Room Divider Privacy Screens are a popular choice for creating privacy and dividing space.
Key Features
- All installation tools included for easy setup
- Great as a room separator or to block out sunlight
- High density polyester fabric with strong frame structure
- Lightweight and portable for easy transportation
- Overall dimensions: 72"L x 70"H
Specifications
- Color: White
- Dimension: 0.01Lx71.00Wx72.00H
Pros
- Easy to install
- Not see-through fabric
- Good size for medium to large rooms
- Simple to disassemble and store
Cons
- Poles and connecting pieces may not align correctly
- Potential instability and wobbliness
- Cheap look
- Issues with missing screws
The Morngardo Room Divider Privacy Screens offer a convenient and affordable solution for creating temporary privacy or dividing a room. With its easy installation, high quality materials, and portable design, it is a versatile option for various settings. However, there are some concerns regarding the alignment of poles and potential instability. Additionally, the appearance of the divider may not be aesthetically pleasing to some. Despite these drawbacks, the Morngardo Room Divider Privacy Screens can still serve its purpose effectively and provide privacy when needed. Consider the pros and cons before making a purchase decision.

Overall Score: 8/10
Create privacy and add style to your space with the Hanging Room Divider Mid Century Abstract Stock Panels. Made of environmentally friendly PVC material, these lightweight and colorful panels are perfect for children's room decoration. With various beautiful designs to choose from, they serve as an elegant way to protect your privacy. These multifunctional panels can be used as room dividers or as attractive decorations for your bedroom, living room, dorm, workplace, and more. Installing them is a breeze with the included accessories. Hang them one by one through hooks and screws or use adhesive hooks for a drill-free option. Enjoy excellent product quality and warm service with this Hanging Room Divider.
Key Features
- Environmental Friendly PVC material
- Various beautiful designs
- Easy to clean
- Multifunctional for any place
- Easy installation with included accessories
- Warm customer service
Specifications
- Color: Color5
- Dimension: 0.01Lx62.00Wx48.00H
Pros
- Made of environmentally friendly material
- Lightweight and easy to clean
- Can be used as room dividers or decorations
- Includes accessories for easy installation
- Prompt and helpful customer service
Cons
The Hanging Room Divider Mid Century Abstract Stock Panels offer both functionality and aesthetics. Made of eco-friendly PVC material, these lightweight panels are not only easy to clean but also serve as attractive decorations. Whether you need to create privacy in your bedroom or add style to your living room, these panels are versatile enough to suit any space. With easy installation options and excellent customer service, they provide a hassle-free experience. Overall, the Hanging Room Divider Mid Century Abstract Stock Panels are a fantastic choice for anyone looking to divide a room or enhance its decor.

Overall Score: 7.8/10
The VEVOR Room Divider is a versatile and durable solution for creating private partition spaces in various settings. Made of 180 g polyester fabric with PA coating, this room divider provides privacy protection, is waterproof, and blocks the sun. It features a sturdy and reliable construction with a carbon steel metal frame and two metal bases for added stability. The flexible and folding design allows for easy customization of wall size and space-saving storage. With hassle-free assembly using snap connectors, this room divider is suitable for use in bedrooms, living rooms, offices, and hospitals. It can also serve as home decoration for displaying family photo walls and more.
Key Features
- Create A Perfect Private Space
- Sturdy and Reliable Construction
- Flexible & Folding Design
- Hassle-free Assembly
- Perfect for Any Room
Specifications
- Color: White
- Dimension: 0.01Lx89.00Wx72.80H
- Size: 3-Panel
Pros
- Provides privacy protection
- Sturdy and reliable construction
- Flexible and folding design
- Can be used in various settings
Cons
- Fabric material should be ironed before assembly
- May not fit well with house decor
- Assembly instructions could be improved
- Some customers received missing parts
The VEVOR Room Divider offers a practical and versatile solution for creating private spaces in any room. It provides privacy protection, is easy to assemble, and features a flexible design for customizing the wall size. While some customers have reported issues with missing parts and the fabric material needing ironing before assembly, overall, this room divider is a solid investment for those looking to create separate areas in their living or working spaces. Whether you need to divide a room or add a decorative touch to your home, the VEVOR Room Divider is a reliable and functional choice.

Overall Score: 8/10
The Giantex 6 Ft Tall 3 Panel Room Divider is a lightweight and portable folding privacy screen that provides the perfect space separation. With a height of 6ft, it creates an enclosed personal space while still allowing air circulation. The flexible and foldable design allows for easy storage and movement. Made of premium polyester fabric, the room divider is sturdy and durable. It can be used in various settings, such as blocking out sunlight, creating temporary privacy, or separating a room. The classic style and easy assembly make it a great addition to any home. With a customer rating of 4.2/5, this room divider is a cost-effective solution for those working from home or needing extra privacy.
Key Features
- Perfect Space Separation
- Flexible & Foldable Design
- Well Selected Material
- Multifunctional Usage
- Classic Style & Easy Assembly
Specifications
- Color: White
- Dimension: 0.01Lx102.50Wx72.00H
- Size: 102.5" L x 72" H 3 Panel
Pros
- Creates an enclosed personal space
- Easy to fold and store
- Sturdy and durable construction
- Suitable for various uses
- Stylish and easy to assemble
Cons
- Fabric color is off-white
- Assembly requires hand screwing
- Polyester panels are transparent in daylight
- Material is thin and falls easily
- Legs can be awkward and get in the way
The Giantex 6 Ft Tall 3 Panel Room Divider is a versatile solution for creating privacy and separation in any space. It offers a perfect balance between enclosed personal space and air circulation, making it ideal for both home and office use. The lightweight and foldable design allows for easy storage and movement, while the premium polyester fabric ensures durability. Despite some minor drawbacks like the off-white color and thin material, this room divider provides adequate privacy and functionality. Overall, it is a cost-effective investment for those in need of a stylish and convenient room divider.

Overall Score: 6/10
The Morngardo Room Divider and Folding Privacy Screens offer a stylish and convenient way to separate spaces in your home or office. With no installation tools required, this room divider can be set up in less than 15 minutes by a single person. Made of thickened polyester fabric and steel with a black finish, it is sturdy and durable. The four-panel design is connected with triple hinges, allowing you to create a larger partition as needed. The foldable dimensions make it easy to store when not in use. This versatile room divider can be used in various settings, such as bedrooms, living rooms, offices, hospitals, and more. However, customer reviews suggest that it may be flimsy and not very stable.
Key Features
- Stylized Room Divider
- Folding Privacy Screens
- 4 Panels Room Divider
- Room Partitions and Dividers
- Multipurpose Room Dividers
Specifications
- Color: Black
- Dimension: 0.01Lx65.00Wx68.00H
Pros
- Easy to assemble
- Quality product
- Multiple panels for customization
- Can be used in various settings
Cons
- Flimsy and not sturdy
- Difficult to put together
- May fall apart easily
The Morngardo Room Divider and Folding Privacy Screens provide a convenient and stylish way to divide your space. While it offers ease of assembly and a versatile design, customer reviews indicate that the product may be flimsy and not very stable. Despite these drawbacks, it can still serve its purpose in certain settings. If you are in need of a temporary and portable room divider, this product may be worth considering.

Overall Score: 8.2/10
The STEEL-AID 50-inch Rolling Privacy Room Divider is a versatile and durable solution for creating instant privacy in any space. A great multipurpose barrier for offices, schools, dorm rooms, and more, this room divider offers peace and quiet away from others. It features a high-quality iron frame for added durability, and the non see-through blackout partition ensures reliable performance. With smooth-rolling, lockable wheels, the divider can be easily moved from room to room or indoors to outdoors. The classic design seamlessly blends in with any interior. Enjoy easy assembly and endless creative applications with this sturdy and practical room divider.
Key Features
- Instant Privacy in Any Space
- High-Quality Premium Iron Frame
- Non See-Through Blackout Partition
- Smooth-Rolling, Lockable Wheels
- Classic Design
Specifications
- Color: Grey
- Dimension: 1.00Lx50.00Wx71.00H
- Size: 50"
Pros
- Easy setup out of the box
- Good noise dampening quality
- Versatile and multipurpose
- Durable iron frame
- Offers instant privacy
Cons
- Falls over easily
- Flimsy base feet/wheels
- Some components need tightening
- Not very sturdy
The STEEL-AID 50-inch Rolling Privacy Room Divider is a versatile and durable solution for creating instant privacy in any space. The high-quality iron frame and non see-through blackout partition make it a reliable and stylish choice. With smooth-rolling, lockable wheels, it is easy to move and secure in place. While it may have a few design flaws and be less sturdy than desired, it offers an affordable solution for most users. Overall, the STEEL-AID Rolling Privacy Room Divider is a convenient and practical option for those seeking privacy in various settings.

Overall Score: 8/10
The Giantex 6Ft 6 Panel Room Divider with Shelves is a versatile and stylish solution for separating spaces in your home or office. It features a freestanding, hand-woven rattan folding design that adds a touch of natural beauty to any room. The room divider includes two shelves for displaying small decorations, combining practicality and aesthetics. Made with high-quality poplar wood and environmentally friendly hand-woven fiber, it is durable and safe for use in baby rooms. The room divider requires no assembly and can be easily folded and stored when not in use. With a maximum extended size of 106.5”x 71”, it provides ample coverage for creating your own private space. Whether you need to divide a room or add a decorative touch, the Giantex 6Ft 6 Panel Room Divider with Shelves is a great choice.
Key Features
- Create Your Private Space
- Storage Shelf Design
- Handmade Furniture for Your Home
- No Assembly Required & Dimension
- Foldable Design & Easy Storage
Specifications
- Color: Brown
- Dimension: 0.01Lx95.00Wx71.00H
Pros
- Versatile and stylish room divider
- Includes two shelves for displaying small decorations
- Made with high-quality and environmentally friendly materials
- Requires no assembly
- Foldable design for easy storage
Cons
- Shelves are made of thickened cardboard
- Lack of assembly instructions
- Difficulty securing shelves to the divider
- Not recommended for heavy items on shelves
The Giantex 6Ft 6 Panel Room Divider with Shelves is a functional and attractive solution for dividing spaces and adding a decorative touch to any room. While the shelves may not be the sturdiest, they provide a great way to display small decorations. The room divider is easy to set up and fold away for storage, making it convenient for various uses. Its high-quality construction and environmentally friendly materials ensure durability and safety, especially in baby rooms. With its versatile design and practical features, this room divider is a great addition to any home or office. Whether you want to create a private space or enhance your decor, the Giantex 6Ft 6 Panel Room Divider with Shelves is a reliable choice.
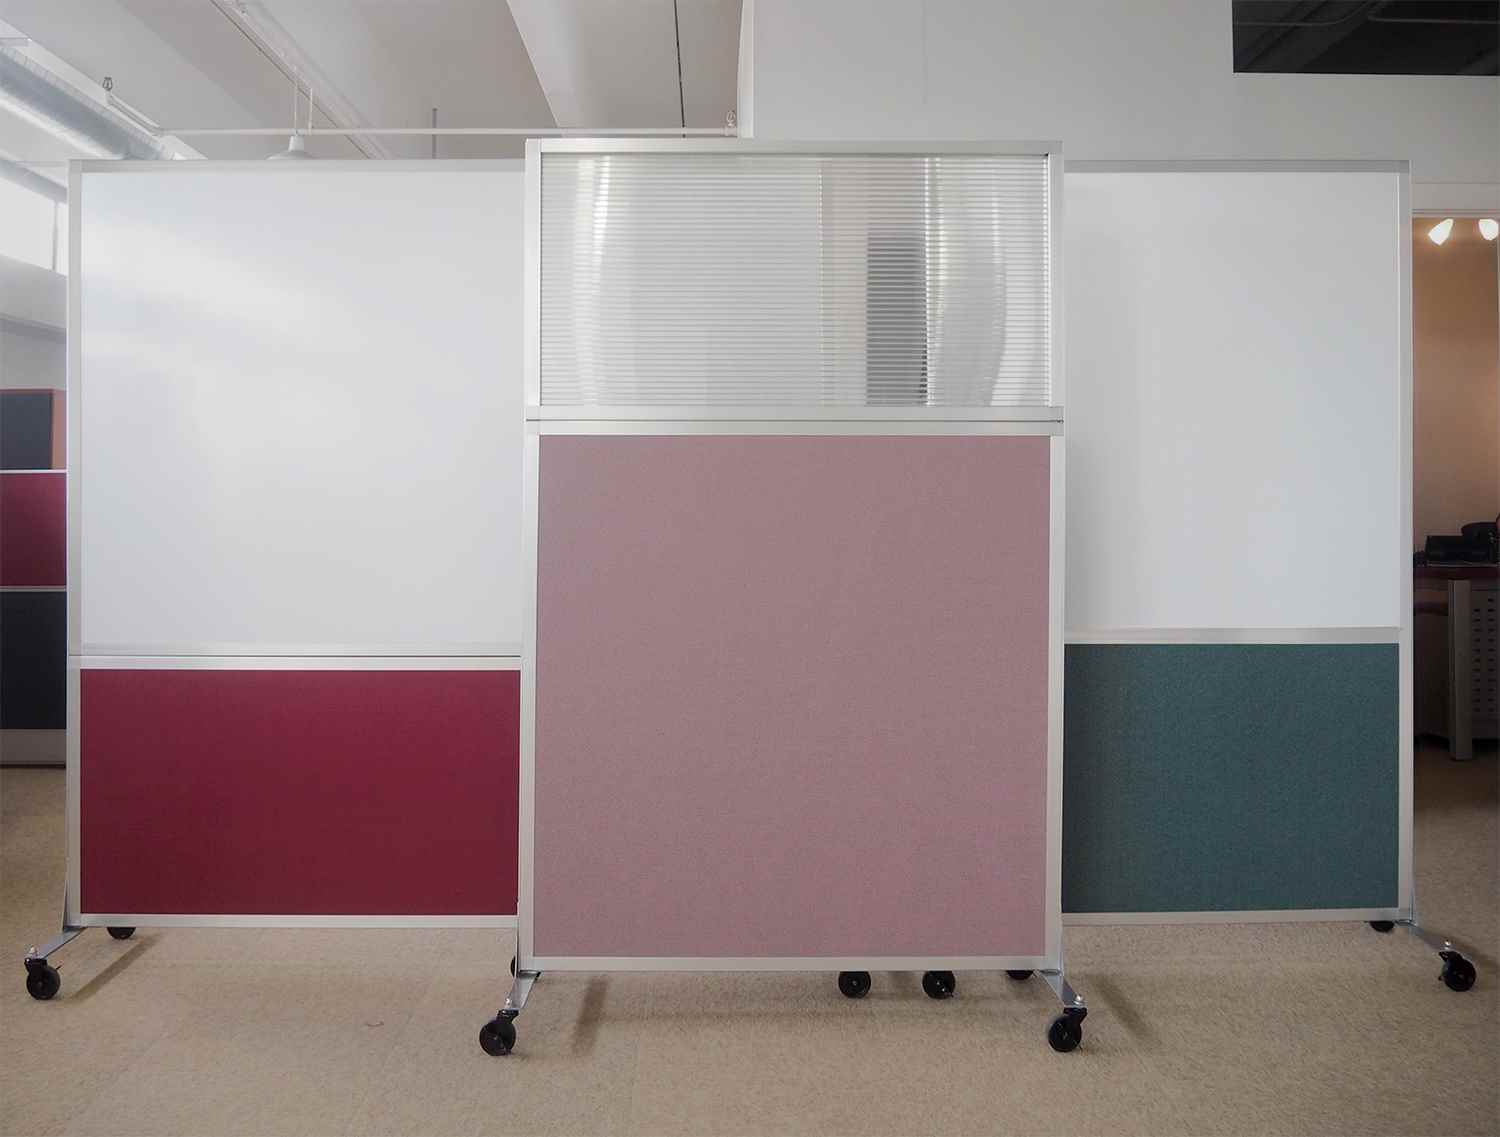
Buyer's Guide: PVC Room Divider
PVC room dividers are an excellent and versatile solution for creating separate spaces within a room. Whether you need to add privacy, divide a large space, or simply enhance the aesthetics of your room, a PVC room divider can be a practical and stylish addition to your home or office. To help you make an informed decision, we have compiled a comprehensive buyer's guide with essential factors to consider before purchasing a PVC room divider.
Read also: 12 Amazing Oriental Room Divider For 2025
Benefits of PVC Room Dividers
- Versatility: PVC room dividers come in various sizes, designs, and colors, allowing you to find the perfect match for your space.
- Easy Installation: Most PVC dividers are lightweight and easy to assemble, making the installation process hassle-free.
- Affordability: PVC dividers are often more budget-friendly compared to their permanent counterparts, such as walls or built-in dividers.
- Easy to Clean: PVC is a low-maintenance material that can easily be wiped clean, making it ideal for busy environments or areas prone to spills.
- Portable: Unlike permanent dividers, PVC room dividers are portable, allowing you to rearrange your space as needed.
Factors to Consider
When purchasing a PVC room divider, keep the following factors in mind:
- Purpose: Consider the purpose of the room divider. Determine whether you need it for privacy, separating spaces, or merely as a decorative element.
- Size: Measure the area you intend to divide to ensure compatibility with the room divider's size. Consider the height, width, and thickness of the PVC panels.
- Design: Choose a design that complements your existing decor. PVC dividers are available in various patterns, colors, and finishes, allowing you to enhance the overall aesthetic appeal of your space.
- Functionality: Check if the room divider offers additional features like adjustable panels or wheels for easy mobility. These features can add convenience and flexibility to your divider.
- Sturdiness: Assess the durability of the PVC room divider. Look for dividers made from high-quality, sturdy materials to ensure longevity, especially if you plan to use them frequently or in a high-traffic area.
- Assembly: Consider the ease of assembly. Look for dividers that come with clear instructions and minimal hardware to make installation hassle-free.
- Maintenance: PVC dividers are generally easy to clean, but it is advisable to check the manufacturer's instructions for specific cleaning guidelines to maintain its appearance.
Frequently Asked Questions about 12 Amazing Pvc Room Divider For 2025
PVC room dividers are primarily designed for indoor use. Exposure to harsh weather conditions may cause damage or reduce their lifespan. Consider alternative outdoor-specific options if you require a room divider for exterior purposes.
Some PVC dividers offer adjustable panels that can be expanded or contracted to fit various spaces. However, not all room dividers have this feature, so make sure to check the product specifications before purchasing.
PVC dividers may provide a limited amount of sound insulation, but they are not designed to be completely soundproof. If noise reduction is a high priority, consider investing in specialized soundproofing materials or explore alternative room divider options.
While it is possible to paint a PVC divider, it is crucial to note that not all types of paint adhere well to PVC surfaces. Consult the manufacturer’s guidelines or seek professional advice to ensure proper preparation and suitable paint choices for the best results.
PVC is a type of plastic that can have adverse environmental effects if not disposed of properly. Look for PVC dividers made from recycled or eco-friendly materials to minimize your environmental footprint.
Was this page helpful?
Trust Storables.com for unbiased and honest product reviews. Our reviews are rigorously assessed by our Expert Board Contributors and adhere to strict Editorial Standards. We ensure that each review is transparent and trustworthy, helping you make informed purchasing decisions.


0 thoughts on “12 Amazing Pvc Room Divider For 2025”