Articles
How To Replace Rotted Porch Railing
Modified: December 7, 2023
Learn how to replace rotted porch railing with step-by-step articles that guide you through the process. Transform your porch and create a safe and beautiful outdoor space.
(Many of the links in this article redirect to a specific reviewed product. Your purchase of these products through affiliate links helps to generate commission for Storables.com, at no extra cost. Learn more)
Introduction
Welcome to our comprehensive guide on how to replace rotted porch railing. If you have noticed that your porch railing is deteriorating or showing signs of rot, it’s important to take action to ensure the safety and aesthetic appeal of your home.
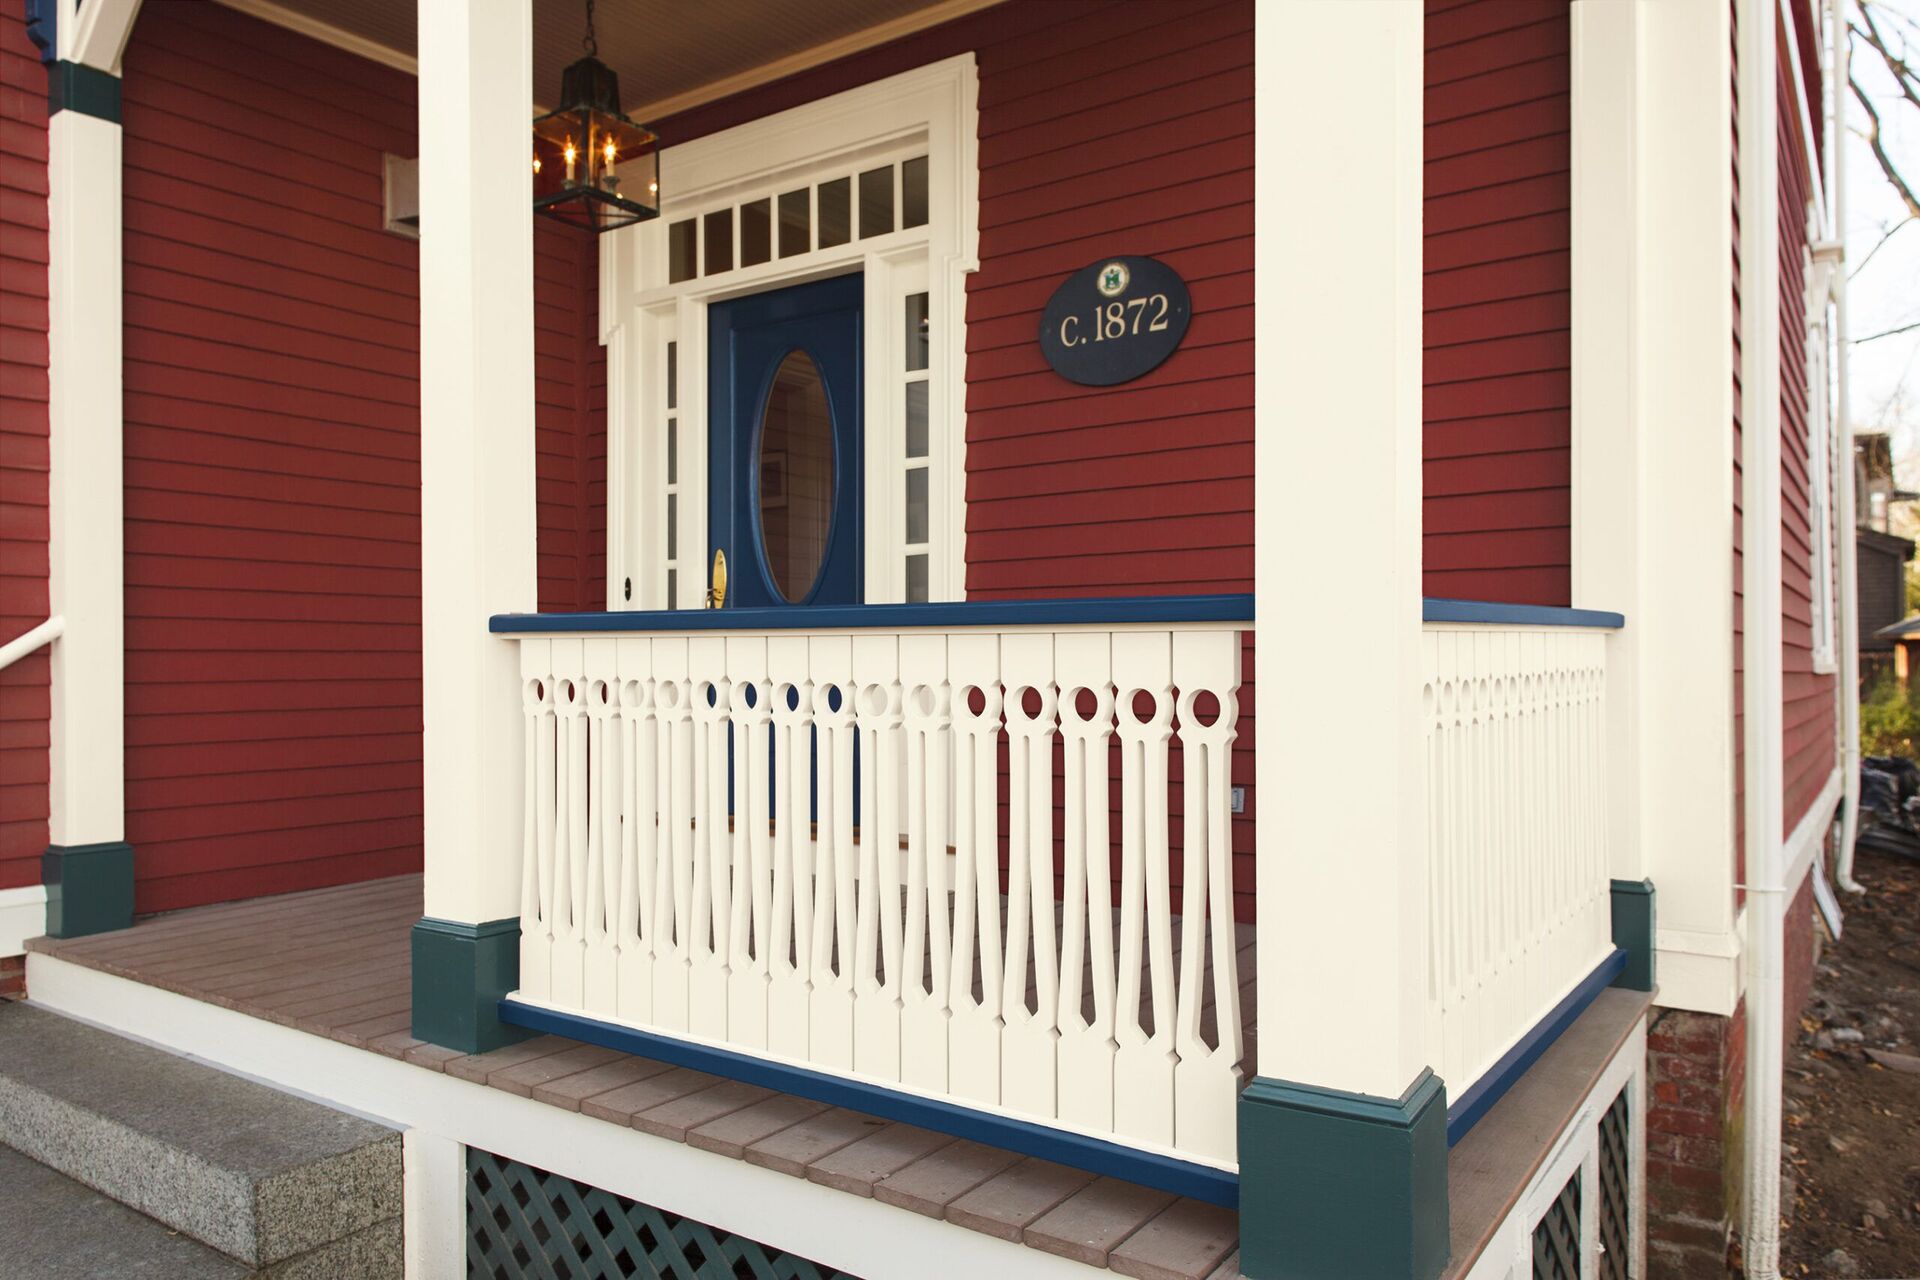
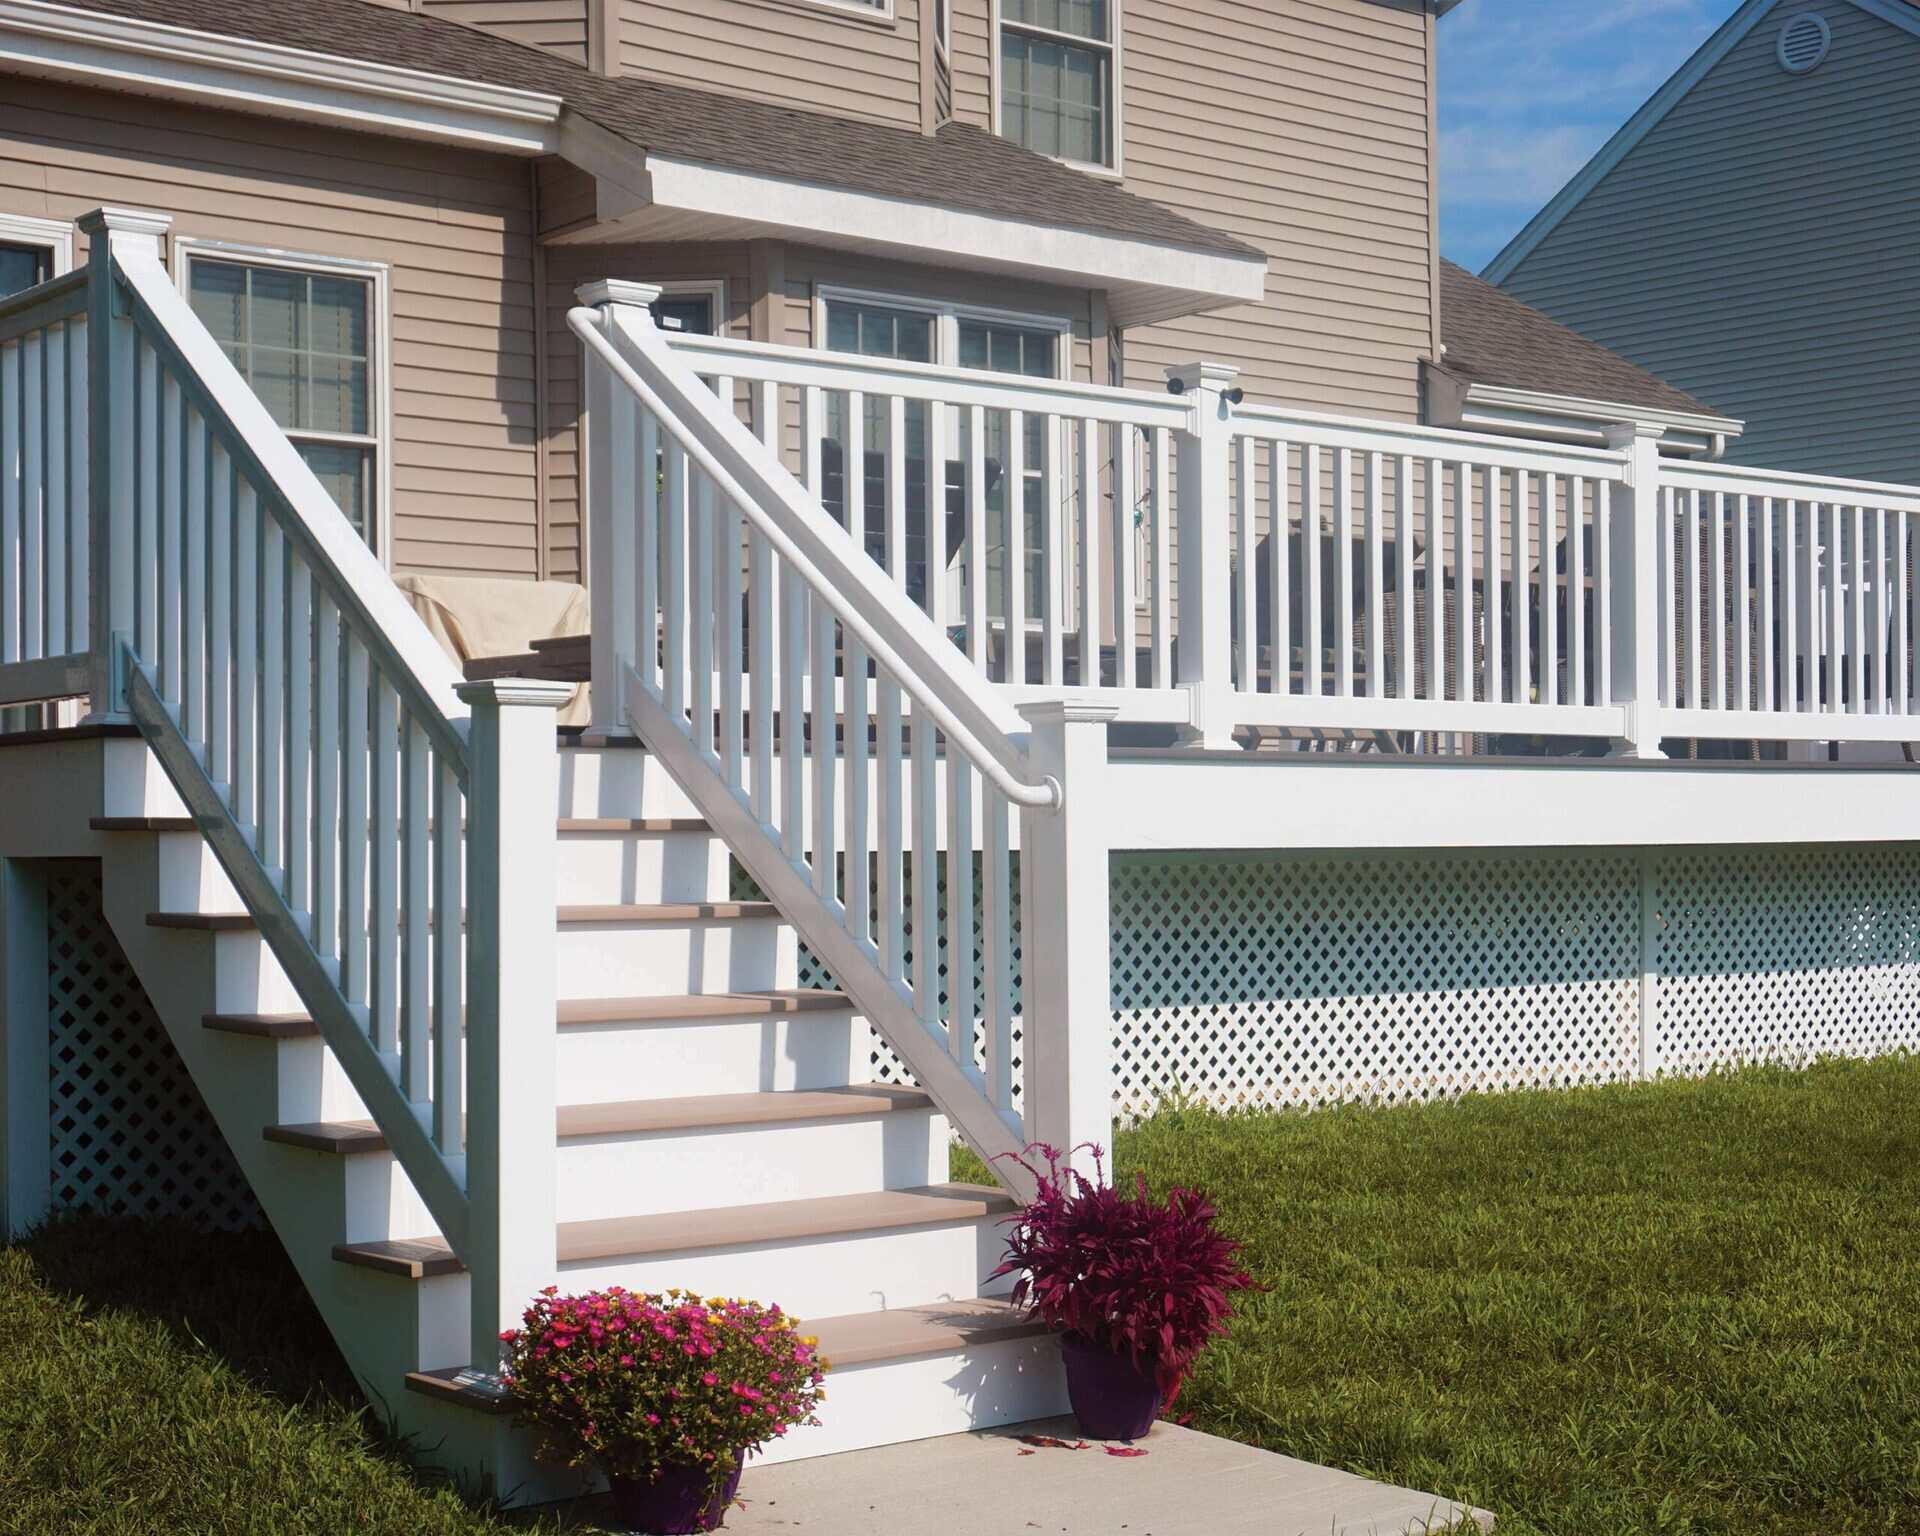
Your porch railing not only serves as a functional barrier but also adds character and charm to your outdoor space. Over time, exposure to the elements can cause wood railing to decay, compromising its structural integrity and detracting from the overall beauty of your porch.
In this step-by-step tutorial, we will walk you through the process of assessing the damage, gathering the necessary materials and tools, removing the existing railing, and installing the new railing. By following these instructions, you’ll be able to restore the functionality and visual appeal of your porch railing.
Before we dive into the details, it’s important to note that safety should be your top priority throughout the entire process. Working with tools and materials at elevated heights carries inherent risks. Make sure to take proper precautions, such as wearing protective gear, using sturdy ladders or scaffolding, and following safe work practices.
Now, let’s get started with step 1: assessing the damage.
Key Takeaways:
- Safely and effectively replace rotted porch railing by assessing damage, gathering materials, removing old railing, preparing the area, measuring and cutting new components, and securing the new installation.
- Enhance the safety and aesthetic appeal of your outdoor space by following a step-by-step guide to replace rotted porch railing, ensuring a beautiful and durable result.
Read more: How To Replace Wrought Iron Porch Railing
Step 1: Assess the Damage
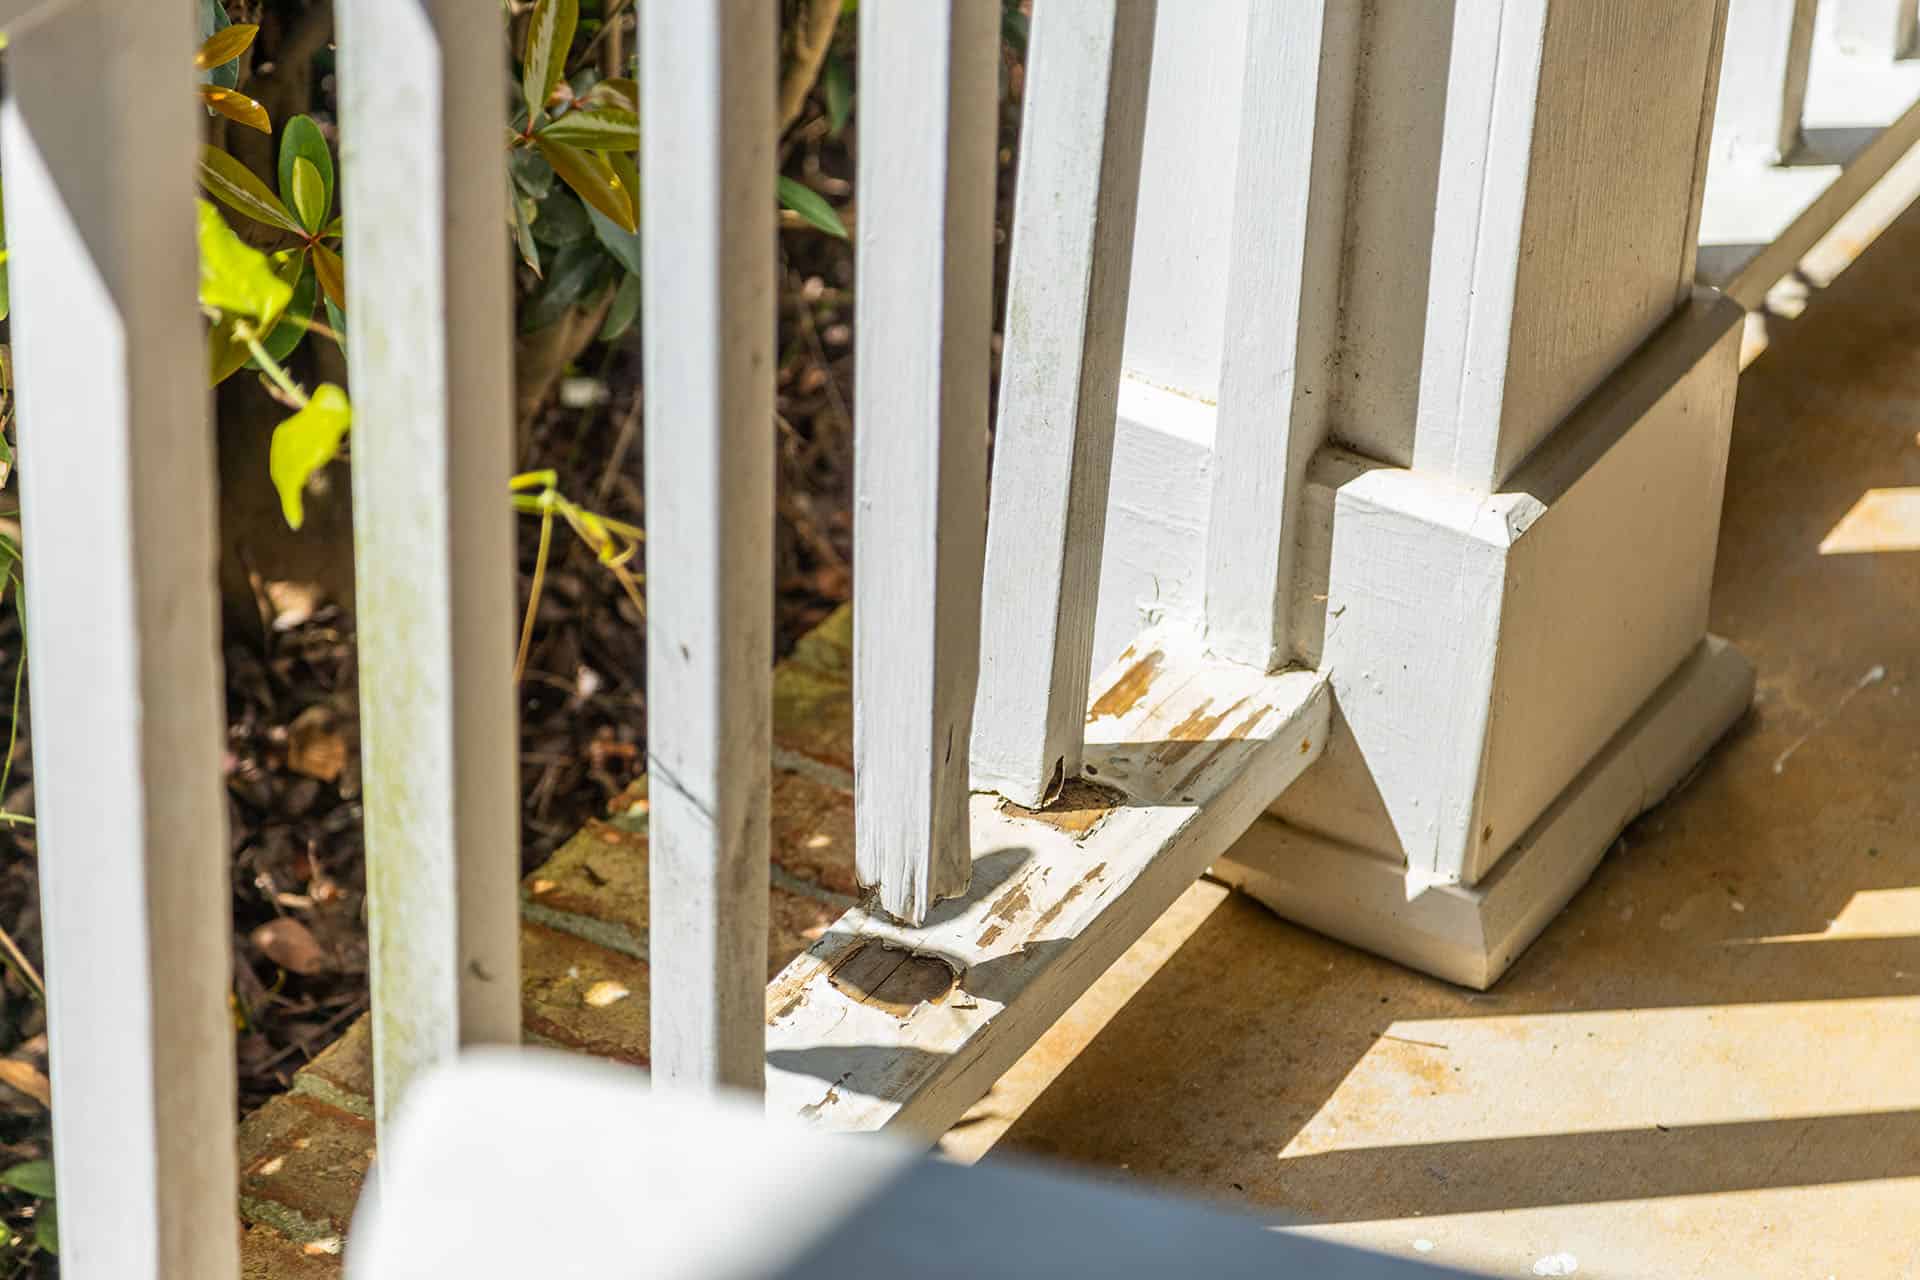
The first step in replacing rotted porch railing is to assess the extent of the damage. Carefully inspect the railing and surrounding area to identify any signs of rot or deterioration. Some common indicators include discolored or soft wood, presence of mold or mildew, and loose or wobbly railing sections.
Start by visually inspecting the entire railing system, including the posts, balusters, and handrail. Check for any visible cracks, splits, or areas where moisture may have penetrated the wood. Use a screwdriver or a probing tool to gently poke the wood and assess its firmness. If the wood feels soft or spongy, it is likely rotted and needs to be replaced.
Next, examine the area surrounding the railing for any signs of water damage or other sources of moisture. Look for leaks in the roof, gutters, or downspouts, as water infiltration can accelerate the rotting process. Additionally, check for any vegetation that may be growing close to the railing and causing moisture retention.
Once you have identified the areas of concern, take measurements to determine the length and height of the railing that needs to be replaced. Make note of any special features, such as curved sections or decorative elements, as these may require additional attention during the replacement process.
It’s important to thoroughly assess the damage and plan accordingly before proceeding with the replacement. This will ensure that you have a clear understanding of the extent of the work involved and will help you gather the necessary materials and tools for the job.
Now that you have assessed the damage, it’s time to move on to step 2: gathering materials and tools.
Step 2: Gather Materials and Tools
Before you can begin replacing the rotted porch railing, you will need to gather all the necessary materials and tools. Having everything prepared in advance will save you time and ensure a smooth installation process.
Here is a list of the materials you will need:
- New porch railing material: This can be wood, metal, or composite, depending on your preference and the overall design of your porch. Make sure to select a material that is resistant to rot and weather damage.
- Porch railing posts: These are the vertical supports that anchor the railing to the porch floor. Choose sturdy posts that are of the appropriate length and diameter for your railing.
- Railing balusters: These are the vertical spindles that fill the space between the posts. The number of balusters you will need depends on the spacing and design of your railing.
- Handrail: This is the horizontal rail at the top of the railing, which provides a gripping surface. Select a handrail that complements the style of your porch and offers durability.
- Rail connectors: These are the hardware pieces that attach the railing components together. Make sure to choose connectors that are compatible with the materials you are using.
- Fasteners: Depending on the type of railing material, you will need appropriate screws, nails, or bolts to secure the railing components.
- Wood sealant or paint: If you are using wood railing, it is recommended to apply a protective sealant or paint to extend its lifespan and enhance its appearance.
In addition to the materials, you will need the following tools:
- Tape measure: Essential for taking accurate measurements of the railing sections.
- Level: To ensure that the railing is installed straight and level.
- Saw: Depending on the material, you may need a circular saw, miter saw, or handsaw to cut the railing components to the desired length.
- Screwdriver or drill: For removing the existing railing and attaching the new components.
- Hammer: To drive in nails or adjust components as needed.
- Chisel: Helpful for removing any remaining rotted wood or old fasteners.
- Safety gear: This includes gloves, safety goggles, and a dust mask to protect yourself during the process.
Ensure that you have all the materials and tools listed above before proceeding to the next steps. Having everything within reach will make the replacement process seamless and efficient.
Now that you have gathered all the necessary materials and tools, it’s time to move on to step 3: removing the existing railing.
Step 3: Remove the Existing Railing
Now that you have gathered all the materials and tools, it’s time to remove the existing rotted porch railing. Removing the old railing is an important step to prepare the area for the installation of the new railing.
Follow these steps to remove the existing railing:
- Start by disconnecting any fasteners that are holding the railing components together. This may include screws, nails, or brackets. Use a screwdriver or drill to remove the fasteners, taking care not to damage the surrounding area.
- Next, remove the handrail by carefully prying it away from the posts and balusters. Use a pry bar or hammer and chisel to gently loosen the handrail if it is tightly secured.
- Continue by removing the balusters. Depending on the type of railing, the balusters may be attached using screws, nails, or connectors. Use the appropriate tool to remove the fasteners and detach the balusters from the railing.
- If the railing is secured with screws or brackets at the bottom, remove them to release the railing from the porch floor.
- Inspect the posts to ensure they are free from any remaining fasteners or connectors. Use a chisel or a saw to remove any portions of the posts that are damaged or rotted.
- Clean the area underneath the railing to remove any debris or old sealant/paint. This will provide a clean surface for the installation of the new railing.
During the removal process, make sure to take precautions and work carefully to avoid causing any damage to the porch or surrounding structures. If you encounter any stubborn fasteners or difficult-to-remove components, consider using lubricating sprays or seeking professional assistance if needed.
Once you have successfully removed the existing railing, you are ready to proceed to step 4: preparing the area for the new railing installation.
Step 4: Prepare the Area
With the existing rotted porch railing removed, it’s time to prepare the area for the installation of the new railing. Proper preparation is crucial to ensure a solid and secure attachment for the new railing components.
Follow these steps to prepare the area for the new railing:
- If the porch floor has any rough or uneven surfaces, use sandpaper or a sander to smooth them out. This will create a level surface for attaching the new railing.
- Clean the porch area thoroughly, removing any debris, dust, or loose particles. A broom or a shop vacuum can be helpful for this task.
- If necessary, apply a fresh coat of paint or sealant to the porch floor and any exposed surfaces. This will not only enhance the overall appearance but also provide added protection against moisture and rot.
- Measure and mark the positions for the new railing posts. Use a tape measure to determine the spacing and ensure that the posts are evenly distributed along the porch edge.
- For wood or composite railing, pre-drill pilot holes at the marked positions to make it easier to install the new posts. The size of the pilot holes should match the diameter of the screws or fasteners you will be using.
- Take this opportunity to inspect the integrity of the porch structure. Check for any signs of damage or weakness, such as rotting wood or loose connections. If any issues are found, it may be necessary to repair or reinforce the porch before proceeding with the railing installation.
By properly preparing the area, you are laying the foundation for a secure and long-lasting porch railing installation. Taking the time to clean, smooth, and level the surface will contribute to the stability and overall aesthetic of the new railing.
Once the area is prepared, you are ready to move on to step 5: measuring and cutting the new railing components.
When replacing rotted porch railing, be sure to thoroughly inspect the surrounding area for any additional damage. It’s important to address any underlying issues to prevent future problems.
Read more: How To Replace A Rotted Fence Post
Step 5: Measure and Cut New Railing
After preparing the area, it’s time to measure and cut the new porch railing components. Accurate measurements and precise cuts are essential to ensure a proper fit and seamless installation.
Follow these steps to measure and cut the new railing:
- Begin by measuring the distance between the marked positions for the railing posts. Use a tape measure to determine the length needed for the railing sections.
- Transfer the measurements to the new railing material, carefully marking the locations where cuts will be made. Double-check your measurements to ensure accuracy.
- Use a saw appropriate for the type of railing material you are working with to make the necessary cuts. A circular saw, miter saw, or handsaw can be used depending on the material and the desired angle of the cuts.
- If your porch features any curved sections, additional measurements and cuts may be required to match the shape of the railing. Consider using a jigsaw or a coping saw for this purpose.
- Once the railing sections are cut to the appropriate length, double-check their fit by placing them between the marked positions on the porch. Make any necessary adjustments or additional cuts to ensure a snug and precise fit.
- If you are using wood railing, this is also a good time to sand any rough edges or surfaces on the cut pieces, ensuring a smooth finish. This step will help prevent any splinters and make the railing more comfortable to touch.
When cutting the new railing components, always prioritize safety and accuracy. Take your time to measure carefully and use the appropriate tools for the material you are working with. Remember to wear any necessary safety equipment, such as goggles or a dust mask, to protect yourself during the cutting process.
Once you have measured and cut the new railing, it’s time to move on to step 6: installing the new railing supports.
Step 6: Install New Railing Supports
With the new railing components measured and cut, it’s time to install the new railing supports. These supports, typically in the form of posts, provide the structural foundation for the railing and ensure its stability and strength.
Follow these steps to install the new railing supports:
- Position the first railing post at one of the marked locations on the porch. Align it with the pilot holes you previously drilled. It should be plumb (straight up and down) and level with the porch floor.
- Secure the post in place by driving screws or fasteners through the pilot holes and into the porch floor. Use a level to ensure that the post is perfectly vertical and adjust as needed.
- Repeat the process for the remaining railing posts, positioning them at the designated locations and securing them in place. Take care to ensure that all the posts are aligned at the same height and are evenly distributed along the porch edge.
- For added stability, consider using concrete or an anchor system to secure the railing posts to the ground or porch structure. This can help prevent any wobbling or shifting of the railing over time.
During the installation of the railing supports, it’s important to double-check the alignment and levelness of each post. This will ensure that the overall railing will be straight and secure once it is fully installed.
Once the new railing supports are installed, it’s time to move on to step 7: attaching the new railing components.
Step 7: Attach the New Railing
Now that the new railing supports are in place, it’s time to attach the new porch railing components. This step involves connecting the balusters, handrail, and any other necessary railing elements to create a secure and visually appealing railing system.
Follow these steps to attach the new railing components:
- Start by attaching the balusters to the railing posts. Depending on the type of railing system you have, this may involve inserting the balusters into pre-drilled holes, using connectors or hardware, or attaching them with screws or nails.
- Ensure that the spacing between the balusters adheres to local building codes and safety guidelines. Typically, the spacing should be small enough to prevent children or pets from slipping through, but large enough to allow for proper airflow and visibility.
- Once the balusters are securely attached, it’s time to install the handrail. Position the handrail on top of the balusters, making sure it is level and aligned correctly.
- Attach the handrail to the railing posts using appropriate screws, brackets, or connectors. Make sure the handrail is firmly secured and doesn’t wobble or move when pressure is applied.
- If your railing system includes additional elements such as caps, trim pieces, or decorative features, install them according to the manufacturer’s instructions. These finishing touches can enhance the overall appearance of the railing.
As you attach the new railing components, periodically step back and assess the overall look and functionality. Make any necessary adjustments or tweaks to ensure that the railing is level, straight, and visually appealing.
Once all the new railing components have been properly attached, it’s time to move on to the final step: securing and adding finishing touches.
Step 8: Secure and Finishing Touches
In the final step of replacing the rotted porch railing, it’s important to secure the new railing components and add any finishing touches to complete the installation. Taking the time to ensure that everything is secure and visually pleasing will result in a beautiful and long-lasting porch railing.
Follow these steps to secure and add finishing touches to the new porch railing:
- Double-check all the fasteners and connections to ensure that they are tight and secure. Use a screwdriver or drill to tighten any loose screws or bolts that may have occurred during the installation process.
- If you are using wood railing, consider applying a protective sealant or paint to enhance its longevity and protect it from moisture, UV rays, and other environmental factors. Be sure to follow the manufacturer’s instructions for the specific sealant or paint you choose.
- Clean up any debris or dust from the installation process, ensuring that the porch area is left clean and tidy. Sweep or vacuum the area, removing any loose particles or construction residue.
- Take a step back and inspect the newly installed porch railing. Check for any visual inconsistencies, gaps, or areas that may need additional attention. Make any necessary adjustments or touch-ups to ensure a seamless and professional appearance.
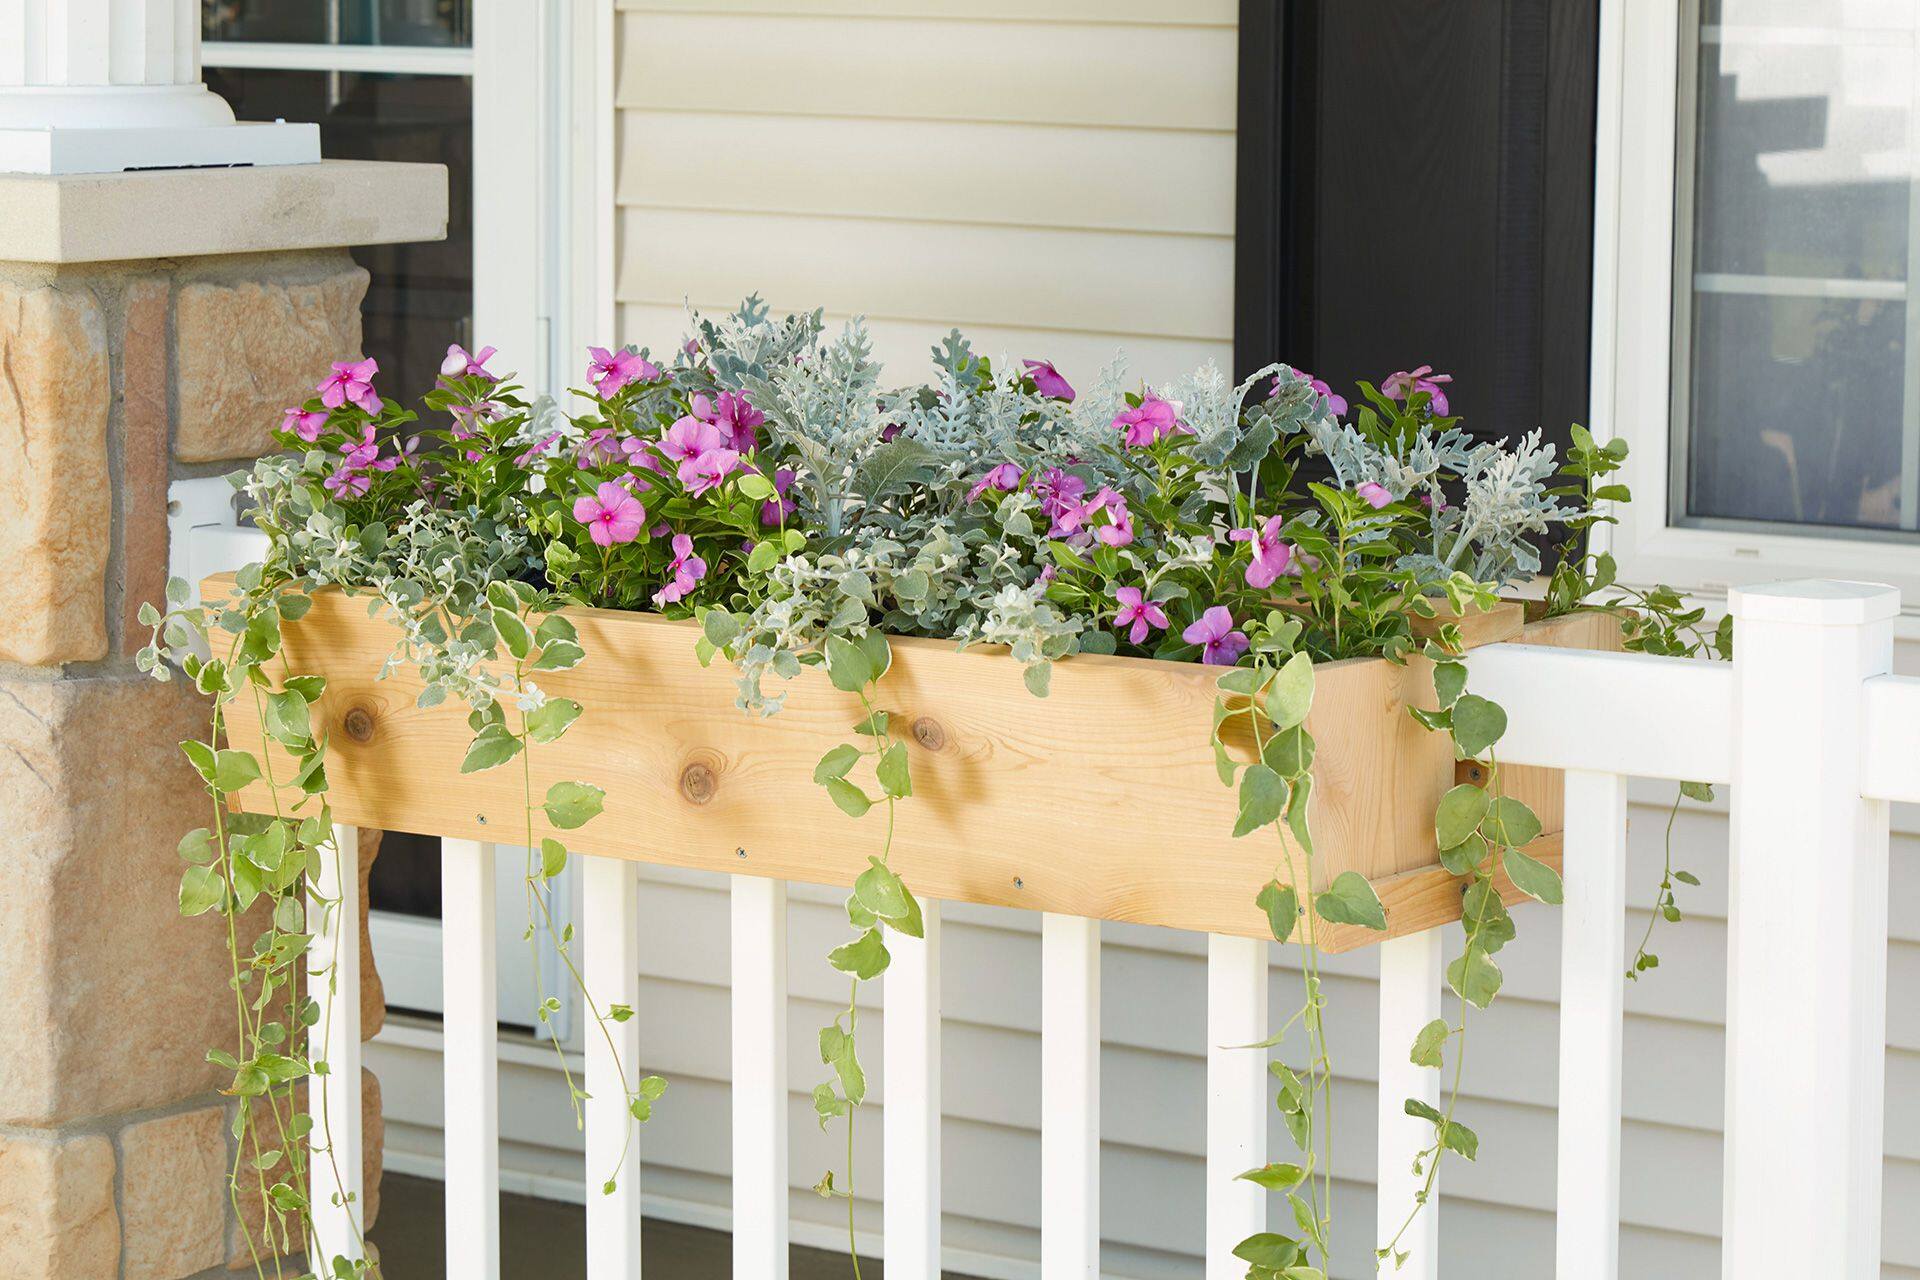
- Consider adding accessories or decorative elements to enhance the aesthetics of the porch railing. This could include adding planters, lighting fixtures, or ornamental accents. Just be sure that these additions do not compromise the safety or structural integrity of the railing.
By securing the railing components and adding those final finishing touches, you can have confidence in the durability and overall appearance of your new porch railing. Regularly inspect and maintain the railing to ensure its continued safety and longevity.
Congratulations! You have successfully replaced the rotted porch railing, improving the safety and aesthetic appeal of your outdoor space. Enjoy your newly revitalized porch and take pride in the work you’ve accomplished!
If you have any further questions or need additional assistance, don’t hesitate to consult a professional or seek guidance from your local building codes and regulations.
Now, sit back, relax, and admire your beautiful, newly installed porch railing!
Read more: How To Build Porch Rails
Conclusion
Replacing a rotted porch railing is a rewarding home improvement project that enhances both the safety and visual appeal of your outdoor space. By following the steps outlined in this guide, you can successfully restore your porch railing to its former glory.
Remember that safety should always be your top priority throughout the process. Take necessary precautions, work carefully, and use the appropriate tools and protective gear to avoid injuries.
Assessing the damage, gathering the materials and tools, removing the existing railing, preparing the area, measuring and cutting the new railing, installing the supports, attaching the new components, and securing and adding finishing touches are the crucial steps in replacing rotted porch railing.
Proper maintenance and regular inspections are key to ensuring the longevity and durability of your new porch railing. Be vigilant for any signs of rot or damage and address them promptly to prevent further issues.
Whether you opt for wood, metal, or composite material, your new porch railing will not only provide necessary safety but also add character and charm to your outdoor space. It’s an investment that enhances both the functionality and aesthetics of your home.
Now that you have the knowledge and understanding to replace rotted porch railing, it’s time to roll up your sleeves and get started. With careful planning and attention to detail, you’ll have a beautiful and sturdy porch railing that will stand the test of time.
Remember, if you’re unsure about any step in the process, consult a professional or seek guidance from experts in the field. They can provide valuable advice and ensure that you achieve the best results.
Good luck with your porch railing replacement project, and enjoy your revitalized outdoor space!
Frequently Asked Questions about How To Replace Rotted Porch Railing
Was this page helpful?
At Storables.com, we guarantee accurate and reliable information. Our content, validated by Expert Board Contributors, is crafted following stringent Editorial Policies. We're committed to providing you with well-researched, expert-backed insights for all your informational needs.


0 thoughts on “How To Replace Rotted Porch Railing”