Articles
How To Stop An Outside Faucet From Leaking
Modified: October 20, 2024
Learn how to prevent outside faucet leaks with these helpful articles. Protect your home from wasting water and facing costly repairs.
(Many of the links in this article redirect to a specific reviewed product. Your purchase of these products through affiliate links helps to generate commission for Storables.com, at no extra cost. Learn more)
Introduction
Leaky faucets are a common household nuisance that can lead to wasted water and higher utility bills. When it comes to outside faucets, which are exposed to the elements and used for tasks like watering the garden or washing the car, it’s important to address leaks promptly to prevent further damage.
Understanding the causes of an outside faucet leak is the first step in finding a solution. From worn-out washers to damaged O-rings, various factors can contribute to the problem. By identifying the underlying issue and following the right steps, you can stop an outside faucet from leaking and regain control over your water usage.
In this article, we will guide you through the process of fixing a leaky outside faucet. Along the way, we will highlight the tools and materials you will need, as well as provide additional tips for preventing faucet leaks in the future.
So, if you’re ready to take matters into your own hands and save money on water bills, let’s dive in and discover how to stop an outside faucet from leaking.
Key Takeaways:
- Identifying and addressing common causes of outside faucet leaks, such as worn-out washers and damaged O-rings, is crucial for effective repair and water conservation.
- By following a step-by-step process, including inspecting, replacing, and reassembling faucet components, homeowners can confidently stop leaks and prevent future issues, saving money and maintaining a reliable plumbing system.
Read more: How To Stop Basement From Leaking
Understanding the Common Causes of an Outside Faucet Leak
Before diving into the process of fixing a leaky outside faucet, it’s important to understand the common causes of this problem. By identifying the underlying issue, you can address it more effectively and ensure a long-lasting repair.
1. Worn-out washers: Over time, the rubber washers inside the faucet can deteriorate, causing leaks. These washers create a tight seal to prevent water from flowing when the faucet is turned off. If they become worn or damaged, water can seep through and result in a leak.
2. Damaged O-rings: O-rings are rubber seals located around the faucet stem, ensuring a watertight seal when the handle is turned off. Like washers, O-rings can degrade over time due to normal wear and tear or exposure to harsh weather conditions. Cracked or worn-out O-rings can lead to water leakage.
3. Loose or damaged packing nuts: The packing nut is responsible for creating a watertight seal around the faucet stem. If it becomes loose or damaged, water can escape and cause a leak. Tightening or replacing the packing nut can solve the problem.
4. Cracked pipe or fittings: In some cases, a leaky outside faucet may be the result of a crack in the pipe or fittings connecting the faucet to the water supply. This can occur due to freezing temperatures or physical damage. Inspecting the pipes and fittings for any visible cracks is crucial in diagnosing the issue.
5. High water pressure: Excessively high water pressure can put strain on the faucet’s internal components, leading to leaks. If your outside faucet consistently experiences high water pressure, installing a pressure regulator can help maintain optimal pressure levels and prevent future leaks.
By familiarizing yourself with these common causes, you can better assess the situation and determine the necessary steps to stop the outside faucet from leaking. In the next section, we will outline the tools and materials you will need to tackle this repair effectively.
Tools and Materials Needed
Before you begin fixing a leaky outside faucet, it’s important to gather the necessary tools and materials. Having everything prepared in advance will streamline the process and ensure a smoother repair. Here are the key items you will need:
1. Adjustable wrench: This tool is essential for loosening and tightening nuts and bolts. Choose a wrench that fits the size of your faucet’s packing nut.
2. Screwdriver: A standard screwdriver will be useful for removing screws and disassembling the faucet handle.
3. Replacement washer: Purchase a new rubber washer that matches the size and shape of the old one. This will ensure a proper seal and prevent leaks in the future.
4. Replacement O-rings: Just like the washer, O-rings can wear out over time. Make sure to get O-rings that are compatible with your specific faucet model.
5. Pipe wrench (if needed): If you suspect a cracked pipe or fittings, you may need to use a pipe wrench to tighten or replace them. Choose an adjustable pipe wrench that suits the size of the pipes or fittings in question.
6. Plumber’s tape: Also known as Teflon tape, plumber’s tape is used to create a watertight seal between pipe threads. It is helpful for preventing leaks in the threaded connections of the faucet.
7. Bucket or container: A bucket or container will come in handy for catching any water that may spill during the repair process.
8. Clean cloth or rag: Keep a clean cloth or rag nearby to wipe away any dirt or debris from the faucet and surrounding area.
By having these tools and materials readily available, you will be well-prepared to tackle the task of fixing a leaky outside faucet. In the next section, we will guide you through the step-by-step process to effectively stop the faucet from leaking.
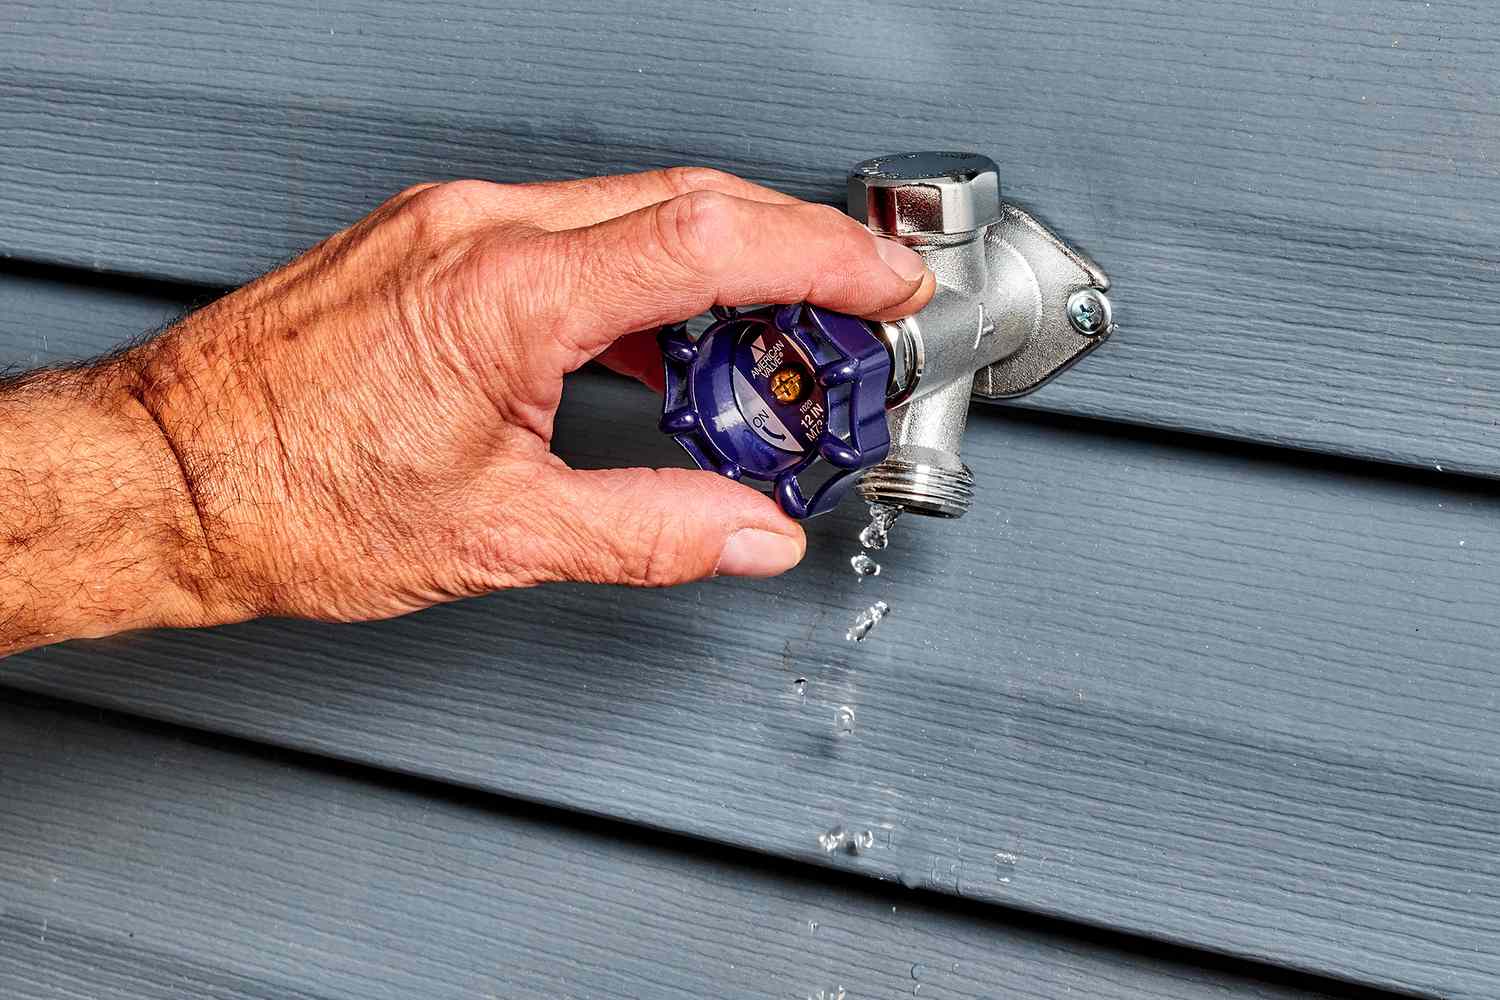
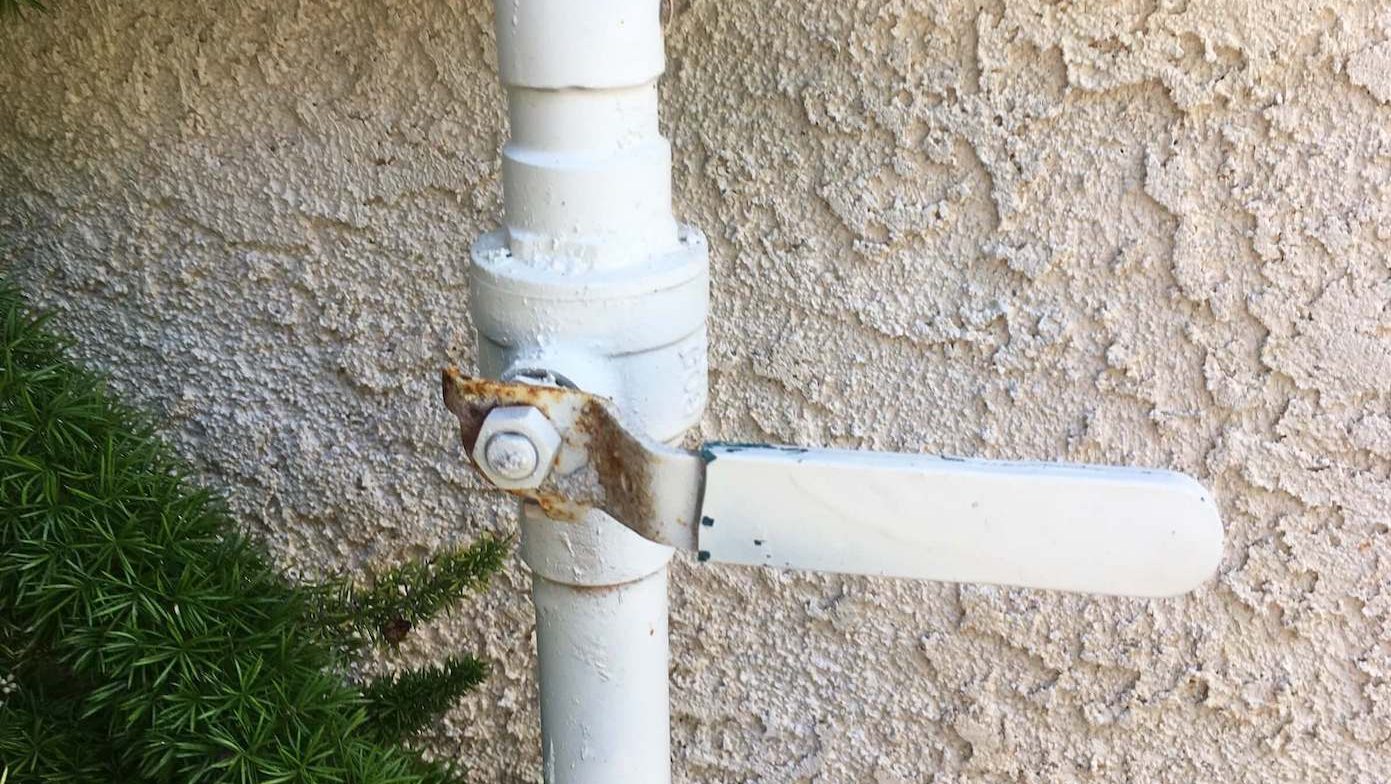
Step 1: Shut Off the Water Supply
Before you begin any repair work on your outside faucet, it’s crucial to shut off the water supply. This step will prevent water from flowing while you disassemble the faucet and make necessary repairs. Here’s how to do it:
- Locate the main water valve: The main water valve is typically found near your water meter or where the main water line enters your home. It may be outdoors or in a basement or utility room.
- Turn off the main water valve: Using a clockwise motion, turn the valve until it is fully closed. This will stop the water flow to your entire house, including the outside faucet.
- Drain any remaining water: To ensure there is no water left in the pipes, open the faucet and let any remaining water drain out. This will prevent water from spraying or leaking during the repair process.
Once the water supply is shut off and any remaining water has been drained, you can proceed to the next step of fixing the leaky outside faucet. Remember, safety should always be a priority when working with plumbing, so it’s important to take precautions and avoid unnecessary risks.
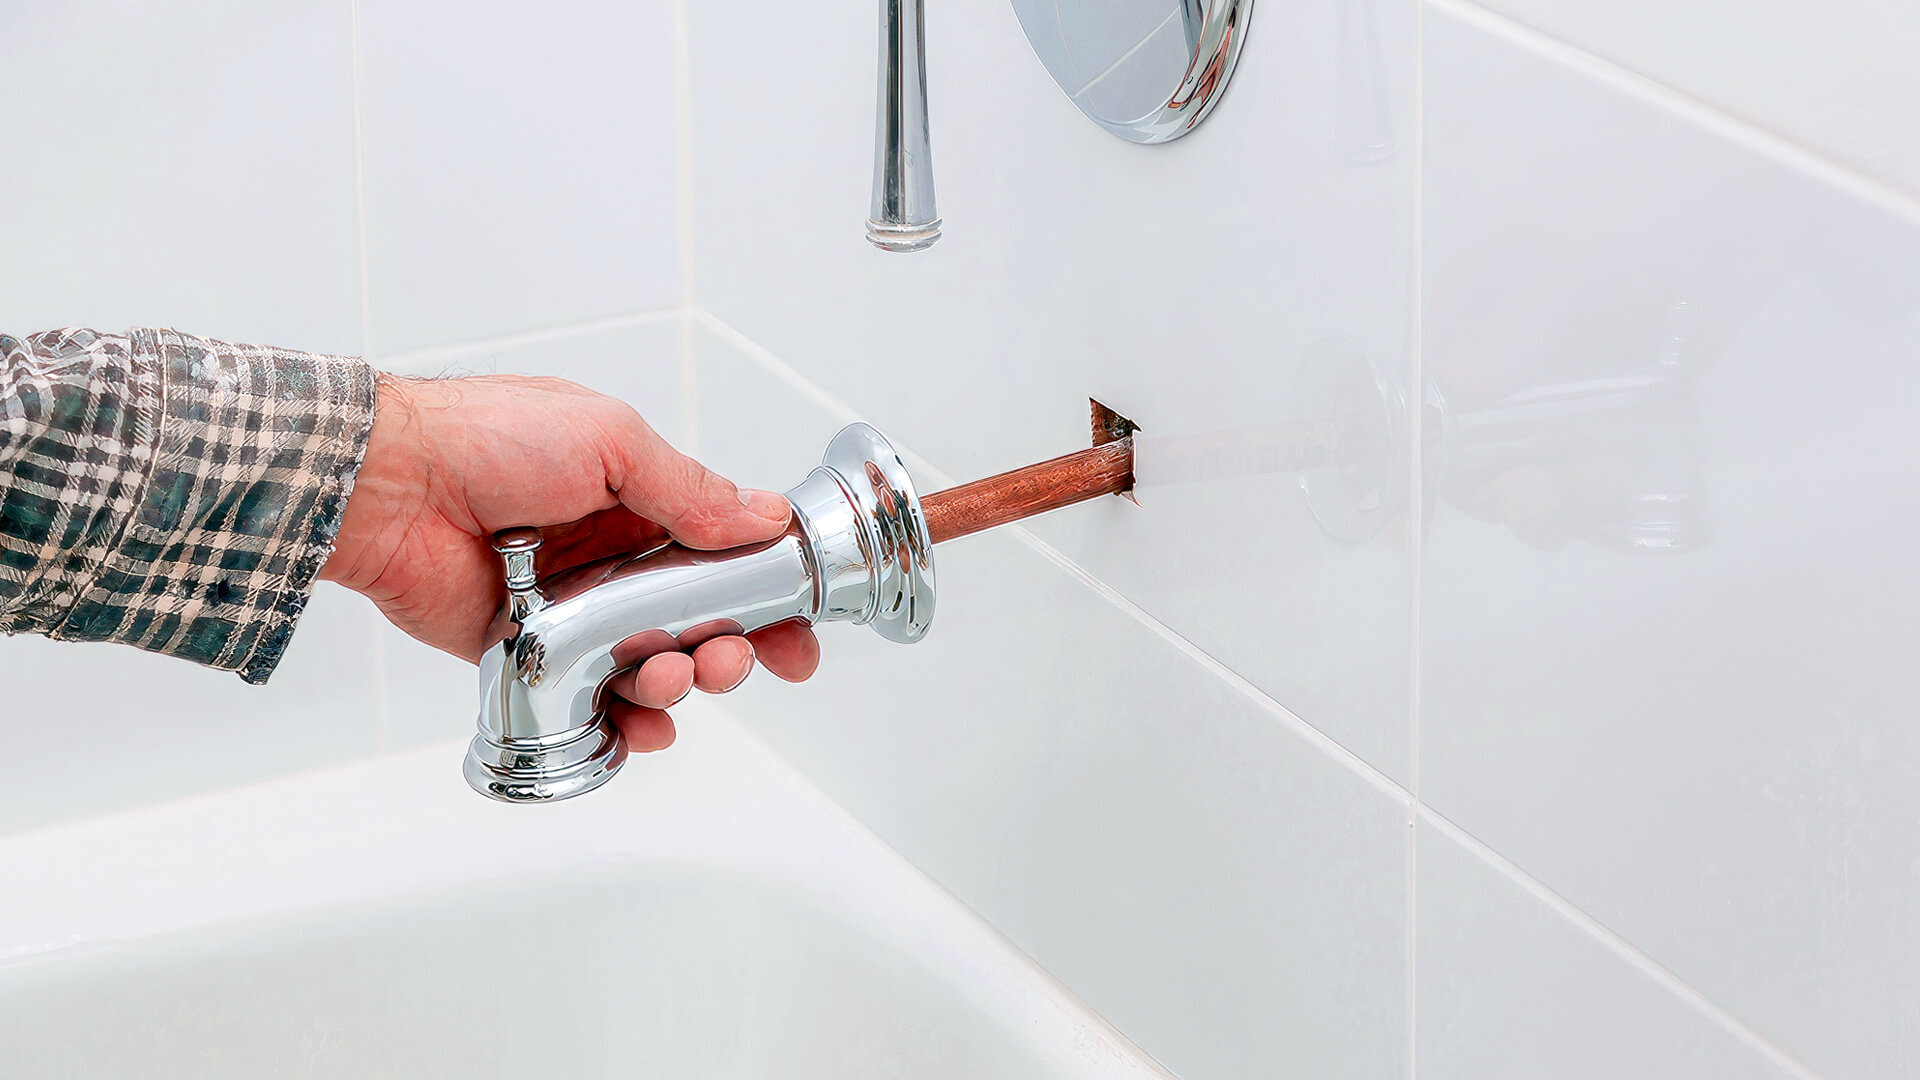
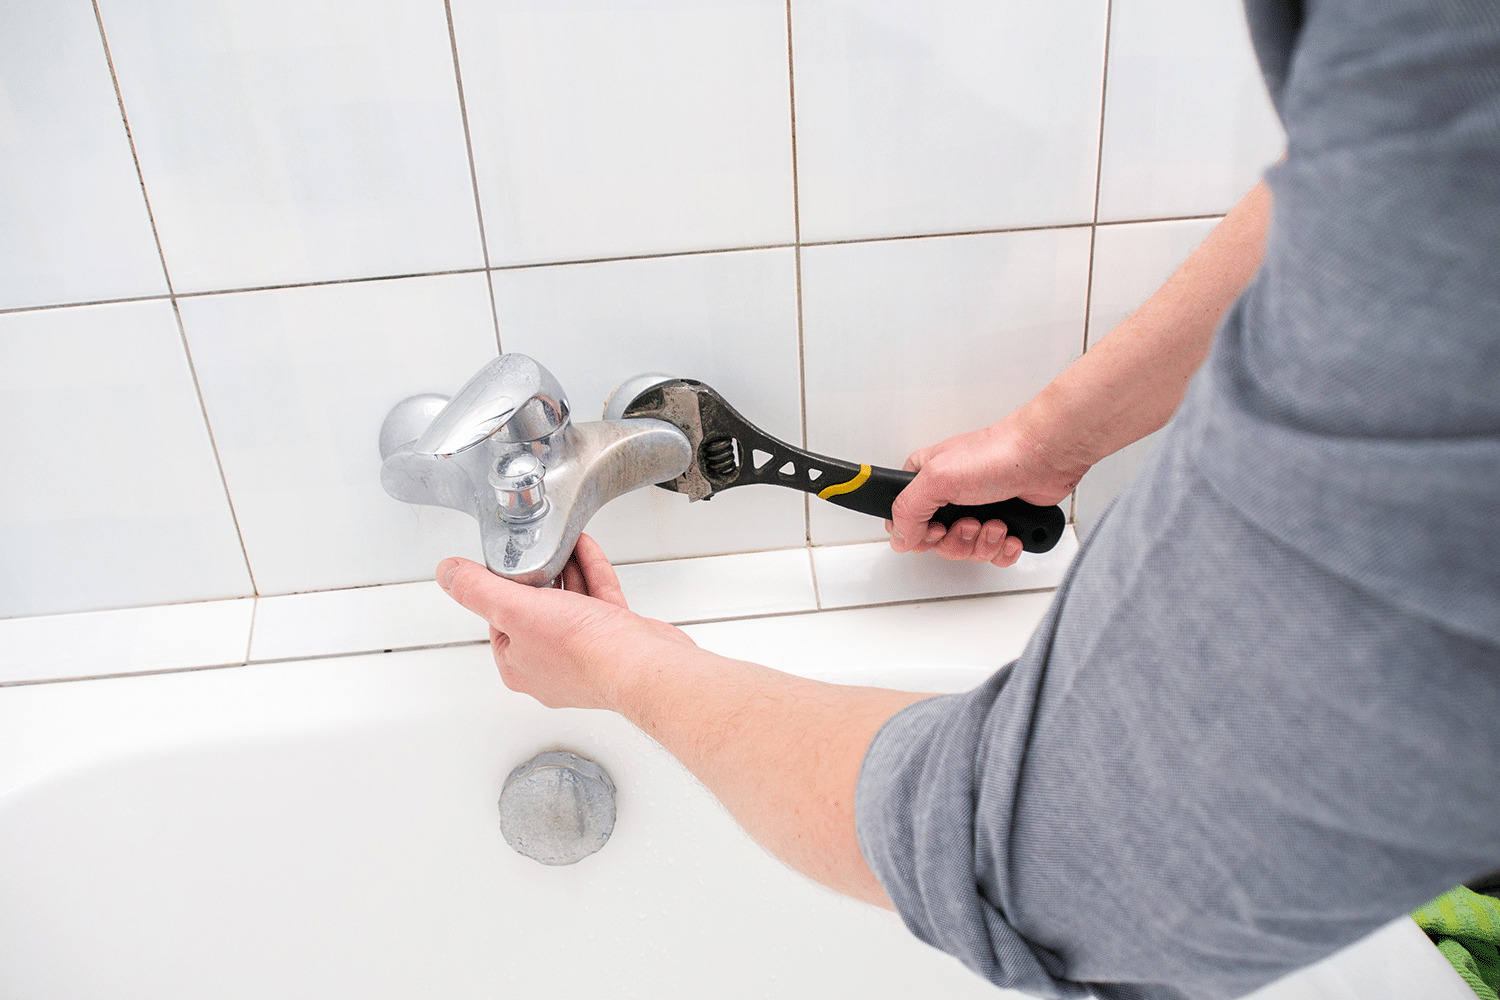
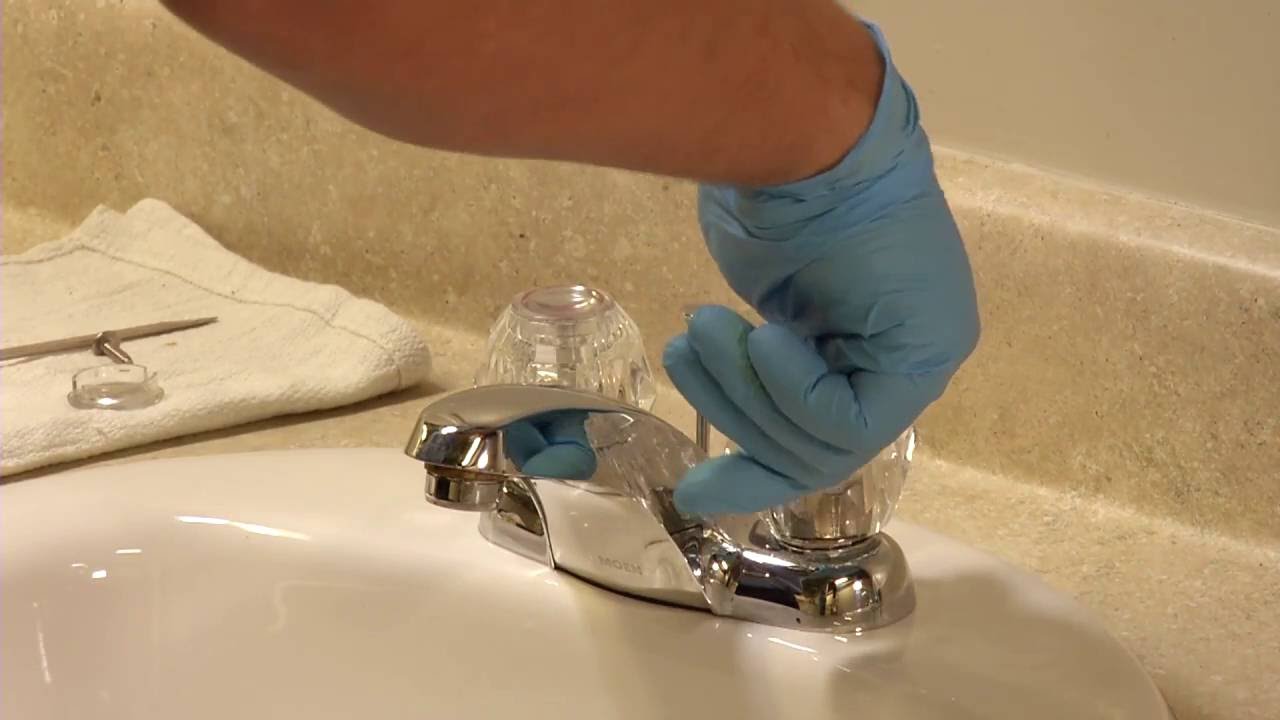
Step 2: Remove the Faucet Handle
Now that the water supply is turned off, it’s time to remove the faucet handle to gain access to the internal components. Follow these steps to remove the handle:
- Locate the screw or nut holding the handle in place: Depending on the faucet design, you will either find a retaining screw on the top of the handle or a nut securing it underneath.
- Use the appropriate tool to loosen and remove the screw or nut: If there is a screw, use a screwdriver to unscrew it counterclockwise. If there is a nut, use an adjustable wrench to loosen it by turning it counterclockwise.
- Gently lift and remove the faucet handle: Once the screw or nut is completely removed, carefully lift the handle straight up to detach it from the faucet body.
Removing the faucet handle may reveal additional components, such as a packing nut or decorative cover. Take note of these components and set them aside for later reassembly. It’s important to handle the handle and other parts with care to avoid any damage during this process.
With the handle removed, you are now ready to proceed to the next step of inspecting the washer and O-rings for any signs of wear or damage. This will help identify the primary cause of the outside faucet leak and determine the necessary repairs.
Read more: How To Stop Water Heater From Leaking
Step 3: Inspect the Washer and O-Rings
Once the faucet handle is removed, it’s time to inspect the washer and O-rings for any signs of wear or damage. These components play a vital role in creating a watertight seal and preventing leaks. Follow these steps to inspect them:
- Locate the washer and O-rings: The washer is usually found at the bottom of the faucet stem, while the O-rings are positioned around the stem.
- Examine the washer for wear or damage: Check the washer for any signs of cracking, flattening, or deterioration. If the washer appears worn or damaged, it is likely the cause of the leak.
- Inspect the O-rings for wear or damage: Carefully examine the O-rings for any cracks, tears, or loss of elasticity. Damaged O-rings can also contribute to leaks.
If either the washer or the O-rings show signs of wear or damage, they will need to be replaced to stop the faucet from leaking. In the next step, we will guide you through the process of replacing these components with new ones.
Note: It’s a good idea to take a photo or make a note of the washer and O-ring positions before removing them. This will help ensure correct placement during reassembly.
To stop an outside faucet from leaking, first turn off the water supply to the faucet. Then, replace the rubber washer inside the faucet to create a tight seal and prevent leaks.
Step 4: Replace the Washer and O-Rings
With the worn-out washer and O-rings identified in the previous step, it’s time to replace these components to fix the outside faucet leak. Follow these steps to replace the washer and O-rings:
- Remove the old washer: Use a screwdriver or your fingers to carefully lift off the worn-out washer from the bottom of the faucet stem. Make sure to clean any debris or buildup in this area.
- Remove the old O-rings: Gently slide the damaged O-rings off the faucet stem. If they are stubborn, you can use a small flat-head screwdriver to help pry them off.
- Prepare the new washer and O-rings: Take the new rubber washer and place it onto the bottom of the faucet stem. Ensure that it fits snugly and lines up with the bottom of the stem. Then, slide the new O-rings onto the stem, positioning them where the old ones were located.
- Apply plumber’s tape (optional): If the threaded connection between the faucet and the pipe has shown signs of leaks or corrosion, it may be beneficial to apply plumber’s tape. Wrap a few layers of plumber’s tape around the threads in a clockwise direction to create a tight seal.
Replacing the washer and O-rings will help restore the proper sealing and prevent water from leaking out of the faucet. It’s important to ensure that the new components are properly installed and aligned with the stem for effective results.
Now that the new washer and O-rings are in place, let’s move on to the next step of reassembling the faucet handle.
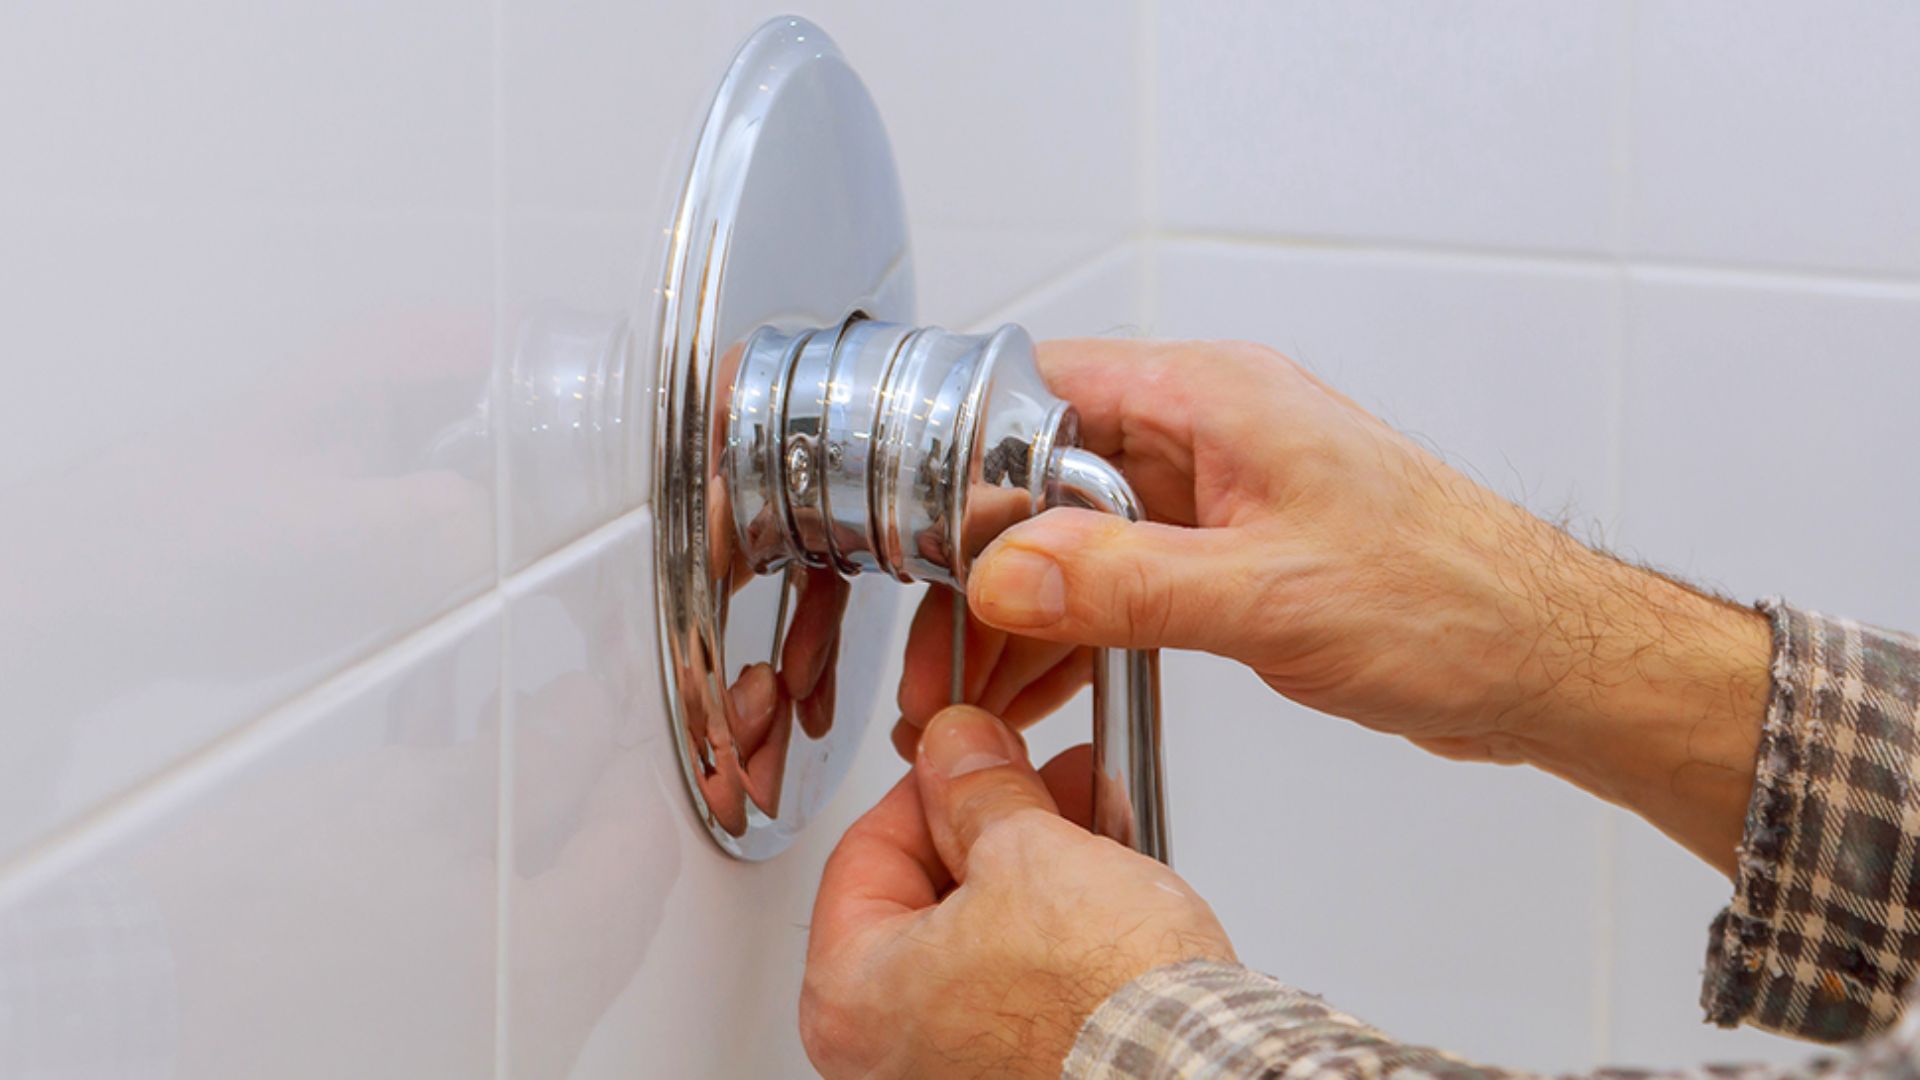
Step 5: Reassemble the Faucet Handle
After replacing the washer and O-rings, it’s time to reassemble the faucet handle to complete the repair. Follow these steps to reassemble the handle:
- Place the decorative cover (if applicable): If your faucet handle has a decorative cover, slide it over the stem and position it onto the base of the faucet.
- Position the handle onto the stem: Align the handle with the faucet stem and gently push it down to secure it in place. Make sure it sits flush and straight.
- Insert the retaining screw or nut: Depending on the model of your faucet, use either the retaining screw or the nut to secure the handle. Slide it in and tighten it clockwise using a screwdriver or an adjustable wrench.
Take care not to overtighten the screw or nut as it can cause damage to the handle or the faucet itself. Ensure that the handle is secure but still allows for smooth and easy operation.
With the faucet handle reassembled, you’re almost done! It’s time to move on to the next step of checking for leaks. Ensuring a proper seal is important to prevent any future leaks and ensure the effectiveness of your repair.
Step 6: Check for Leaks
After reassembling the faucet handle, it’s crucial to check for any leaks to ensure that the repair has been successful. Follow these steps to check for leaks:
- Turn on the water supply: Go back to the main water valve and turn it on by rotating it counterclockwise. This will allow water to flow back into the pipes and the outside faucet.
- Observe the faucet: Once the water is flowing, observe the outside faucet carefully. Look for any signs of water dripping or leaking from the faucet spout or around the handle area.
- Check for any leaks or drips: Run the faucet for a few minutes and pay close attention to any abnormal water flow or leaks. If you notice any dripping or leaking, stop the water supply again and re-examine the components to ensure everything is properly installed and sealed.
- Tighten if necessary: If there are slight leaks, you may be able to fix them by gently tightening the handle or the packing nut. However, be careful not to overtighten, as this can cause damage or further leaks.
It’s important to conduct a thorough check for leaks to ensure that all repairs have been successfully completed. Address any leaks promptly to prevent further damage and water wastage.
If you have followed all the steps and there are no signs of leaks, congratulations! You have successfully repaired the outside faucet and stopped it from leaking. However, there are a few additional tips you can follow to prevent faucet leaks in the future. Let’s explore those in the next step.
Read more: How To Stop An Air Conditioner From Leaking
Step 7: Additional Tips for Preventing Faucet Leaks
Now that you have successfully fixed the leaky outside faucet, there are some preventative measures you can take to avoid future leaks. By following these additional tips, you can ensure the longevity and efficiency of your faucet:
- Maintain proper water pressure: Excessively high water pressure can put unnecessary strain on your faucet’s internal components, leading to leaks. Consider installing a pressure regulator to maintain optimal water pressure levels.
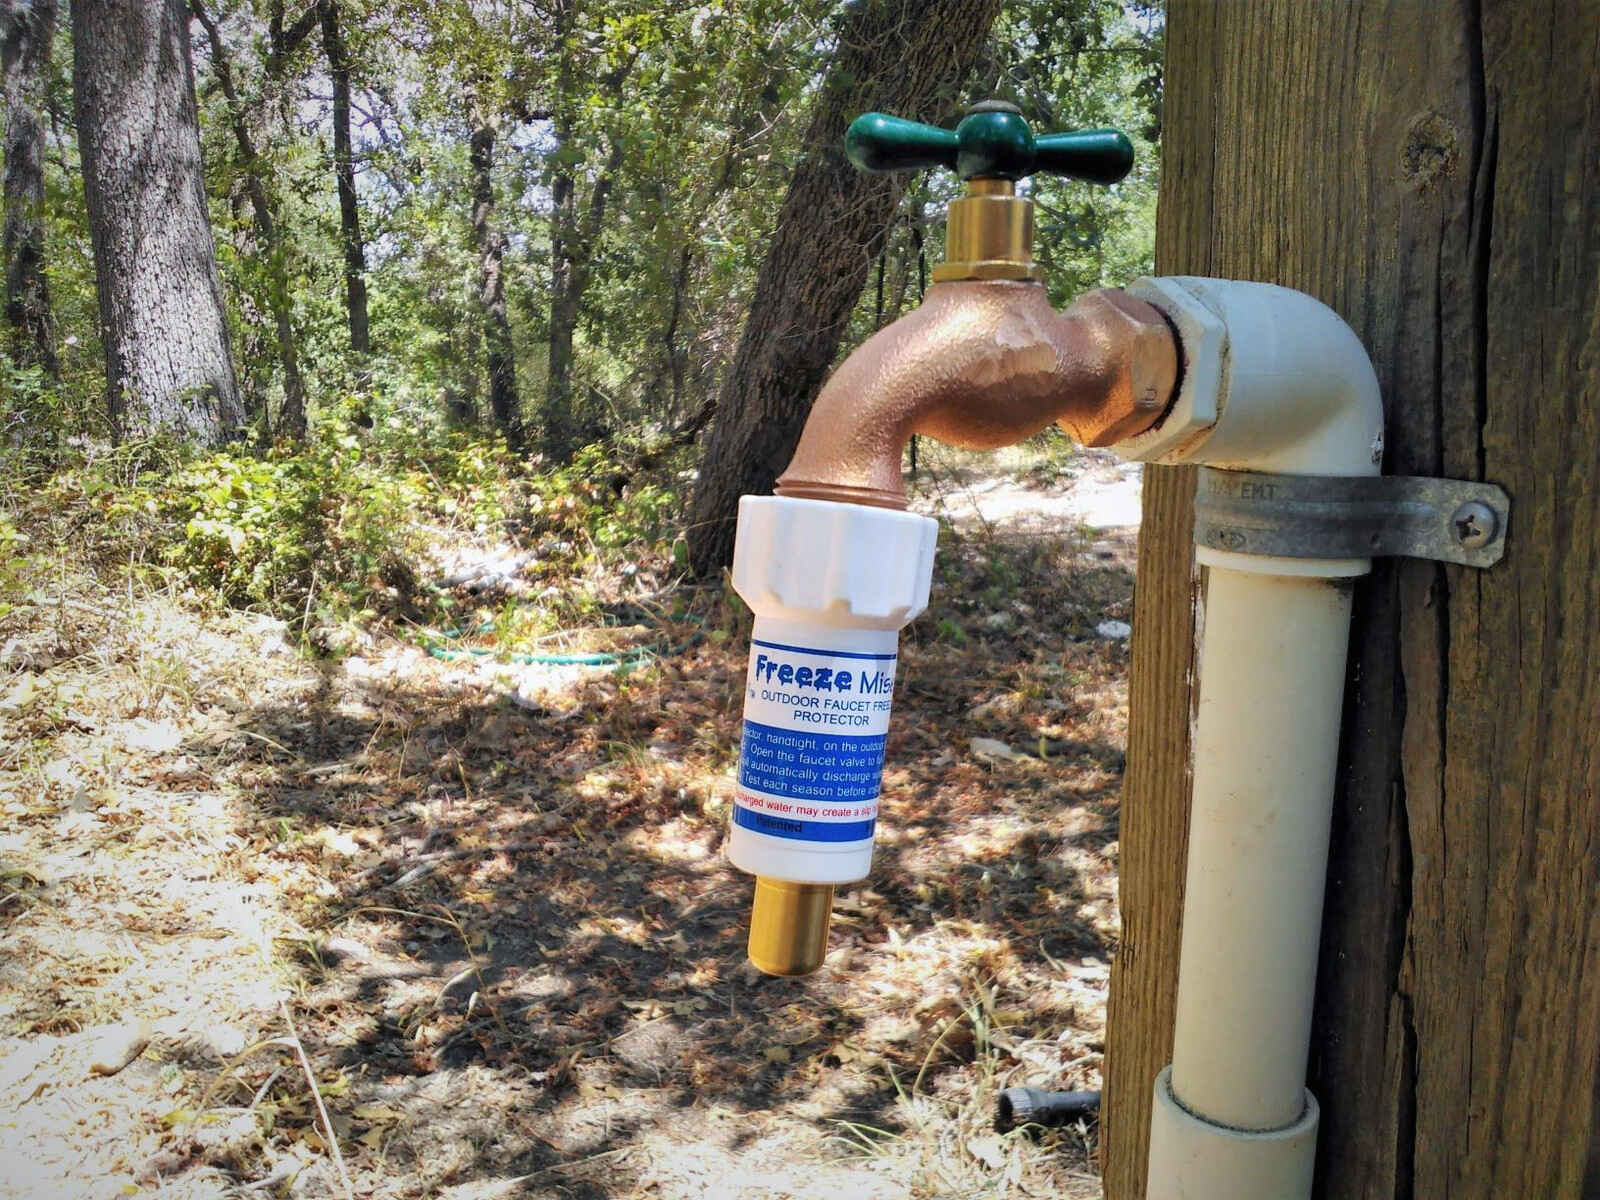
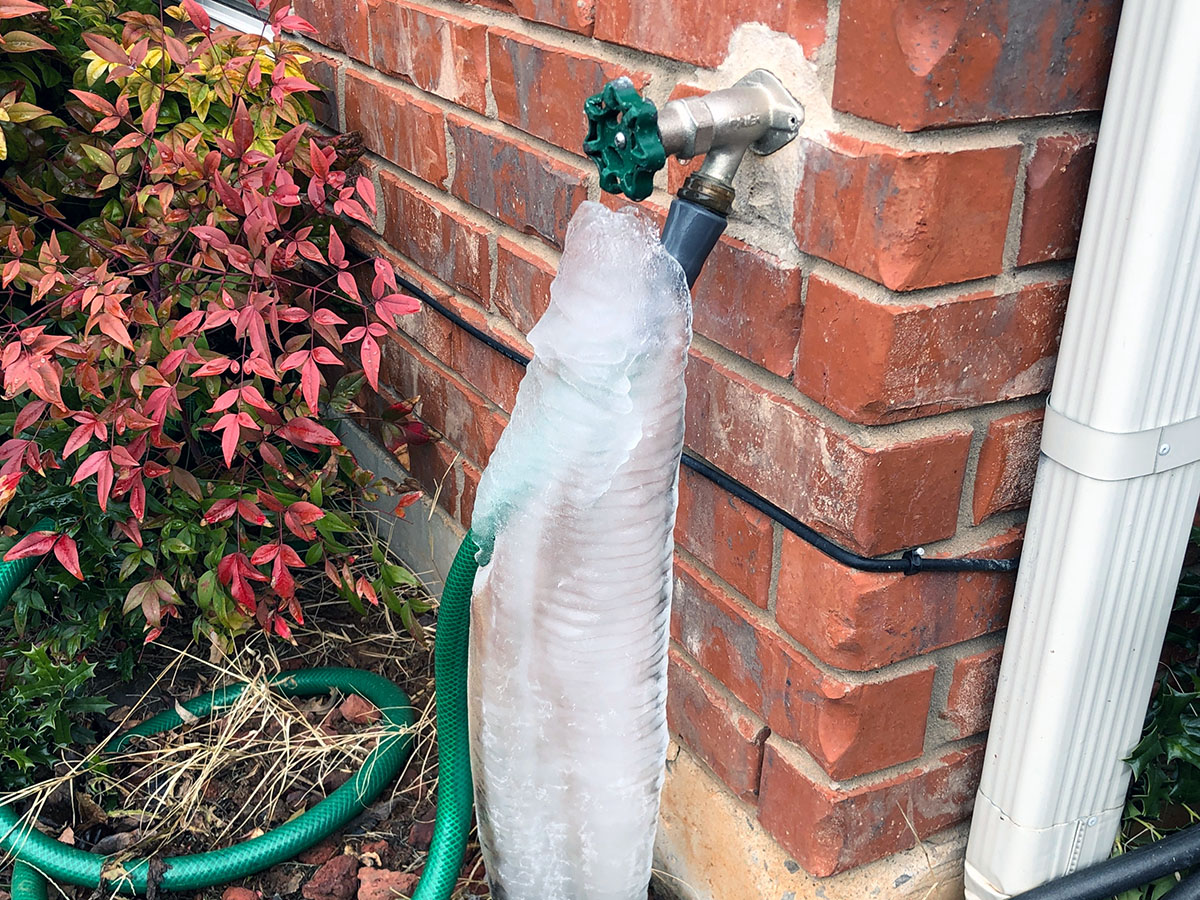
- Protect your faucet from freezing temperatures: During cold winter months, it’s crucial to protect your outside faucet from freezing. Install a freeze-proof faucet or use an insulated faucet cover to shield it from low temperatures.
- Be mindful of heavy-handed usage: Avoid applying excessive force when turning the faucet handle on and off. Being gentle with the handle can help prevent wear and tear on the washer and surrounding components.
- Periodically inspect and clean your faucet: Regularly inspect your outside faucet for any signs of wear, corrosion, or buildup. Clean the faucet and remove any debris to maintain its functionality and prevent leaks.
- Address leaks promptly: If you do notice any leaks or drips, take immediate action to repair them. Ignoring even small leaks can lead to bigger issues and wasted water over time.
By following these preventative measures, you can significantly reduce the chances of experiencing future faucet leaks. It’s always better to be proactive and take preventive actions to avoid costly repairs and unnecessary water waste.
With these additional tips and the step-by-step repair process, you now have the knowledge and skills to stop an outside faucet from leaking and maintain a well-functioning plumbing system.
Remember, if you feel uncomfortable or unsure about tackling any plumbing repairs, it’s always best to seek the assistance of a professional plumber to ensure the job is done correctly and safely.
With diligence and regular maintenance, you can enjoy a leak-free and efficient outside faucet for years to come.
Conclusion
Dealing with a leaky outside faucet can be frustrating, but with the right knowledge and steps, you can successfully stop the leak and prevent further damage. By understanding the common causes of outside faucet leaks and following the proper repair process, you can tackle this issue effectively.
Throughout this article, we have covered the key steps involved in fixing a leaky outside faucet, including shutting off the water supply, removing and inspecting the washer and O-rings, replacing these components, reassembling the faucet handle, checking for leaks, and implementing preventative measures. Each step is important in ensuring a successful repair and preventing future leaks.
Remember, when working with plumbing, it’s essential to prioritize safety and take proper precautions. If you’re unsure or uncomfortable with the repair process, it’s best to consult a professional plumber who can assist you.
By addressing a leaky outside faucet promptly and taking preventative measures, you can save water, reduce your utility bills, and maintain a reliable and efficient plumbing system. Regular maintenance and inspection of your faucets will also help catch any potential issues before they turn into significant problems.
Now that you have the knowledge and tools to handle a leaky outside faucet, you can confidently tackle this repair and enjoy the benefits of a properly functioning faucet. With proper care and regular maintenance, your outside faucet will serve you well for years to come.
So, take control of those pesky leaks, conserve water, and save money by applying the steps outlined in this article. Enjoy the peace of mind that comes with a leak-free outside faucet and a well-maintained plumbing system.
Frequently Asked Questions about How To Stop An Outside Faucet From Leaking
Was this page helpful?
At Storables.com, we guarantee accurate and reliable information. Our content, validated by Expert Board Contributors, is crafted following stringent Editorial Policies. We're committed to providing you with well-researched, expert-backed insights for all your informational needs.
0 thoughts on “How To Stop An Outside Faucet From Leaking”