Articles
How To Stop A Leaky Kitchen Faucet
Modified: October 28, 2024
Learn effective ways to stop a leaky kitchen faucet with our informative articles. Stop wasting water and money with our expert tips and advice.
(Many of the links in this article redirect to a specific reviewed product. Your purchase of these products through affiliate links helps to generate commission for Storables.com, at no extra cost. Learn more)
Introduction
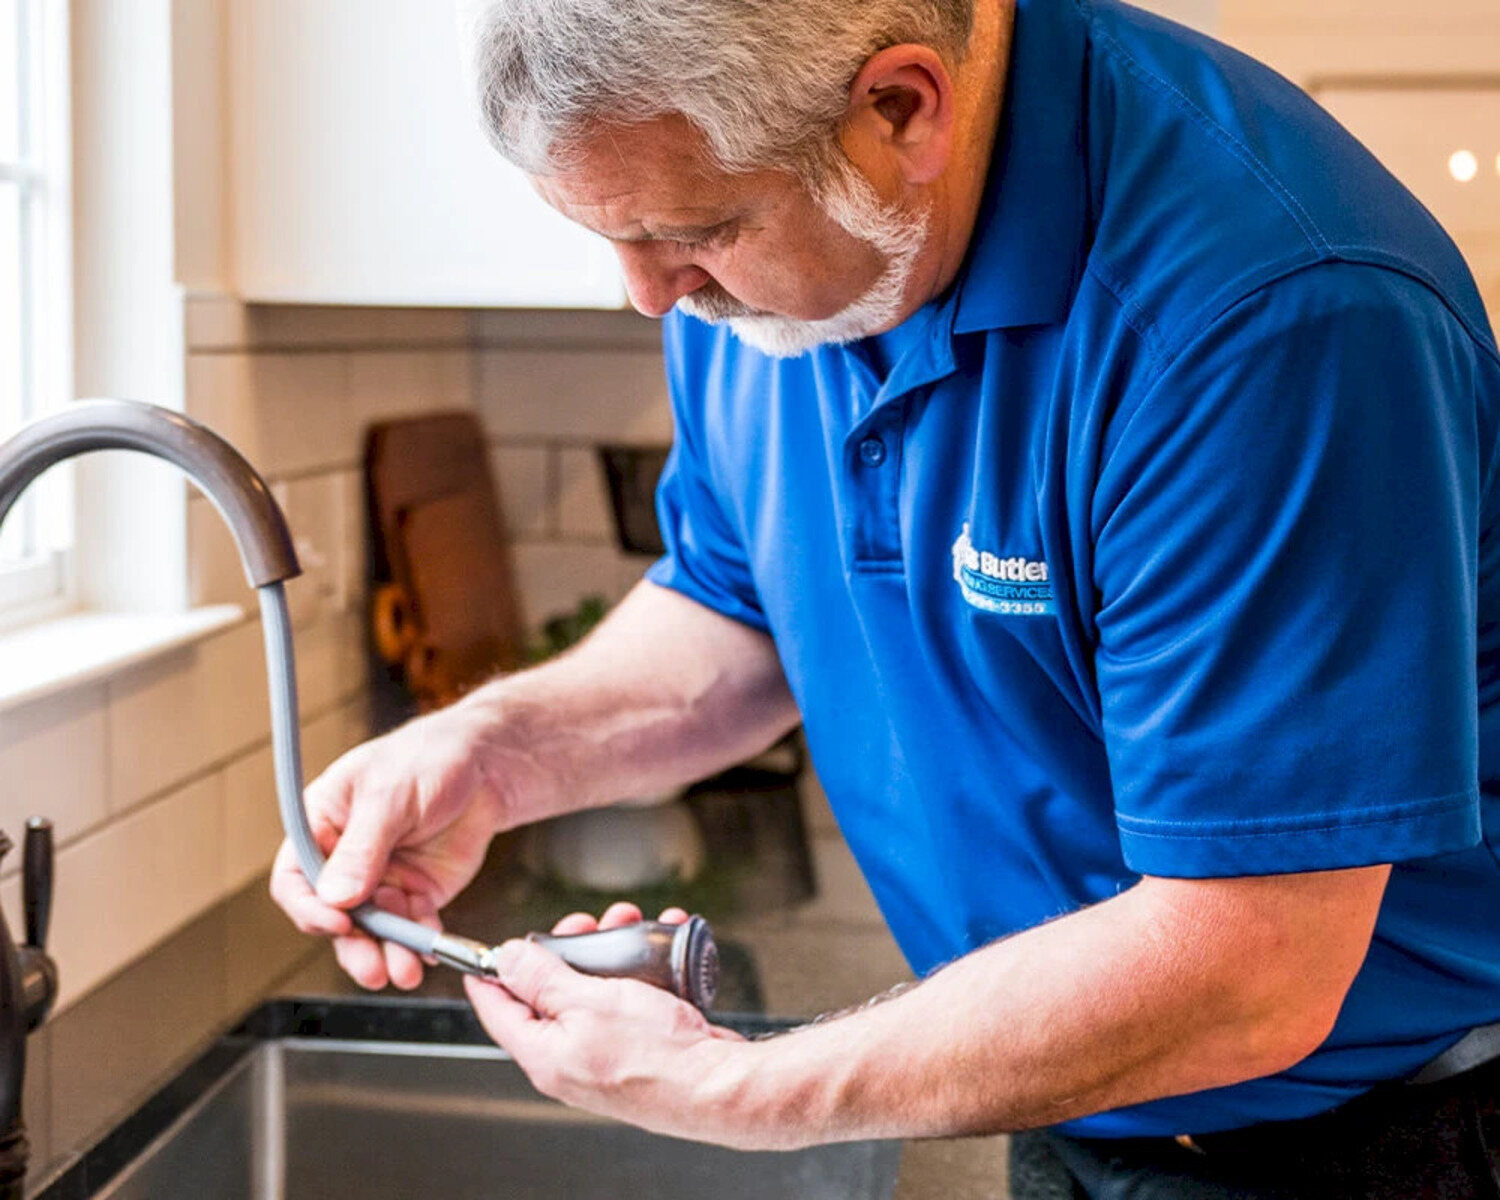
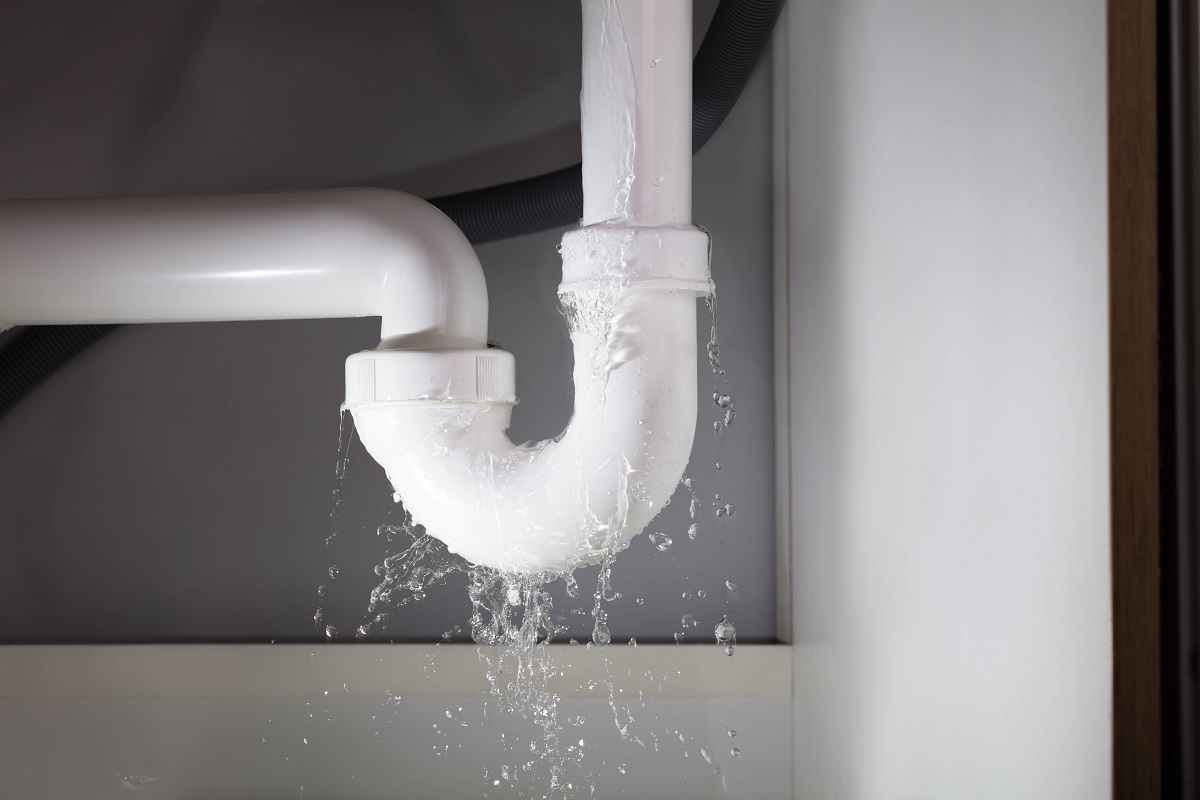
A leaky kitchen faucet can be quite annoying. Not only does it waste water, but it can also cause damage to your sink and surrounding area. The constant dripping sound can also disrupt your peace and make it difficult to concentrate. However, the good news is that fixing a leaky kitchen faucet is a relatively simple and straightforward task that you can do yourself without the need for professional help.
In this article, we will walk you through the step-by-step process of stopping a leaky kitchen faucet. By following these instructions and using the right tools, you can save money on plumber fees and restore the functionality of your faucet.
Before we begin, it is essential to determine the type of faucet you have. Most kitchen faucets either have a single-handle or a double-handle design. The troubleshooting and repair process may vary slightly depending on the design of your faucet. However, the fundamental principles remain the same.
So, let’s get started by gathering the necessary tools for the task.
Key Takeaways:
- Fixing a leaky kitchen faucet is a manageable DIY task that saves money and conserves water. With the right tools and step-by-step process, you can regain a functional faucet and peace of mind.
- Regular maintenance and prompt repairs can prevent future leaks, extending the lifespan of your kitchen faucet. Take proactive steps to address issues and enjoy a properly functioning fixture.
Read more: How To Fix A Leaky Moen Faucet
Step 1: Gathering the necessary tools
Before you can begin repairing your leaky kitchen faucet, you will need to gather a few essential tools. Having these tools on hand will make the process much smoother and more efficient. Here’s a list of the tools you’ll need:
- Adjustable wrench
- Screwdriver (typically a Phillips head)
- Allen wrench (if applicable)
- Replacement cartridge or valve stem
- Plumber’s tape
- Bucket or towels (to catch any water)
An adjustable wrench is necessary to loosen and tighten various nuts and bolts throughout the repair process. Make sure to choose one that fits the size of the nuts on your specific faucet.
A screwdriver, usually a Phillips head, is needed to remove screws and access different parts of the faucet. Some faucets may require an Allen wrench instead, so it’s a good idea to have both on hand.
Depending on the type and model of your faucet, you may need to replace the cartridge or valve stem. This part is responsible for controlling the flow of water, and a malfunctioning cartridge or valve stem is often the culprit behind a leaky faucet. Make sure to purchase the correct replacement part for your specific faucet model.
Plumber’s tape, also known as Teflon tape, is used to create a watertight seal when reassembling the faucet components. It helps prevent any leaks from occurring once you have completed the repair.
Lastly, it’s a good idea to have a bucket or some towels on hand to catch any excess water that may come out during the repair process. This will help prevent any mess and keep your workspace clean.
Once you have gathered all the necessary tools, you are ready to move on to the next step: shutting off the water supply.
Step 2: Shutting off the water supply
Before you can start disassembling your leaky kitchen faucet, it is crucial to turn off the water supply to avoid any potential mess or accidents. Follow these steps to shut off the water supply:
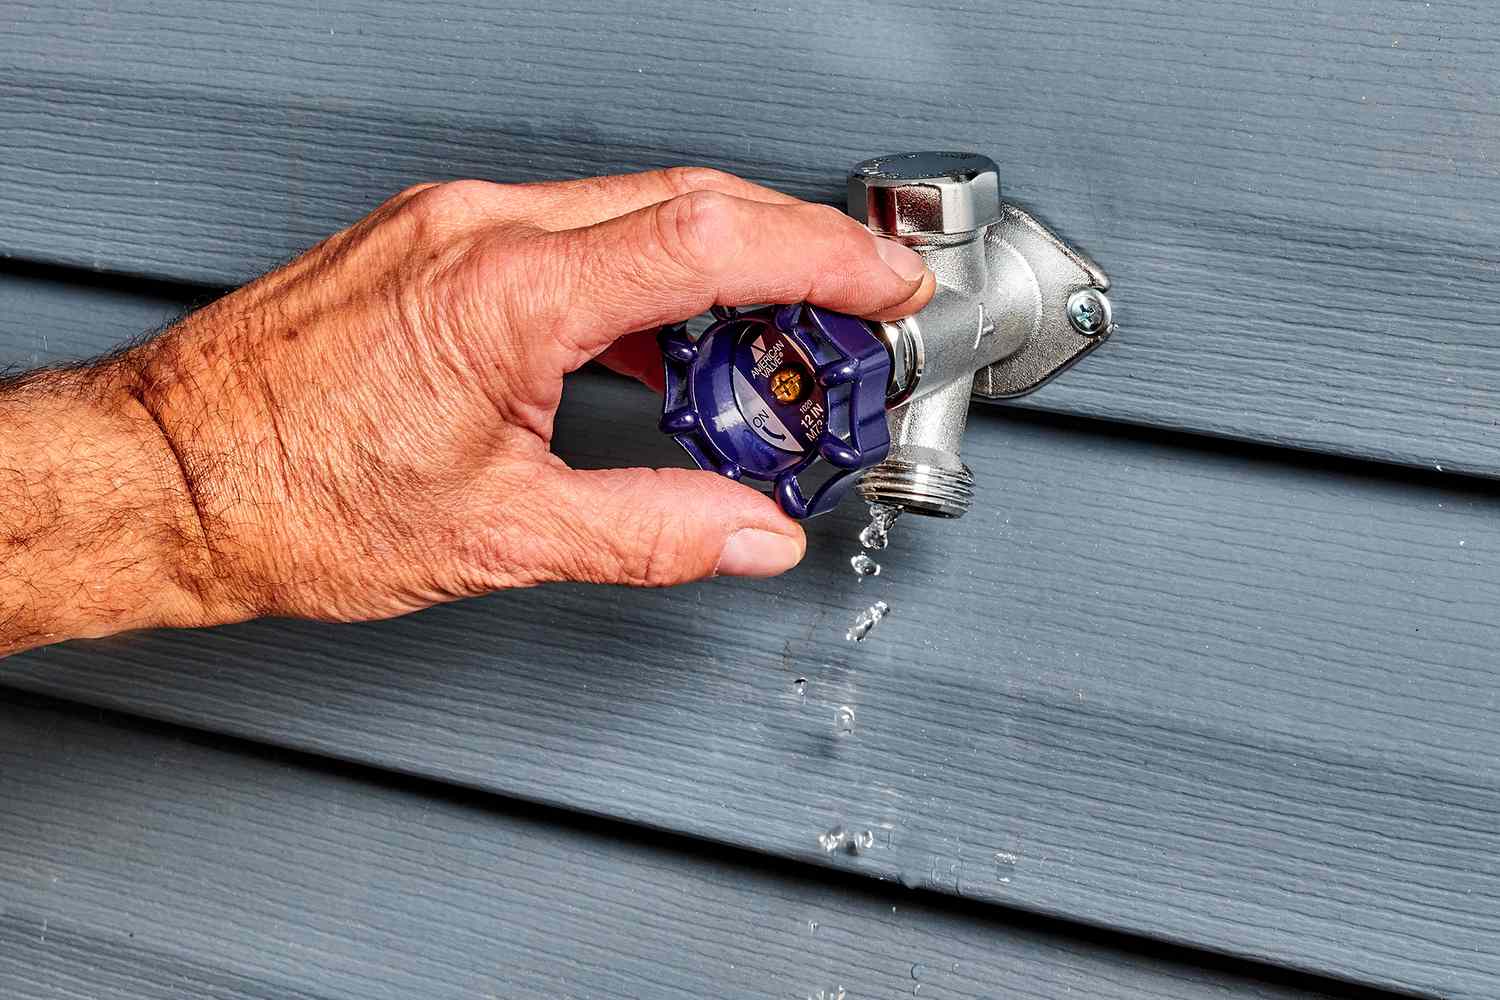
- Locate the shut-off valves: Look under your sink for the shut-off valves. There will be two valves—one for the hot water supply and one for the cold water supply. These valves are usually located on the pipes leading to the faucet.
- Turn off the hot water supply: Using an adjustable wrench, grip the valve labeled for hot water. Turn it clockwise until it is fully closed. This will stop the flow of hot water to the faucet.
- Turn off the cold water supply: Repeat the same process for the cold water supply valve, turning it clockwise with the adjustable wrench until it is fully closed. This will stop the flow of cold water to the faucet.
After closing both hot and cold water supply valves, turn on the faucet to drain any remaining water in the pipes. This will help alleviate pressure and make the disassembly process easier.
By shutting off the water supply, you ensure that no water will flow while you work on your leaky kitchen faucet. This minimizes the risk of water damage and accidents during the repair process.
Next, we will move on to the disassembly of the faucet handle.
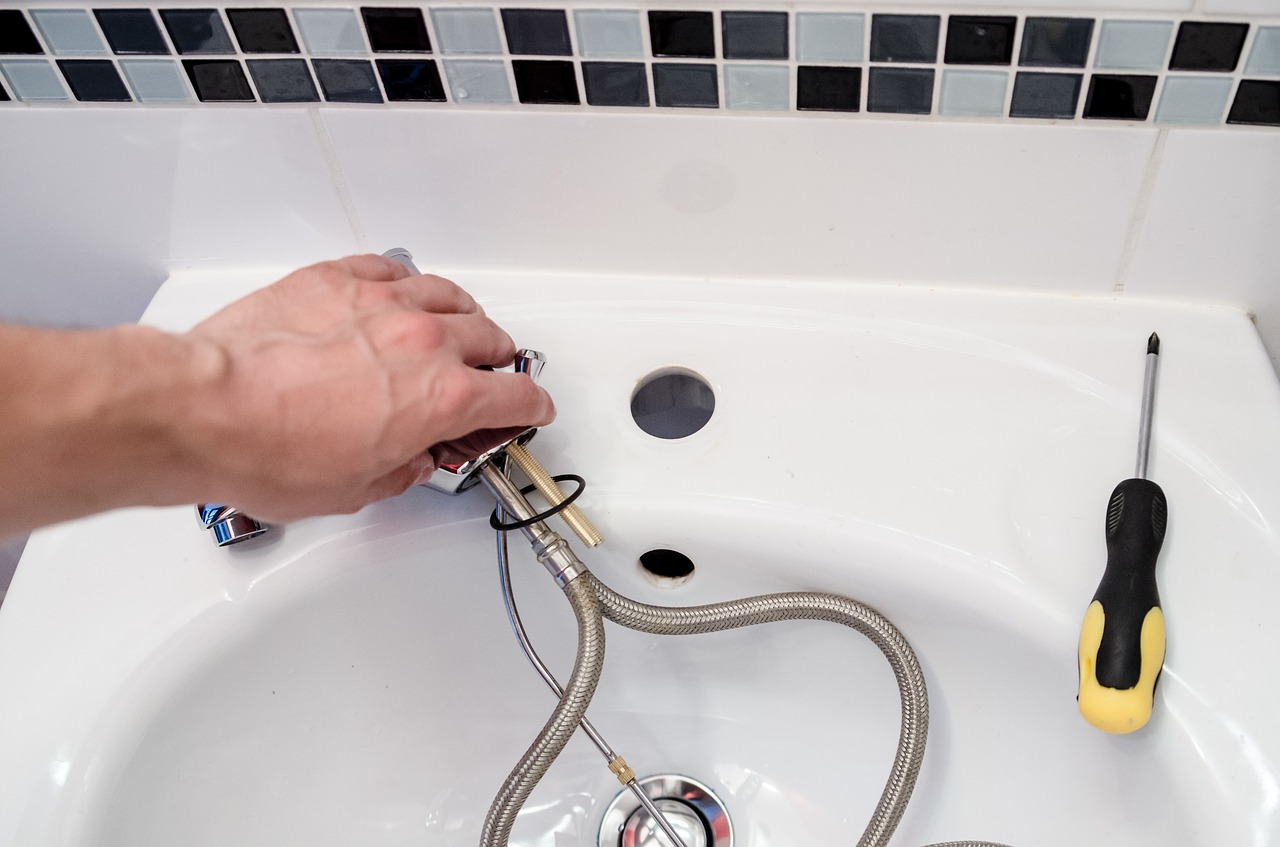
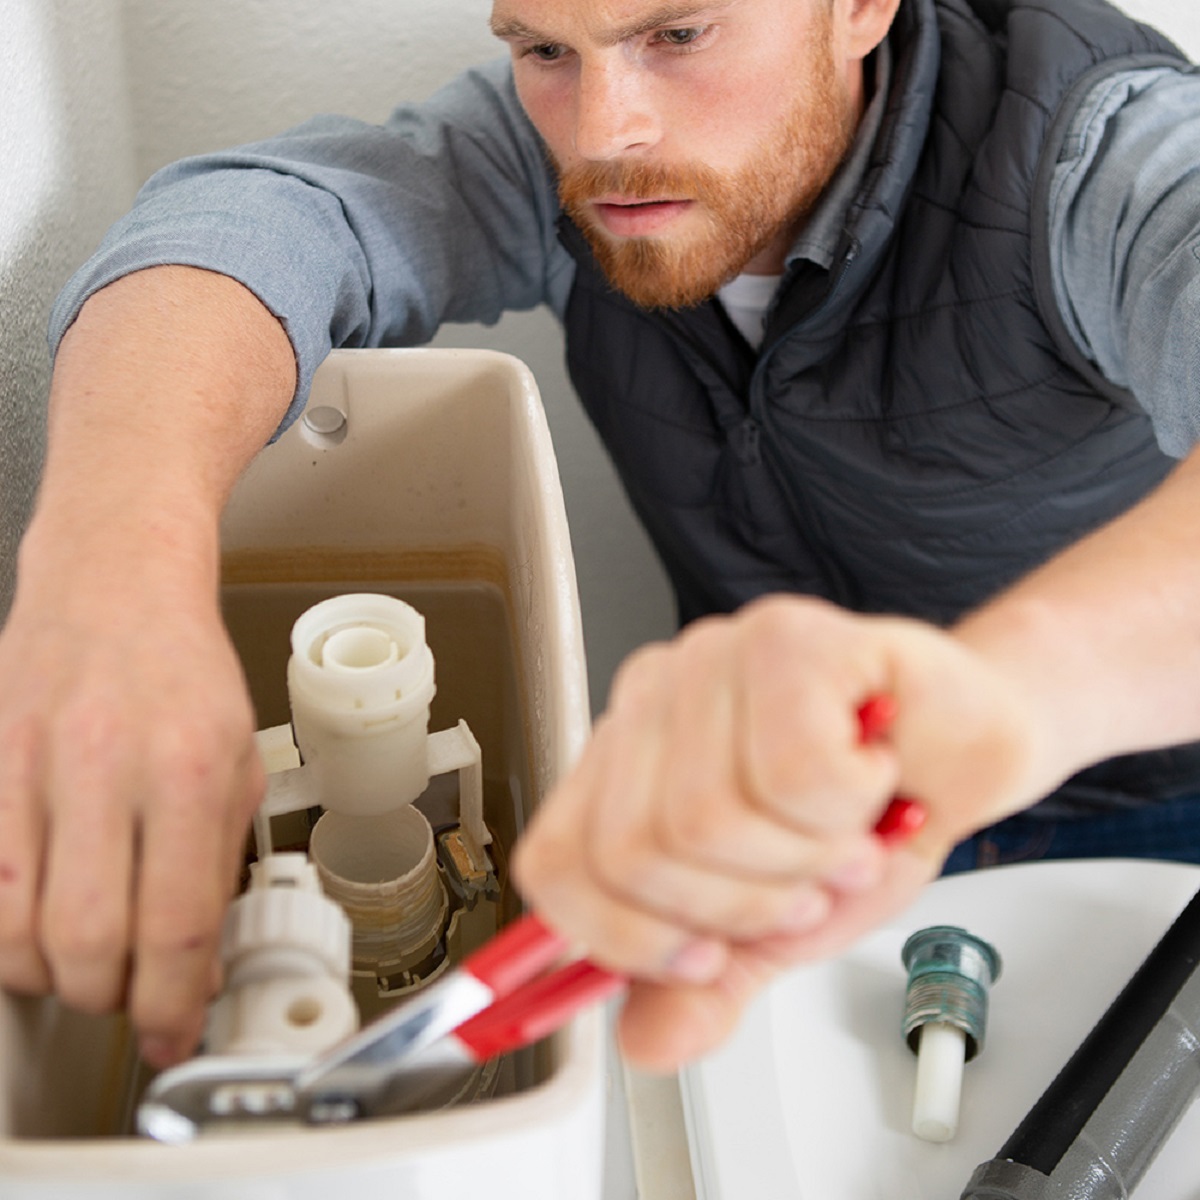
Step 3: Disassembling the faucet handle
Now that the water supply is shut off, it’s time to disassemble the faucet handle. Follow these steps to effectively remove the handle:
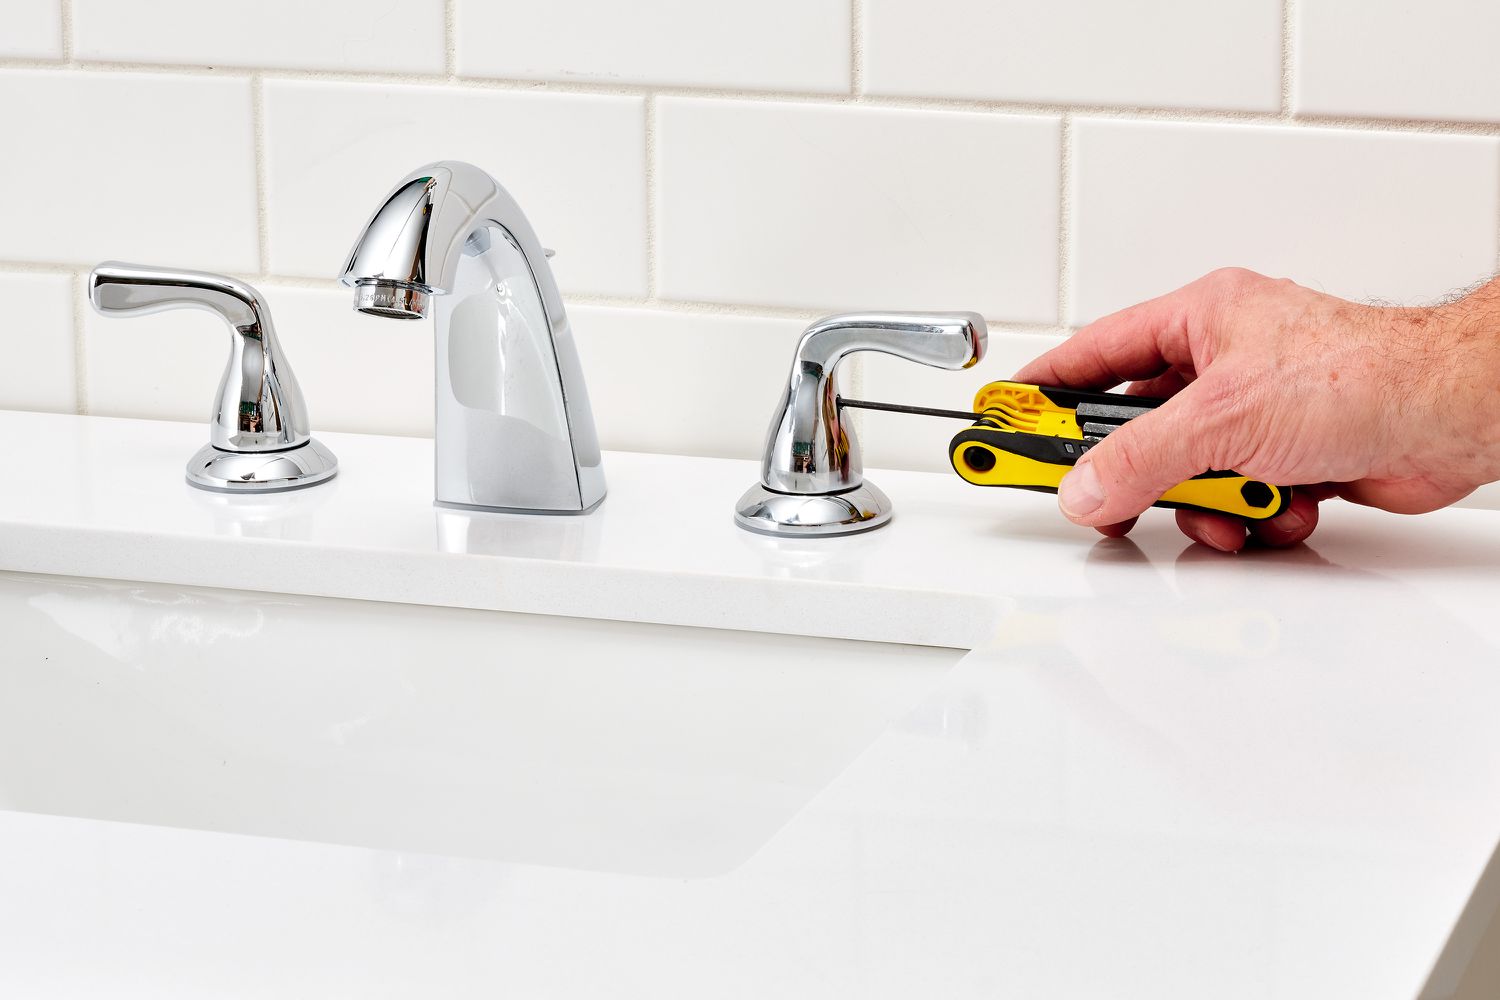
- Locate the screw: Look for a small screw on the handle, usually located on the back or underside. Use a screwdriver or an Allen wrench (depending on your faucet) to remove the screw. Keep the screw in a safe place.
- Remove the handle: Once the screw is removed, you can proceed to take off the handle. Gently wiggle and pull the handle away from the faucet body. It may require some force, but be careful not to apply excessive pressure that may damage the handle.
- Inspect the handle components: With the handle removed, you can now inspect the internal components of the faucet. Look for any signs of wear or damage, such as a cracked cartridge or a faulty valve stem.
If you notice any noticeable defects or if the cartridge or valve stem appears to be worn out, it is highly recommended to replace them with new ones. This will ensure a long-lasting repair and prevent future leaks.
Once you have completed the inspection and replaced any damaged components, you are ready to move on to the next step: inspecting and replacing the cartridge or valve stem.
Check the faucet’s O-ring and washer for wear and tear. Replace them if necessary to stop the leak.
Step 4: Inspecting and replacing the cartridge or valve stem
After disassembling the faucet handle, it’s time to inspect and potentially replace the cartridge or valve stem, which are the key components responsible for controlling the flow of water. Follow these steps to effectively inspect and replace these parts:
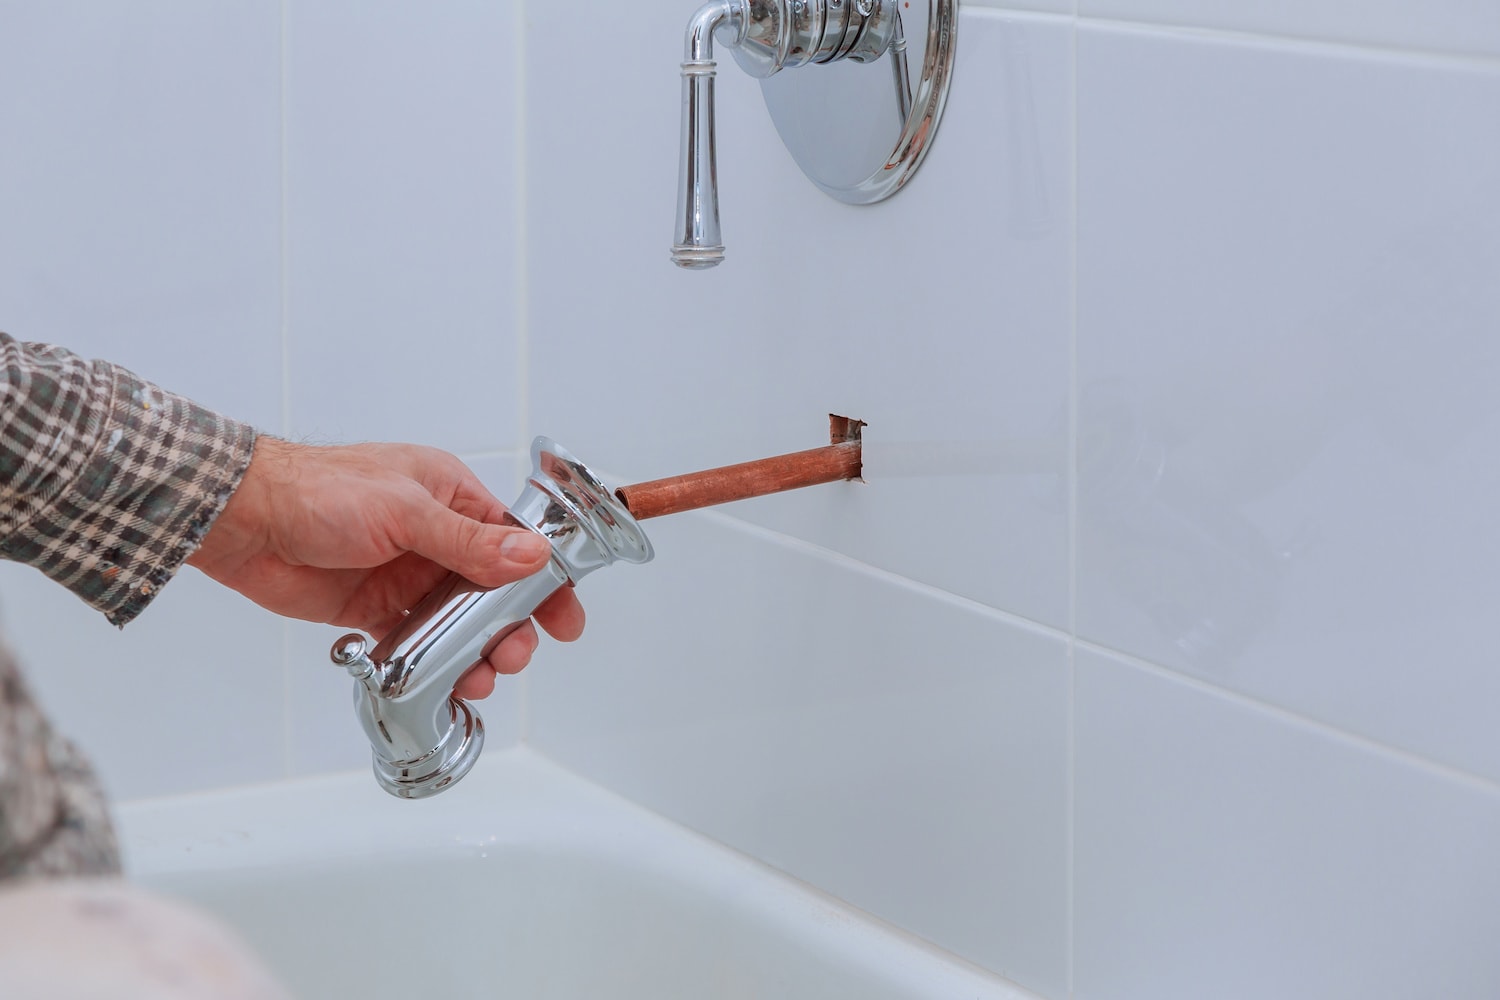
- Inspect the cartridge or valve stem: Carefully examine the cartridge or valve stem for any signs of damage, such as cracks, wear, or mineral build-up. These issues can lead to leaks and need to be addressed.
- If the cartridge is worn or damaged: If you have a cartridge-based faucet, you can remove the old cartridge by grasping it with pliers or using a cartridge removal tool. Twist the cartridge counterclockwise to loosen and remove it from the faucet body.
- If the valve stem is worn or damaged: For a faucet with a valve stem, use a wrench to unscrew the valve stem counterclockwise and remove it from the faucet body.
- Replace the cartridge or valve stem: Take the new cartridge or valve stem and align it properly with the faucet body. Insert it firmly and twist it clockwise to secure it in place. If needed, refer to the manufacturer’s instructions for specific installation guidelines.
- Apply plumber’s tape: Before reassembling the faucet, wrap plumber’s tape around the threads of the cartridge or valve stem. This will create a watertight seal and help prevent any leaks.
By inspecting and replacing the worn or damaged cartridge or valve stem, you are addressing the root cause of the leaky faucet. This step is essential in ensuring a successful repair and preventing future leaks.
With the new cartridge or valve stem in place and plumber’s tape applied, you can proceed to reassemble the faucet handle in the next step.
Read more: How To Fix A Leaky Faucet
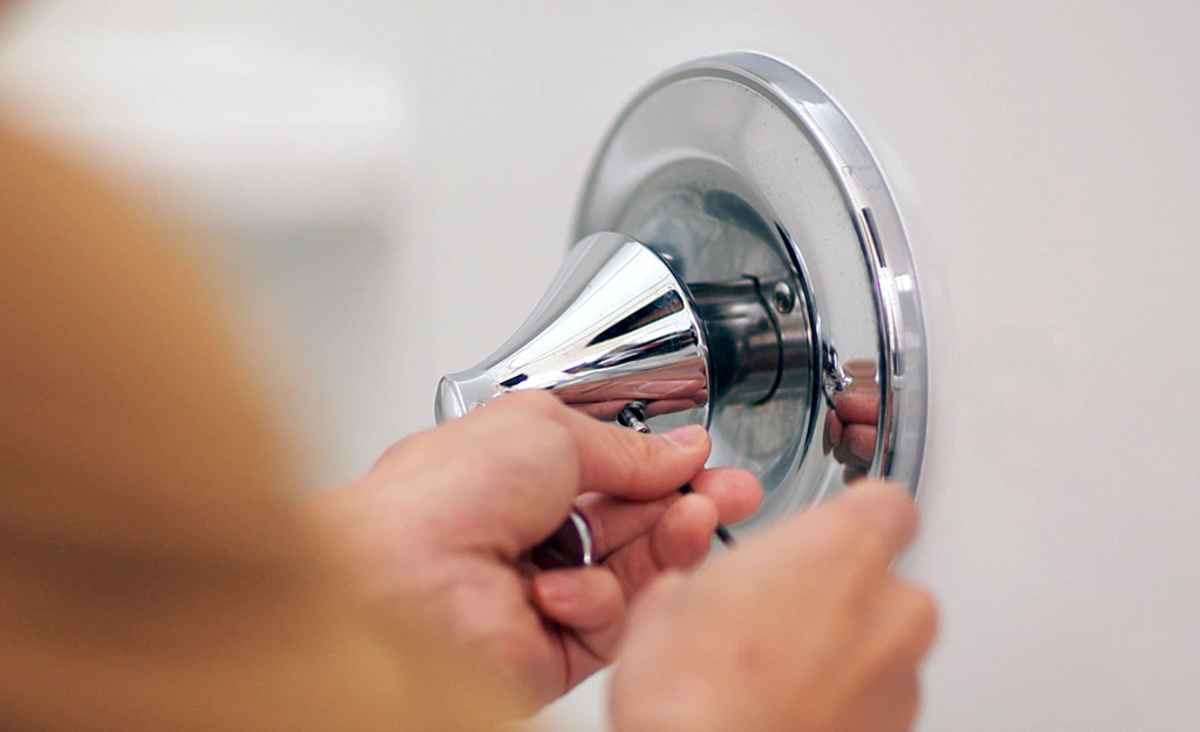
Step 5: Reassembling the faucet handle
Now that the cartridge or valve stem has been replaced, it’s time to reassemble the faucet handle. Follow these steps to ensure a proper reassembly:
- Place the handle back onto the faucet body: Align the handle with the faucet body, making sure it is properly aligned with any grooves or slots. Gently push the handle back into place, ensuring a secure fit.
- Reattach the screw: Take the small screw that you removed earlier and insert it back into its original position. Use a screwdriver or an Allen wrench (depending on your faucet) to tighten the screw and secure the handle in place. Be careful not to overtighten.
Once the handle is securely reattached, give it a few turns to test its functionality. Make sure the handle moves smoothly and without any resistance. If there are any issues, double-check the alignment and tightness of the handle and screw.
With the faucet handle successfully reassembled, you’re almost done. The final step is to turn on the water supply and test for leaks.
Step 6: Turning on the water supply
Now that you have reassembled the faucet handle, it’s time to turn on the water supply and test your repairs. Follow these steps to safely and effectively restore the flow of water:
- Ensure the faucet is in the off position: Make sure the handle is turned to the off position before turning on the water supply.
- Open the shut-off valves: Locate the shut-off valves under the sink and turn them both counterclockwise to fully open the water supply. Start with the cold water supply valve and then open the hot water supply valve.
- Turn on the faucet: Slowly turn the faucet handle to the on position. You may notice some sputtering or air in the beginning, but this is normal as the water flows through the pipes.
- Check for leaks: Carefully inspect the faucet and the surrounding area for any signs of leaks. Pay close attention to the base of the faucet, the handles, and any connections. If you notice any leaks, tighten the affected area or consider replacing any faulty parts.
If there are no leaks and the water is flowing smoothly, congratulations! You have successfully repaired your leaky kitchen faucet. Enjoy the functionality and peace of mind that comes with a properly functioning faucet.
In the unlikely event that you encounter any issues, such as persistent leaks or unusual water flow, it may be necessary to seek professional assistance to address the problem.
Remember, regular maintenance and periodic inspections can help prevent future leaks and extend the lifespan of your kitchen faucet. Stay proactive and address any issues promptly to avoid costly repairs in the future.
With the water supply turned on and the faucet working properly, your repair process is complete. Pat yourself on the back for a job well done!
Conclusion
Fixing a leaky kitchen faucet doesn’t have to be a daunting task. With the right tools, a little know-how, and some patience, you can successfully repair your faucet and save money on professional plumbing services. By following the step-by-step process outlined in this article, you can regain the functionality of your faucet and eliminate the annoyance of constant dripping.
Remember to gather the necessary tools before you start, shut off the water supply to prevent any accidents, and carefully disassemble the faucet handle to inspect and replace any worn or damaged parts. Reassembling the faucet handle and properly turning on the water supply will allow you to test your repairs and ensure that there are no leaks.
Regular maintenance and inspections are important to keep your kitchen faucet in good condition and prevent future leaks. If you notice any issues or persistent leaks, it’s best to address them promptly to avoid further damage and costly repairs down the line.
By taking the time to fix your leaky faucet, you’re not only saving money but also conserving water and reducing your impact on the environment. Every small effort counts towards a sustainable future.
So, roll up your sleeves, gather your tools, and confidently tackle that leaky kitchen faucet. You’ve got this!
Frequently Asked Questions about How To Stop A Leaky Kitchen Faucet
Was this page helpful?
At Storables.com, we guarantee accurate and reliable information. Our content, validated by Expert Board Contributors, is crafted following stringent Editorial Policies. We're committed to providing you with well-researched, expert-backed insights for all your informational needs.


0 thoughts on “How To Stop A Leaky Kitchen Faucet”