Home>Home Maintenance>How To Stop An Air Conditioner From Leaking
Home Maintenance
How To Stop An Air Conditioner From Leaking
Modified: August 23, 2024
Learn how to prevent your air conditioner from leaking with these easy home maintenance tips. Keep your home cool and dry with these simple solutions.
(Many of the links in this article redirect to a specific reviewed product. Your purchase of these products through affiliate links helps to generate commission for Storables.com, at no extra cost. Learn more)
Introduction
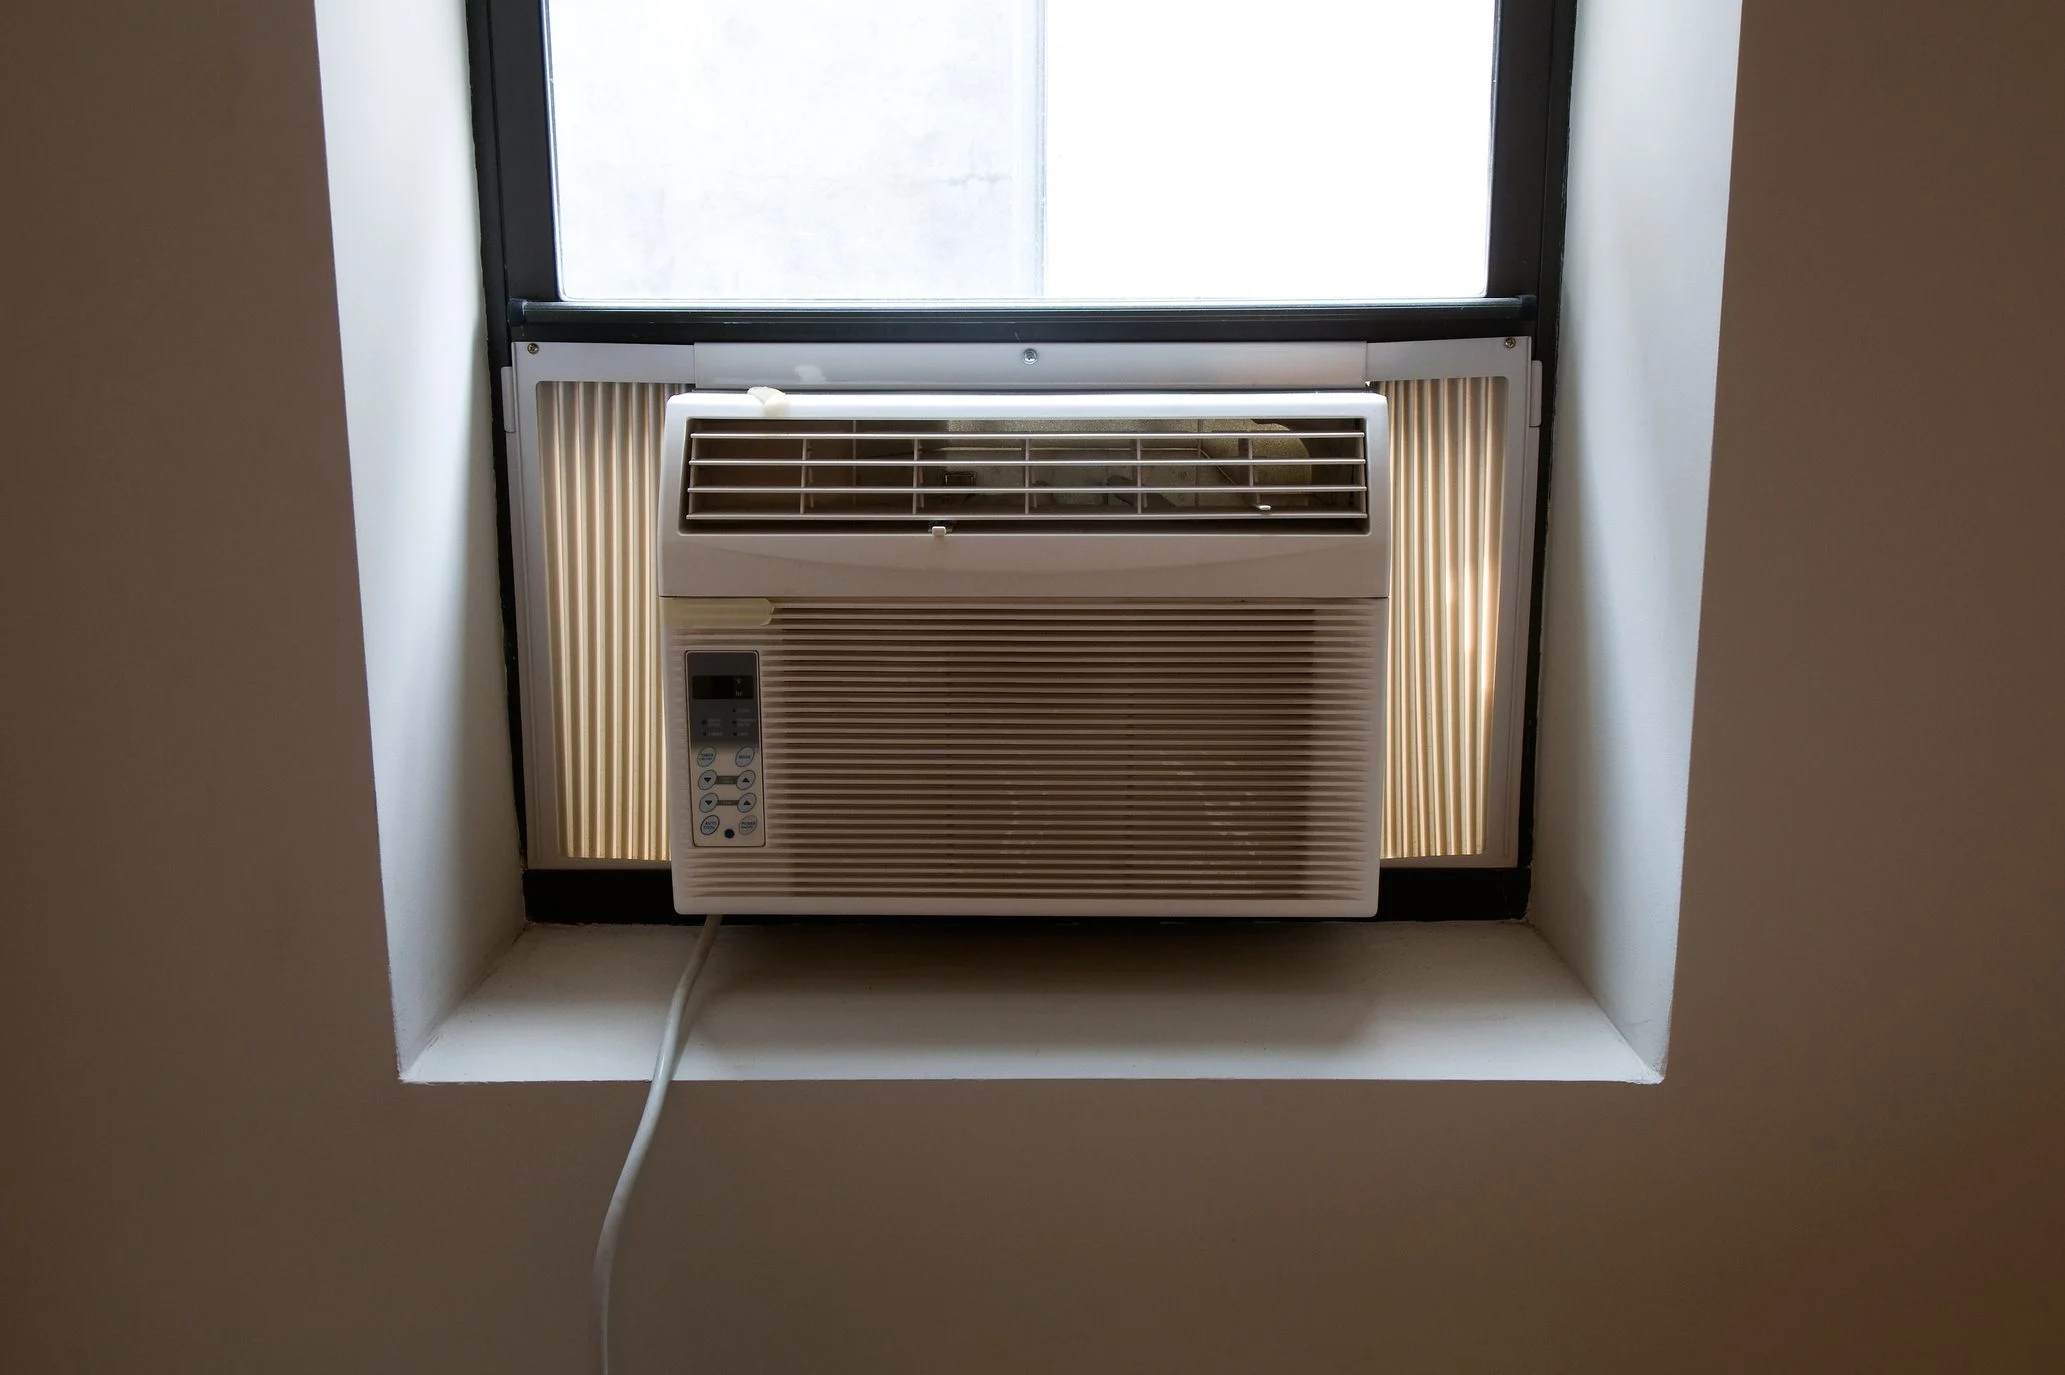
Welcome to our comprehensive guide on how to stop an air conditioner from leaking. As homeowners, it’s important to understand the common causes of air conditioner leaks and know how to address them effectively. A leaking air conditioner not only affects the comfort of your home but can also lead to potential damage to your property if left unattended. By following the steps outlined in this guide, you’ll be equipped with the knowledge to troubleshoot and resolve air conditioner leaks, saving you time and money in the long run.
Before we delve into the steps to stop an air conditioner from leaking, let’s first familiarize ourselves with the common causes of these leaks. By identifying the root cause, you’ll be better equipped to prevent future leaks and maintain the efficiency of your cooling system.
Key Takeaways:
- Regularly changing the air filter and clearing the drainage line can prevent air conditioner leaks, ensuring a comfortable and efficient home environment.
- If you notice signs of a leaking air conditioner, such as water pooling or reduced cooling efficiency, take immediate action to prevent further damage and seek professional help if needed.
Read more: How To Find A Leak In An Air Conditioner
Common Causes of Air Conditioner Leaks
There are several common causes of air conditioner leaks, and understanding them can help you pinpoint the issue more accurately. Here are the most frequent culprits:
- Clogged Drainage Line: Over time, the drainage line of your air conditioner can become clogged with debris, such as dirt, dust, or algae. This blockage prevents proper drainage of condensation, leading to water leakage.
- Dirty or Damaged Condensate Pan: The condensate pan collects the water droplets that form during the cooling process. If the pan is dirty or damaged, it may not be able to contain the water properly, causing it to leak.
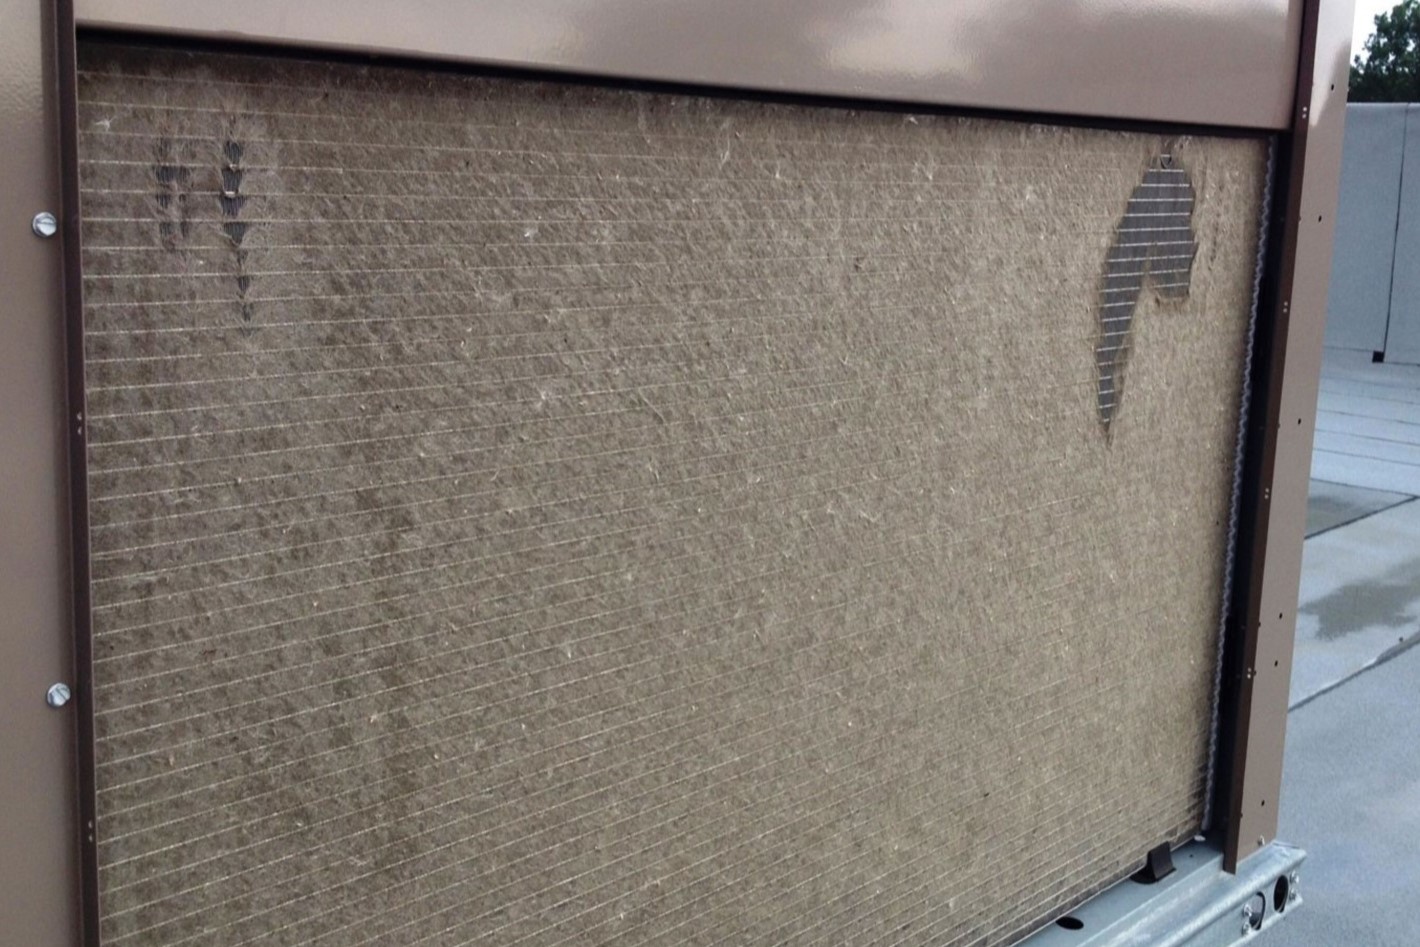
- Dirty Air Filter: A dirty air filter restricts airflow, causing the evaporator coil to freeze up. When the coil thaws, excess water can leak from the unit.
- Refrigerant Leak: A refrigerant leak can cause the evaporator coil to freeze or the pressure in the system to fluctuate, leading to water leakage from the air conditioner.
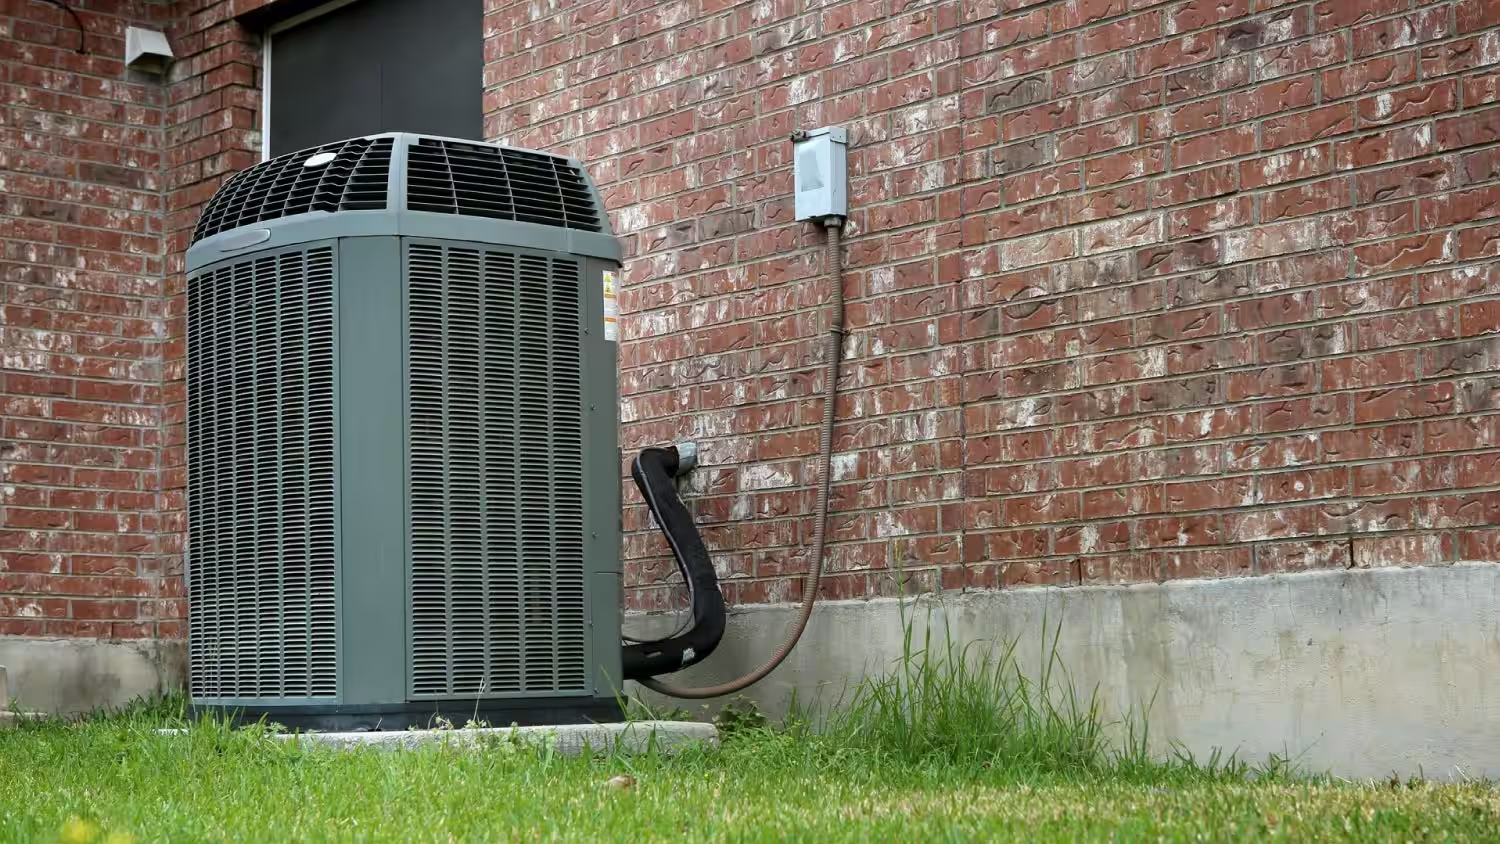
- Improper Installation: If your air conditioner was not installed correctly, it may not be level, leading to improper drainage and potential leaks.
- Excessive Humidity: In areas with high humidity levels, the air conditioner may struggle to remove moisture from the air effectively, causing water to accumulate and leak from the unit.
By understanding the common causes of air conditioner leaks, you can take proactive steps to prevent them and keep your cooling system functioning optimally.
Signs of a Leaking Air Conditioner
Identifying the signs of a leaking air conditioner is crucial for taking prompt action and preventing further damage. Here are some common indicators that your air conditioner may be leaking:
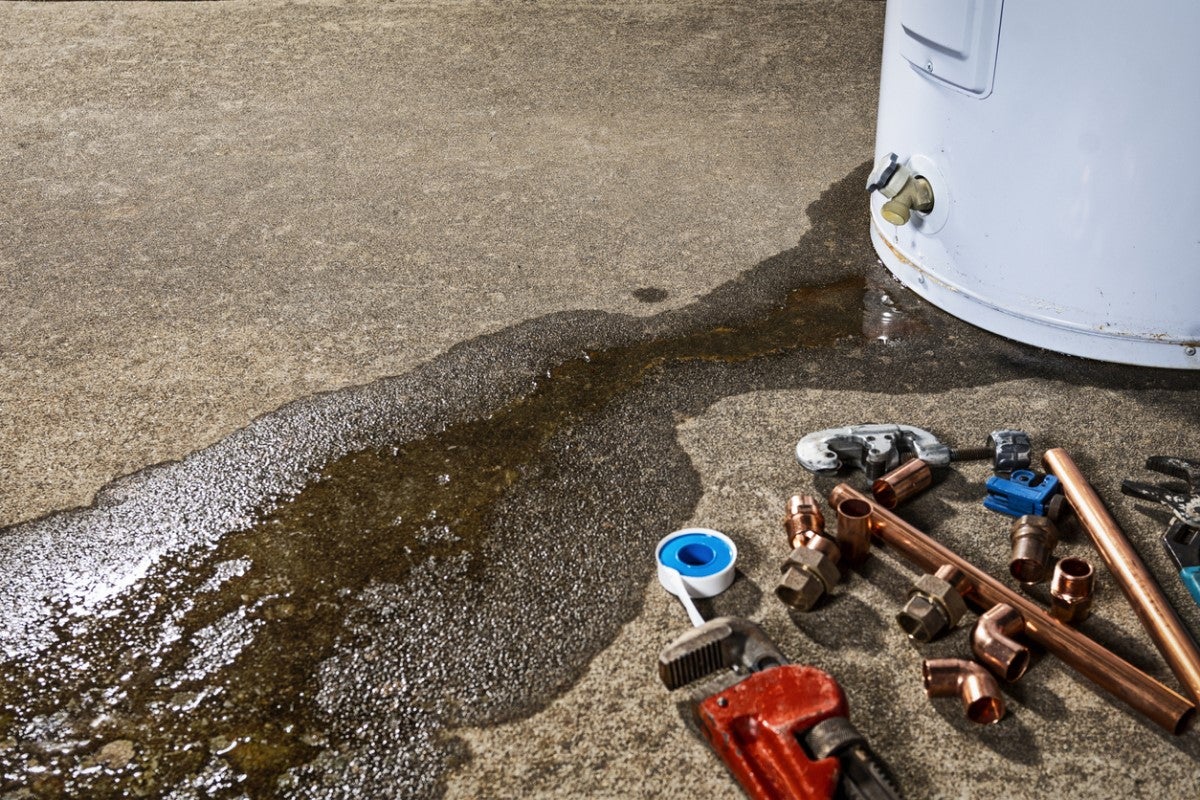
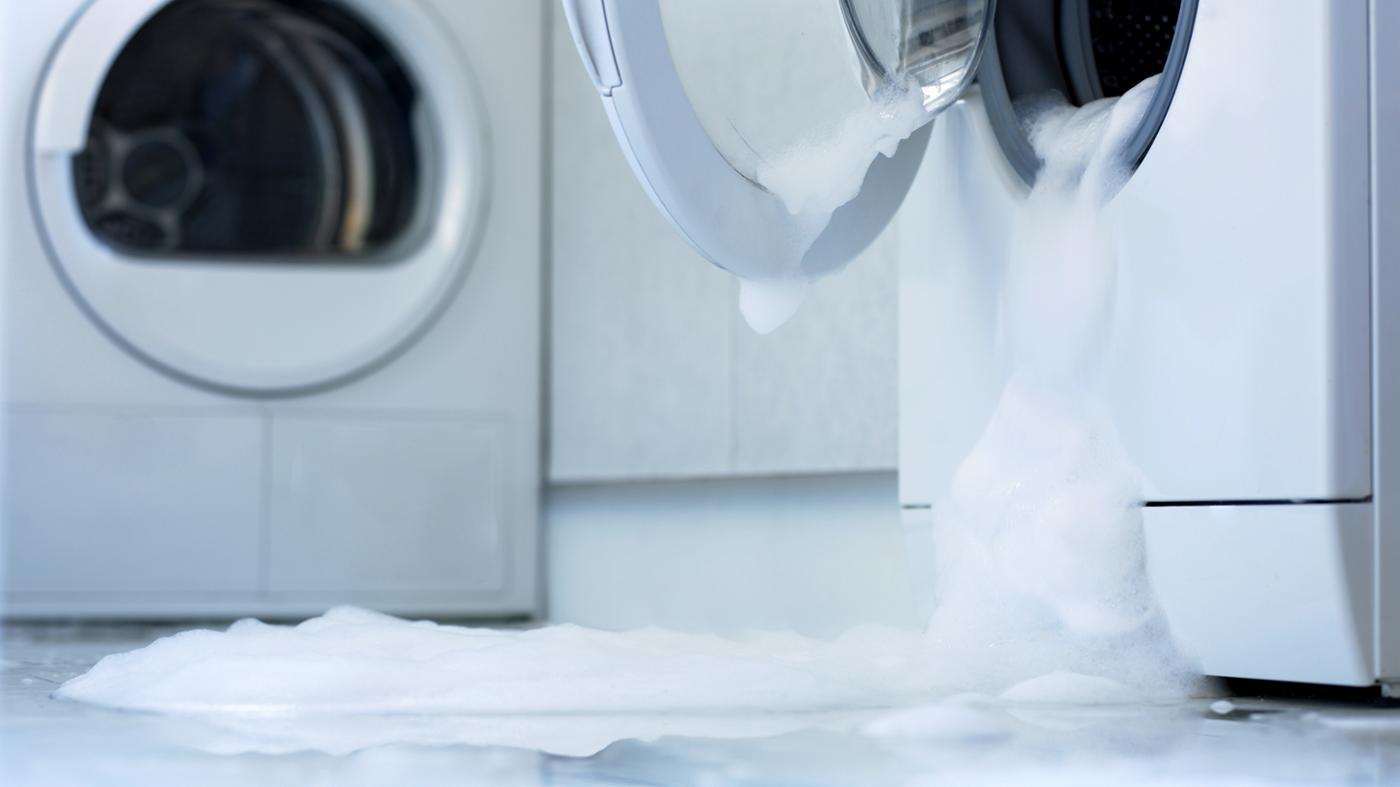
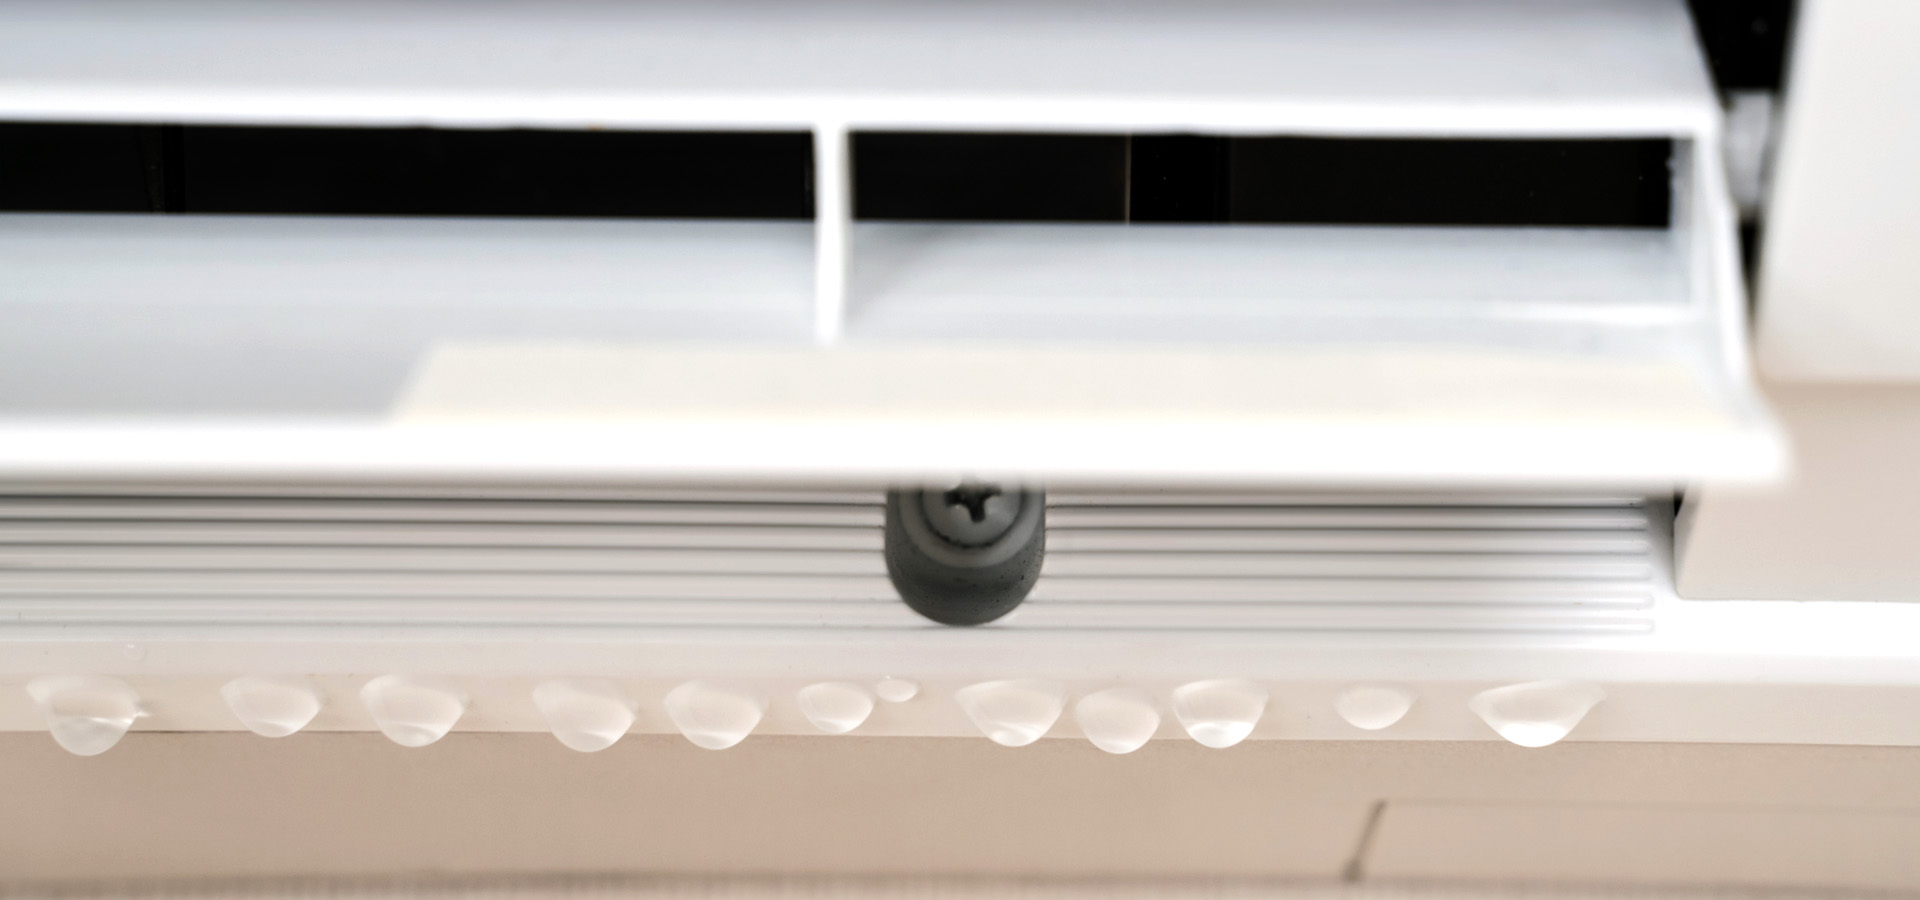
- Visible Water Leakage: Noticeable water dripping or pooling around the air conditioner unit or nearby walls, floors, or ceiling is a clear sign of a leak.
- Musty Odor: A musty or moldy smell coming from your air conditioner indicates that excess moisture is present, which can lead to leaks.
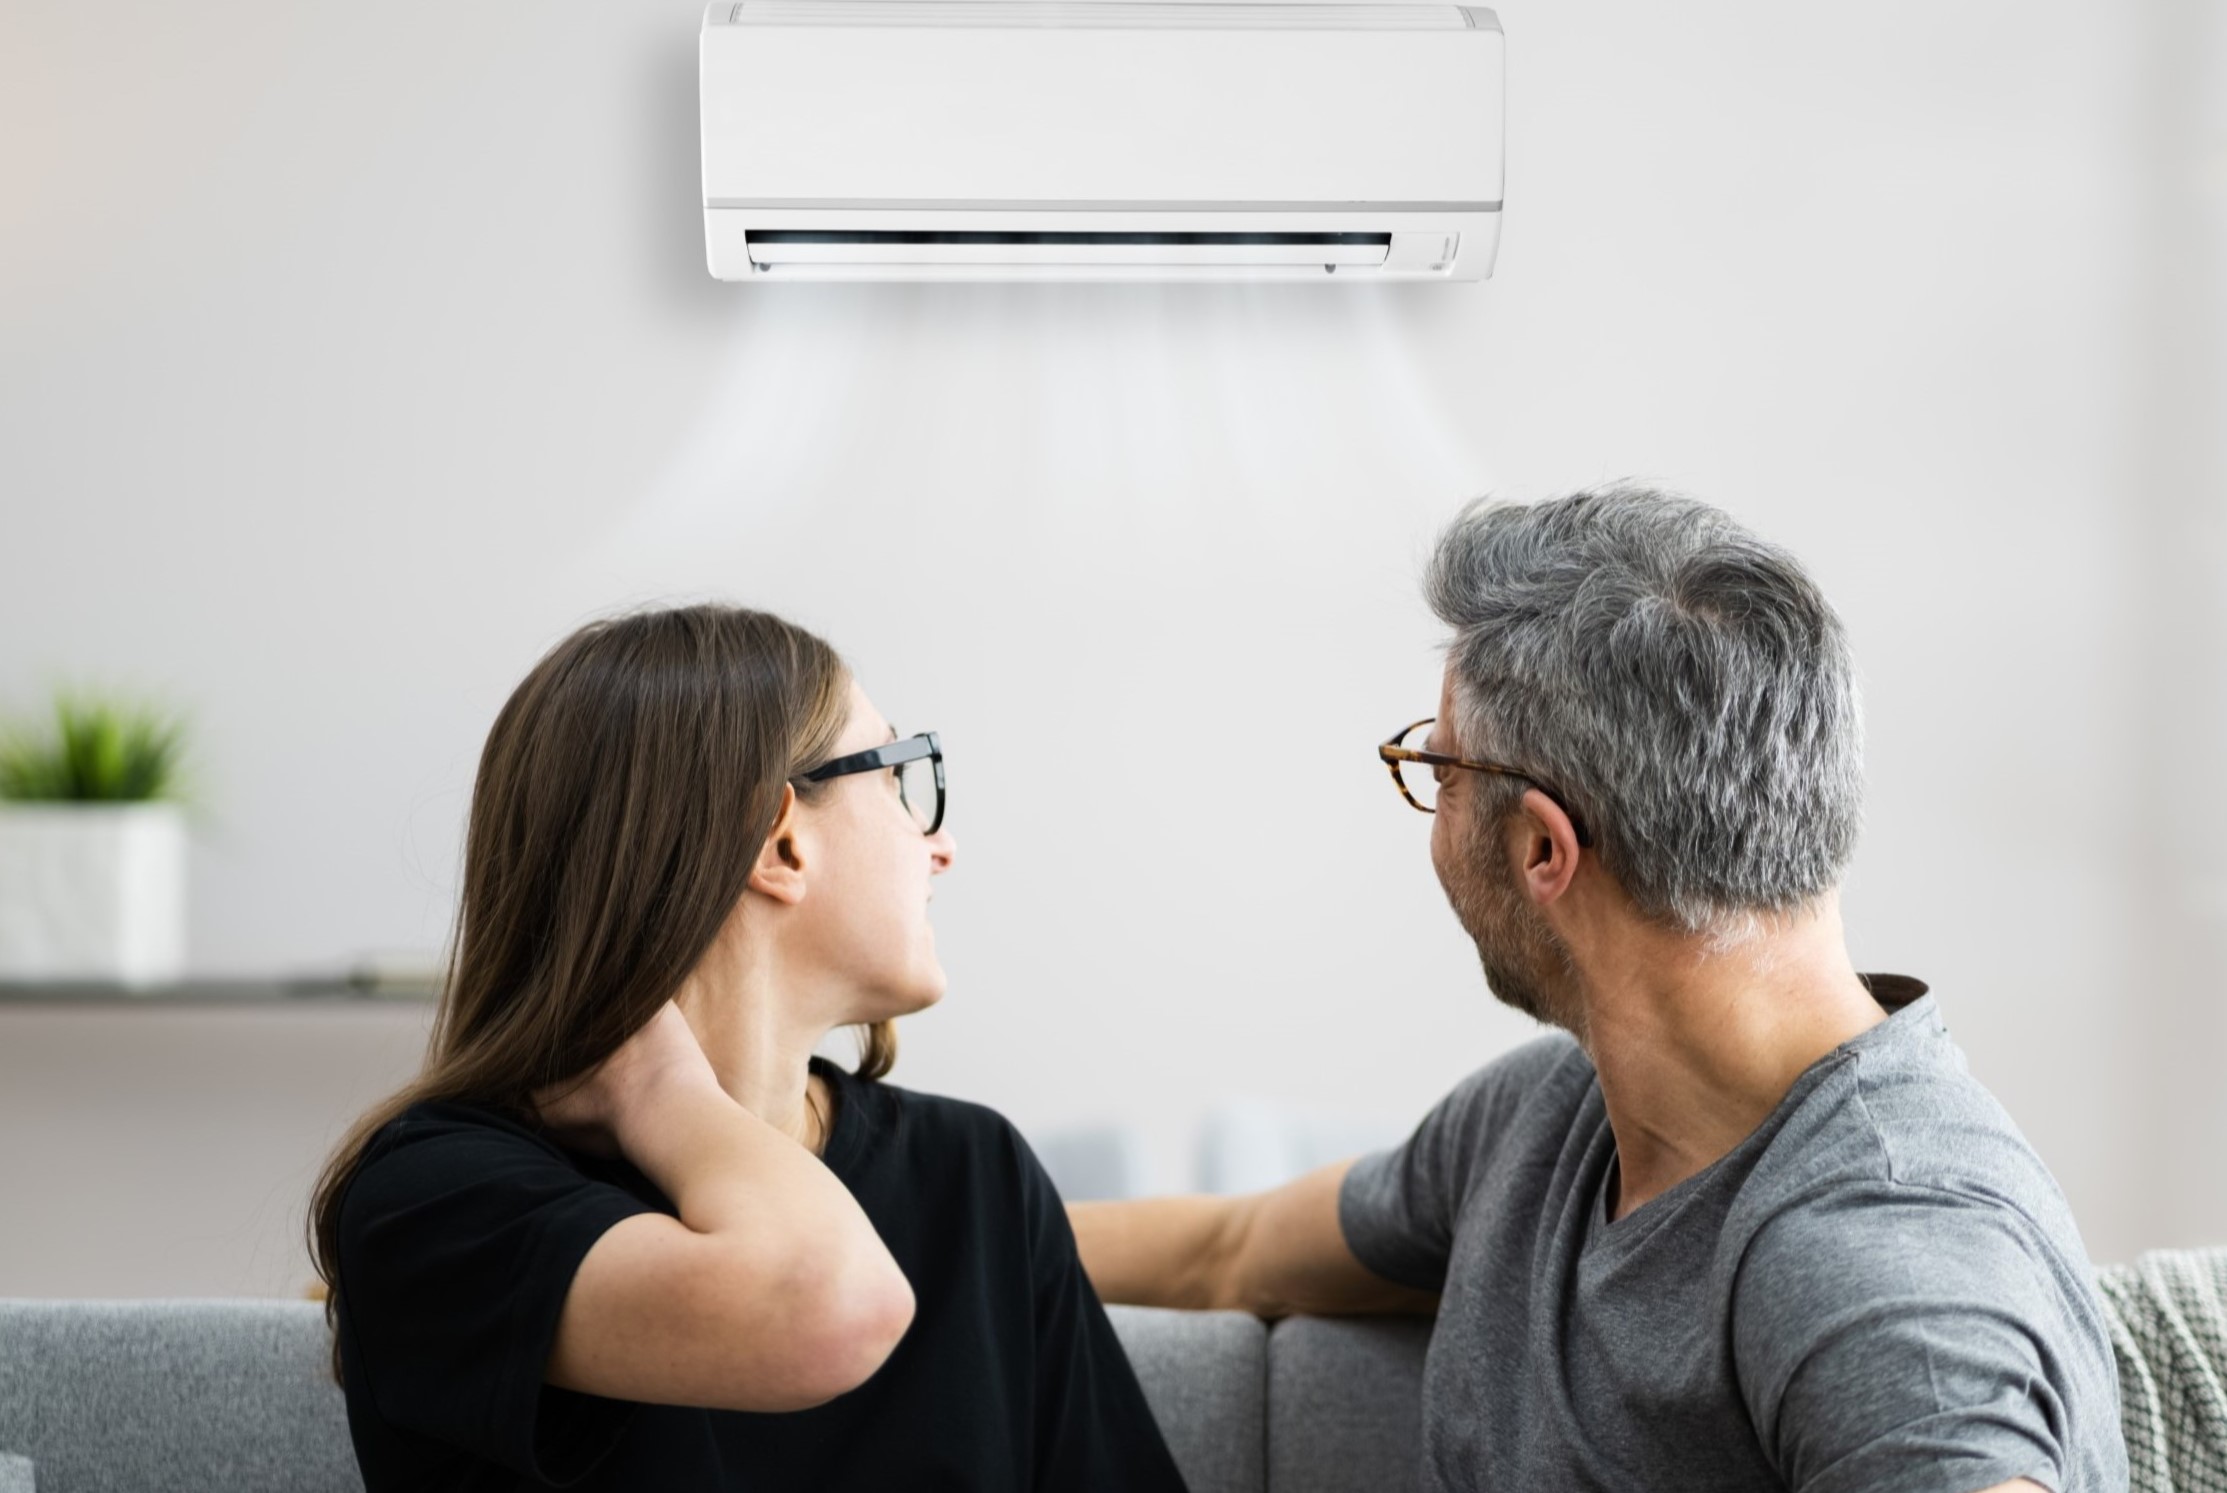
- Reduced Cooling Efficiency: If you notice that your air conditioner is not cooling your home as effectively as before, it could be an indication of a leak. Leaks can cause the unit to work less efficiently, resulting in reduced cooling performance.
- Increased Humidity: Excessive humidity in your home, even when the air conditioner is running, is a sign that it may be leaking and unable to dehumidify the air properly.
- Ice Formation: Ice formation on the evaporator coil or refrigerant lines can occur due to a refrigerant leak or inadequate airflow, both of which can lead to water leakage.
- Unusual Noises: Strange gurgling or bubbling sounds coming from the air conditioner can indicate a leak in the system.
- High Energy Bills: If your energy bills have significantly increased without any other explanation, an air conditioner leak could be to blame. Leaks can cause your unit to work harder, resulting in higher energy consumption.
If you notice any of these signs, addressing the issue promptly can prevent further damage to your air conditioner and potentially avoid costly repairs. Now, let’s move on to the steps you can take to stop an air conditioner from leaking.
Steps to Stop an Air Conditioner from Leaking
If you’ve noticed signs of a leaking air conditioner, it’s essential to take immediate action to prevent further damage. Here are the steps you can follow to stop an air conditioner from leaking:
- Turn off the Air Conditioner: Start by turning off the air conditioner to prevent any additional water leakage and ensure your safety during the troubleshooting process.
- Clear the Drainage Line: Locate the drainage line, usually a PVC pipe, and remove any clogs or blockages. You can use a wet-dry vacuum or a pipe brush to clear out any debris or algae buildup. Ensure the drainage line is clear and free-flowing.
- Inspect and Clean the Condensate Pan: Check the condensate pan for any signs of damage or excessive dirt accumulation. Clean the pan using a mixture of warm water and mild detergent. Rinse it thoroughly and make sure it is completely dry before placing it back into the air conditioner.
- Change the Air Filter: A dirty air filter can restrict airflow, causing the evaporator coil to freeze and potentially lead to leaks. Replace the old, dirty filter with a new one to optimize airflow and prevent further issues.
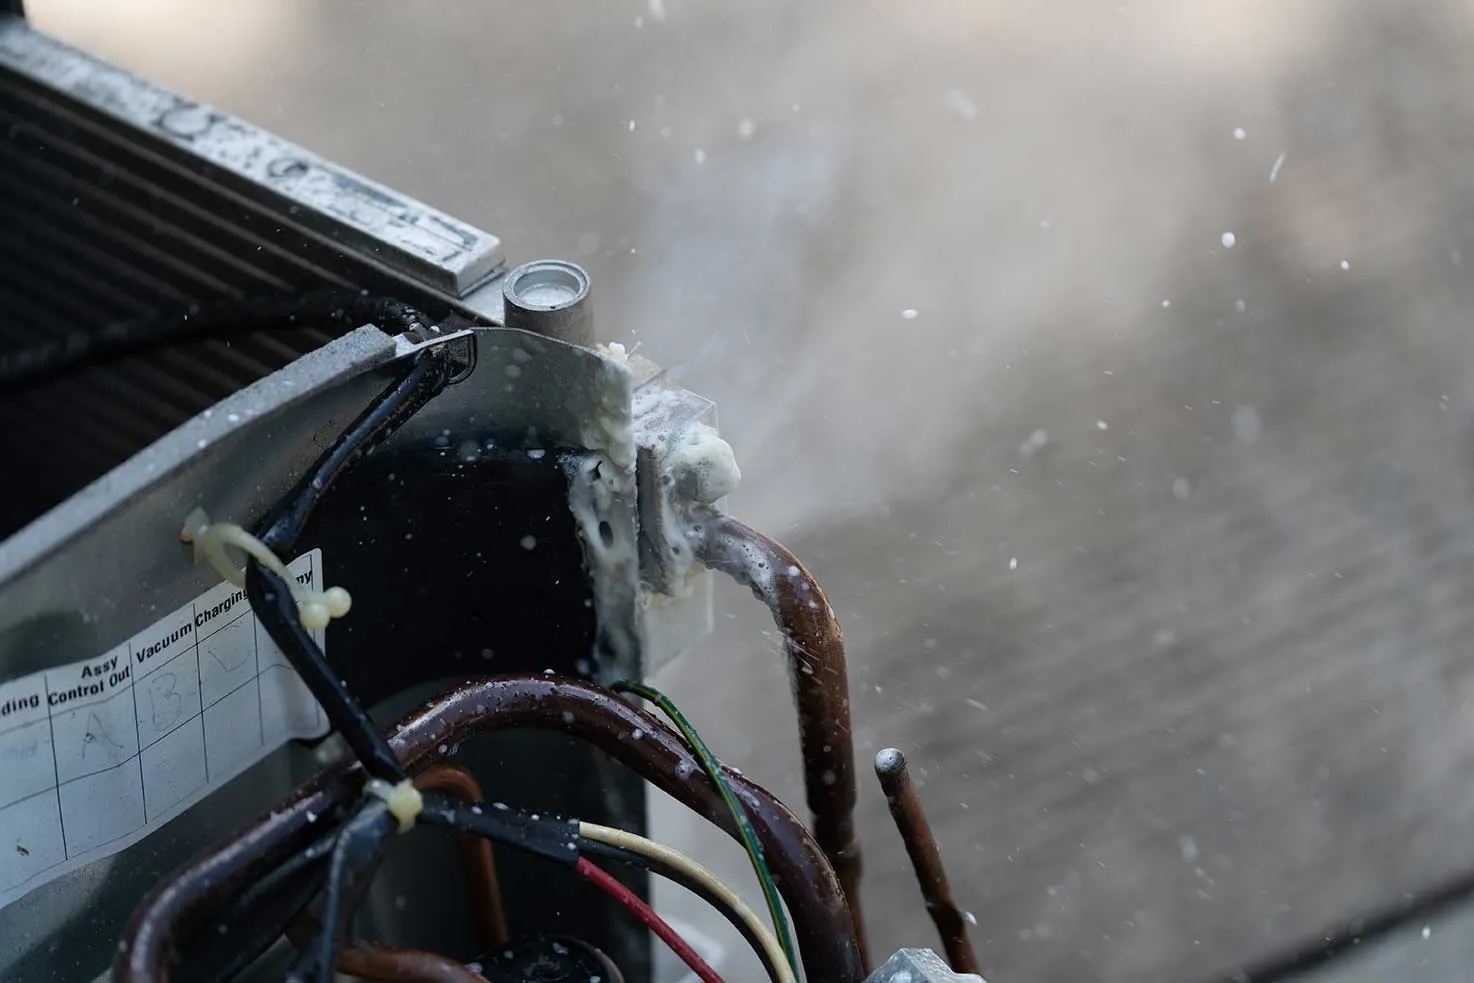
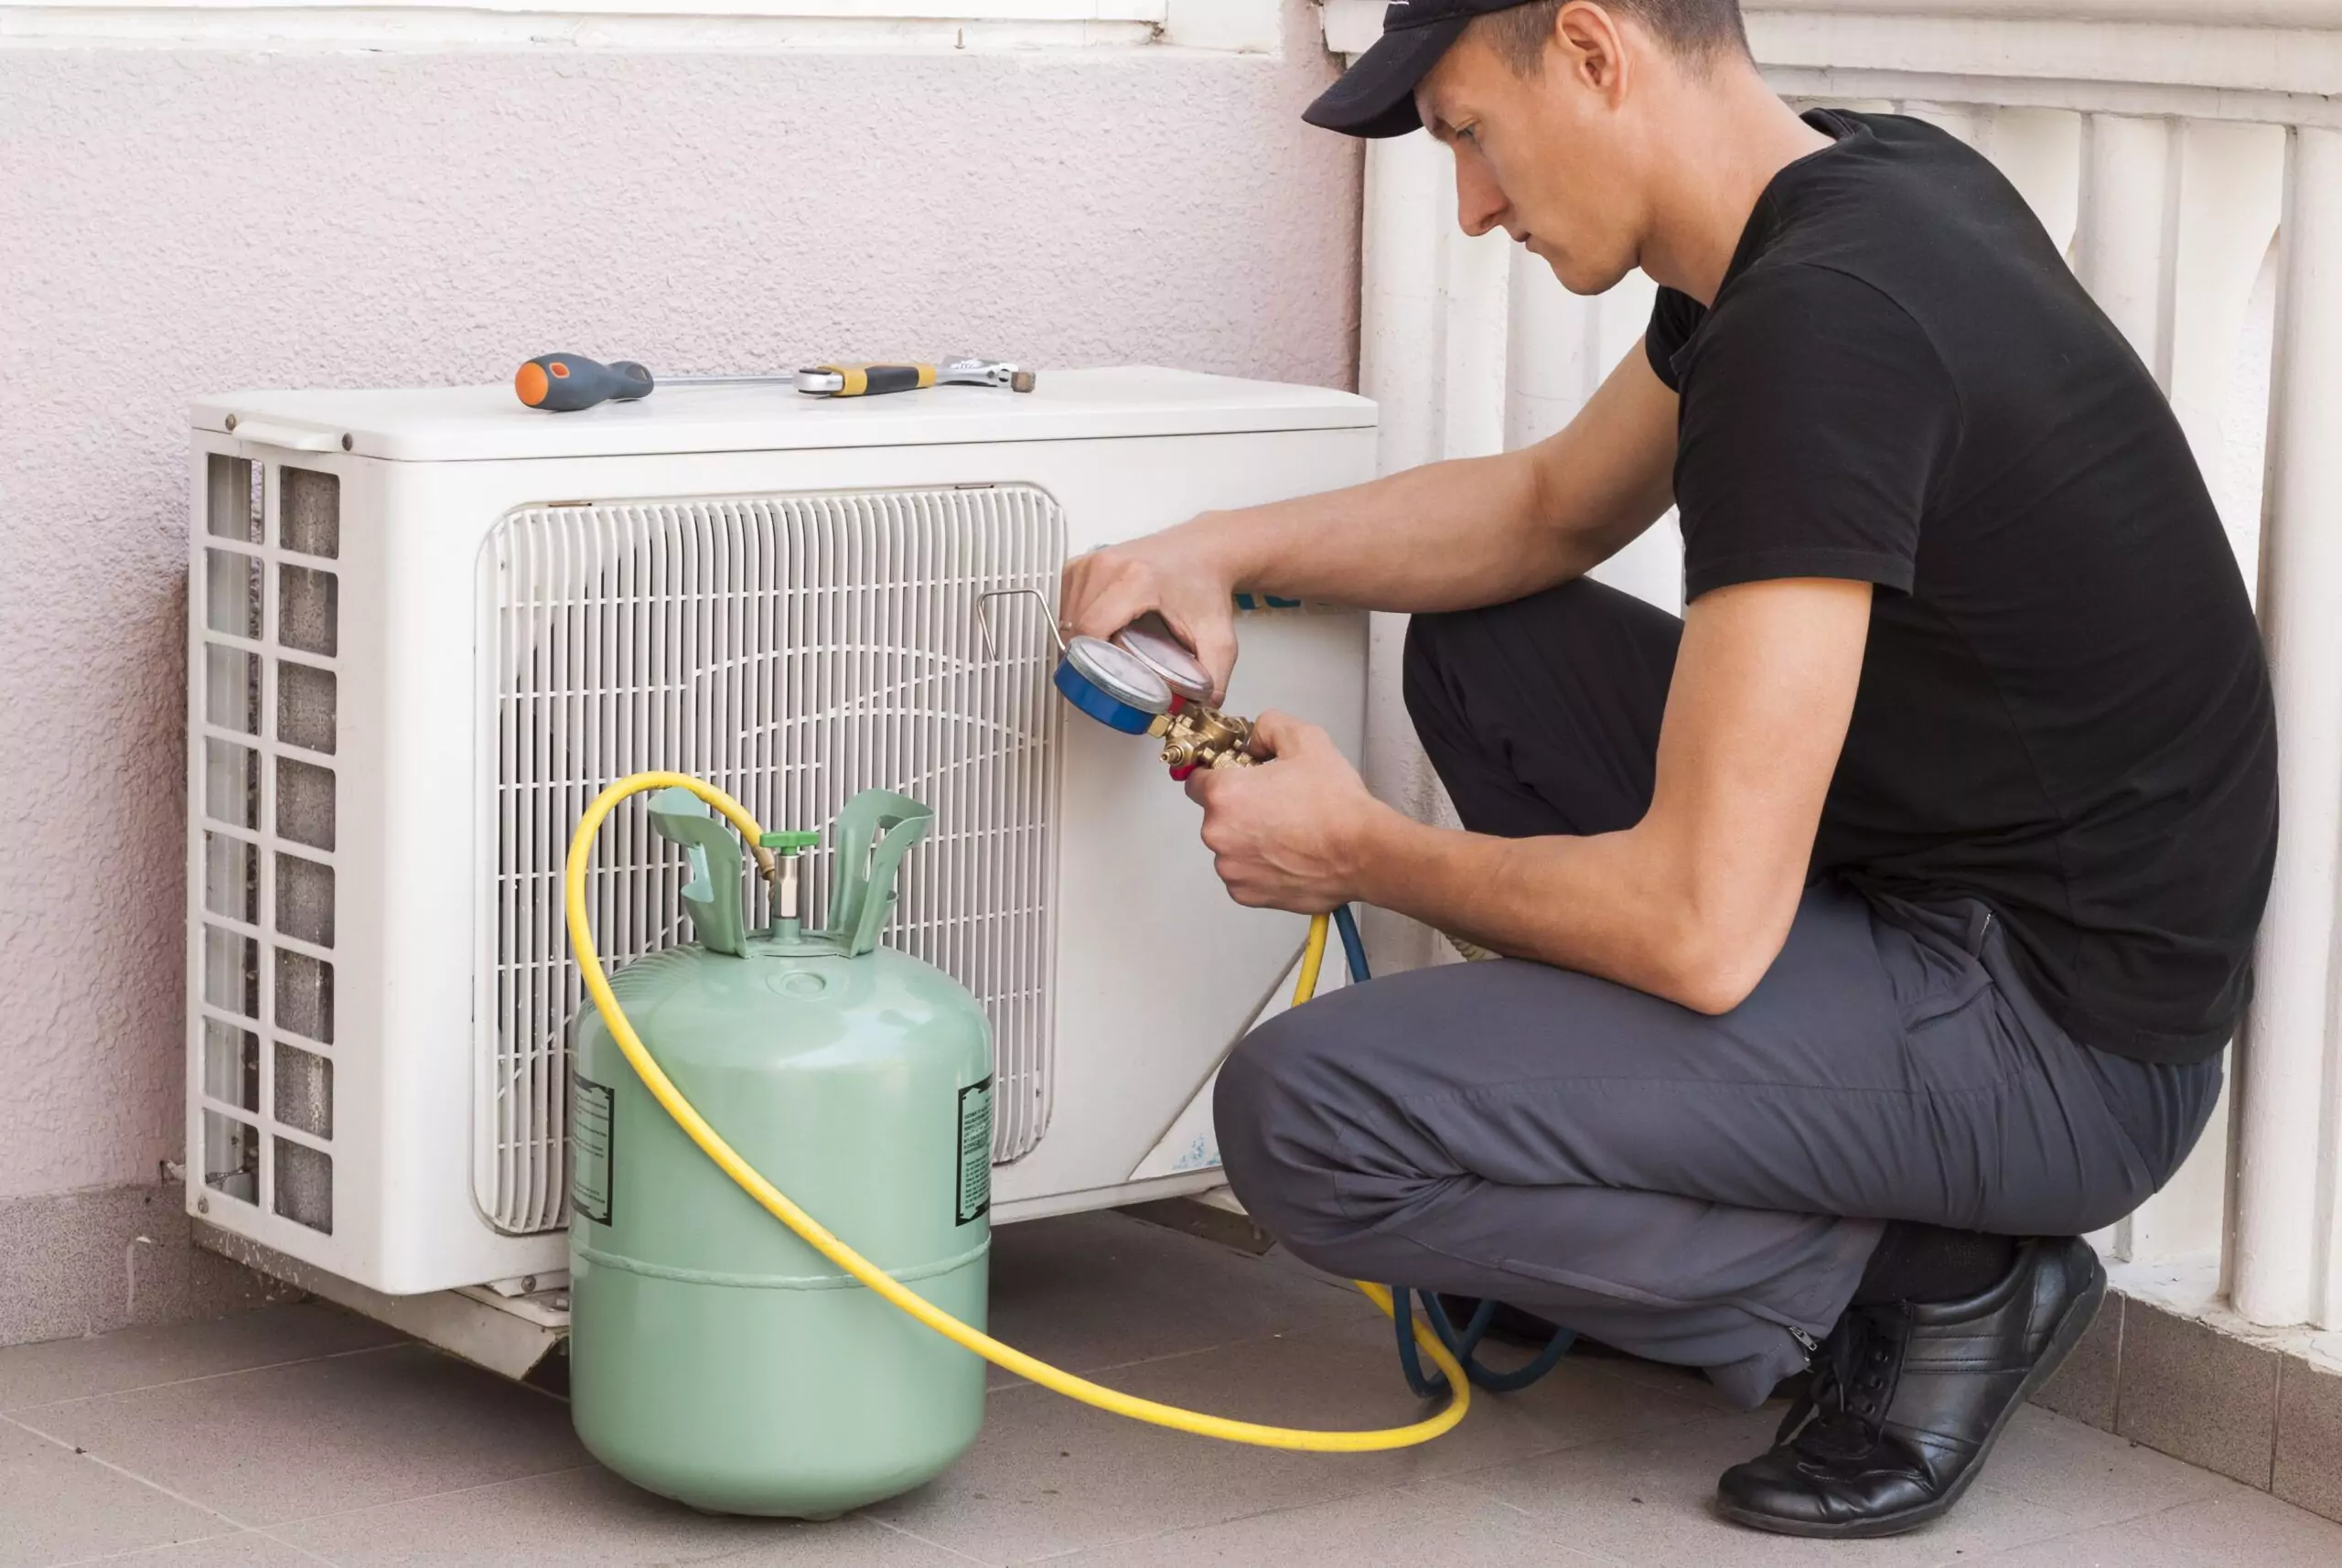
- Check for Refrigerant Leaks: Inspect the refrigerant lines for any signs of leaks. If you notice hissing sounds or oil stains around the connections, it may indicate a refrigerant leak. In this case, it’s best to call a professional HVAC technician to repair the leak and recharge the system with the appropriate amount of refrigerant.
- Call a Professional if Necessary: If you’ve followed the above steps and the air conditioner continues to leak, it may be time to seek assistance from a professional HVAC technician. They have the expertise and tools to diagnose and repair any complex issues with your air conditioner.
By following these steps, you can effectively troubleshoot and address common causes of air conditioner leaks. Remember to practice regular maintenance, such as cleaning or replacing the air filter, to prevent future leaks and ensure the optimal performance of your cooling system.
If you’re unsure about any of the steps or encounter more complex issues, it’s recommended to consult a professional to avoid further damage to your air conditioner. Taking care of your cooling system will not only enhance your home’s comfort but also extend the lifespan of your air conditioner.
Turn off the Air Conditioner
The first step in stopping an air conditioner from leaking is to turn off the unit. This ensures your safety during the troubleshooting process and prevents any additional water leakage.
Locate the thermostat and set it to the “off” position. If you have a central air conditioning system, you may need to switch off the circuit breaker that powers the unit. In window or portable air conditioners, simply unplug the unit from the wall outlet.
Turning off the air conditioner allows you to work on it without the risk of electric shock or further damage. It also gives the system time to thaw if ice has accumulated on the evaporator coil, a common cause of leaks.
Keep in mind that it’s important to follow safety precautions and ensure that the air conditioner is completely turned off before proceeding with the next steps.
By turning off the air conditioner, you create a safe environment for troubleshooting and reduce the chances of water leakage while you address the underlying issue. This step sets the foundation for a successful resolution to the leaking problem.
Read more: How To Stop Basement From Leaking
Clear the Drainage Line
One of the common causes of air conditioner leaks is a clogged drainage line. Over time, dirt, dust, and even algae can accumulate in the drainage line, obstructing the flow of condensation and causing water to back up and leak from the unit.
To clear the drainage line, you’ll need to locate it. The drainage line is typically a PVC pipe that extends from the air conditioner unit to the outside of your home or into a drain. It may be located near the condensate pan or along the side or back of the air conditioner.
Start by visually inspecting the drainage line for any visible blockages. If you see any debris or buildup, use a wet-dry vacuum or a pipe brush to remove it. Carefully insert the vacuum or brush into the pipe and maneuver it back and forth to dislodge the obstruction. Be cautious not to damage the pipe in the process.
If the blockage is stubborn or deeper within the line, you can try using a solution of equal parts vinegar and water. Pour the solution into the line and let it sit for a few minutes to dissolve the debris. Then, flush the line with clean water to remove any remaining residue.
It’s important to ensure that the drainage line is clear and free-flowing to prevent water from backing up and leaking from the air conditioner. Regular maintenance, such as clearing the drainage line, can help prevent clogs and keep your system running smoothly.
By clearing the drainage line, you’ll address one of the primary causes of air conditioner leaks. This step helps maintain the proper flow of condensation, preventing water from pooling and causing damage to your home or the air conditioner unit itself.
Check the condensate drain line for clogs and clear any blockages using a wet/dry vacuum or a pipe cleaner. This can help prevent water from backing up and leaking from the air conditioner.
Inspect and Clean the Condensate Pan
Another important step in stopping an air conditioner from leaking is to inspect and clean the condensate pan. The condensate pan is responsible for collecting the water droplets that form during the cooling process. Over time, the pan can become dirty or damaged, leading to water leakage.
Start by locating the condensate pan, which is usually located beneath the evaporator coils or near the blower motor. It may be accessible by removing a panel or accessing it from the front or side of the air conditioner unit.
Visually inspect the condensate pan for any signs of damage, such as cracks or holes. If you notice any damage, it’s best to replace the pan to prevent further leaks. Check with the manufacturer or consult a professional for the appropriate replacement part.
If the condensate pan appears to be in good condition, proceed with cleaning it. Remove any standing water from the pan using a sponge or towels. Next, prepare a mixture of warm water and mild detergent. Dip a sponge or cloth into the soapy water and gently scrub the interior of the pan, removing any dirt, debris, or algae buildup.
Rinse the pan thoroughly with clean water to remove any soap residue. Ensure that the pan is completely dry before placing it back into the air conditioner unit. Moisture in the condensate pan can contribute to future leaks, so it’s essential to dry it thoroughly.
Regularly inspecting and cleaning the condensate pan helps maintain its functionality and prevents water from overflowing and causing leaks. It is recommended to include this step in your routine maintenance to ensure the optimal performance of your air conditioner.
By inspecting and cleaning the condensate pan, you address another potential cause of air conditioner leaks. This step helps maintain proper water collection and prevents overflow, ensuring efficient and leak-free operation of your cooling system.
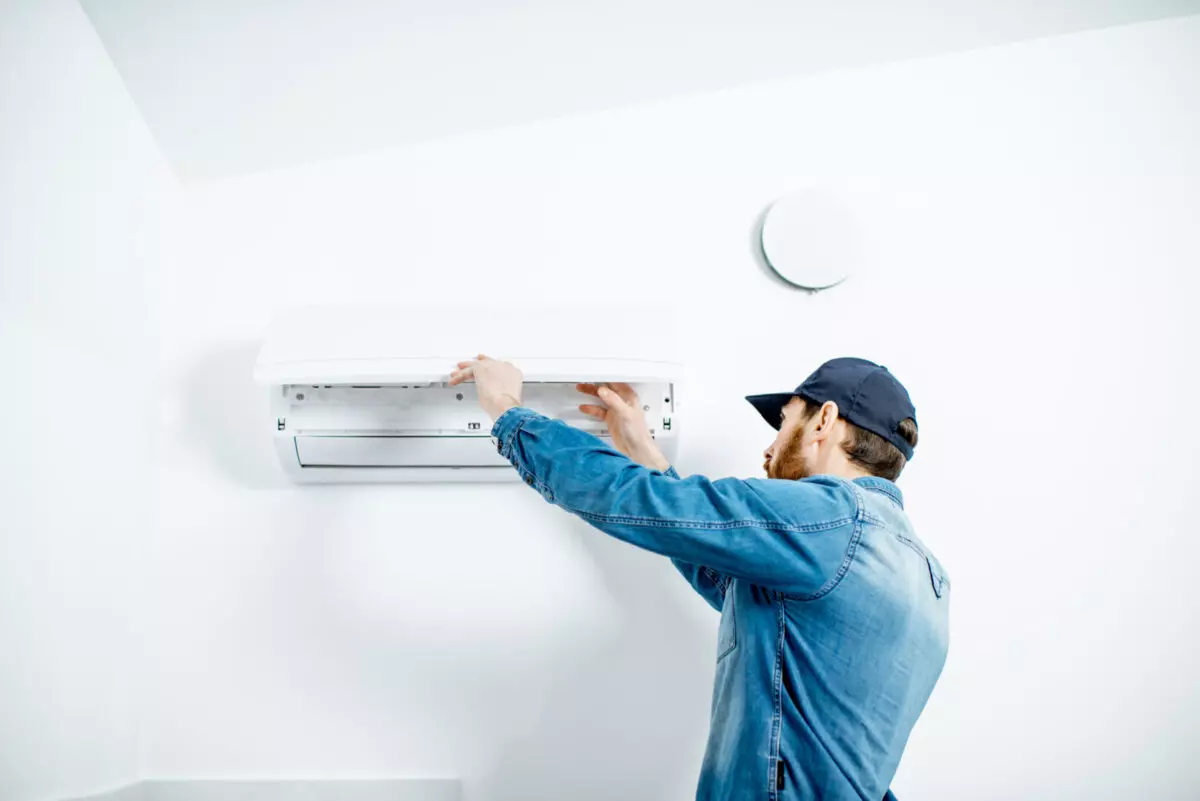
Change the Air Filter
A dirty air filter is a common culprit behind air conditioner leaks. When the air filter becomes clogged with dust, dirt, and debris, it restricts the airflow to the evaporator coil. This, in turn, can cause the coil to freeze up and eventually lead to water leakage from the unit.
Changing the air filter is a relatively simple yet crucial step in maintaining the efficiency of your air conditioner and preventing leaks. Here’s how you can do it:
- Locate the air filter. In most air conditioning systems, the filter is located in the return air duct or behind a removable panel.
- Turn off the air conditioner. It’s important to ensure the unit is not running when replacing the air filter for safety reasons.
- Remove the old filter. Carefully slide or lift the filter out of its housing. Take note of the filter’s size and type for purchasing a replacement.
- Purchase a new filter. Choose a filter that matches the exact specifications of the old one. Air filters are available in various types, such as fiberglass, pleated, or HEPA filters. Consider the specific needs of your home and air quality when selecting a new filter.
- Install the new filter. Insert the new filter into the housing, making sure it fits snugly. Follow the directional arrows on the filter to ensure it is properly oriented.
- Secure the filter. If applicable, reattach any clips or fasteners to secure the filter in place. Make sure there are no gaps or air leaks around the edges of the filter.
Changing the air filter regularly, typically every 1-3 months, depending on the type of filter and usage, helps maintain proper airflow and prevents the evaporator coil from freezing. A clean air filter also improves indoor air quality by trapping dust, allergens, and pollutants.
By regularly changing the air filter, you promote the efficient operation of your air conditioner, reduce the risk of leaks, and prolong the lifespan of your cooling system.
Check for Refrigerant Leaks
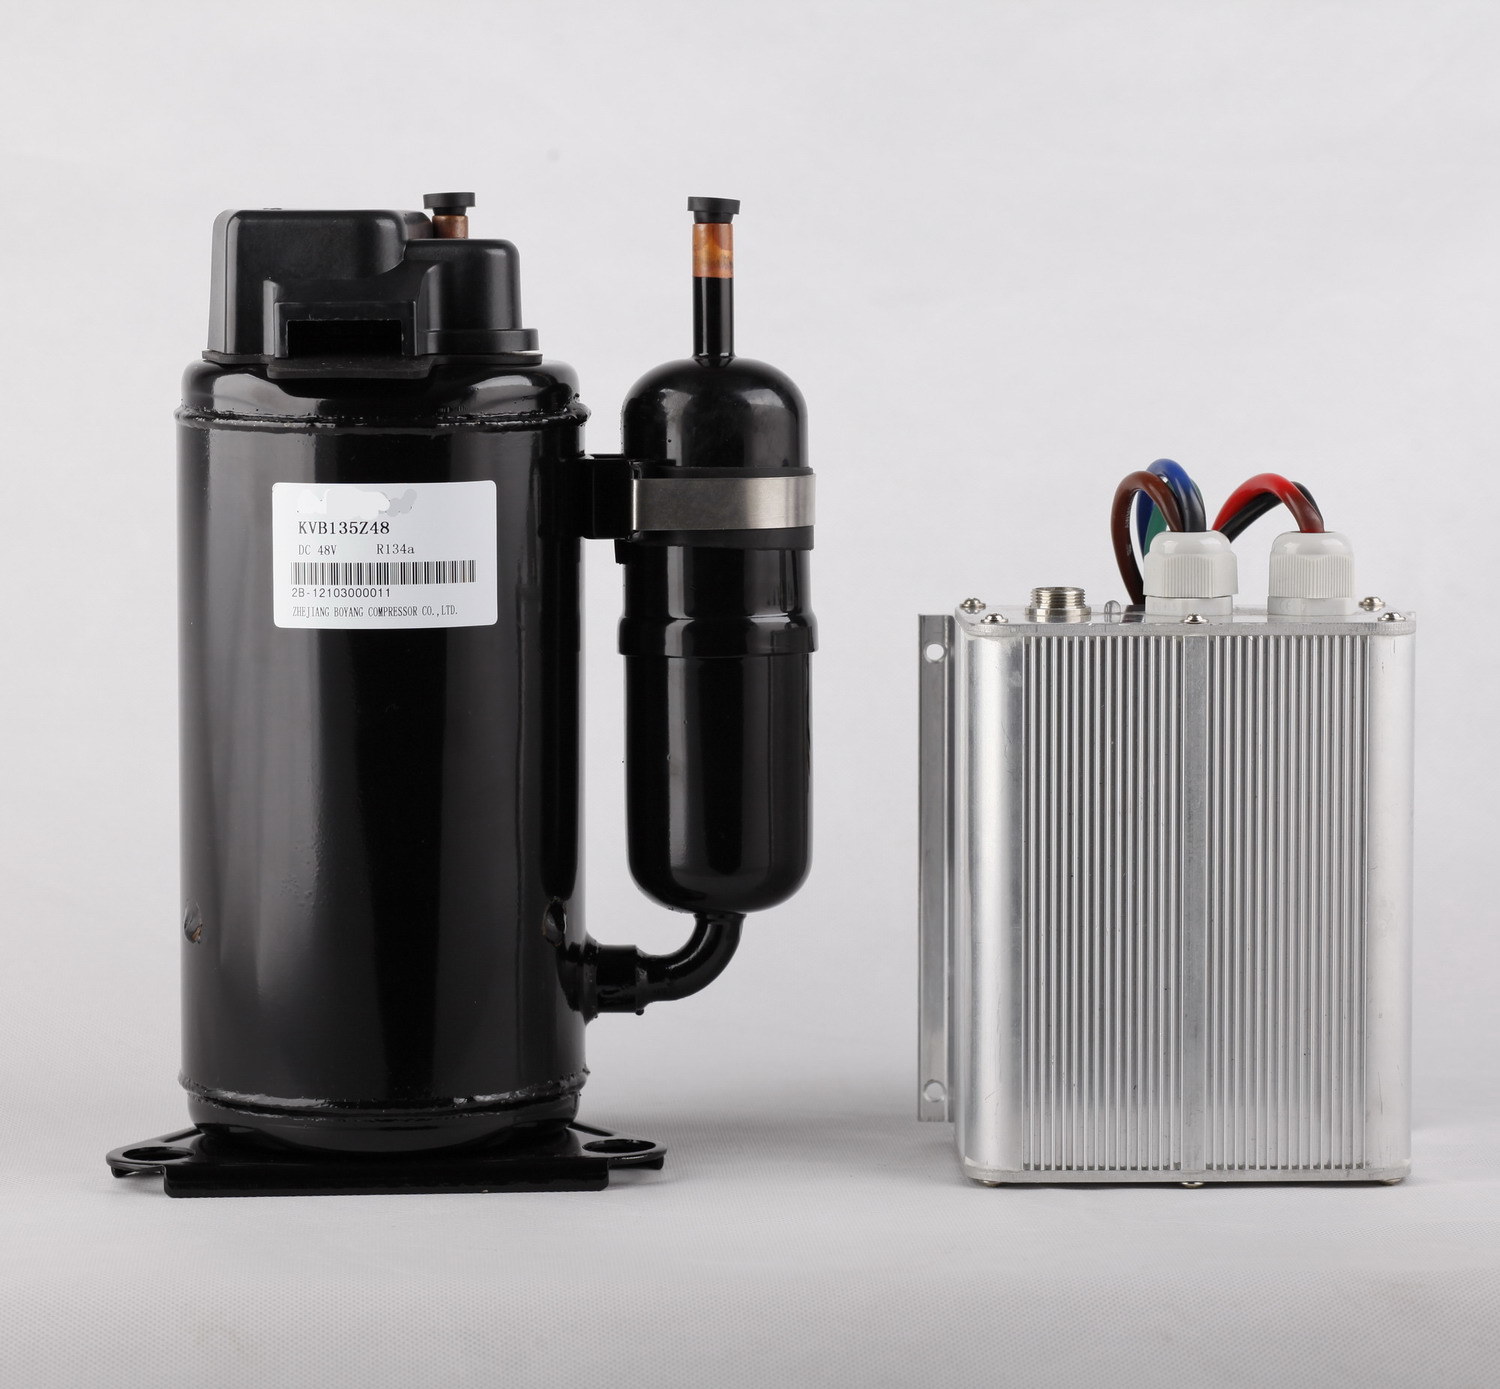
One of the potential causes of air conditioner leaks is a refrigerant leak. Refrigerant is the substance that enables the cooling process in your air conditioner. If there is a leak in the refrigerant lines or coils, it can lead to water leakage from the unit.
Checking for refrigerant leaks is a step that requires some expertise and specialized equipment. It is often best to involve a professional HVAC technician for this task. Here’s what they will typically do:
- Turn off the air conditioner. Before performing any maintenance or inspection on the air conditioner, ensure that the unit is switched off and the power is disconnected to prevent any potential hazards.
- Locate the refrigerant lines and coils. The refrigerant lines and coils may be located in different parts of the air conditioner, depending on the type and model. The technician will have the expertise to identify and access these components.
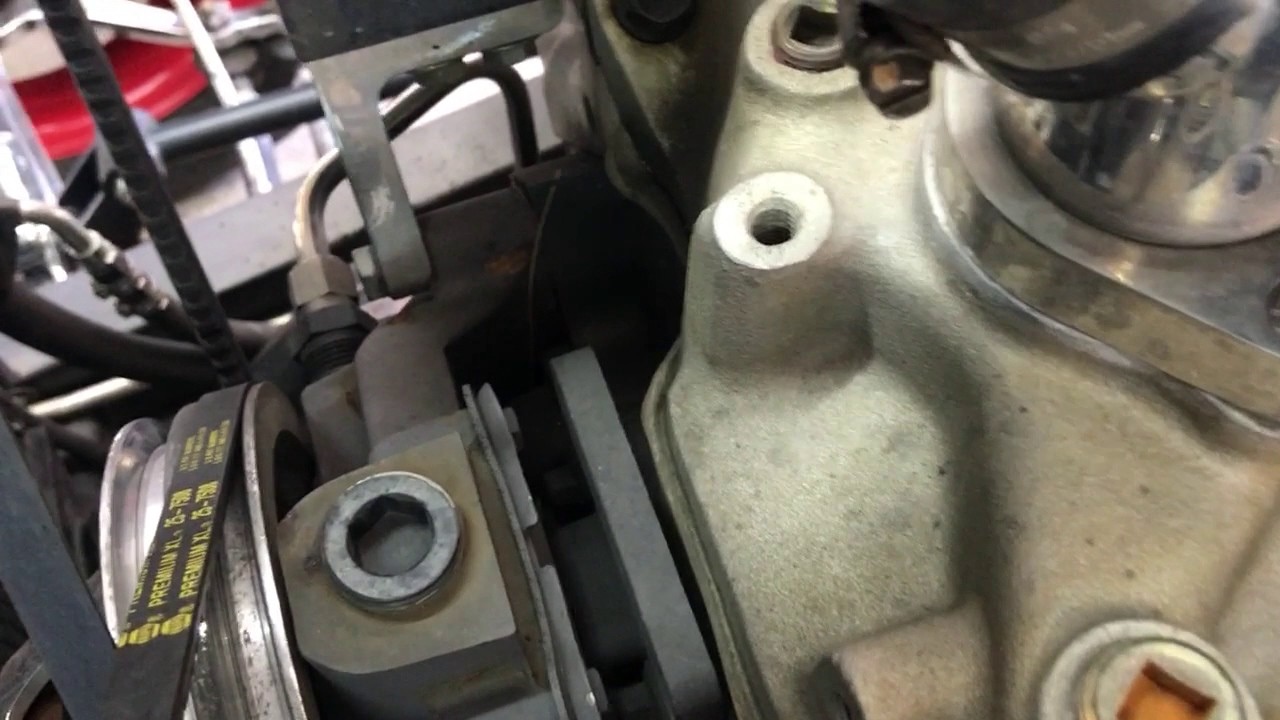
- Perform a visual inspection. The technician will visually inspect the refrigerant lines and coils for any signs of leaks. These signs may include oil stains, refrigerant residue, or hissing sounds. Any detected leaks should be repaired by a professional to prevent further damage.
- Perform a pressure test. To further confirm the presence of a refrigerant leak, the technician may conduct a pressure test. This involves pressurizing the system and monitoring pressure levels to identify any drops, indicating a leak in the refrigerant lines or coils.
- Repair and recharge the system. If a refrigerant leak is detected, the technician will repair the leak, typically by sealing it or replacing faulty components. Once the leak is fixed, the refrigerant levels will be recharged to the appropriate level to restore optimal cooling performance.
Refrigerant leaks should be addressed promptly by a professional HVAC technician. Attempting to fix refrigerant leaks without the necessary knowledge and equipment can be dangerous and may lead to further damage to your air conditioner.
By checking for refrigerant leaks and addressing them accordingly, you ensure that your air conditioner operates efficiently without leaks. This step helps preserve the cooling capacity of your unit and prevents potential water damage from leaks.
Read more: How To Stop An Outside Faucet From Leaking
Call a Professional if Necessary
If you’ve followed the previous steps and your air conditioner continues to leak, or if you encounter more complex issues, it may be time to call a professional HVAC technician. A qualified technician has the expertise, knowledge, and specialized tools to diagnose and repair any underlying problems with your air conditioner.
Here are a few instances when it’s advisable to seek the help of a professional:
- Persistent leaks: If you’ve tried troubleshooting and the air conditioner still leaks, it indicates a more serious issue that requires professional attention.
- Refrigerant leaks: Refrigerant leaks are best handled by professionals due to the potential safety hazards and environmental concerns associated with refrigerant handling and recharging.
- Complex repairs: If you’re unfamiliar with HVAC systems or unsure about the extent of repairs needed, it’s best to rely on professionals to avoid causing further damage or voiding any warranties.
- Safety concerns: If you notice electrical issues, strange smells, or other safety concerns during the troubleshooting process, it’s crucial to involve a professional to address these issues safely.
When hiring a professional HVAC technician, look for reputable and licensed professionals with experience in air conditioner repairs. Ask for recommendations or check online reviews to ensure you’re choosing a reliable service provider.
By calling a professional when necessary, you gain access to their expertise and ensure that your air conditioner is repaired correctly and efficiently. Professionals have the necessary knowledge and tools to diagnose and resolve complex issues, providing you with peace of mind and a properly functioning cooling system.
Conclusion
Dealing with a leaking air conditioner can be frustrating and potentially lead to significant damage if left unresolved. However, by following the steps outlined in this guide, you can effectively stop an air conditioner from leaking and maintain the optimal performance of your cooling system.
First, it’s important to understand the common causes of air conditioner leaks, such as clogged drainage lines, dirty condensate pans, dirty air filters, refrigerant leaks, improper installation, and excessive humidity. By identifying the root cause, you can address the issue more accurately.
Next, follow the step-by-step process to stop your air conditioner from leaking:
- Turn off the air conditioner to ensure your safety and prevent further water leakage.
- Clear the drainage line by removing any blockages to allow proper drainage.
- Inspect and clean the condensate pan to ensure it is free from damage and debris.
- Regularly change the air filter to maintain proper airflow and prevent the evaporator coil from freezing.
- Check for refrigerant leaks, and if necessary, seek assistance from a professional HVAC technician for repair and recharging.
- If the issue persists or requires complex repairs, call a professional to ensure proper resolution and avoid further damage.
By taking these steps, you can address common causes of air conditioner leaks and maintain the efficiency and lifespan of your cooling system. Regular maintenance and proactive troubleshooting will help prevent future leaks and ensure optimal cooling performance.
Remember, when in doubt or if you encounter more complex issues, it’s always best to consult a professional HVAC technician. They have the expertise and tools to accurately diagnose and resolve any air conditioner leaks or related problems.
By following these guidelines, you’ll be better equipped to handle air conditioner leaks and maintain a comfortable and efficient home environment.
Frequently Asked Questions about How To Stop An Air Conditioner From Leaking
Was this page helpful?
At Storables.com, we guarantee accurate and reliable information. Our content, validated by Expert Board Contributors, is crafted following stringent Editorial Policies. We're committed to providing you with well-researched, expert-backed insights for all your informational needs.