Articles
How To Repair A Leaking Outdoor Faucet
Modified: October 28, 2024
Discover effective tips and techniques in our comprehensive articles on how to repair a leaking outdoor faucet. Save time and money with our expert advice!
(Many of the links in this article redirect to a specific reviewed product. Your purchase of these products through affiliate links helps to generate commission for Storables.com, at no extra cost. Learn more)
Introduction
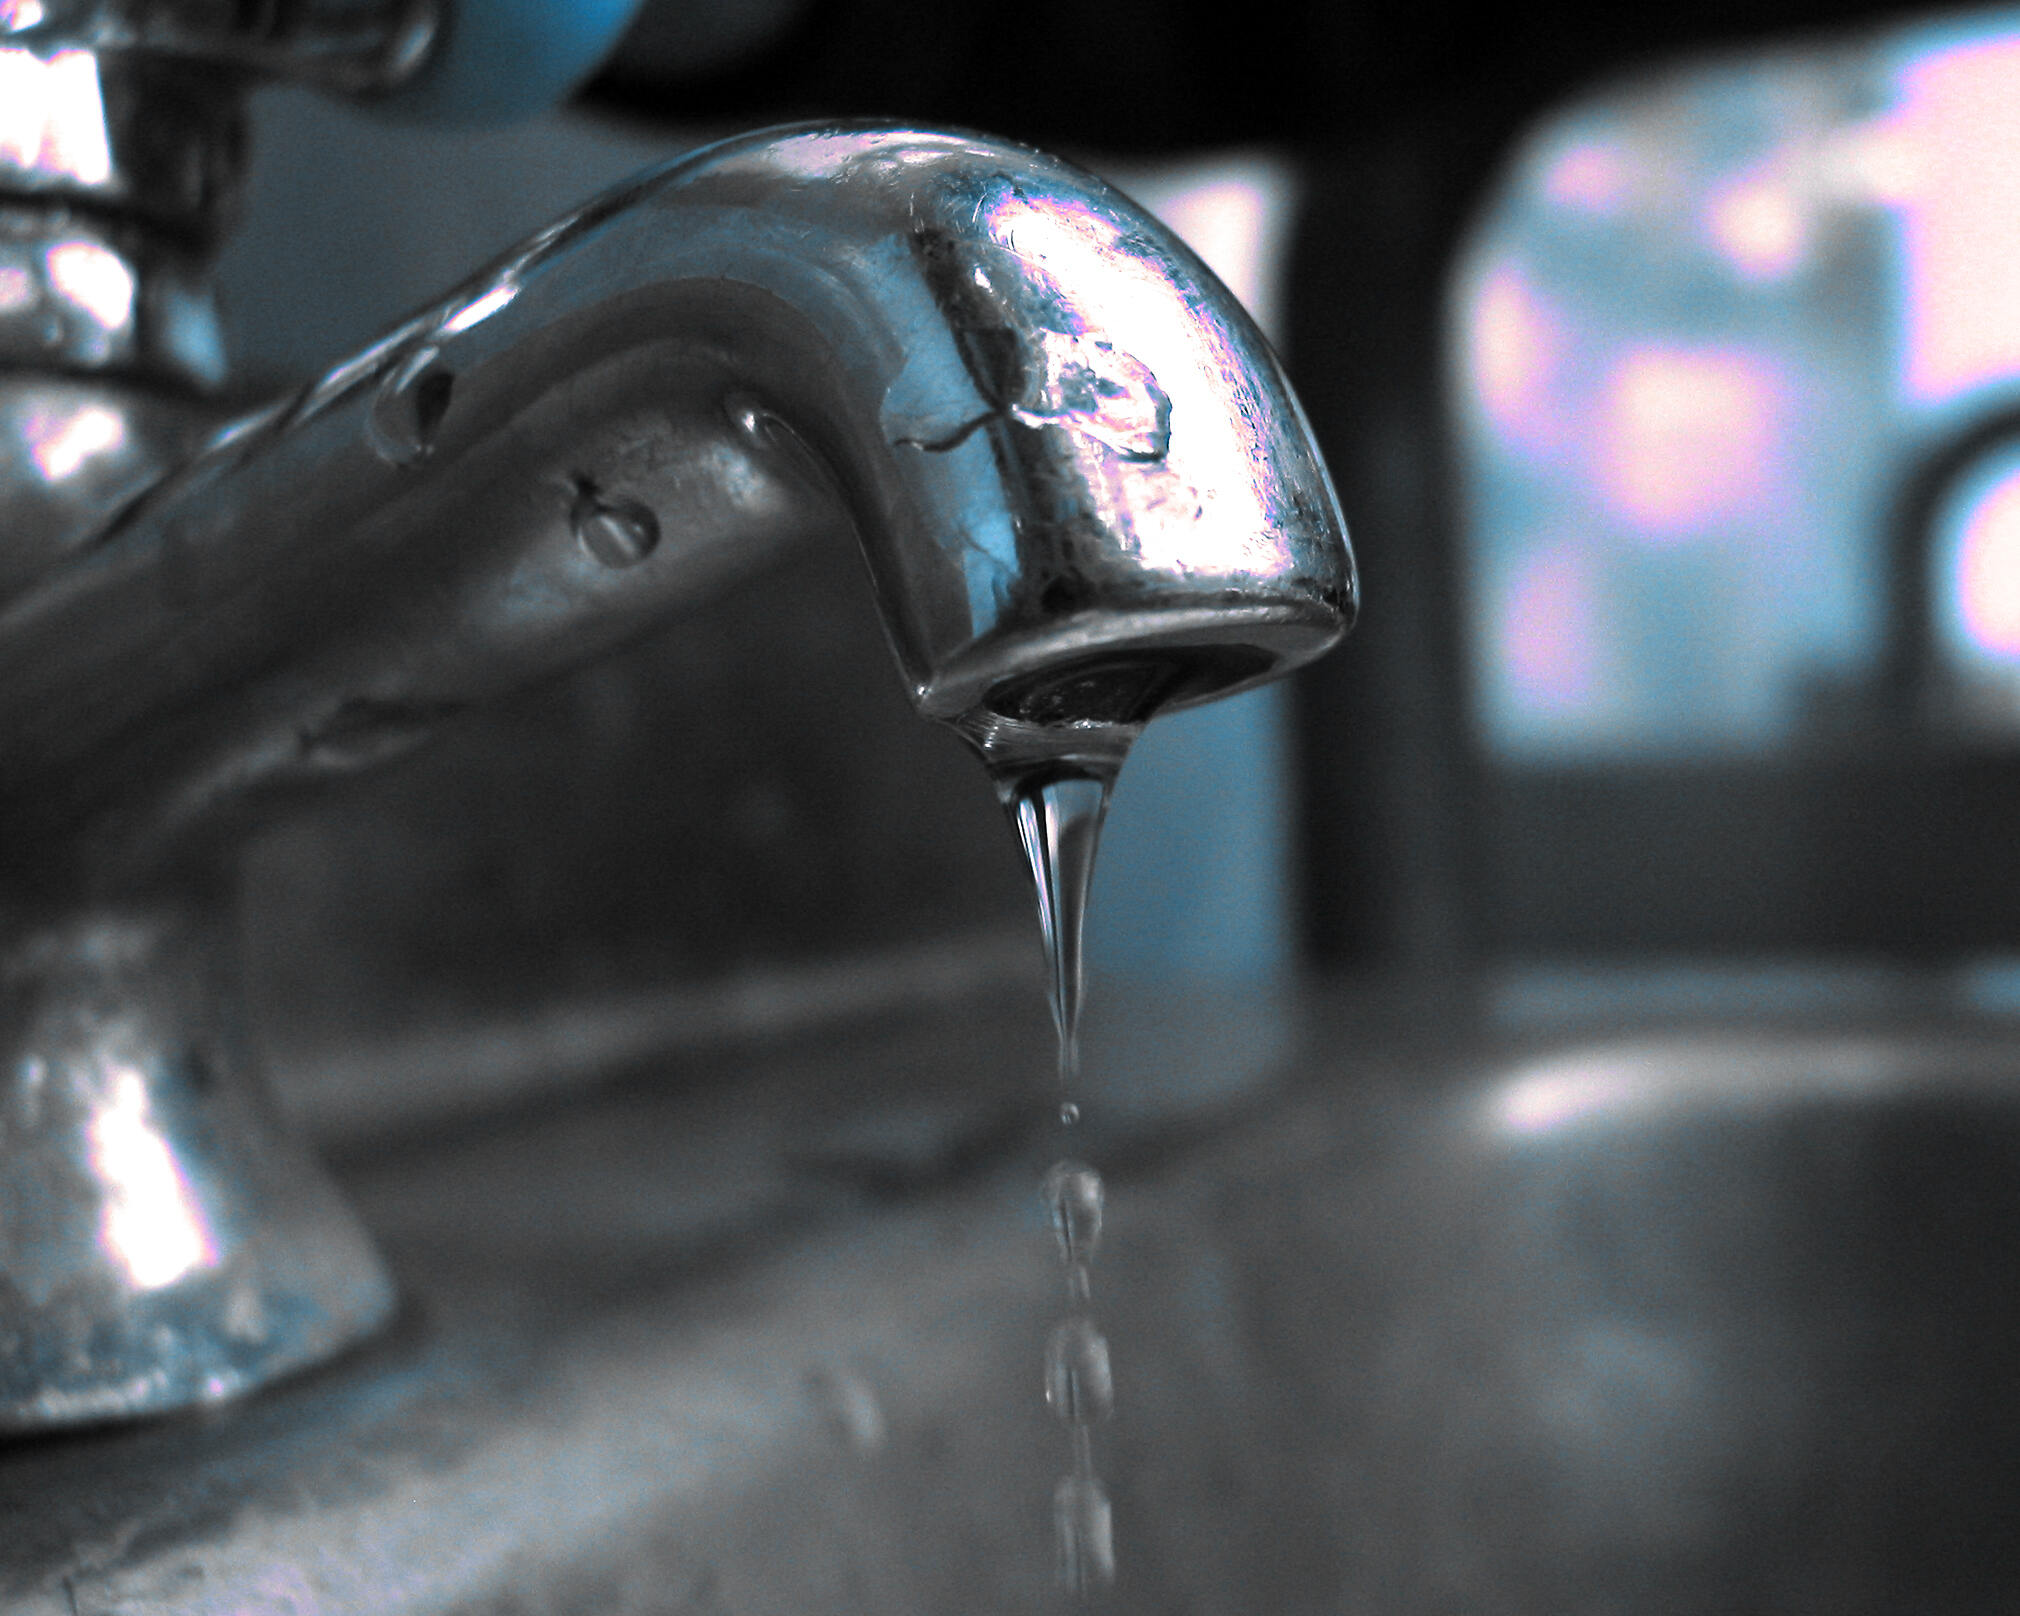
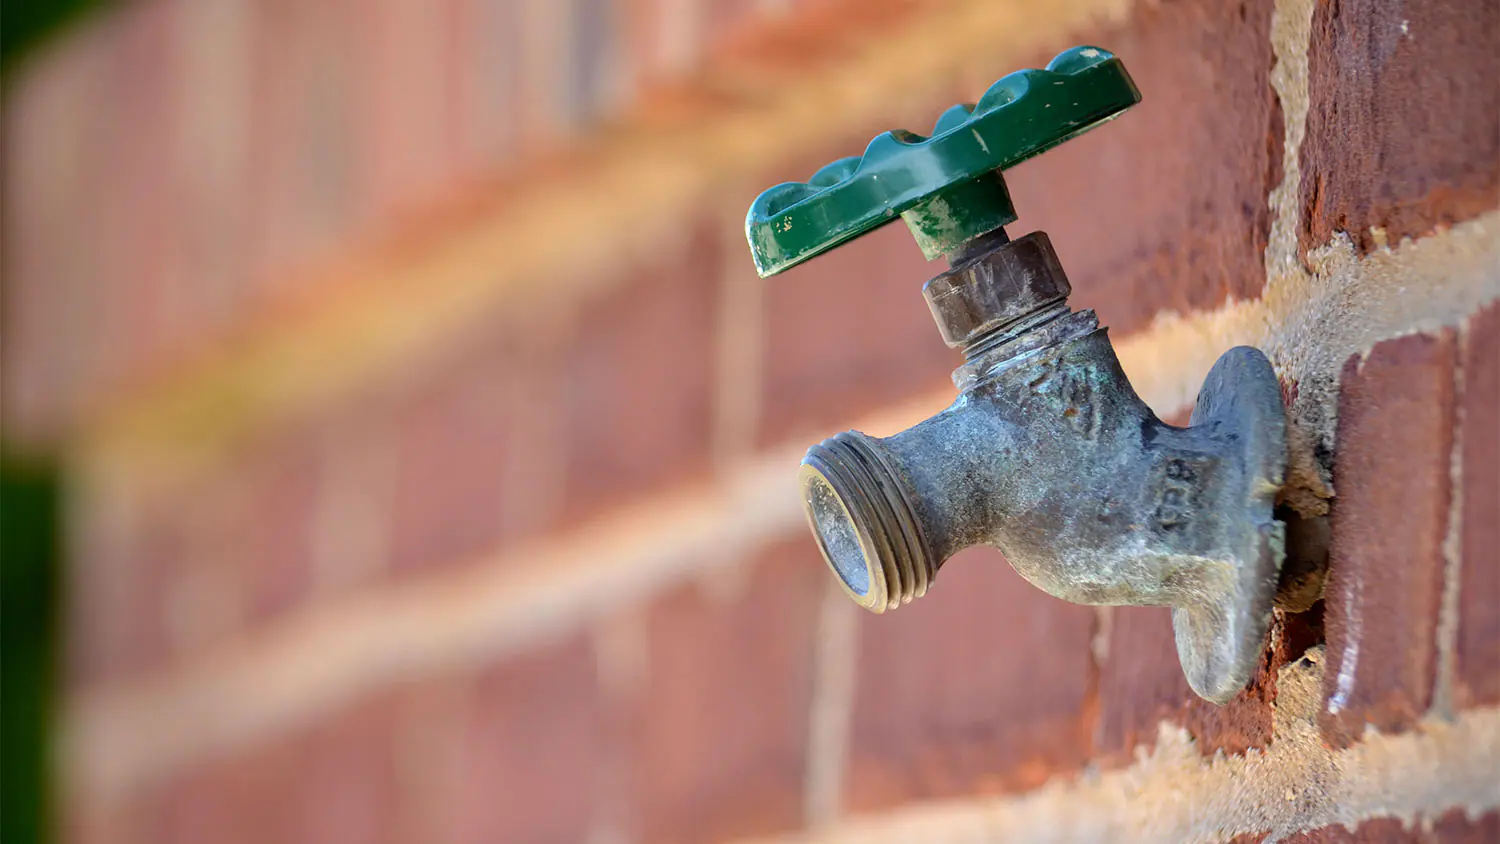
Having a leaking outdoor faucet can be frustrating and messy. Not only does it waste water, but it can also cause damage to your outdoor area if left untreated. Thankfully, repairing a leaking outdoor faucet is a relatively simple task that you can do yourself with just a few basic tools and materials. In this article, we will guide you through the step-by-step process of fixing a leaking outdoor faucet so you can enjoy a fully functional and leak-free faucet.
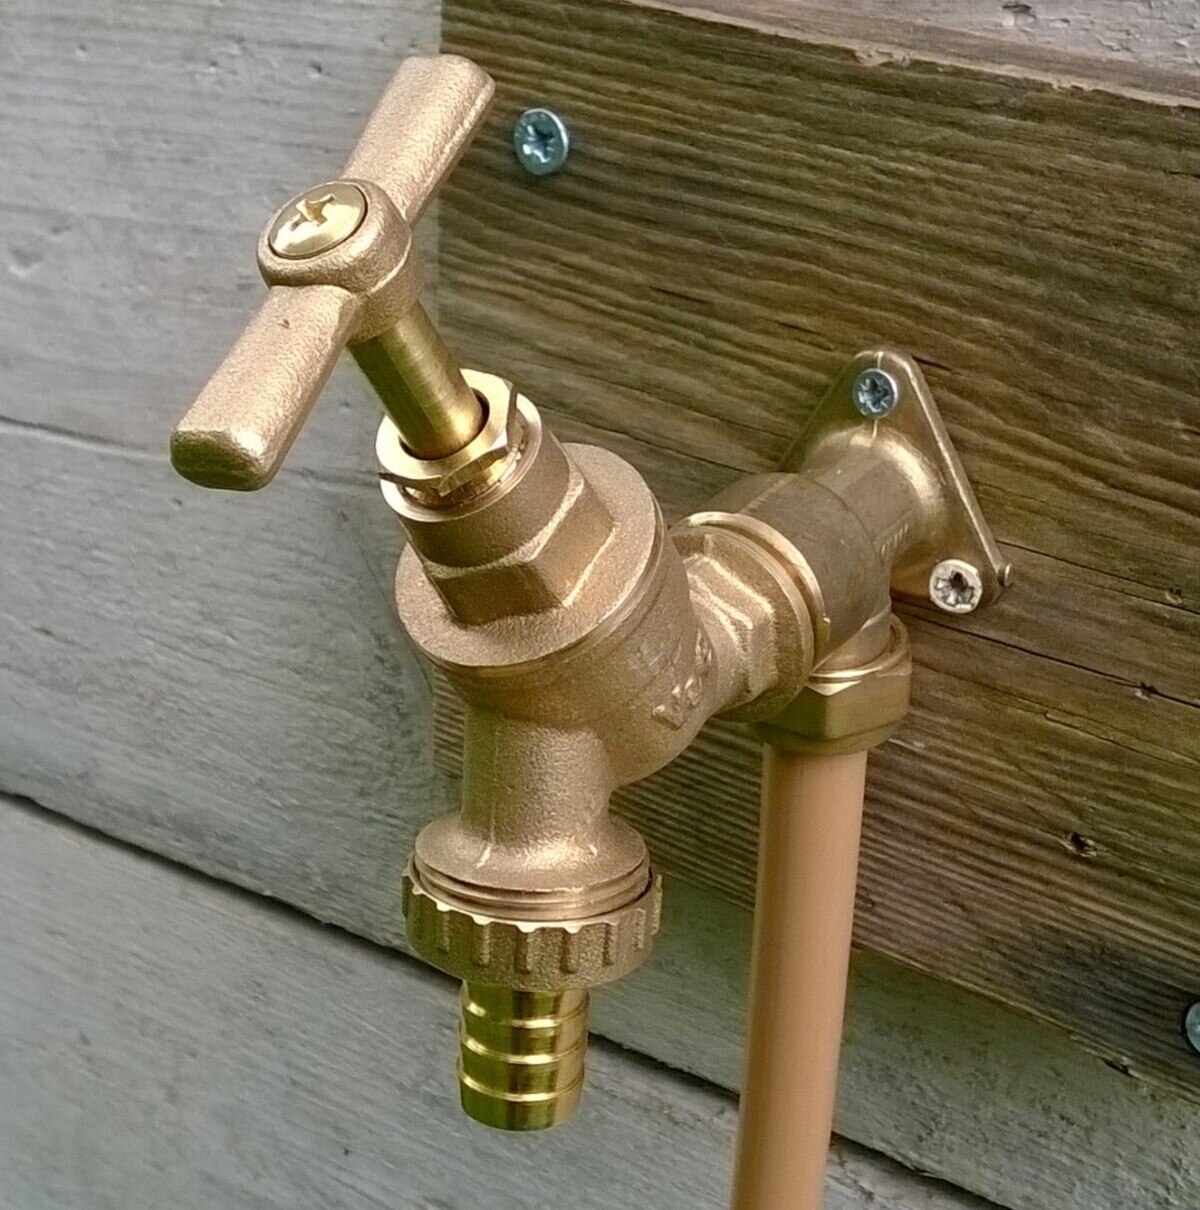
Before we begin, it’s important to note that there are different types of outdoor faucets, such as a traditional spigot or a frost-free faucet. While the basic repair steps are similar, there may be slight variations in the specific parts and mechanisms. Make sure to identify the type of outdoor faucet you have before proceeding with the repair.
In order to repair a leaking outdoor faucet, you will need a few tools and materials. Here’s a list of what you’ll need:
- Adjustable wrench
- Phillips screwdriver (if applicable)
- Replacement washer and O-ring
- Plumber’s tape
- Bucket or container to catch water
With the tools and materials ready, let’s get started with the repair process. Take note that if you don’t feel confident in completing the repair yourself, it’s always best to consult a professional plumber.
Key Takeaways:
- Don’t let a leaking outdoor faucet dampen your day. With basic tools and know-how, you can easily replace a faulty washer and O-ring to enjoy a fully functional and leak-free faucet.
- Prioritize safety and accuracy when repairing a leaking outdoor faucet. Regularly inspect and replace worn components to prevent future leaks and maintain a reliable outdoor water supply.
Read more: How To Fix A Leaking Tub Faucet
Tools and Materials Needed
Before you begin repairing a leaking outdoor faucet, it’s important to gather all the necessary tools and materials. Here’s a list of what you’ll need:
- Adjustable wrench: This will be used to loosen and tighten the different components of the faucet.
- Phillips screwdriver (if applicable): Some faucets may have screws that hold the handle in place, requiring a Phillips screwdriver to remove them.
- Replacement washer and O-ring: These are the most common parts that cause leaks in outdoor faucets. Having a spare washer and O-ring will allow you to replace the faulty ones.
- Plumber’s tape: Also known as Teflon tape, plumber’s tape is used to create a watertight seal on threaded connections. It can help prevent leaks and make reassembling the faucet easier.
- Bucket or container to catch water: As you disassemble the faucet, water may spill out. Having a bucket or container nearby will help contain the water and prevent unnecessary mess.
It’s important to note that the specific tools and materials needed may vary depending on the type and model of your outdoor faucet. Before starting the repair process, it’s always a good idea to check the manufacturer’s instructions or consult a professional plumber if you’re unsure about the required tools and materials.
Once you have gathered all the necessary tools and materials, you’re ready to begin repairing your leaking outdoor faucet. In the following steps, we will guide you through the process of fixing the most common cause of leaks – a faulty washer and O-ring.
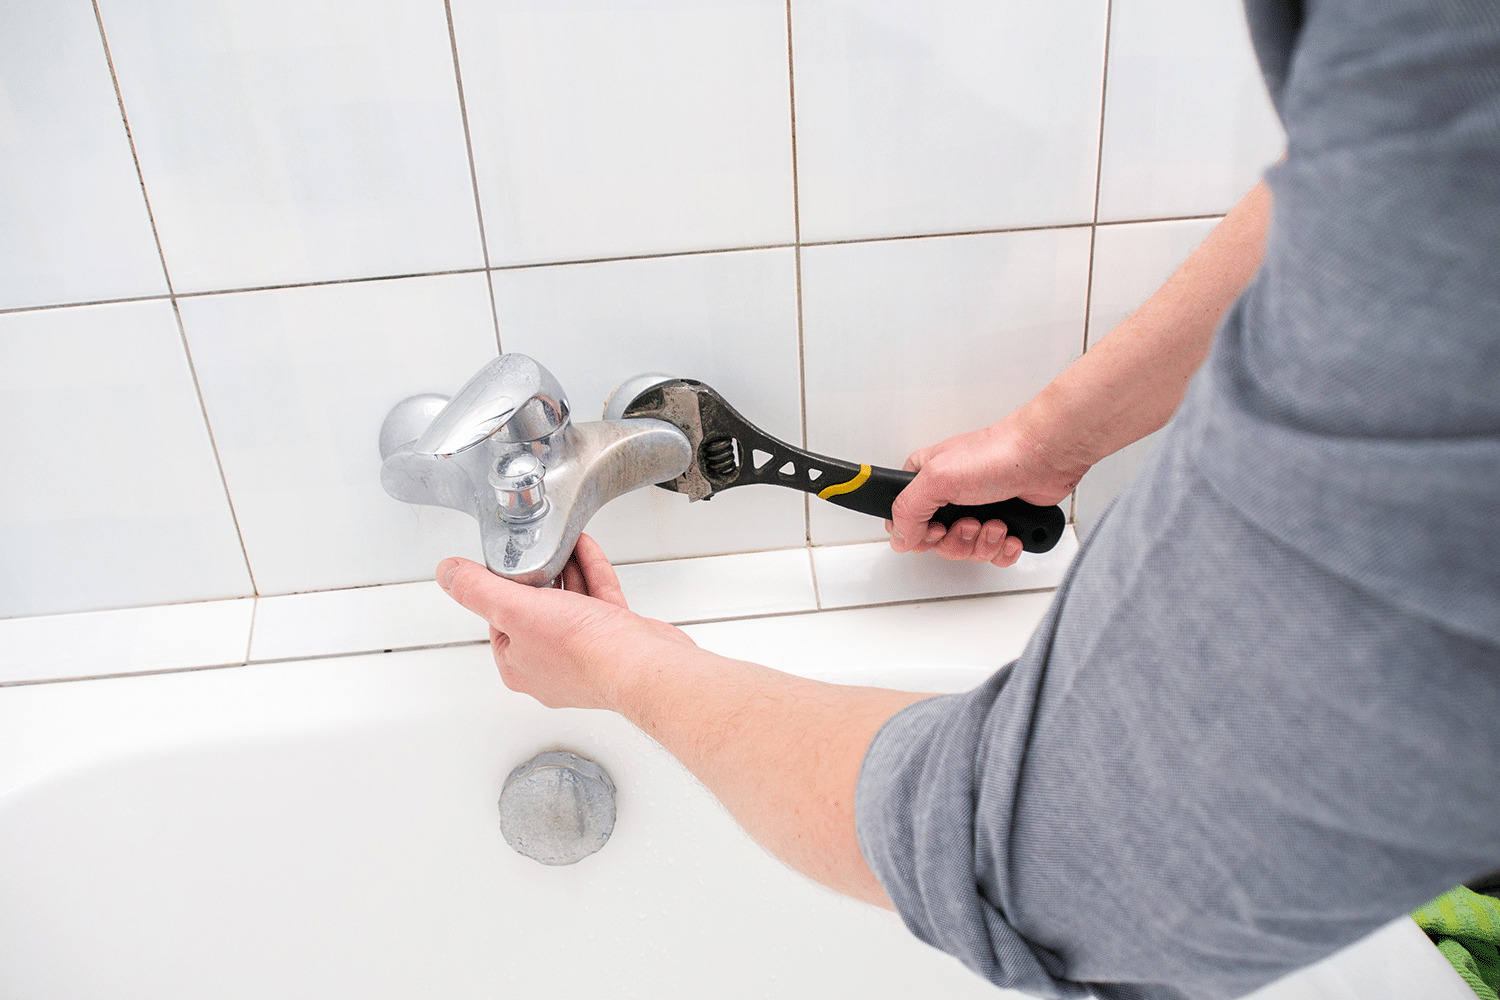
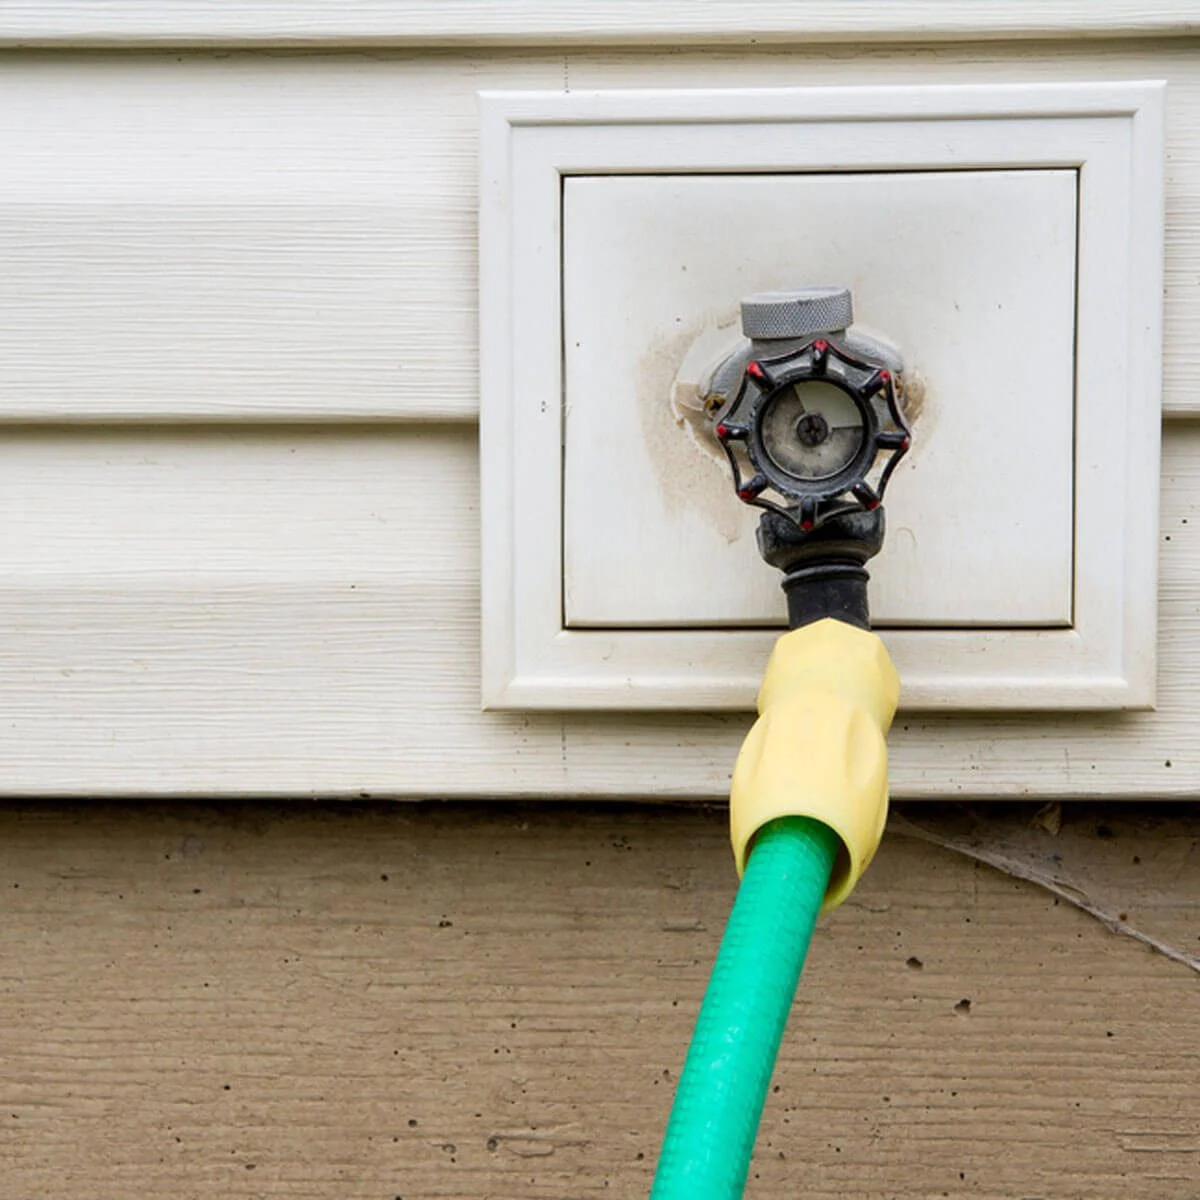
Step 1: Turn off the Water Supply
Before you start working on repairing a leaking outdoor faucet, it’s essential to turn off the water supply to prevent any accidents or further damage. Here’s how you can do it:
- Locate the main water shut-off valve: The main shut-off valve is typically located near the water meter or inside your home near the point where the water pipe enters.
- Turn off the main water supply: Rotate the valve clockwise to shut off the water supply. This will stop the flow of water to the outdoor faucet, preventing any leaks or spills during the repair process.
- Open the outdoor faucet to relieve any remaining pressure: After shutting off the main water supply, open the outdoor faucet completely to drain any remaining water from the pipes. This will help reduce the risk of water spraying when you disassemble the faucet.
It’s important to ensure that the water supply is completely turned off before proceeding with the repair. This will help prevent any accidents and make the repair process smoother.
Once you have successfully turned off the water supply, you can move on to the next step – removing the faucet handle.
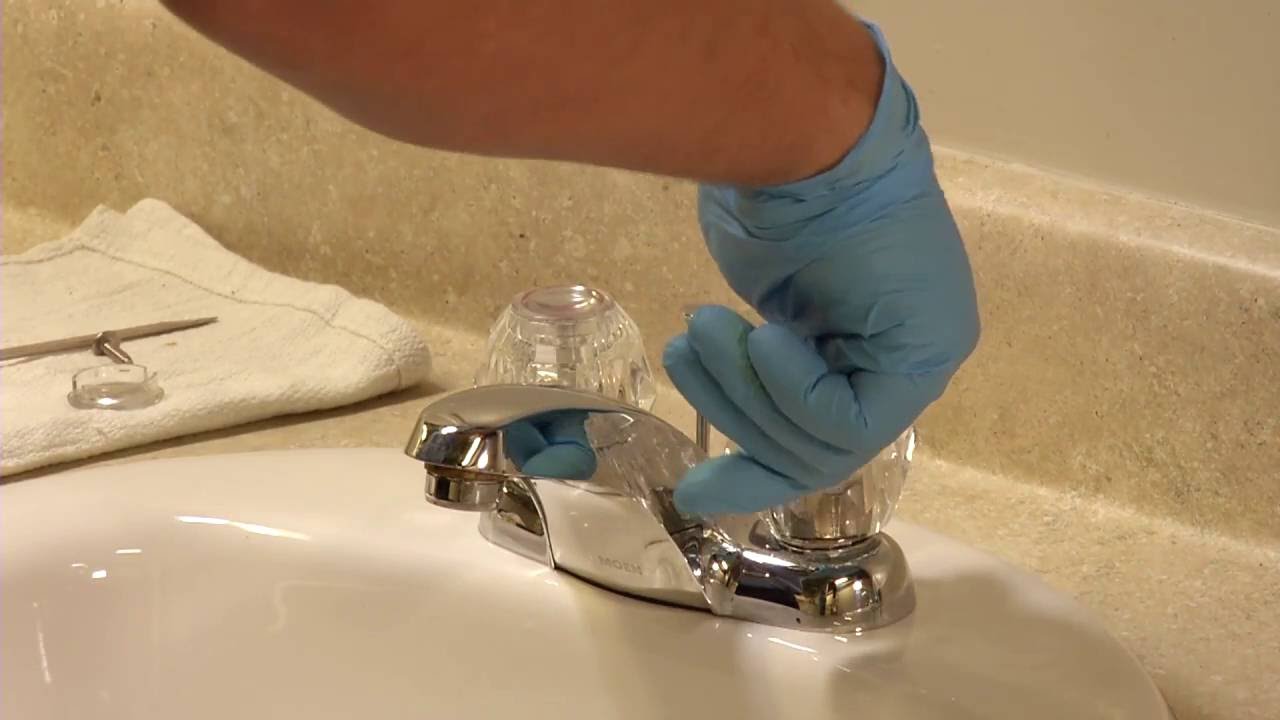
Step 2: Remove the Faucet Handle
With the water supply turned off, it’s time to remove the faucet handle to gain access to the internal components. Here’s how you can do it:
- Locate the screw or cap: Depending on the type of faucet handle you have, there may be a screw or a decorative cap covering the handle attachment point. If there’s a screw, use a Phillips screwdriver to remove it. If there’s a cap, gently pry it off with a flathead screwdriver or your fingers.
- Remove the handle: Once the screw or cap is removed, you can now proceed to remove the faucet handle. Grip the handle firmly and pull it straight out towards you. If the handle is stuck, you may need to apply a slight twisting motion or use a handle puller tool to remove it.
Removing the faucet handle will expose the inner components of the faucet, allowing you to inspect and repair the leak. It’s important to handle the faucet handle and other parts carefully to avoid causing any damage. If you encounter any difficulties or the handle is stubbornly stuck, it may be best to consult a professional plumber for assistance.
Now that you have successfully removed the faucet handle, you can proceed to the next step – inspecting the washer and O-ring.
Step 3: Inspect the Washer and O-Ring
After removing the faucet handle, it’s time to inspect the washer and O-ring – two common culprits of a leaking outdoor faucet. Here’s what you need to do:
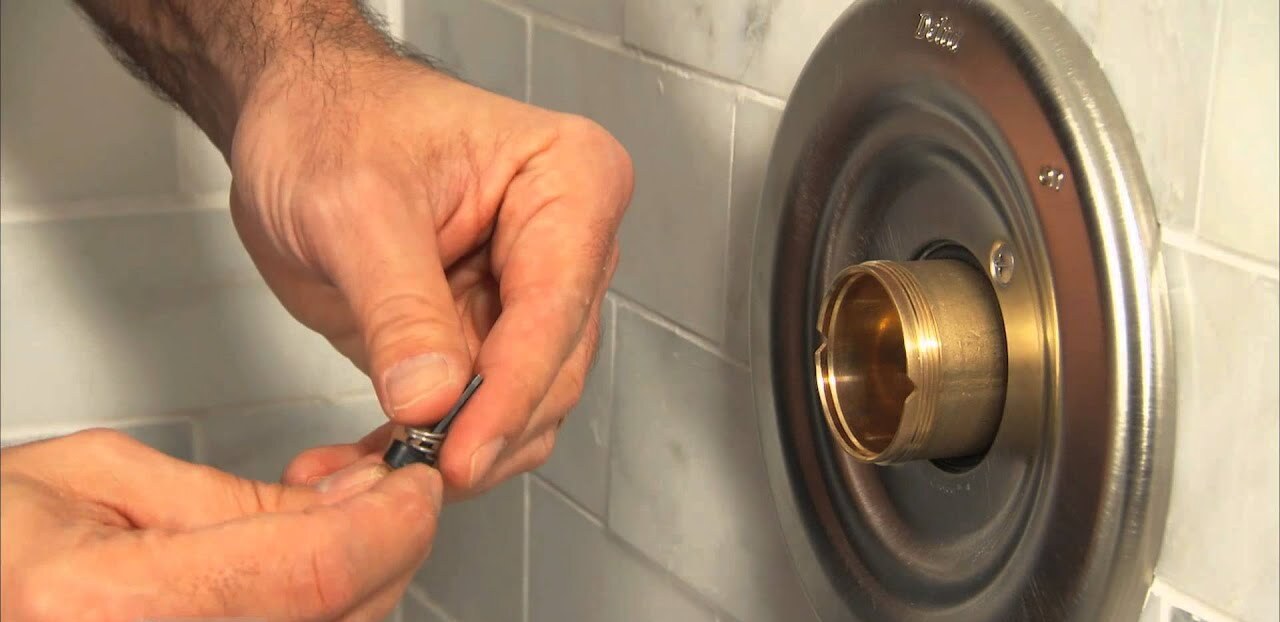
- Locate the washer and O-ring: Inside the faucet assembly, you will find a round washer and a small O-ring. These components are responsible for creating a watertight seal and preventing leaks.
- Inspect the washer: Examine the condition of the washer. Look for signs of wear, cracks, or damage. A worn-out washer is a common cause of leaks. If the washer appears worn or damaged, it needs to be replaced.
- Inspect the O-ring: Similarly, inspect the O-ring for any signs of wear or damage. The O-ring is a small rubber ring that sits around the valve stem to create a tight seal. If the O-ring is worn or damaged, it can lead to leaks.
During the inspection, it’s essential to pay attention to any signs of deterioration or damage to the washer and O-ring. Even minor wear or cracks can lead to leaks, so it’s best to replace these components if they show any signs of damage.
If the washer and O-ring appear to be in good condition, the leak could be caused by another faulty component within the faucet assembly. In such cases, it may be best to consult a professional plumber or refer to the manufacturer’s instructions for further troubleshooting steps.
Now that you have inspected the washer and O-ring, you can proceed to the next step – replacing these components to fix the leak in your outdoor faucet.
Make sure to turn off the water supply to the outdoor faucet before attempting any repairs. This will prevent further leakage and make the repair process easier.
Read more: Bath Faucet Leaking When Shower Is On
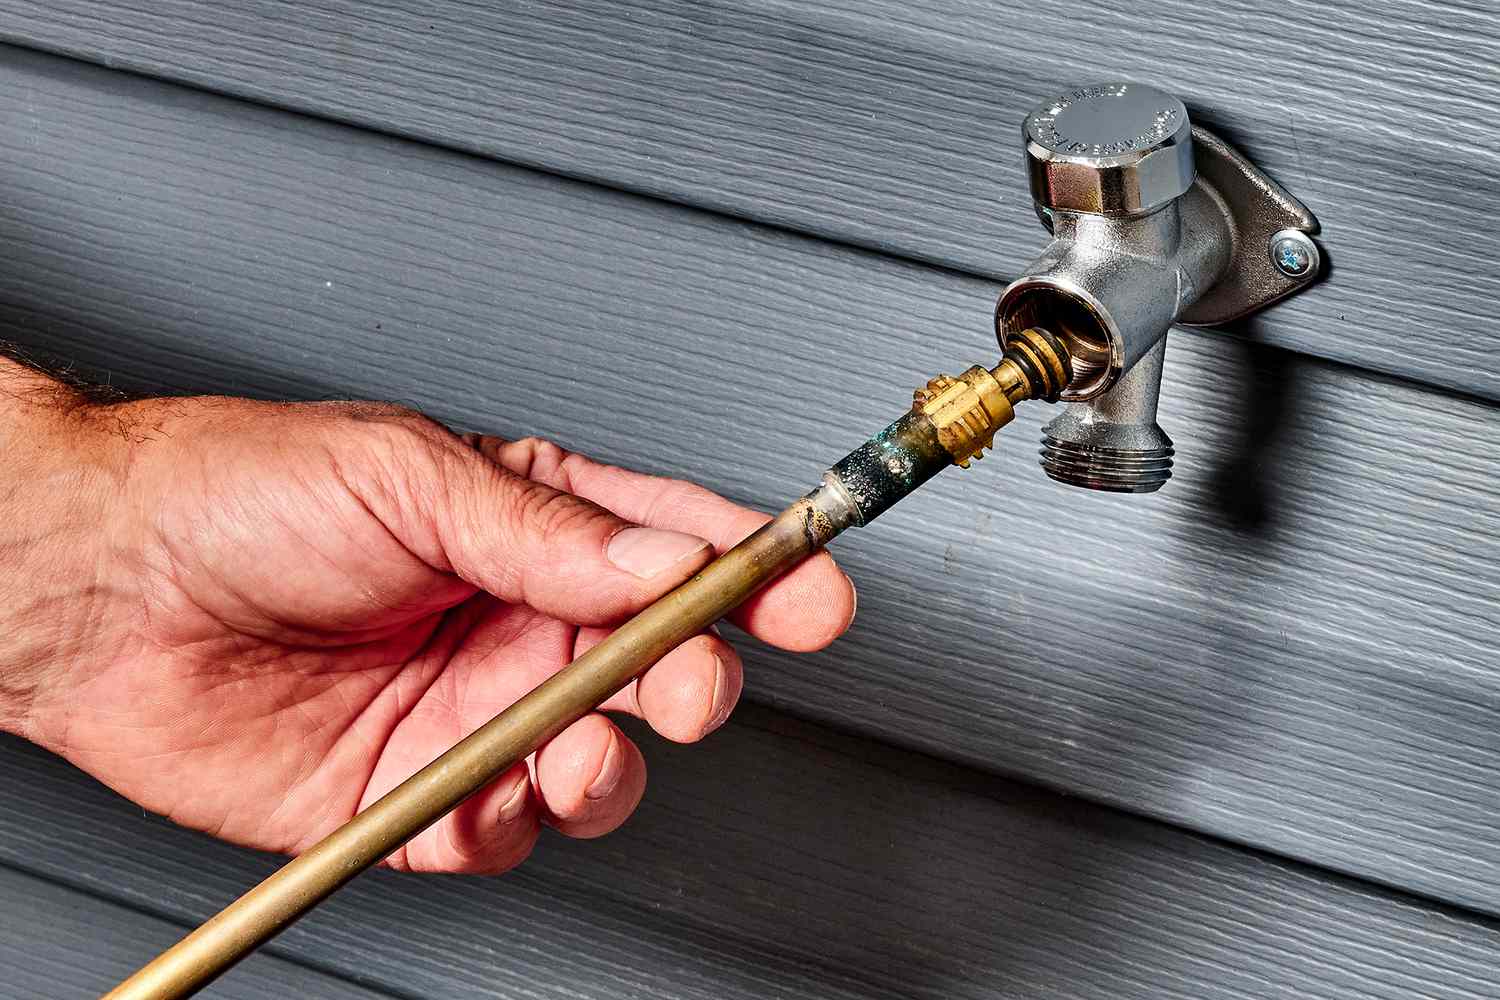
Step 4: Replace the Washer and O-Ring
Replacing the washer and O-ring is a crucial step in repairing a leaking outdoor faucet. Here’s how you can do it:
- Purchase the correct replacement parts: Before replacing the washer and O-ring, make sure you have purchased the correct replacement parts. Take note of the specific measurements and specifications to ensure a proper fit.
- Remove the old washer and O-ring: Using a flathead screwdriver or needle-nose pliers, carefully remove the old washer and O-ring from their respective positions. Take note of how they were installed so you can easily replace them with the new ones.
- Install the new washer and O-ring: Place the new washer onto the valve seat, ensuring it sits flat and snug. Next, position the new O-ring onto the valve stem, making sure it fits securely.
- Apply plumber’s tape (optional): To create an even tighter seal, you can wrap a few layers of plumber’s tape around the threaded parts of the faucet assembly. This will help prevent any potential leaks in the future.
As you replace the washer and O-ring, be gentle to avoid causing any damage to the other components. Ensure that the new washer and O-ring are seated properly and securely in their designated positions. If you’re unsure about the installation process, refer to the manufacturer’s instructions or consult a professional plumber.
Once you have successfully replaced the washer and O-ring, you can move on to the next step – reassembling the faucet handle.
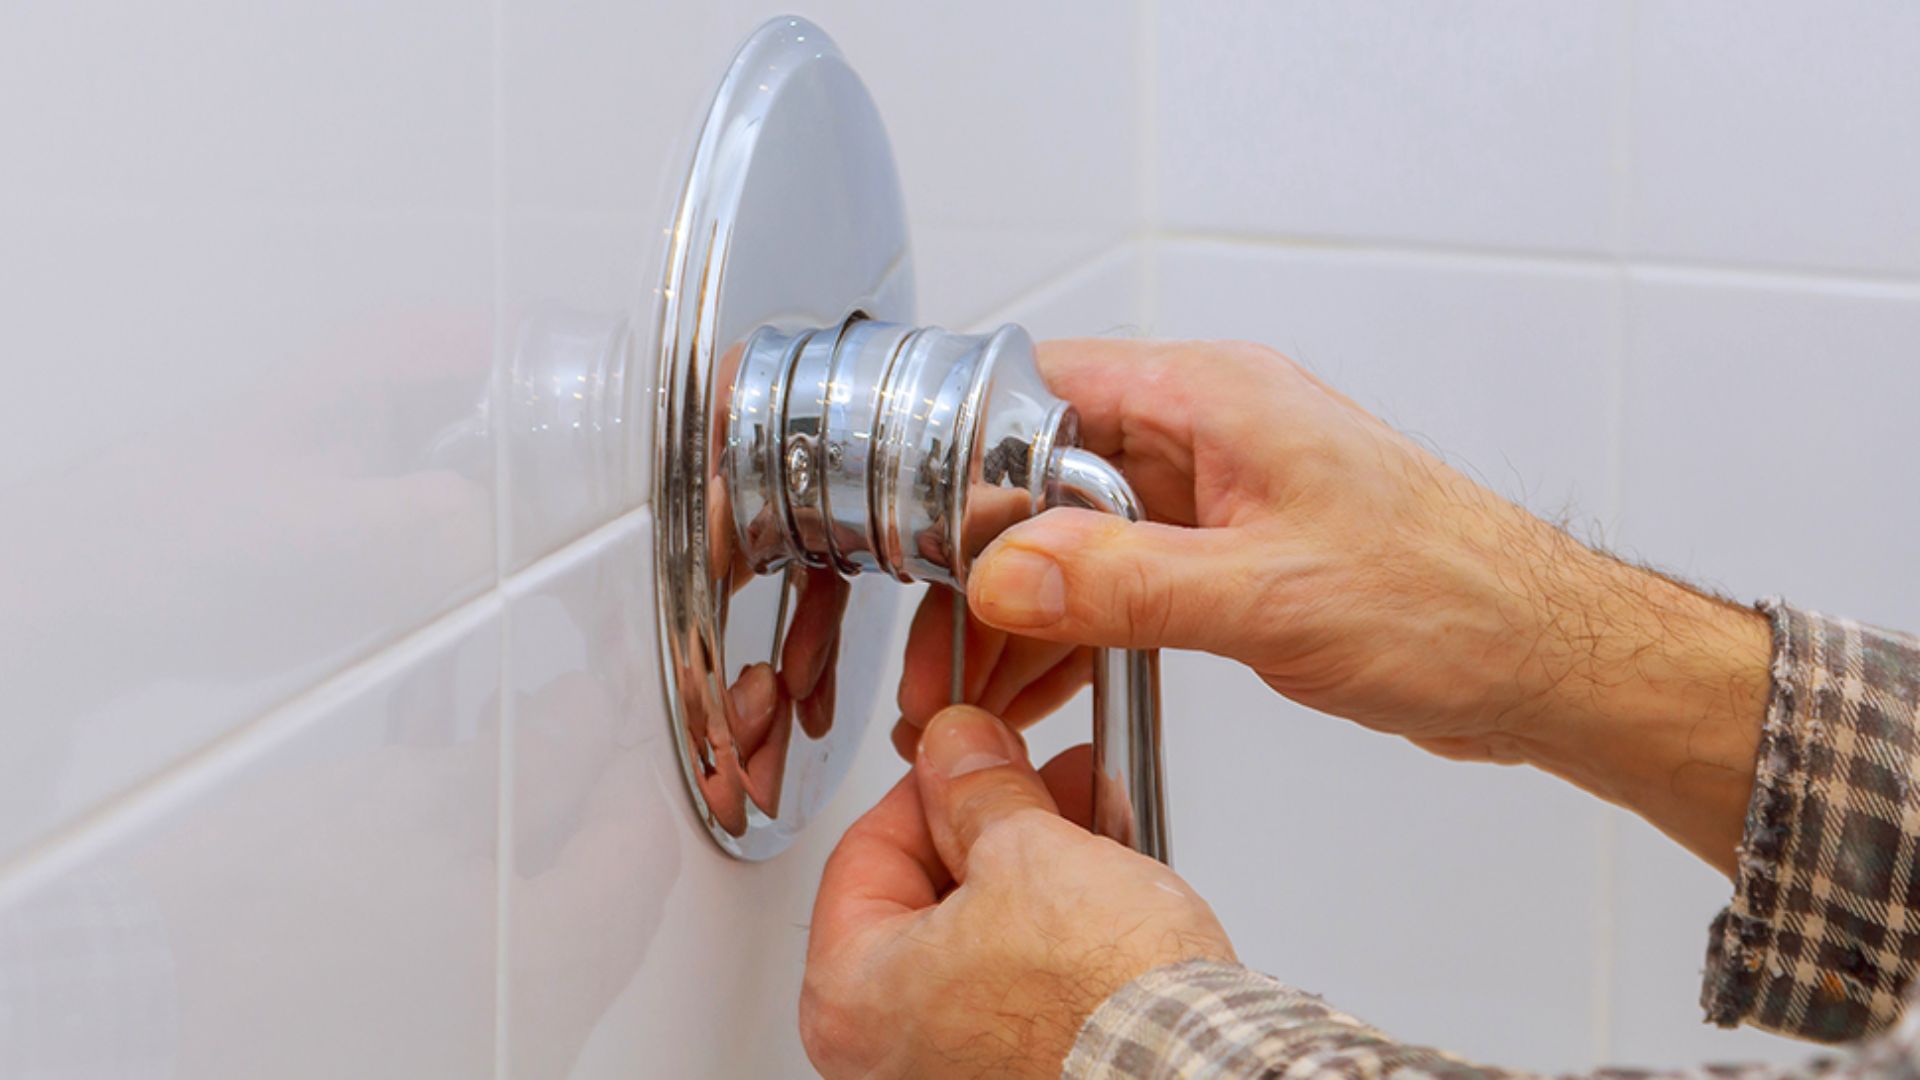
Step 5: Reassemble the Faucet Handle
After replacing the washer and O-ring, it’s time to reassemble the faucet handle. Follow these steps to ensure a proper reassembly:
- Slide the faucet handle back onto the valve stem: Align the faucet handle with the valve stem and slide it back into place. Make sure it fits securely and is properly aligned.
- If applicable, reattach the screw or cap: If your faucet handle has a screw or cap to secure it in place, reattach it using a Phillips screwdriver or by pressing the cap back into position.
It’s important to ensure that the faucet handle is properly secured to prevent any wobbling or potential leaks. Double-check that the handle is aligned and functions correctly, turning the faucet on and off smoothly.
With the faucet handle reassembled, you’re one step closer to fixing the leak in your outdoor faucet. However, before testing for leaks, there’s one more step to complete – applying plumber’s tape.
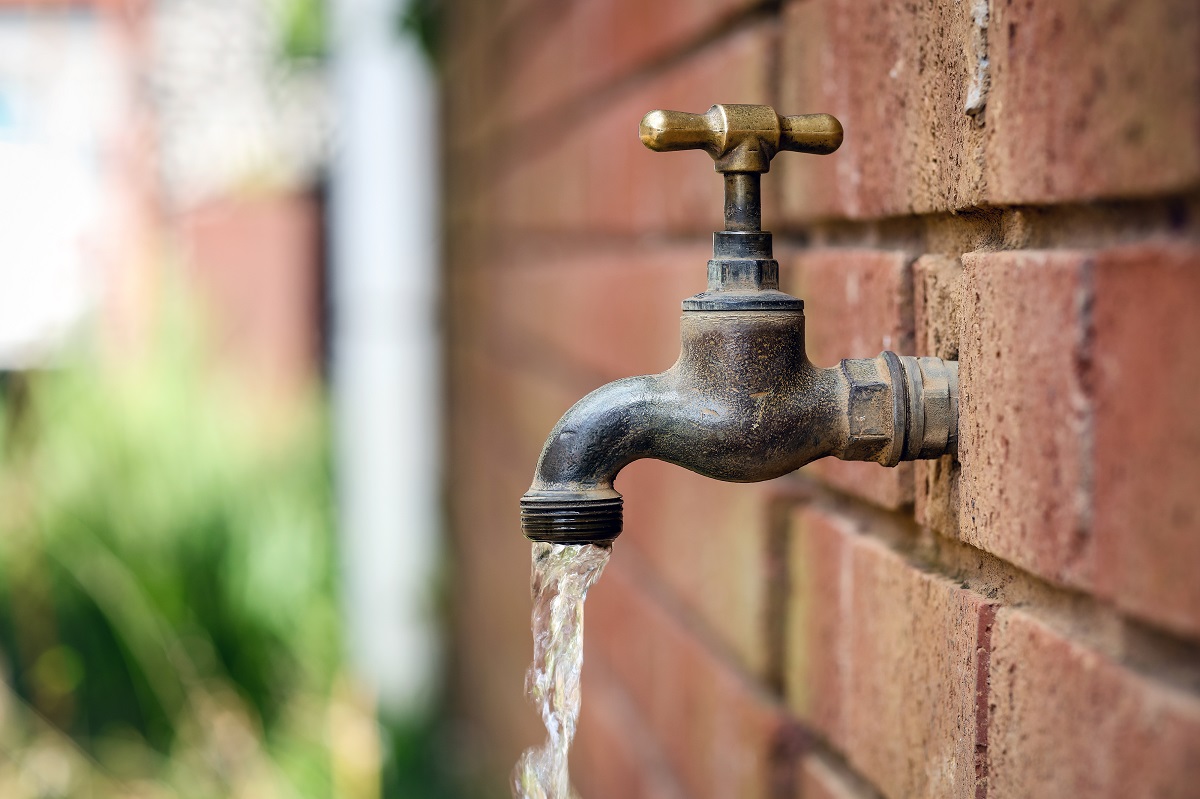
Step 6: Test for Leaks
Now that you have reassembled the faucet handle, it’s time to test for any remaining leaks and ensure the repair is successful. Follow these steps to complete the process:
- Turn on the main water supply: Go back to the location of the main shut-off valve and turn it counterclockwise to restore the water supply to the outdoor faucet.
- Slowly turn on the outdoor faucet: Gradually open the faucet by turning the handle in a counterclockwise direction. Do it slowly to allow the water pressure to build up gradually.
- Check for leaks: Inspect the faucet and all the connections for any signs of leaks. Pay close attention to the area where the faucet handle meets the valve stem, as well as any threaded connections.
- If leaks are present, tighten the connections: If you notice any minor leaks, try tightening the connections using an adjustable wrench or pliers. Be careful not to overtighten and damage the components.
- Repeat the process and monitor for leaks: After making adjustments, close the faucet, then open it again to see if any leaks persist. Continue this process until you have confirmed that no leaks are present.
It’s important to be thorough when testing for leaks to ensure the repair has been successful. Even a tiny drip can indicate an ongoing issue that needs to be addressed. Take your time and monitor the faucet closely to ensure it remains leak-free.
If you still notice leaks even after attempting to tighten the connections, it may be necessary to seek professional assistance. A plumber can diagnose the issue more accurately and provide the appropriate solution.
By completing this final step and ensuring there are no leaks, you have successfully repaired your leaking outdoor faucet. Enjoy your fully functional and leak-free faucet!
Conclusion
Repairing a leaking outdoor faucet is a task that you can easily tackle yourself with the right tools and materials. By following the step-by-step process outlined in this article, you can save money on plumbing services and enjoy the satisfaction of fixing the issue on your own.
Remember, when undertaking any DIY plumbing project, it’s crucial to prioritize safety and accuracy. Always turn off the water supply before beginning any repairs and handle the components with care to avoid causing further damage.
Inspecting and replacing the washer and O-ring are the most common fixes for a leaking outdoor faucet. These components are prone to wear and tear over time, leading to leaks. By regularly checking and replacing them as needed, you can prevent future leaks and ensure the longevity of your outdoor faucet.
If you encounter any difficulties during the repair process or have a different type of outdoor faucet, it’s always advisable to consult a professional plumber. They have the expertise and experience to handle complex repairs and offer personalized advice for your specific situation.
Remember, a leak-free outdoor faucet not only conserves water but also prevents damage to your outdoor area. By promptly addressing and repairing a leaking faucet, you can maintain a properly functioning and efficient outdoor water supply.
We hope that this article has provided you with valuable insights and guidance on repairing a leaking outdoor faucet. With the right tools, materials, and knowledge, you can confidently tackle this common household issue and enjoy the benefits of a fully functioning outdoor faucet for years to come.
Frequently Asked Questions about How To Repair A Leaking Outdoor Faucet
Was this page helpful?
At Storables.com, we guarantee accurate and reliable information. Our content, validated by Expert Board Contributors, is crafted following stringent Editorial Policies. We're committed to providing you with well-researched, expert-backed insights for all your informational needs.


0 thoughts on “How To Repair A Leaking Outdoor Faucet”