Articles
How To Replace Belt On Bissell Power Steamer
Modified: February 29, 2024
Learn how to replace the belt on your Bissell Power Steamer with this step-by-step guide. Articles, tips, and tricks for easy maintenance.
(Many of the links in this article redirect to a specific reviewed product. Your purchase of these products through affiliate links helps to generate commission for Storables.com, at no extra cost. Learn more)
Introduction
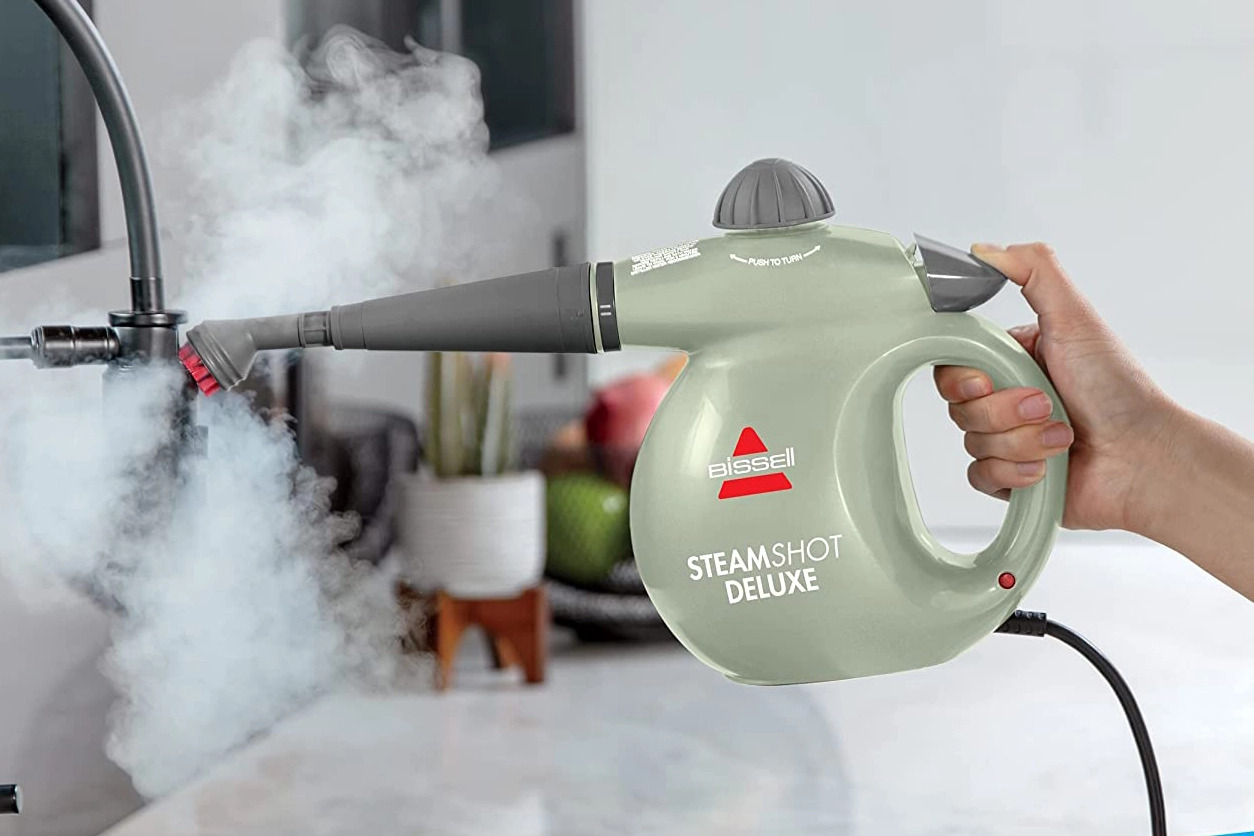
Welcome to this comprehensive guide on how to replace the belt on a Bissell Power Steamer. If you notice that your steamer’s brush roll isn’t spinning or the suction power is weak, it’s possible that the belt may need to be replaced. The belt plays a crucial role in connecting the motor to the brush roll, allowing it to rotate effectively. Replacing the belt is a relatively simple task that can be done at home with just a few basic tools.
Before we jump into the step-by-step instructions for replacing the belt, it’s essential to prioritize safety. Always make sure the power steamer is turned off and unplugged before performing any maintenance or repair work. This will prevent any potential accidents or injuries.
In this article, we’ll cover everything you need to know to replace the belt on your Bissell Power Steamer. From the tools and materials needed to the step-by-step process, we’ve got you covered. Let’s get started!
Key Takeaways:
- Ensure safety by following precautions such as turning off and unplugging the power steamer, wearing protective gloves, and working in a well-ventilated area to prevent accidents and injuries during the belt replacement process.
- Gather the necessary tools and materials, prepare the power steamer, remove the old belt, install the new belt, and reassemble the components to successfully complete the belt replacement process, ensuring optimal performance of your Bissell Power Steamer.
Safety Precautions
Before you begin replacing the belt on your Bissell Power Steamer, it’s crucial to follow these safety precautions:
- Turn off and unplug the power steamer: Before you start any maintenance or repair work, make sure the power steamer is switched off and unplugged from the electrical outlet. This will prevent any accidental injuries or electric shocks.
- Allow the power steamer to cool down: Many parts of the power steamer, including the brush roll and the motor, can become hot during use. Before attempting to replace the belt, ensure that the steamer has cooled down completely to avoid burning yourself.
- Wear protective gloves: It’s always a good idea to wear protective gloves when working on your power steamer. They will not only protect your hands from sharp or moving parts but also provide a better grip when handling tools and components.
- Work in a well-ventilated area: When working with any appliances or machinery, ensure that you are in a well-ventilated area. This will help disperse any fumes or odors that may be emitted during the repair process.
- Read the manufacturer’s instructions: While this guide provides a general process for replacing the belt on a Bissell Power Steamer, it’s essential to consult the manufacturer’s instructions specific to your model. This will ensure that you have all the necessary information and guidelines to complete the task safely.
By following these safety precautions, you can confidently proceed with replacing the belt on your Bissell Power Steamer, knowing that you have taken the necessary steps to protect yourself and prevent any accidents or damage.
Tools and Materials Needed
Before you begin replacing the belt on your Bissell Power Steamer, gather the following tools and materials:
- Flathead screwdriver: You’ll need a flathead screwdriver to remove any screws or clips holding the casing of the power steamer together.
- Phillips head screwdriver: Some models may require a Phillips head screwdriver instead of a flathead screwdriver. Check your specific model’s instructions to determine which type of screwdriver is needed.
- Replacement belt: Purchase a replacement belt that is compatible with your Bissell Power Steamer model. Check the user manual or manufacturer’s website for the correct belt size and part number.
- Pliers: Pliers can come in handy for removing and installing the belt on the brush roll mechanism.
- Clean cloth or paper towels: Have a clean cloth or some paper towels on hand to wipe away any dust or debris that may have accumulated during the belt replacement process.
It’s important to note that the specific tools and materials required may vary depending on the model of your Bissell Power Steamer. It’s always recommended to consult the user manual or manufacturer’s instructions for any additional tools or materials that may be necessary for your particular model.
Once you have gathered all the required tools and materials, you’ll be ready to proceed with the belt replacement process. Ensure that you have a clear workspace and ample lighting to work comfortably. Now, let’s dive into the step-by-step instructions for replacing the belt on your Bissell Power Steamer.
Step 1: Prepare the Bissell Power Steamer
Before you can begin replacing the belt on your Bissell Power Steamer, it’s important to prepare the steamer by following these steps:
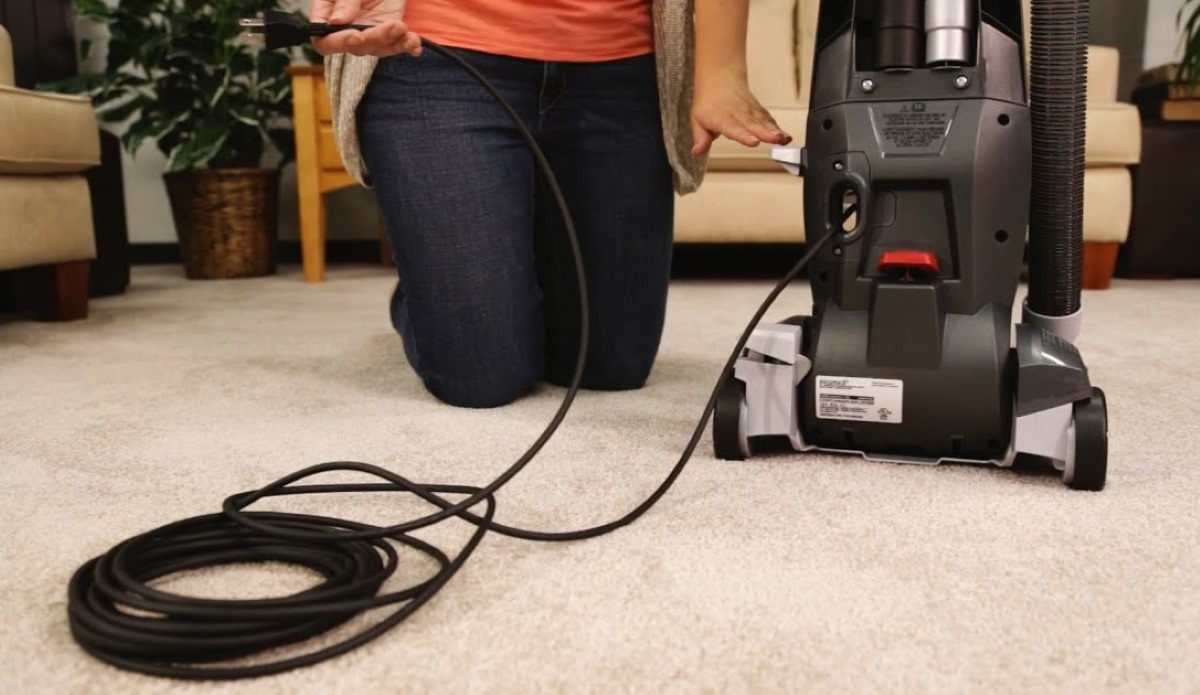
- Turn off and unplug the power steamer: Safety should always be the top priority. Ensure that the power steamer is switched off and unplugged from the electrical outlet before starting any maintenance or repair work.
- Remove the water tank: Locate the water tank on your Bissell Power Steamer and gently lift it off the steamer’s body. Empty any remaining water from the tank and set it aside for now. This will make it easier to access and work on the internal components of the steamer.
- Access the brush roll area: To access the brush roll area, you may need to remove the brush cover or the nozzle cover, depending on your model. Consult the user manual or manufacturer’s instructions to determine the specific steps for your Bissell Power Steamer model.
- Clean the brush roll area: Take a moment to inspect the brush roll area for any dirt, hair, or debris that may have accumulated. Use a clean cloth or paper towel to wipe away any visible debris. Keeping the brush roll area clean ensures smooth operation and prolongs the life of the new belt.
By following these steps, you will effectively prepare your Bissell Power Steamer for the belt replacement process. Cleaning the brush roll area will help maintain the longevity and effectiveness of the new belt. Once you have completed these steps, you’re ready to move on to the next phase: removing the old belt.
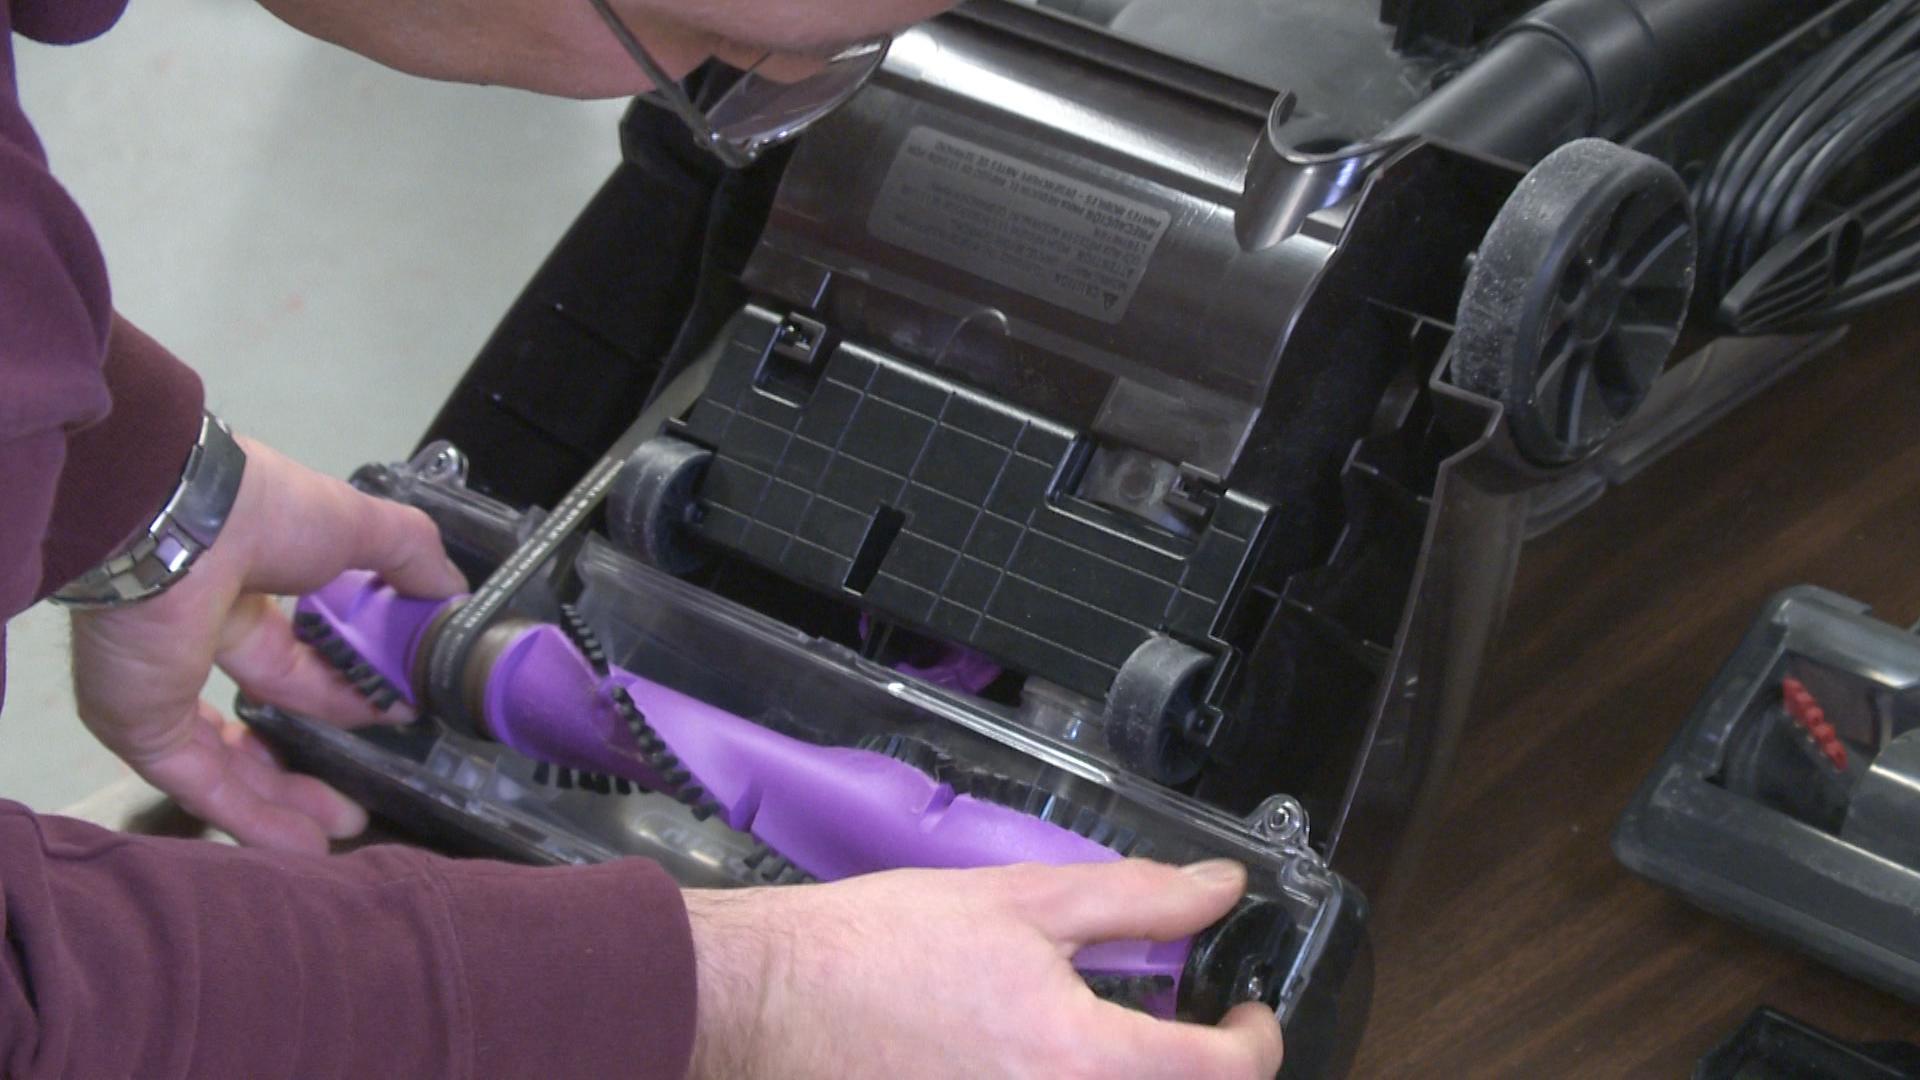
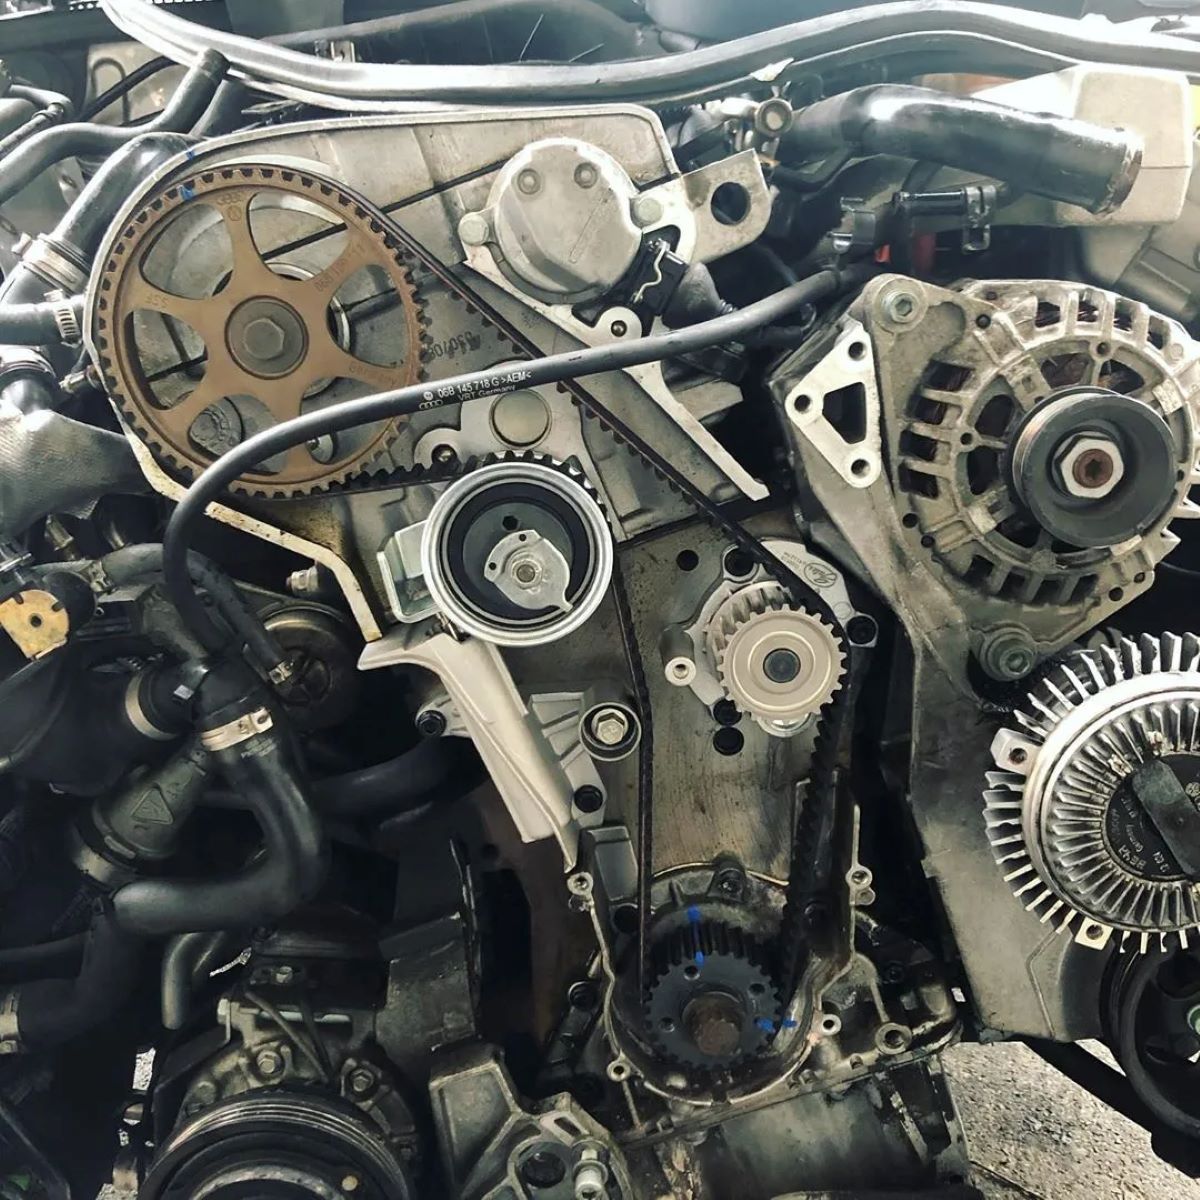
Step 2: Remove the Old Belt
Now that you have prepared your Bissell Power Steamer, it’s time to remove the old belt. Follow these steps:
- Locate the brush roll: The brush roll is usually located at the bottom of the power steamer. It is connected to the motor by a belt. Find the brush roll and identify the belt that needs to be replaced.
- Loosen the brush roll: Depending on your model, you may need to release the tension on the brush roll to remove the belt. Look for any clips, screws, or levers that secure the brush roll in place. Using a screwdriver or pliers, loosen or remove these components to free the brush roll.
- Remove the old belt: Once the brush roll is loosened, you can easily slide the old belt off the brush roll and motor shaft. Take note of the placement and orientation of the belt for reference when installing the new one.
During this step, it’s a good idea to inspect the old belt for any signs of damage, wear, or stretching. If you notice any issues, it’s time to replace it with a new one. Once you have removed the old belt, set it aside for disposal and proceed to the next step.
Remember, every Bissell Power Steamer model may vary slightly in terms of design and belt placement. Refer to the user manual or manufacturer’s instructions for specific guidance related to your model. Now that the old belt is removed, let’s move on to installing the new belt in the next step.
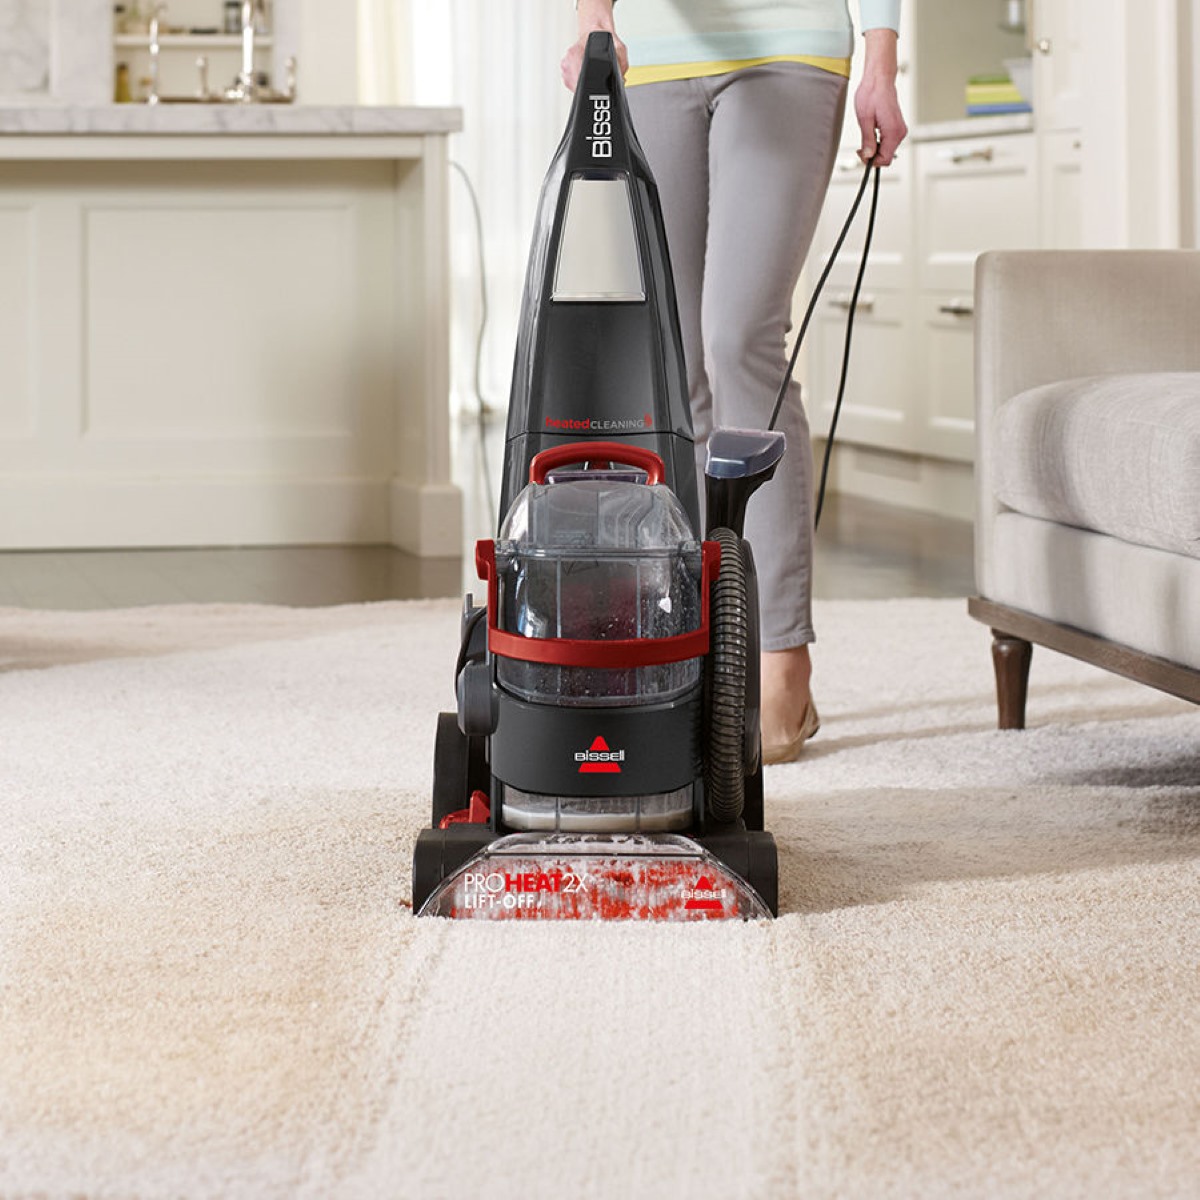
When replacing the belt on a Bissell Power Steamer, make sure to unplug the machine and remove the dirty water tank. Then, remove the screws on the bottom of the machine to access the belt. Carefully replace the old belt with a new one, making sure it is properly aligned and tensioned before reassembling the machine.
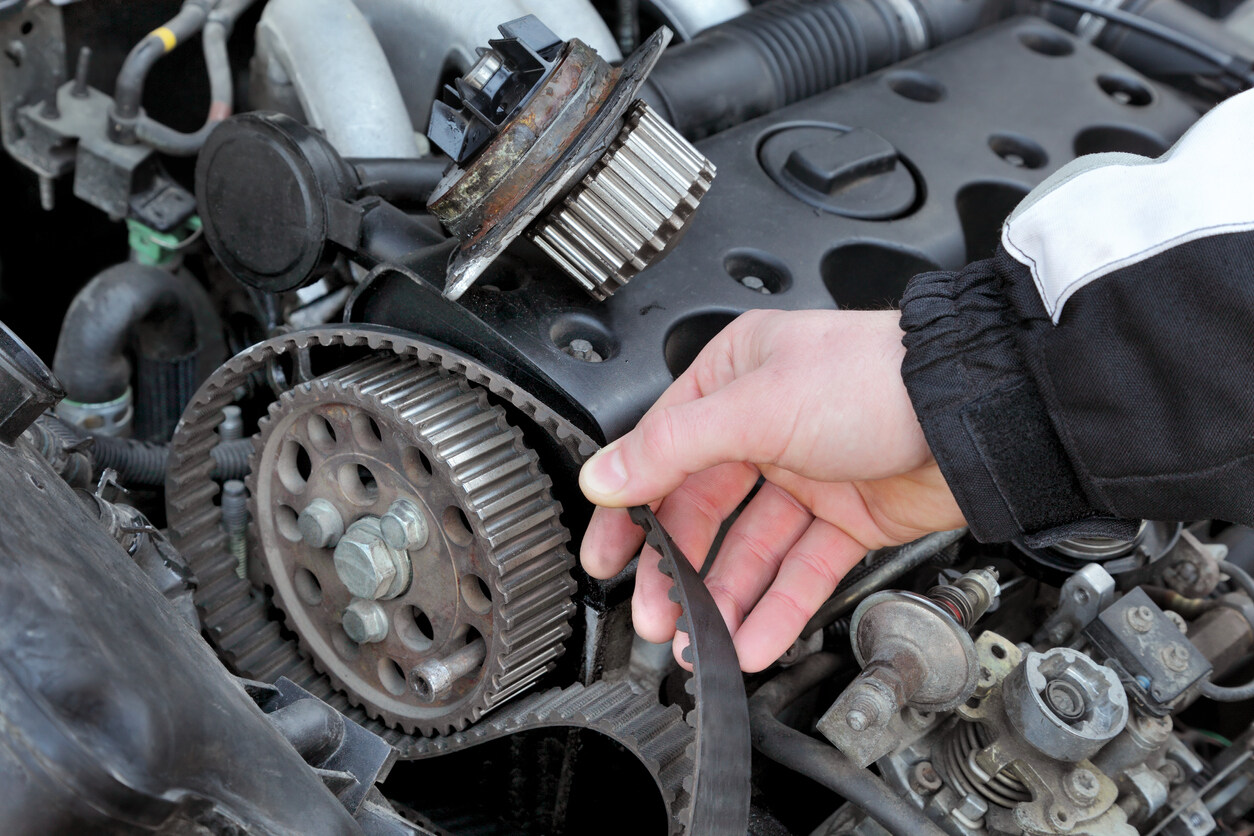
Step 3: Install the New Belt
With the old belt removed, it’s time to install the new belt on your Bissell Power Steamer. Follow these steps:
- Check the belt’s compatibility: Before proceeding, double-check that the replacement belt you have purchased is compatible with your specific Bissell Power Steamer model. Ensure that it has the correct size and part number.
- Slide the new belt onto the brush roll: Take the new belt and slide it onto the brush roll. Make sure that it is centered and positioned correctly, aligning with any grooves or notches on the brush roll. Refer to the old belt or the manufacturer’s instructions for guidance, if needed.
- Connect the belt to the motor shaft: With the new belt securely on the brush roll, you will need to stretch it and connect it to the motor shaft. Depending on your model, you may need to access the motor shaft from the side or under the power steamer. Use a screwdriver or pliers to assist you in connecting the belt to the motor shaft.
It’s important to ensure that the new belt is properly aligned and securely attached to both the brush roll and the motor shaft. This will guarantee optimal performance when the power steamer is in use. Take a moment to double-check the belt’s placement and make any necessary adjustments.
Remember, each Bissell Power Steamer model may have slightly different belt installation procedures. Consult the user manual or manufacturer’s instructions specific to your model for any additional guidance or troubleshooting tips. Once the new belt is installed, it’s time to reassemble the Bissell Power Steamer in the next step.
Step 4: Reassemble the Bissell Power Steamer
Now that the new belt is securely installed, it’s time to reassemble the components of your Bissell Power Steamer. Follow these steps:
- Reattach the brush roll: Begin by reattaching the brush roll to its original position. If you had to remove any clips, screws, or levers, make sure to fasten them securely to hold the brush roll in place.
- Replace the brush cover or nozzle cover: Depending on your model, you may need to replace the brush cover or nozzle cover that you previously removed. Align the cover properly and securely fasten it using any clips or screws.
- Reinstall the water tank: Take the water tank that you set aside earlier and place it back onto the Bissell Power Steamer. Ensure that it is properly seated and secured in its position.
As you reassemble the Bissell Power Steamer, pay attention to the alignment and proper placement of each component. Ensuring that everything fits together correctly will guarantee the smooth operation and efficacy of your appliance.
Take a moment to visually inspect the reassembled power steamer to ensure that all parts are securely attached and in their proper positions. Double-check that all screws, clips, and levers are tightened and fastened appropriately.
Now that the Bissell Power Steamer is reassembled, it’s time to move on to the final step: testing the belt replacement.
Step 5: Test the Belt Replacement
After completing the belt replacement and reassembling the Bissell Power Steamer, it’s essential to test the functionality of the new belt. Follow these steps to ensure everything is working correctly:
- Plug in the power steamer: Insert the power steamer’s plug into a nearby electrical outlet. Make sure the power switch is in the “On” position.
- Turn on the power steamer: Flip the power switch to the “On” position and listen for the sound of the motor. Check if the brush roll starts spinning when the power steamer is activated. If the brush roll rotates smoothly, this indicates a successful belt replacement.
- Test the suction power: While the power steamer is running, check the suction power by placing your hand over the nozzle opening or using it on a small debris or dust. Ensure that the suction is strong and the debris is effectively picked up.
If the brush roll is spinning correctly and the suction power is strong, congratulations! You have successfully replaced the belt on your Bissell Power Steamer. Your appliance is now ready to tackle your cleaning tasks with renewed performance.
However, if you notice any issues such as the brush roll not spinning or weak suction power, double-check the belt’s placement and tension. Ensure that it is securely attached to both the brush roll and the motor shaft. Make any necessary adjustments and retest the power steamer.
If you encounter persistent issues or are unsure about the belt replacement process, it’s recommended to consult the user manual or contact the Bissell customer support for further assistance.
With the test successfully completed, you can now enjoy the improved performance of your Bissell Power Steamer with the new belt. Regularly inspect and maintain the belt to ensure it remains in good condition for optimal performance in the long run.
Conclusion
Congratulations on successfully replacing the belt on your Bissell Power Steamer! By following the step-by-step instructions provided in this guide, you’ve taken a crucial step in ensuring the optimal functioning of your appliance. A properly functioning belt is essential for the brush roll to spin effectively and maintain strong suction power, resulting in efficient cleaning performance.
Throughout the process, we emphasized the importance of safety and provided guidelines to protect yourself from any potential hazards. Always remember to turn off and unplug the power steamer before performing any maintenance or repair work. Additionally, make sure to follow any safety instructions provided by the manufacturer.
By gathering the necessary tools and materials, preparing the power steamer, removing the old belt, installing the new belt, and reassembling the components, you’ve successfully completed the belt replacement process. The final step of testing the belt ensured that everything was working correctly, allowing you to enjoy the improved performance of your Bissell Power Steamer.
Remember, each Bissell Power Steamer model may have minor variations in the belt replacement process. It’s always essential to consult the user manual or manufacturer’s instructions specific to your model for any additional guidance or troubleshooting tips.
Maintaining the belt’s condition is essential for long-term performance. Regularly inspect the belt for signs of wear, stretching, or damage. If necessary, replace the belt promptly to ensure the continued efficiency of your appliance.
We hope that this comprehensive guide has been helpful in guiding you through the process of replacing the belt on your Bissell Power Steamer. Now, armed with this newfound knowledge, you can confidently keep your power steamer in excellent working condition for years to come.
Happy cleaning!
Frequently Asked Questions about How To Replace Belt On Bissell Power Steamer
Was this page helpful?
At Storables.com, we guarantee accurate and reliable information. Our content, validated by Expert Board Contributors, is crafted following stringent Editorial Policies. We're committed to providing you with well-researched, expert-backed insights for all your informational needs.

0 thoughts on “How To Replace Belt On Bissell Power Steamer”