Home>Furniture>Kitchen Furniture>How To Replace A GE Dryer Belt
Kitchen Furniture
How To Replace A GE Dryer Belt
Modified: August 31, 2024
Learn how to easily replace the dryer belt on your Ge dryer with our step-by-step articles. Get your dryer running smoothly again in no time!
(Many of the links in this article redirect to a specific reviewed product. Your purchase of these products through affiliate links helps to generate commission for Storables.com, at no extra cost. Learn more)
Introduction
Replacing a dryer belt is a common maintenance task for homeowners. Over time, the belt can become worn or stretched, causing the dryer drum to stop spinning properly. Fortunately, replacing a dryer belt is a relatively simple DIY project that can be completed with just a few basic tools and a little bit of patience.
In this article, we will guide you through the steps to replace a GE dryer belt. Whether your dryer is squeaking, not tumbling, or simply in need of a belt replacement, this guide will help you get your dryer back in working order.
Before we begin, it’s important to note that safety should always be your top priority. Make sure to follow proper safety precautions throughout the entire process. If you are unsure about any step or encounter any difficulties, it is recommended to consult a professional.
Now, let’s dive into the details and learn how to replace a GE dryer belt.
Key Takeaways:
- Safety First
Prioritize safety by unplugging the dryer, wearing protective gear, and following proper procedures. Regular maintenance and testing ensure optimal functionality and prevent accidents. - DIY Success
With basic tools and patience, replacing a GE dryer belt is achievable. Save money on professional repairs and enjoy a fully functional dryer by following the step-by-step guide.
Read more: How To Replace A Whirlpool Dryer Belt
Safety Precautions
Before you start replacing the dryer belt, it is crucial to take the necessary safety precautions to protect yourself and prevent any accidents. Here are some important safety measures to keep in mind:
- Ensure that the dryer is completely turned off and unplugged from the power source. This will eliminate the risk of electrical shock during the repair process.
- Allow the dryer to cool down if it has been recently used. Some components can become hot and cause burns if handled immediately.
- Wear protective gloves to safeguard your hands from sharp edges or surfaces that may cause injury during the belt replacement process.
- Clear the area around the dryer, removing any objects or obstacles that could hinder your movement or cause accidents.
- Read and understand the user manual for your specific GE dryer model. It contains important safety and operational instructions that you should follow.
- If you are not comfortable or confident in performing the belt replacement yourself, it is always recommended to seek assistance from a professional appliance repair technician.
- Keep children and pets away from the work area to prevent them from accidentally touching the dryer or interfering with the repair process.
- Work in a well-ventilated area to prevent the accumulation of dust and lint, which can be flammable or cause respiratory issues.
By following these safety precautions, you can ensure a safe and successful dryer belt replacement process. Always prioritize your well-being and take the necessary steps to prevent any accidents or injuries.
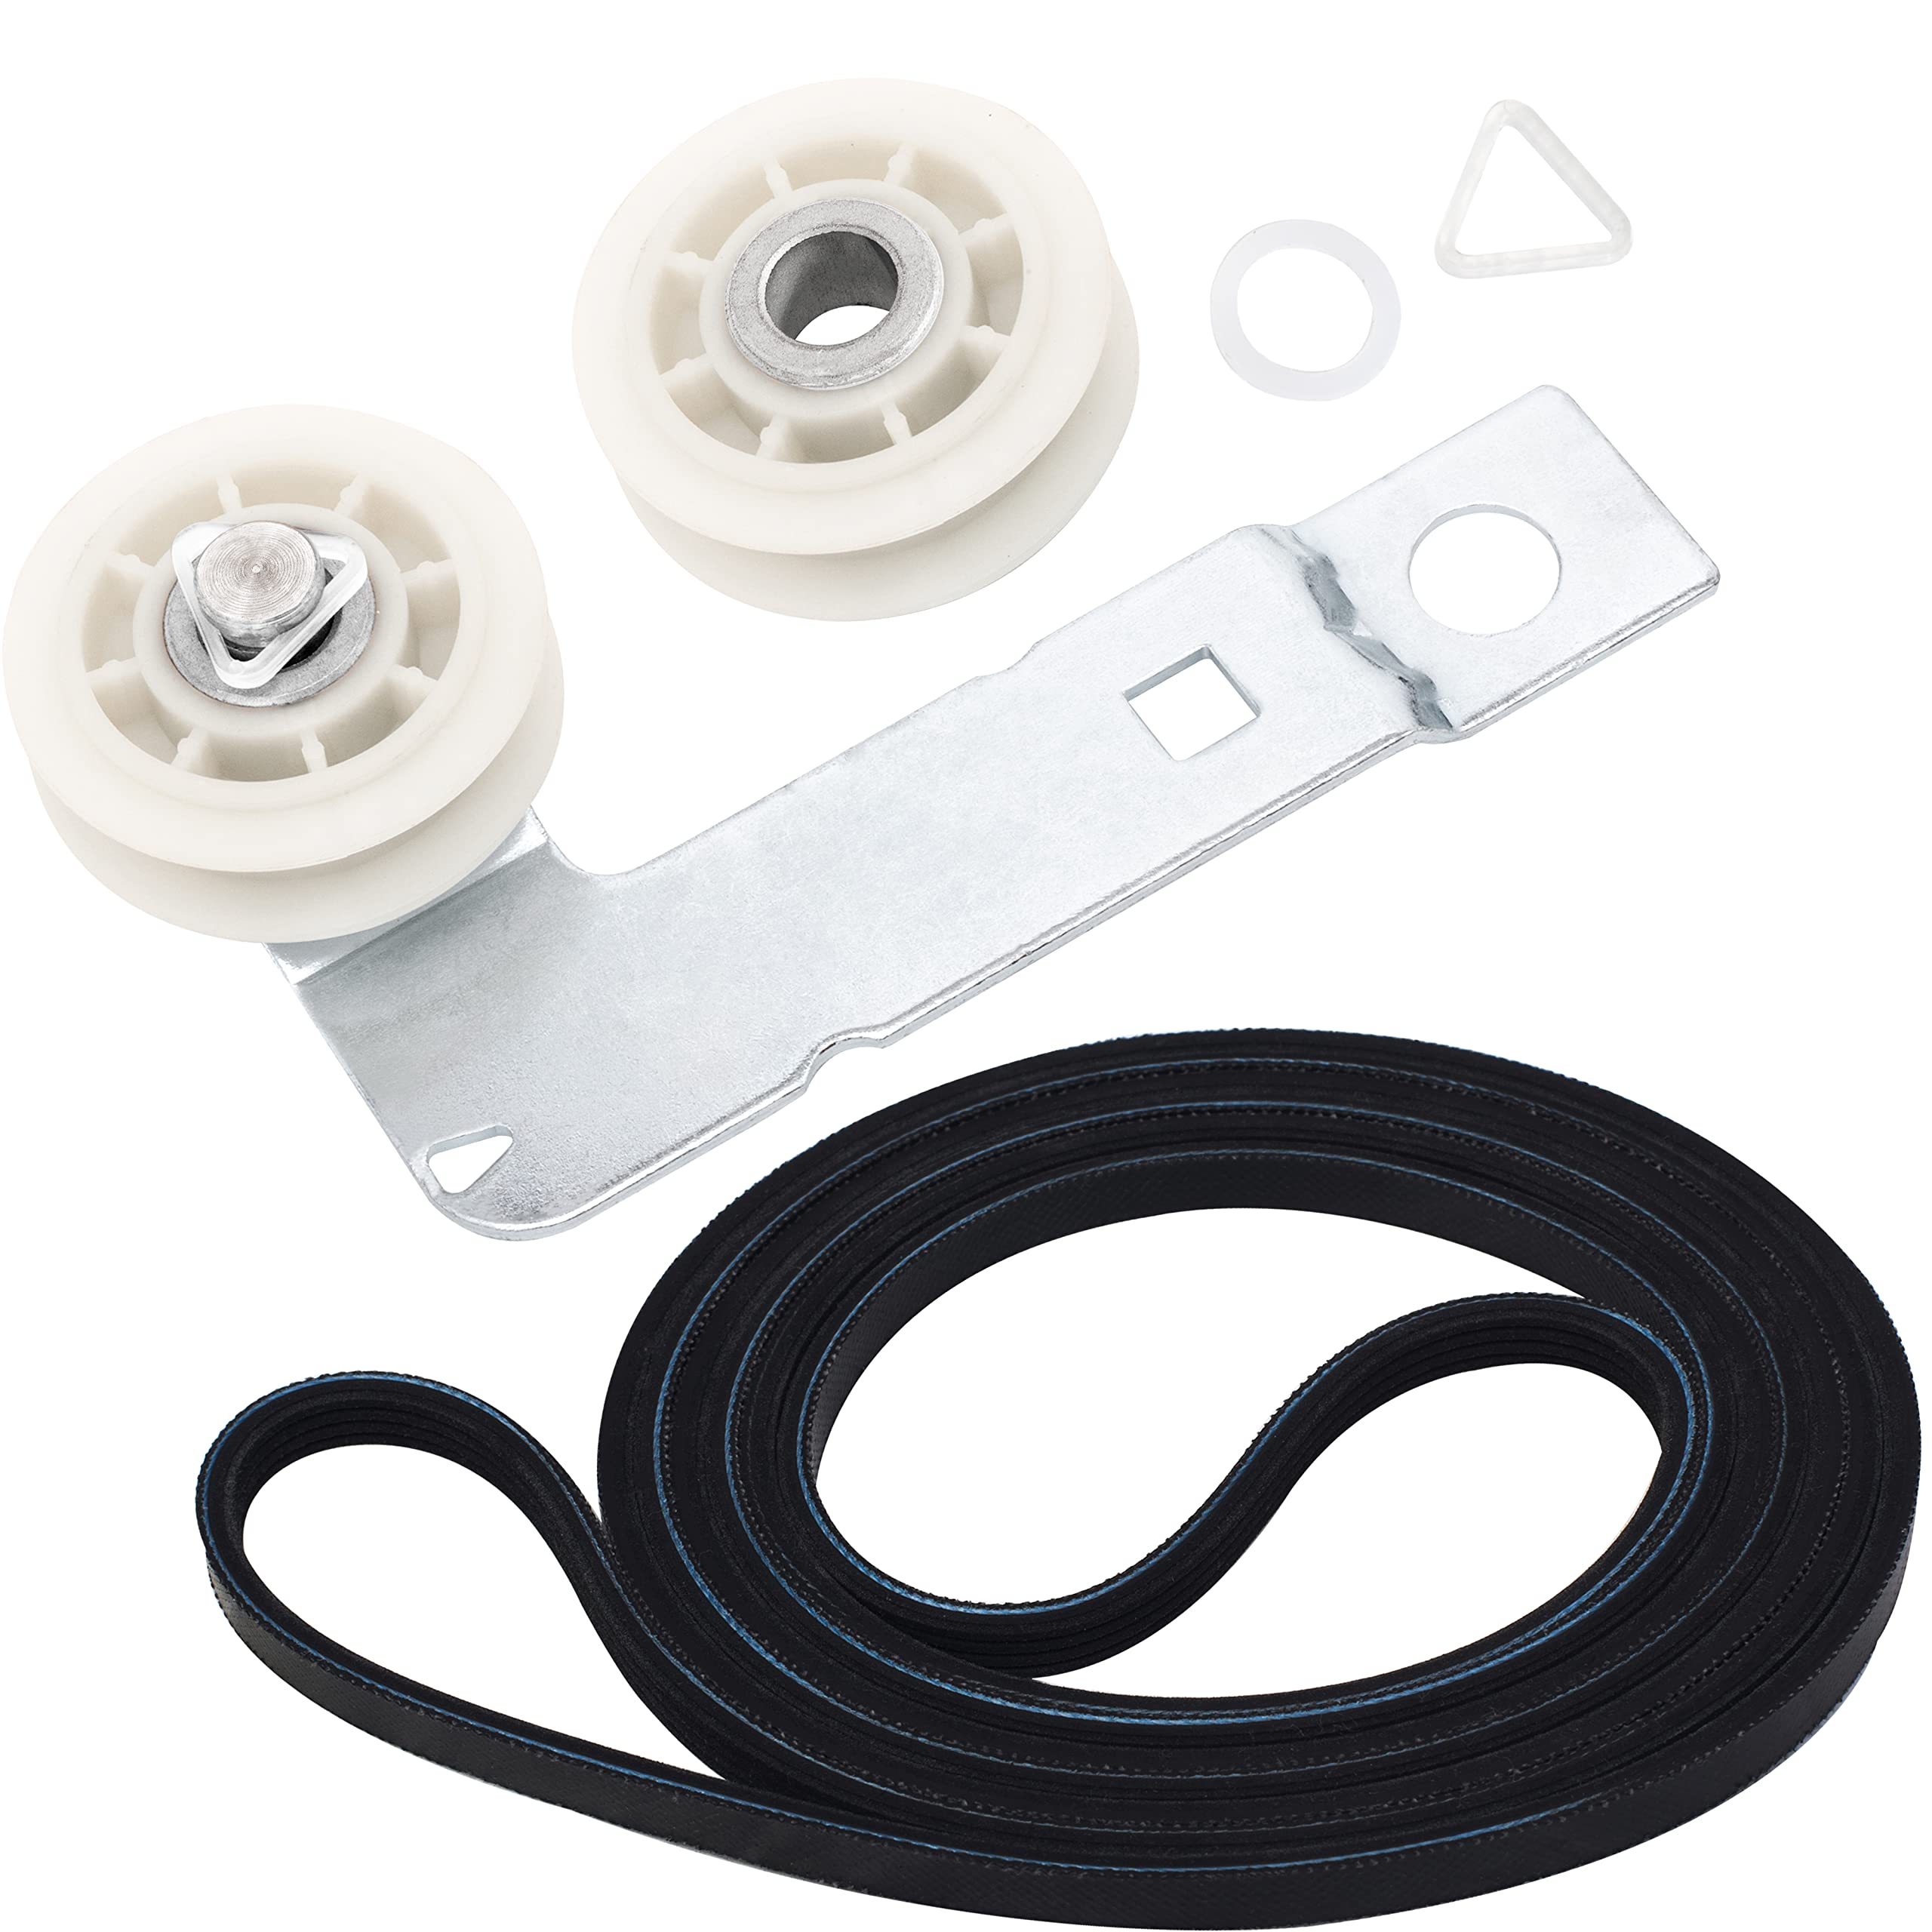
Tools and Materials Needed
Before you begin replacing the GE dryer belt, gather all the necessary tools and materials to ensure a smooth and efficient repair process. Here’s a list of what you’ll need:
Tools:
- Phillips screwdriver
- Flat-head screwdriver
- Putty knife or paint scraper
- Needle-nose pliers
- Adjustable wrench
- Socket set
- Torque wrench
- Wire cutters
- Multimeter (optional but helpful for troubleshooting)
Materials:
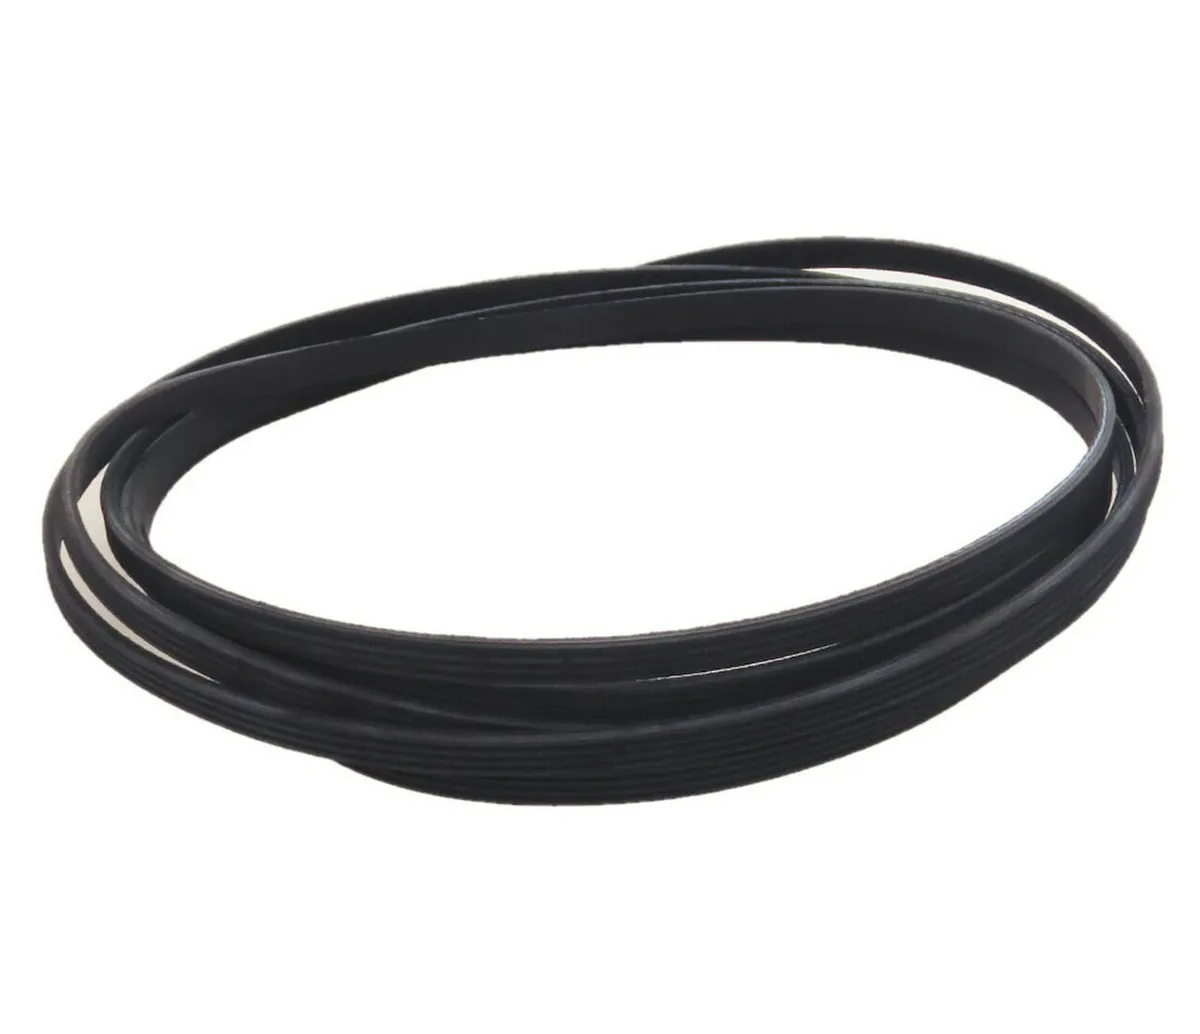
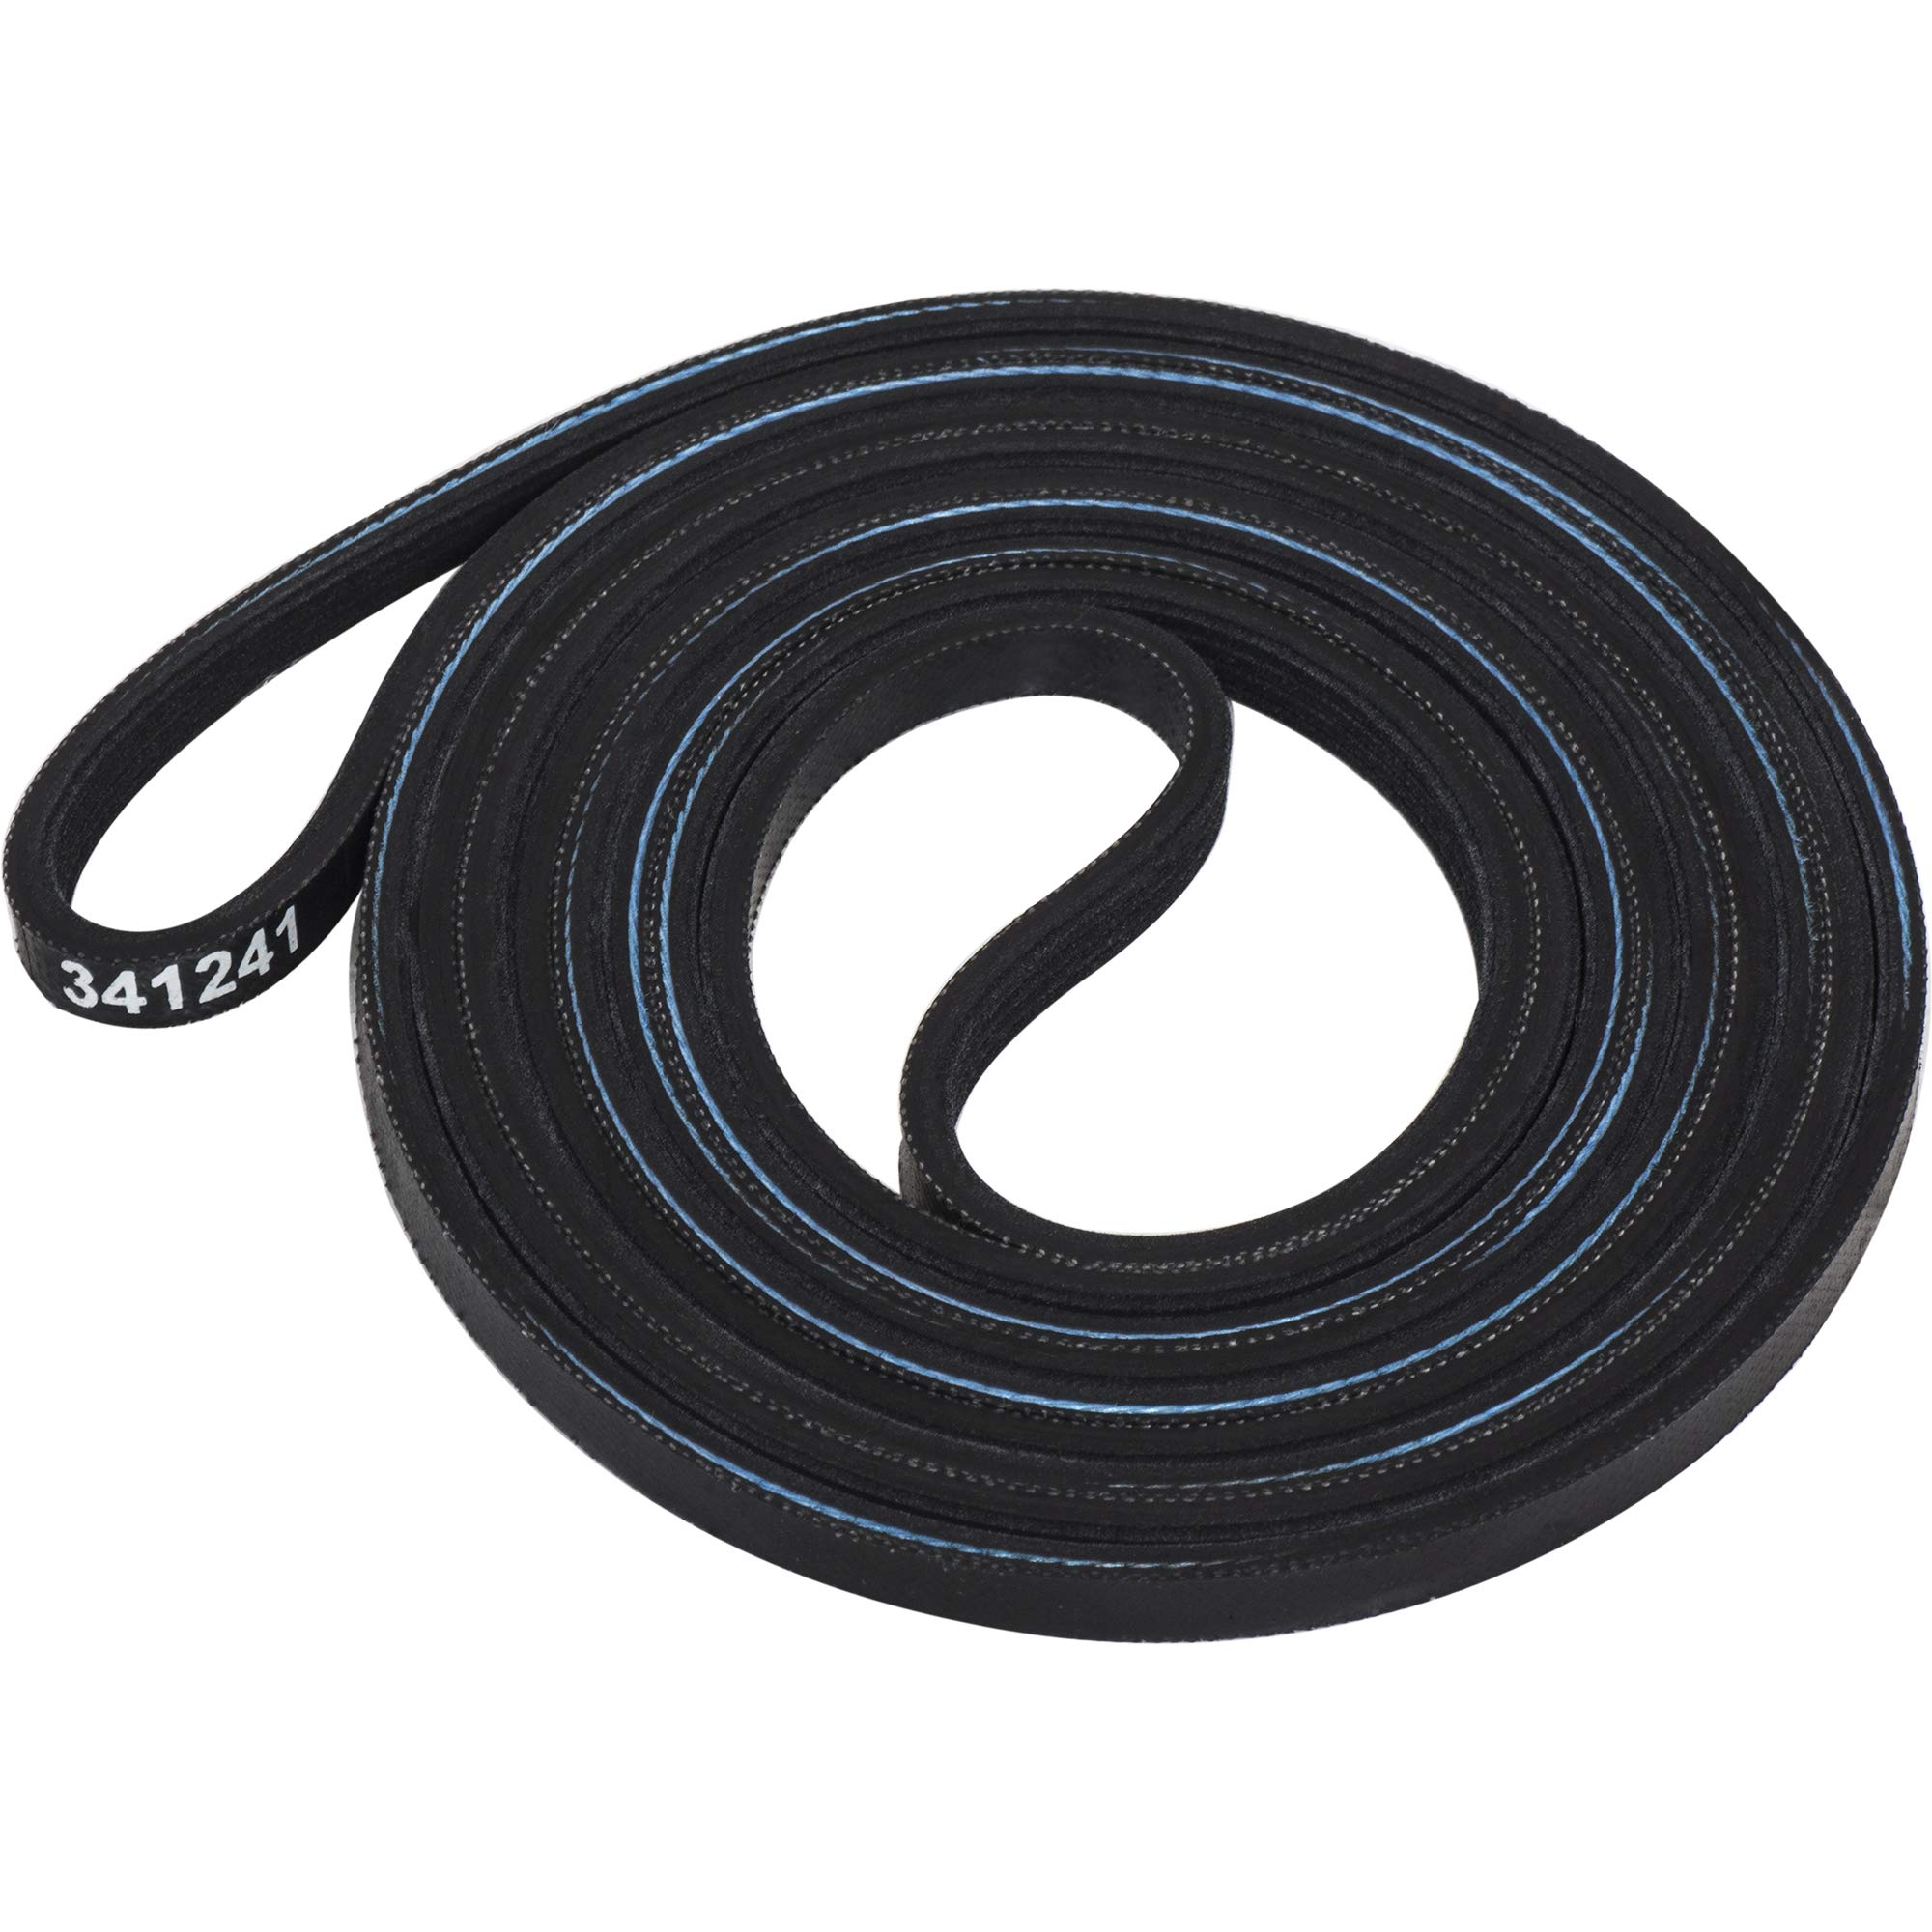
- Replacement dryer belt suitable for your specific GE dryer model. Make sure to check the model number and find the appropriate belt size and type.
- Owner’s manual or instructions for your GE dryer (if available)
- Lint brush or vacuum cleaner to clean the dryer interior
- Lint trap and vent cleaning brush or rod
- Protective gloves
- Safety goggles
- Clean cloth or towel
Having the right tools and materials on hand will make the belt replacement process much easier and more efficient. Make sure to have everything ready before you start the repair to avoid any unnecessary delays.
Read more: How To Replace Belt On Samsung Dryer
Step 1: Unplug the Dryer
The first step in replacing the GE dryer belt is to ensure that the appliance is disconnected from the power source. This is crucial for your safety and to avoid any electrical hazards during the repair process.
To unplug the dryer, locate the power cord at the back of the appliance. Gently pull the plug out of the electrical outlet. Double-check that the dryer is completely disconnected by trying to turn it on. If it doesn’t power up, you can be certain that it is unplugged.
Once the dryer is unplugged, it’s recommended to wait for a few minutes to allow any residual electricity to dissipate. This precautionary measure will reduce the risk of accidental electric shocks as you work on the dryer.
Remember, safety should always be your top priority when working with any electrical appliance. Never skip the step of unplugging the dryer or underestimate the importance of taking necessary precautions to prevent accidents.
With the dryer safely unplugged, you can now move on to the next step in the belt replacement process.
Step 2: Access the Dryer Belt
Once the dryer is safely unplugged, the next step is to gain access to the dryer belt. This entails removing the dryer’s front panel or top panel, depending on the model of your GE dryer.
Here are the general instructions for accessing the dryer belt:
Option 1: Removing the Front Panel
- Locate the screws that secure the front panel to the sides of the dryer cabinet. These are typically located near the top corners of the panel.
- Using a Phillips screwdriver or a suitable screwdriver, remove the screws from both sides of the front panel.
- Gently pull the top of the front panel towards you, then lift it up and away from the dryer cabinet. Set the front panel aside in a safe place.
Option 2: Removing the Top Panel
- Locate the screws that secure the top panel to the rear of the dryer cabinet. These screws are usually found on the back of the top panel.
- Using a Phillips screwdriver or a suitable screwdriver, remove the screws from the back of the top panel.
- Slide the top panel rearward and lift it up to release it from the front catches.
- Prop the top panel up or completely remove it, depending on the model of your GE dryer. Refer to the owner’s manual for specific instructions.
With the front panel or top panel removed, you will now have clear access to the dryer belt and other components inside the dryer. Take a moment to familiarize yourself with the layout and position of the old dryer belt before proceeding to the next step.
Now that you have gained access to the dryer belt, you are ready to remove the old belt and install the new one. We’ll cover these steps in the following sections.
Read more: How Much Is A Belt For A Dryer
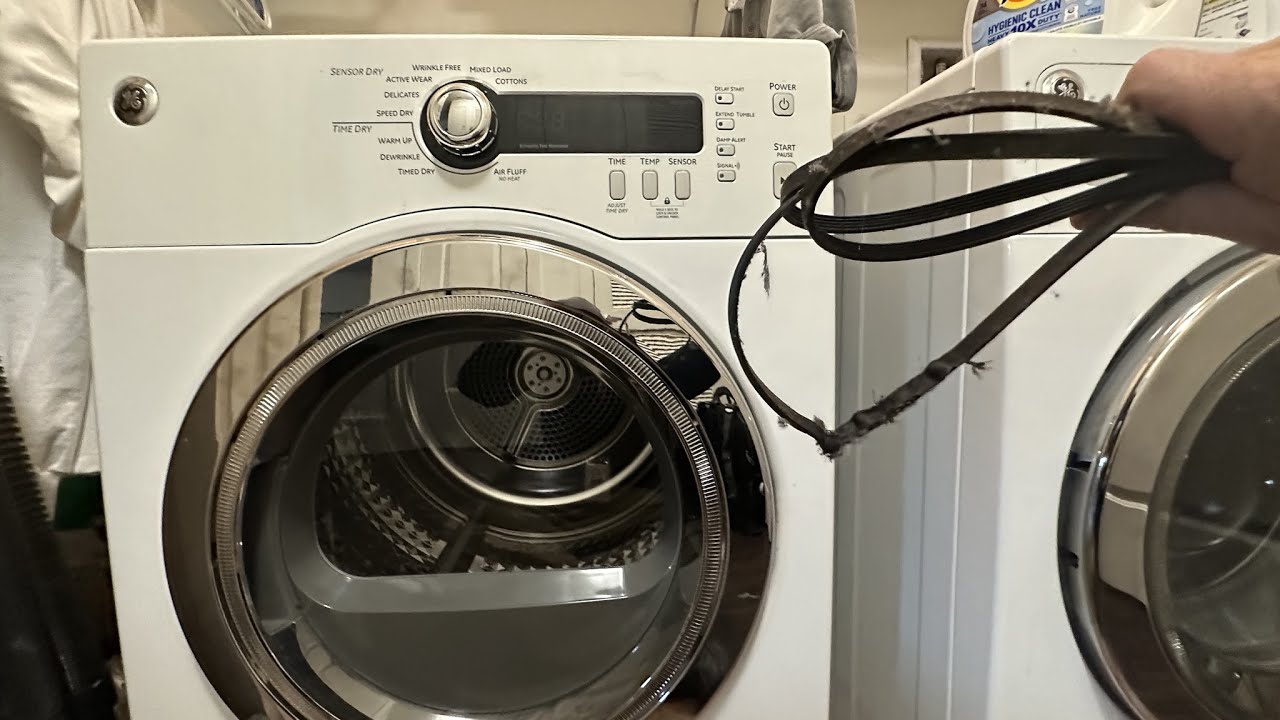
Step 3: Remove the Old Belt
With access to the dryer belt, it’s time to remove the old belt. The old belt may be worn, stretched, or damaged, which is causing issues with your dryer’s performance. Follow these steps to remove the old belt:
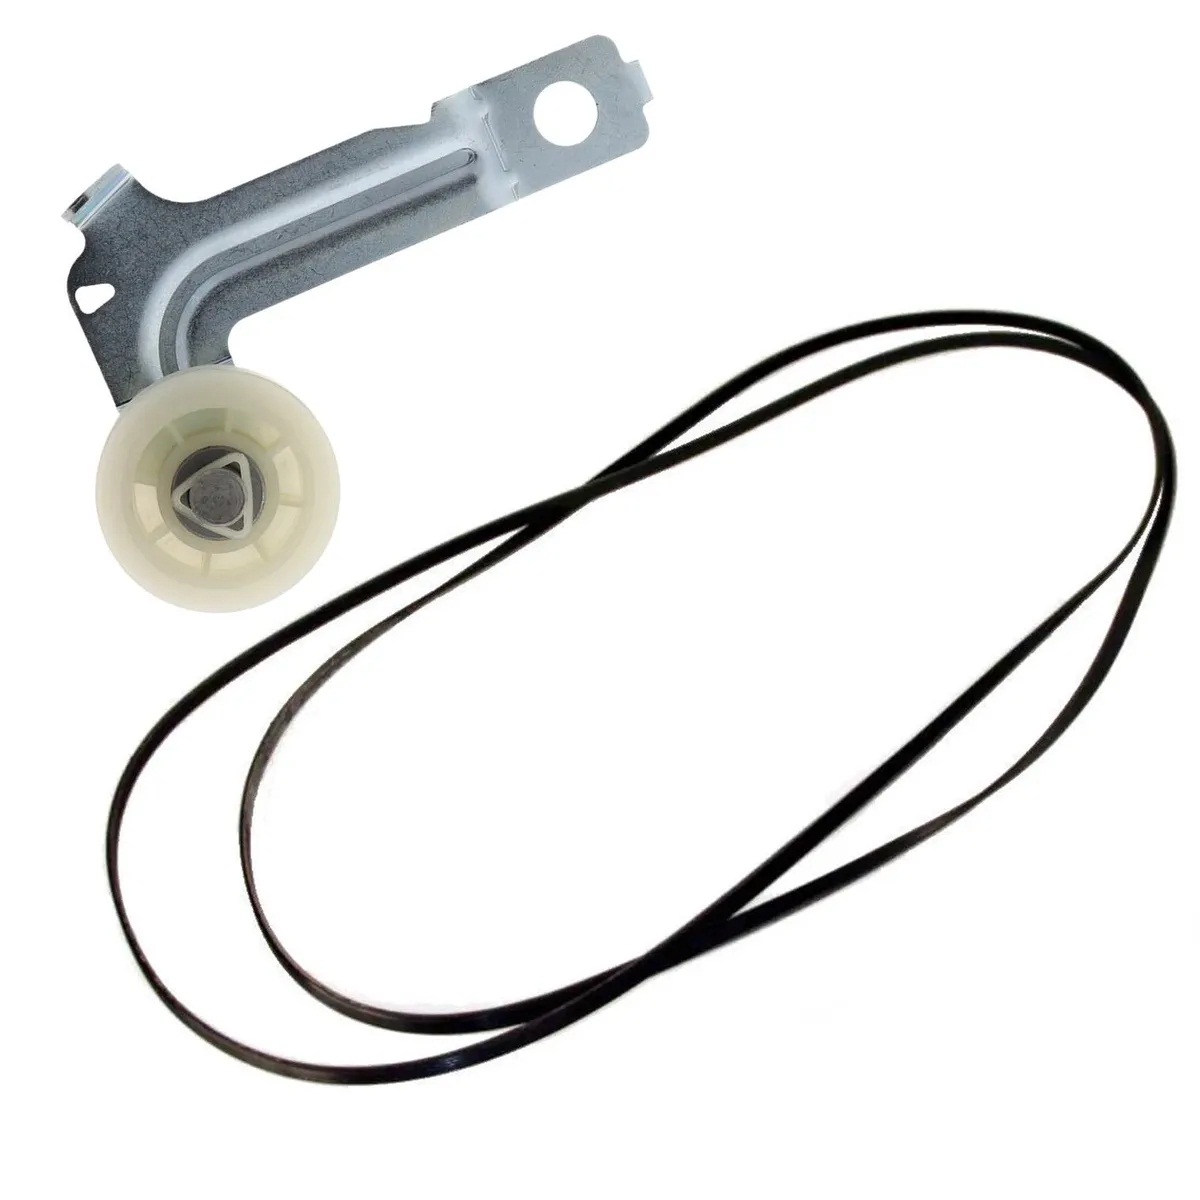
- Locate the tensioner pulley and release the tension on the belt. The tensioner pulley is typically located near the motor or idler pulley. Use a screwdriver or wrench to move the tensioner and relieve the tension on the belt. This will loosen the belt and allow for easy removal.
- Slide the old belt off the drum and motor pulley. Gently pull the belt off the drum, ensuring it is completely free from all rotating components.
- If needed, take note of the belt’s routing and placement before removing it. This will help you install the new belt correctly.
- Inspect the old belt for any signs of damage, such as cracks, fraying, or excessive wear. If the belt is in poor condition, it is essential to replace it with a new one to prevent further issues.
- For future reference, it’s a good idea to measure the length of the old belt. This will help ensure that the new replacement belt is the correct size.
Once the old belt has been removed, set it aside and prepare for the next step of installing the new dryer belt. Properly disposing of the old belt is recommended.
Removing the old belt is an important step in the process, as it allows you to replace it with a new one that will restore optimal functionality to your GE dryer. Take your time to ensure the old belt is fully detached before moving on to the next step.
Step 4: Install the New Belt
Now that you have removed the old belt, it’s time to install the new one. Follow these steps to properly install the new dryer belt:
- Take the new dryer belt and place it around the drum of the dryer. Ensure that the ribbed side of the belt is facing the drum, with the smooth side facing out.
- Rotate the drum slowly and carefully, threading the belt around the drum until it is securely in place.
- Next, locate the motor pulley or idler pulley and route the belt around it. Refer to your specific GE dryer model’s diagram or instruction manual for the exact routing path.
- Apply tension to the belt by moving the tensioner pulley back into place. This will tighten the belt and ensure proper operation. Use a screwdriver or wrench to move the tensioner back into its original position.
- Double-check the placement of the belt to ensure it is positioned correctly on the drum, motor pulley, and tensioner pulley. The belt should be snug and firm, without any slack or twisting.
- Manually rotate the drum a few times to confirm that the belt is properly aligned and functioning smoothly.
It’s important to note that proper alignment and tension are crucial for the function and longevity of the newly installed belt. Take your time to ensure that the belt is correctly positioned and not twisted or loose.
Congratulations! You have successfully installed the new dryer belt. In the next step, we will reassemble the dryer to complete the process.
When replacing a GE dryer belt, make sure to unplug the dryer and remove the front panel to access the drum. Then, loop the new belt around the drum and motor pulley, ensuring it is properly aligned before reassembling the dryer.
Step 5: Reassemble the Dryer
After installing the new dryer belt, the next step is to reassemble the dryer. Proper reassembly is essential to ensure that all components are securely in place and that the dryer functions correctly. Follow these steps to reassemble your GE dryer:
- If you removed the front panel, line up the bottom edge of the panel with the corresponding slots or clips on the dryer cabinet. Gently push the panel inwards until it snaps into place. Make sure it is aligned properly and securely attached.
- If you removed the top panel, carefully lower it back into position. Slide it forward to engage the front catches and ensure it is securely in place.
- If there were any screws that were removed during the disassembly process, use a screwdriver to reinsert and tighten them. Make sure all screws are snug but not overtightened.
- If your dryer has a lint trap, ensure it is clean and properly inserted back into place. This will help maintain proper airflow and prevent lint buildup.
- Double-check that all connections and components are in their proper positions and securely attached.
Once everything is reassembled, visually inspect the dryer to ensure that all parts are correctly aligned and there are no loose or protruding components.
Reassembling the dryer is an important step to complete the repair process. Taking care with the reassembly will ensure that the dryer is functioning properly and safely.
With the dryer reassembled, we are ready to move on to the final step: testing the dryer to ensure it is working as expected.
Step 6: Test the Dryer
Now that you have completed the belt replacement and reassembly, it’s time to test your GE dryer to ensure it is functioning properly. Follow these steps to test the dryer:
- Plug the dryer back into the electrical outlet.
- Double-check that the dryer controls are set properly, including the timer, temperature settings, and any other relevant settings.
- Close the dryer door and ensure it is securely latched.
- Turn on the dryer and listen for any unusual noises or vibrations. The drum should start rotating smoothly without any issues.
- Allow the dryer to run for a few minutes to ensure that the drum is turning consistently and that the belt is functioning properly.
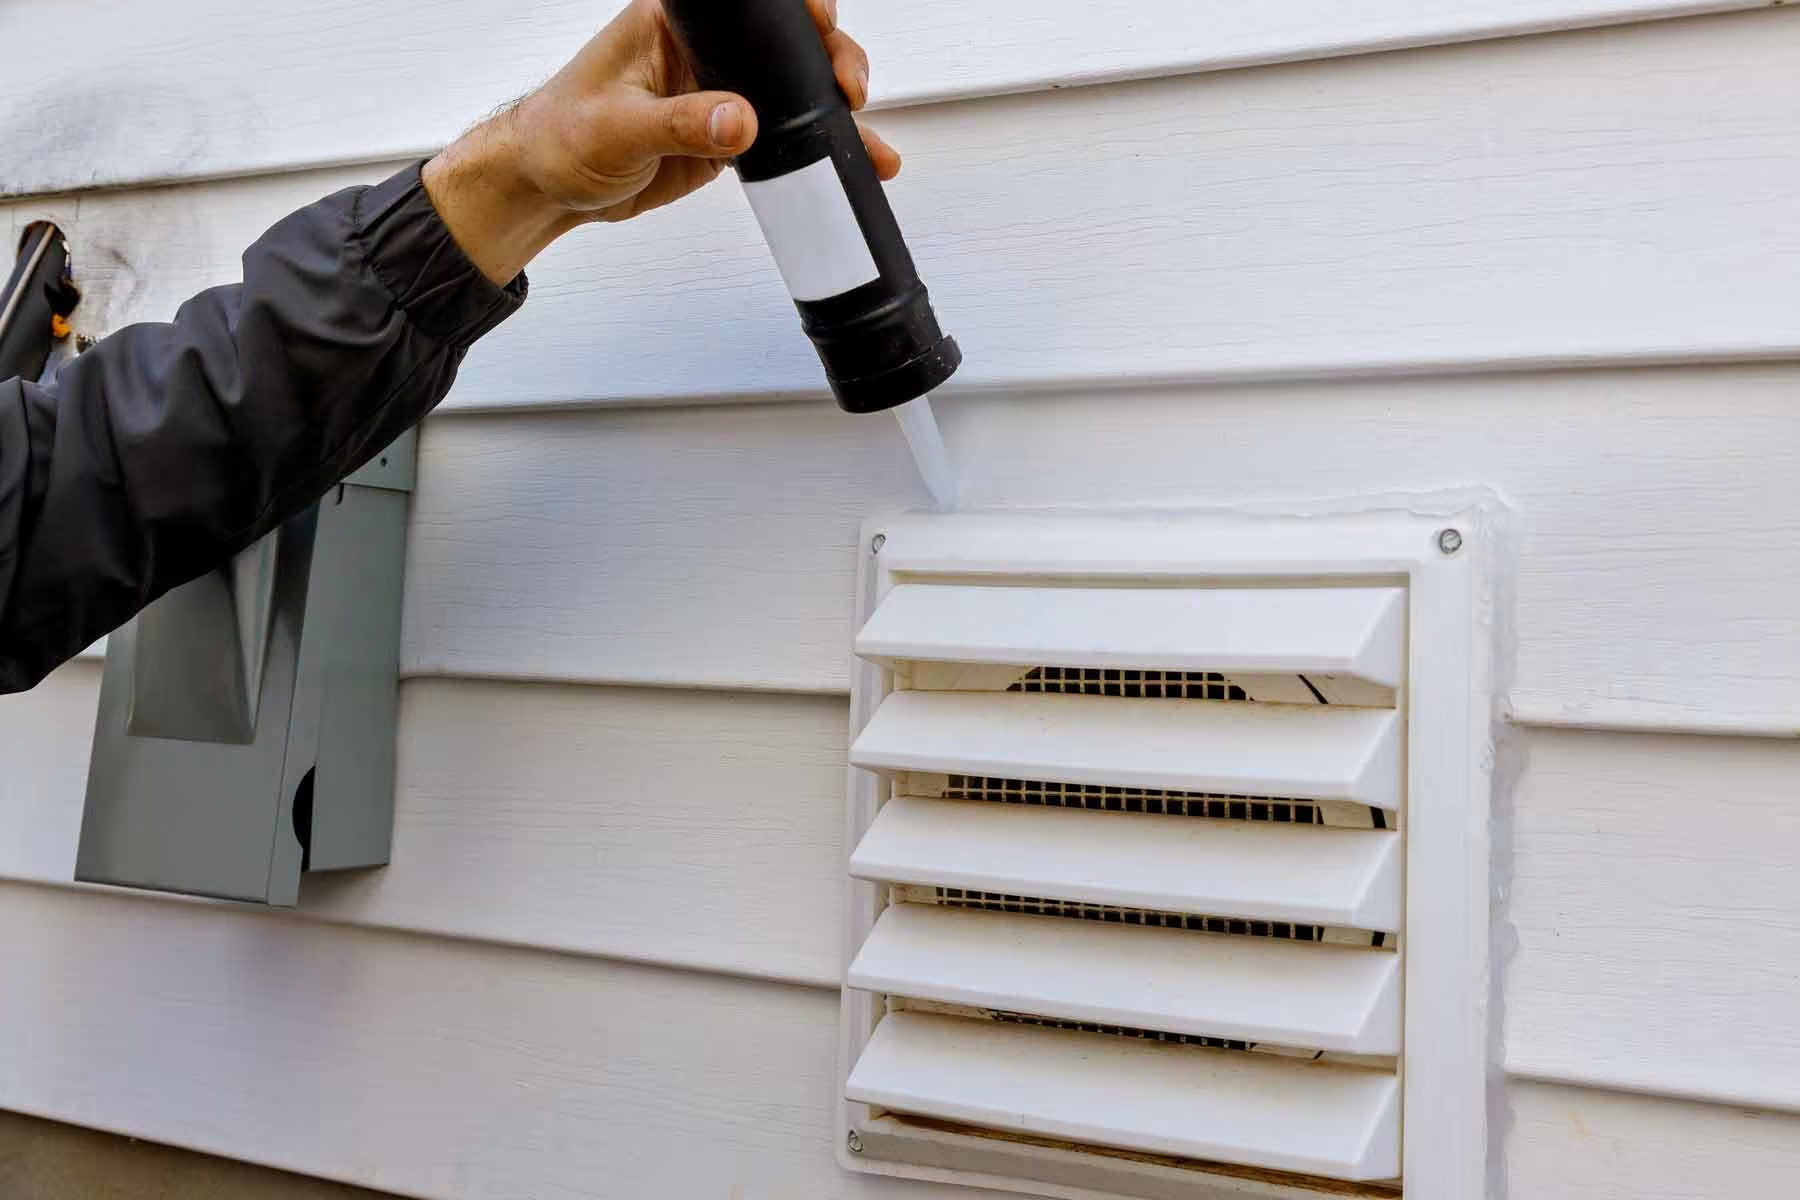
- Check for proper airflow by feeling for warm air coming from the vent while the dryer is running. If the airflow seems weak or nonexistent, it may indicate a clogged vent that needs to be cleaned.
- Observe the drying results. If the clothes are drying properly and evenly, it indicates that the dryer is functioning correctly.
- If you notice any issues during testing, such as unusual noises, poor drying performance, or a malfunctioning drum, it may be necessary to troubleshoot further or consult a professional for assistance.
Testing the dryer ensures that the new belt is working as intended and that the dryer is operating correctly. If everything is functioning properly, congratulations! You have successfully replaced the dryer belt and can now enjoy using your GE dryer once again.
Remember to keep an eye on the dryer’s performance over time. Regular maintenance, such as cleaning the lint trap and vent, will help prolong the life of the dryer belt and prevent further issues.
With the dryer tested and in working order, you have now completed the entire dryer belt replacement process.
Read more: How To Change A Dryer Belt
Conclusion
Replacing a GE dryer belt is a relatively straightforward process that can be accomplished with just a few basic tools and some patience. By following the steps outlined in this guide, you can save money on professional repairs and restore your dryer to optimal functionality.
During the replacement process, it’s important to prioritize safety by taking precautions such as unplugging the dryer, wearing protective gloves, and following proper procedures. Safety should always be your top priority to prevent accidents and injuries.
By accessing the dryer belt, removing the old belt, installing the new one, and reassembling the dryer, you can ensure that your GE dryer operates smoothly and efficiently. Testing the dryer after the belt replacement is crucial to verify that it is working properly and to address any potential issues.
Regular maintenance of your dryer, including cleaning the lint trap and vent, can help prolong the life of the dryer belt and prevent future problems. Additionally, familiarizing yourself with your specific GE dryer model’s manual or instructions can provide valuable insights and guidelines for maintenance and troubleshooting.
If you encounter any difficulties or are unsure about any aspect of the dryer belt replacement process, it is always recommended to consult a professional for assistance. They have the knowledge and experience to handle the repair correctly and ensure the safety of both you and your appliance.
Now that you have completed the dryer belt replacement, you can enjoy the benefits of a fully functional GE dryer that efficiently dries your clothes. With regular maintenance and periodic inspections, your dryer will continue to provide reliable service for years to come.
Frequently Asked Questions about How To Replace A GE Dryer Belt
Was this page helpful?
At Storables.com, we guarantee accurate and reliable information. Our content, validated by Expert Board Contributors, is crafted following stringent Editorial Policies. We're committed to providing you with well-researched, expert-backed insights for all your informational needs.


0 thoughts on “How To Replace A GE Dryer Belt”