Articles
How To Replace A Whirlpool Dryer Belt
Modified: August 28, 2024
Learn how to replace a Whirlpool dryer belt with step-by-step instructions in this informative article. Find expert tips and tricks for a smooth belt replacement process.
(Many of the links in this article redirect to a specific reviewed product. Your purchase of these products through affiliate links helps to generate commission for Storables.com, at no extra cost. Learn more)
Introduction
Replacing a dryer belt is a common maintenance task for Whirlpool dryers. Over time, the belt can wear out, become stretched, or even break, causing the drum to stop spinning. If your Whirlpool dryer is no longer drying your clothes, it may be time to replace the belt.
In this article, we will guide you through the process of replacing the dryer belt on your Whirlpool dryer. By following these steps, you can save money on repair costs and have your dryer up and running in no time.
Before we start, it’s important to note that safety should always be your top priority when working with electrical appliances. Make sure to unplug the dryer before beginning any repairs and take precautions to avoid injury. If you are unsure about any step in the process, it’s best to consult a professional.
Here are some safety precautions to keep in mind:
- Always unplug the dryer before starting any repairs.
- Wear protective gloves to prevent injury.
- Disconnect the dryer from the power source to avoid electrical shocks.
- Ensure your work area is well-lit and free of any hazards.
Now that you’re aware of the safety precautions, let’s gather the necessary tools and materials for this repair.
Key Takeaways:
- Prioritize safety by unplugging the dryer, wearing protective gloves, and ensuring a well-lit work area. By following the step-by-step guide, you can confidently replace the dryer belt on your Whirlpool dryer and restore efficient drying performance.
- Save time and money by completing the repair yourself. By gathering the necessary tools and materials, accessing the dryer belt, and conducting a thorough test, you can successfully replace the dryer belt and gain valuable knowledge about your appliance.
Read more: How To Replace A GE Dryer Belt
Safety Precautions
When working with electrical appliances like dryers, it is crucial to prioritize safety to prevent accidents or injuries. Before you start replacing the dryer belt, be sure to follow these safety precautions:
- Unplug the dryer: Before you begin any repairs, always disconnect the dryer from the power source. This will minimize the risk of electrical shocks while you are working.
- Wear protective gloves: It’s important to protect your hands from sharp edges or potential hazards during the repair process. Wear a pair of sturdy gloves to prevent any injuries and ensure a safer working environment.
- Disconnect the dryer from the power source: In addition to unplugging the dryer, it’s also a good idea to turn off the circuit breakers or remove the fuses associated with the dryer. This extra precaution will provide an additional layer of safety.
- Prepare a well-lit work area: Choose a spacious and well-ventilated area to work on your dryer. Make sure the space is well-lit so that you can clearly see the components and avoid any accidental mishaps.
- Keep the area clear of any hazards: Remove any objects or obstacles that could potentially cause tripping hazards while you’re working on the dryer. Keeping your work area clear and organized will minimize the risk of accidents.
- Use appropriate tools: Make sure you have all the necessary tools and equipment before you begin the repair process. Using the correct tools will not only make the job easier but also ensure your safety.
- Consult a professional if unsure: If you have any doubts or concerns about the repair process or feel uncomfortable handling electrical components, it is best to seek the help of a professional. They have the expertise and experience to safely handle the repair task.
By following these safety precautions, you can protect yourself and minimize the risk of accidents or injuries. Now that you are aware of the safety measures, let’s move on to the tools and materials you will need for replacing the dryer belt.
Tools and Materials Needed
Before you begin replacing the dryer belt on your Whirlpool dryer, gather the following tools and materials to ensure a smooth repair process:
Tools:
- Flathead screwdriver
- Phillips screwdriver
- Nut driver or socket set
- Pliers
- Putty knife
- Wire cutters
- Needle-nose pliers
- Work gloves
Materials:
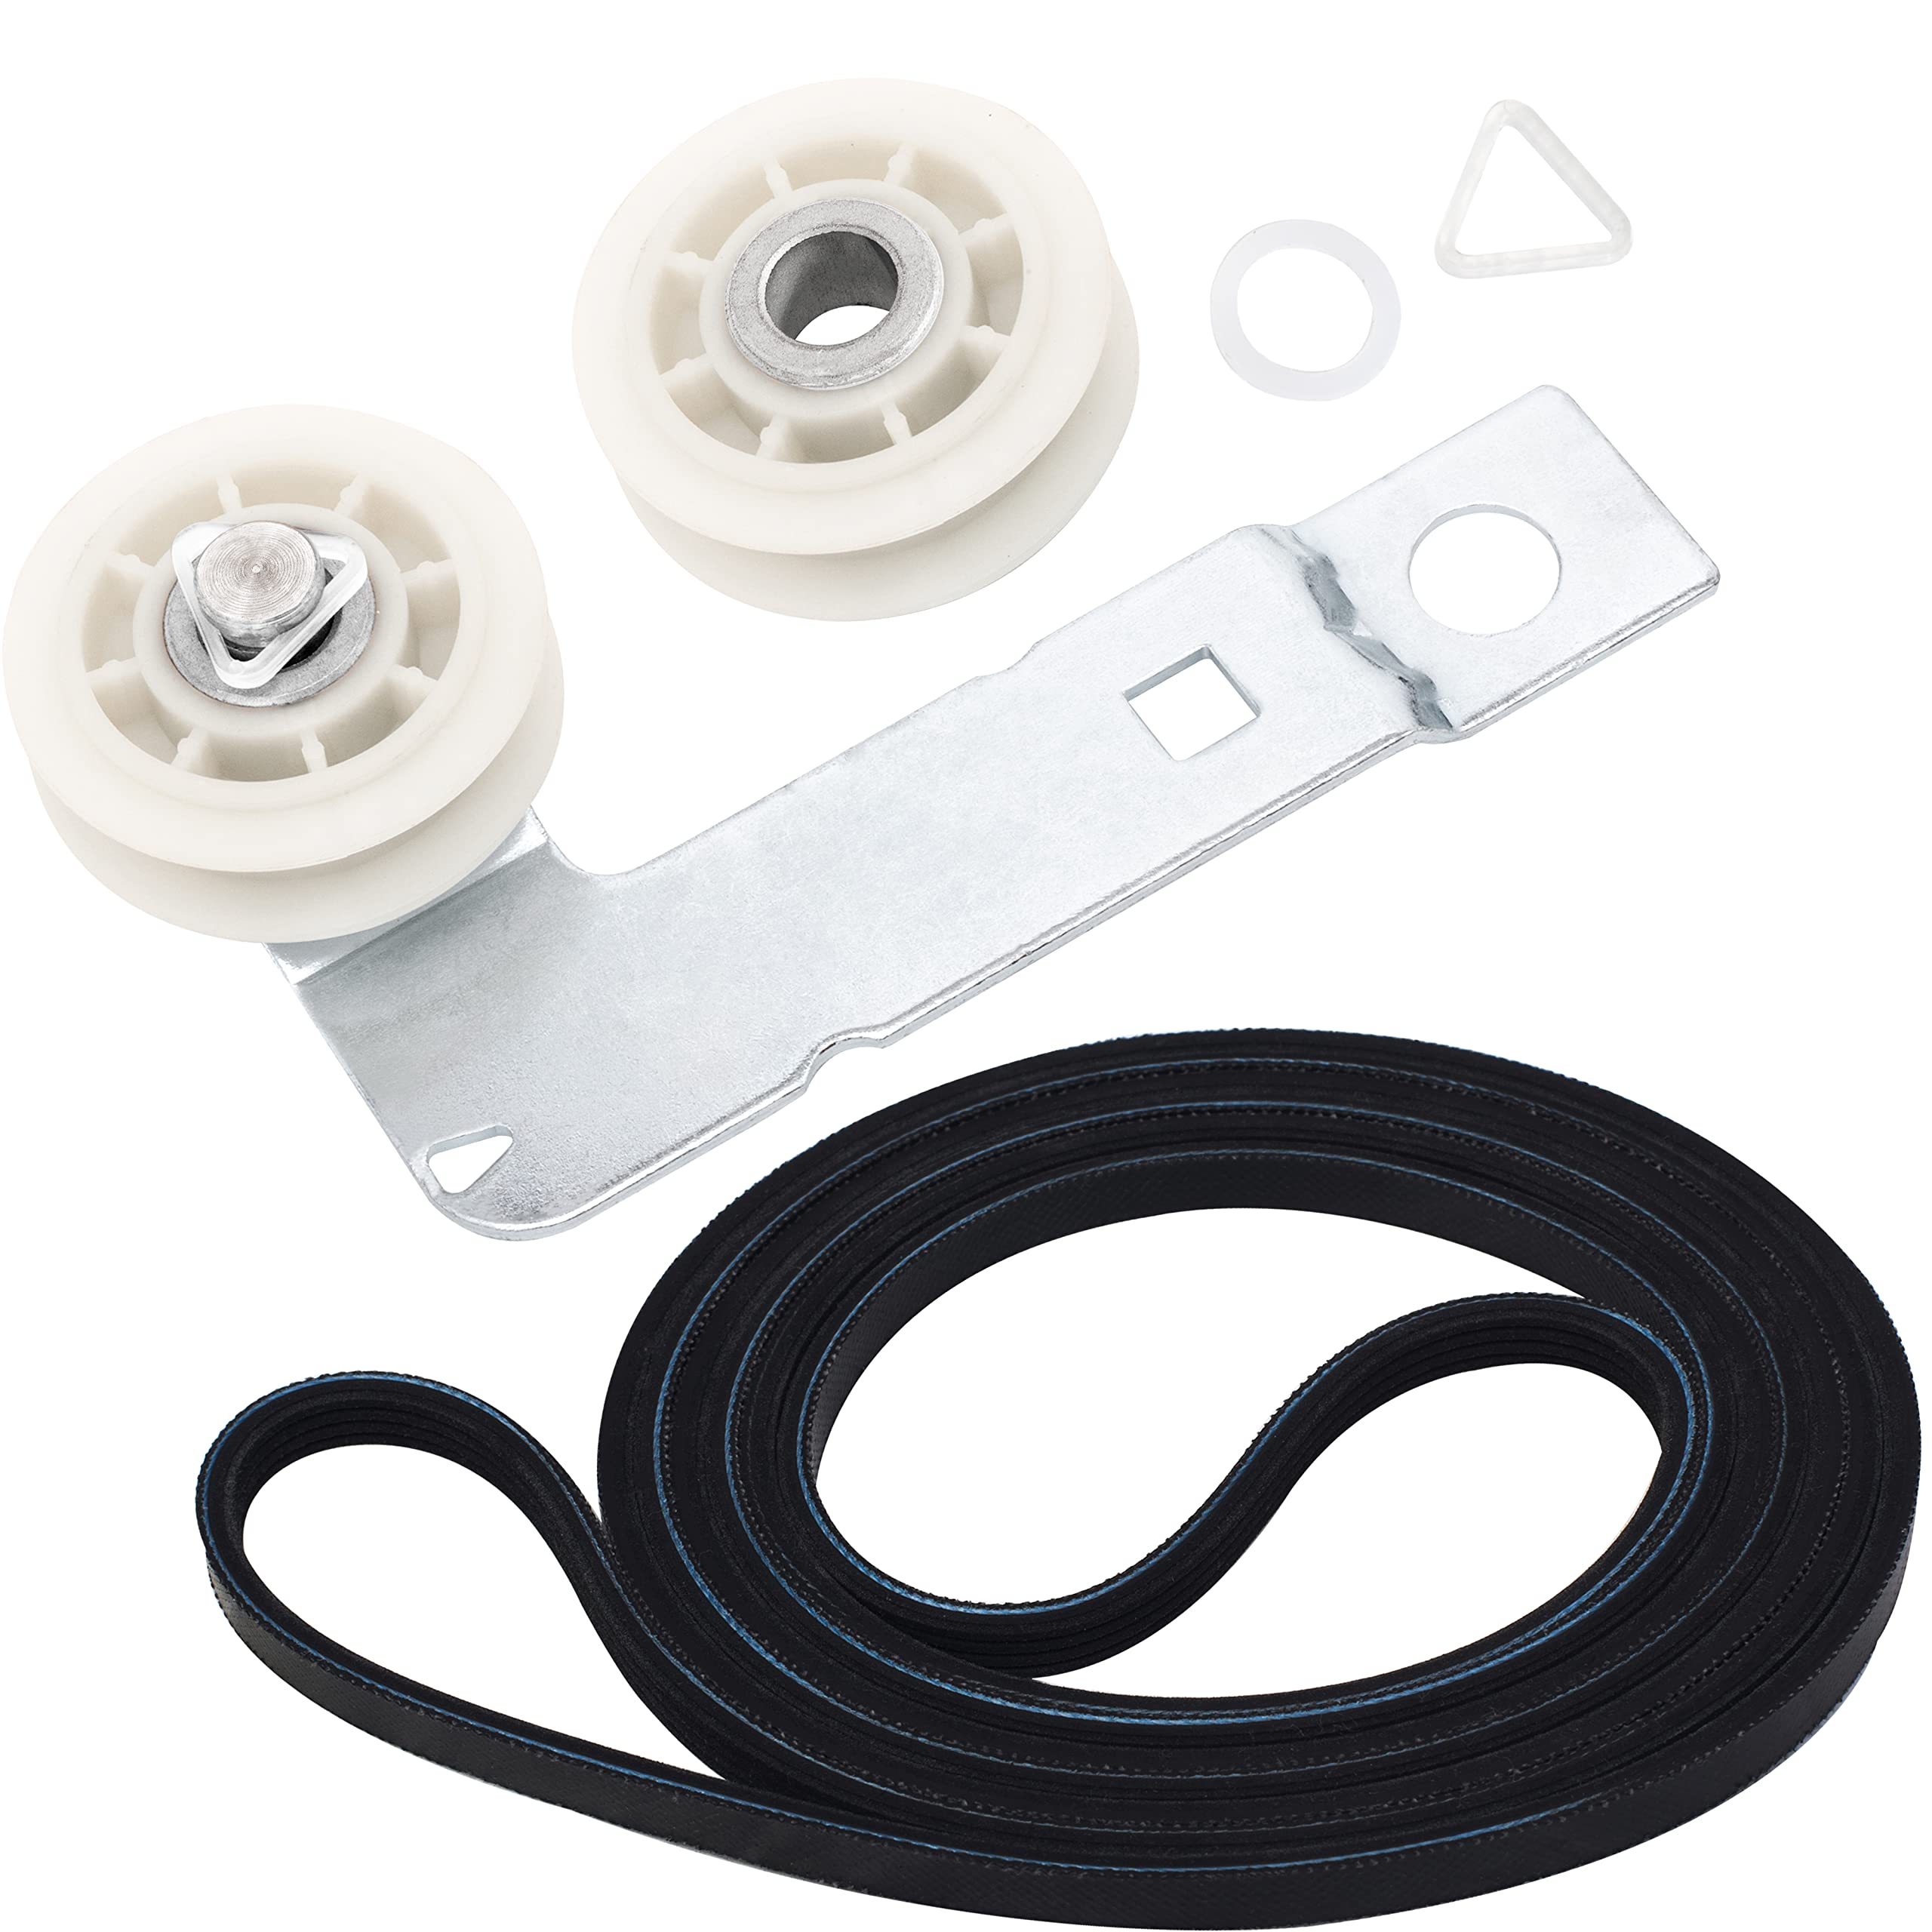
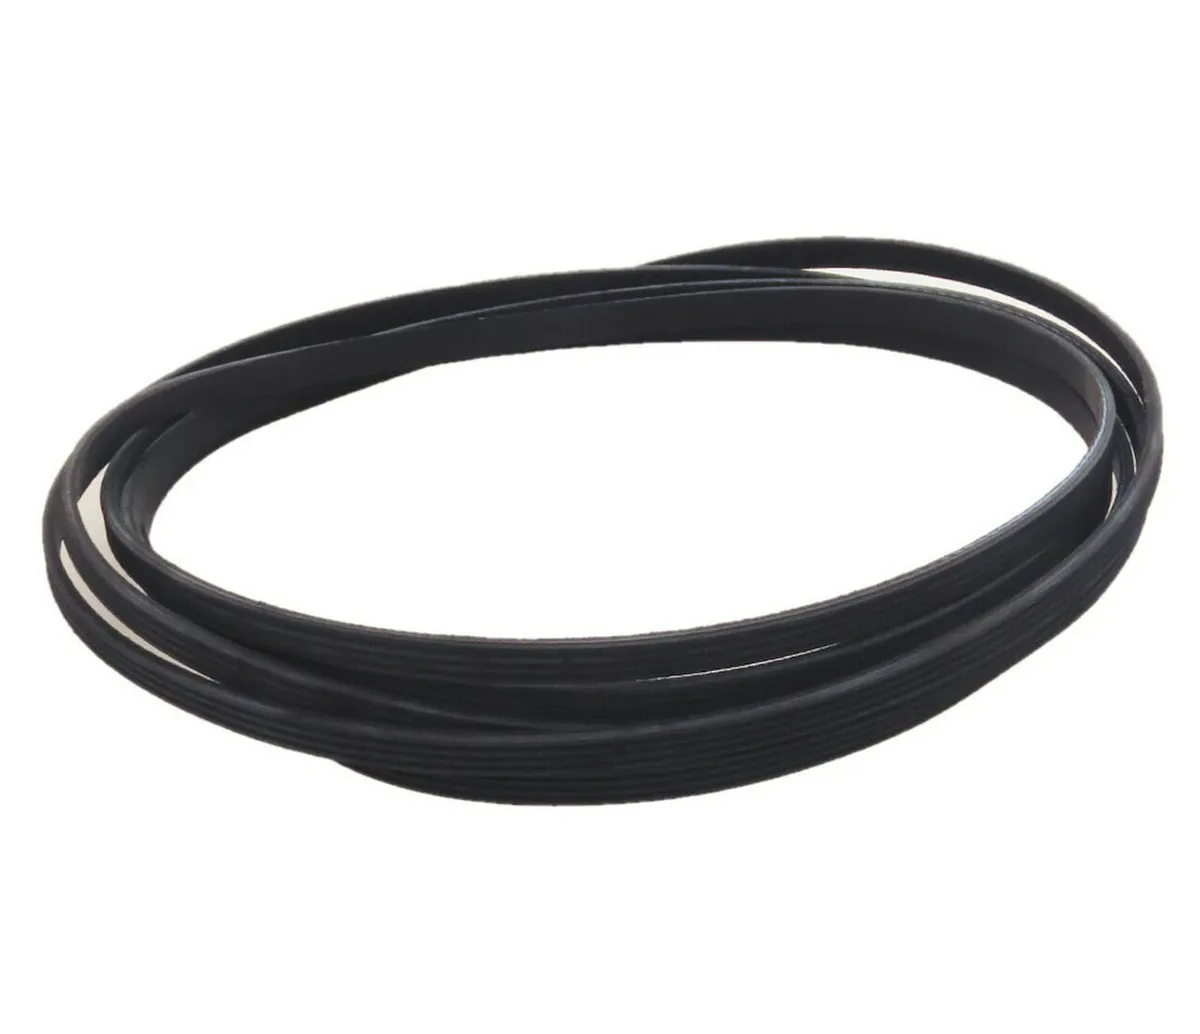
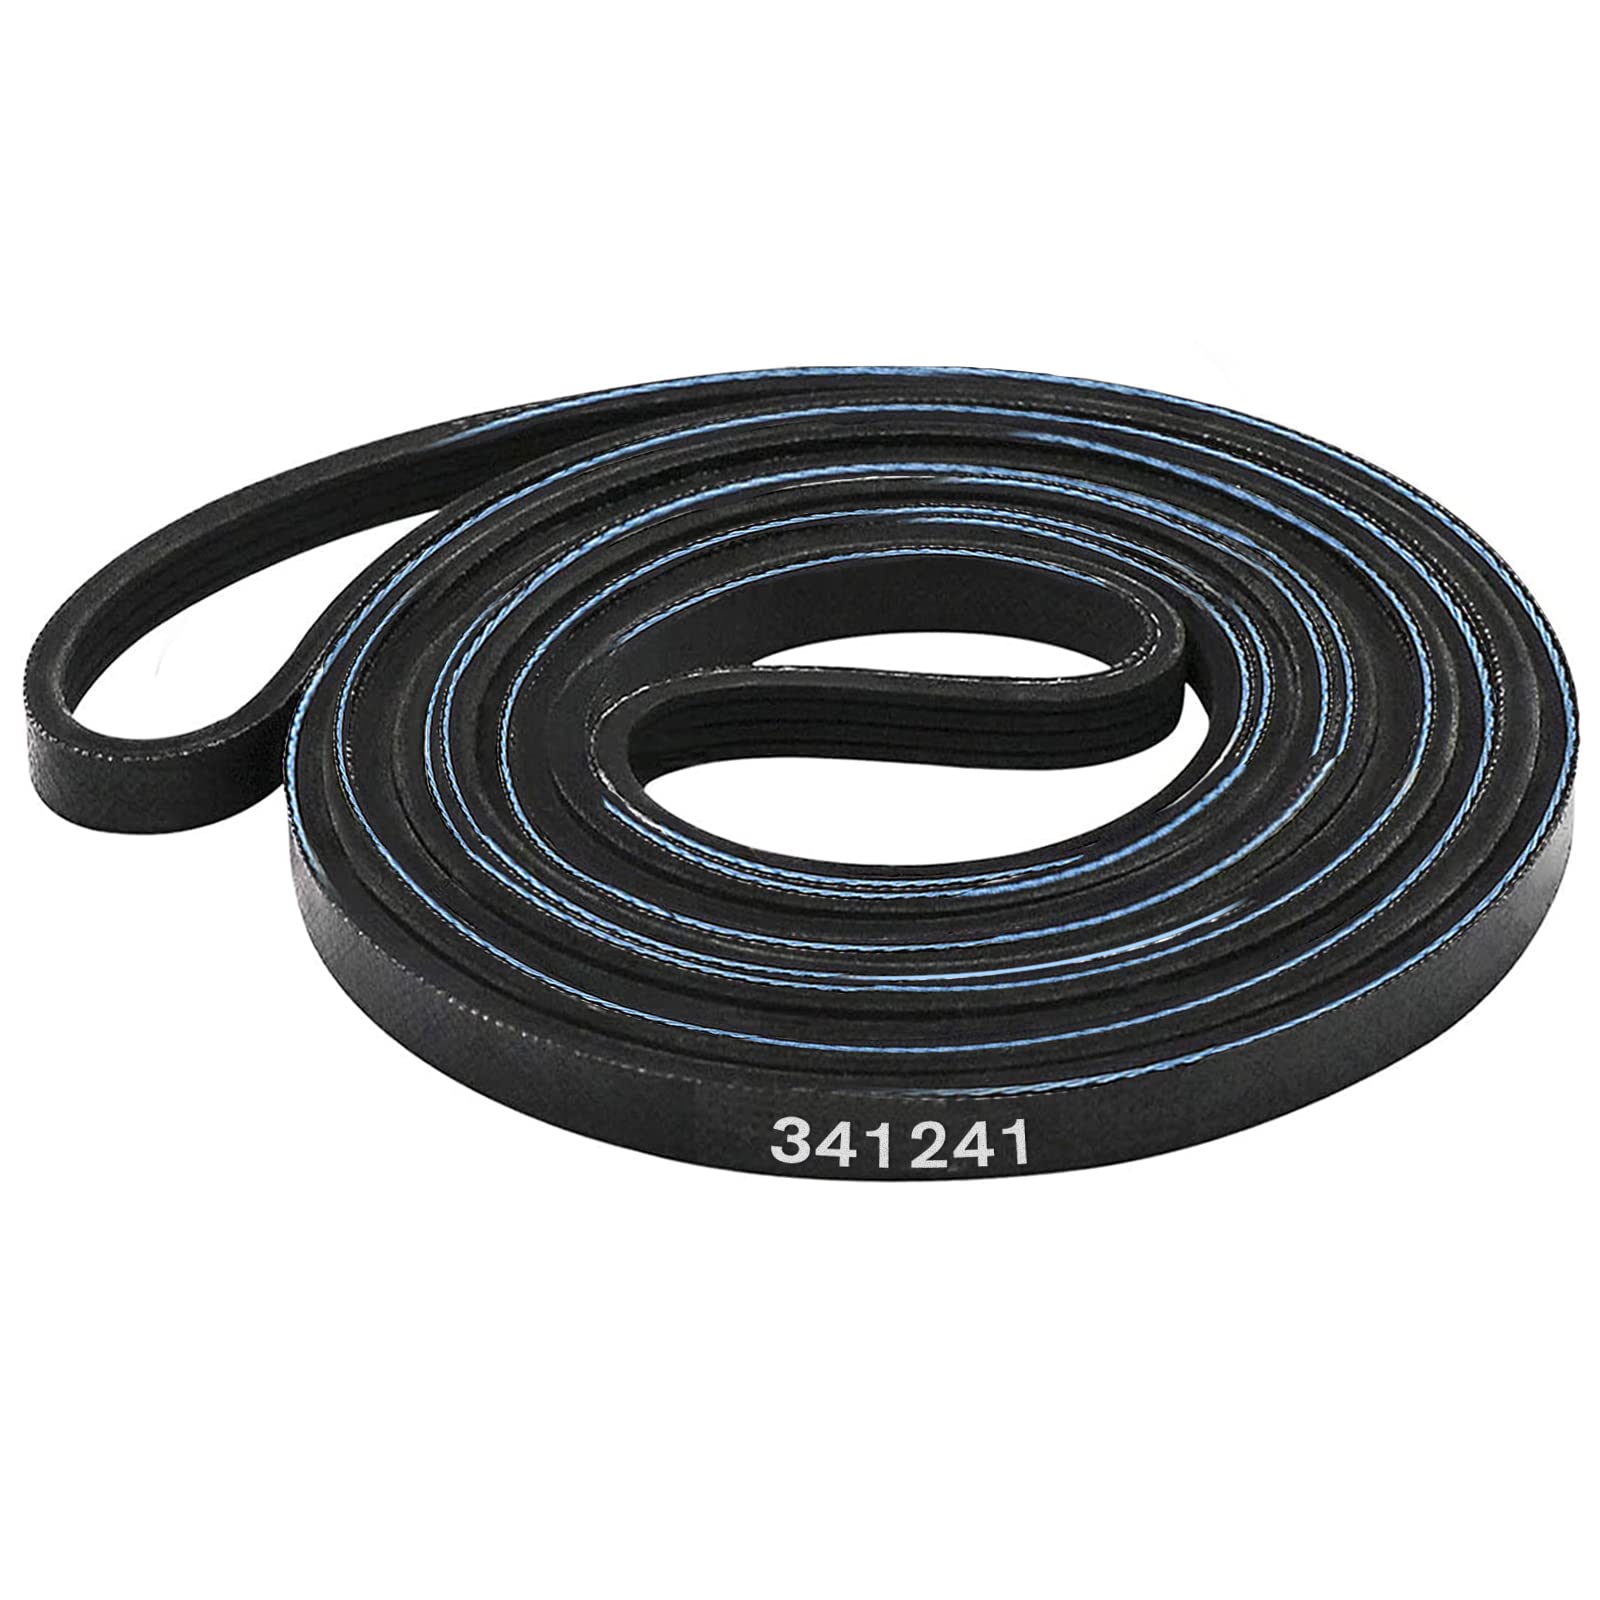
- Replacement dryer belt (make sure it is compatible with your Whirlpool dryer model)
- Vacuum cleaner or lint brush
- Clean cloth or towel
Having these tools and materials ready before you start the repair will save you time and ensure you have everything you need to complete the job smoothly. Now that you’re equipped with the necessary tools and materials, let’s move on to the step-by-step process of replacing the dryer belt.
Step 1: Unplug the Dryer
The first step in replacing the dryer belt is to ensure that the dryer is completely disconnected from the power source. This is crucial to prevent any electrical accidents while working on the appliance.
Follow these steps to unplug the dryer:
- Locate the power cord on the back of the dryer.
- Gently pull the power cord from the wall outlet to disconnect it.
- Double-check to ensure that the dryer is completely unplugged by verifying that the control panel is no longer lit and that there are no lights indicating power on the appliance.
It’s important to note that some dryers may be hardwired directly to the electrical system. In this case, it is highly recommended to consult a professional electrician to safely disconnect the dryer from the power source.
By unplugging the dryer, you are taking a necessary safety precaution to protect yourself from electrical shocks. Once you have confirmed that the dryer is unplugged, you can move on to the next step of accessing the dryer belt.
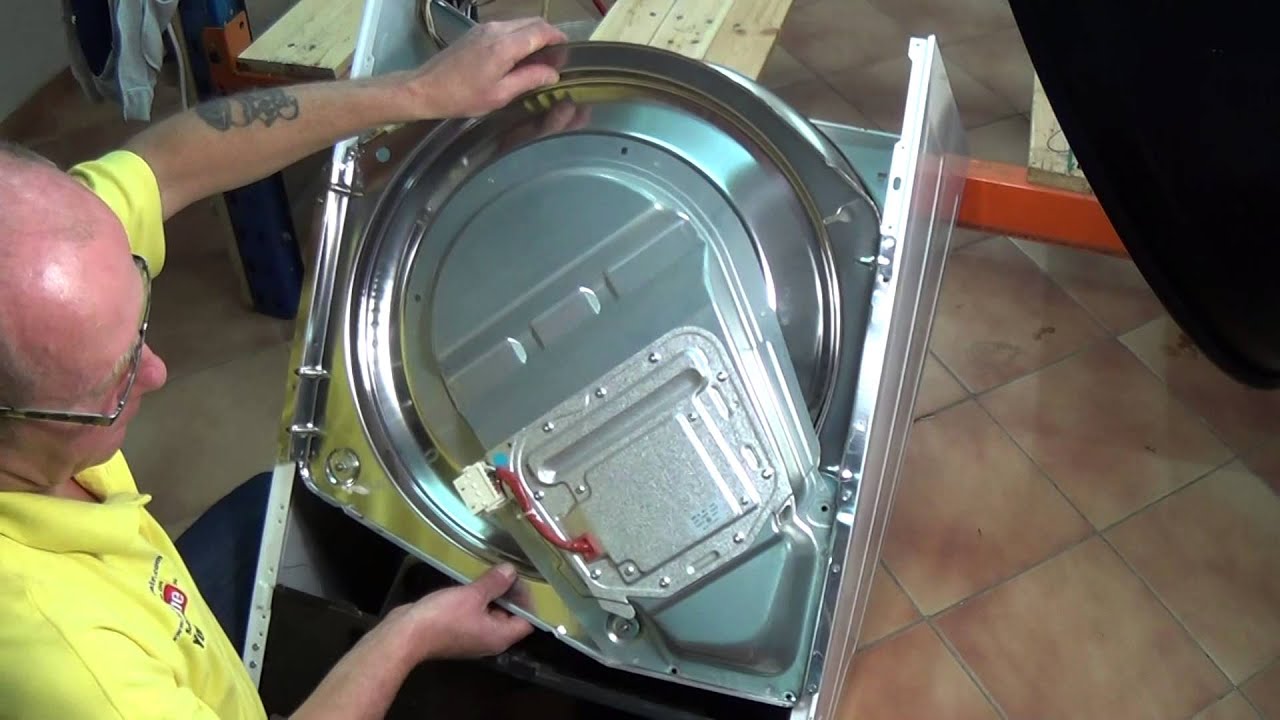
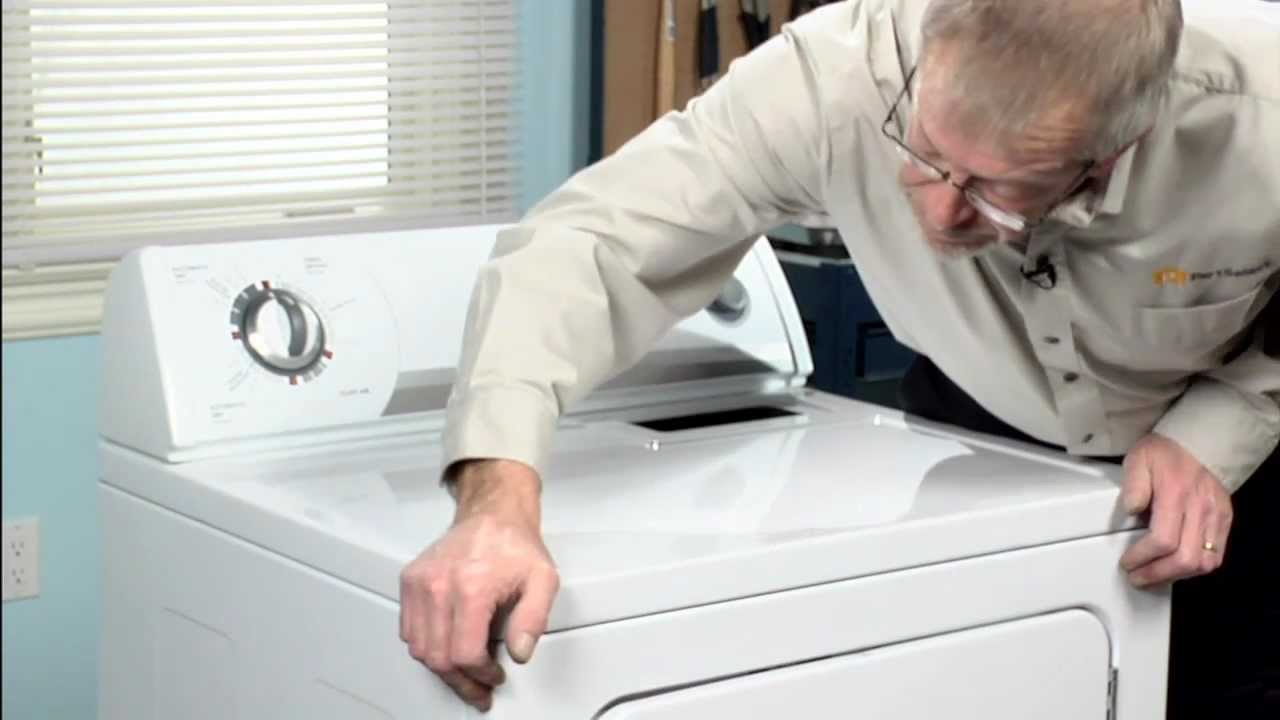
Step 2: Access the Dryer Belt
Once the dryer is safely unplugged, it’s time to access the dryer belt. The belt is located inside the dryer cabinet and can be accessed by following these steps:
- Use a flathead screwdriver or a putty knife to gently release the clips securing the top panel of the dryer. These clips are typically located at the front corners of the dryer.
- Lift the top panel of the dryer and prop it up against a wall or support to prevent it from falling back down.
- Locate and remove the screws holding the front panel in place. These screws are typically located at the top and bottom of the front panel.
- Once the screws are removed, carefully tilt the front panel forward and disconnect any wiring harnesses or cables that are attached to the front panel. Take note of their positions for reassembly later.
- Set the front panel aside in a safe place.
- Now, you should have clear access to the dryer drum and the old, broken belt.
At this point, it’s a good idea to take a photo or make a note of how the belt is threaded around the drum and pulleys. This will help you during the installation of the new belt.
With step 2 completed, you have successfully accessed the dryer belt. Now, it’s time to remove the old belt in the next step.
When replacing a Whirlpool dryer belt, make sure to unplug the dryer and remove the back panel to access the belt. Take a picture of the belt configuration before removing it to ensure proper reinstallation.
Read more: How To Replace Belt On Samsung Dryer
Step 3: Remove the Broken Belt
With the access to the dryer belt obtained in the previous step, it’s time to remove the old, broken belt. Follow these steps to safely remove the belt:
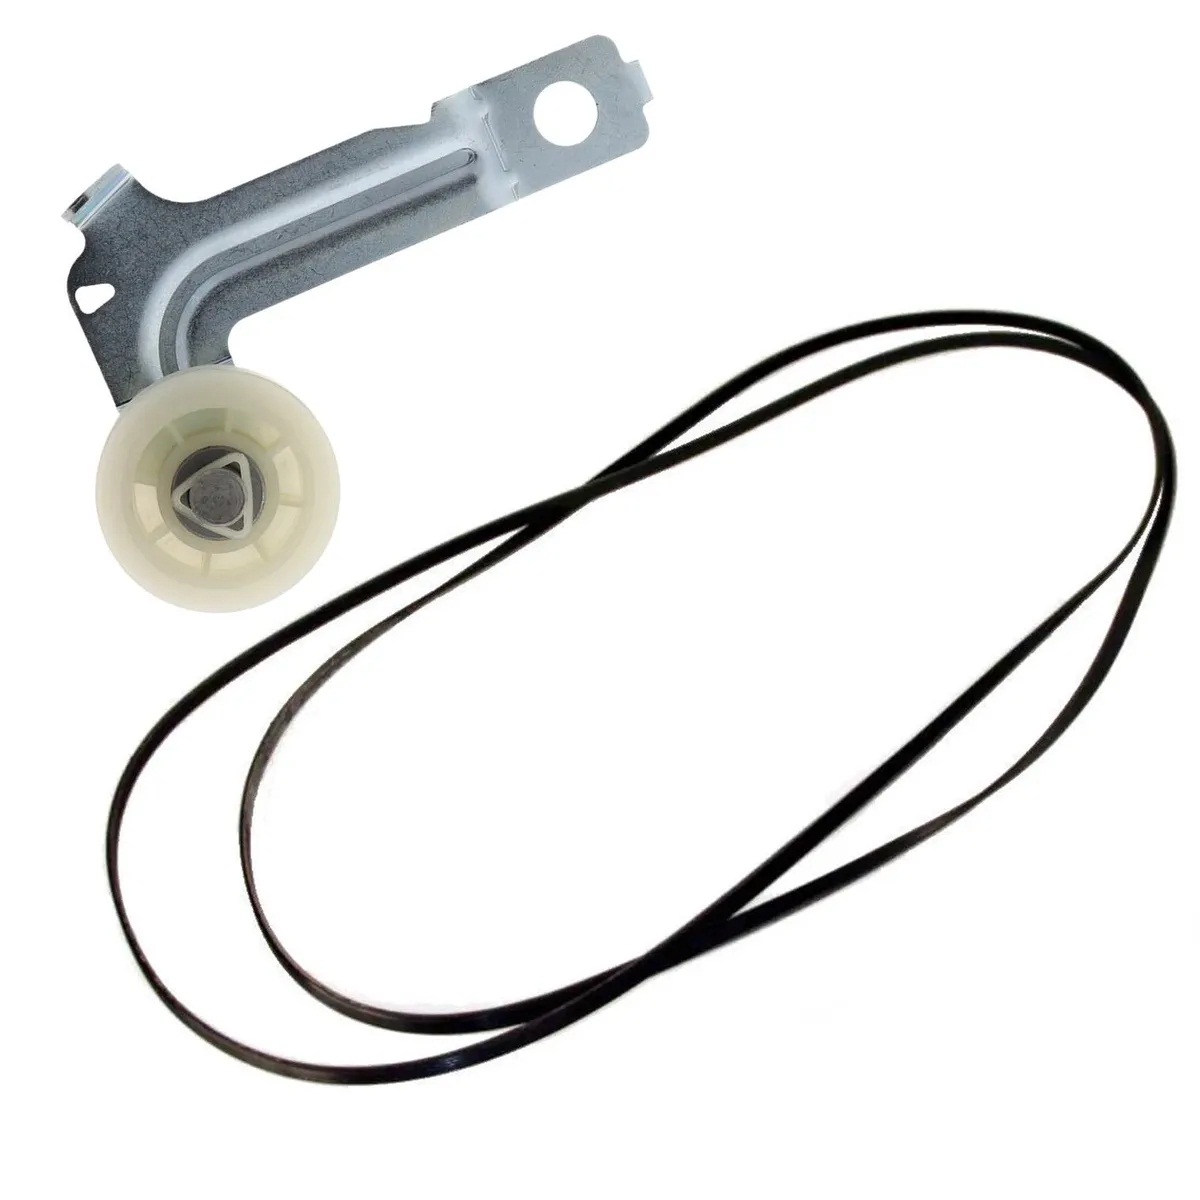
- Locate the tension pulley or idler pulley near the motor at the bottom of the dryer.
- Using a pair of pliers, release the tension on the pulley by pulling it towards the center of the dryer. This will relieve the tension on the belt and allow you to remove it.
- Slide the old belt off the drum and pulleys. Take note of how the belt was threaded around the drum and pulleys for reference during the installation of the new belt.
- Remove the old belt from the dryer cabinet and set it aside for disposal.
Once the old belt has been removed, take a moment to inspect the drum and the pulleys for any signs of damage or wear. If any of these components are damaged, it’s recommended to replace them before installing the new belt.
Now that the old belt has been successfully removed, it’s time to move on to the next step of installing the new belt.
Step 4: Install the New Belt
With the old belt removed, it’s time to install the new belt on your Whirlpool dryer. Follow these steps to safely and properly install the new belt:
- Take the new belt and position it around the dryer drum. Make sure the ribbed side of the belt is touching the drum.
- Thread the belt around the tension pulley or idler pulley and then around the motor pulley.
- While holding the tension pulley or idler pulley towards the center of the dryer, ensure the belt is properly aligned and seated on all the pulleys. Double-check that the belt is not twisted or loose.
- Release the tension pulley or idler pulley, allowing it to apply tension on the belt to ensure proper operation.
- Rotate the dryer drum by hand to confirm that the belt is properly installed and aligned.
It’s important to refer to your dryer’s manual or documentation for specific instructions on how to correctly thread the new belt around the pulleys. If you did not take a photo or note of the belt’s threading during the disassembly process, you can refer to diagrams or online resources specific to your Whirlpool dryer model.
Once you are confident that the new belt is properly installed and aligned, you can move on to the next step of reassembling the dryer.
Step 5: Reassemble the Dryer
Now that the new belt is properly installed, it’s time to reassemble the dryer. Follow these steps to put everything back together:
- Take the front panel that you set aside earlier and carefully reconnect any wiring harnesses or cables that were disconnected. Refer to your notes or photos taken during the disassembly process to ensure proper reconnection.
- Position the front panel back into place, making sure all the screw holes line up.
- Reinsert and tighten the screws that secure the front panel to the dryer cabinet.
- Lower the top panel back down and make sure it securely locks in place. You may need to gently push down on the corners until you hear or feel the clips engage.
- Double-check that all the screws and clips are securely in place to prevent any rattling or instability when the dryer is in use.
With the dryer reassembled, you are one step closer to having your Whirlpool dryer fully functional again. The final step is to test the dryer and ensure everything is working properly.
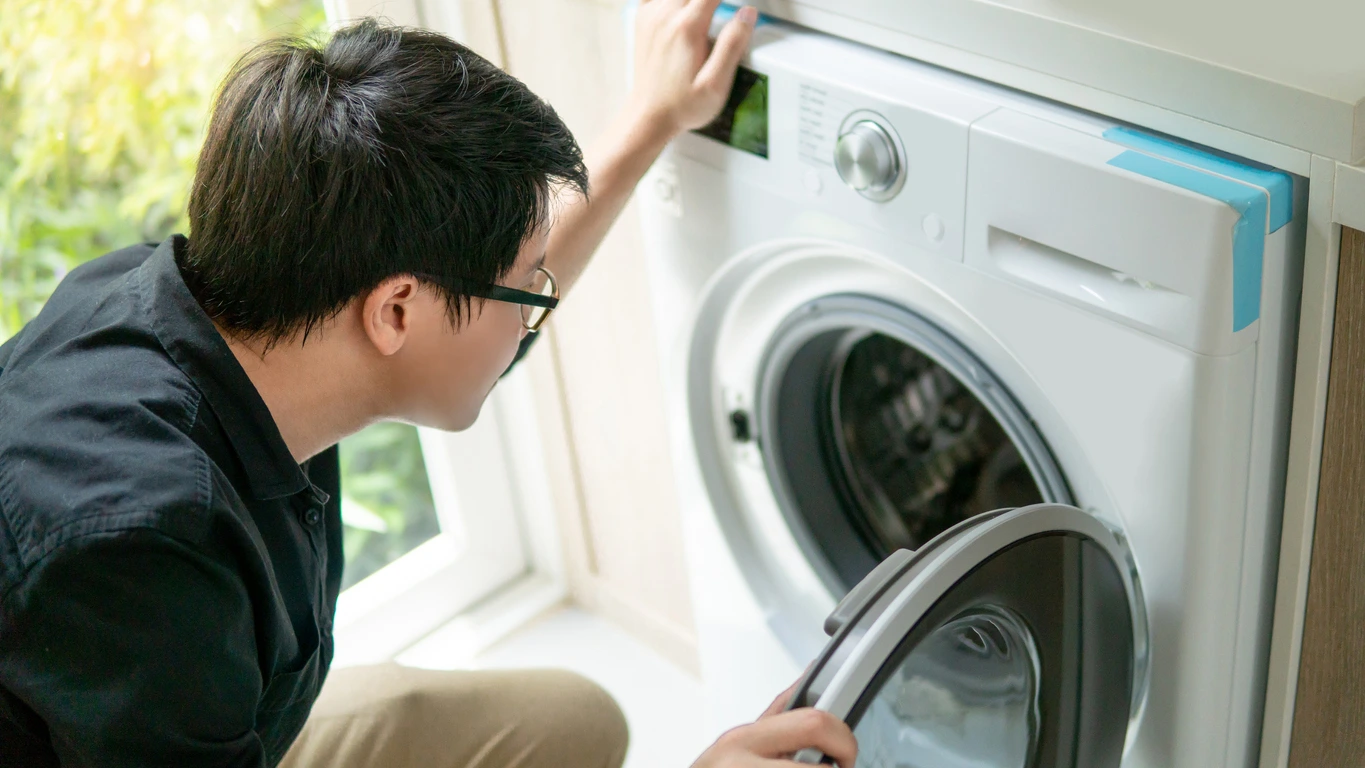
Step 6: Test the Dryer
With the dryer reassembled, it’s time to test it to ensure that the new belt is functioning correctly. Follow these steps to test your Whirlpool dryer:
- Plug the dryer back into the power source.
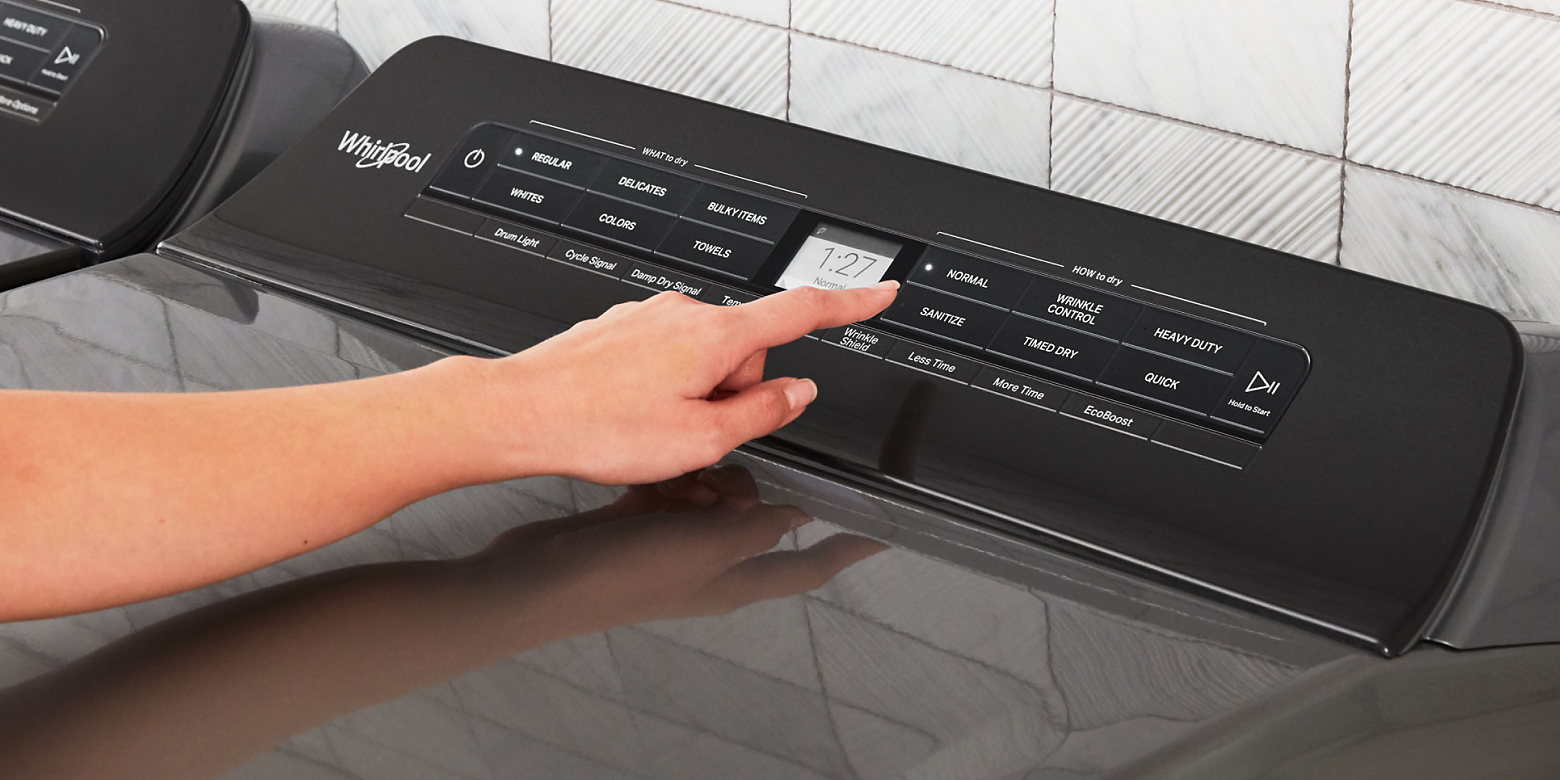
- Turn on the dryer and select a drying cycle. Ensure that the control panel settings are appropriate for the load size and fabric type.
- Close the dryer door and press the start button to initiate the drying cycle.
- Listen for the sound of the dryer drum spinning. If you hear a smooth rotation without any unusual noises or vibrations, then the new belt is functioning properly.
- Allow the drying cycle to complete and check that your clothes are drying effectively. If the dryer is drying clothes as expected, then the repair was successful.
If you notice any issues such as unusual noises, frequent interruptions, or an inability to dry clothes properly, it’s possible that there may be another underlying issue with your dryer. In such cases, it’s recommended to consult a professional technician to assess and address the problem.
Congratulations! You have successfully replaced the dryer belt on your Whirlpool dryer. By following these steps, you have saved time and money by completing the repair yourself. Remember to periodically check the condition of the belt and other components to ensure the dryer continues to operate smoothly.
As a final note, always prioritize safety when working with electrical appliances. Make sure to unplug the dryer before starting any repairs and consult a professional if you are unsure about any step in the process.
Thank you for following this guide, and we hope your Whirlpool dryer continues to serve you well!
Read also: 14 Superior Whirlpool Dryer Belt For 2025
Conclusion
Replacing the dryer belt on your Whirlpool dryer is a manageable task that can save you time and money. By following the step-by-step guide outlined in this article, you can confidently tackle this maintenance task and have your dryer up and running again.
Throughout the process, it’s important to prioritize safety by unplugging the dryer, wearing protective gloves, and ensuring a well-lit work area. Taking these precautions will help prevent accidents and ensure a smooth repair process.
By gathering the necessary tools and materials, accessing the dryer belt, removing the old belt, installing the new belt, reassembling the dryer, and conducting a thorough test, you can successfully replace the dryer belt and restore efficient drying performance.
Remember, if you encounter any difficulties or feel unsure about any step, it’s always a good idea to consult a professional technician to ensure the job is done correctly.
By taking the initiative to replace the dryer belt yourself, you have not only saved money but also gained valuable knowledge about your appliance. This newfound sense of accomplishment is a testament to your DIY spirit.
We hope this guide has been helpful in your journey to replace the dryer belt on your Whirlpool dryer. With the proper maintenance and care, your dryer will continue to provide efficient and reliable service for years to come.
Thank you for following this guide, and happy drying!
Frequently Asked Questions about How To Replace A Whirlpool Dryer Belt
Was this page helpful?
At Storables.com, we guarantee accurate and reliable information. Our content, validated by Expert Board Contributors, is crafted following stringent Editorial Policies. We're committed to providing you with well-researched, expert-backed insights for all your informational needs.


0 thoughts on “How To Replace A Whirlpool Dryer Belt”