Home>Home Maintenance>How To Clean A Samsung Dryer Vent
Home Maintenance
How To Clean A Samsung Dryer Vent
Modified: August 25, 2024
Learn how to effectively clean the vent of your Samsung dryer at home with our expert maintenance tips. Ensure optimal performance and safety!
(Many of the links in this article redirect to a specific reviewed product. Your purchase of these products through affiliate links helps to generate commission for Storables.com, at no extra cost. Learn more)
Introduction
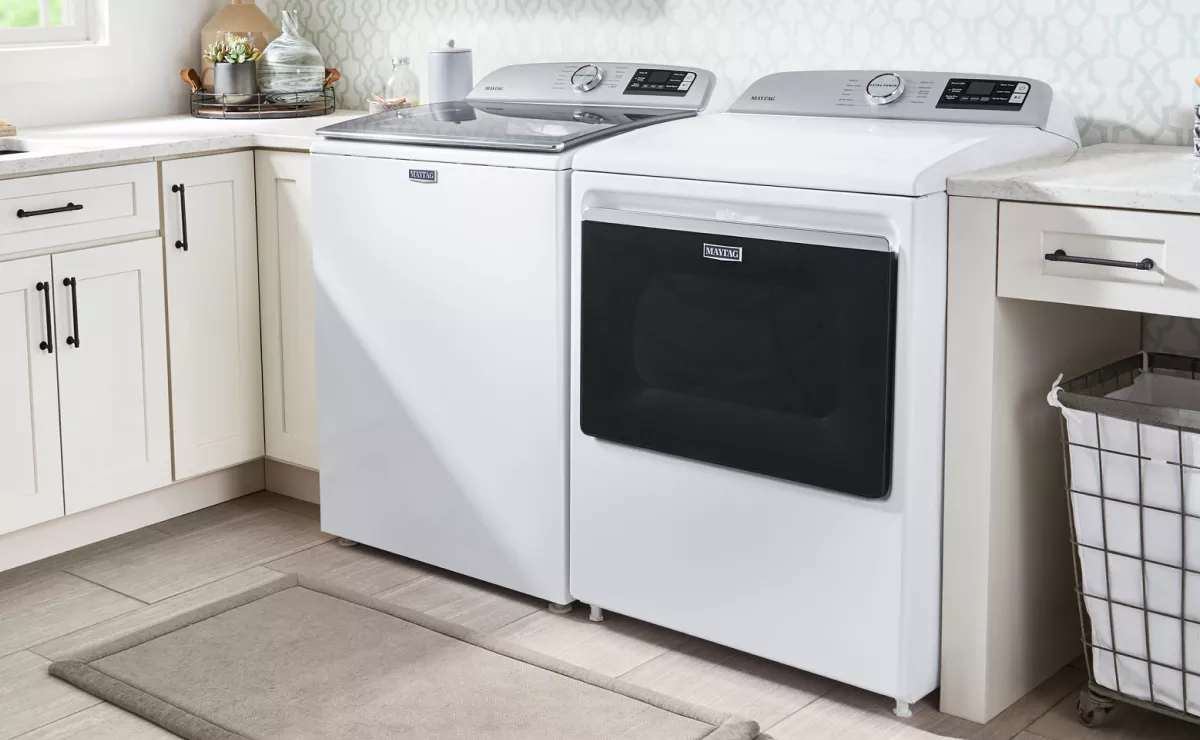
Welcome to our comprehensive guide on how to clean a Samsung dryer vent. Regular maintenance and cleaning of your dryer vent are crucial to ensure the efficient and safe operation of your appliance. Over time, lint, debris, and other particles can build up in the vent, reducing airflow and increasing the risk of fire. By following the steps outlined in this article, you can keep your Samsung dryer running smoothly and protect your home from potential hazards.
Before we dive into the cleaning process, let’s take a moment to understand why cleaning the dryer vent is so important. Your Samsung dryer works by pulling in fresh air from the room, heating it up, and then circulating it through the drum to dry your clothes. As the hot air passes through the dryer, it carries lint and other particles that have been loosened from the clothes.
While a lint trap is designed to catch the majority of these particles, some still manage to escape and make their way into the dryer vent. Over time, this accumulation can restrict the airflow, causing your dryer to work harder and less efficiently. Additionally, lint is highly flammable, and a clogged dryer vent can pose a serious fire hazard. By regularly cleaning your Samsung dryer vent, you can improve its performance, extend its lifespan, and minimize the risk of a dryer-related fire.
Now that you understand the importance of cleaning your dryer vent, let’s gather the materials you’ll need for the cleaning process.
Key Takeaways:
- Regularly cleaning your Samsung dryer vent prevents fire hazards, improves drying efficiency, and extends the appliance’s lifespan, ensuring safe and efficient operation.
- Gather the necessary materials, follow the step-by-step instructions, and enjoy the benefits of a properly maintained Samsung dryer vent for peace of mind and efficient drying.
Read more: Who Cleans Dryer Vent
Why Cleaning the Dryer Vent is Important
Regularly cleaning your dryer vent is crucial for several reasons. Let’s explore why this maintenance task should be a priority:
- Prevent Fire Hazards: The accumulation of lint in the dryer vent can be highly flammable. Lint is easily ignited and can quickly spread a fire through the vent system. By removing this lint, you reduce the risk of a devastating house fire.
- Ensure Efficient Drying: A clogged vent restricts airflow, preventing proper ventilation and causing your dryer to work harder. This leads to longer drying times and increased energy consumption. By cleaning the vent, your dryer will operate efficiently, saving you time and money.
- Extend the Lifespan of Your Dryer: When your dryer works harder due to restricted airflow, it puts additional strain on the motor and other components. This can lead to premature wear and tear, resulting in costly repairs or the need for a replacement. Regularly cleaning the vent can help extend the lifespan of your dryer and keep it running smoothly for years to come.
- Prevent Mold and Mildew Growth: A clogged dryer vent creates a damp environment where moisture can accumulate. This can lead to the growth of mold and mildew, which not only affects your dryer’s performance but also poses health risks to you and your family. Cleaning the vent helps to maintain a dry and mold-free environment.
- Improve Indoor Air Quality: When the vent is clogged, the trapped lint and debris can be released back into your laundry area. These particles may contain allergens and contaminants that can affect the air quality in your home. By cleaning the vent, you reduce the amount of airborne debris and improve the overall indoor air quality.
- Peace of Mind: Knowing that your dryer is clean and functioning properly gives you peace of mind. You can confidently use your dryer without worrying about potential safety hazards or performance issues.
Now that you understand the importance of cleaning your dryer vent, let’s move on to the materials you’ll need for the cleaning process.
Materials Needed
Before you begin cleaning your Samsung dryer vent, gather the following materials:
- A vacuum cleaner with hose attachment
- A long, flexible brush or dryer vent cleaning kit
- Screwdriver or nut driver
- Gloves
- Dryer vent clamp
- A soft cloth or sponge
- Mild detergent or cleaning solution
The vacuum cleaner will be used to remove lint and debris from the dryer vent, while the long, flexible brush or dryer vent cleaning kit will help you reach and clean the vent hose itself. The screwdriver or nut driver will be needed to loosen and tighten any screws or clamps that hold the vent in place.
Wearing gloves during the cleaning process is highly recommended. This will protect your hands from potentially sharp edges, and minimize direct contact with lint and dust.
Lastly, you will need a soft cloth or sponge, mild detergent or cleaning solution, and water to clean the exterior of the dryer. Over time, dirt and grime can accumulate on the surface, and a thorough cleaning will help keep your dryer looking its best.
Now that you have gathered all the necessary materials, it’s time to start cleaning your Samsung dryer vent. Follow the step-by-step instructions provided to ensure a thorough and safe cleaning process.
Step 1: Unplug the Dryer
The first step in cleaning your Samsung dryer vent is to unplug the appliance from the power source. This is essential for your safety and prevents any potential accidents while performing maintenance.
To unplug your dryer, locate the power cord at the back of the appliance. Gently pull the plug out of the wall socket, ensuring that there is no tension or resistance. It’s always a good idea to double-check that the dryer is completely disconnected from the power source by testing any buttons or knobs on the control panel to confirm that there is no power running to the unit.
Unplugging the dryer ensures that there is no electrical current flowing through the appliance, eliminating the risk of electric shock during the cleaning process.
Once you have successfully unplugged the dryer, you can proceed with the next steps in cleaning the vent. Remember to exercise caution and avoid rushing through the process to ensure your safety.
Now that you have safely unplugged the dryer, it’s time to move on to step 2 – removing the lint trap.
Step 2: Remove the Lint Trap
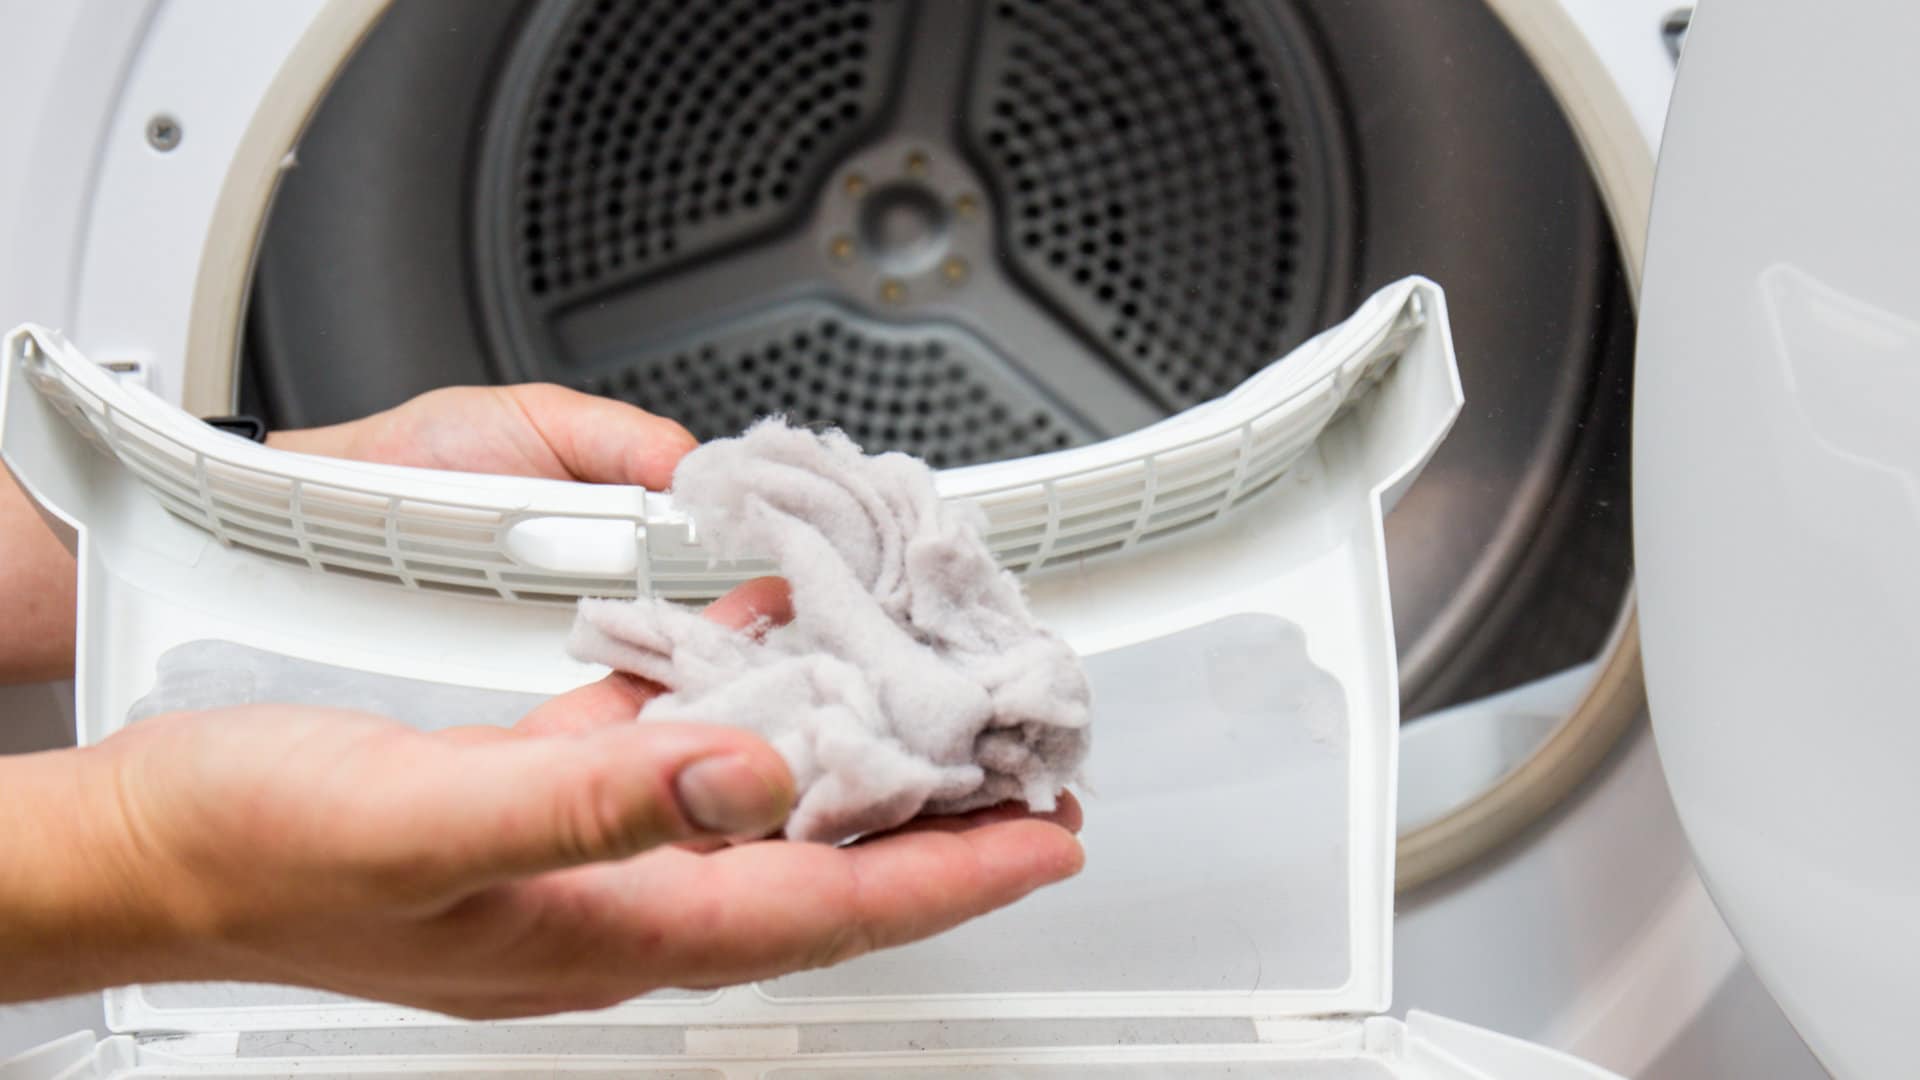
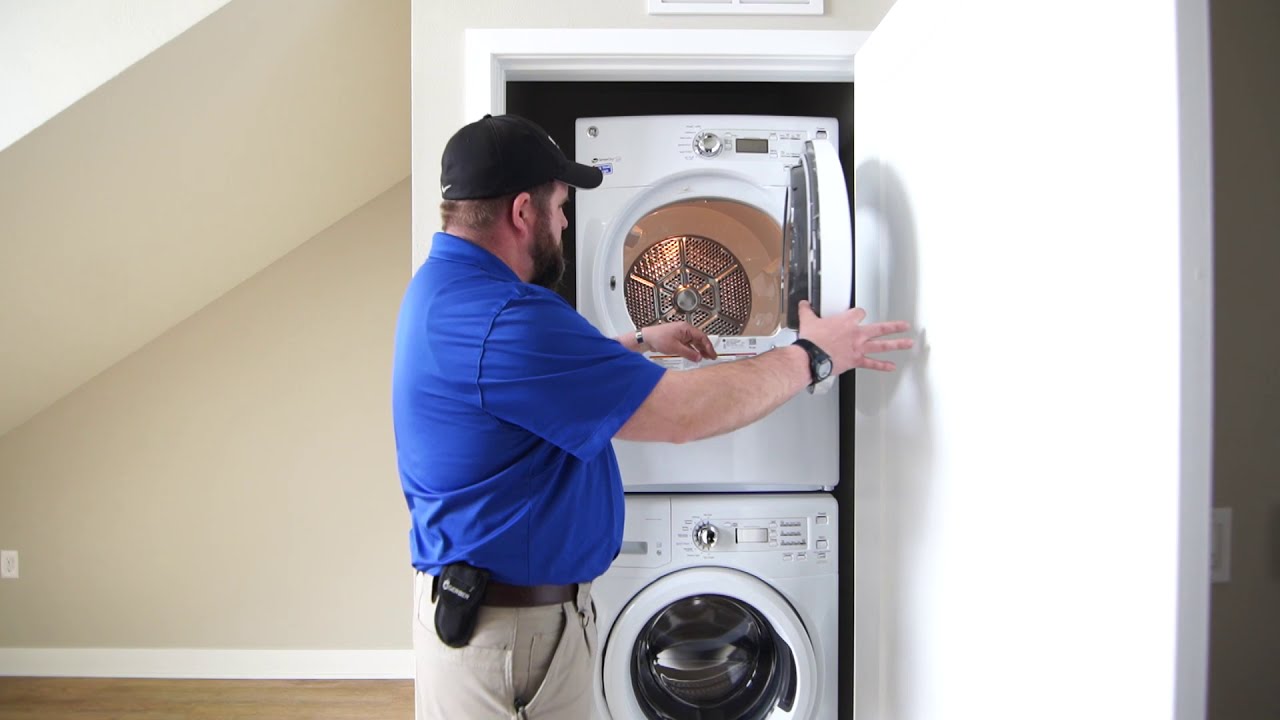
With the dryer unplugged, it’s time to remove the lint trap. The lint trap, located inside the dryer drum, is designed to catch lint and debris from your clothes as they dry. Over time, the trap can become clogged with lint, reducing the efficiency of your dryer and increasing the risk of a fire.
To remove the lint trap, open the dryer door and locate the lint filter at the front or top of the drum. Depending on the model of your Samsung dryer, the lint trap may be located behind a door or accessible from the top of the appliance.
Gently pull the lint filter out of its slot. If there is visible lint on the filter, use your fingers or a soft brush to remove it. Make sure to remove all lint and debris from the filter, as any remaining lint can affect your dryer’s performance.
Next, inspect the lint trap housing for any lint that may have accumulated. Wipe the housing with a damp cloth or use a vacuum cleaner with a hose attachment to remove any lint or debris. Ensure that the lint trap housing is clean and free of obstructions before proceeding.
Before moving on to the next step, take a moment to clean the lint filter itself. Run it under water and use a soft brush or your fingers to remove any remaining lint. Allow the filter to air dry completely before placing it back into the dryer. This ensures that the filter is clean and functional.
Now that you have removed and cleaned the lint trap, you’re ready to move on to step 3 – vacuuming the lint trap housing.
Read more: How To Clean The Inside Of A Dryer Vent
Step 3: Vacuum the Lint Trap Housing
Now that you have removed the lint trap, it’s time to clean the lint trap housing. Over time, lint can accumulate in this area, obstructing airflow and reducing the efficiency of your Samsung dryer.
Start by using a vacuum cleaner with a hose attachment to remove any visible lint or debris from the lint trap housing. Take care to reach all corners and crevices to ensure a thorough cleaning.
If you notice stubborn lint or debris that is difficult to remove with the vacuum, you can use a soft brush or cloth to loosen it. Gently scrub the interior of the lint trap housing to dislodge any remaining particles. Be careful not to damage the components of the dryer while doing so.
Continue vacuuming and brushing until the lint trap housing is clean and free of any obstructions. This step is crucial in improving the airflow and overall performance of your Samsung dryer.
Once you are satisfied with the cleanliness of the lint trap housing, it’s time to move on to the next step – disconnecting the dryer vent hose.
Step 4: Disconnect the Dryer Vent Hose
In order to thoroughly clean the dryer vent, you will need to disconnect the dryer vent hose from the back of your Samsung dryer. This will allow you to access and clean both the hose and the vent opening.
Start by moving the dryer away from the wall, creating enough space to access the back of the appliance. Before disconnecting the vent hose, it’s a good idea to turn off the gas supply if your dryer is powered by natural gas. This can typically be done by turning the gas valve counterclockwise until it is perpendicular to the gas line.
Once the gas supply is turned off or if your dryer is electric, locate the clamp that secures the vent hose to the dryer. This clamp is typically a metal ring that can be loosened with a screwdriver or nut driver.
Using your chosen tool, loosen the clamp by turning it counterclockwise. Once the clamp is loose enough, slide it away from the dryer to release the tension on the vent hose.
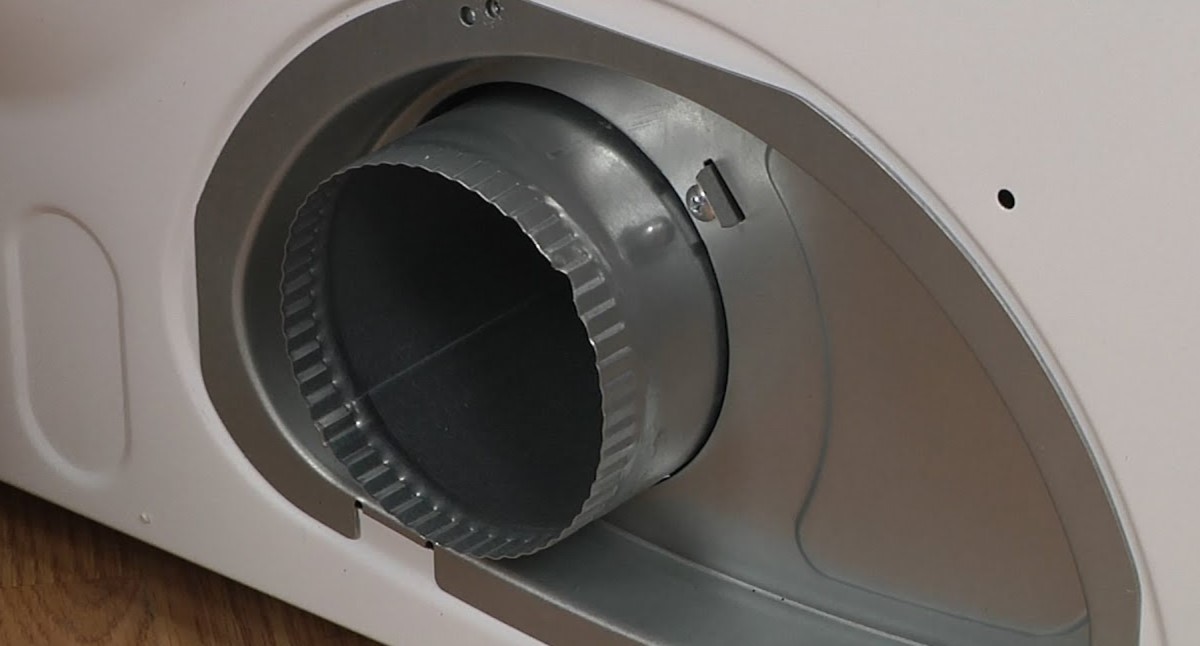
Next, carefully pull the vent hose off the dryer’s exhaust port. Take care not to damage the hose or the dryer’s connection point. If the hose is stuck or difficult to remove, a gentle twisting motion may help loosen it.
With the vent hose disconnected, set it aside for now. You can inspect the hose for any signs of damage or excessive lint accumulation. If you notice any issues, it may be necessary to replace the vent hose before reconnecting it.
Now that the vent hose is disconnected, you’re ready to move on to step 5 – cleaning the dryer vent hose.
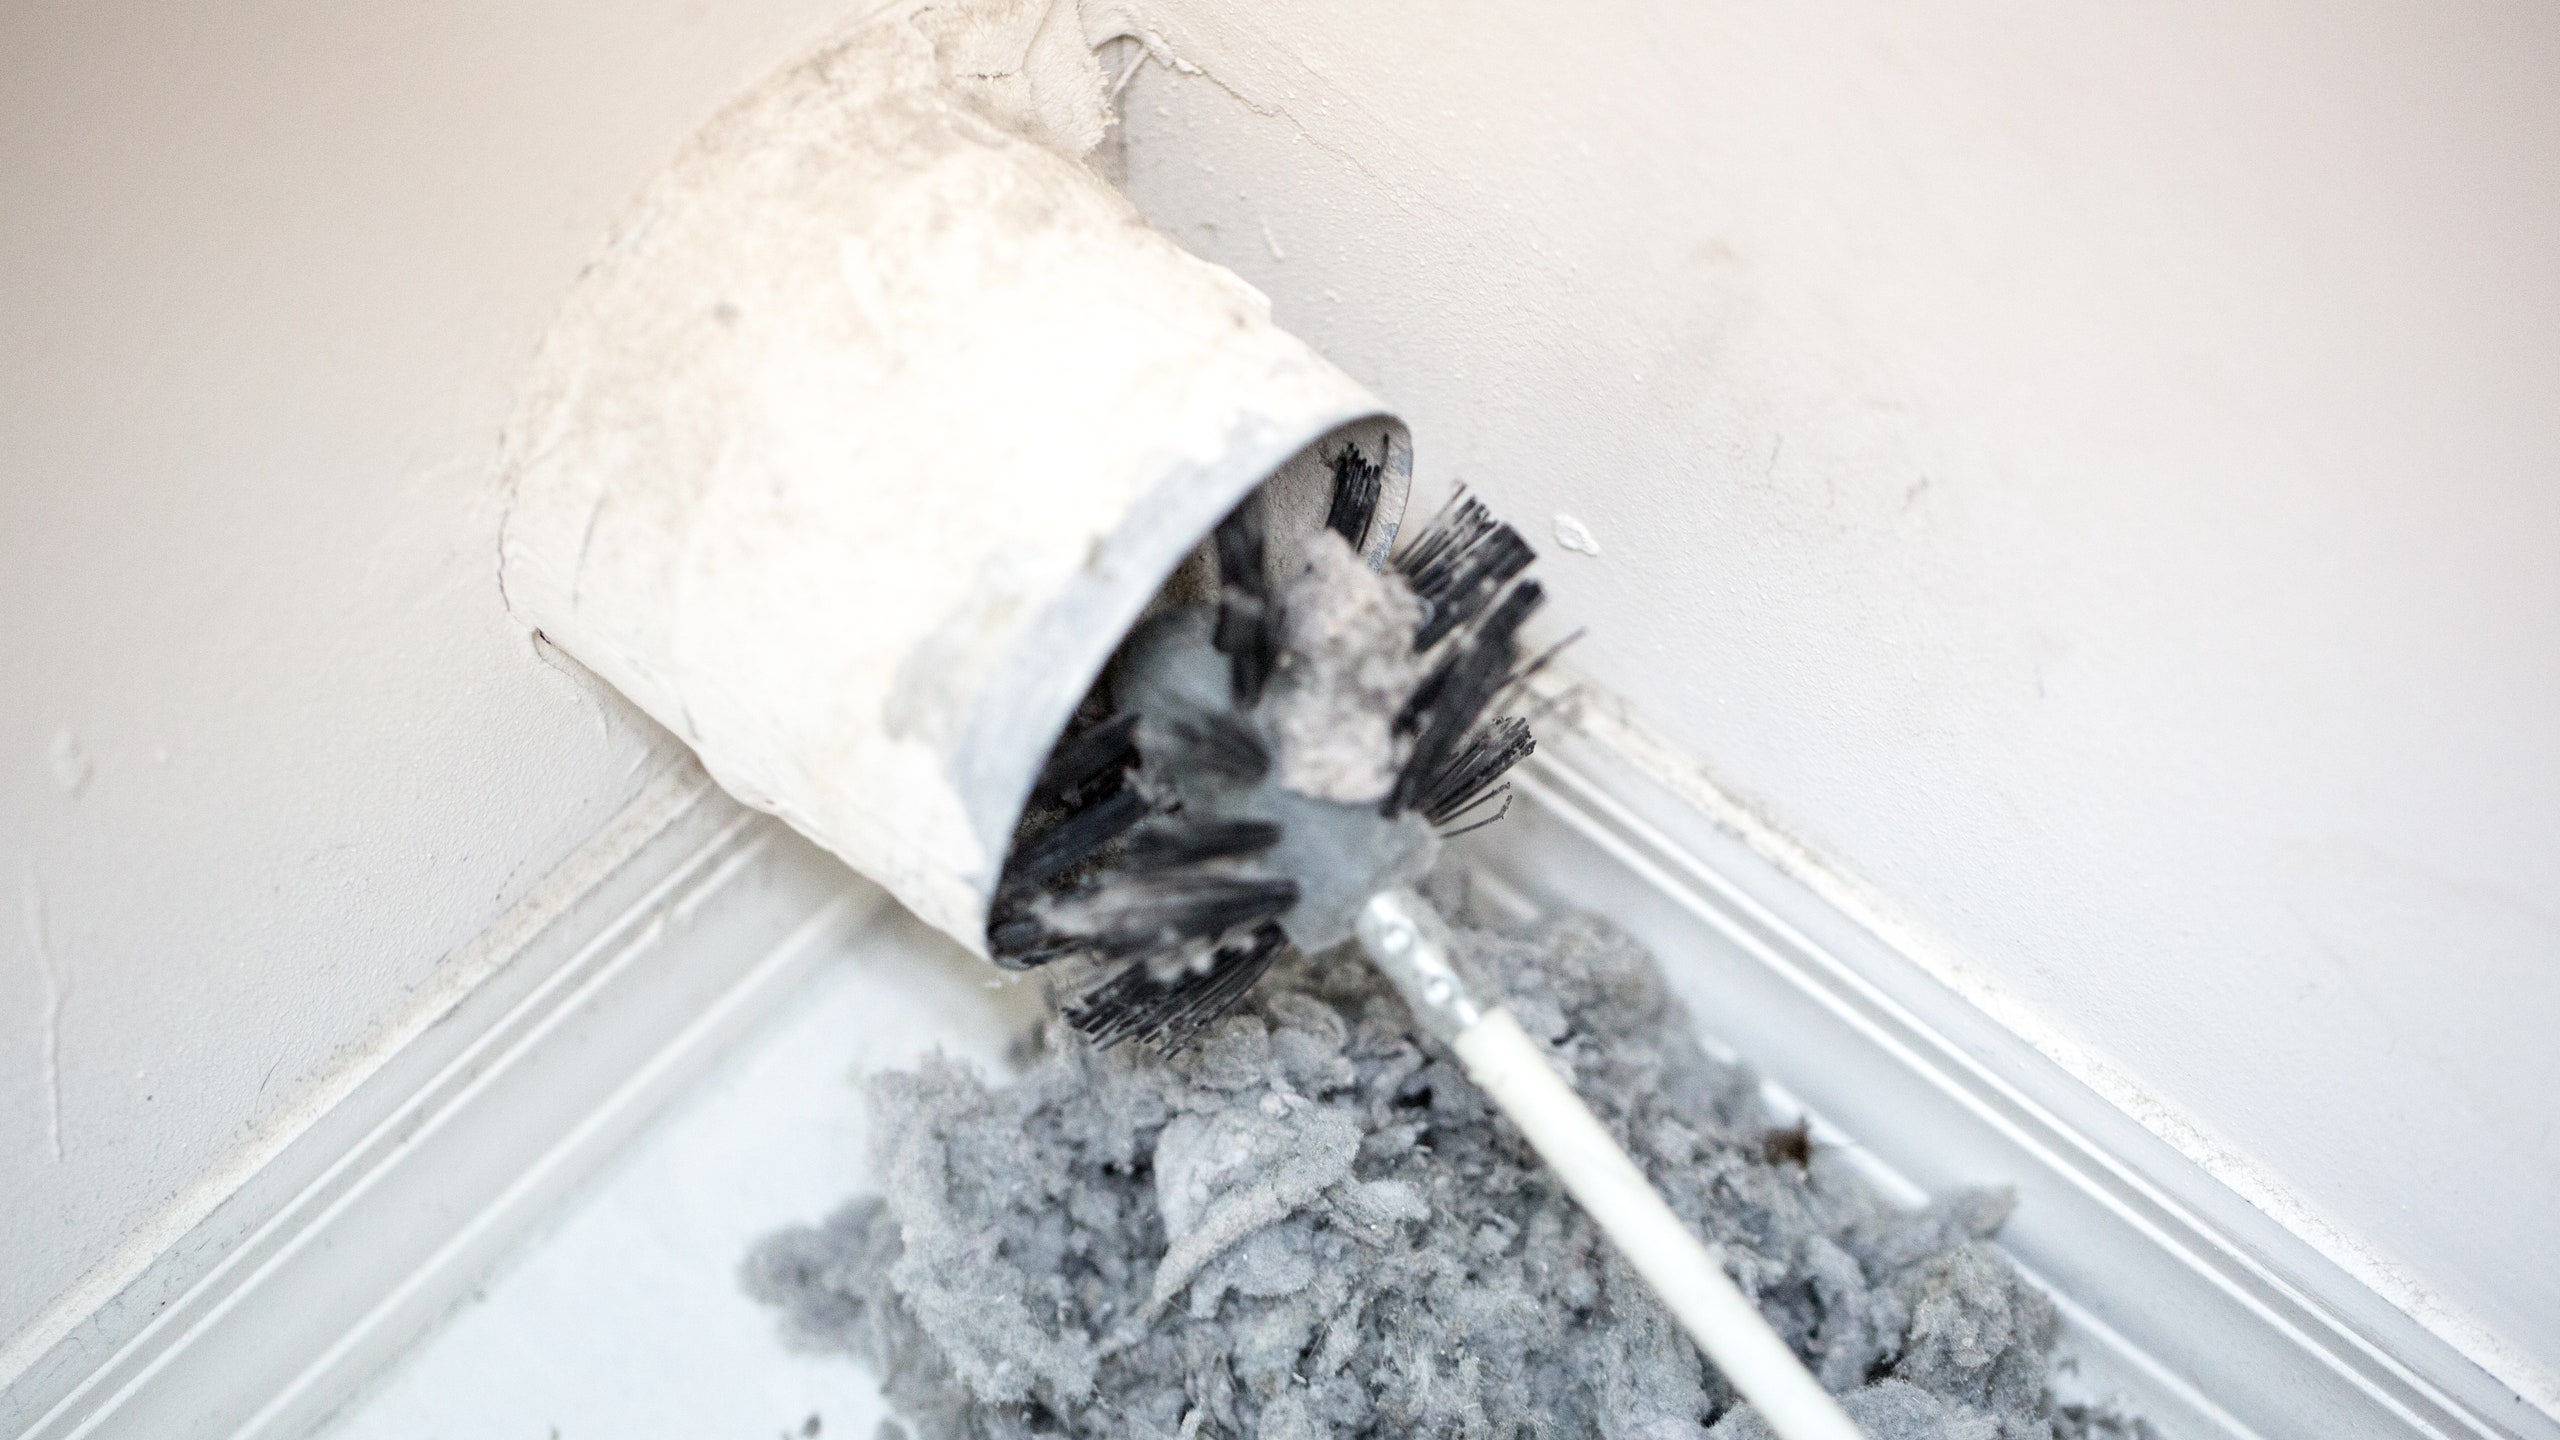
Regularly clean the lint trap and vent of your Samsung dryer to prevent fire hazards and improve efficiency. Use a vacuum attachment or dryer vent brush to remove built-up lint and debris.
Step 5: Clean the Dryer Vent Hose
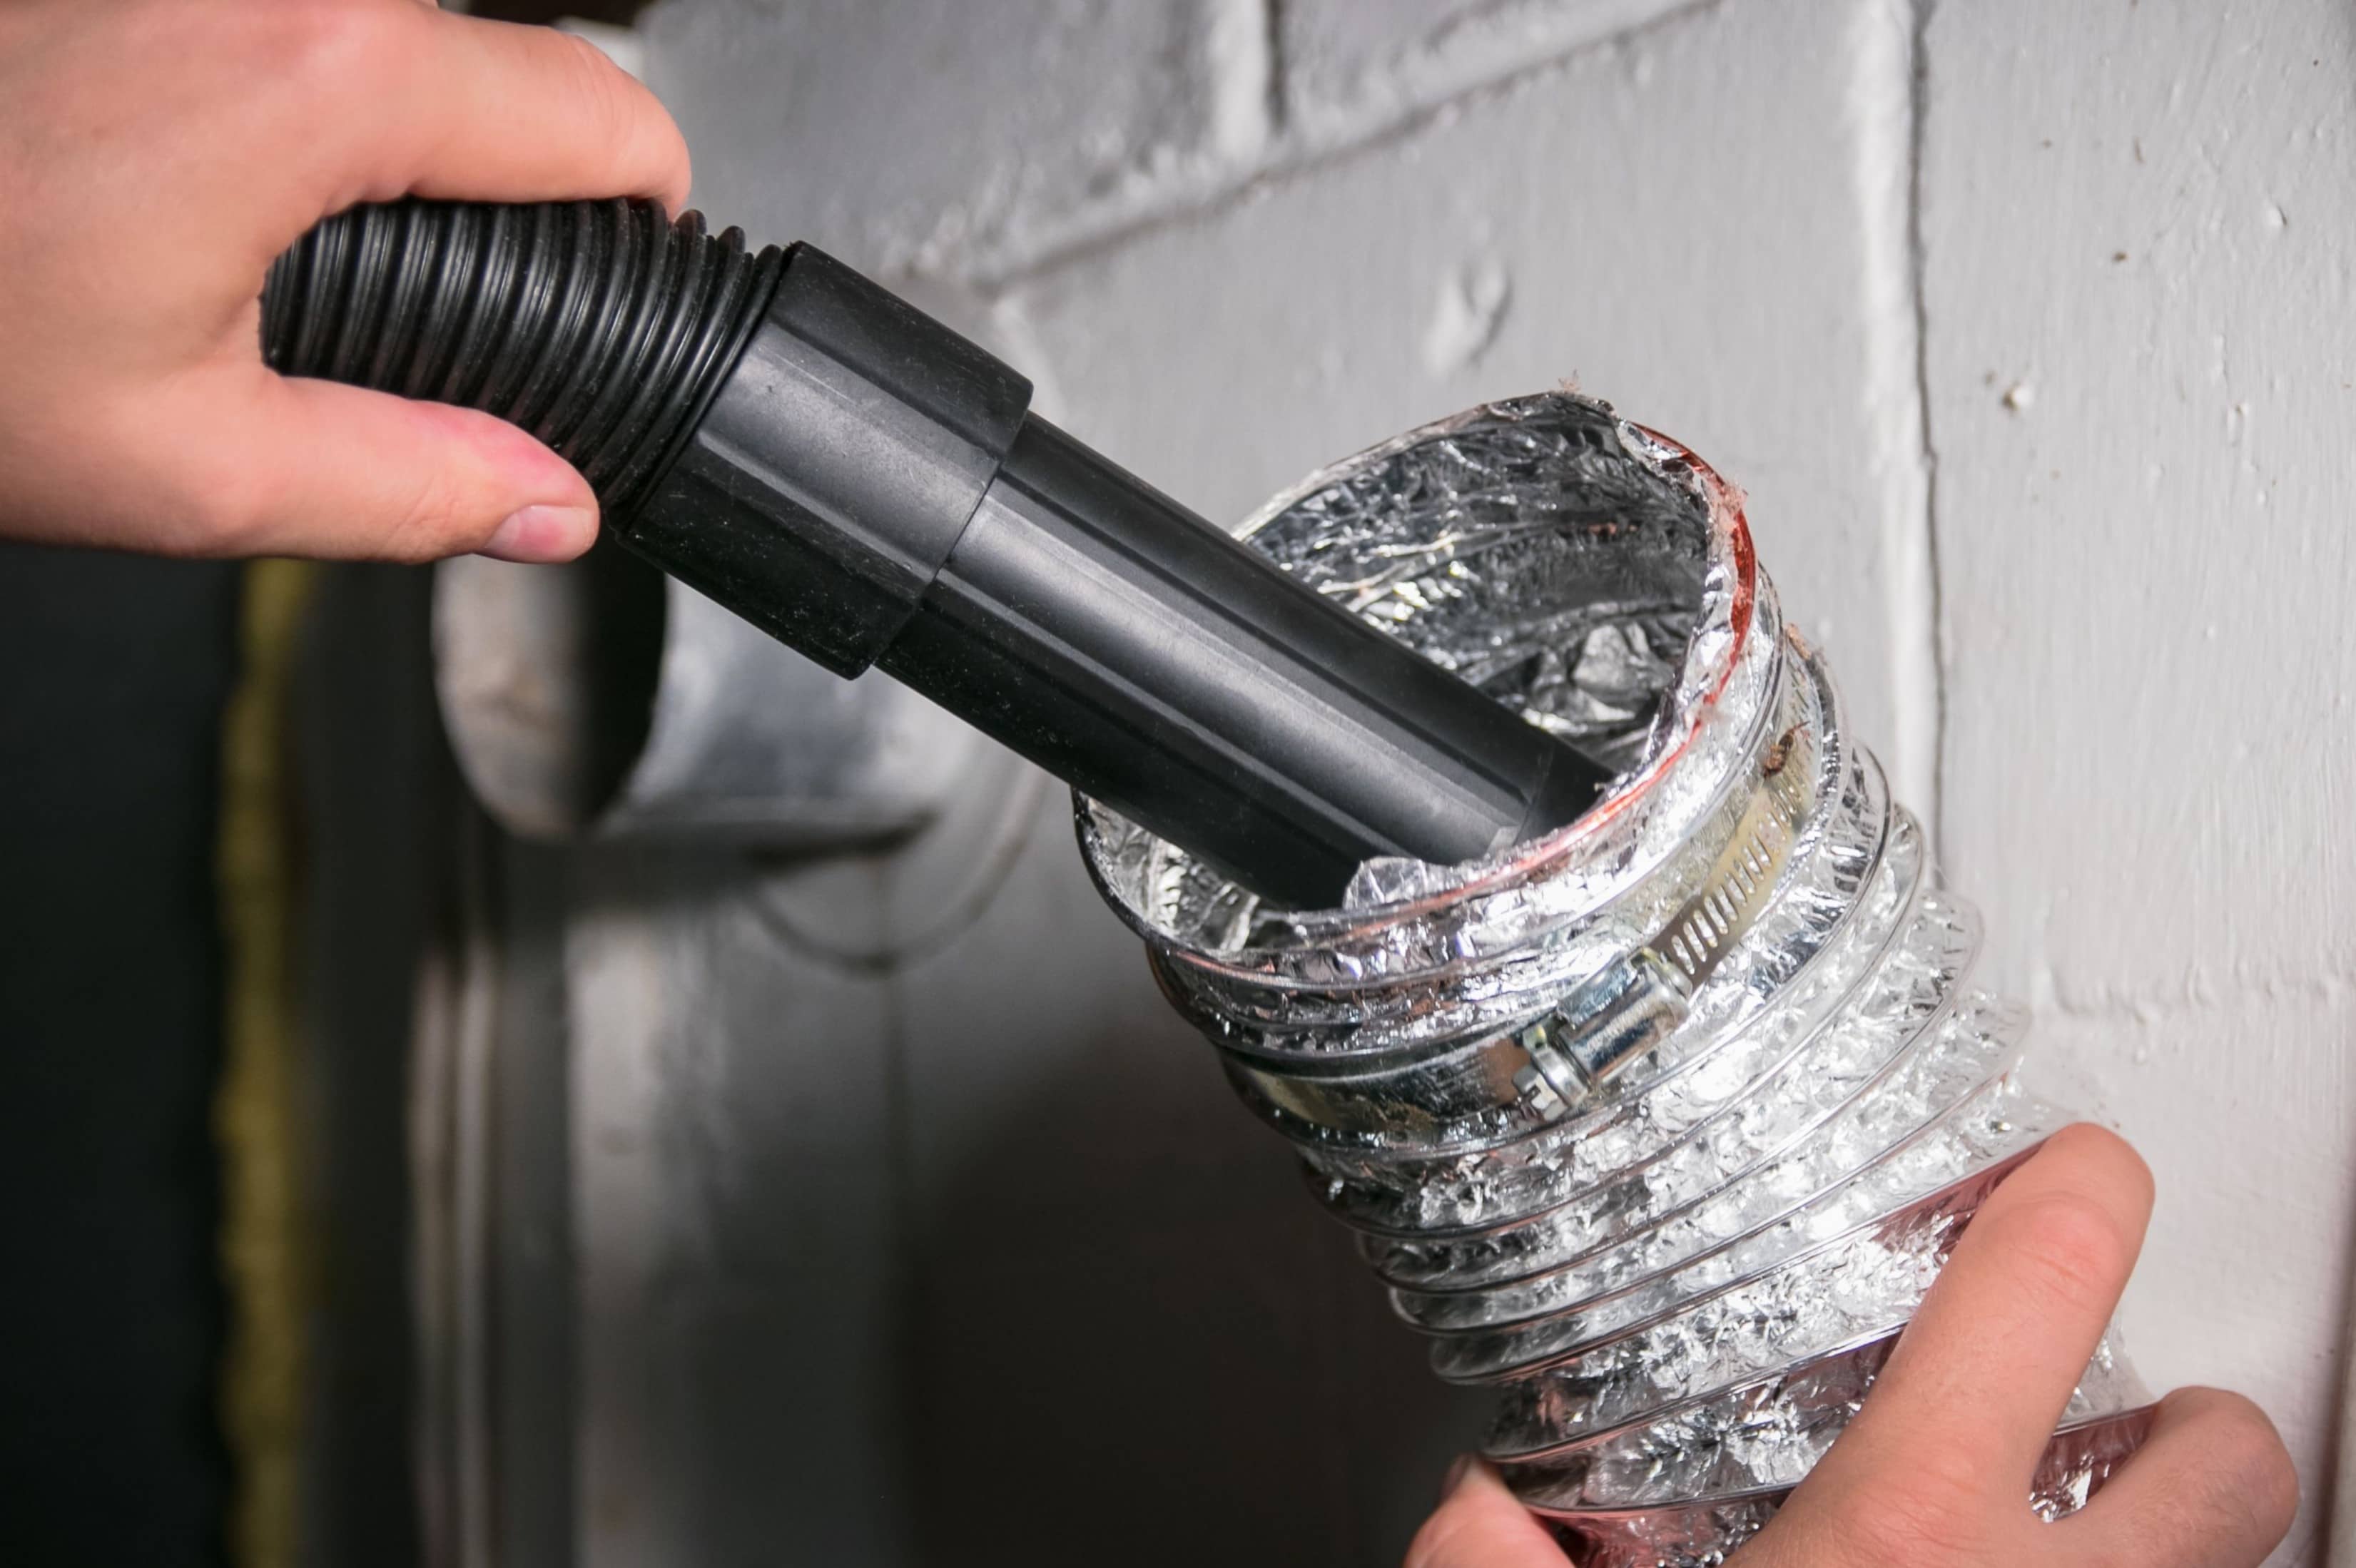
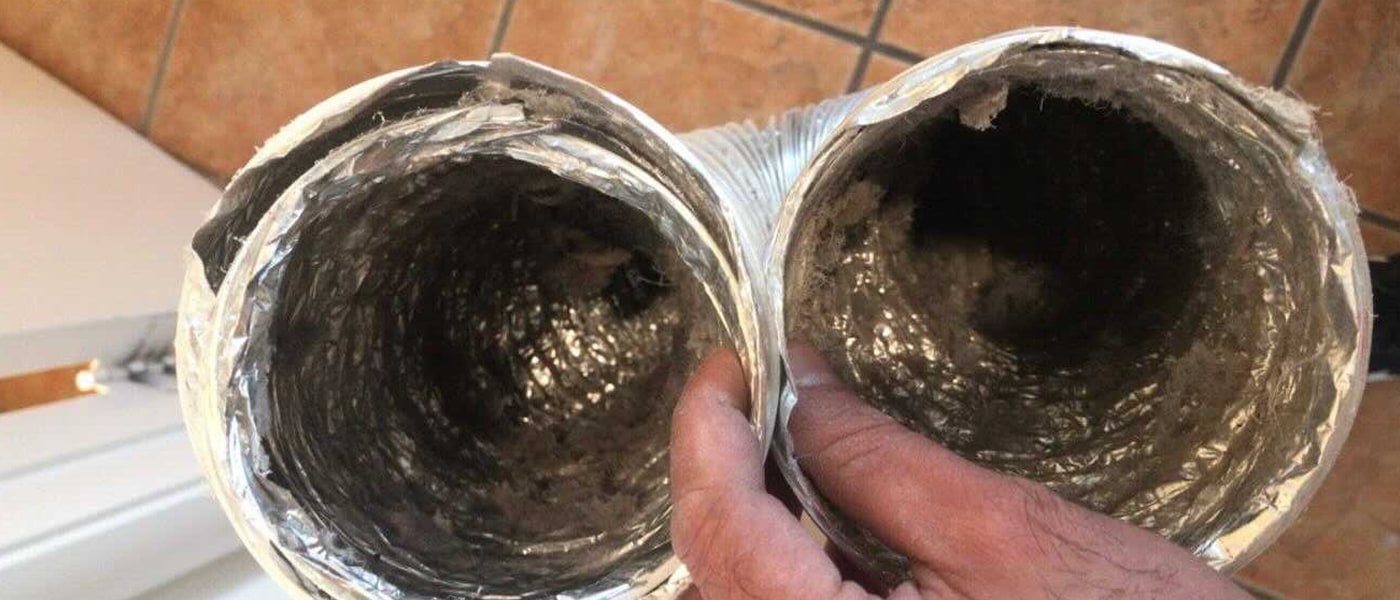
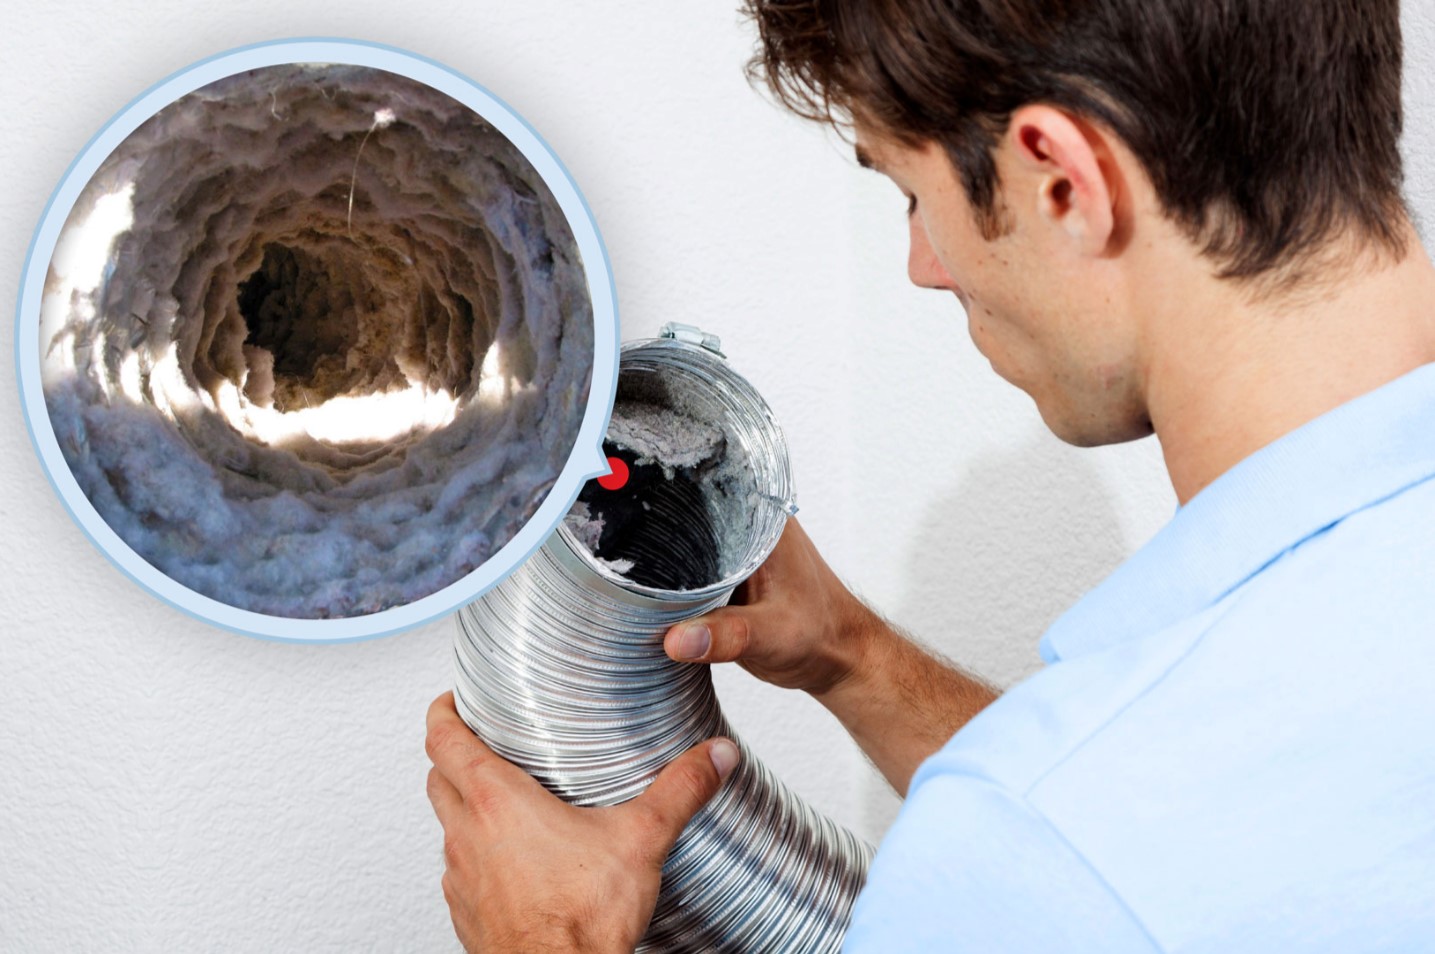
With the dryer vent hose disconnected, it’s time to give it a thorough cleaning. The vent hose is responsible for transporting hot air and lint from the dryer to the outside of your home. Over time, this hose can become clogged with lint and other debris, reducing the airflow and efficiency of your Samsung dryer.
Start by taking the vent hose outside or to a well-ventilated area where you can easily shake out any loose debris. Give the hose a good shake to remove as much lint as possible. You can also use a brush or your hands to remove any stubborn lint clinging to the inside walls of the hose.
Next, using a vacuum cleaner with a brush attachment, run the brush along the inside of the vent hose to further remove any remaining lint or debris. Make sure to reach all areas and corners of the hose to ensure a thorough cleaning.
If you have a long, flexible brush designed specifically for dryer vent cleaning, insert it into the hose and move it back and forth to dislodge any lint that may be stuck. This brush can reach deeper into the hose and help remove any stubborn clogs.
Inspect the vent hose for any signs of damage such as holes, tears, or cracks. If you notice any issues, it’s important to replace the hose before reconnecting it to the dryer.
Once you are satisfied with the cleanliness of the vent hose, it’s time to move on to step 6 – cleaning the vent opening and exhaust hood.
Step 6: Clean the Vent Opening and Exhaust Hood
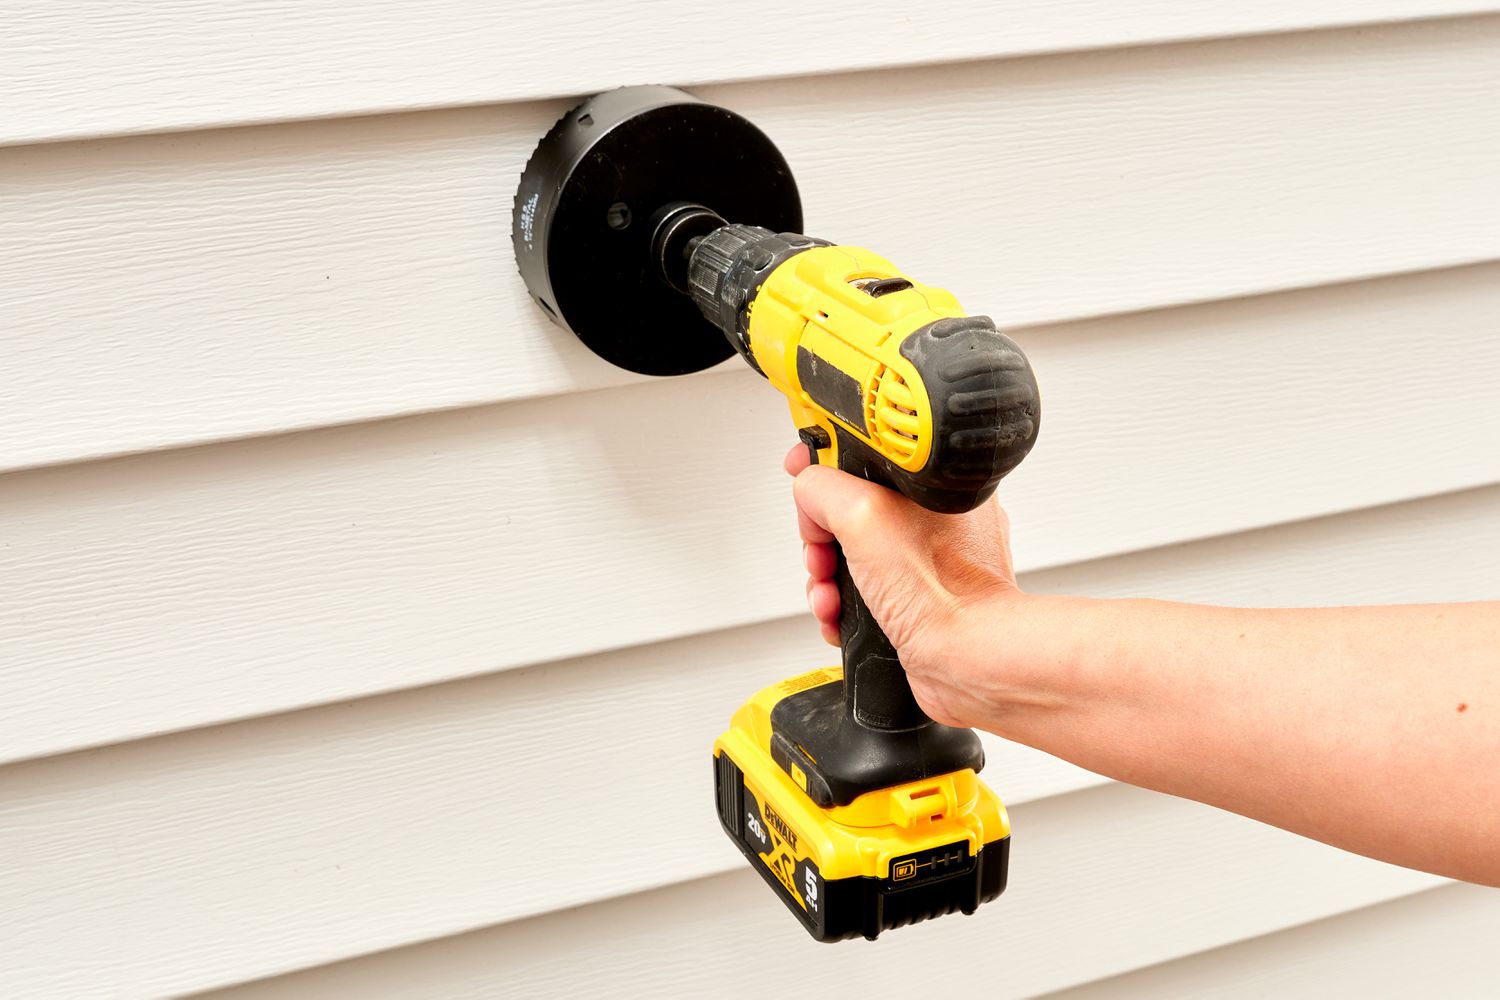
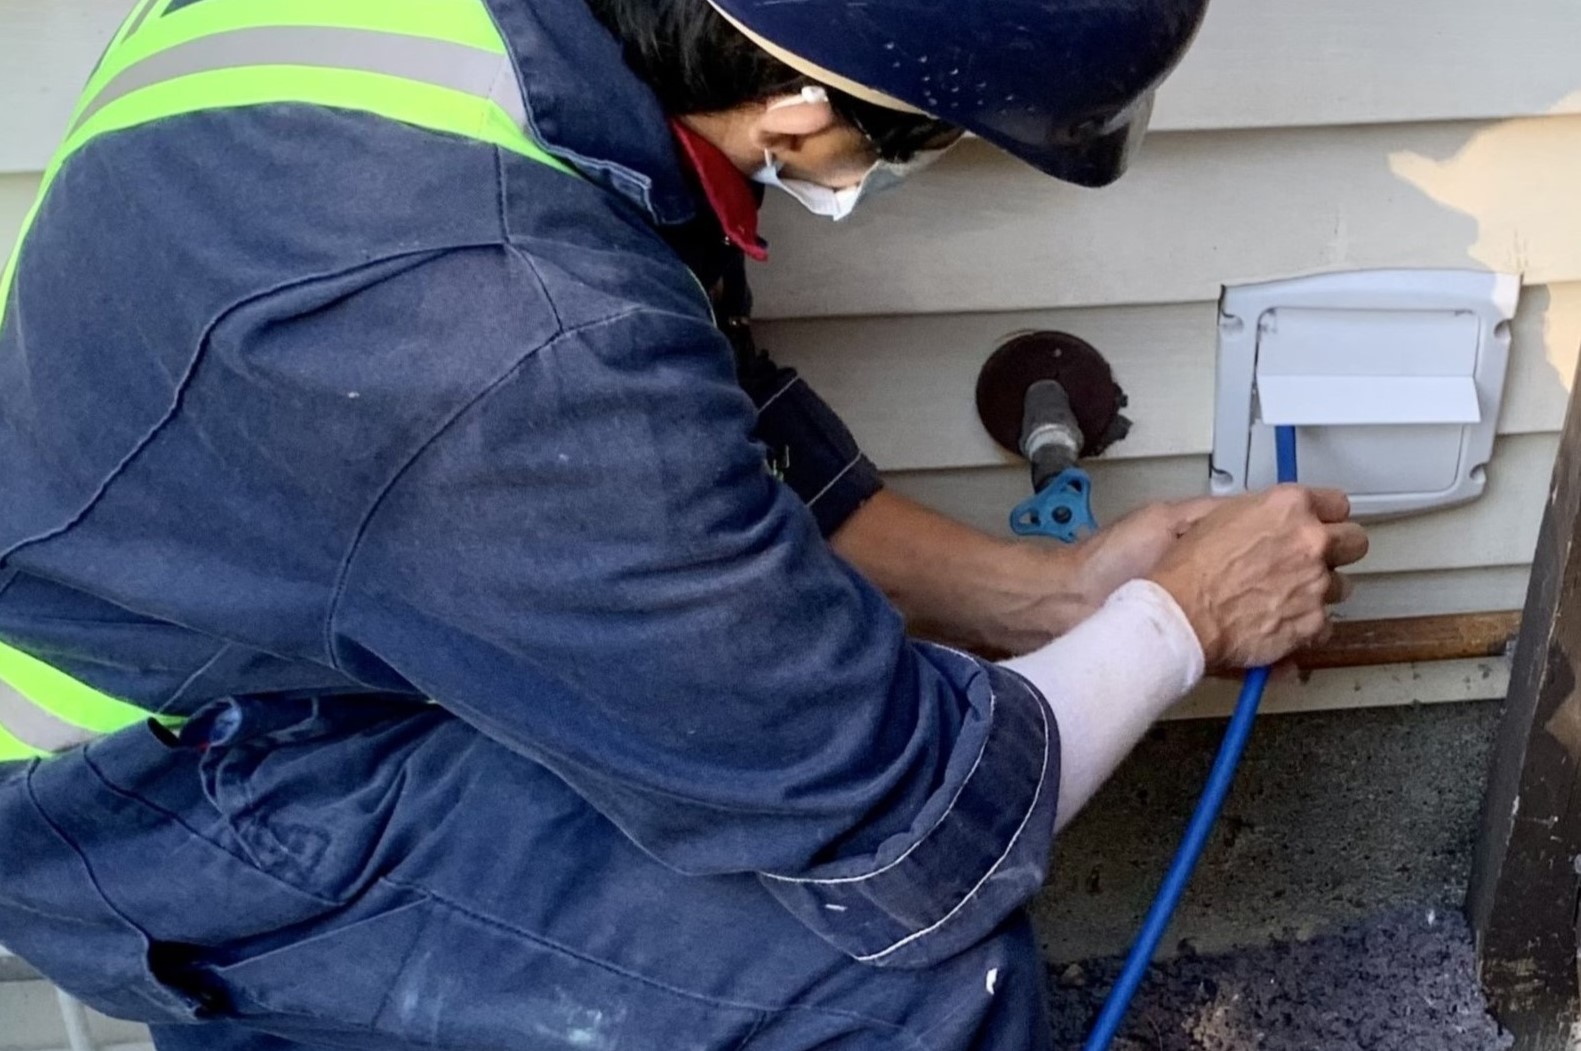
After cleaning the dryer vent hose, it’s essential to clean the vent opening and exhaust hood to ensure proper airflow and prevent any blockages. The vent opening is typically located on the exterior of your home, while the exhaust hood is attached to the end of the vent hose.
Start by locating the vent opening on the exterior of your home. This is where the hot air and lint from your dryer are expelled. Inspect the vent opening for any visible signs of debris or obstruction.
Using a vacuum cleaner with a brush attachment, gently clean the vent opening to remove any buildup of lint, dust, or other debris. Be thorough in your cleaning, ensuring that the vent opening is clear and unobstructed.
Next, move back inside and locate the exhaust hood at the end of the vent hose. If the exhaust hood is removable, carefully detach it from the hose. Examine the exhaust hood for any signs of blockage, such as lint or debris.
If the exhaust hood is dirty, wash it using a mild detergent or cleaning solution, and rinse it thoroughly with water. Ensure that the exhaust hood is completely dry before reattaching it to the vent hose.
Inspect the vent hose where it connects to the exhaust hood. Remove any lint or debris from this area, ensuring that the connection is clean and secure.
Once you have cleaned both the vent opening and exhaust hood, you can proceed to the next step – reconnecting the dryer vent hose.
Read more: How Often Dryer Vent Cleaning
Step 7: Reconnect the Dryer Vent Hose
With the vent opening and exhaust hood clean, it’s time to reconnect the dryer vent hose to the back of your Samsung dryer. A secure and properly connected vent hose ensures efficient airflow and prevents any potential leaks or blockages.
Begin by carefully maneuvering the dryer back into its original position, ensuring that there is enough clearance to access the back of the appliance.
Take the vent hose and line it up with the dryer’s exhaust port. Slide the hose onto the exhaust port, making sure it fits snugly but not too tightly. If necessary, use a gentle twisting motion to aid in connecting the hose.
Once the hose is in place on the exhaust port, reattach the clamp to secure it. Use a screwdriver or nut driver to tighten the clamp, ensuring that it holds the hose firmly in place. Make sure not to overtighten the clamp, as this could damage the hose or the dryer.
If your vent hose requires additional support, you can use duct tape or zip ties to secure it to the dryer or the wall. This will help minimize any potential movement or sagging of the hose during operation.
Double-check that the vent hose is properly connected and secured before moving on to the next step. A securely attached vent hose ensures optimal airflow and reduces the risk of lint buildup.
Now that the dryer vent hose is reconnected, it’s time to move on to step 8 – cleaning the exterior of the dryer.
Step 8: Clean the Exterior of the Dryer
After reconnecting the dryer vent hose, it’s important to clean the exterior of your Samsung dryer. Over time, dust, dirt, and grime can accumulate on the surface, affecting both the appearance and performance of the appliance.
Start by preparing a mild cleaning solution using a gentle detergent and water. Dip a soft cloth or sponge into the solution and wring out any excess liquid. The cloth should be slightly damp, not dripping wet.
Gently wipe the entire exterior of the dryer, including the control panel, top, sides, and front. Pay attention to any areas that may have accumulated dirt or stains. Use a circular motion to remove the dirt and grime.
If the surface of your dryer is stainless steel, take extra care to not leave behind any streaks or residue. You can use a stainless steel cleaner specifically designed for appliances or a mixture of vinegar and water to achieve a streak-free finish.
For stubborn stains or spots, you can apply a small amount of mild detergent directly to the cloth and gently scrub the affected area. Avoid using abrasive cleaners or harsh chemicals as they may damage the surface of the dryer.
Once you have cleaned the exterior of the dryer, use a clean, dry cloth to remove any excess moisture. Make sure the dryer is completely dry before plugging it back in.
Cleaning the exterior of your Samsung dryer not only improves its appearance but also helps maintain its longevity and performance. Take pride in a clean and well-maintained appliance.
Now that the exterior is clean, you’re ready for the final step – plugging in the dryer.
Step 9: Plug in the Dryer
After thoroughly cleaning the dryer vent and the exterior of your Samsung dryer, it’s time to plug the appliance back in and ensure everything is in proper working order.
Locate the power cord at the back of the dryer and gently insert it into the wall socket. Be careful not to force the plug or bend the prongs. Ensure that the plug is securely inserted and properly grounded.
After plugging in the dryer, take a moment to double-check that all buttons and knobs on the control panel are functioning correctly. This ensures that the power supply has been successfully restored and that the appliance is ready to use.
If your dryer is connected to a gas supply, remember to turn the gas valve back to its original position, parallel to the gas line. This allows the flow of gas to the appliance and ensures it can operate properly.
With the dryer now plugged in and the power restored, you can test the appliance by running a short cycle with a few items of laundry. This will allow you to ensure that the dryer is functioning correctly and that the airflow is adequate.
During the first few cycles, pay close attention to any unusual noises or odors. If you notice anything out of the ordinary, stop the dryer and check for any issues. It’s always better to address any potential problems early on to prevent further damage or safety hazards.
Congratulations! You have successfully cleaned your Samsung dryer vent and completed all the necessary steps for proper maintenance. Regularly clean your dryer vent to prevent lint buildup and ensure efficient and safe operation.
Remember, a clean dryer vent not only enhances the performance of your appliance but also decreases the risk of fire and extends its lifespan. Your efforts in maintaining your dryer will pay off in the long run with improved drying efficiency and peace of mind.
We hope this comprehensive guide has been helpful to you. If you have any other home maintenance questions or need assistance with your Samsung dryer, feel free to reach out. Happy drying!
Conclusion
Cleaning your Samsung dryer vent is an essential maintenance task that should not be overlooked. By regularly cleaning the vent, you can ensure efficient drying, extend the lifespan of your appliance, and reduce the risk of fire hazards.
Throughout this guide, we have provided step-by-step instructions on how to clean a Samsung dryer vent. From unplugging the dryer and removing the lint trap to disconnecting the vent hose and cleaning the vent opening, each step is crucial in ensuring a thorough cleaning process.
We emphasized the importance of cleaning the dryer vent to prevent fire hazards, improve drying efficiency, and maintain optimal air quality in your home. Regular cleaning will also help extend the lifespan of your dryer and provide peace of mind in knowing that your appliance is safe and working efficiently.
Remember to gather the necessary materials, such as a vacuum cleaner, brush, screwdriver, gloves, and cleaning solutions, to make the cleaning process easier and more effective.
By following the steps outlined in this guide, you can successfully clean your Samsung dryer vent and reap the benefits of a properly maintained appliance.
We hope this article has provided you with valuable insights and guidance on how to clean your Samsung dryer vent. If you have any further questions or if there’s anything else we can assist you with, feel free to reach out. Happy cleaning!
Frequently Asked Questions about How To Clean A Samsung Dryer Vent
Was this page helpful?
At Storables.com, we guarantee accurate and reliable information. Our content, validated by Expert Board Contributors, is crafted following stringent Editorial Policies. We're committed to providing you with well-researched, expert-backed insights for all your informational needs.