Articles
How To Change A Dryer Belt
Modified: August 19, 2024
Learn how to change a dryer belt with this step-by-step guide. Read articles and expert tips to make your dryer belt replacement quick and easy.
(Many of the links in this article redirect to a specific reviewed product. Your purchase of these products through affiliate links helps to generate commission for Storables.com, at no extra cost. Learn more)
Introduction
Changing a dryer belt is a relatively simple task that can be accomplished with a few basic tools and some careful attention to detail. Over time, the belt in your dryer may become worn or damaged, causing the drum not to spin properly. This can lead to inefficient drying or even prevent your dryer from working altogether. Fortunately, replacing a dryer belt is a DIY project that you can tackle with confidence. In this article, we will guide you through the step-by-step process of changing a dryer belt.
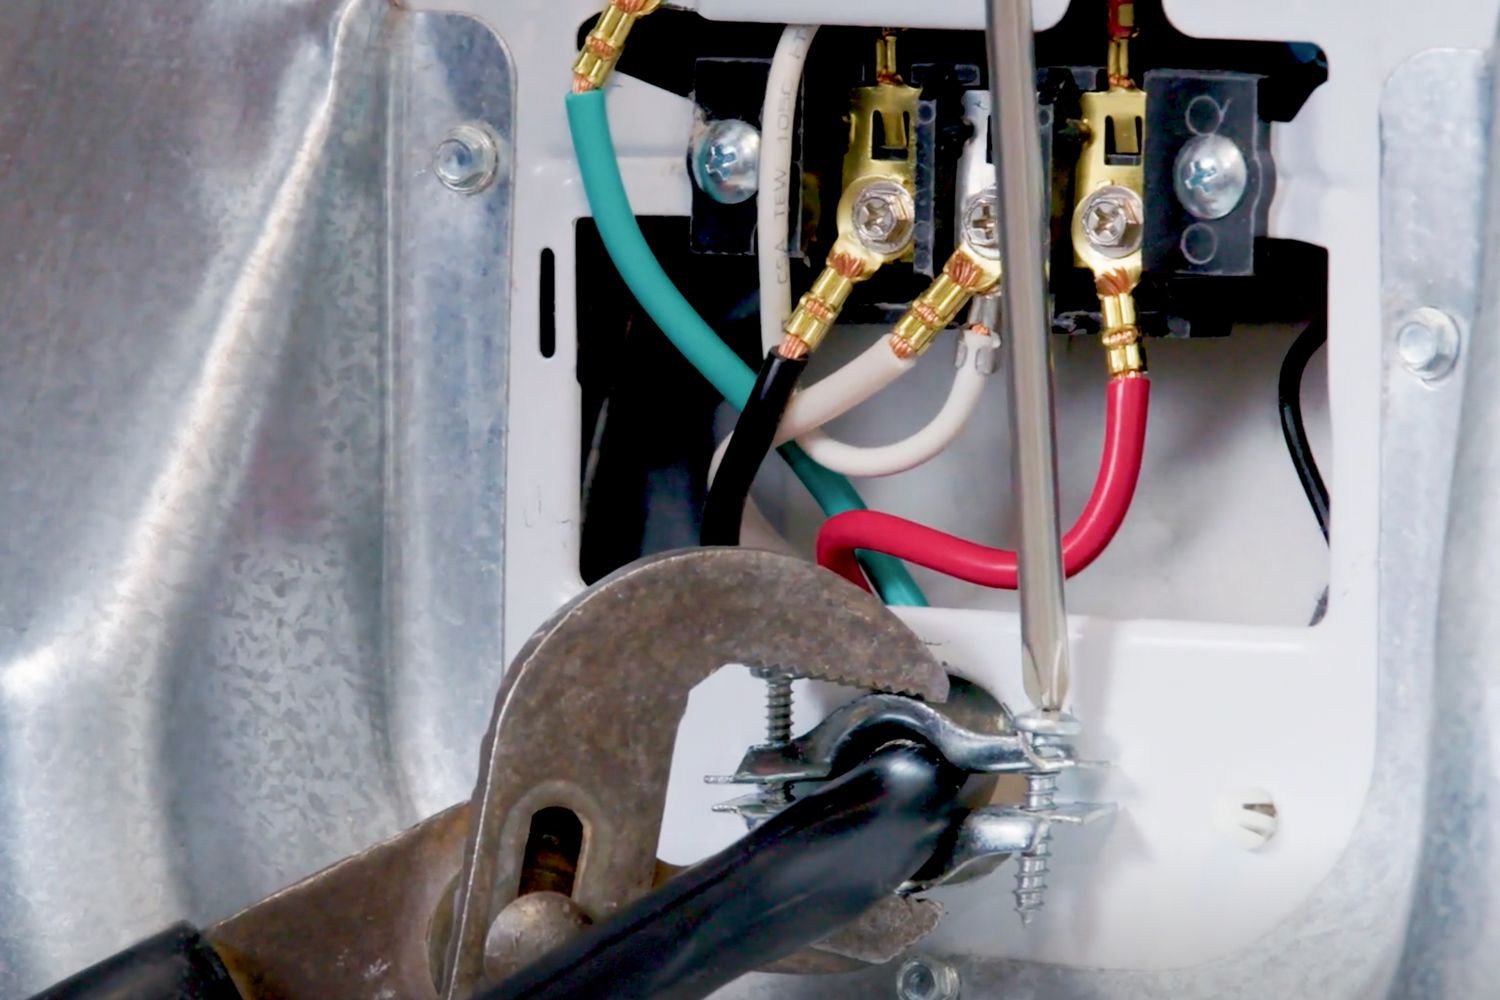
Before we dive into the details, it’s essential to prioritize safety. Always remember to unplug your dryer before starting any repair work. The dryer belt is under tension and can cause injury if mishandled. It’s also a good idea to consult your dryer’s user manual for specific instructions on belt replacement.
Now, let’s take a look at the tools and materials you’ll need to get started.
Key Takeaways:
- Safety is paramount when changing a dryer belt. Always unplug the dryer, wear protective gear, and follow the manufacturer’s instructions to prevent accidents and ensure a smooth repair process.
- By following the step-by-step guide, you can confidently replace your dryer belt and ensure efficient and effective operation. Prioritize safety, gather the necessary tools, and enjoy a fully functional dryer for years to come.
Read more: How To Change A Washing Machine Belt
Safety Precautions
When working with any household appliance, safety should be your top priority. Before you begin replacing the dryer belt, make sure you take the following precautions:
- Unplug the dryer: Before attempting any repairs, always unplug your dryer from the power source to avoid the risk of electric shock.
- Wear protective gear: It’s advisable to wear gloves and safety goggles to protect your hands and eyes from any sharp edges or debris.
- Clear the area: Ensure that the space around your dryer is clear of any objects that could hinder your movement or pose a tripping hazard.
- Check for gas leaks (gas dryers only): If your dryer runs on gas, make sure to check for any gas leaks before starting the repair. If you detect a gas smell, turn off the gas supply and contact a professional.
- Read the user manual: Familiarize yourself with the manufacturer’s instructions and safety guidelines provided in the user manual for your specific dryer model.
By following these safety precautions, you can minimize the risk of accidents and ensure a smooth and safe repair process.
Tools and Materials Needed
Before you begin replacing the dryer belt, gather the necessary tools and materials. Here’s what you’ll need:
- Phillips screwdriver: This tool is essential for removing screws that hold the dryer front panel in place.
- Putty knife: A putty knife will help you pry open the clips securing the top of the dryer to access the belt.
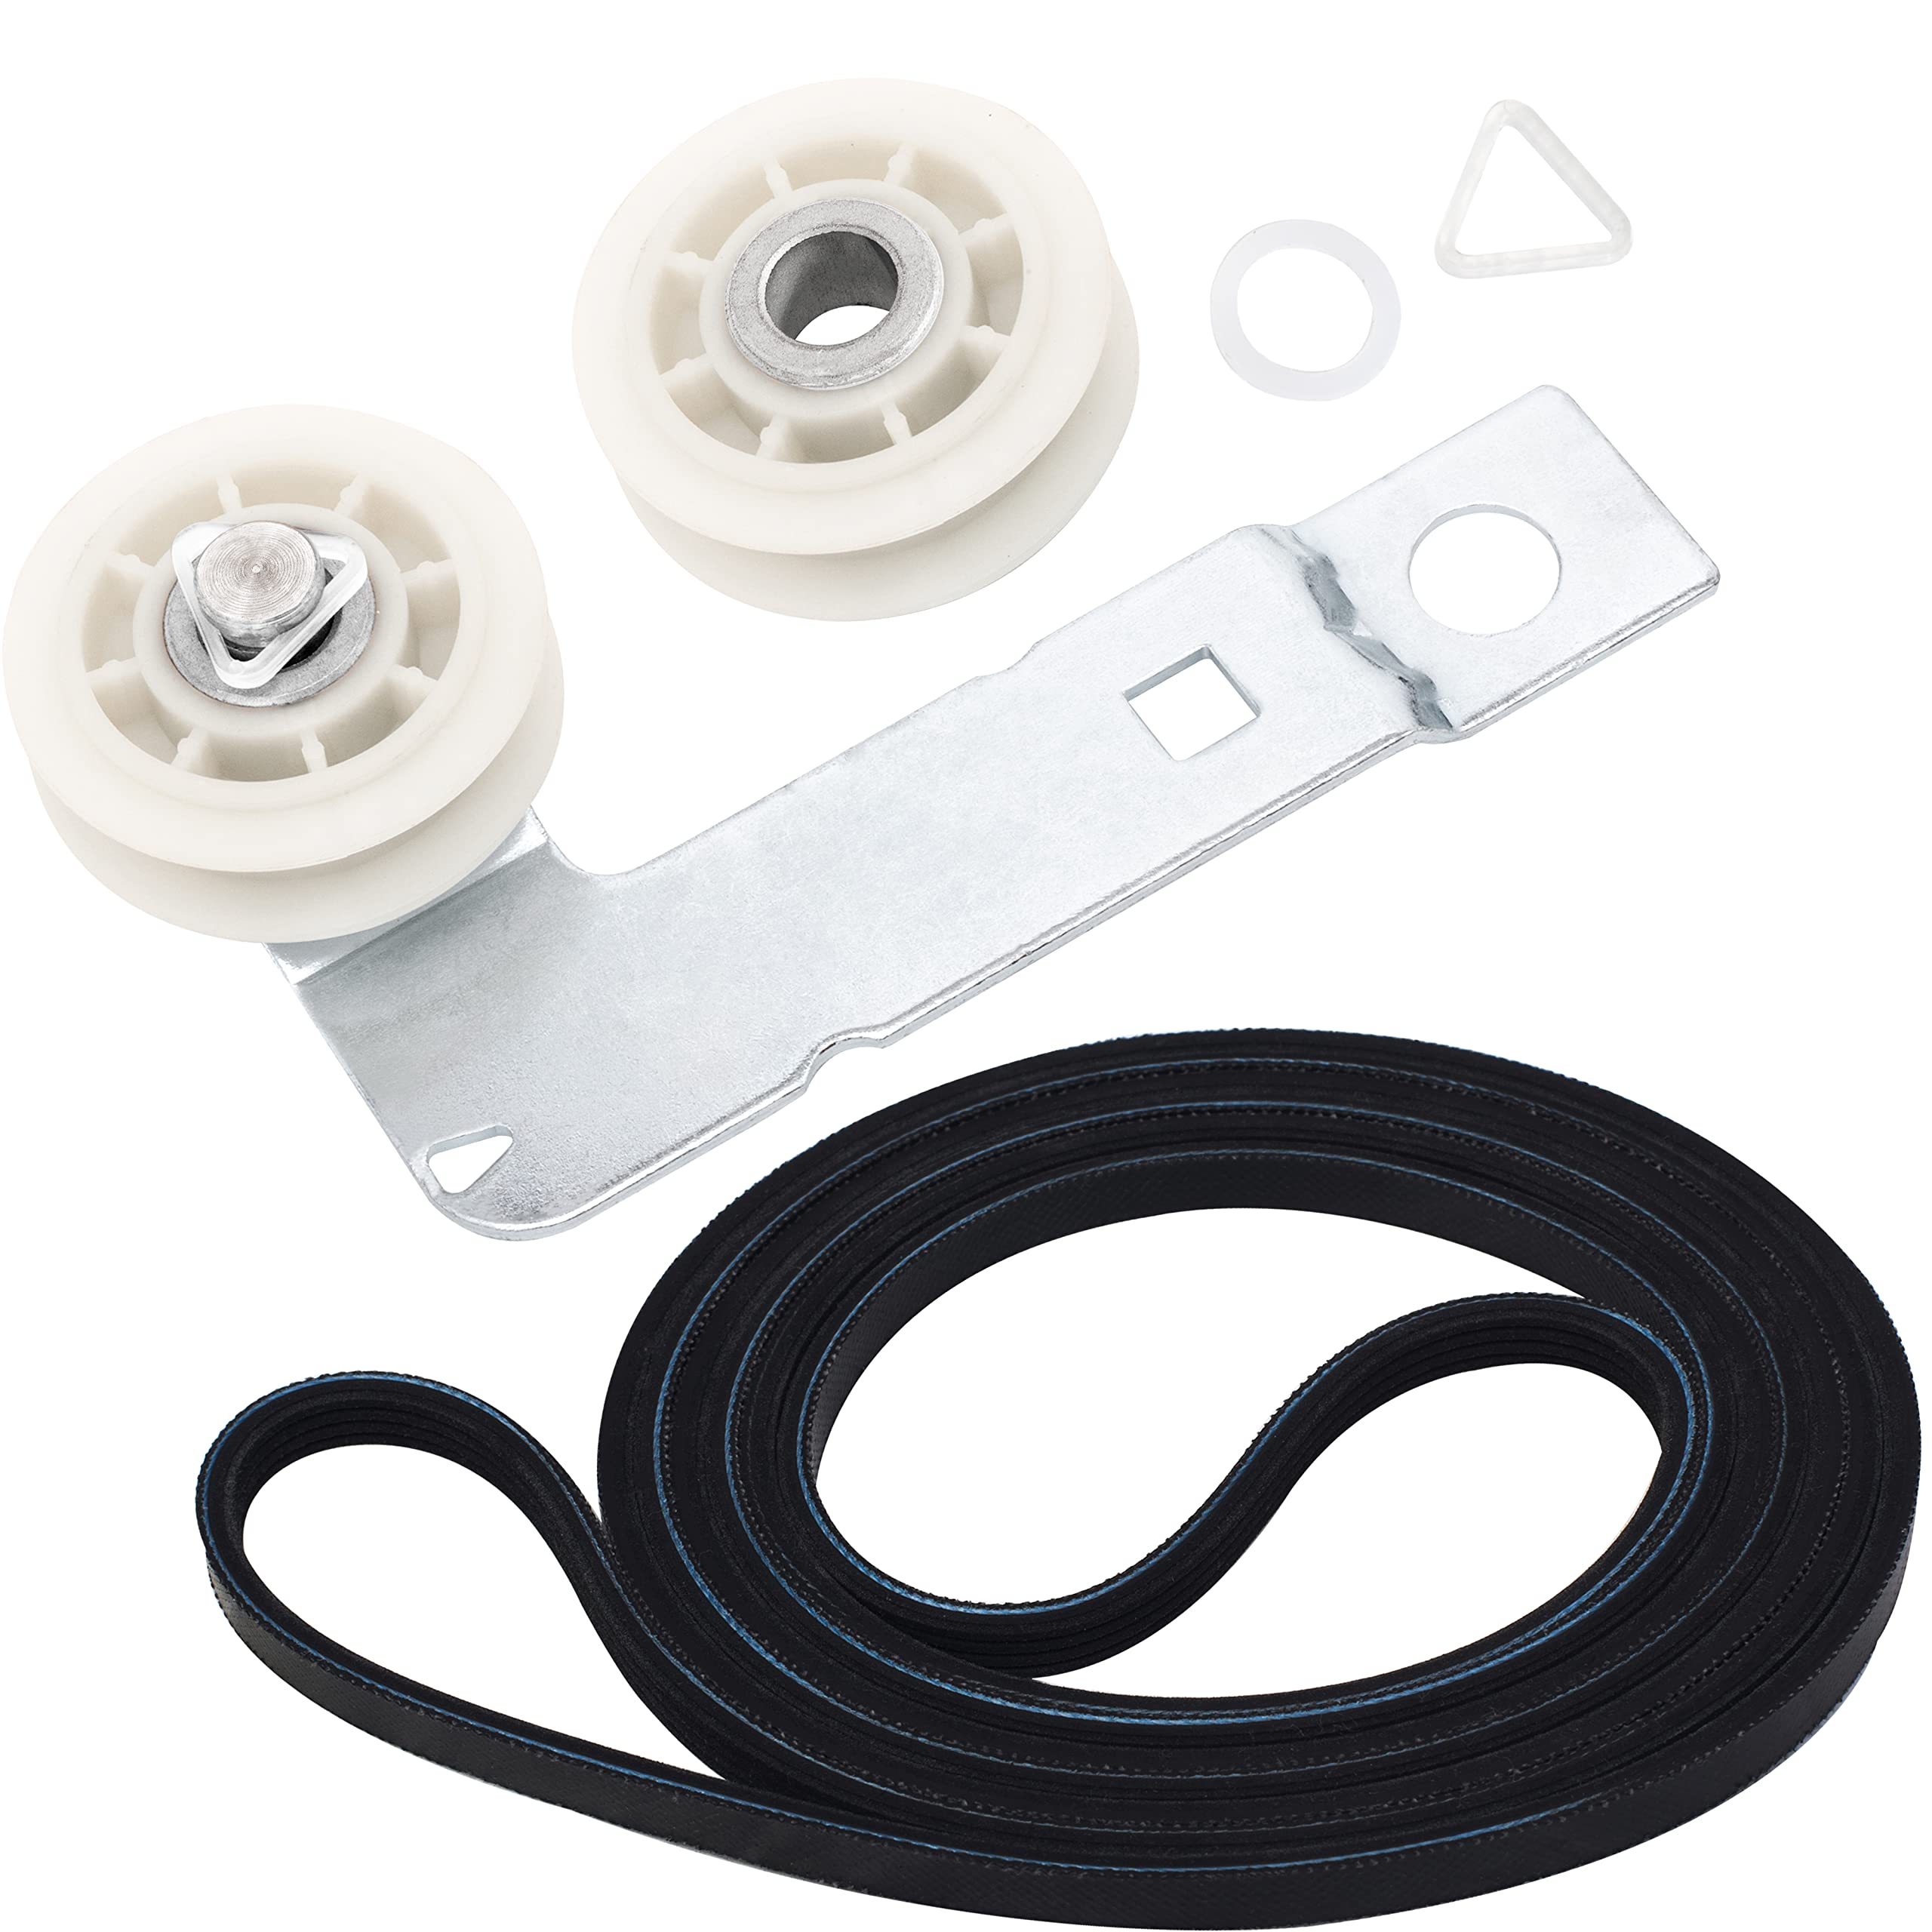
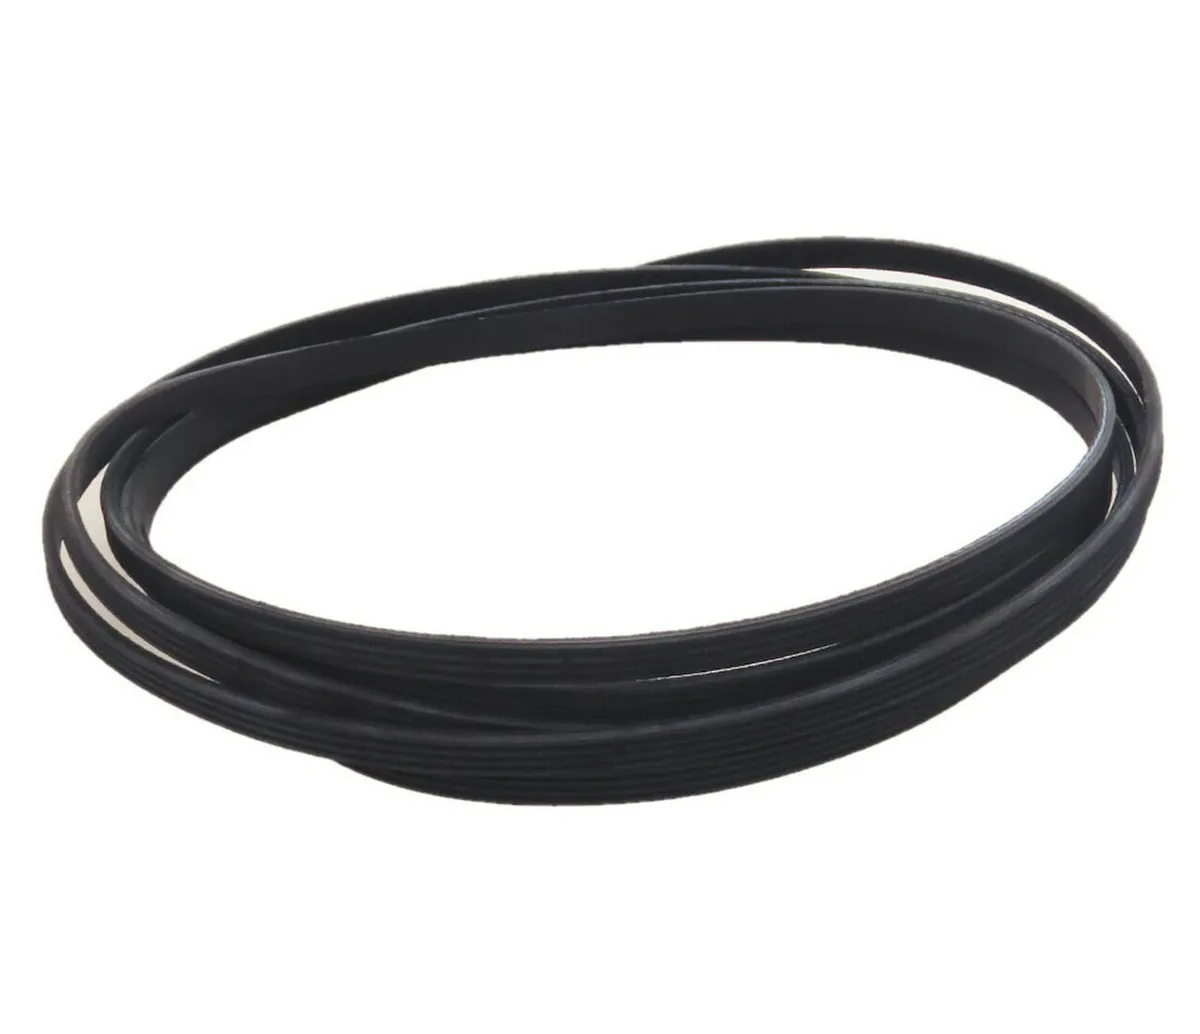
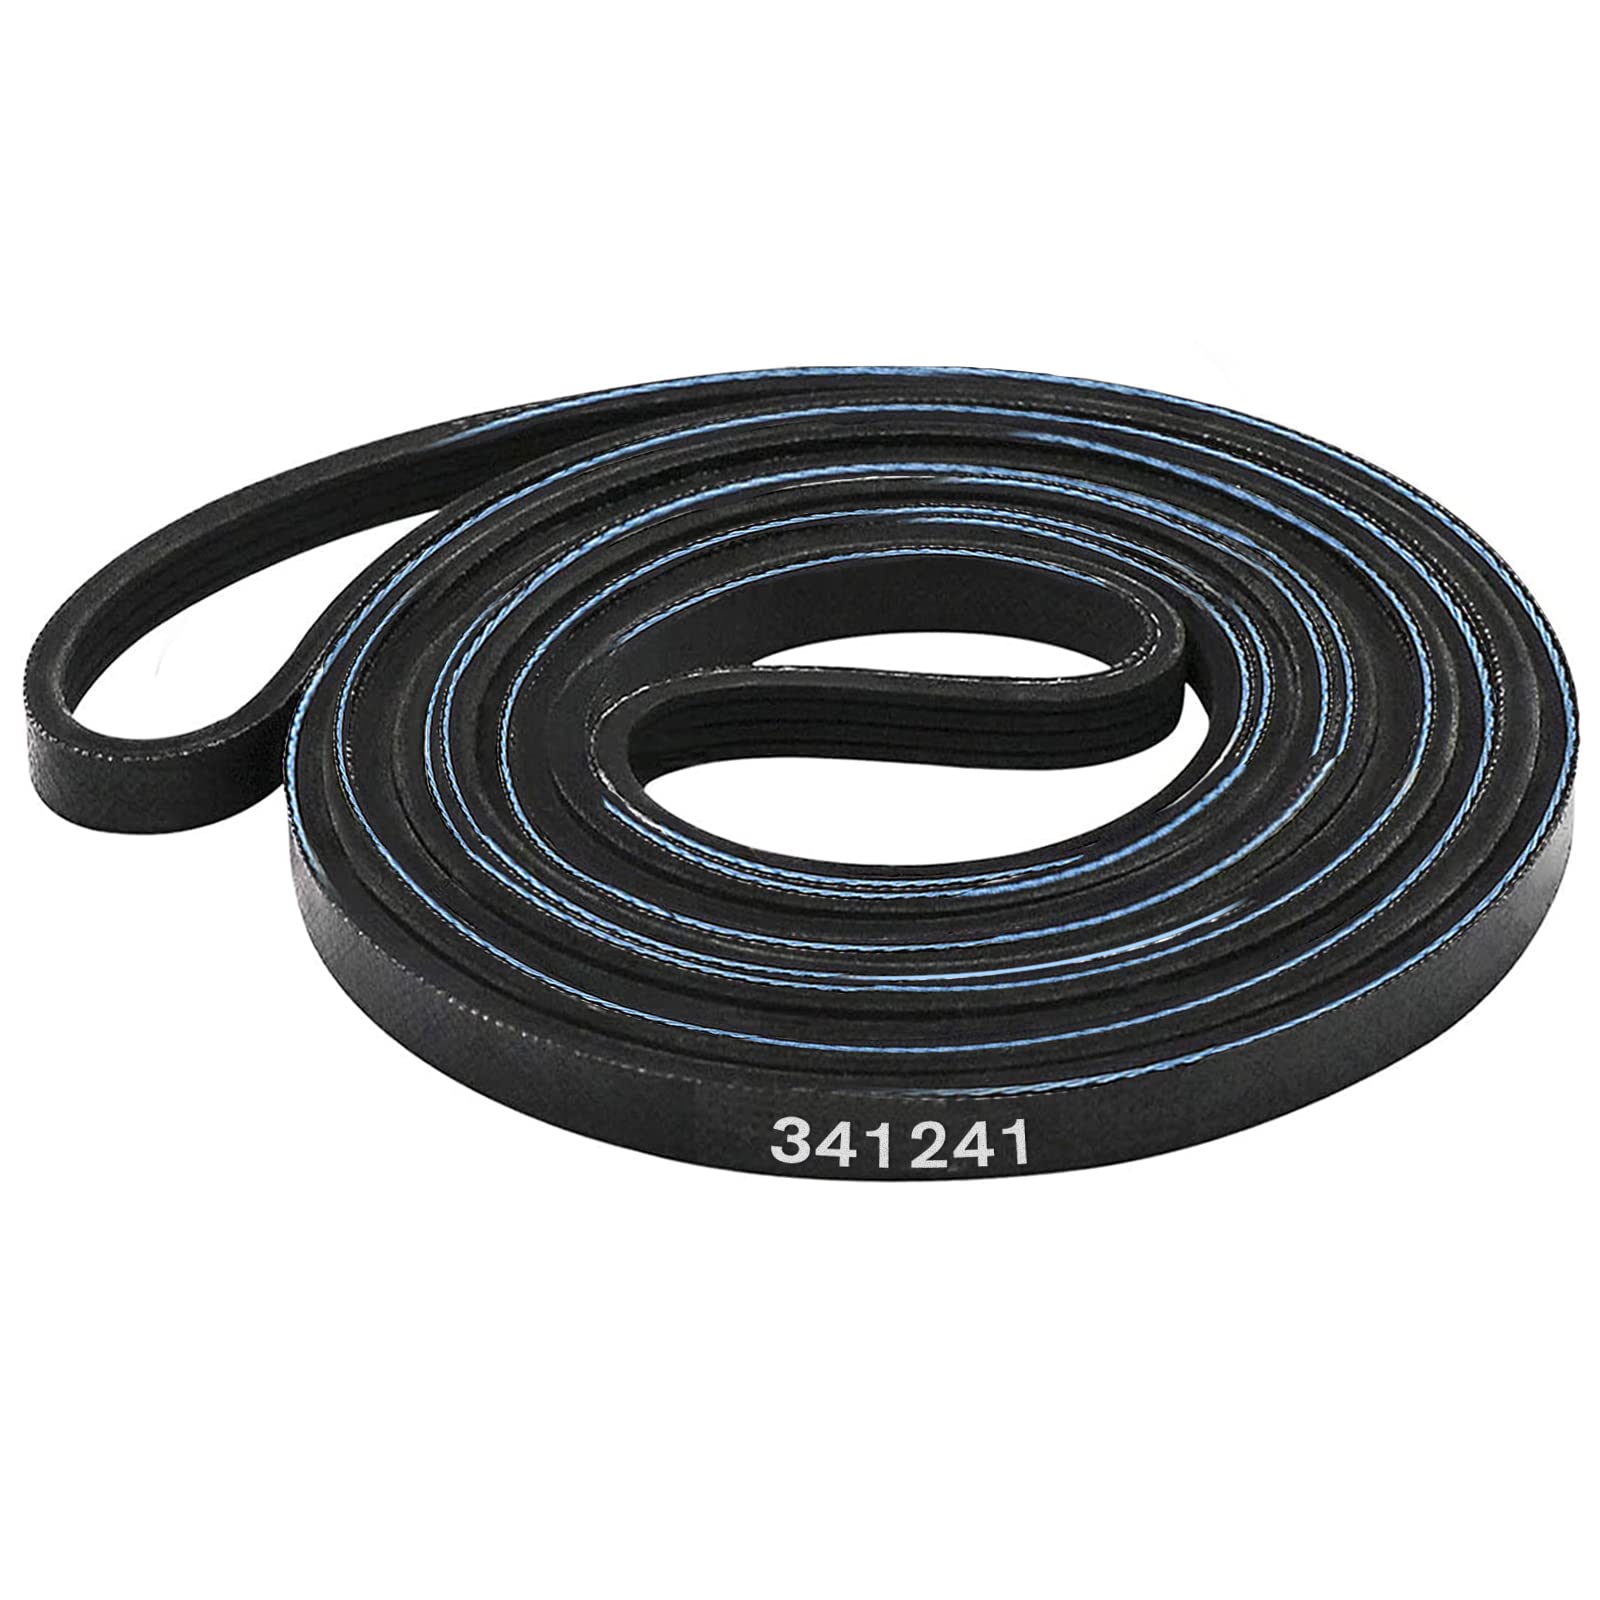
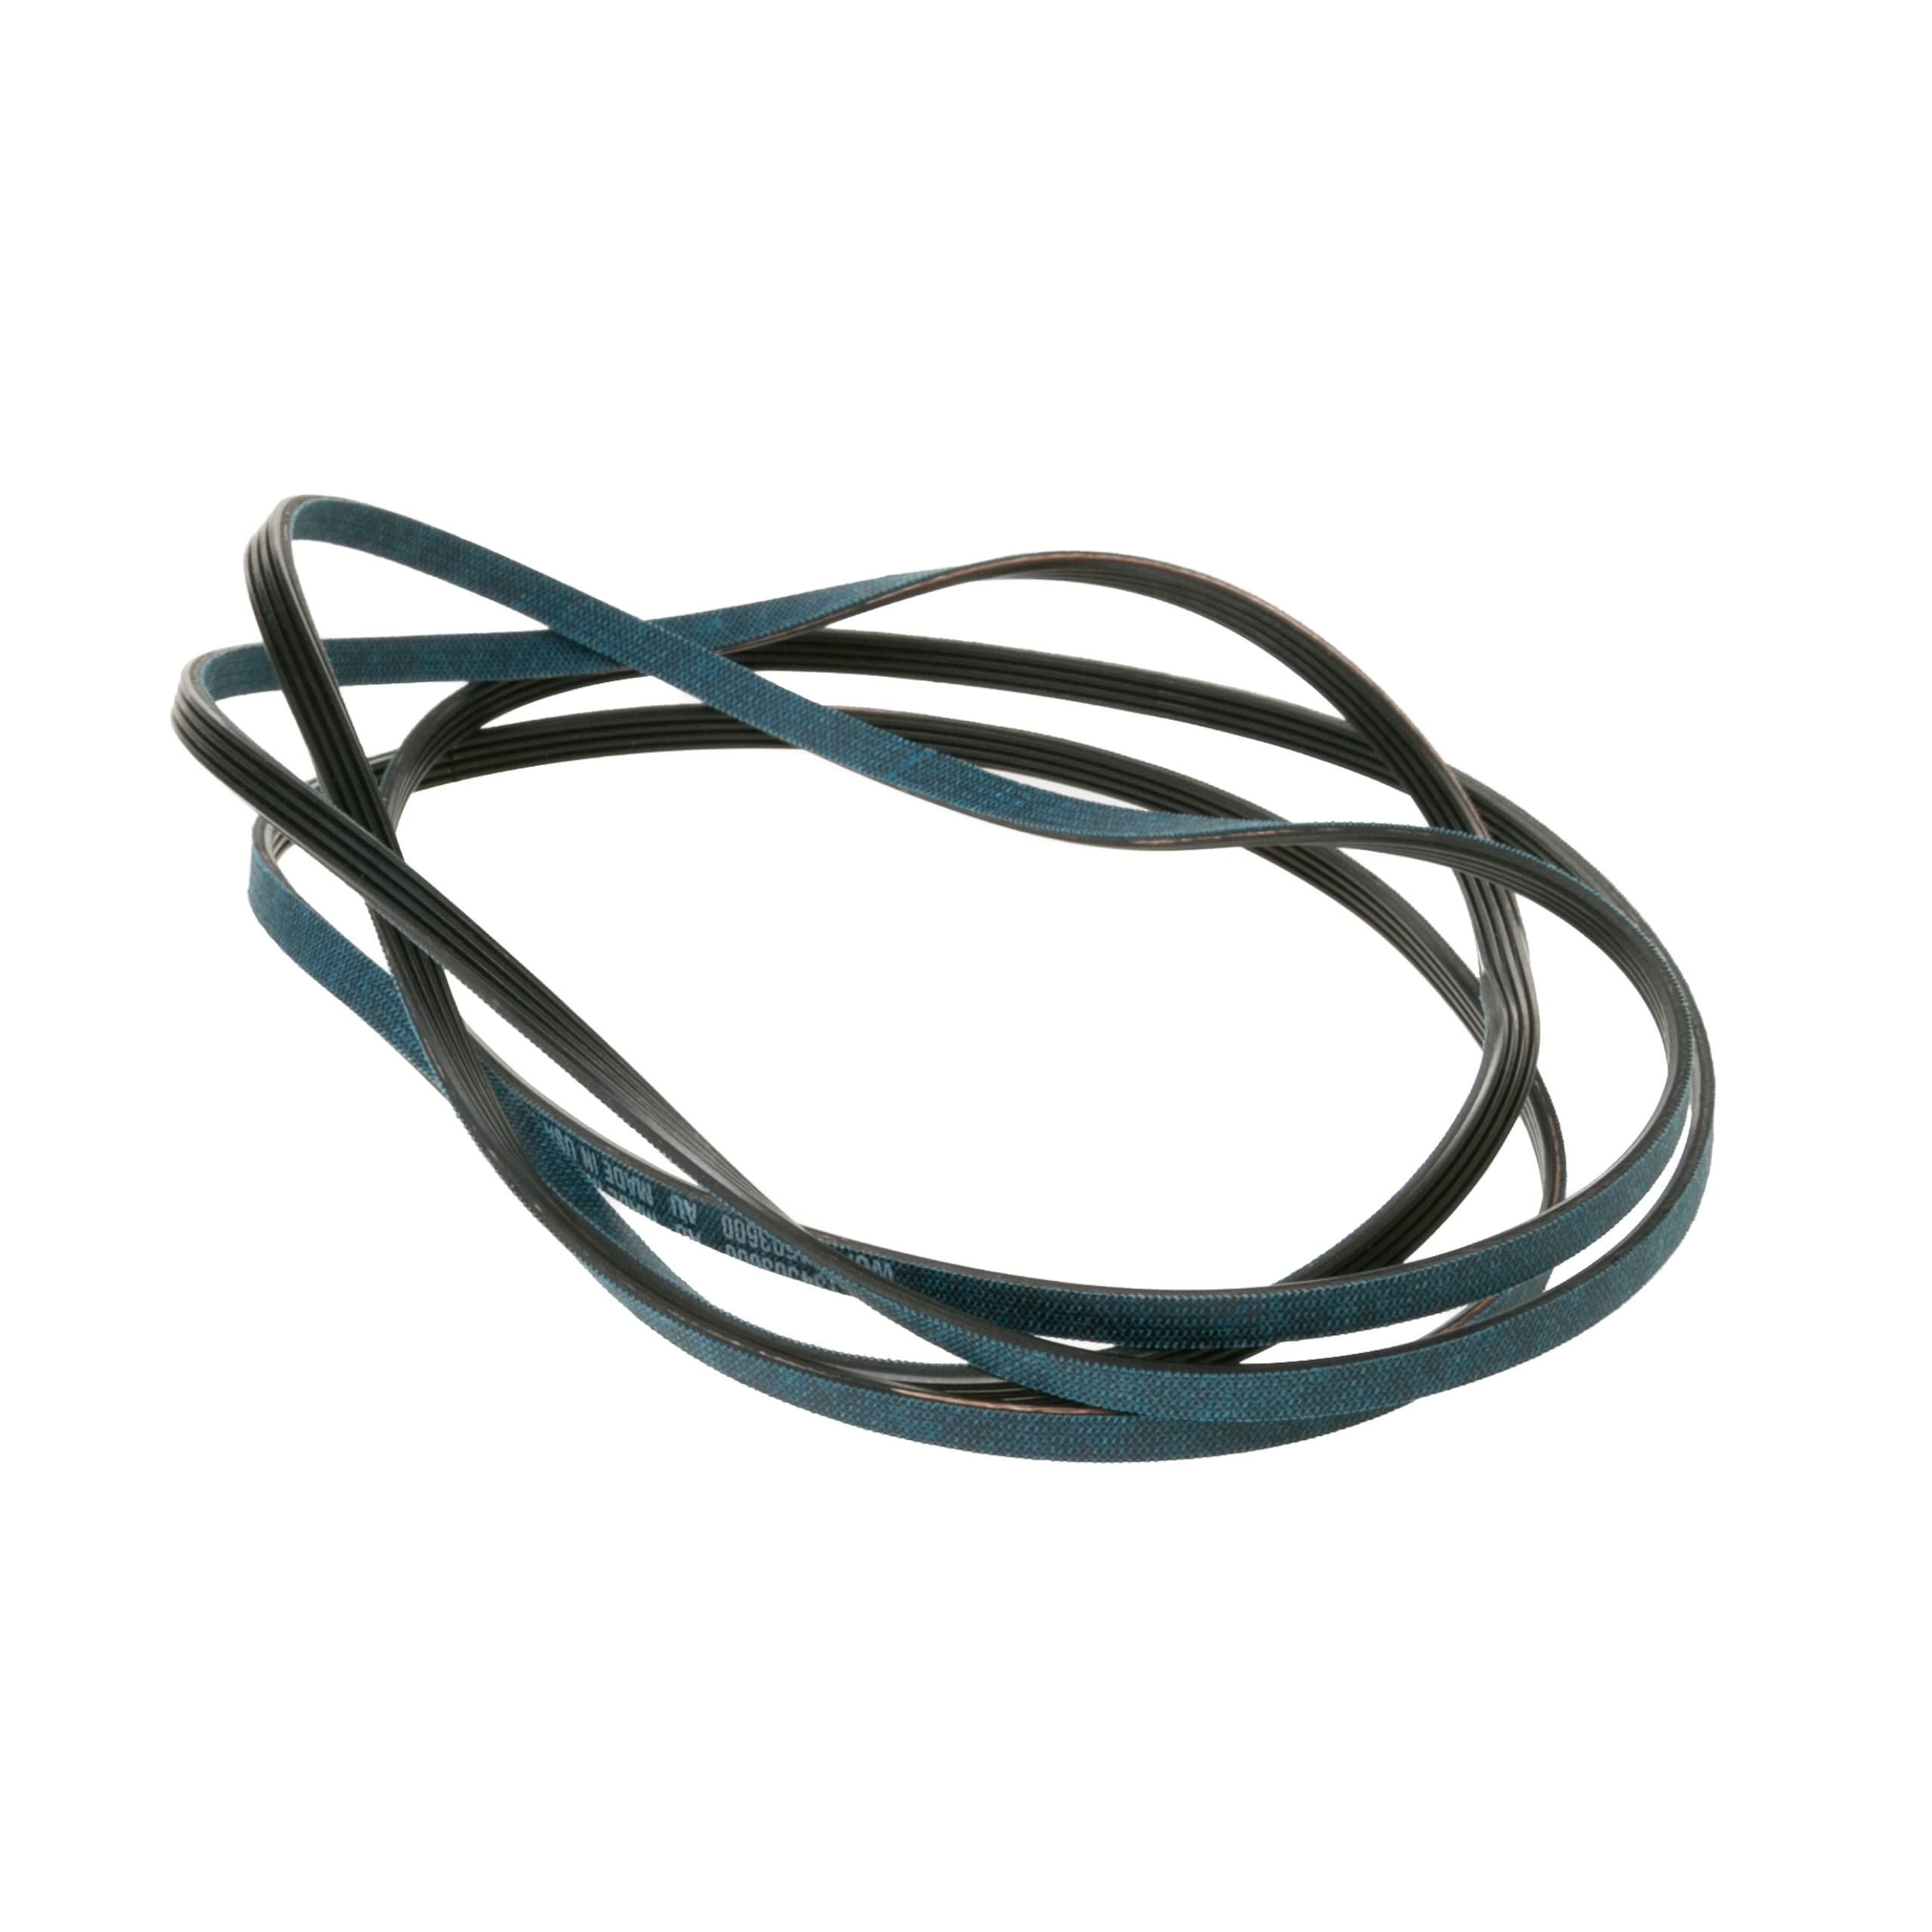
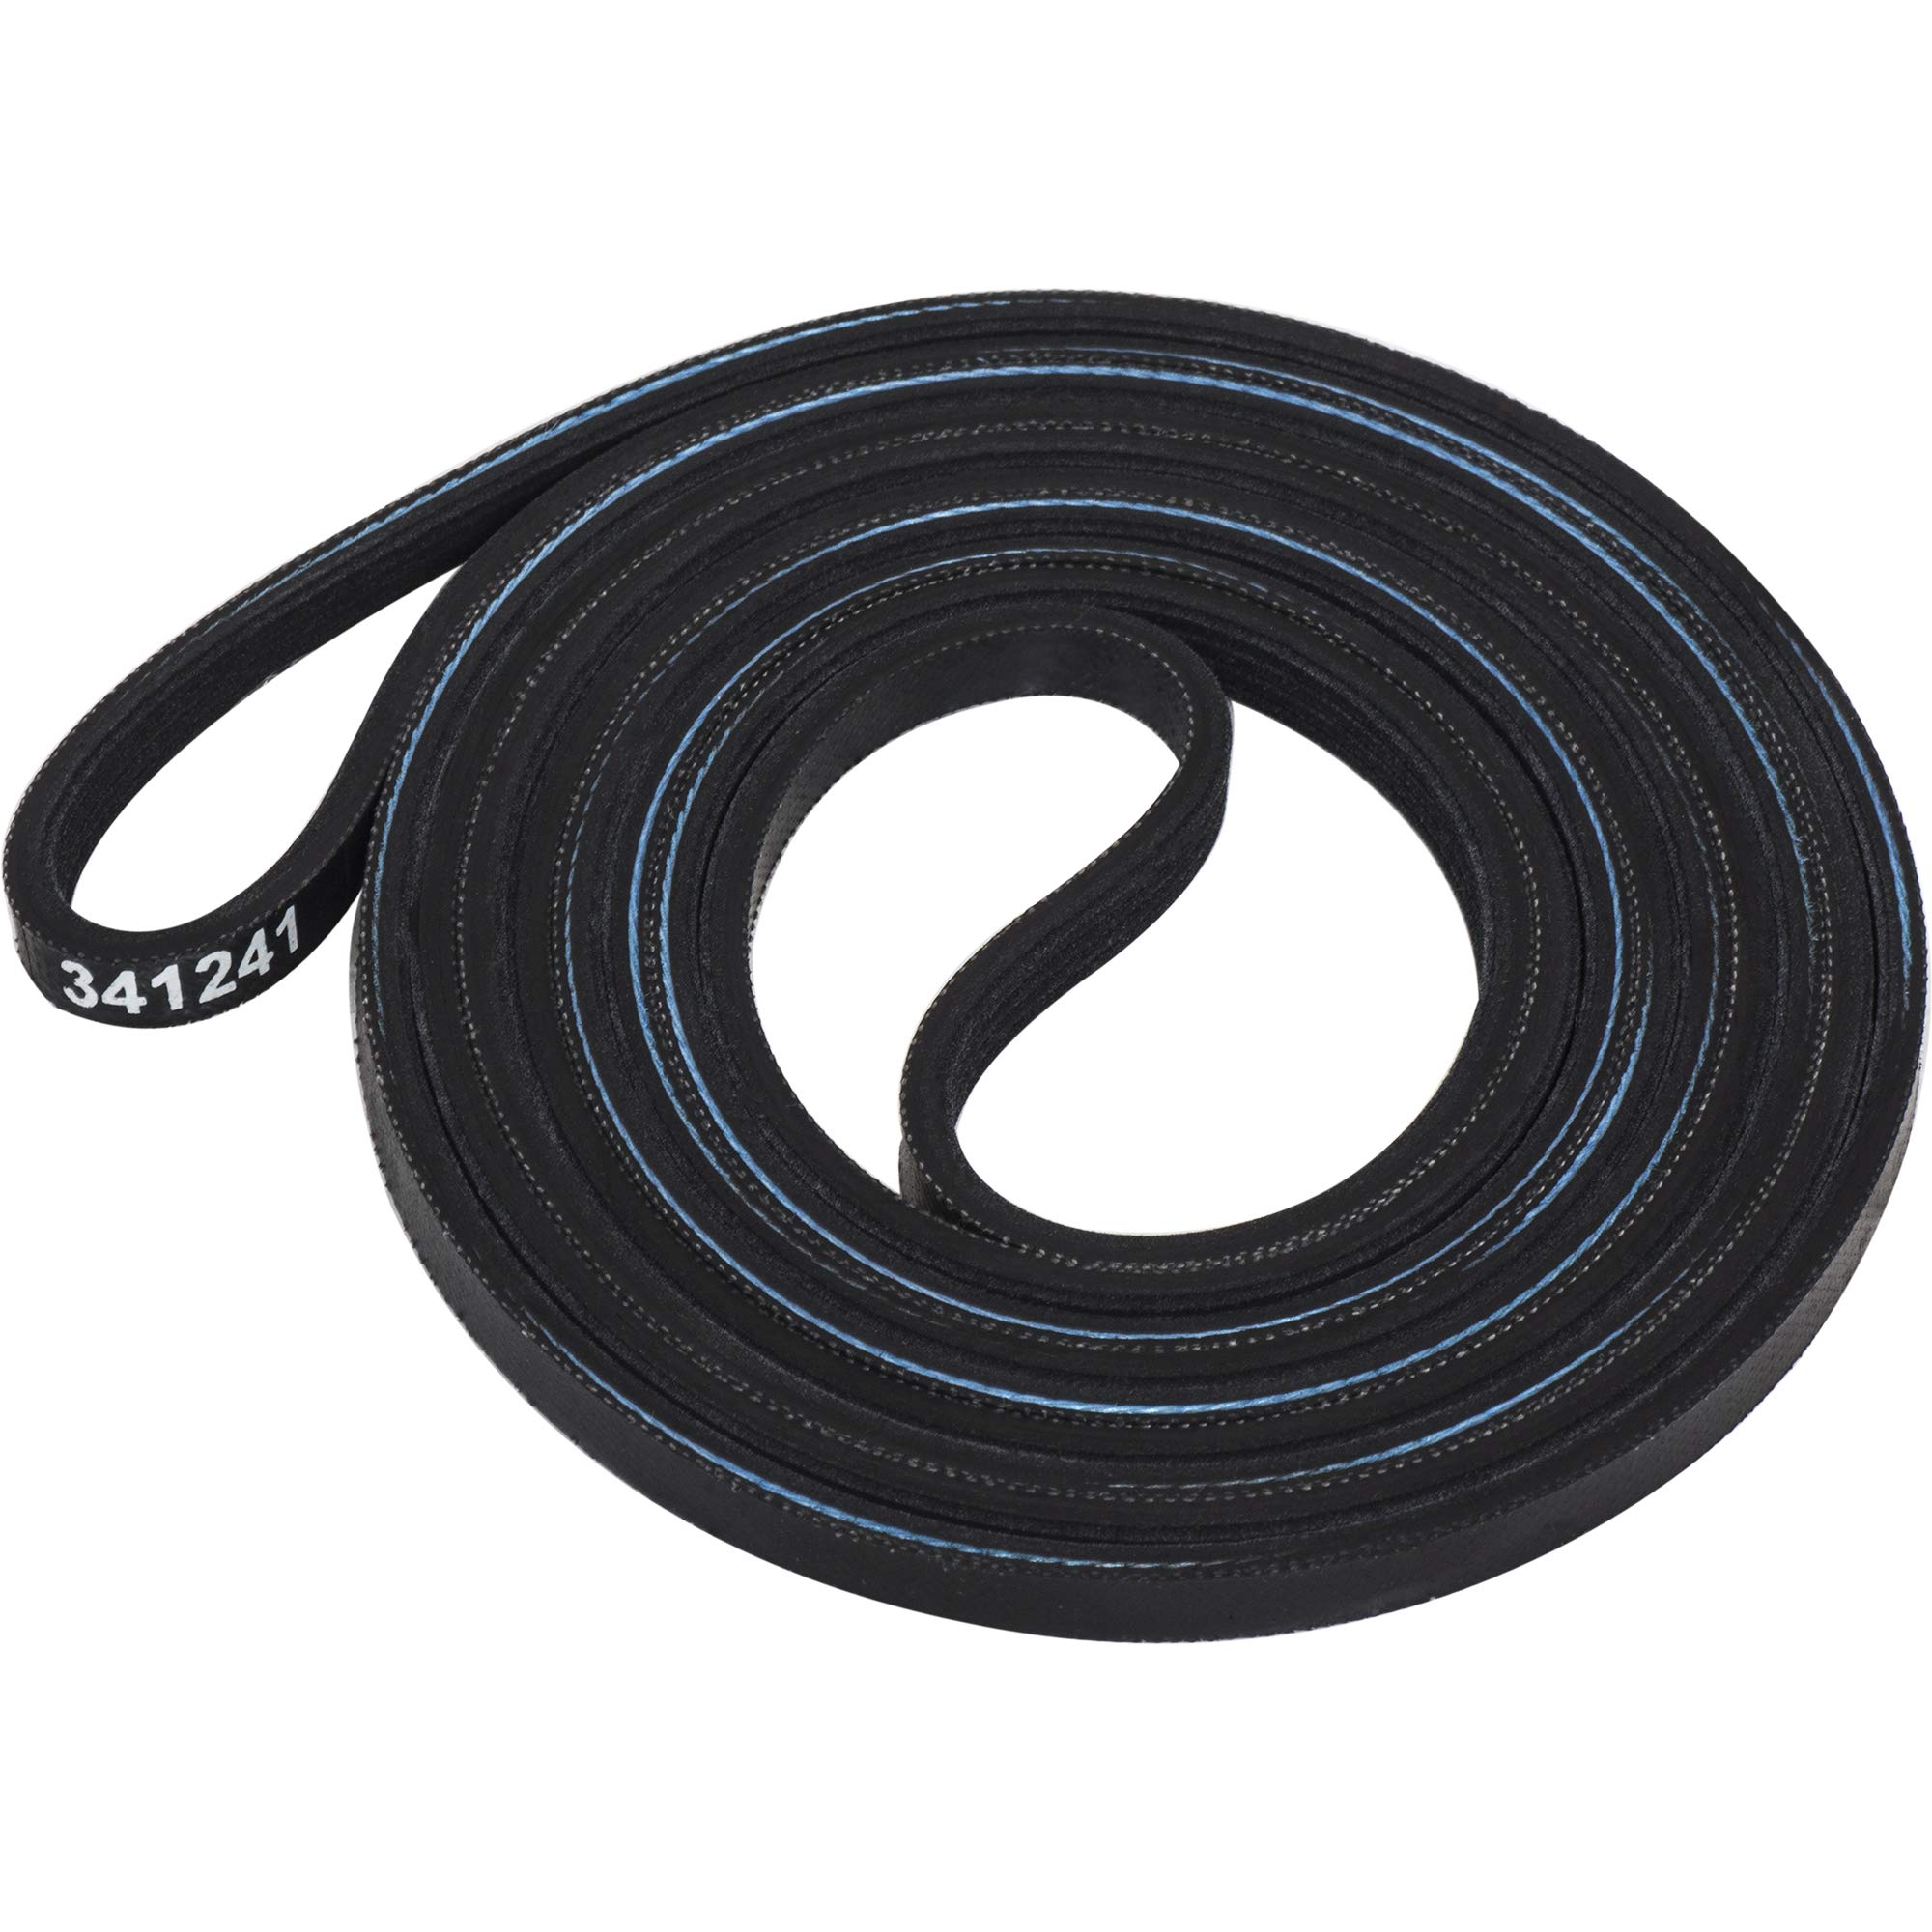
- New dryer belt: Purchase a replacement belt that is compatible with your specific dryer model. You can find the belt size and model number in the user manual or on the existing belt.
- Gloves and safety goggles: It’s important to protect your hands and eyes while working.
- Vacuum cleaner or lint brush: Use a vacuum cleaner or a lint brush to remove any accumulated lint or debris from the dryer drum and surrounding areas.
- Lint-free cloth: Have a lint-free cloth handy to clean any dust or residue from the dryer components.
- Optional: Pen and paper: It’s useful to jot down important steps or take note of any specific details during the process.
Once you have gathered these tools and materials, you are ready to move on to the next step: unplugging the dryer.
Step 1: Unplug the Dryer
Before you begin any repair work on your dryer, it is crucial to unplug it from the power source. This will prevent any accidental electrical shocks or injuries. Follow these steps to safely unplug your dryer:
- Locate the power cord: The power cord is typically located at the back of the dryer. If necessary, move the dryer away from the wall to access the power cord.
- Unplug the power cord: Firmly grasp the plug and carefully pull it out of the electrical outlet. Do not tug on the cord to avoid damaging it.
- Confirm the power is disconnected: After unplugging the dryer, double-check that the power is truly disconnected by trying to turn it on. If it does not start or respond, you can be certain that the power is completely off.
Ensuring that the dryer is unplugged will give you peace of mind and make the repair process safer. Now that you have disconnected the power, you can proceed to the next step: removing the dryer front panel.
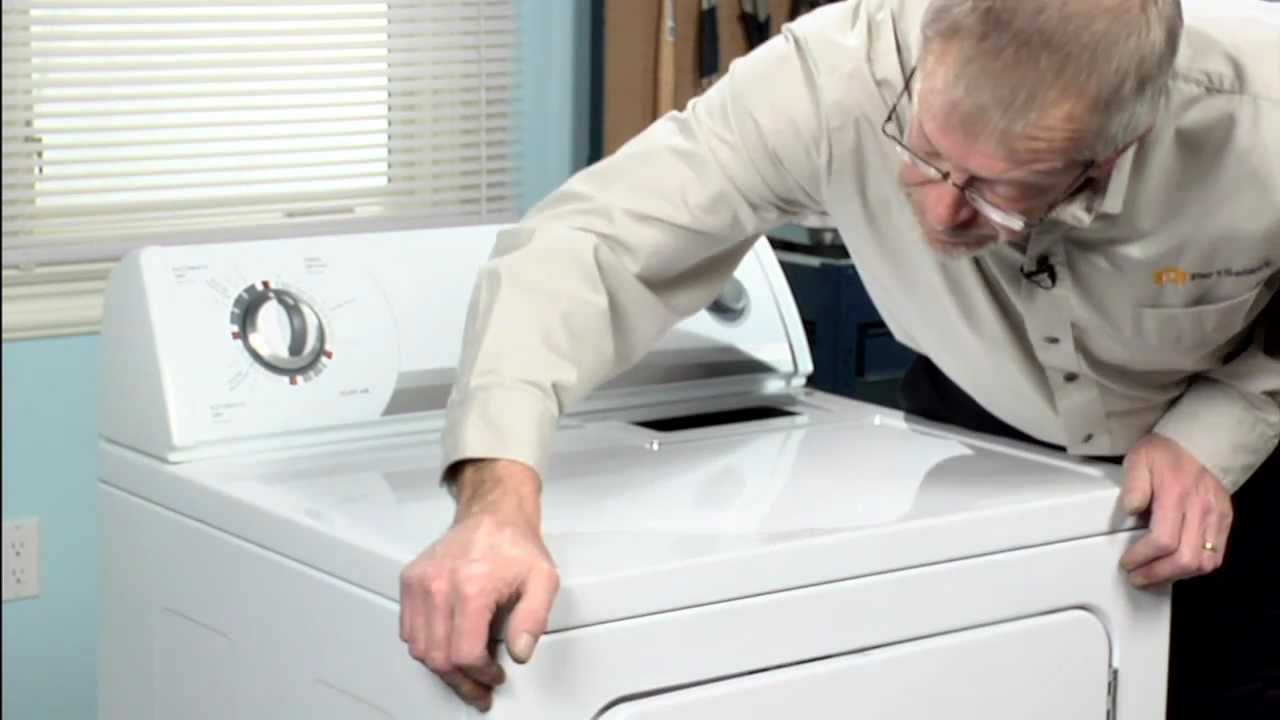
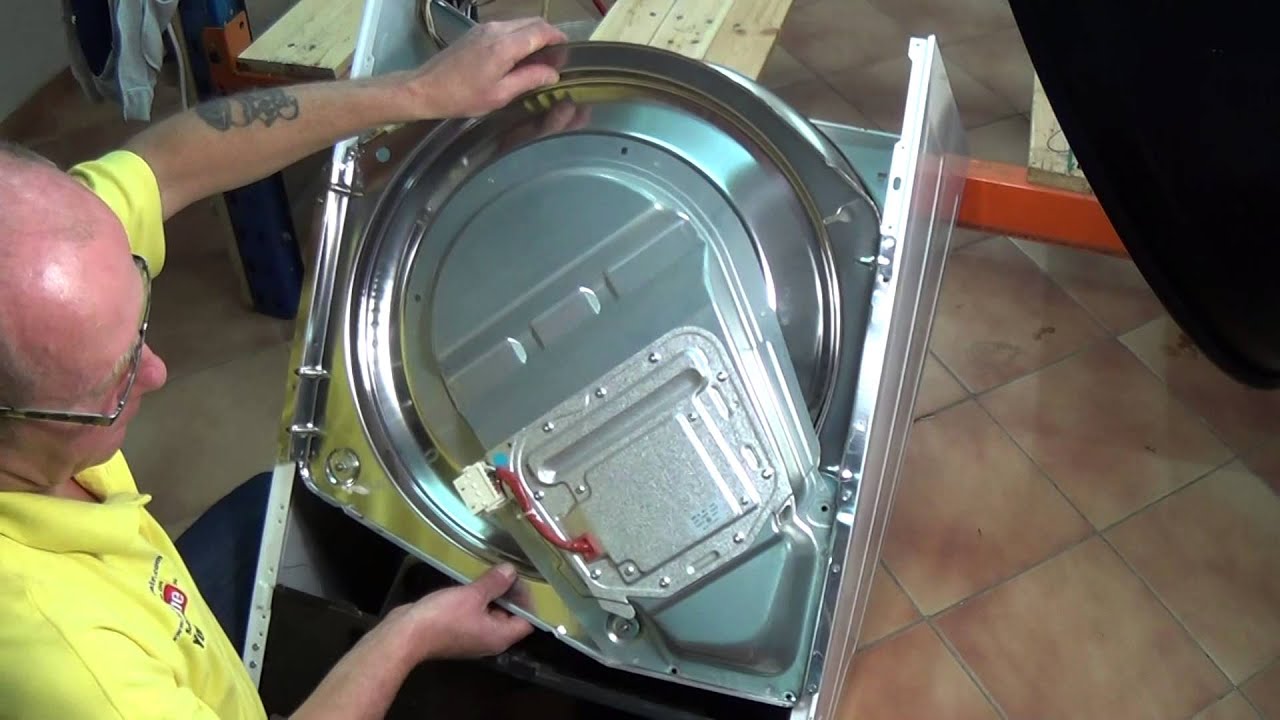
Step 2: Remove the Dryer Front Panel
With the dryer unplugged, you can now proceed to remove the front panel. Follow these steps:
- Locate and remove the screws: Using a Phillips screwdriver, locate the screws at the top of the dryer’s front panel. Depending on the model, there may be two or more screws holding the panel in place. Carefully unscrew and remove them.
- Pry open the top of the dryer: Once the screws are removed, use a putty knife to pry open the top of the dryer. Insert the putty knife between the top panel and the front panel, and gently lift the top panel upwards.
- Remove the front panel: With the top panel lifted, locate the clips that secure the front panel to the dryer’s frame. Use the putty knife to release the clips by gently pushing them inwards while pulling the front panel towards you. Support the front panel as you remove it to prevent any damage caused by falling.
With the front panel removed, you will have better access to the dryer’s components, including the drum and belt. Set the front panel aside in a safe place, as you will need to reattach it later. You are now ready to move on to the next step: releasing the belt tension.
Read more: How To Change Sandpaper On A Belt Sander
Step 3: Release the Belt Tension
Before you can remove the old dryer belt, you need to release the tension that keeps it taut. Follow these steps to release the belt tension:
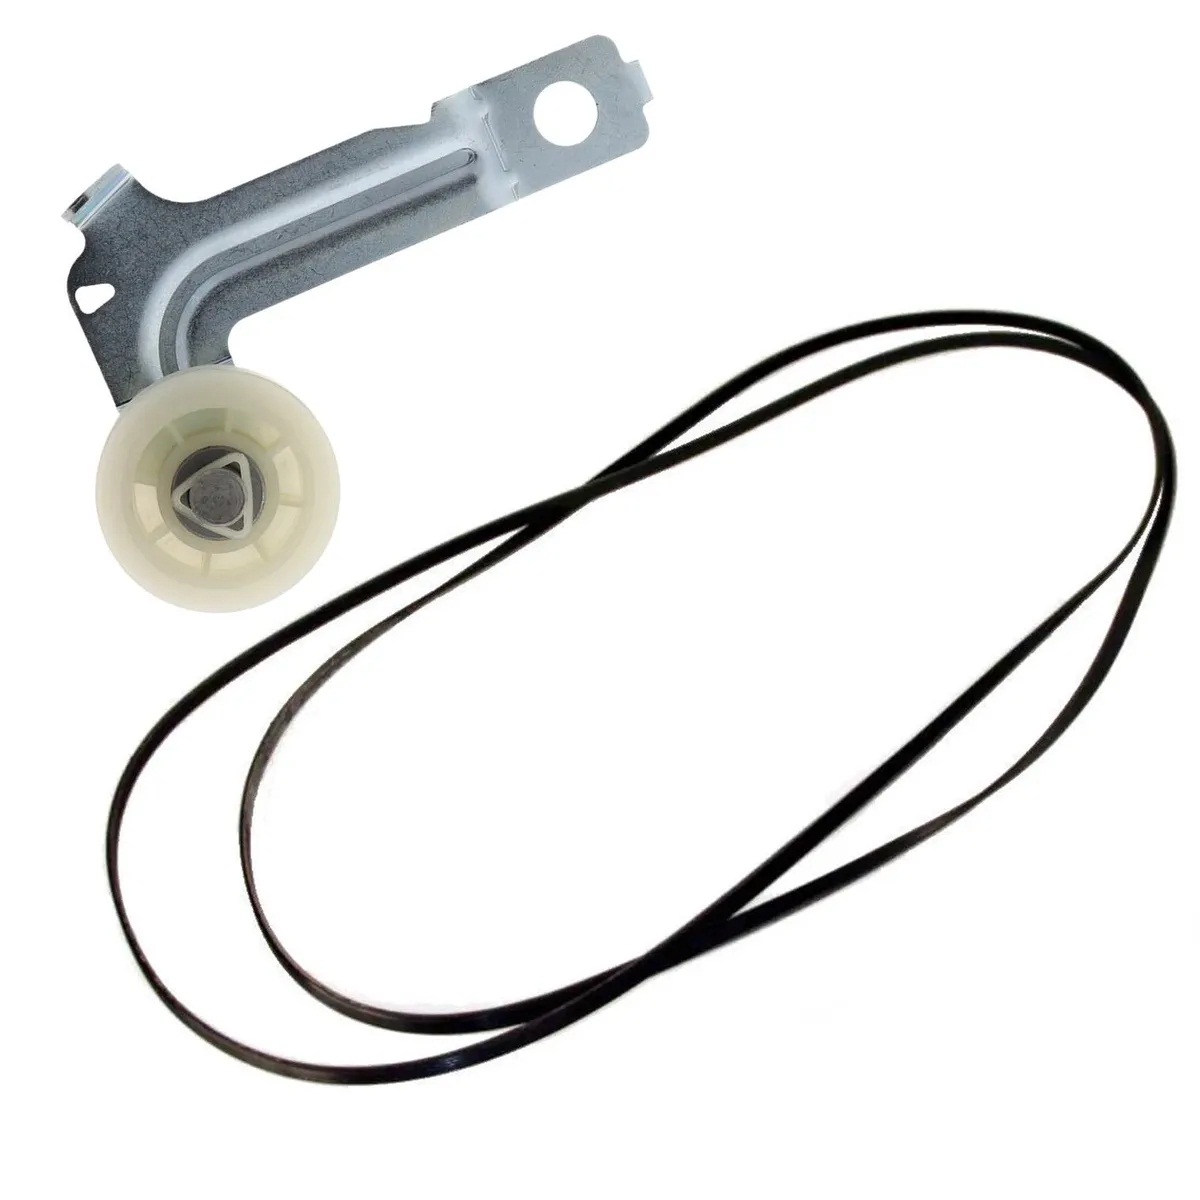
- Locate the belt tension pulley: The belt tension pulley is typically located at the bottom of the dryer near the motor. It may be a spring-loaded pulley or a separate component that can be manually adjusted.
- Apply pressure to the tension pulley: Using your hand or a suitable tool, apply pressure to the tension pulley to release the tension. This will loosen the belt and allow you to remove it from the drum.
- Slip the belt off the motor and pulley: With the tension released, slip the belt off the motor pulley and off the drum. Take note of the belt’s routing around the motor and pulley for later reference when installing the new belt.
After releasing the belt tension and removing the old belt, it’s time to move on to the next step: installing the new dryer belt.
When changing a dryer belt, make sure to unplug the dryer and refer to the manufacturer’s instructions for the specific model. Use a belt routing diagram to ensure the new belt is installed correctly.
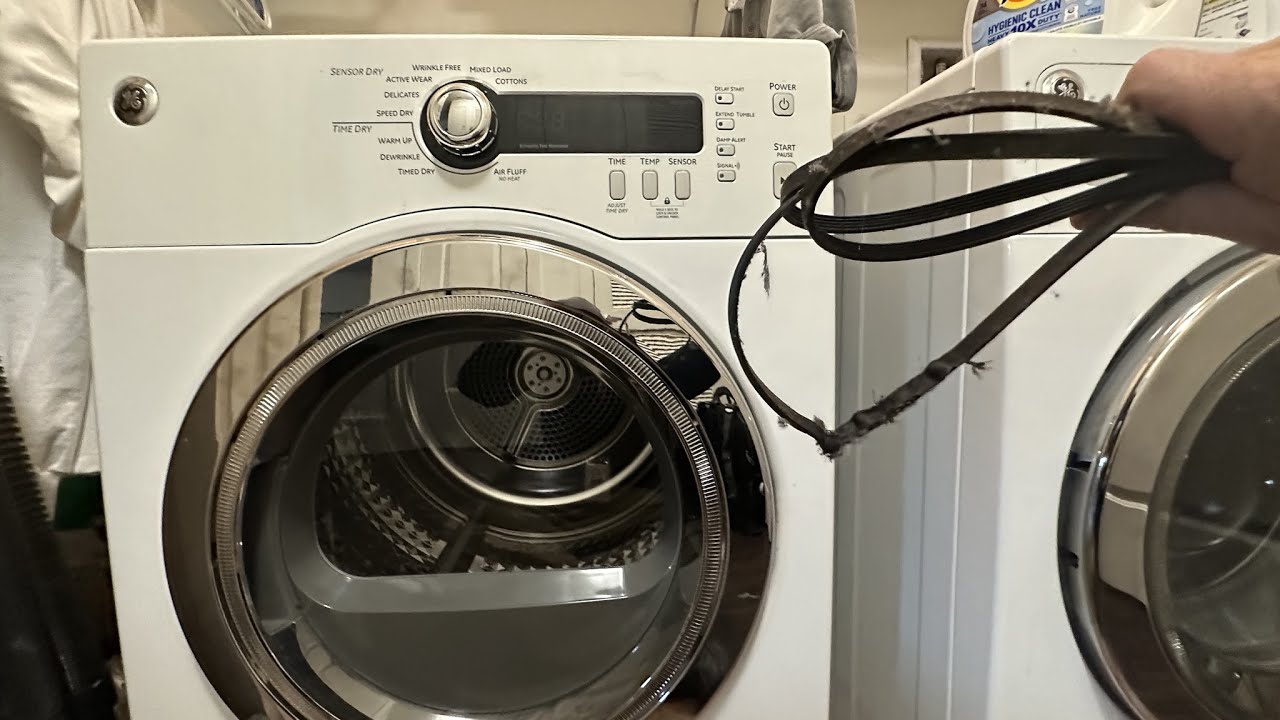
Step 4: Take off the Old Belt
Now that the belt tension has been released, you can proceed to take off the old belt. Follow these steps:
- Remove the old belt from the drum: Gently lift the edge of the old belt from the drum, ensuring it is completely detached. Slowly rotate the drum by hand to make it easier to access and remove the belt.
- Carefully slide the belt out of the dryer: With the belt detached from the drum, carefully slide it out of the dryer. Take note of the belt’s length and any unique features or markings that can help you match it with the new belt.
- Inspect the old belt for any damage: While you have the old belt removed, take a moment to inspect it for any signs of wear, cracking, or stretching. If the belt appears worn or damaged, it is essential to replace it with a new one.
With the old belt removed, you are now ready to move on to the next step: installing the new dryer belt.
Step 5: Install the New Belt
Now that the old belt has been removed, it’s time to install the new dryer belt. Follow these steps to ensure a proper installation:
- Match the new belt with the old one: Before installing the new belt, compare it with the old belt to ensure they are of the same length and width. Check for any unique features or markings that can help you identify the correct orientation.
- Place the new belt on the drum: Position the new belt on the drum, ensuring it is aligned properly and sits snugly along the inside rim. The grooved side of the belt should face inward against the drum.
- Thread the belt through the motor and tension pulley: Locate the motor pulley and the tension pulley. Thread the new belt through these pulleys, making sure it follows the same path as the old belt. Refer to your user manual or the diagram on the dryer for belt routing guidance if needed.
- Apply tension to the belt: Once the belt is threaded through the pulleys, apply tension to the tension pulley to tighten the belt. This will help ensure proper drum rotation during operation.
- Check the belt for proper alignment: Take a moment to ensure that the new belt is properly aligned and seated on the drum, motor pulley, and tension pulley. Make any necessary adjustments to ensure it is centered and properly tensioned.
With the new belt installed and properly aligned, you are ready to move on to the next step: reattaching the dryer front panel.
Step 6: Reattach the Dryer Front Panel
With the new dryer belt installed, it’s time to reattach the front panel. Follow these steps to ensure a secure reattachment:
- Align the front panel: Position the front panel in front of the dryer, aligning it with the slots or clips on the dryer’s frame. Carefully guide the panel into place, ensuring it is flush against the sides and bottom of the dryer.
- Engage the clips or secure the screws: Depending on your dryer model, you may need to engage the clips by pushing the front panel inward or secure the panel with screws. Align the clips or screw holes and insert the clips or screws to hold the front panel in place.
- Tighten the screws: If your dryer uses screws to secure the front panel, use a Phillips screwdriver to tighten them securely. Be careful not to overtighten and strip the screws.
With the front panel securely reattached, the new dryer belt is now in place and ready for use. However, before you start your dryer, there’s one more important step: testing the dryer to ensure everything is functioning correctly.
Read more: How Much Is A Belt For A Dryer
Step 7: Test the Dryer
After replacing the dryer belt and reattaching the front panel, it’s essential to test the dryer to ensure that it is functioning properly. Follow these steps to test your dryer:
- Plug in the dryer: Reconnect the power cord and plug it back into the electrical outlet.
- Select a drying cycle: Turn the dryer knob to select a drying cycle that you typically use. Set the temperature and time according to your needs.
- Close the door: Ensure that the dryer door is securely closed.
- Start the dryer: Press the start button or turn the knob to start the dryer. Observe whether the drum begins to rotate smoothly and without any unusual noise.
- Monitor the drying process: Allow the dryer to run for a few minutes and monitor the drying process. Check if the drum continues to rotate properly, and if heat is being generated to dry the clothes.
- Check for proper belt alignment: While the dryer is running, visually inspect the belt to ensure that it remains properly aligned on the drum and pulley system. Make sure there are no signs of slipping or excessive tension.
- Listen for any abnormal sounds: Pay attention to any unusual sounds or vibrations coming from the dryer. If you notice any unusual noise, stop the dryer immediately and check for any issues.
If the dryer operates smoothly, rotates the drum properly, generates heat, and dries the clothes effectively without any issues, then the replacement of the dryer belt has been successful. However, if you encounter any problems or notice any abnormalities, it’s advisable to consult a professional or refer to the user manual for further troubleshooting steps.
With the testing phase complete, you can now enjoy a fully functional dryer that is ready to take on your laundry needs!
Conclusion
Replacing a dryer belt is a task that can be easily accomplished with a few simple steps and the right tools. By following this comprehensive guide, you have learned how to change a dryer belt effectively and safely.
Remember, safety should always be your top priority when working with any household appliance. Ensure that you unplug the dryer before starting any repairs, wear protective gear, and take necessary precautions to prevent accidents.
Throughout the process, it is important to stay attentive to detail and follow the manufacturer’s instructions specific to your dryer model. Take note of the tools and materials needed, including a Phillips screwdriver, putty knife, new dryer belt, gloves, safety goggles, and optional pen and paper.
The step-by-step instructions provided in this article guide you through unplugging the dryer, removing the front panel, releasing belt tension, taking off the old belt, installing the new belt, reattaching the front panel, and finally, testing the dryer’s functionality.
By successfully completing these steps, you can ensure that your dryer operates efficiently and effectively, ensuring your clothes are dried properly.
If you encounter any difficulties during the process or have concerns, it is always recommended to consult your dryer’s user manual or contact a professional for assistance.
Now that you have the knowledge and confidence to change a dryer belt, you can prolong the lifespan of your dryer and keep it running smoothly for years to come.
Frequently Asked Questions about How To Change A Dryer Belt
Was this page helpful?
At Storables.com, we guarantee accurate and reliable information. Our content, validated by Expert Board Contributors, is crafted following stringent Editorial Policies. We're committed to providing you with well-researched, expert-backed insights for all your informational needs.
0 thoughts on “How To Change A Dryer Belt”