Articles
How To Replace Closet Door
Modified: August 27, 2024
Learn how to replace your closet door with this easy home maintenance guide. Upgrade the look of your space with step-by-step instructions and expert tips.
(Many of the links in this article redirect to a specific reviewed product. Your purchase of these products through affiliate links helps to generate commission for Storables.com, at no extra cost. Learn more)
Introduction
Welcome to our guide on how to replace a closet door. Whether you’re updating your interior design or need to fix a damaged door, replacing a closet door can give your space a fresh and updated look. In this article, we will walk you through the step-by-step process of removing the old door and installing a new one.
Before we begin, it’s important to note that the process may vary depending on the type of closet door you have and the replacement option you choose. Be sure to read the manufacturer’s instructions for your specific door or consult with a professional if needed.
Now, let’s gather the necessary tools and materials and get started!
Key Takeaways:
- Upgrade your space by replacing a closet door with the right tools and materials. Follow the step-by-step guide to measure, remove, choose, prepare, install, adjust, and add finishing touches for a professional result.
- Whether it’s a hinged, bifold, or sliding door, a new closet door can make a noticeable difference in your space. Take the time to appreciate the refreshed look and maintain it for years to come.
Read more: How To Frame A Closet Door
Tools and Materials Needed
Before you begin replacing your closet door, make sure you have the following tools and materials ready:
- Screwdriver
- Drill
- Tape Measure
- Pencil
- Sanding Block
- Screwdriver or Drill Bit
- Screws
- Hinges
- New Closet Door
- Paint or Stain (if desired)
- Level
- Wood Shims
- Door Knob or Handle
It’s essential to have these tools and materials handy to ensure a smooth and successful door replacement process. Make sure you have the correct size screws and hinges for your new door, and consider purchasing a door with pre-drilled holes for easy installation.
If you plan to paint or stain your new door to match your interior, be sure to have the necessary paint or stain and brushes available as well.
Now that you have all the tools and materials assembled, let’s move on to the first step: measuring your closet door.
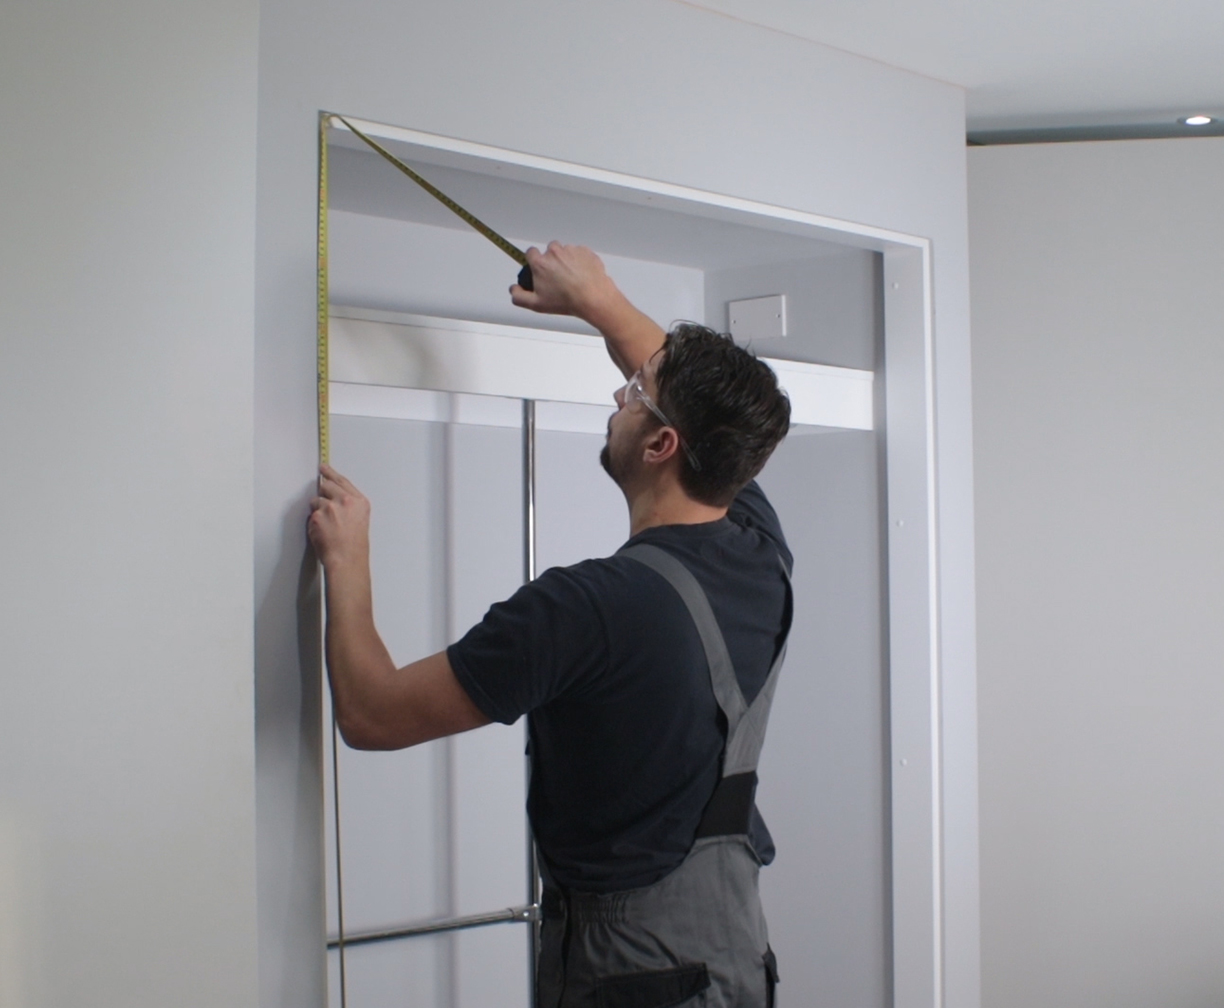
Step 1: Measure the Closet Door
The first step in replacing your closet door is to accurately measure the dimensions of the existing door. This will help you determine the size of the replacement door you need.
Start by measuring the height of the door from the top to the bottom. Use a tape measure and ensure it’s held straight to get an accurate measurement. Note down the height in inches or centimeters.
Next, measure the width of the door from one side to the other. Again, use a tape measure and ensure it’s held straight for an accurate measurement. Note down the width in inches or centimeters as well.
It’s essential to measure both the height and width of the door, as closet doors can come in various sizes and proportions. Taking precise measurements will ensure you purchase a replacement door that fits perfectly in the opening.
If you’re unsure about the type of replacement door to choose or need assistance with measuring, consult with a professional or visit a home improvement store. They can provide guidance on selecting the appropriate door and help you ensure accurate measurements.
Once you have the measurements on hand, you’re ready to move on to the next step: removing the existing closet door.
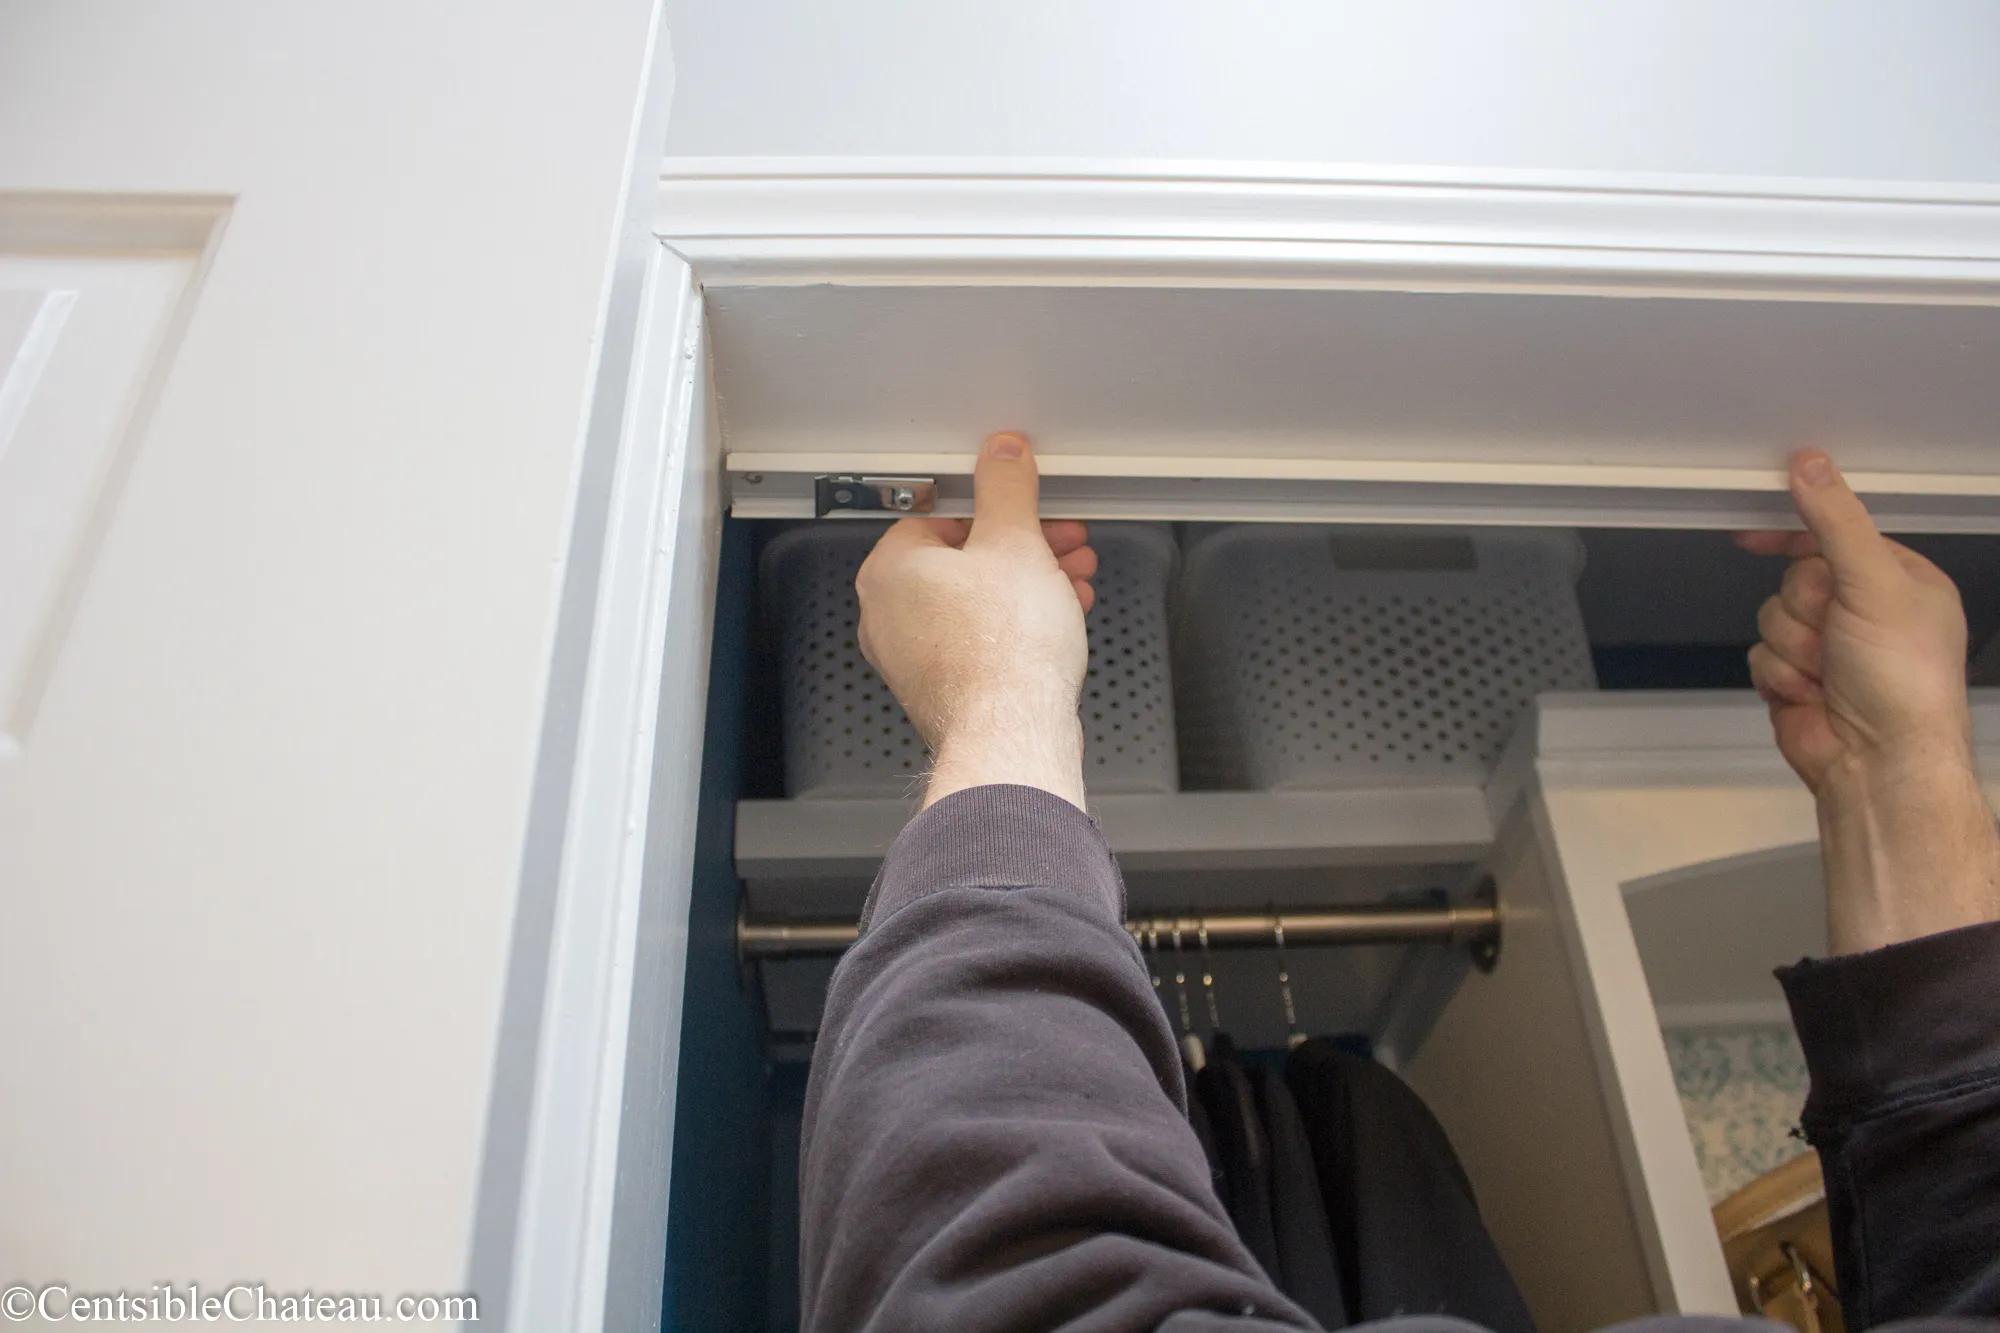
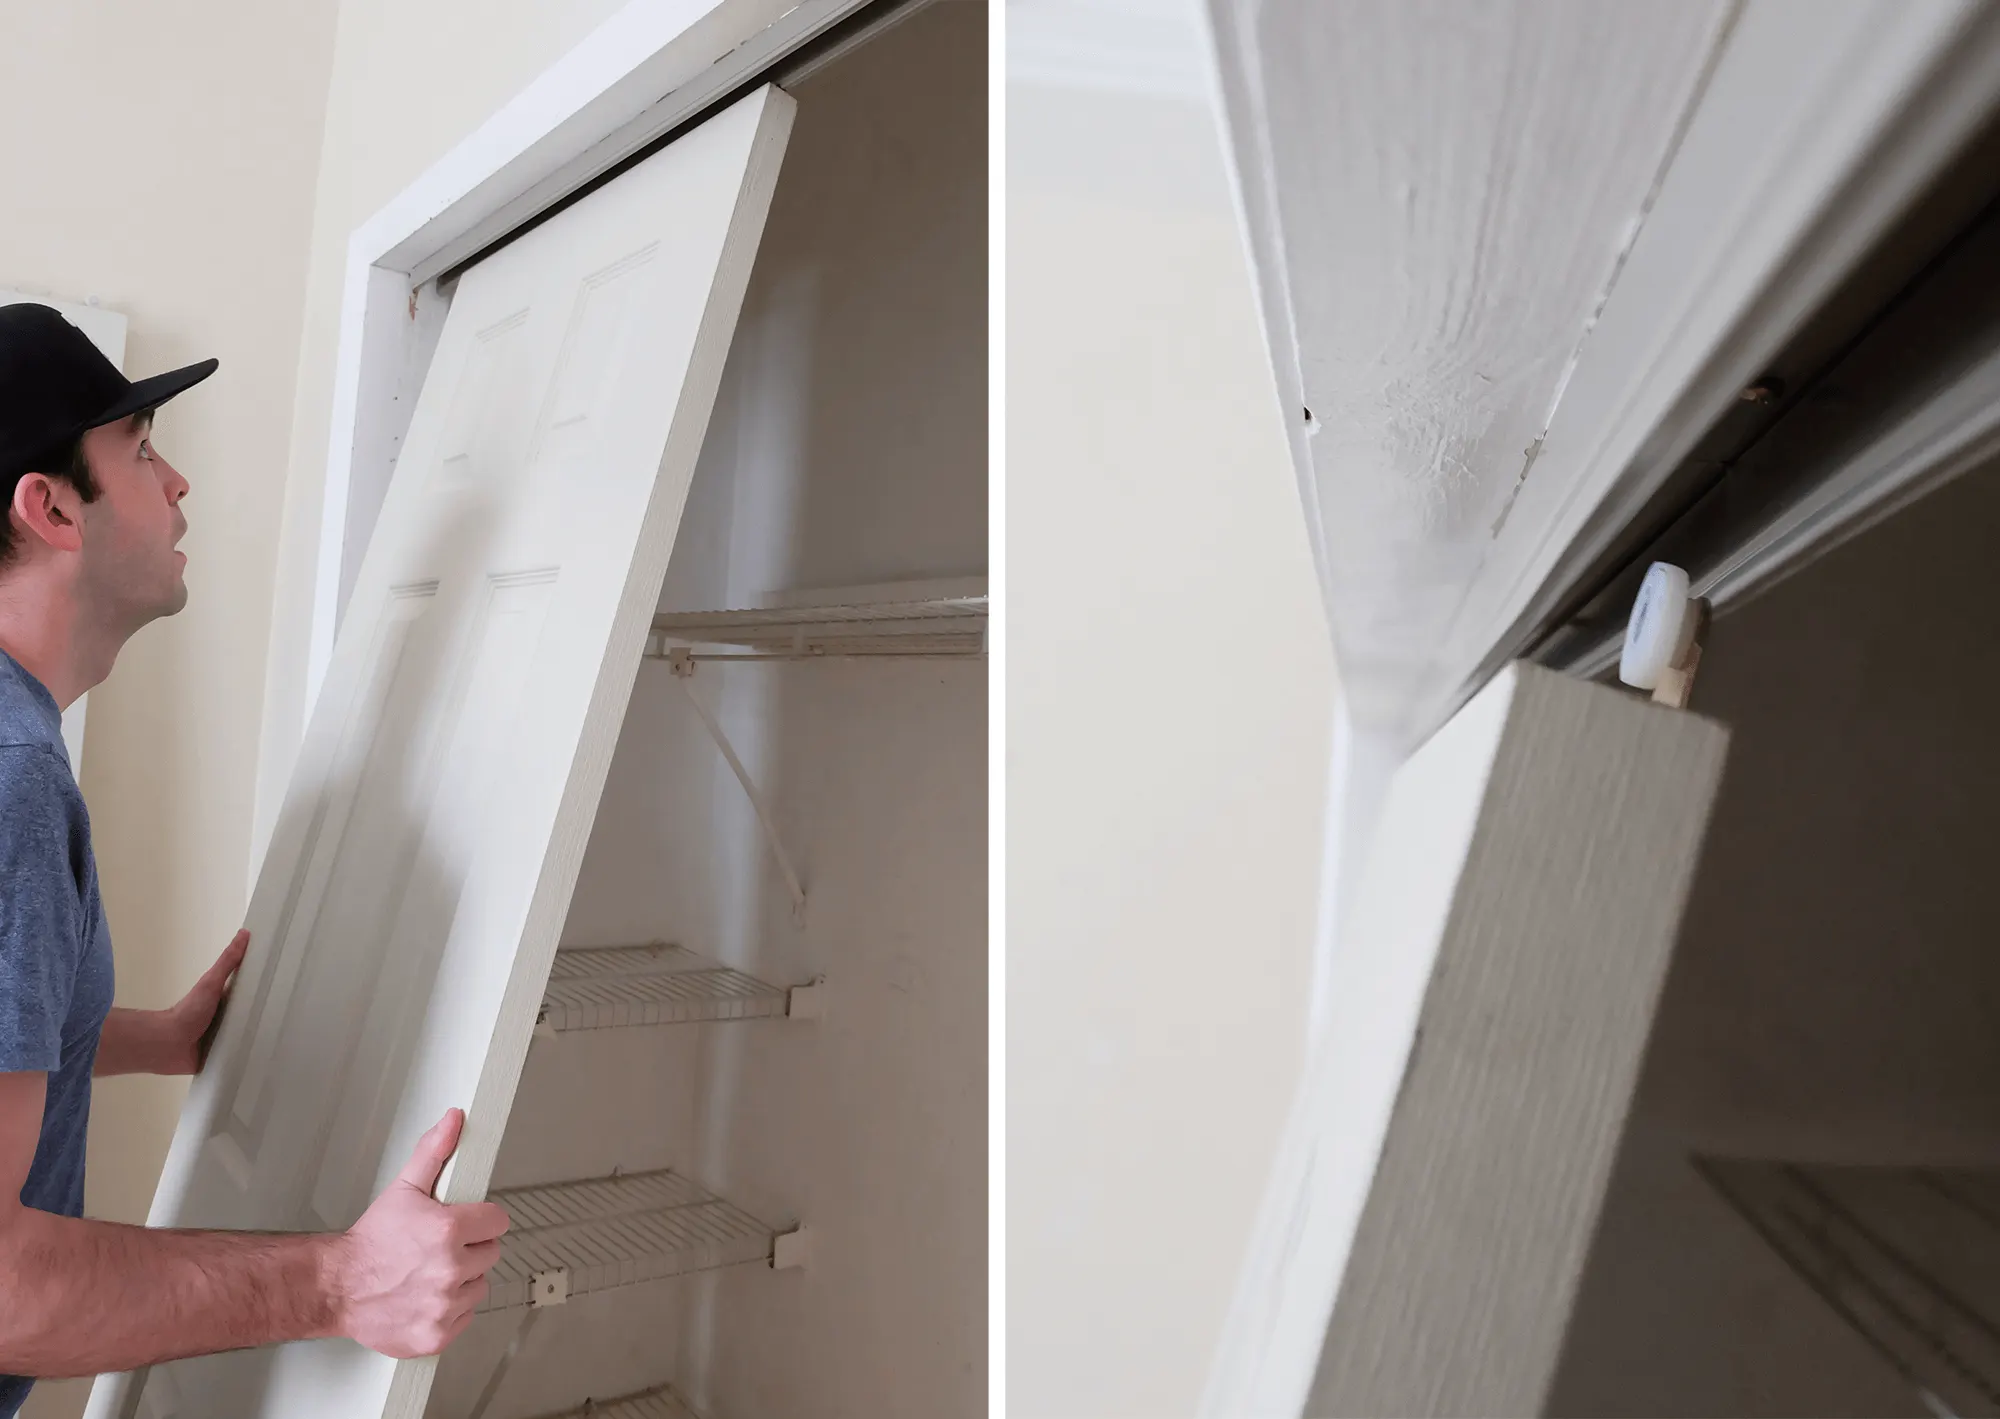
Step 2: Remove the Existing Closet Door
Now that you have measured your closet door, it’s time to remove the existing door. Follow these steps to safely and effectively remove the old door:
- Start by opening the door fully to access the hinges.
- Use a screwdriver or drill to remove the screws from the hinges. Make sure to hold the door securely as you remove the screws to prevent it from falling.
- Once the screws are removed, carefully lift the door off the hinges and set it aside. If the door is heavy, you may need assistance to safely remove it.
- Inspect the door frame and hinges for any damage or debris. Clean and repair as necessary.
- If there is any remaining hardware or accessories attached to the door or frame, remove them using the appropriate tools.
- Take the opportunity to clean the door frame and surrounding area, removing any dust, dirt, or debris.
It’s important to take your time during this step and handle the door with care. If you encounter any difficulties or encounter any unexpected challenges, don’t hesitate to seek professional assistance.
With the old closet door removed, you’re ready to move on to the next step: choosing a replacement door for your closet.
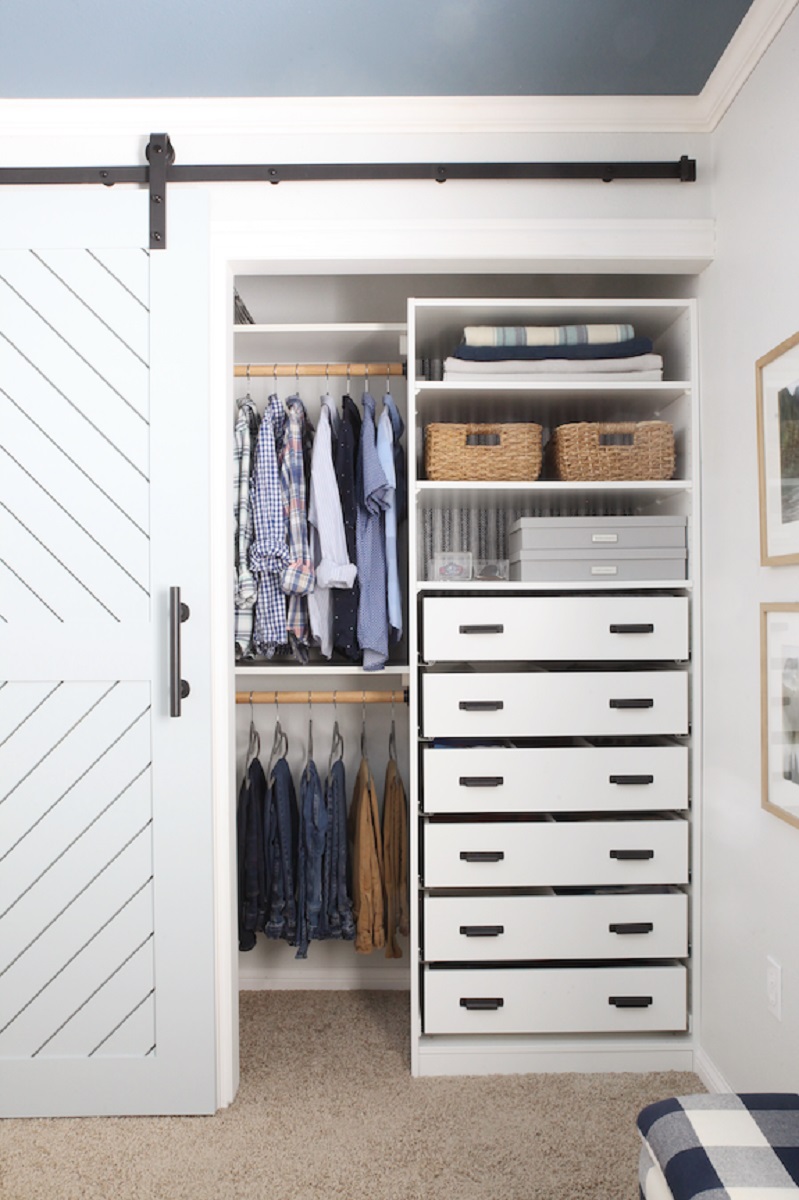
Step 3: Choose a Replacement Door
Now that you have removed the old closet door, it’s time to choose a replacement door that fits your style, budget, and functional needs. There are several options available, depending on your preferences:
- Hinged Doors: Hinged doors are the traditional choice for closets. They open outward on hinges and can be made of various materials such as wood, laminate, or glass. Consider the style and material that best matches your interior design.
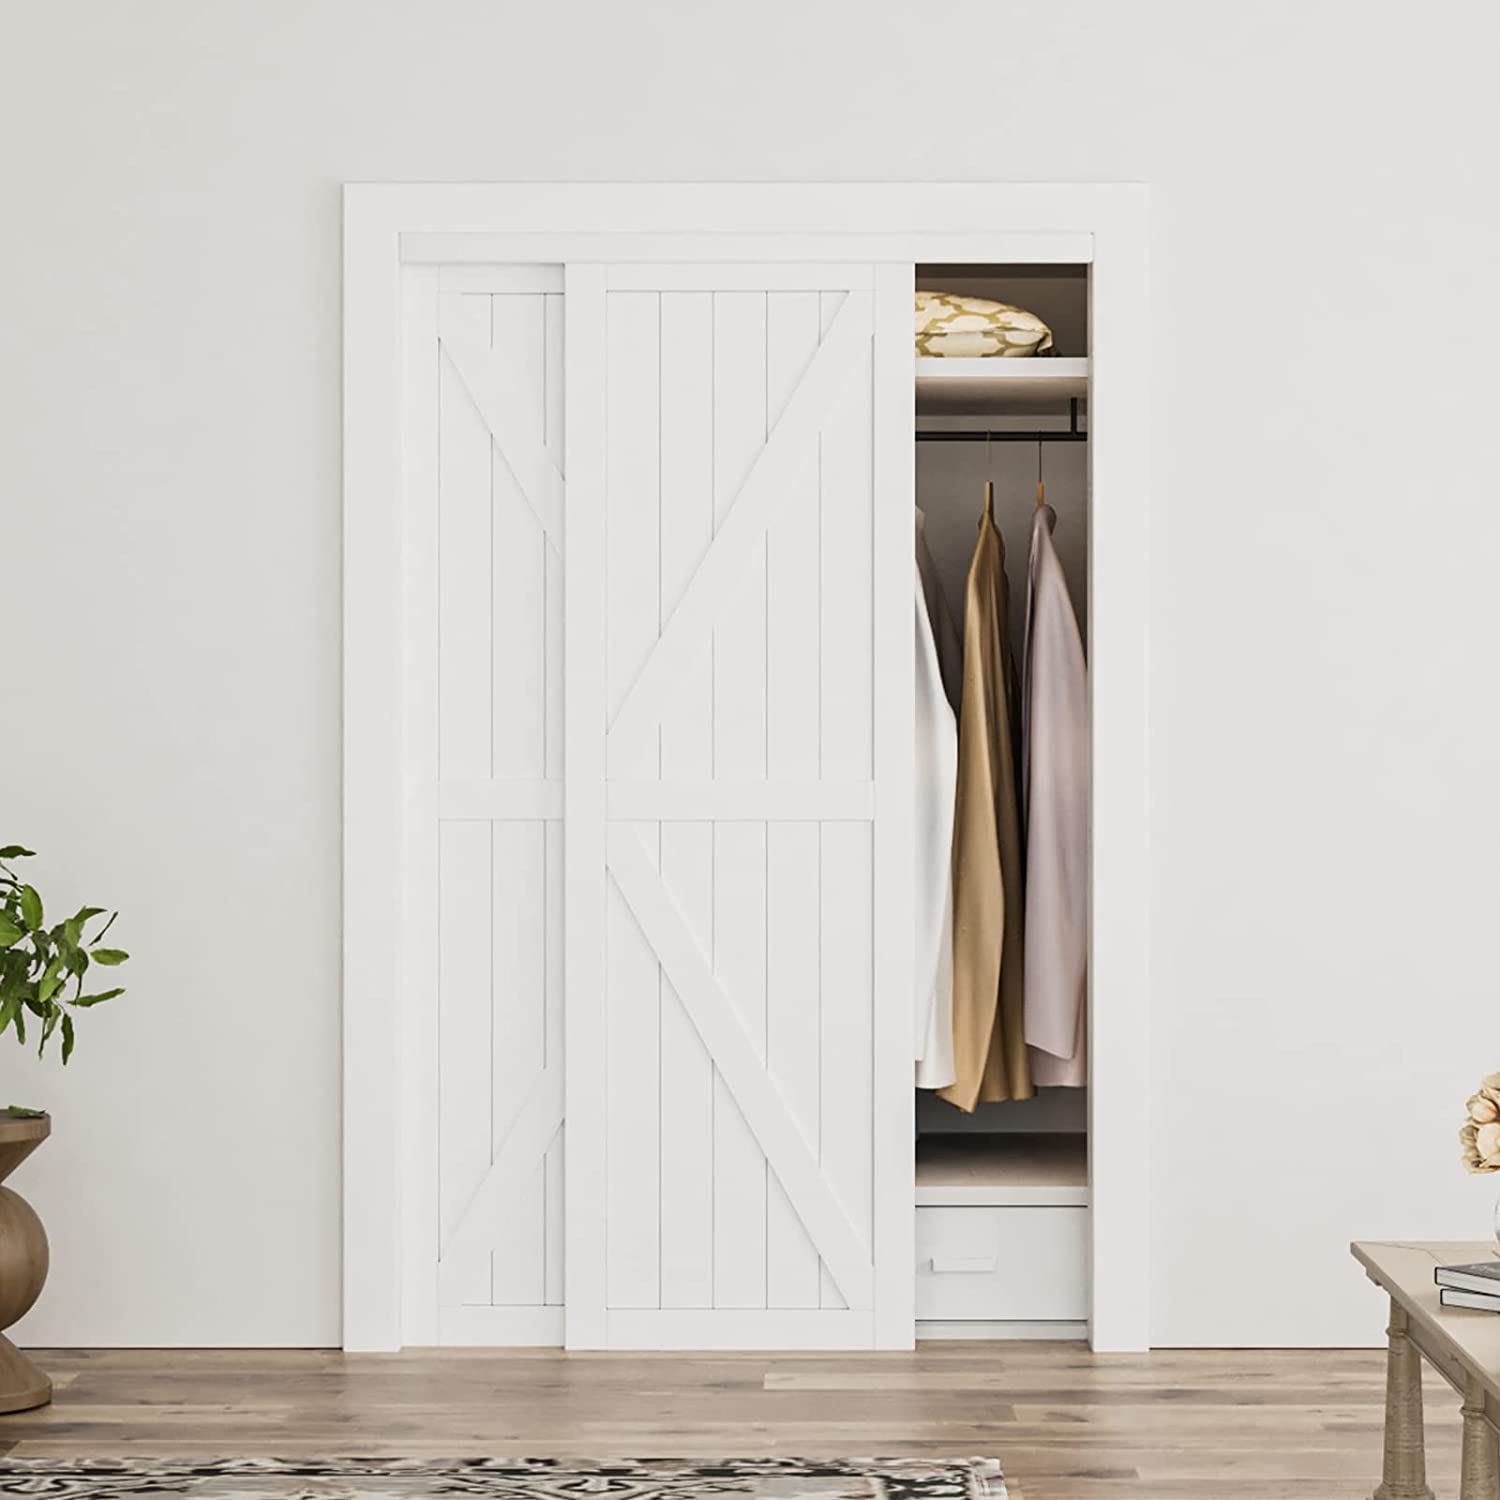
- Bifold Doors: Bifold doors are an excellent space-saving option, as they fold in half when opened. They are made up of two panels joined by hinges and are ideal for small or narrow closets. Bifold doors are available in different styles and materials to match your aesthetic.
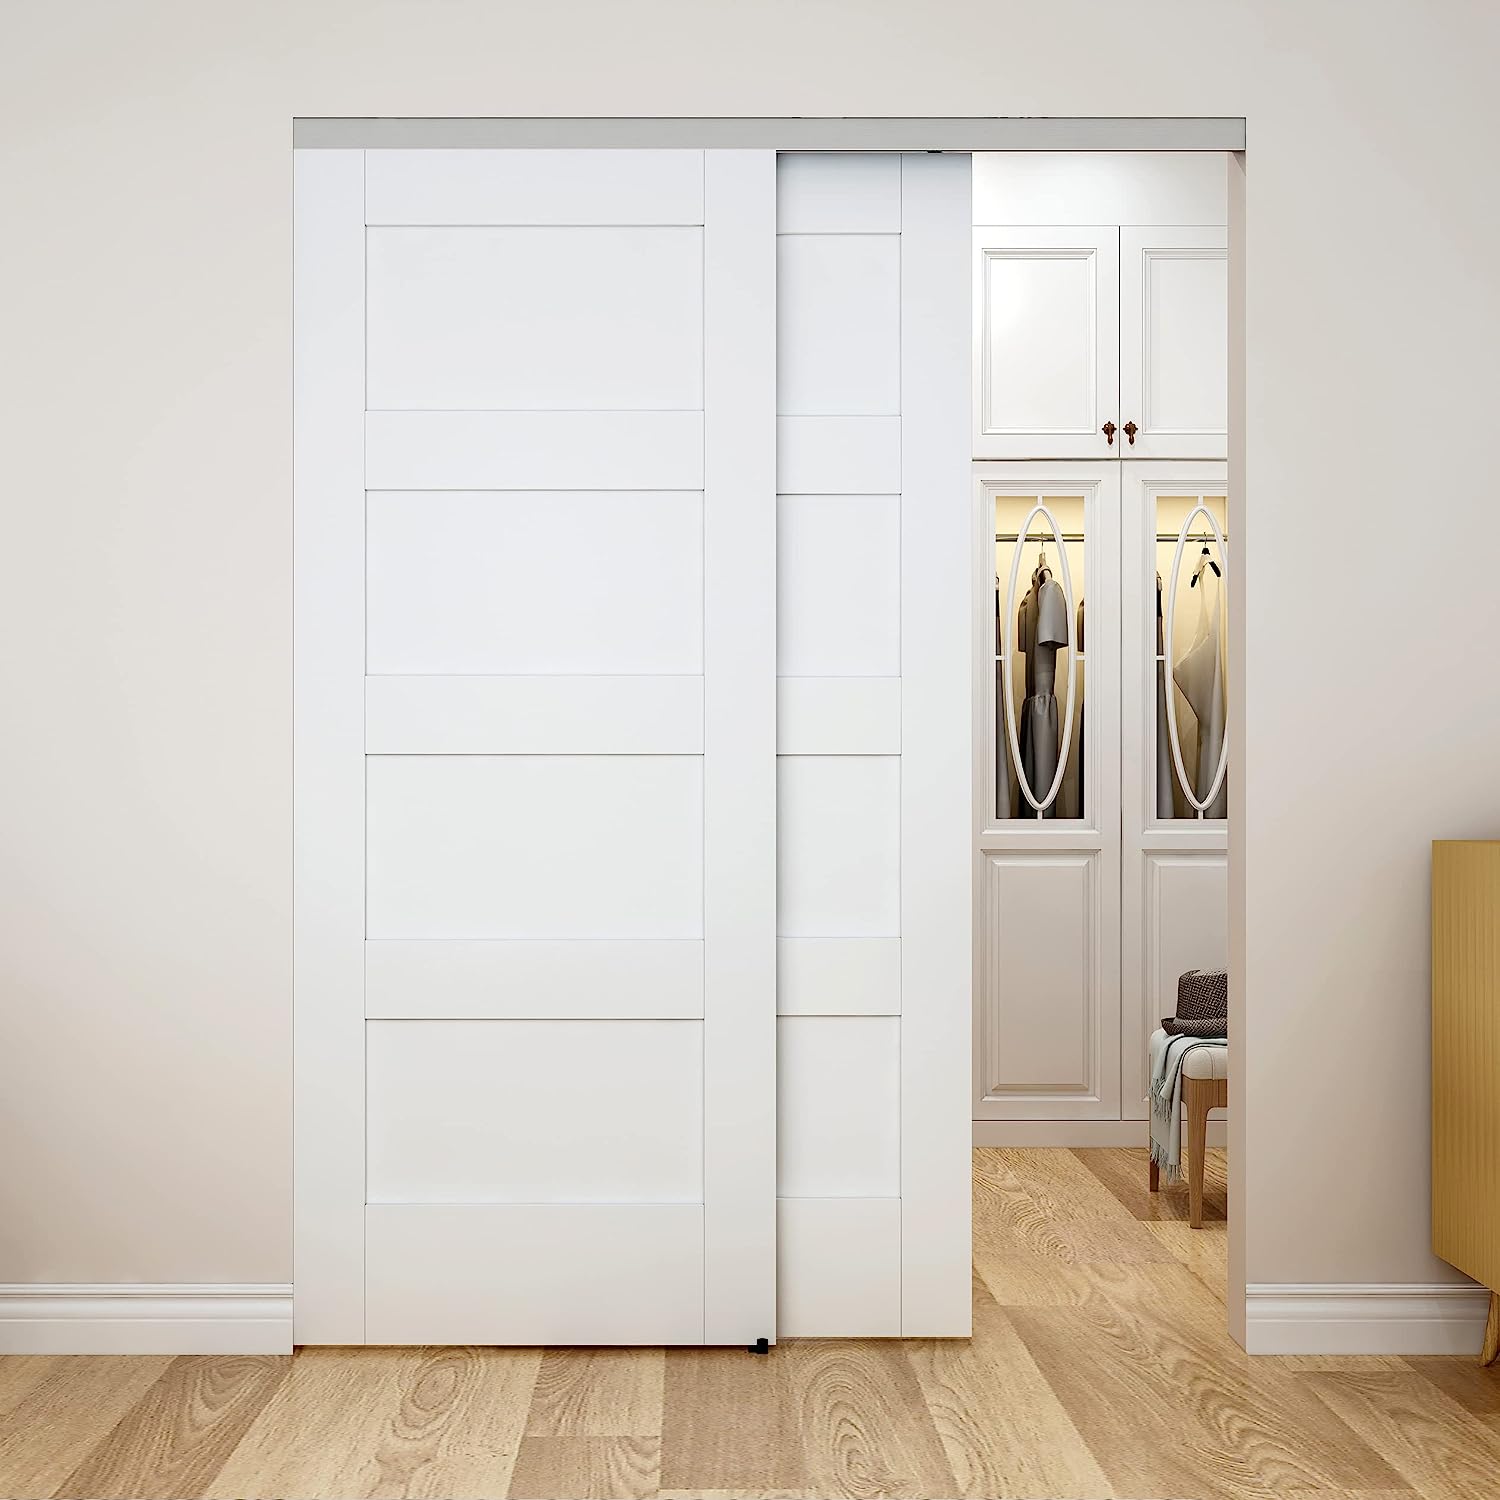
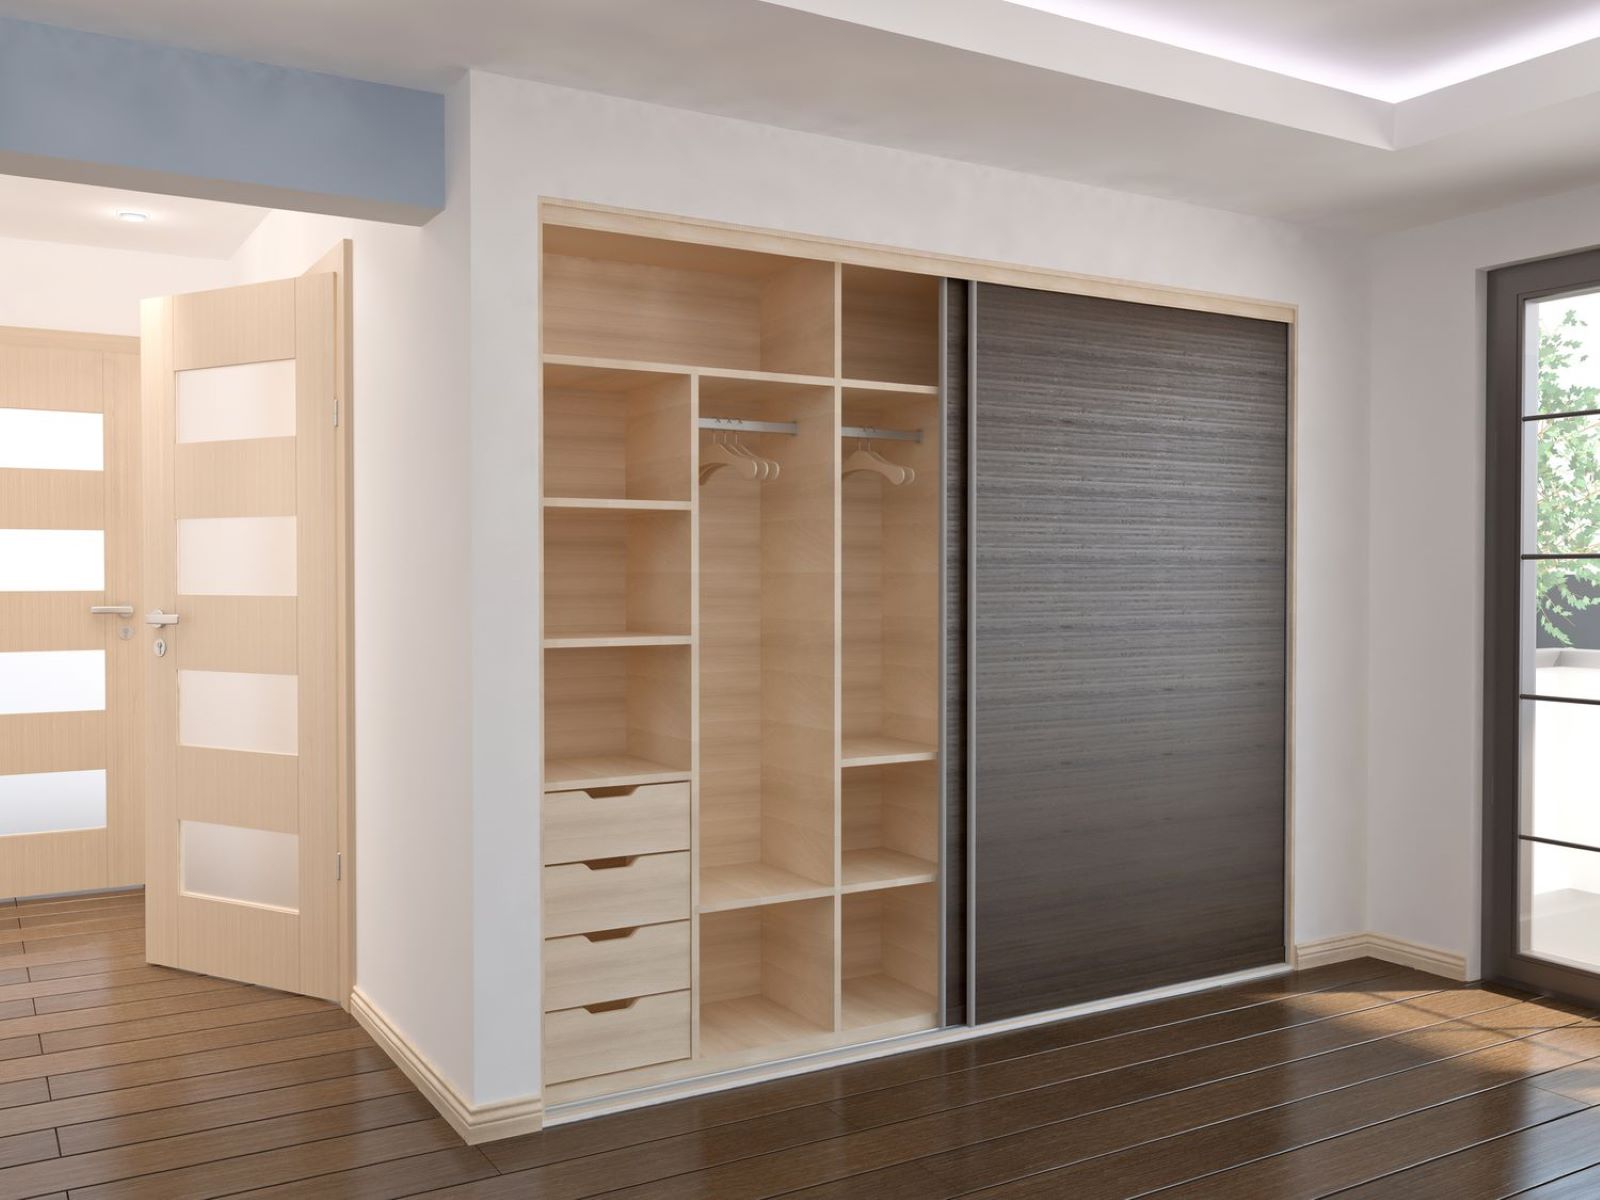
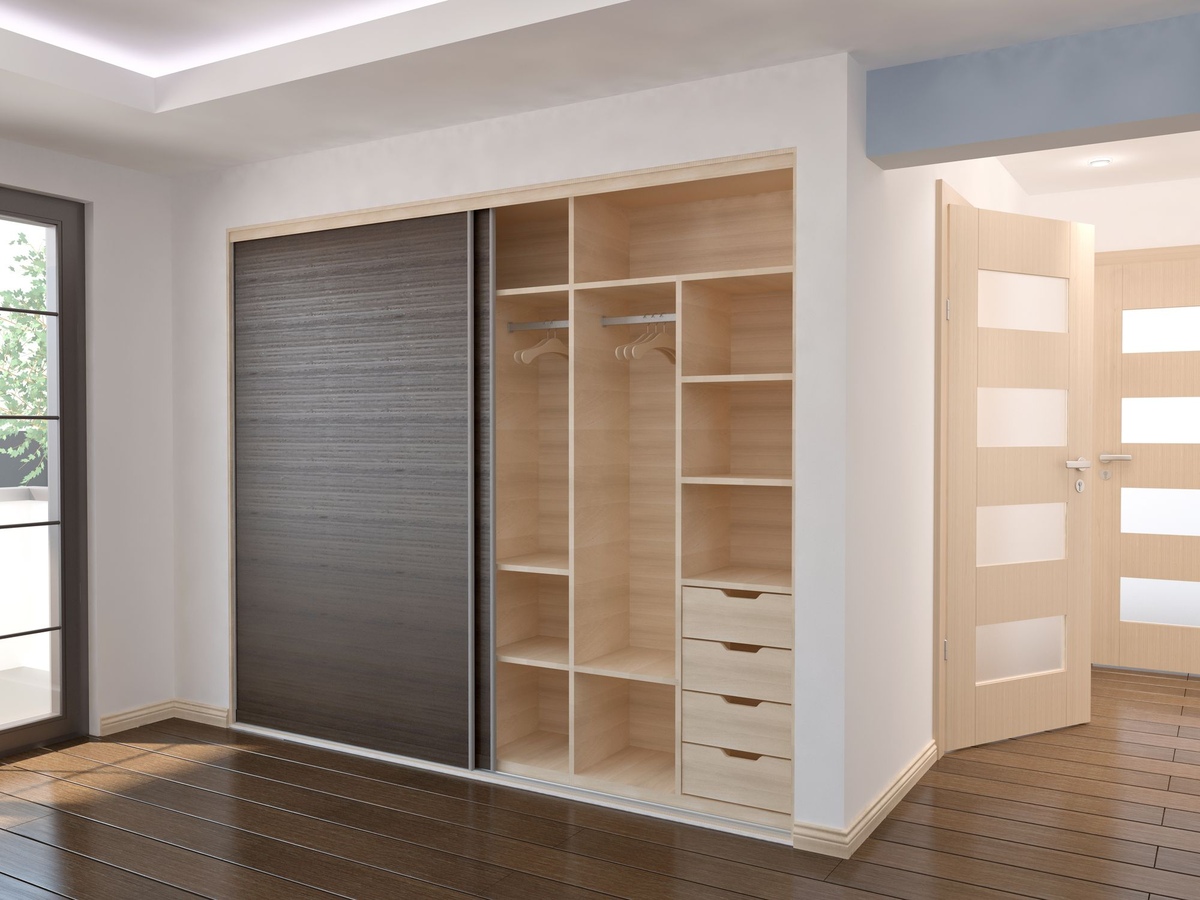
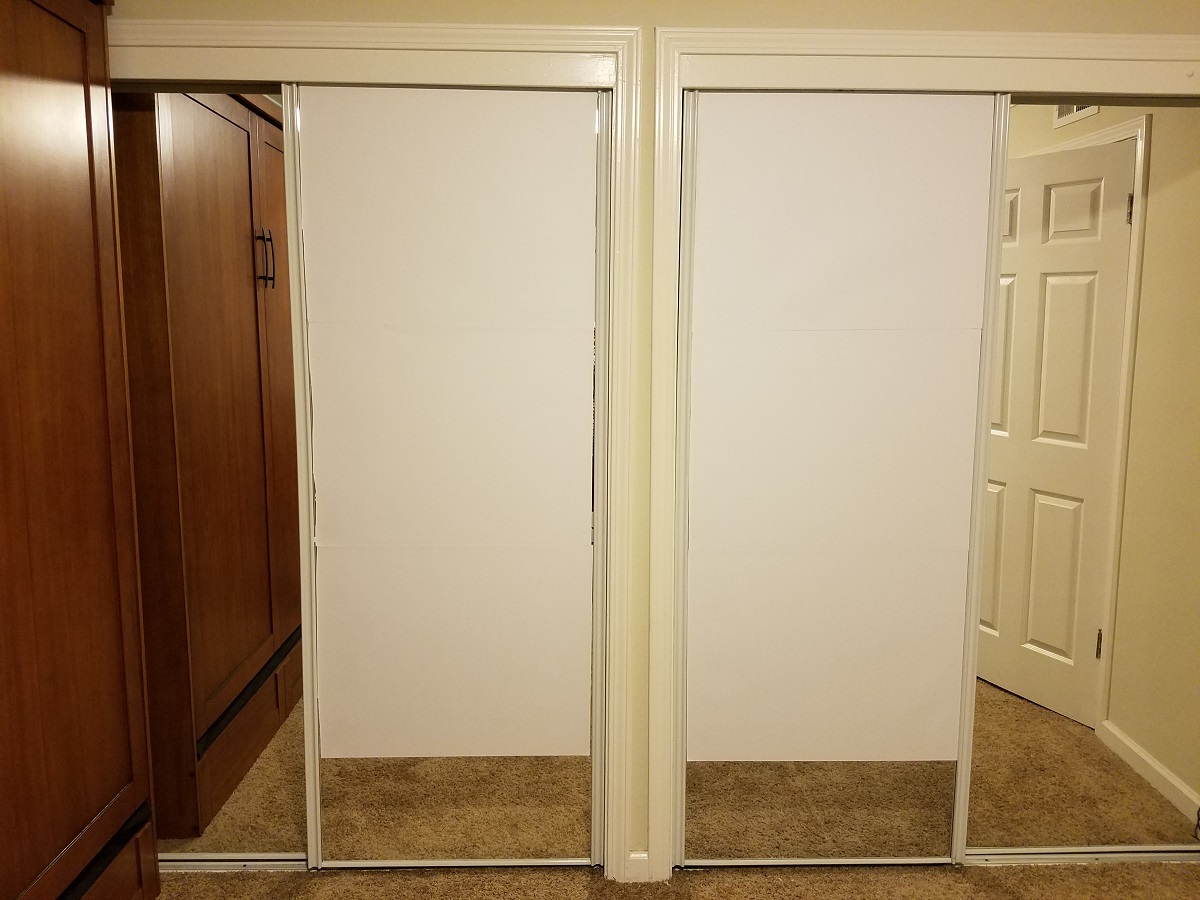
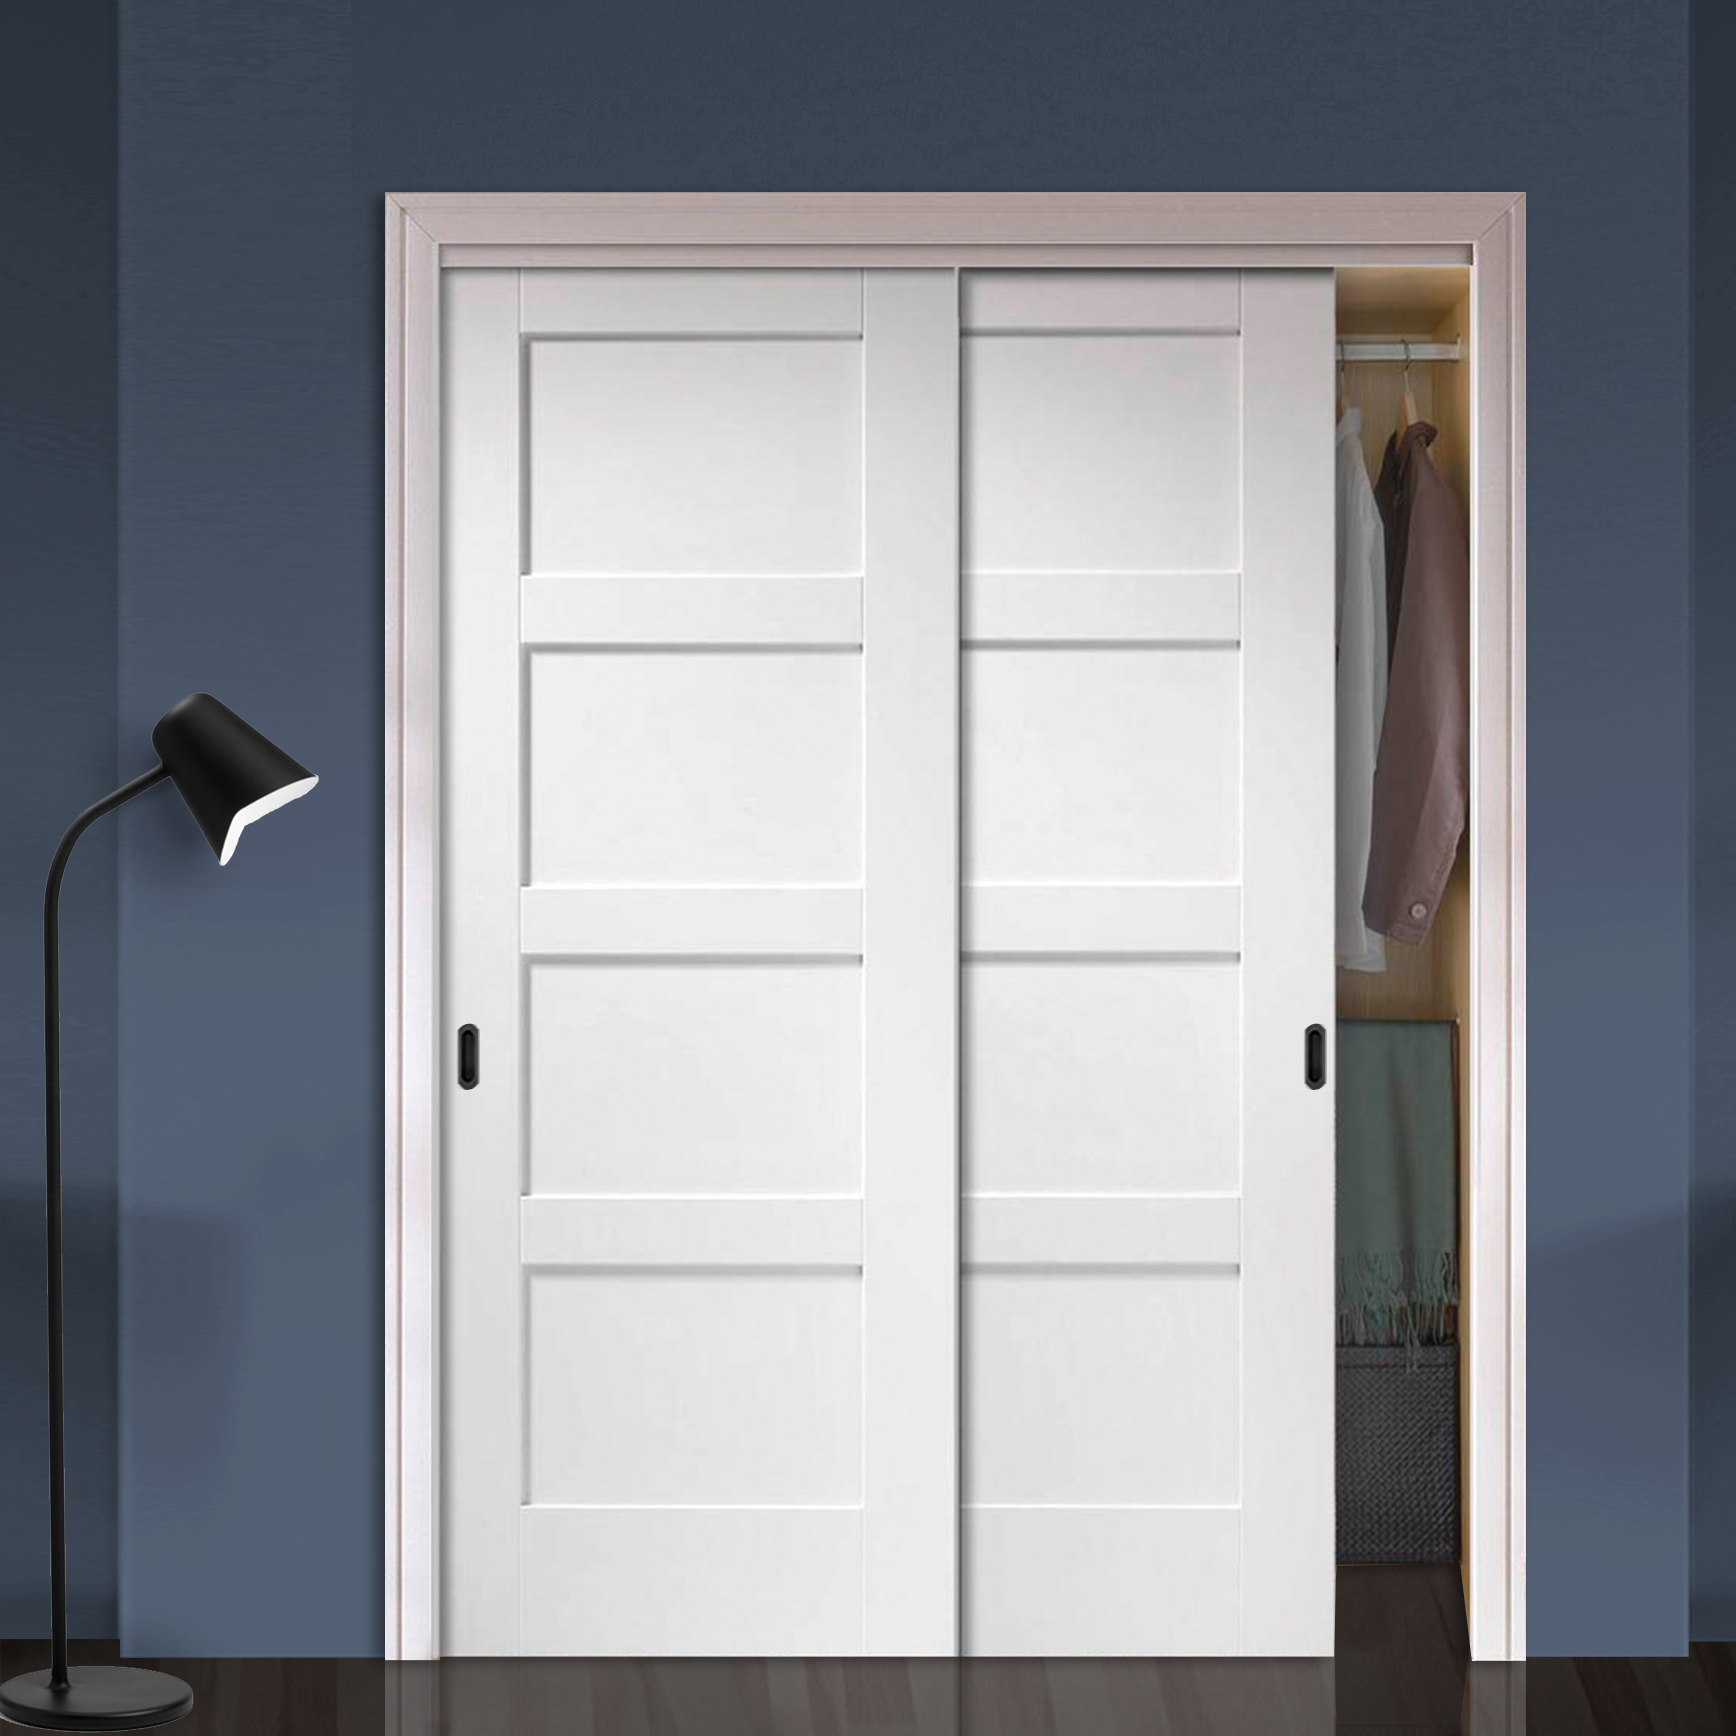
- Sliding Doors: Sliding doors are a popular choice for modern closets. They slide along a track and don’t require any additional space for opening or closing. Sliding doors can be made of glass, mirror, wood, or other materials, allowing you to choose the option that suits your preferences.
Consider the size of your closet opening, the available space in the room, and your personal style when selecting a replacement door. It’s also important to ensure that the door you choose matches the measurements you took earlier.
Visit home improvement stores or consult with professionals to explore the different door options available. They can provide guidance, show you samples, and help you select the best door for your needs.
Once you have chosen a replacement door, it’s time to move on to preparing the new door for installation.
When replacing a closet door, measure the opening carefully to ensure the new door will fit properly. Consider the type of door (sliding, bifold, hinged) and choose the appropriate replacement. Use the right tools and follow the manufacturer’s instructions for installation.
Read more: How To Decorate Closet Doors
Step 4: Prepare the New Door
Now that you have selected a replacement door for your closet, it’s time to prepare it for installation. Follow these steps to ensure the new door is ready for a seamless installation:
- If needed, trim the door: Measure the height and width of the closet opening and compare it with the size of the new door. If the new door is too large, you may need to trim it to fit. Use a pencil to mark the areas that need trimming, and carefully cut along the marked lines using a saw or a door trimming tool. Remember to wear appropriate safety gear when cutting.
- Sand the edges: After trimming the door, use a sanding block to smooth out any rough edges or areas where you made cuts. This will ensure a clean and professional-looking finish.
- Prep for paint or stain: If you plan to paint or stain the new door, now is the time to prepare it. Sand the entire surface of the door to create a smooth, even texture. Remove any dust or debris using a damp cloth. Apply a coat of primer if necessary, and let it dry according to the manufacturer’s instructions.
- Attach hinges: Depending on the type of door you have chosen, you may need to attach hinges to the new door. Follow the manufacturer’s instructions for proper hinge installation. Ensure that the hinges are positioned correctly to align with the hinges on the door frame.
- Install door hardware: If your new door requires additional hardware such as a door knob or handle, now is the time to install it. Follow the manufacturer’s instructions for proper installation, and ensure that it is securely attached.
By carefully preparing the new door, you will ensure a smooth installation process and a professional-looking finish. Take your time and double-check all measurements and adjustments before moving on to the next step: installing the replacement door.
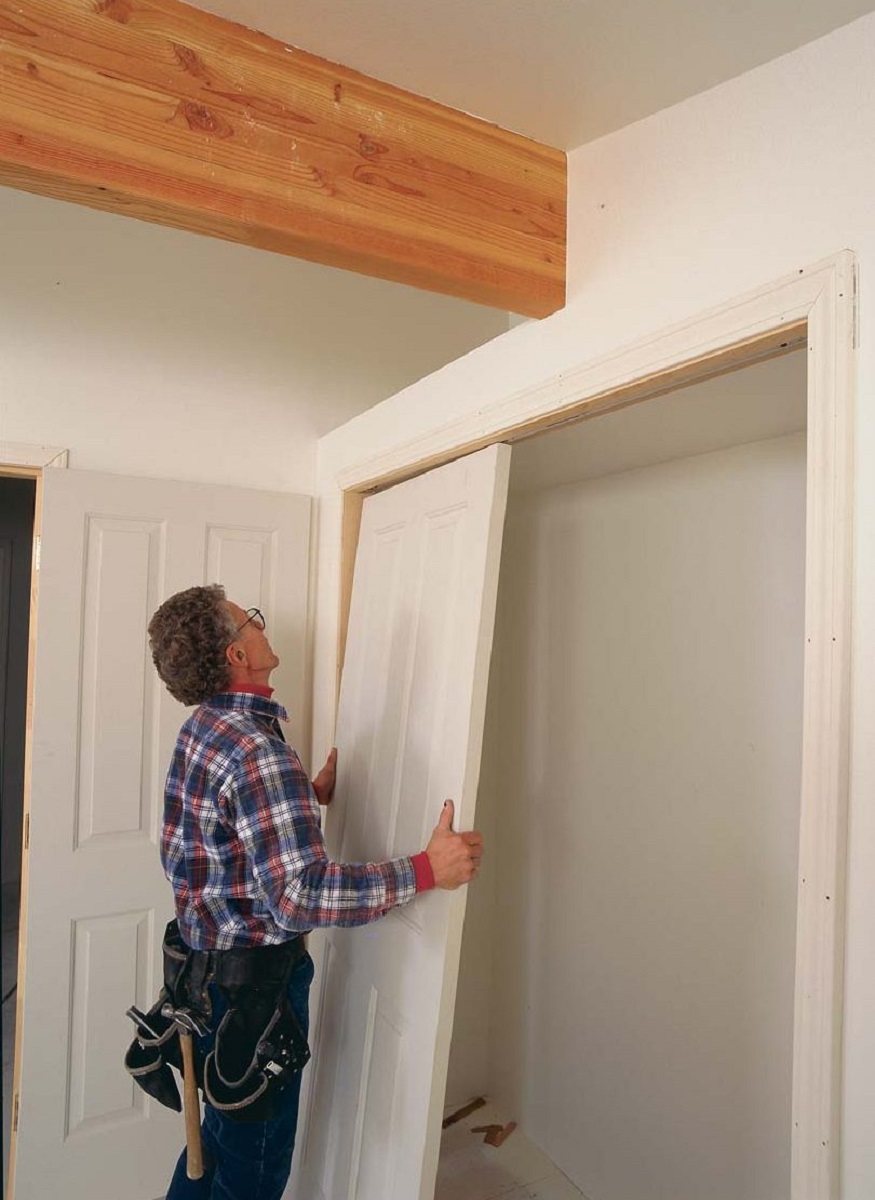
Step 5: Install the Replacement Door
Now that you have prepared the new door, it’s time to install it in the closet. Follow these steps to ensure a proper installation:
- Position the door: With the help of a friend or family member, position the new door in the doorway. Place wood shims underneath the door to keep it leveled and aligned.
- Attach the hinges: Line up the hinges on the door with the hinges on the door frame. Insert the screws and tighten them, ensuring that the door is securely attached. Repeat this step for each hinge.
- Check the alignment: After attaching the hinges, check the alignment of the door. Open and close the door to ensure it swings smoothly and doesn’t rub against the frame. Make any necessary adjustments by loosening or tightening the screws on the hinges.
- Secure the door: Once the door is aligned, insert additional screws through the hinges into the door frame for added stability and security.
It’s important to take your time during the installation process to ensure the door is aligned correctly and functions properly. If you encounter any difficulties or the door doesn’t fit as expected, consult with a professional for assistance.
After you have installed the replacement door, move on to the next step: adjusting and securing the door.
Step 6: Adjust and Secure the Door
After installing the replacement door, it’s crucial to adjust and secure it properly for optimal functionality. Follow these steps to ensure a well-adjusted and secure door:
- Check for even gaps: Close the door and observe the gaps between the door and the frame. Ensure that the gaps are even along the top, bottom, and sides of the door. If needed, adjust the door by tightening or loosening the screws on the hinges to achieve even gaps.
- Ensure smooth operation: Open and close the door multiple times to test its operation. Ensure that it swings smoothly, without any sticking or rubbing against the frame. If you encounter any issues, make necessary adjustments to the hinges or shims until the door operates smoothly.
- Secure the door: Once you are satisfied with the adjustments, secure the door in place. Insert additional screws into the hinges and door frame to reinforce the installation and prevent any potential movement or loosening over time.
- Inspect and make final adjustments: Take a final look at the door and its alignment. Check for any gaps, sticking points, or other issues. Make any final adjustments as needed to ensure the door is functioning properly and looks visually appealing.
It’s essential to spend time on adjusting and securing the door to ensure it operates smoothly and remains in place. Taking these precautions will help avoid future issues or the need for further adjustments.
With the door properly adjusted and secured, move on to the final step: adding finishing touches.
Step 7: Finishing Touches
Once the replacement door is installed and adjusted, it’s time to add the finishing touches to complete the transformation. Follow these steps to give your new closet door a polished look:
- Paint or stain the door: If you haven’t already done so, now is the time to paint or stain the new door. Apply the desired color or finish according to the manufacturer’s instructions. Allow the paint or stain to dry completely before proceeding.
- Attach any additional hardware: If there are any additional hardware components, such as a doorstop or magnetic catch, attach them to the door or frame as instructed by the manufacturer. These additions can improve the functionality and appearance of the door.
- Clean up the work area: Collect any tools, materials, or debris from the installation process and tidy up the work area. Properly dispose of any waste materials according to local regulations.
- Enjoy your new closet door: Once the finishing touches are complete, step back and admire your newly installed and upgraded closet door. Open and close it a few times to ensure everything is functioning smoothly.
Congratulations! You have successfully replaced your closet door and given your space a fresh look. Take a moment to appreciate the effort you put into this project.
Remember that regular maintenance and care will help prolong the lifespan of your new closet door. Keep it clean, lubricate hinges if necessary, and make any adjustments as needed over time.
Thank you for following this guide. We hope it has been helpful in guiding you through the process of replacing your closet door. Enjoy your newly enhanced space!
Read more: How To Remove Closet Door
Conclusion
Replacing a closet door is a great way to enhance the appearance and functionality of your space. With the step-by-step guide provided, you now have the knowledge and confidence to tackle this DIY project.
Throughout the process, you learned how to measure the closet door, remove the existing door, choose a suitable replacement, prepare the new door, install and adjust it, and add the finishing touches. By following these steps and using the necessary tools and materials, you can achieve a successful and professional-looking result.
Remember that safety should always be a priority when handling tools and making adjustments. If you’re uncertain or encounter any difficulties, don’t hesitate to reach out to a professional for assistance. They can provide valuable advice and ensure the installation is done correctly.
Now that you have upgraded your closet door, take the time to appreciate the refreshed look it brings to your space. Whether you opted for a hinged door, bifold door, or sliding door, it’s sure to make a noticeable difference.
Lastly, don’t forget to maintain and care for your new closet door to ensure its longevity. Regular cleaning, lubrication of hinges, and addressing any issues promptly will keep it in excellent condition for years to come.
Thank you for following this guide on how to replace a closet door. We hope it has been informative and helpful in your home improvement journey. Enjoy your newly transformed closet!
Frequently Asked Questions about How To Replace Closet Door
Was this page helpful?
At Storables.com, we guarantee accurate and reliable information. Our content, validated by Expert Board Contributors, is crafted following stringent Editorial Policies. We're committed to providing you with well-researched, expert-backed insights for all your informational needs.

0 thoughts on “How To Replace Closet Door”