Articles
How To Install Closet Doors
Modified: October 26, 2024
Learn how to install closet doors with this comprehensive guide on home maintenance. Upgrade your space with new doors and enhance the functionality of your closets.
(Many of the links in this article redirect to a specific reviewed product. Your purchase of these products through affiliate links helps to generate commission for Storables.com, at no extra cost. Learn more)
Introduction
When it comes to organizing your clothes and belongings, having functional closet doors is essential. Installing closet doors not only adds a touch of style to your space but also helps keep your items neatly tucked away. Whether you’re renovating your current closet or building a new one, learning how to install closet doors is a valuable skill that can save you money and enhance the functionality of your storage area.
In this step-by-step guide, we will take you through the process of installing closet doors. From measuring the closet opening to hanging the doors and ensuring their proper operation, we’ll cover all the necessary steps for a successful installation. By following these instructions and using the right tools and materials, you’ll have your closet doors up and functioning in no time.
Before we dive into the installation process, let’s explore the different types of closet doors available. This will help you choose the style that suits your preferences and complements the overall aesthetics of your space.
Key Takeaways:
- Properly measuring the closet opening and selecting the right door style are crucial steps in installing closet doors. Taking time to gather the necessary tools and materials, and following the installation process diligently, ensures a successful and functional outcome.
- The installation of closet doors not only adds style to your space but also enhances the functionality of your storage area. By following the step-by-step guide and adding finishing touches, you can create a personalized and organized closet space that meets your needs.
Read more: How To Install A Sliding Closet Door
Step 1: Measure the Closet Opening
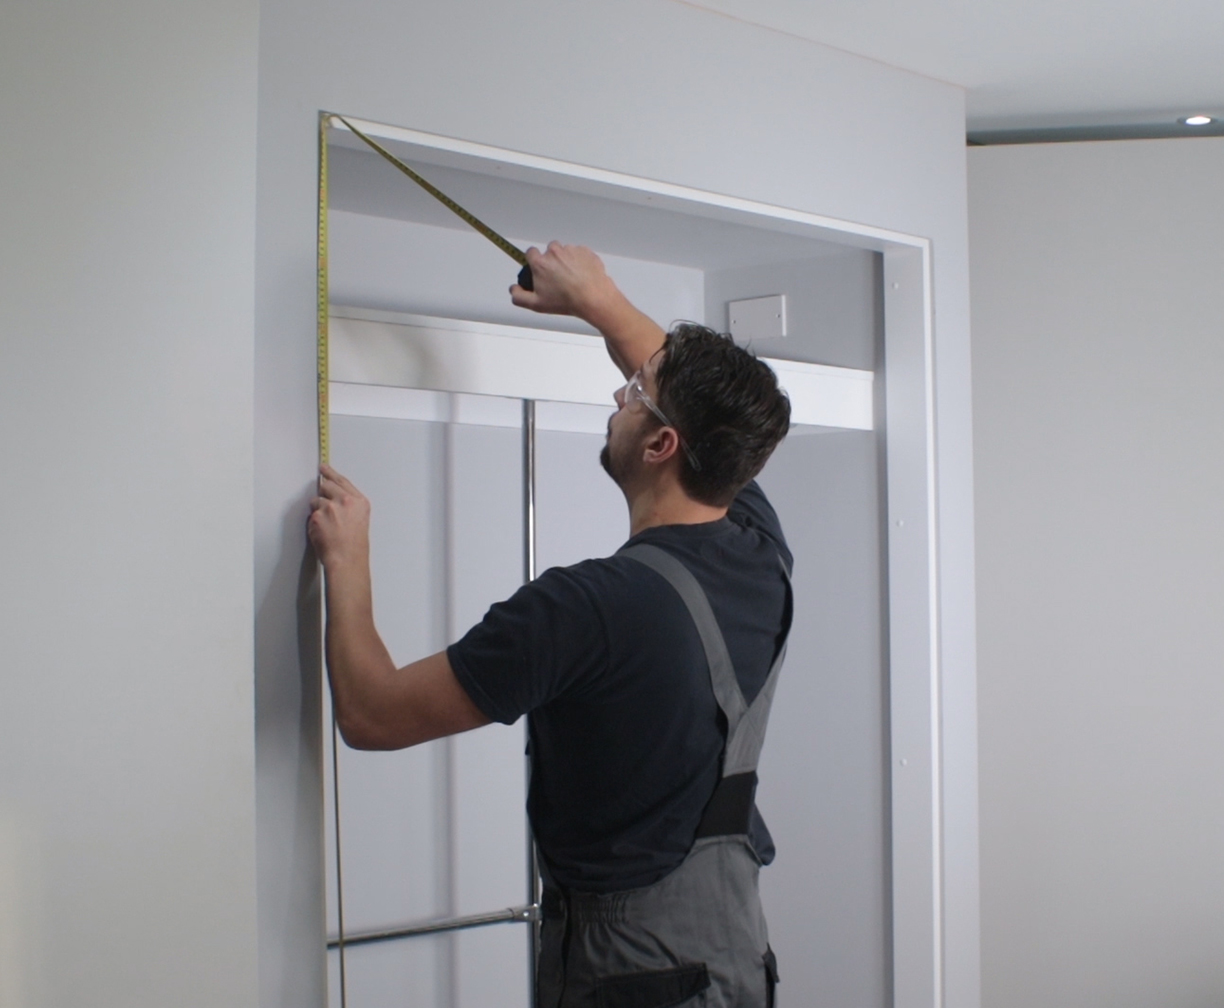
Before you can start installing closet doors, it’s crucial to accurately measure the dimensions of the closet opening. This will ensure that the doors fit properly and operate smoothly. Follow these steps to measure your closet opening:
- Start by clearing out any items or obstructions from your closet.
- Use a tape measure to take the width of the closet opening at the top, middle, and bottom. Write down the largest measurement as this will be the width of your closet doors.
- Next, measure the height of the closet opening from the floor to the top. Again, take measurements at different points and note down the largest measurement as the height of the doors.
- Don’t forget to measure the depth of the closet to ensure there is enough space for the doors to open and close without any obstructions.
- Once you have these measurements, you can proceed to select the appropriate closet door style and order doors that fit your specific dimensions.
Keep in mind that precise measurements are crucial for a proper fit, so take your time and double-check your measurements before making any purchases. If you’re unsure or need assistance, consult a professional or seek guidance from the manufacturer of the doors you plan to install.
By accurately measuring your closet opening, you’ll be on the right track to installing closet doors that not only look great but also function seamlessly.
Step 2: Select the Closet Door Style
Once you have measured your closet opening, it’s time to choose the style of closet doors that best suits your needs and complements the overall design of your space. There are various closet door styles available, each with its own unique features and benefits. Here are a few popular options to consider:
- Bifold Doors: Bifold doors consist of two panels hinged in the center, allowing them to fold in on themselves when opened. They are ideal for smaller spaces as they take up less clearance width compared to other door styles.
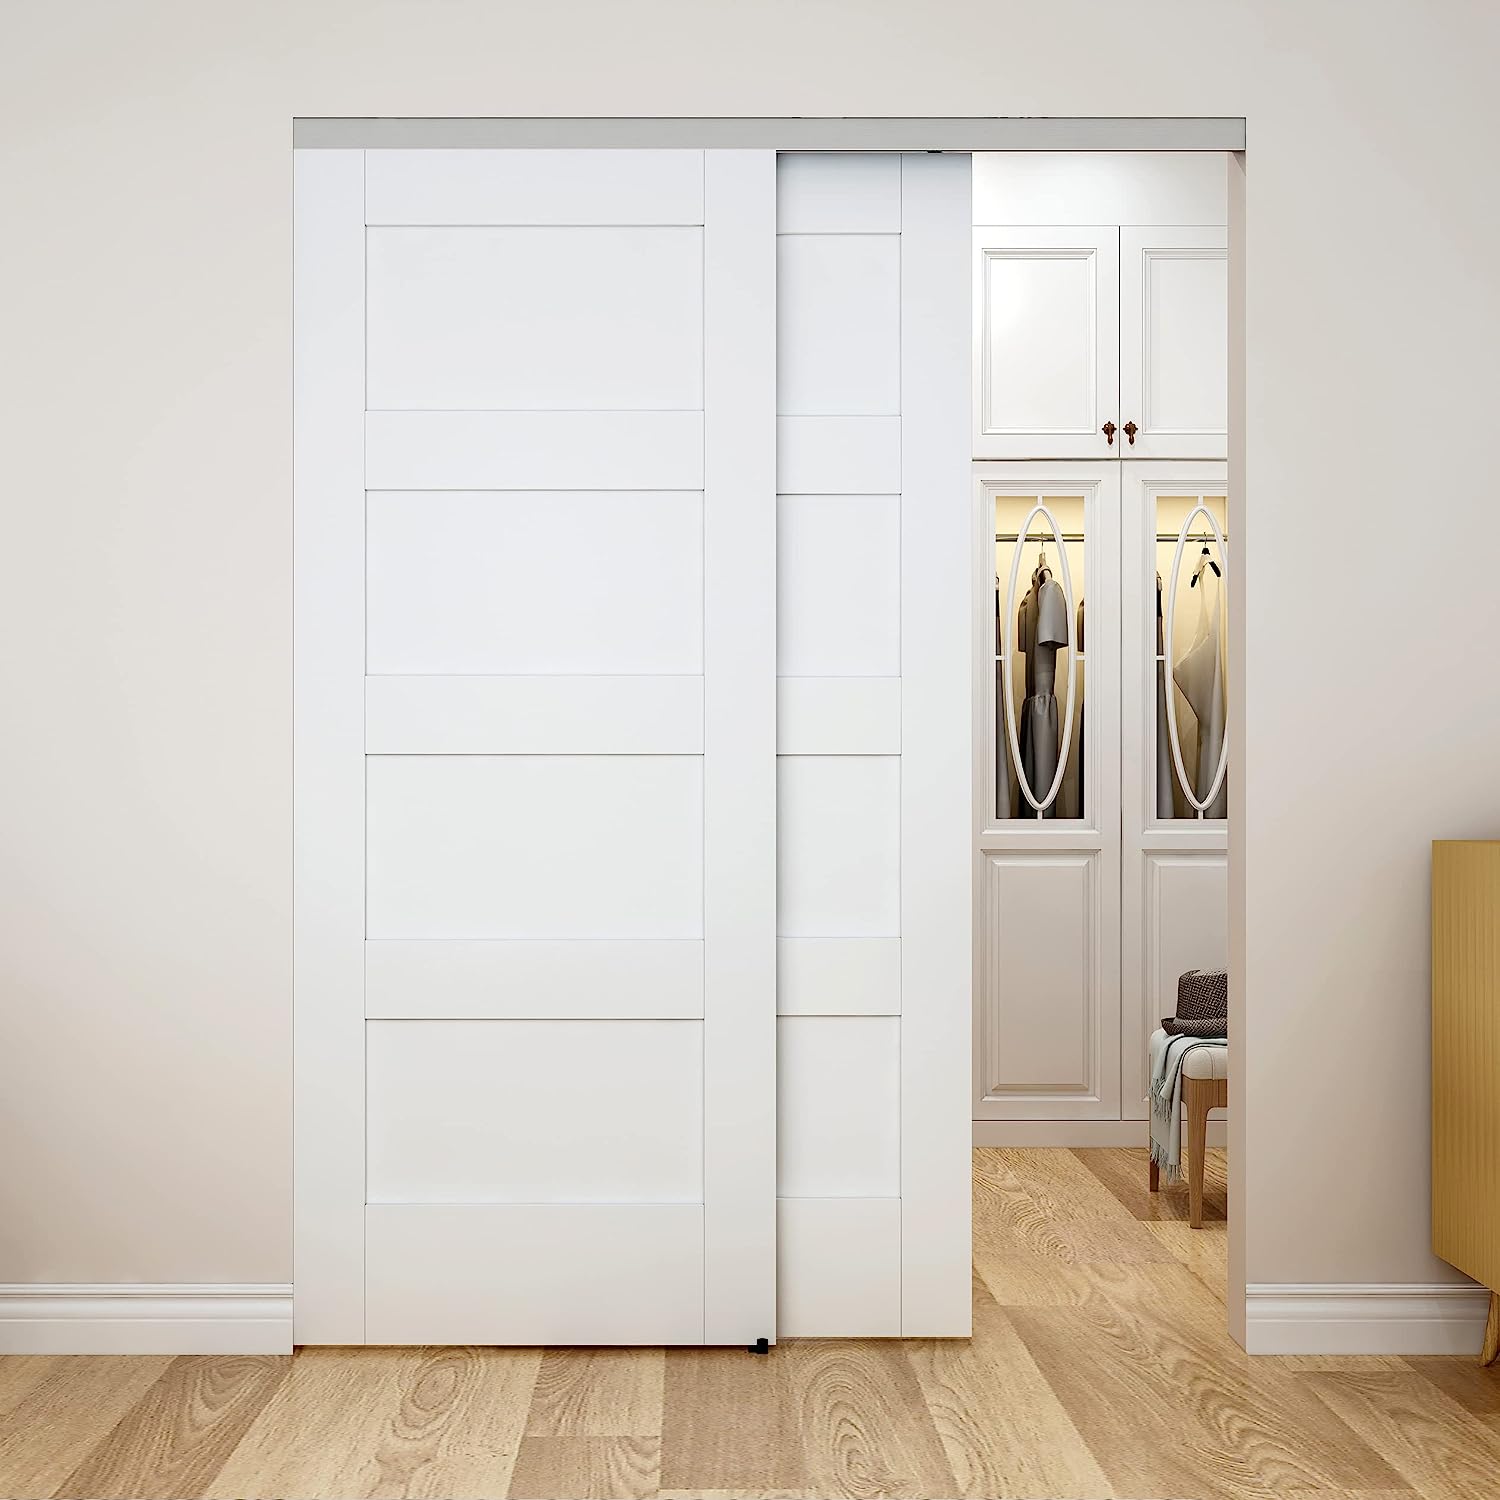
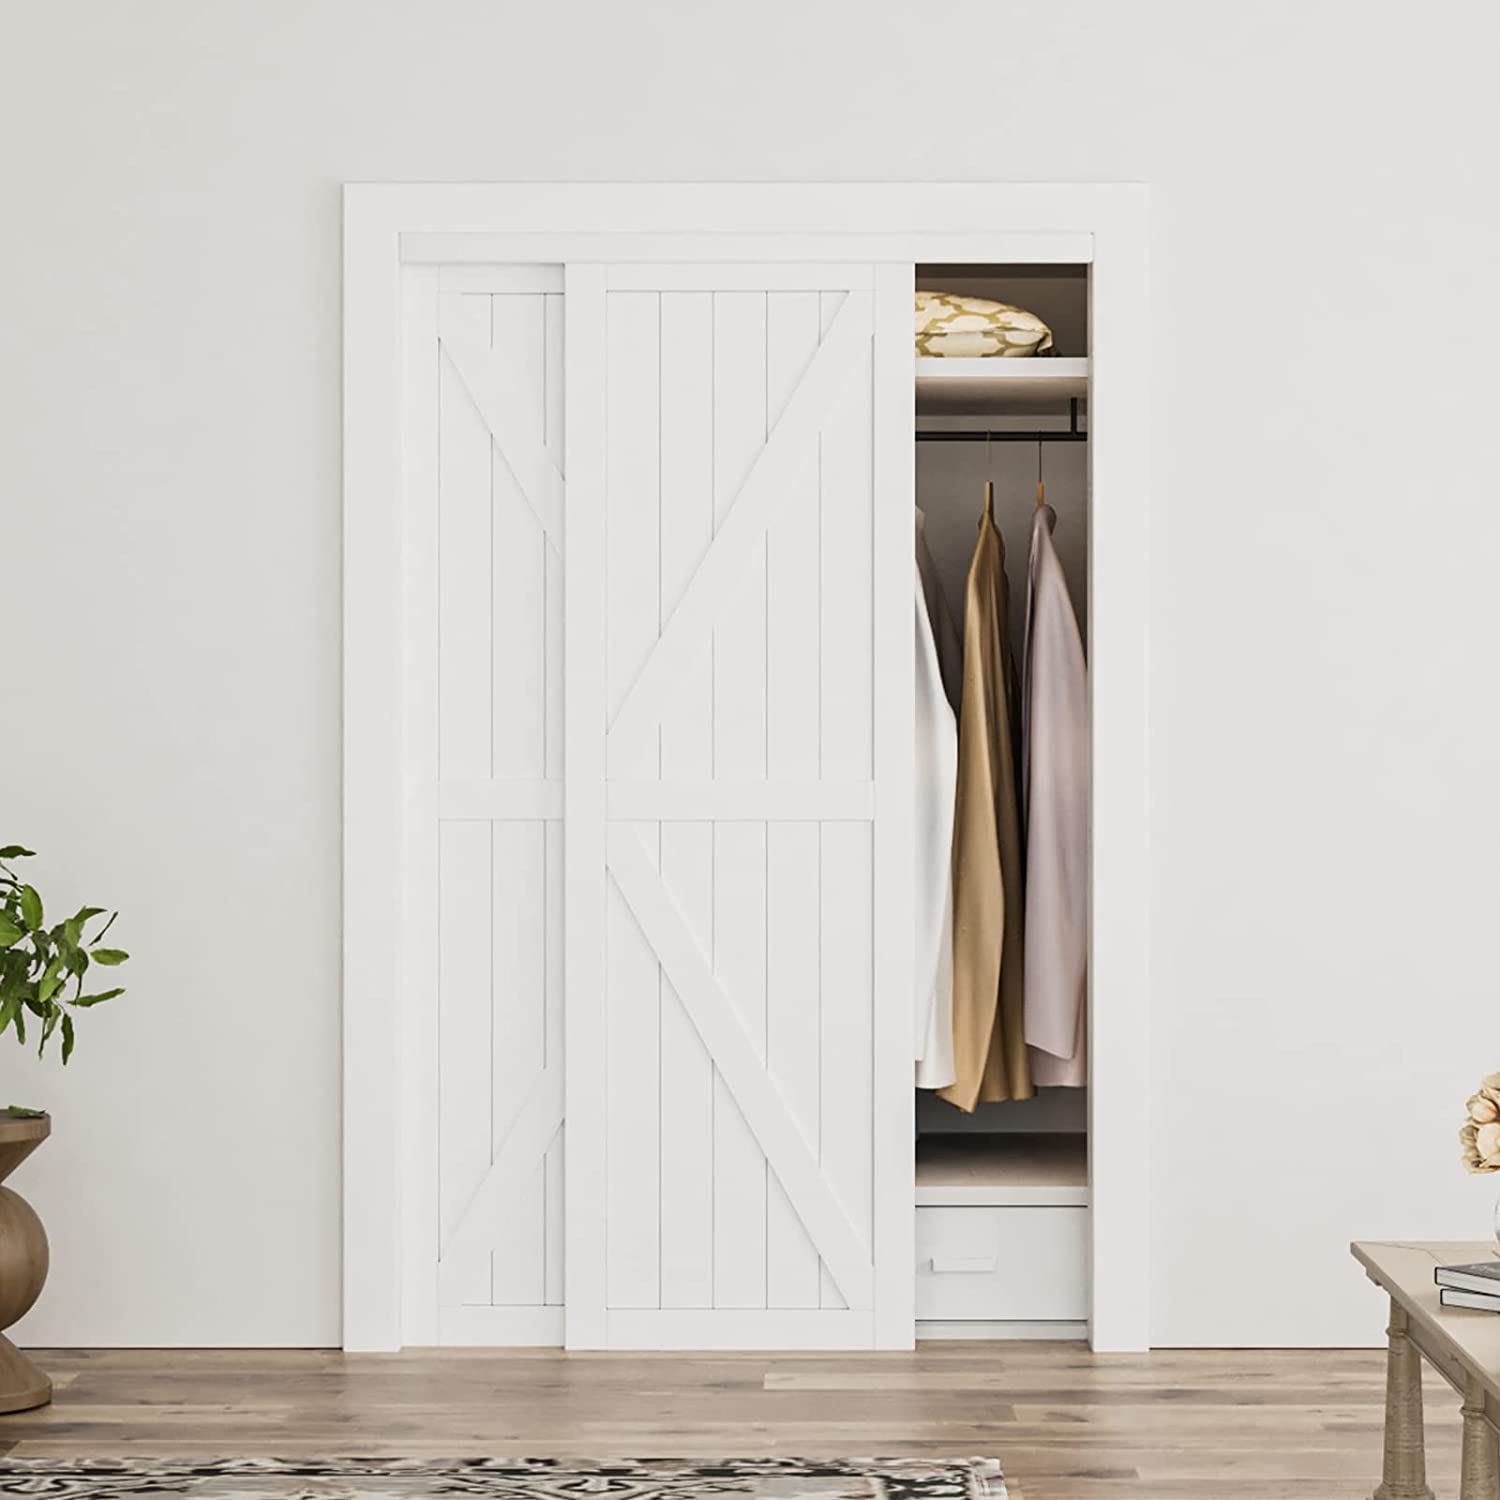
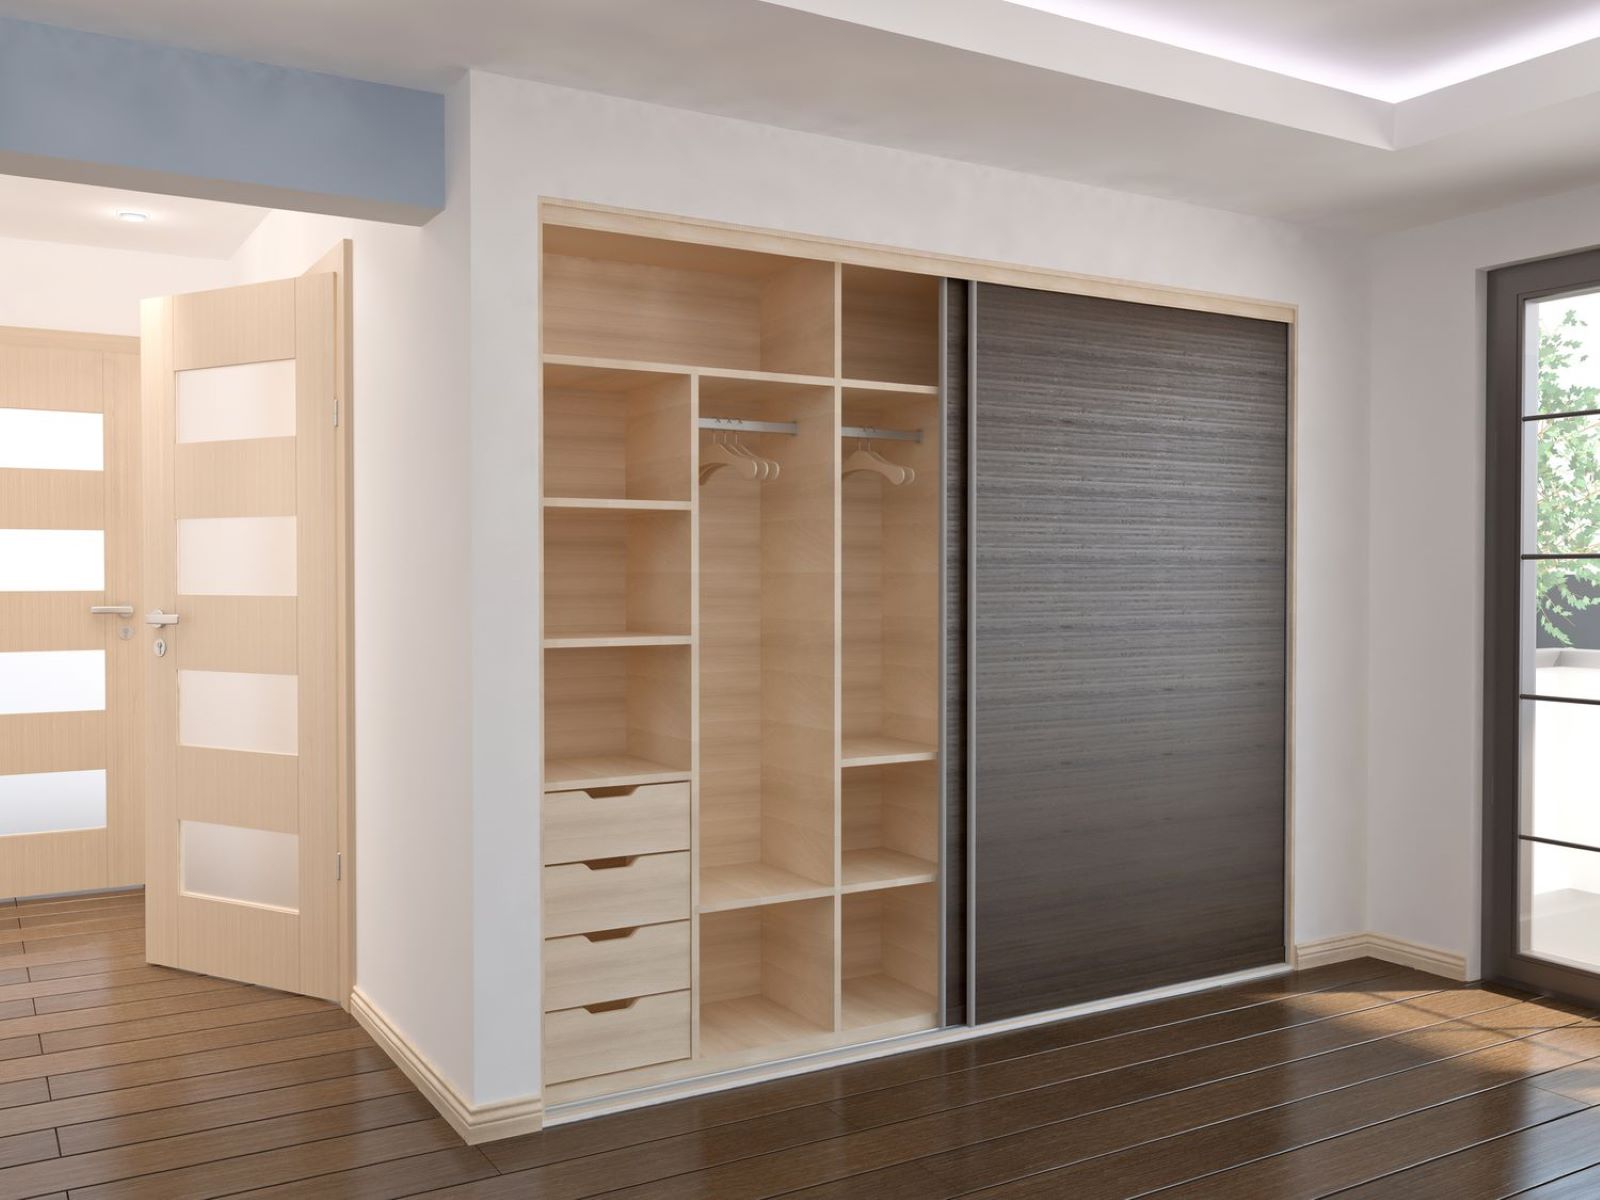
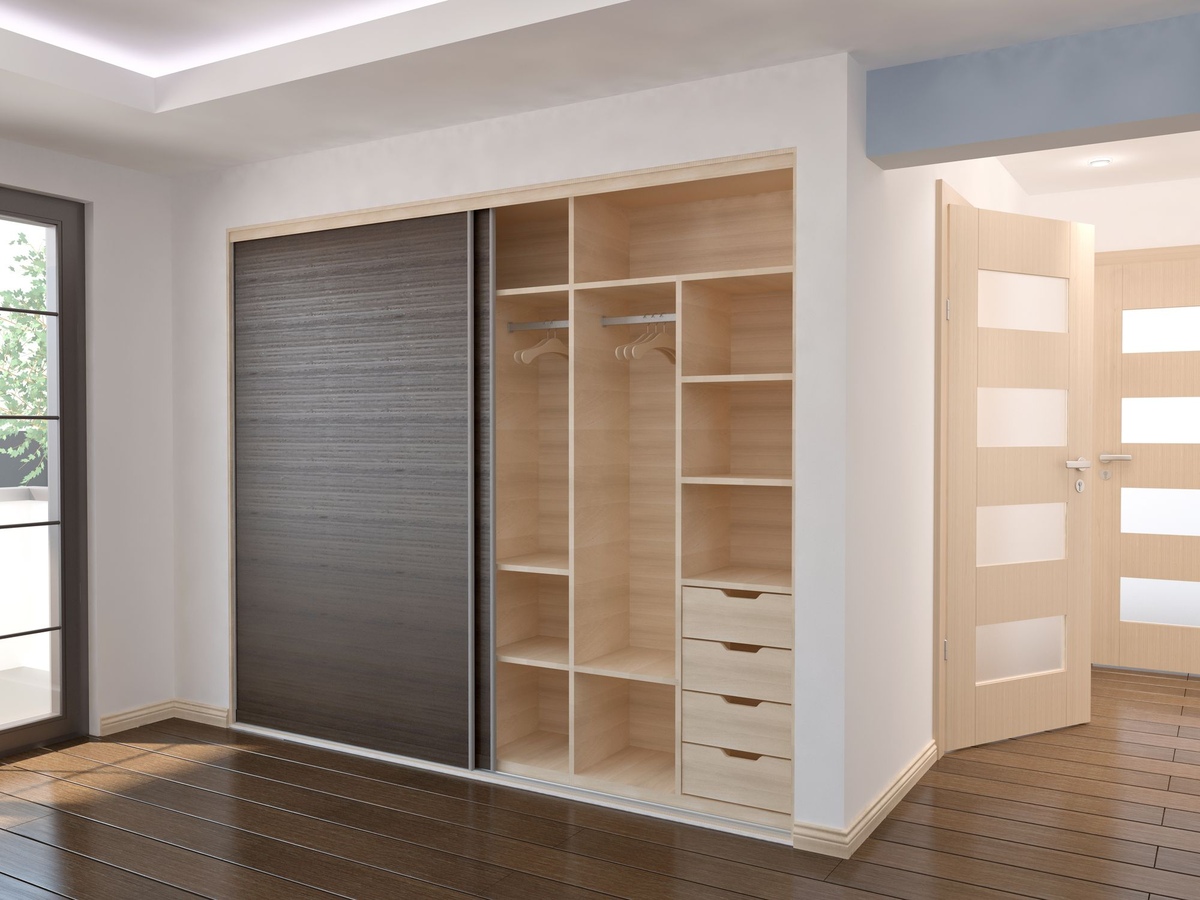
- Sliding Doors: Sliding doors are a classic choice for closets. They operate by sliding along a track, making them perfect for areas with limited space where a swinging door might not be feasible.
- Pocket Doors: Pocket doors feature panels that slide and disappear into a recessed pocket within the wall. They are a sleek and space-saving option, but keep in mind that installation can be more complex due to the need for a pocket wall.
- Hinged Doors: Hinged doors are like traditional doors that swing open and close on hinges. They offer a wide variety of design options and are suitable for larger closets with ample clearance space.
Consider the size and layout of your closet, as well as your personal preferences, when choosing the style of doors. Additionally, take into account the material and finish of the doors to ensure they match your desired aesthetic.
Once you have selected the style of closet doors, you can move on to the next step of gathering the necessary tools and materials for the installation process.
Step 3: Gather the Necessary Tools and Materials
Before you begin installing closet doors, it’s important to gather all the tools and materials you’ll need for the job. Having everything on hand will make the installation process smoother and more efficient. Here’s a list of the essential tools and materials you’ll need:
Tools:
- Tape measure
- Level
- Screwdriver
- Drill
- Hacksaw or miter saw (depending on the type of doors)
- Pencil or marker
- Hammer
- Chisel
Read more: How To Frame A Closet Door
Materials:
- Closet doors (according to your measurements and chosen style)
- Closet door tracks (specific to the style of doors)
- Screws and anchors
- Wood filler
- Sandpaper
- Paint or stain (if desired)
It’s important to select the appropriate tools for your specific project, taking into consideration the type of closet doors you’ve chosen. For example, if you’re installing bifold doors, you’ll need a hacksaw or miter saw to cut the tracks to the correct length.
Additionally, ensure that all the materials are of high quality to ensure the longevity and durability of your closet doors. If you’re unsure about any specific tools or materials required for your chosen door style, consult the manufacturer or seek guidance from a professional.
Once you have gathered all the necessary tools and materials, you’re ready to move on to preparing the closet opening for installation.
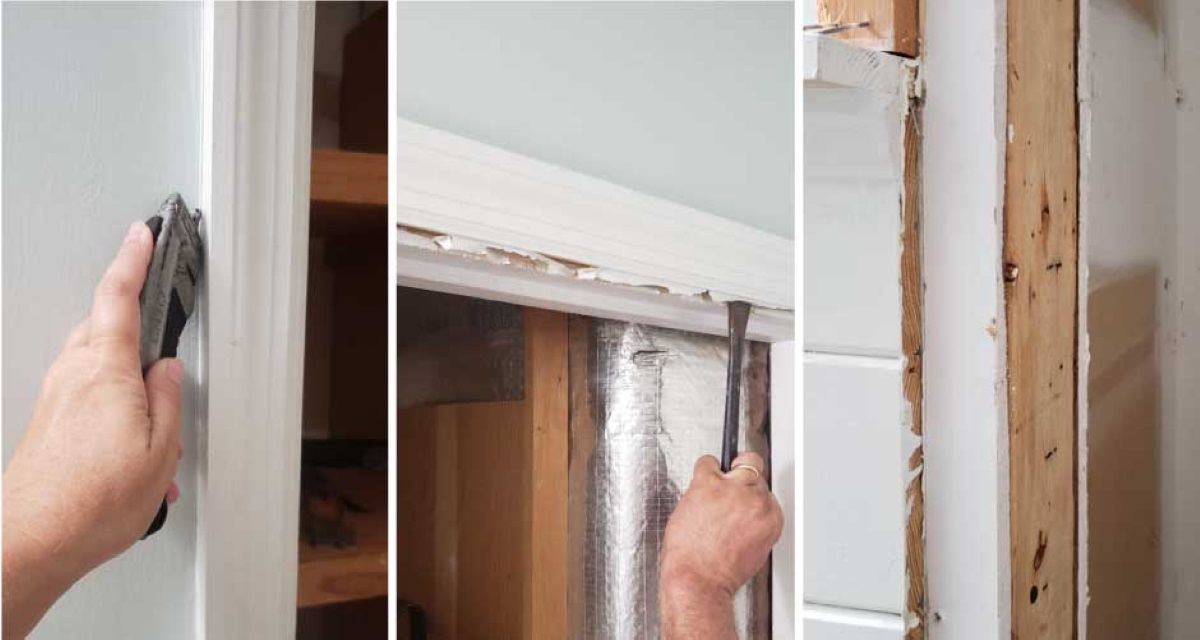
Step 4: Prepare the Closet Opening
Before you can install the closet doors, it’s important to properly prepare the closet opening. This step involves ensuring that the opening is clean, level, and ready to accommodate the door tracks. Here’s how you can prepare the closet opening:
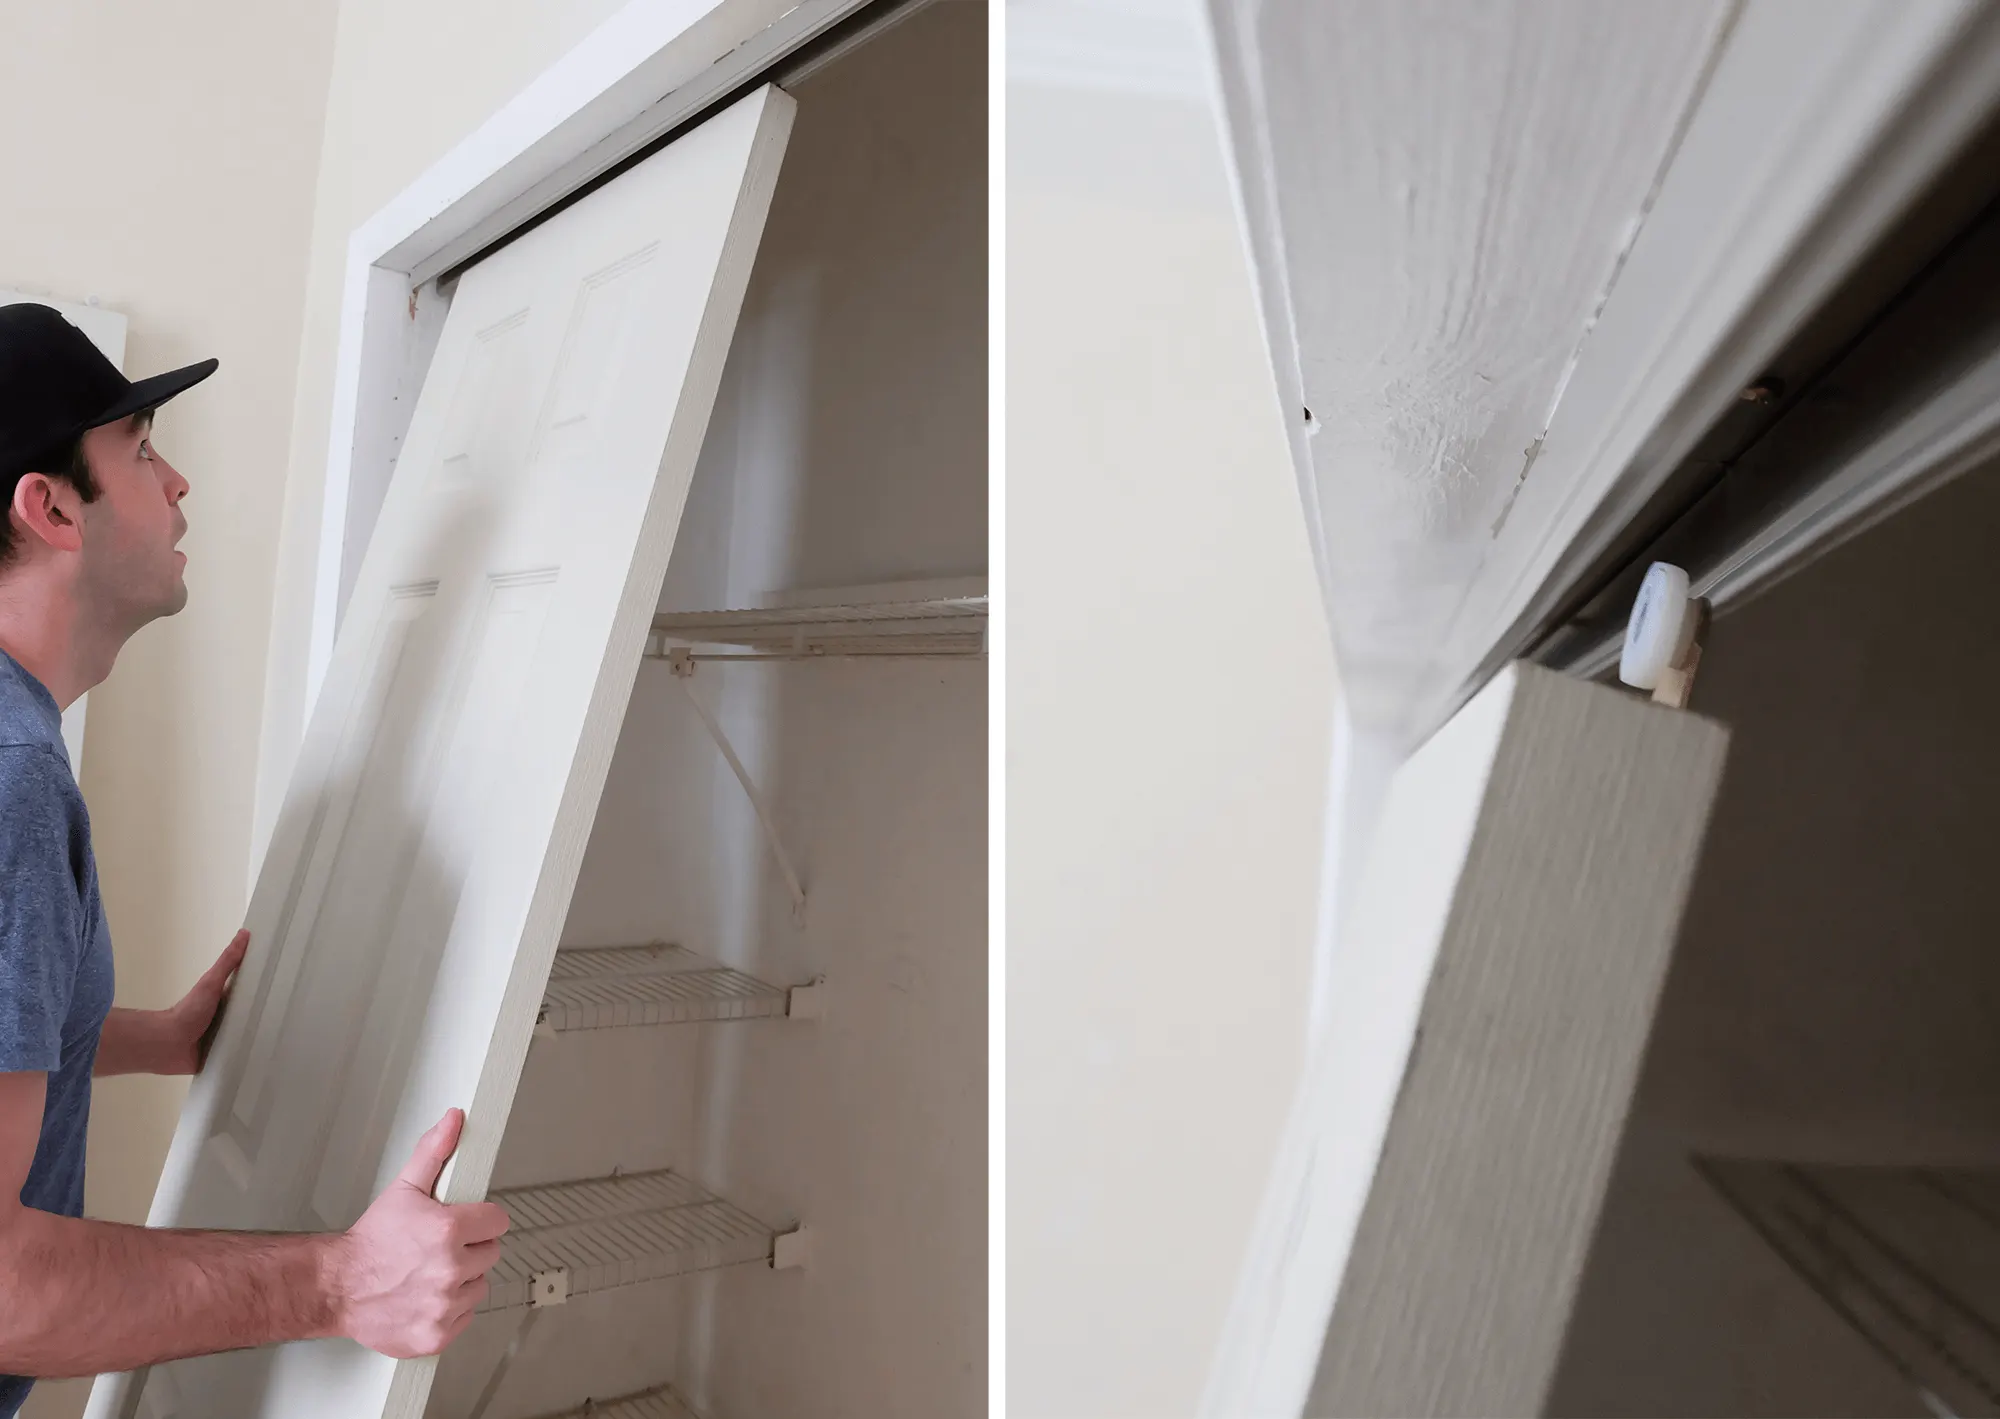
- Start by removing any existing doors, hardware, or trim from the closet opening. Use a screwdriver or drill to unscrew and remove the hinges, brackets, or any other attachments.
- Next, thoroughly clean the closet opening, removing any dust, debris, or old caulk using a vacuum cleaner or damp cloth.
- Inspect the opening to ensure that it is level and plumb. Use a level to check both the sides and the top of the opening. If necessary, use shims or adjust the frame to achieve a level and plumb position.
- Check the condition of the walls around the closet opening. Fill any holes or cracks with wood filler and use sandpaper to smooth out any rough areas. If you plan to paint or stain the walls, now is the time to do so.
- If your closet opening does not have a solid header or support for the door tracks, you may need to install an additional header or reinforcement. Consult a professional if you are unsure about this step.
- Finally, double-check the measurements of the closet opening to ensure they match the dimensions of the doors and tracks you have purchased. Make any necessary adjustments before proceeding.
By properly preparing the closet opening, you’ll create a solid foundation for the installation of the closet doors. This step ensures that the doors will fit properly and operate smoothly once installed.
With the closet opening prepared, you’re now ready to move on to the next step: installing the closet door tracks.
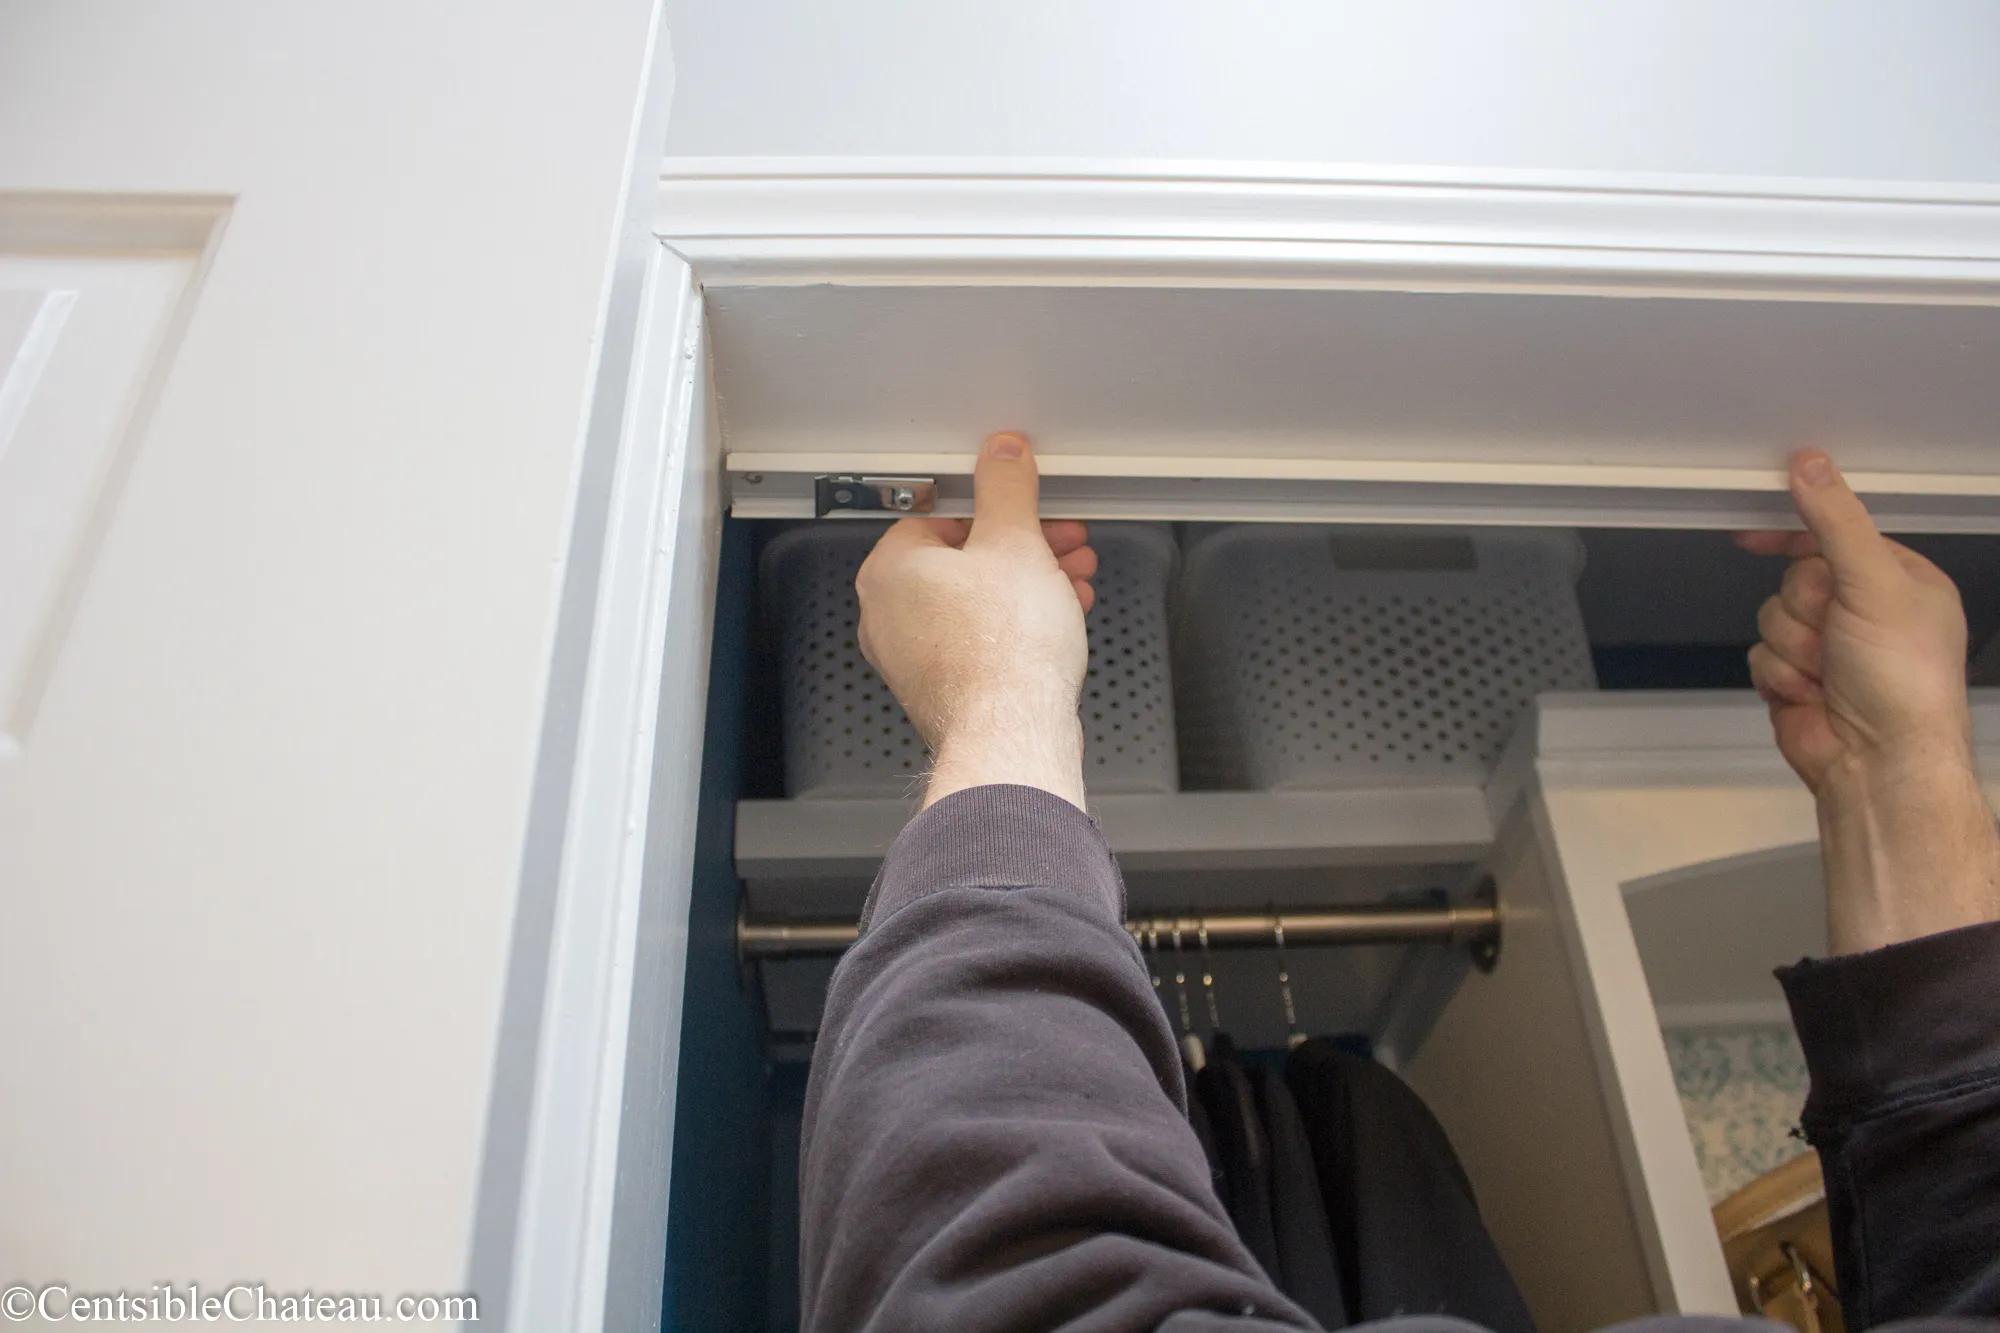
Step 5: Install the Closet Door Tracks
With the closet opening prepared, it’s time to install the closet door tracks. The tracks serve as a guide for the doors, allowing them to slide smoothly and securely. Follow these steps to properly install the closet door tracks:
- Start by measuring and marking the placement of the top track. Use a tape measure and pencil to mark the desired position, ensuring that the track is level.
- Using a drill, attach the top track to the header or top of the closet opening using screws or anchors provided with the track. Make sure the track is securely fastened and level.
- Next, measure and mark the placement of the bottom track. Align it with the top track and ensure that it is level. The bottom track should be installed on the floor or base of the closet opening.
- Using a drill, attach the bottom track to the floor or base of the opening, ensuring it is securely fastened and level.
- If your chosen door style requires additional tracks, such as bifold doors, follow the manufacturer’s instructions to install these tracks accordingly. Make sure they are aligned and securely attached.
- After the tracks are installed, test them to ensure that the doors slide smoothly and without any obstructions. Make any necessary adjustments to the track placement or alignment if needed.
It’s important to carefully follow the manufacturer’s instructions for your specific closet door style when installing the tracks. This will ensure that the doors operate correctly and minimize the risk of damage or misalignment.
With the closet door tracks securely installed, you’re now ready to move on to the next step: hanging the closet doors.
Step 6: Hang the Closet Doors
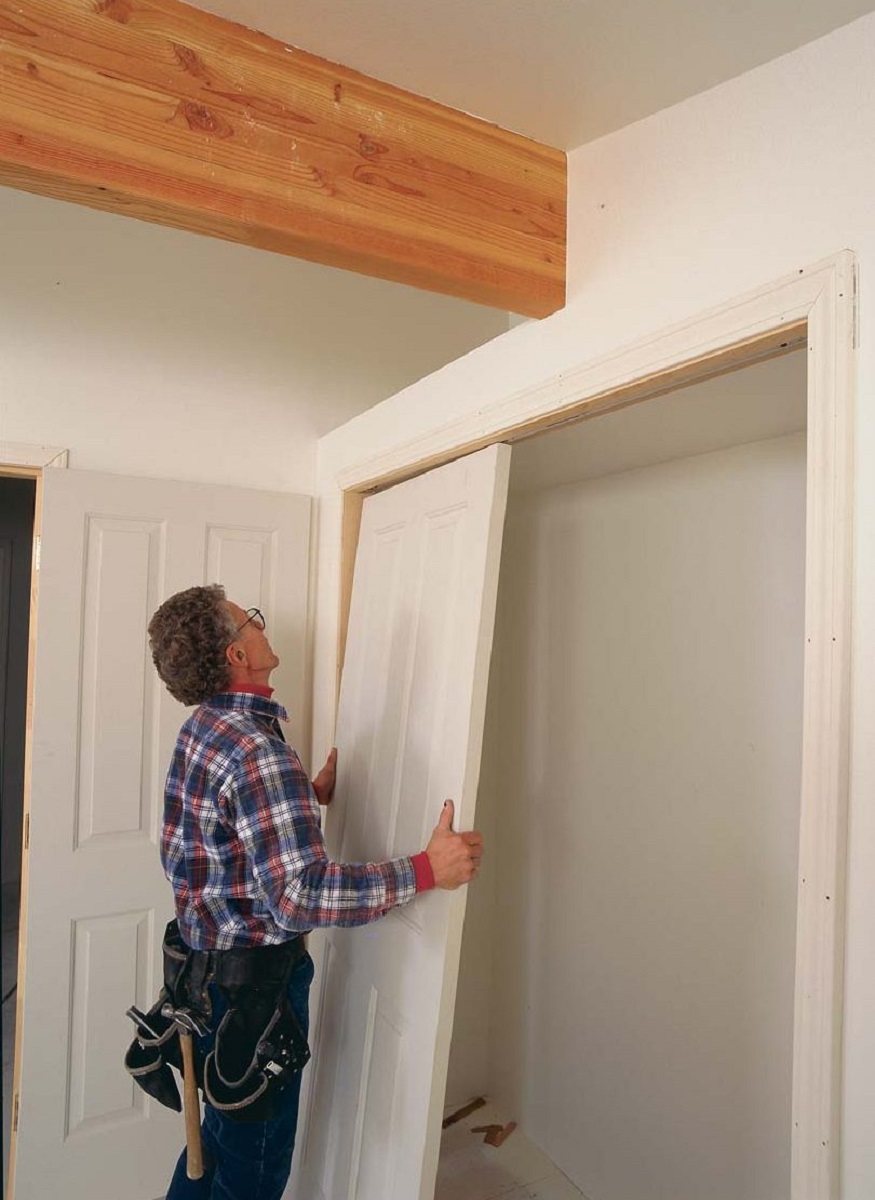
Now that the closet door tracks are installed, it’s time to hang the closet doors themselves. This step involves attaching the doors to the tracks and ensuring that they are properly aligned and securely in place. Follow these steps to hang the closet doors:
- Begin by positioning the first door near the closet opening. If you’re installing bifold doors, make sure the pivot points are aligned with the corresponding track hinges.
- Hold the door in place and carefully lift it onto the track, ensuring that the rollers or pivots align with the track or hinges.
- Once the door is on the track, slide it back and forth to ensure it glides smoothly. If there is any resistance, double-check the alignment and adjust as necessary.
- Secure the door in place by attaching any brackets or clips provided with your specific door style. Follow the manufacturer’s instructions to ensure proper installation.
- If you have multiple doors, repeat the process for each door, making sure to align them properly and evenly space them within the closet opening.
- Once all the doors are hung, test their operation by opening and closing them several times. Make any necessary adjustments to ensure they slide smoothly and without any obstructions.
It’s important to take your time and handle the doors with care during installation to avoid any damage or misalignment. If you encounter any difficulties or require assistance, consult the manufacturer’s instructions or seek guidance from a professional.
With the closet doors hung in place, securely attached to the tracks, you’re now ready to move on to the next step: adjusting and securing the doors.
When installing closet doors, make sure to measure the opening accurately before purchasing the doors. Use a level to ensure the tracks are installed straight, and follow the manufacturer’s instructions carefully for a smooth installation.
Read more: How To Decorate Closet Doors
Step 7: Adjust and Secure the Doors
Once the closet doors are hung, it’s important to adjust and secure them to ensure proper alignment and stability. This step involves fine-tuning the position of the doors and securing them in place. Follow these steps to adjust and secure the closet doors:
- Start by checking the alignment of each door. Use a level to ensure that the doors are plumb and level both vertically and horizontally.
- If a door is misaligned or not sitting evenly on the track, adjust the door by tightening or loosening the screws on the brackets or hinges. This will allow you to position the door properly.
- Once the doors are aligned, secure them in place by tightening the screws on the brackets or hinges. Make sure the screws are properly tightened, but be careful not to overtighten and cause damage to the doors or tracks.
- Check the clearance between the doors and the surrounding frame or walls. Adjust the position of the doors if necessary to ensure they open and close smoothly without rubbing or scraping against any obstructions.
- If your chosen door style includes additional components, such as door handles or knobs, install them according to the manufacturer’s instructions.
During the adjustment process, take your time to ensure that each door is properly aligned and fits within the closet opening. It’s important to achieve a smooth operation and a visually pleasing appearance.
With the closet doors adjusted and securely in place, you’re now ready to move on to the next step: testing the operation of the doors.
Step 8: Test the Operation of the Closet Doors
Now that the closet doors are installed and adjusted, it’s crucial to test their operation to ensure they function properly. By performing a thorough testing process, you can identify any potential issues and make any necessary adjustments before completing the installation. Follow these steps to test the operation of your closet doors:
- Start by gently opening and closing each door. Pay attention to the smoothness of the sliding or swinging motion, ensuring that there are no sticking points or resistance.
- Check for any misalignments or gaps between the doors when closed. If you notice any inconsistencies, use the adjustment mechanisms provided with your specific door style to fine-tune their position.
- Test the latching mechanism, if applicable. Ensure that the doors securely latch and stay closed when not in use.
- Verify that the doors fully open and allow easy access to the contents of the closet. Make sure there are no obstructions or limitations in the opening range.
- If your chosen door style includes any additional features, such as mirrors or panels, inspect them to ensure they are secure and in good condition.
- Repeat the testing process of opening, closing, and latching for each closet door to ensure consistent performance.
During the testing phase, note any issues or areas that require further attention. If necessary, make additional adjustments to ensure the smooth operation and functionality of the closet doors.
By thoroughly testing the operation of the closet doors, you can address any potential problems before completing the installation process. This will help ensure that the doors function properly and provide the convenience and functionality you desire.
With the closet doors successfully tested, you’re now ready to move on to the final step: finishing touches and adding any desired accessories.
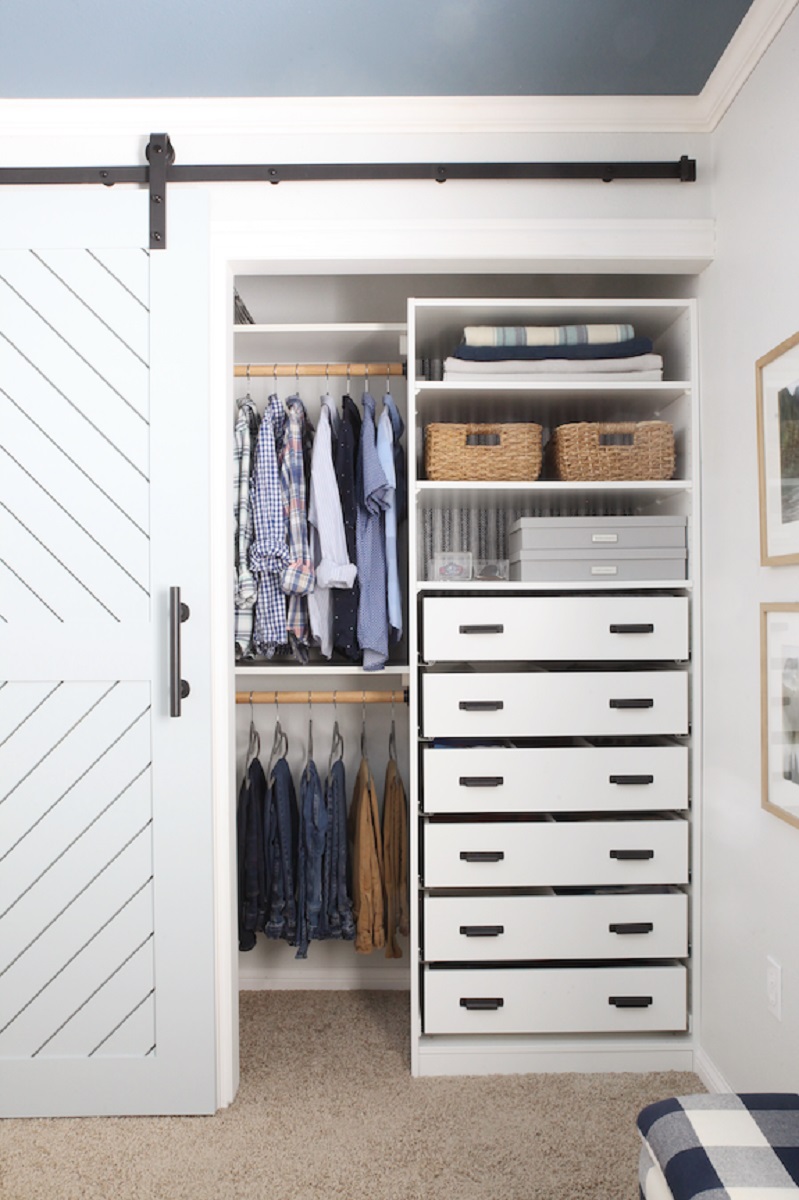
Step 9: Finish and Add any Desired Accessories
Once the closet doors are installed and properly functioning, it’s time to add the finishing touches and any desired accessories that will enhance the appearance and functionality of your closet. This step allows you to customize and personalize your closet space. Follow these steps to complete the installation:
- Inspect the doors and tracks for any visible screws or fasteners. Use a screwdriver or drill to tighten any loose screws and ensure everything is securely in place.
- If your closet doors are made of wood or a paintable material, apply a coat of paint or stain to match your desired aesthetics. Follow the manufacturer’s instructions for the recommended application method and drying time.
- If you prefer a more decorative look, consider adding molding or trim to the surrounding frame or walls. This can enhance the overall appearance of the closet and create a polished finish.
- Install any desired accessories, such as door handles, knobs, or pulls. These small details can elevate the style and functionality of the closet doors.
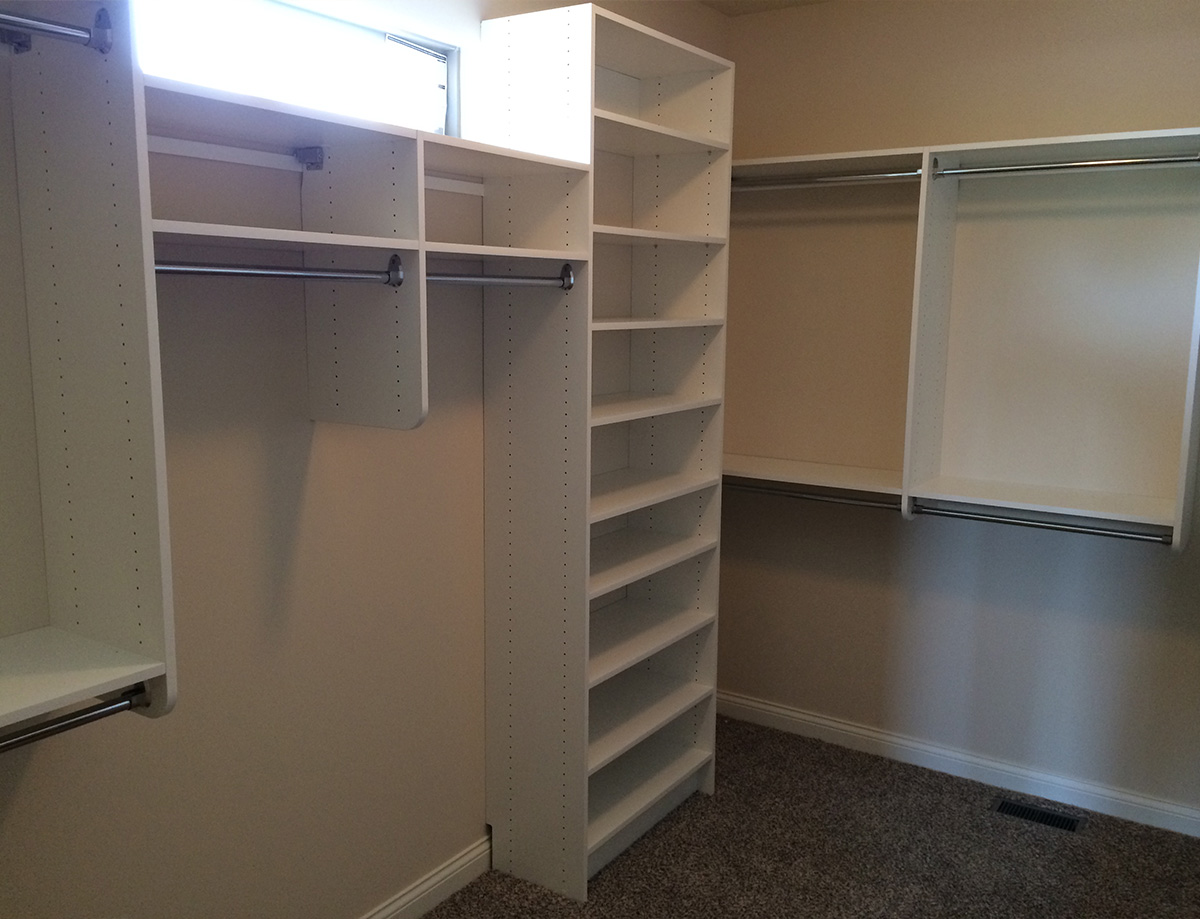
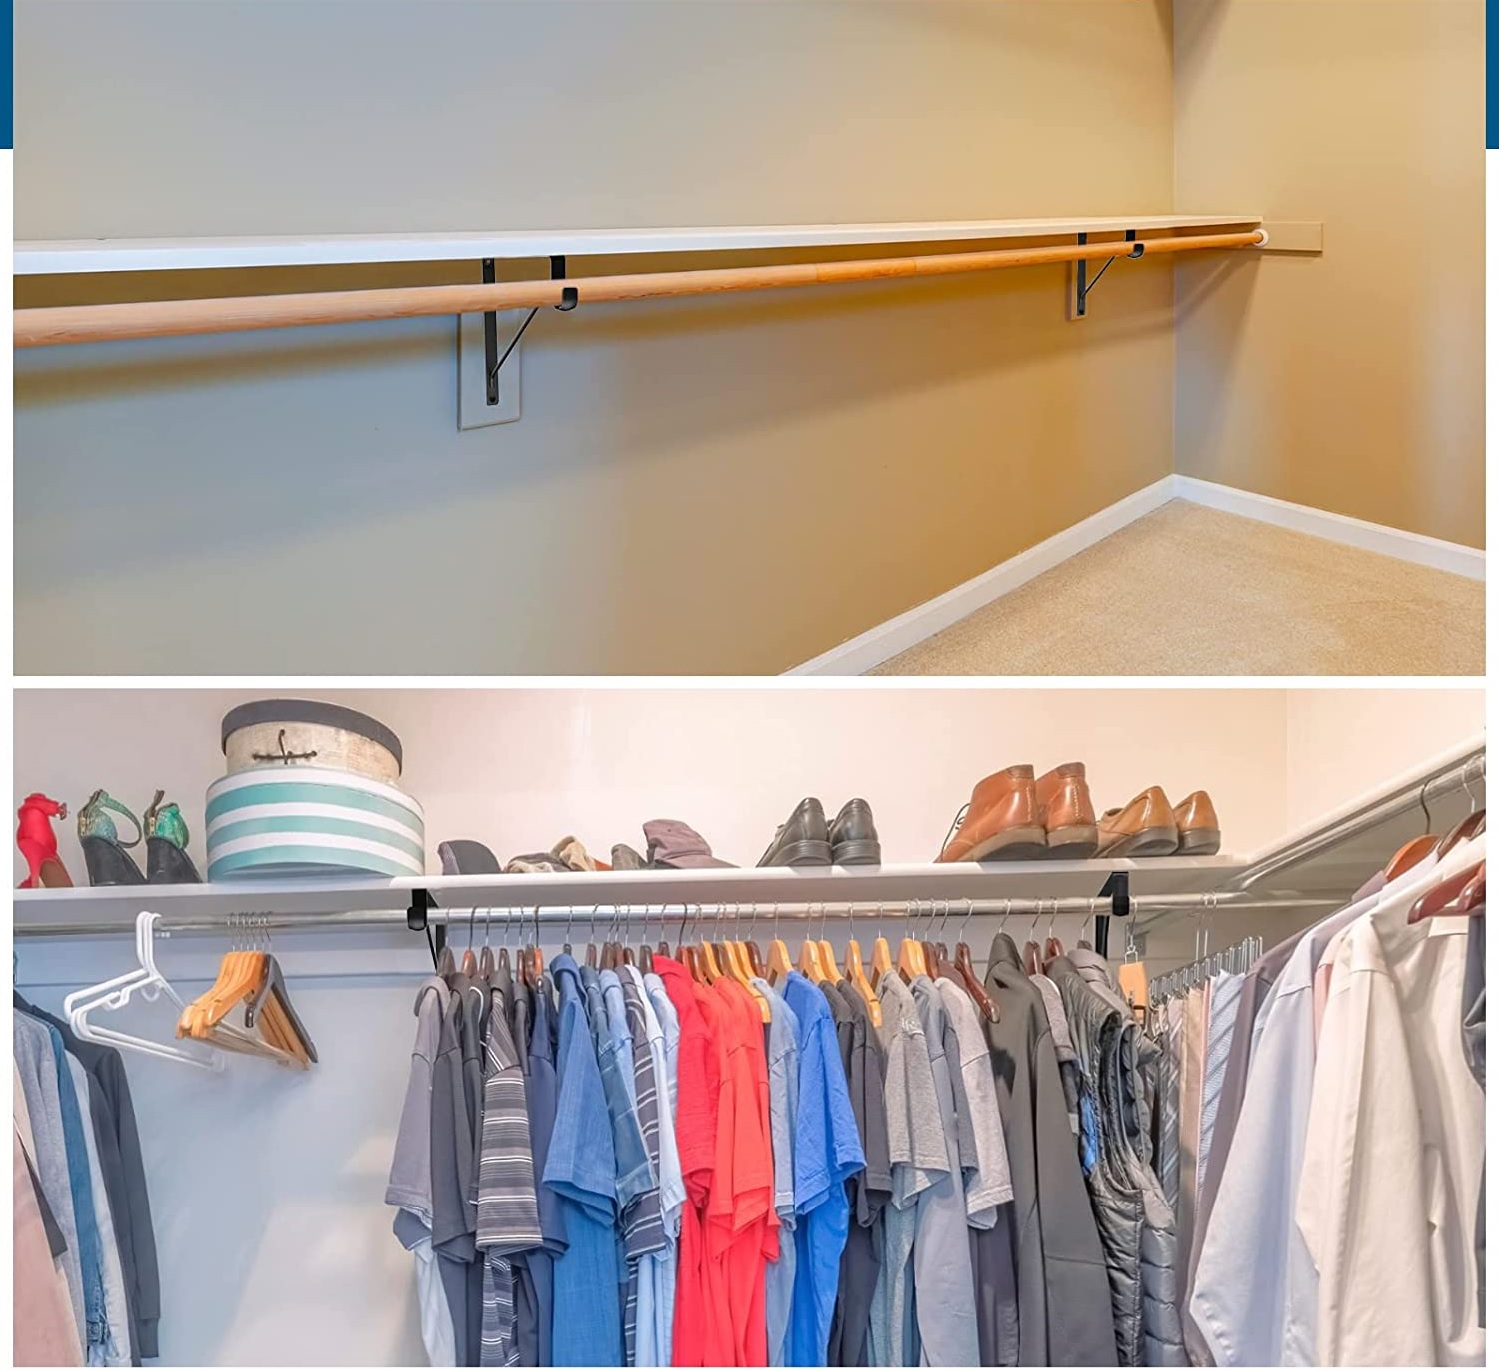
- Consider adding organizational elements inside the closet, such as shelves, hanging rods, or storage containers. These additions can help maximize the utility of the closet space and keep your belongings neatly organized.
- Take a step back and review the overall appearance of the closet. Make any final adjustments or modifications to ensure everything is to your satisfaction.
Adding these finishing touches and accessories allows you to personalize your closet space and make it more tailored to your needs. It’s an opportunity to showcase your style and optimize the functionality of the storage area.
Once you have completed these final steps, you can step back and appreciate your newly installed closet doors, ready to beautifully and efficiently organize your belongings.
With the installation process complete, you have successfully learned how to install closet doors and transformed your closet space into a functional and attractive part of your home.
Congratulations on a job well done!
Conclusion
Installing closet doors is a rewarding project that can greatly improve the functionality and aesthetics of your space. By following the step-by-step guide outlined in this article, you have learned how to measure the closet opening, select the appropriate door style, gather the necessary tools and materials, prepare the opening, install the door tracks, hang the doors, adjust and secure them, test their operation, and add any desired accessories.
Throughout the installation process, it’s important to take your time, double-check measurements, and follow the manufacturer’s instructions. This ensures that the doors are properly aligned, securely attached, and function smoothly.
Remember, the choice of closet door style depends on your personal preferences, the space available, and the overall design of your home. Whether you opt for bifold doors for their space-saving capabilities, sliding doors for their classic charm, or any other style, make sure it aligns with your vision and enhances the functionality of your closet.
Once your closet doors are installed, you can enjoy the benefits of a more organized space, with items neatly tucked away behind attractive and functional doors. Take pride in the accomplishment of completing this project and appreciate the transformation it brings to your living environment.
Now that you have the knowledge and skills to install closet doors, you can confidently tackle this project on your own and create a custom closet that meets your needs. So, roll up your sleeves, gather your tools, and get ready to beautify and optimize your closet space with stylish and functional doors!
Frequently Asked Questions about How To Install Closet Doors
Was this page helpful?
At Storables.com, we guarantee accurate and reliable information. Our content, validated by Expert Board Contributors, is crafted following stringent Editorial Policies. We're committed to providing you with well-researched, expert-backed insights for all your informational needs.

0 thoughts on “How To Install Closet Doors”