Articles
How To Cover Mirrored Closet Doors
Modified: November 2, 2024
(Many of the links in this article redirect to a specific reviewed product. Your purchase of these products through affiliate links helps to generate commission for Storables.com, at no extra cost. Learn more)
Introduction
Welcome to our guide on how to cover mirrored closet doors. Mirrored closet doors can add a touch of style and functionality to any room, but sometimes you may want to change their appearance or add some privacy. Whether you want to update the look of your doors, hide a storage area, or create a focal point in the room, there are various options to consider when covering your mirrored closet doors.
In this article, we will explore some popular techniques and ideas for covering mirrored closet doors. From adhesive coverings to curtain panels, decals or stickers, painting, and even adding fabric panels, we will discuss the steps involved, materials needed, and the level of difficulty for each method.
We understand that each person’s taste and requirements are unique, so we have provided a range of options to cater to different preferences and skill levels. Whether you are a beginner looking for a quick and easy solution or a DIY enthusiast looking for a more challenging project, you will find something that suits your needs in this guide.
Before we dive into the specific techniques, it’s important to note that safety should always be a priority. When working with any tools or materials, make sure to follow proper safety precautions and consult professional advice if needed.
Now, let’s explore the various options for covering mirrored closet doors and transform them into something that complements your room’s decor and fulfills your needs.
Key Takeaways:
- Transform your mirrored closet doors with adhesive coverings, curtain panels, decals, paint, or fabric for a personalized and stylish look that complements your room’s decor and reflects your unique taste.
- Prioritize safety, follow step-by-step instructions, and unleash your creativity to cover mirrored closet doors, creating a beautiful and personalized space that you’ll love.
Read more: How To Put Mirrors On Sliding Closet Doors
Subtitle 1: Choosing the Right Covering Option
When it comes to covering mirrored closet doors, the first step is to determine which method or material suits your needs and personal style. Here are a few options to consider:
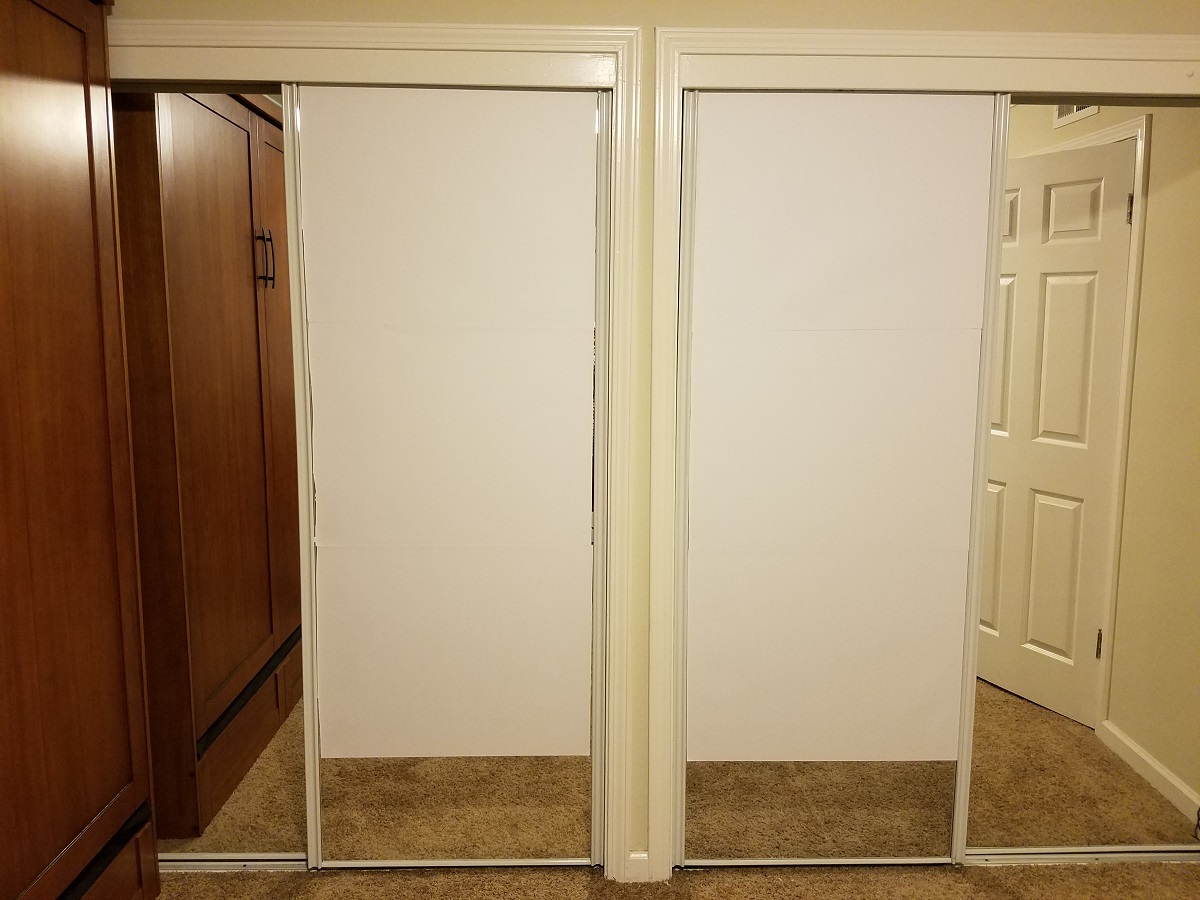
- Adhesive Coverings: Adhesive coverings, such as contact paper or self-adhesive vinyl, are an economical and versatile option. They come in a variety of patterns, designs, and colors, allowing you to easily customize your closet doors. Measure your doors carefully and choose a covering that fits the dimensions. Most adhesive coverings are easy to apply and can be removed without damaging the mirror surface if you decide to change the look in the future.
- Curtain Panels: Another popular option for covering mirrored closet doors is using curtain panels. This method adds a soft and elegant touch to the room. Measure the dimensions of your doors and select curtain panels that align with your desired style and room decor. Hanging curtain rods or tracks above the doors and attaching the panels can be done with basic tools and hardware. Curtain panels offer the advantage of being easily removable, allowing you to change them seasonally or whenever you desire a fresh look.
- Decals or Stickers: If you’re looking for a temporary and fun way to change the appearance of your mirrored closet doors, decals or stickers are a fantastic option. They come in various designs, such as geometric patterns, nature motifs, or inspirational quotes. Ensure the surface of the mirror is clean and dry before applying the decals or stickers. They can be easily removed without leaving any residue, making them ideal for those who like to change their decor frequently.
- Painting the Mirrored Doors: If you are up for a DIY project and want a more permanent solution, painting the mirrored doors can create a dramatic and personalized effect. Before painting, make sure to thoroughly clean the surface and use painters tape to protect the surrounding areas. Choose a paint color and finish that complements your room’s color scheme. Apply multiple thin coats for a smooth and even finish. Keep in mind that once painted, the mirrored surface will no longer be reflective.
- Adding a Fabric Panel: If you want to add texture and a cozy touch to your mirrored closet doors, consider attaching a fabric panel. Measure the dimensions of the doors and select a fabric that matches your room’s decor. You can choose from various options such as curtain panels, upholstery fabric, or even decorative tapestries. To attach the fabric panel, use adhesive strips, staples, or fabric glue. This method allows for easy removal and replacement of the fabric if desired.
Consider your personal style, the ambiance you want to create, and the level of permanence you desire when choosing the right covering option for your mirrored closet doors. Now that you have an understanding of the available choices, let’s move on to preparing the doors for the chosen covering method.
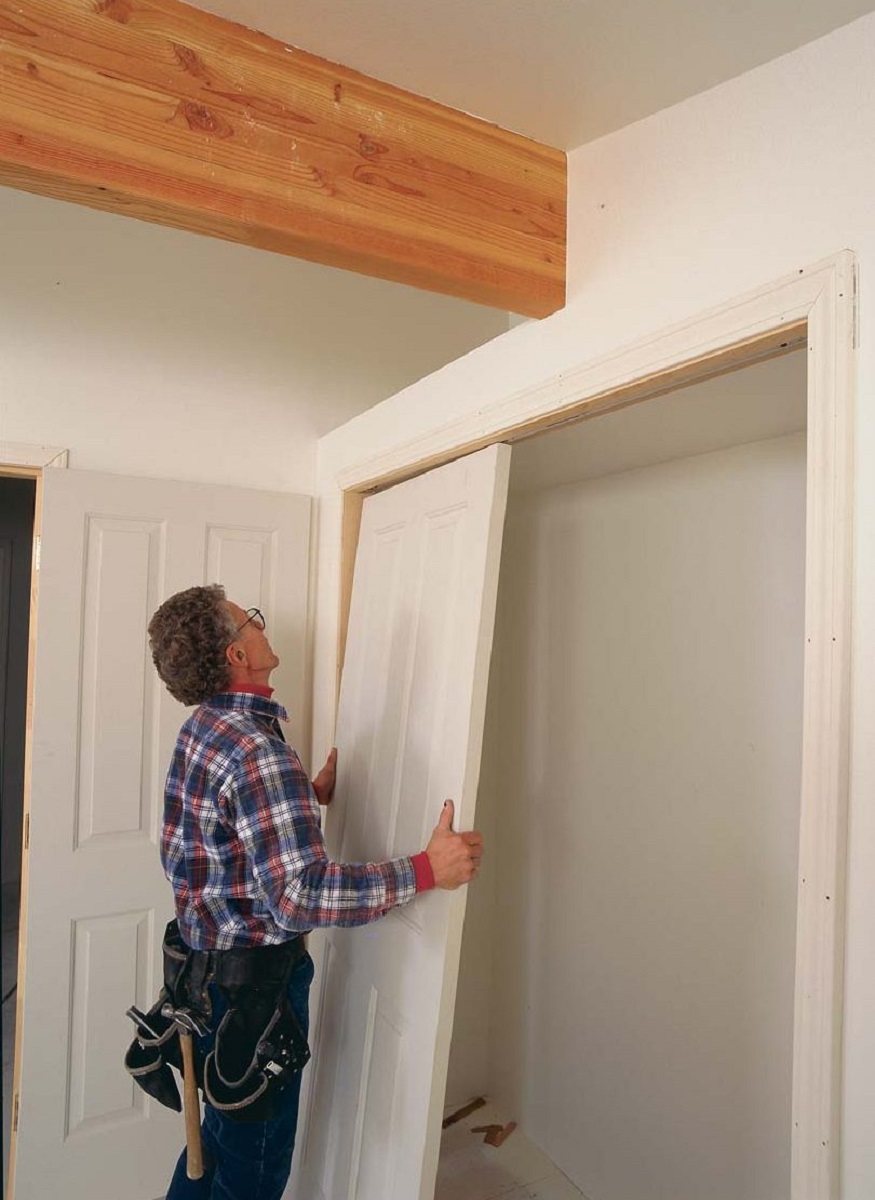
Subtitle 2: Preparing the Doors
Before you start applying your chosen covering option to the mirrored closet doors, it’s important to properly prepare the surface. This will ensure that the covering adheres well and results in a smooth and professional-looking finish. Here are the steps to follow:
- Clean the Doors: Begin by cleaning the mirrored doors thoroughly. Use a non-abrasive glass cleaner and a lint-free cloth to remove any dirt, dust, or fingerprints. Ensure that the surface is completely dry before proceeding to the next step.
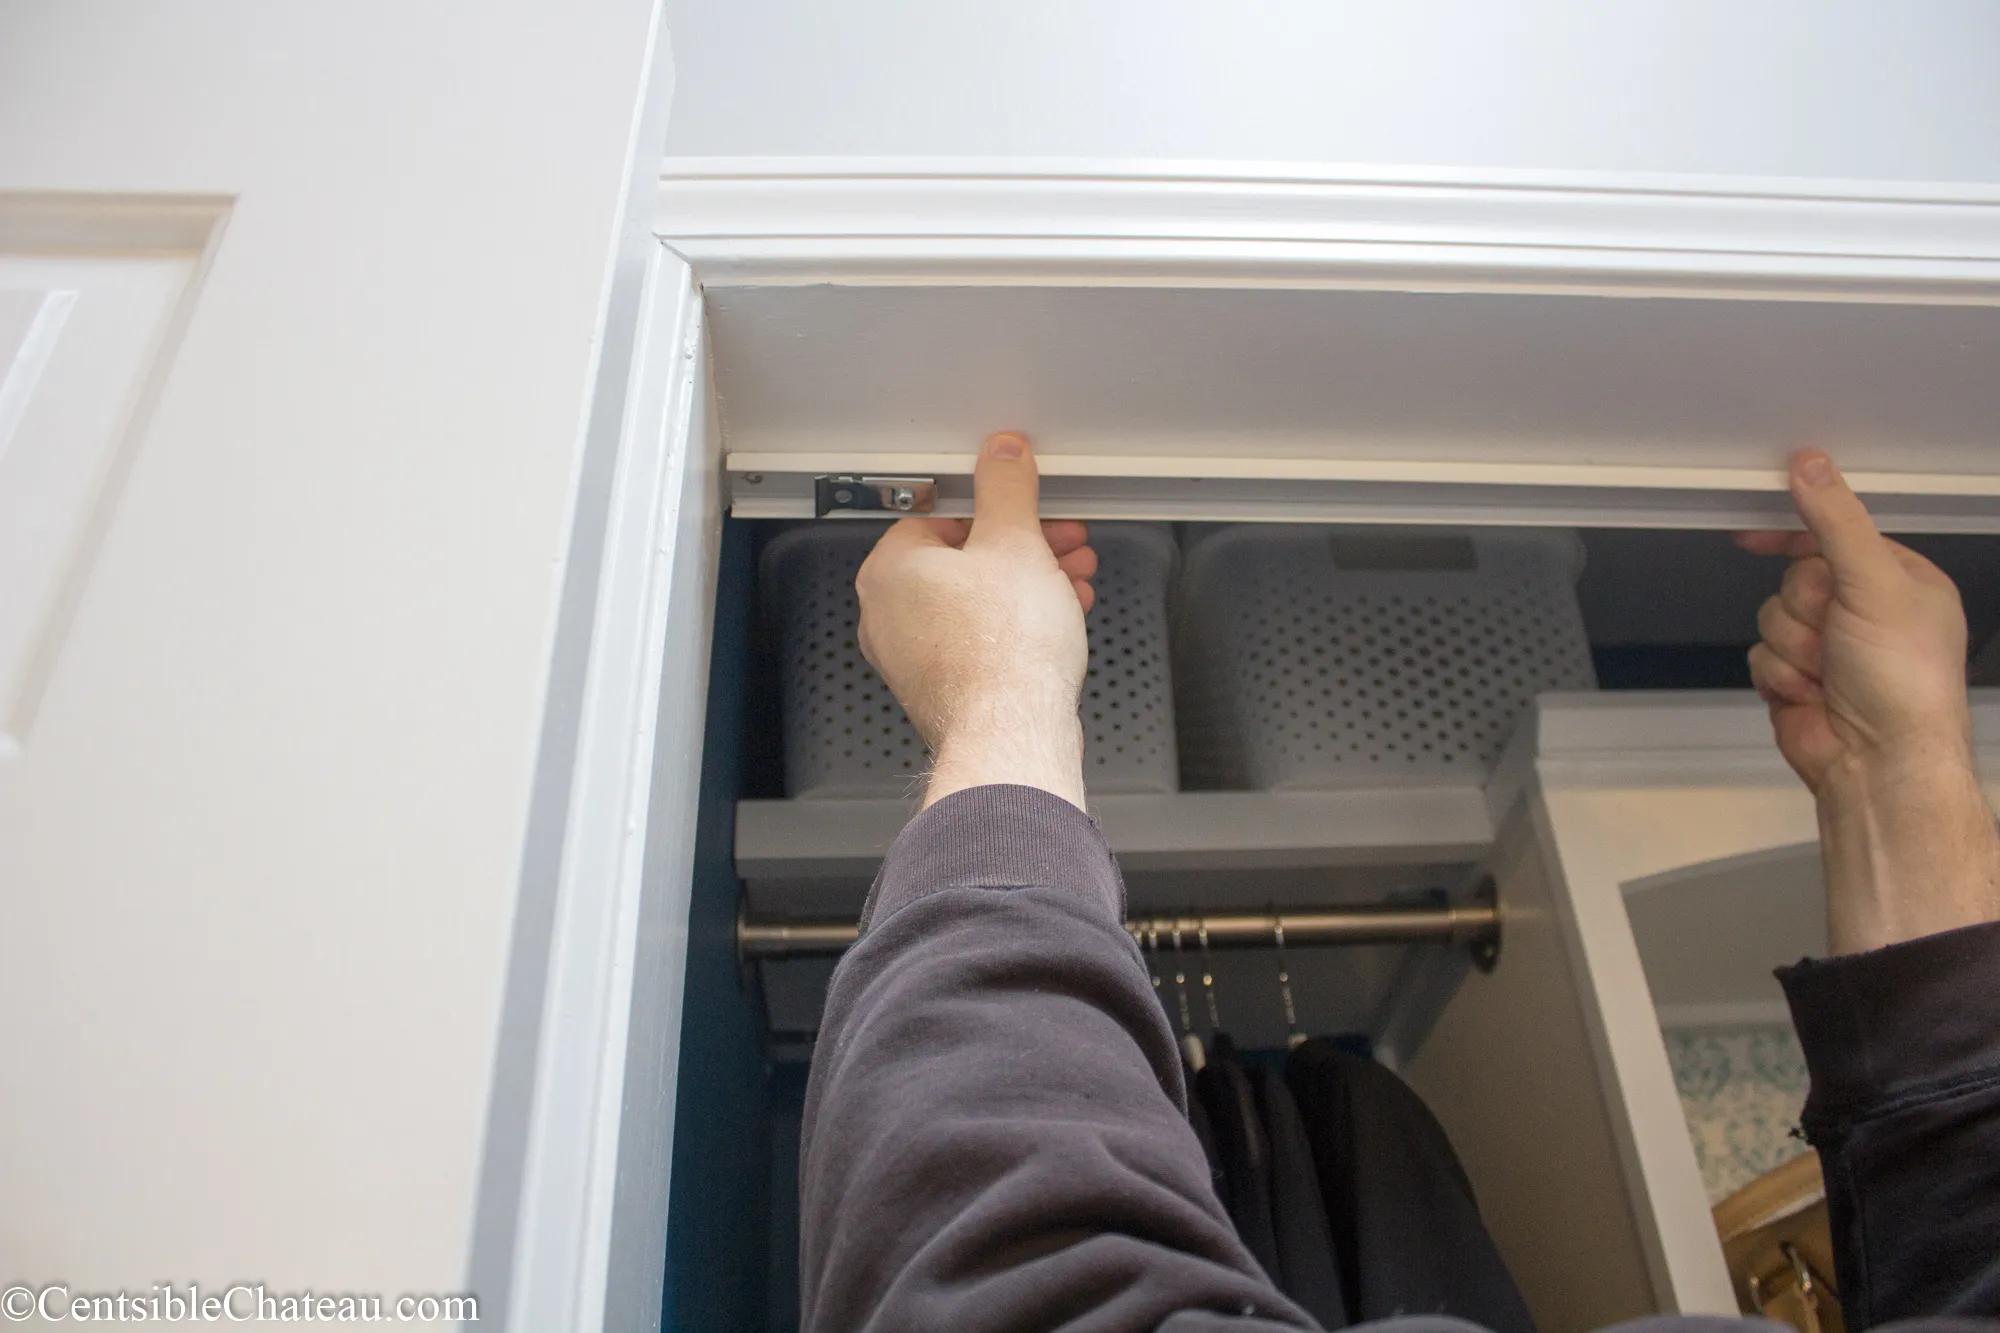
- Remove any Hardware: If your mirrored doors have any hardware such as handles, knobs, or hinges, it’s best to remove them before applying the covering. This will make the process easier and ensure that the covering is applied smoothly without any obstacles. Use a screwdriver or appropriate tools to carefully remove the hardware.
- Sand the Surface (if necessary): If you have chosen to paint the mirrored doors, you may need to lightly sand the surface to create a better bond for the paint. Use fine-grit sandpaper and gently roughen up the mirror surface. Wipe away any dust or debris with a clean cloth.
- Protect Surrounding Areas: Before applying any adhesive coverings or painting the doors, it’s important to protect the surrounding areas from drips, spills, or accidental splatters. Cover the floor with drop cloths or newspaper, and use painter’s tape to protect walls, baseboards, and any nearby furniture.
- Follow Manufacturer’s Instructions: Different covering options may have specific instructions or recommended techniques for application. Before starting the process, carefully read and follow the manufacturer’s instructions. This will ensure that you achieve the best results and avoid any unnecessary mistakes.
By properly preparing the mirrored doors, you will create a clean and smooth surface that is ready to be transformed. Once you have completed these preparations, you can proceed with the specific steps for applying your selected covering option. In the next section, we will discuss how to apply adhesive coverings to your mirrored closet doors.
Subtitle 3: Applying Adhesive Covering
If you have opted for adhesive coverings, such as contact paper or self-adhesive vinyl, here are the steps to follow for applying them to your mirrored closet doors:
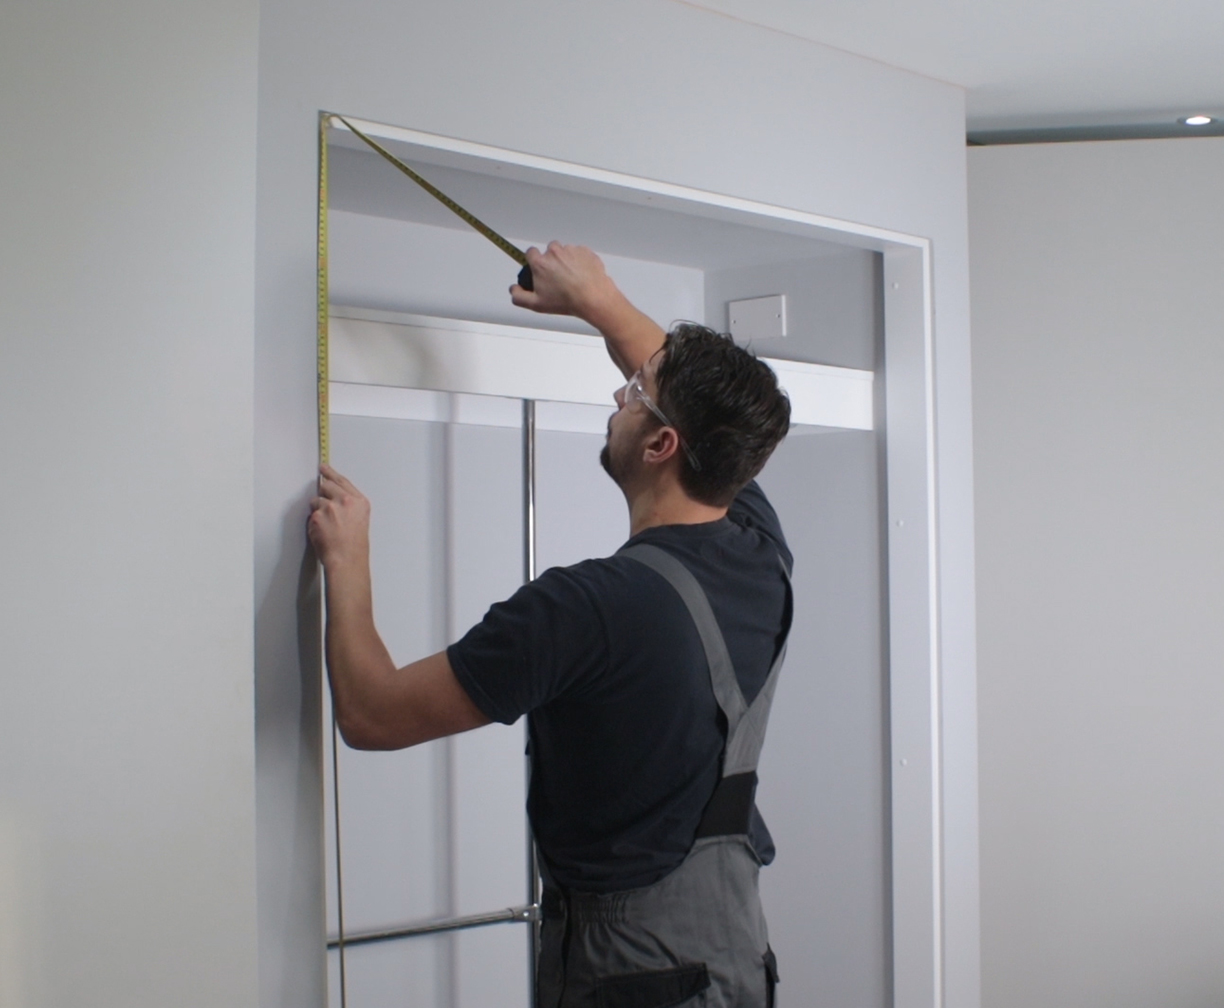
- Measure and Cut: Begin by measuring the dimensions of your mirrored doors. Transfer the measurements onto the adhesive covering material, leaving some extra margin for adjustments. Use a ruler and a sharp utility knife or scissors to cut the covering according to the measurements.
- Clean the Surface: Before applying the adhesive covering, ensure that the mirrored doors are clean and free from any dust or debris. Use a non-abrasive glass cleaner and a lint-free cloth to wipe the surface and let it dry completely.
- Peel and Stick: Peel off a small section of the backing of the adhesive covering, starting from one edge. Align the exposed part with one edge of the mirrored door and press it down firmly, smoothing out any bubbles or wrinkles as you go. Slowly peel off more backing while gradually sticking the covering to the door, working your way to the opposite edge.
- Smooth and Trim: Use a squeegee or a clean, soft cloth to smooth out the adhesive covering, starting from the center and moving towards the edges. This will help remove any air bubbles or creases. If you notice any large bubbles, gently lift the covering and reapply it, smoothing it out as you go. Once the covering is applied smoothly, trim any excess material using a utility knife or scissors, following the outline of the mirrored door.
- Finishing Touches: After applying the adhesive covering to your mirrored doors, step back and inspect the result. Smooth out any remaining imperfections or bubbles and make any necessary adjustments. Once you are satisfied with the appearance, wipe down the doors with a clean, damp cloth to remove any residue or fingerprints. Replace any hardware that was previously removed.
Applying adhesive coverings can be a straightforward and budget-friendly way to transform the look of your mirrored closet doors. With a little patience and attention to detail, you can achieve a professional and seamless finish. If you ever decide to change the covering, simply peel it off gently, starting from one corner, and clean any residue using an adhesive remover or rubbing alcohol.
In the next section, we will explore how to use curtain panels as a covering option for your mirrored doors.
Subtitle 4: Installing Curtain Panels
If you prefer a soft and elegant look, installing curtain panels can be a great option for covering your mirrored closet doors. Follow these steps to install curtain panels:
- Measure and Select: Start by measuring the dimensions of your mirrored doors. This will help you determine the correct size and number of curtain panels needed. Choose curtain panels that complement your room’s decor, color scheme, and personal style.
- Install Curtain Rods or Tracks: Determine the placement of your curtain rods or tracks above the mirrored doors. Use a pencil and a level to mark the desired height and ensure that the rods or tracks are level. Install the rods or tracks according to the manufacturer’s instructions. Make sure they are securely mounted to the wall.
- Attach Curtain Panels: Once the rods or tracks are in place, attach the curtain panels. Depending on the type of curtain panels you have chosen, there are different methods for attaching them. For rod pocket panels, slide the curtain rod through the pocket at the top of each panel. For panels with grommets or tabs, simply hang them onto the curtain rod or track.
- Adjust and Style: After hanging the curtain panels, adjust them as needed to ensure they are evenly spaced and cover the mirrored doors properly. You can let them hang straight or style them in various ways, such as tying them back with decorative tiebacks or adding curtain rings for a more decorative touch.
- Final Touches: Step back and evaluate the overall appearance of the curtain panels on your mirrored doors. Make any necessary adjustments to ensure that they hang evenly and provide the desired privacy or decorative effect. Trim any excess length of the curtains if needed.
Installing curtain panels is a simple and versatile way to cover your mirrored closet doors, offering both functionality and aesthetic appeal. With a wide range of curtain styles, fabrics, and textures available, you have the flexibility to transform your space to suit your personal taste and home decor. Curtain panels can be easily changed or replaced, allowing you to update the look of your mirrored doors whenever you desire a fresh update.
Next, we’ll discuss how to use decals or stickers as a creative option for covering your mirrored closet doors.
Use adhesive vinyl or contact paper to cover mirrored closet doors for a quick and easy update. This will provide privacy and also give the doors a new look.
Read more: How To Frame A Closet Door
Subtitle 5: Using Decals or Stickers
If you’re looking for a temporary and fun way to change the appearance of your mirrored closet doors, using decals or stickers can be a creative option. Here’s how you can use decals or stickers to cover your mirrored doors:
- Select the Right Decals or Stickers: Choose decals or stickers that suit your style and complement your room’s decor. There are numerous options available, including geometric patterns, floral motifs, inspirational quotes, and more. Consider the size and design of the decals or stickers, ensuring they fit well on your mirrored doors.
- Clean the Mirror Surface: Before applying the decals or stickers, ensure that the mirror surface is clean and free from dust or smudges. Use a non-abrasive glass cleaner and a lint-free cloth to wipe the surface, and let it dry completely.
- Plan the Placement: Before applying the decals or stickers, plan their placement on the mirrored doors. Use a measuring tape, level, and pencil to mark the desired location. This will ensure that the decals are applied straight and evenly across the door surface.
- Peel and Apply: Start by peeling off a small portion of the backing from the decal or sticker. Align the exposed part with the marked location on the mirror and press it down firmly. Gradually peel off more backing while pressing the decal or sticker onto the mirror, smoothing out any bubbles or wrinkles as you go. Use a squeegee or a credit card to ensure a smooth and secure adhesion.
- Adjust and Complete: Once you have applied the decals or stickers, step back and evaluate the overall appearance. Make any necessary adjustments to the placement or alignment. Smooth out any remaining bubbles or creases. If the decals or stickers come with additional decorative elements, such as smaller accents or borders, apply them accordingly to complete the desired look.
Using decals or stickers is a creative and versatile way to add personality and style to your mirrored closet doors. They offer the flexibility to easily change the design or theme whenever you want a new look. Additionally, decals or stickers can be easily removed without leaving any residue, allowing you to revert to the original mirror surface or try a different covering option.
Next, let’s explore the process of painting the mirrored doors as a more permanent solution for covering them.
Subtitle 6: Painting the Mirrored Doors
If you’re looking for a more permanent covering option for your mirrored doors, painting them can offer a dramatic and personalized effect. Here’s how you can paint your mirrored doors:
- Prepare the Workspace: Start by preparing your workspace. Lay down drop cloths or old newspapers to protect the floor and surrounding areas. Use painter’s tape to cover any hardware, edges, or areas you want to keep paint-free.
- Clean the Surface: Clean the mirrored surface thoroughly. Use a non-abrasive glass cleaner and a lint-free cloth to remove any dirt, dust, or fingerprints. Ensure that the surface is completely dry before proceeding.
- Prime the Surface: Apply a suitable primer to the mirrored doors. Use a high-quality brush or foam roller to evenly coat the surface. The primer will provide adhesion and create a smooth base for the paint. Follow the manufacturer’s instructions for drying time.
- Choose the Paint Color: Select a paint color that complements your room’s decor and personal style. Consider using a paint specifically formulated for surfaces like mirrors or glass for better durability. Opt for multiple thin coats rather than a single heavy coat for a more professional and even finish.
- Apply the Paint: Start by cutting in the edges of the mirrored doors using a brush. Then, use a foam roller to apply the paint to the larger surface areas, working in smooth and even strokes. Allow each coat to dry completely before applying the next one. Apply multiple thin coats as necessary until you achieve the desired color and coverage.
- Clean Up and Finishing Touches: Once the paint is dry, carefully remove the painter’s tape. Clean any paint drips or smudges with a damp cloth or a small amount of rubbing alcohol. Replace any hardware that was previously removed. Step back and admire the newly painted mirrored doors.
Painting your mirrored doors can transform their look and create a bold statement in your space. It’s essential to take your time, follow proper preparation and paint application techniques, and allow sufficient drying time between coats. Keep in mind that once painted, the mirrored surface will no longer be reflective, so ensure that this aligns with your desired outcome.
In the next section, we will discuss how to add a fabric panel as an alternative covering option for your mirrored closet doors.
Subtitle 7: Adding a Fabric Panel
If you want to add texture and a cozy touch to your mirrored closet doors, adding a fabric panel is a fantastic option. Follow these steps to attach a fabric panel to your mirrored doors:
- Measure and Select Fabric: Start by measuring the dimensions of your mirrored doors. This will help you determine the size of the fabric panel needed. Choose a fabric that complements your room’s decor and personal style. Consider curtain panels, upholstery fabric, or decorative tapestries.
- Cut and Hem: Cut the fabric to the appropriate size, leaving some extra margin for adjustments. If necessary, fold and hem the edges of the fabric panel to create a clean and finished look. You can use a sewing machine or fabric glue for this step.
- Attach the Fabric: Decide on the placement of the fabric panel on your mirrored doors. Use adhesive strips, staples, or fabric glue to attach the fabric to the doors. Start from one edge and align it evenly, pressing it down firmly. Work your way to the opposite edge, smoothing out any wrinkles or bubbles as you go.
- Secure and Trim: Once the fabric panel is attached, secure it further by using additional adhesive strips or staples, if necessary. Trim any excess fabric using fabric scissors, ensuring that the edges are neat and straight.
- Final Touches: Step back and evaluate the overall appearance of the fabric panel on your mirrored doors. Smooth out any wrinkles or adjust the panel if needed. Wipe down the doors with a clean, damp cloth to remove any smudges or residue. Replace any hardware that was previously removed.
Adding a fabric panel can instantly transform the look of your mirrored closet doors, adding warmth and texture to the room. The fabric panel allows for easy removal and replacement, making it a versatile option that can be changed to suit different styles or seasons. It’s important to ensure that the fabric panel is securely attached to the doors and that the edges are well-finished for a polished appearance.
In the final section, we will discuss some final touches and maintenance tips to consider for your covered mirrored doors.
Subtitle 8: Final Touches and Maintenance
After covering your mirrored closet doors, there are some final touches and maintenance tips to consider to ensure that they look great and last for a long time:
- Add Decorative Hardware: Consider adding decorative hardware, such as knobs or handles, to enhance the appearance of your covered mirrored doors. Choose hardware that complements the style and theme of your room.
- Accessorize: To further enhance the look of your covered mirrored doors, consider adding accessories such as decorative hooks, hanging plants, or wall art near the doors. These additions can create a cohesive and visually appealing space.
- Clean and Maintain: Regularly clean your covered mirrored doors using a mild glass cleaner or a mixture of water and vinegar. Avoid using harsh chemicals or abrasive materials that can damage the covering. Wipe the surface gently with a soft cloth or sponge, and dry it thoroughly to prevent water spots.
- Inspect and Repair: Periodically inspect the covered doors for any signs of damage, including peeling adhesive coverings, loose fabric panels, or chipped paint. Address these issues promptly to maintain the integrity and appearance of the covering.
- Update and Refresh: If you ever feel the need for a change, don’t hesitate to update or refresh the covering on your mirrored doors. Whether it’s replacing the adhesive coverings, changing the fabric panel, or repainting, consider it as an opportunity to give your room a new look and feel.
By adding these final touches and following proper maintenance, you can ensure that your covered mirrored doors remain visually appealing and in good condition. Remember to personalize your space and make it your own by incorporating your unique style and taste.
Congratulations! You have now learned various techniques for covering mirrored closet doors. Whether you have chosen adhesive coverings, curtain panels, decals or stickers, paint, or fabric panels, you can confidently transform your mirrored doors to match your style and enhance the overall aesthetic of your space.
Remember to prioritize safety, follow the instructions carefully, and allow your creative flair to shine. Enjoy the process of updating your mirrored closet doors and creating a beautiful and personalized space that you’ll love.
Now it’s time to unleash your creativity and get started on transforming your mirrored closet doors!
Read more: How To Decorate Closet Doors
Conclusion
Covering mirrored closet doors is an excellent way to update the look of your room, add privacy, and express your personal style. Whether you choose adhesive coverings, curtain panels, decals or stickers, paint, or fabric panels, each option offers its unique benefits and allows you to create a custom look that suits your preferences.
Throughout this guide, we have discussed various methods for covering your mirrored closet doors, providing step-by-step instructions and tips to help you along the way. From preparing the doors to applying the selected covering option, we have covered the essentials to ensure a successful transformation.
It’s important to remember that safety should always be a priority when working with tools and materials. Take the necessary precautions and consult professional advice if needed, especially when it comes to more complex techniques like painting.
As you embark on your DIY project, let your creativity flourish. Consider the overall aesthetic of your room, your personal style, and the ambiance you want to create. Don’t be afraid to experiment with different textures, colors, and patterns that reflect your unique taste.
Lastly, remember that maintenance is key to prolonging the life and preserving the appearance of your covered mirrored doors. Regular cleaning and inspections will help ensure their longevity and keep them looking their best.
By following the steps outlined in this guide and infusing your personal touch, you can transform your mirrored closet doors into a stylish focal point that enhances the overall aesthetic of your space.
Now it’s time to let your creativity shine and embark on the exciting journey of covering your mirrored closet doors. Enjoy the process and the satisfying outcome of a beautifully customized space!
Excited about making home improvements with a personal touch? Dive into our guide on DIY projects, where creativity meets utility. Discover simple, effective ways to transform everyday tasks into satisfying accomplishments. For those aiming to streamline wardrobe management, find out how a top shirt folding board aids in quick closet organization, keeping your space neat and accessible. Both articles offer practical solutions and inspiring ideas to rejuvenate your home effortlessly.
Frequently Asked Questions about How To Cover Mirrored Closet Doors
Was this page helpful?
At Storables.com, we guarantee accurate and reliable information. Our content, validated by Expert Board Contributors, is crafted following stringent Editorial Policies. We're committed to providing you with well-researched, expert-backed insights for all your informational needs.
0 thoughts on “How To Cover Mirrored Closet Doors”