Home>Furniture & Design>Interior Design Trends>How To Replace Glass In A Door
Interior Design Trends
How To Replace Glass In A Door
Modified: August 27, 2024
Learn how to replace glass in a door and stay updated with the latest interior design trends. Enhance your home with our expert tips!
(Many of the links in this article redirect to a specific reviewed product. Your purchase of these products through affiliate links helps to generate commission for Storables.com, at no extra cost. Learn more)
Introduction
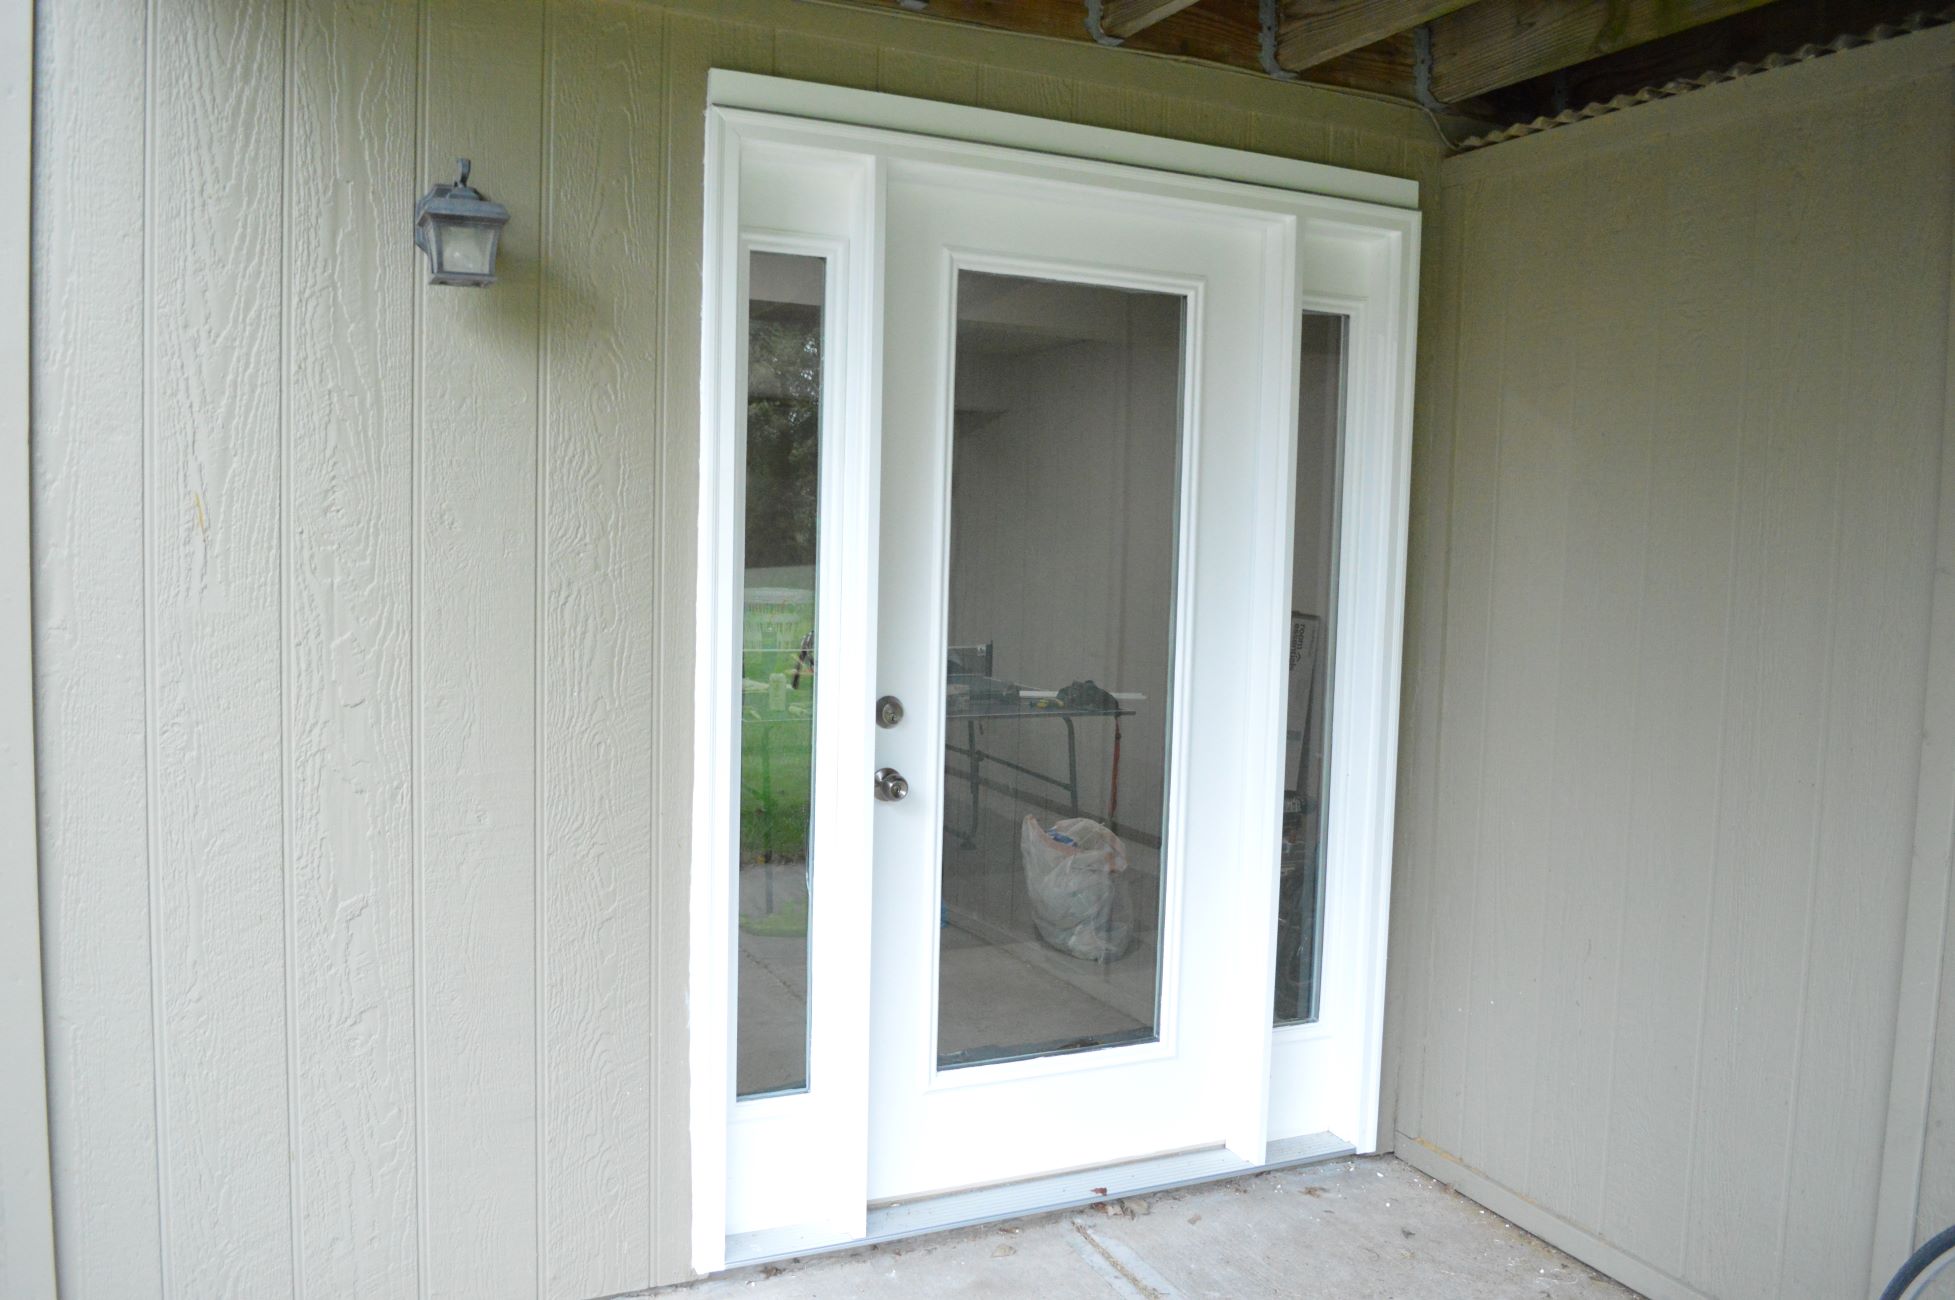
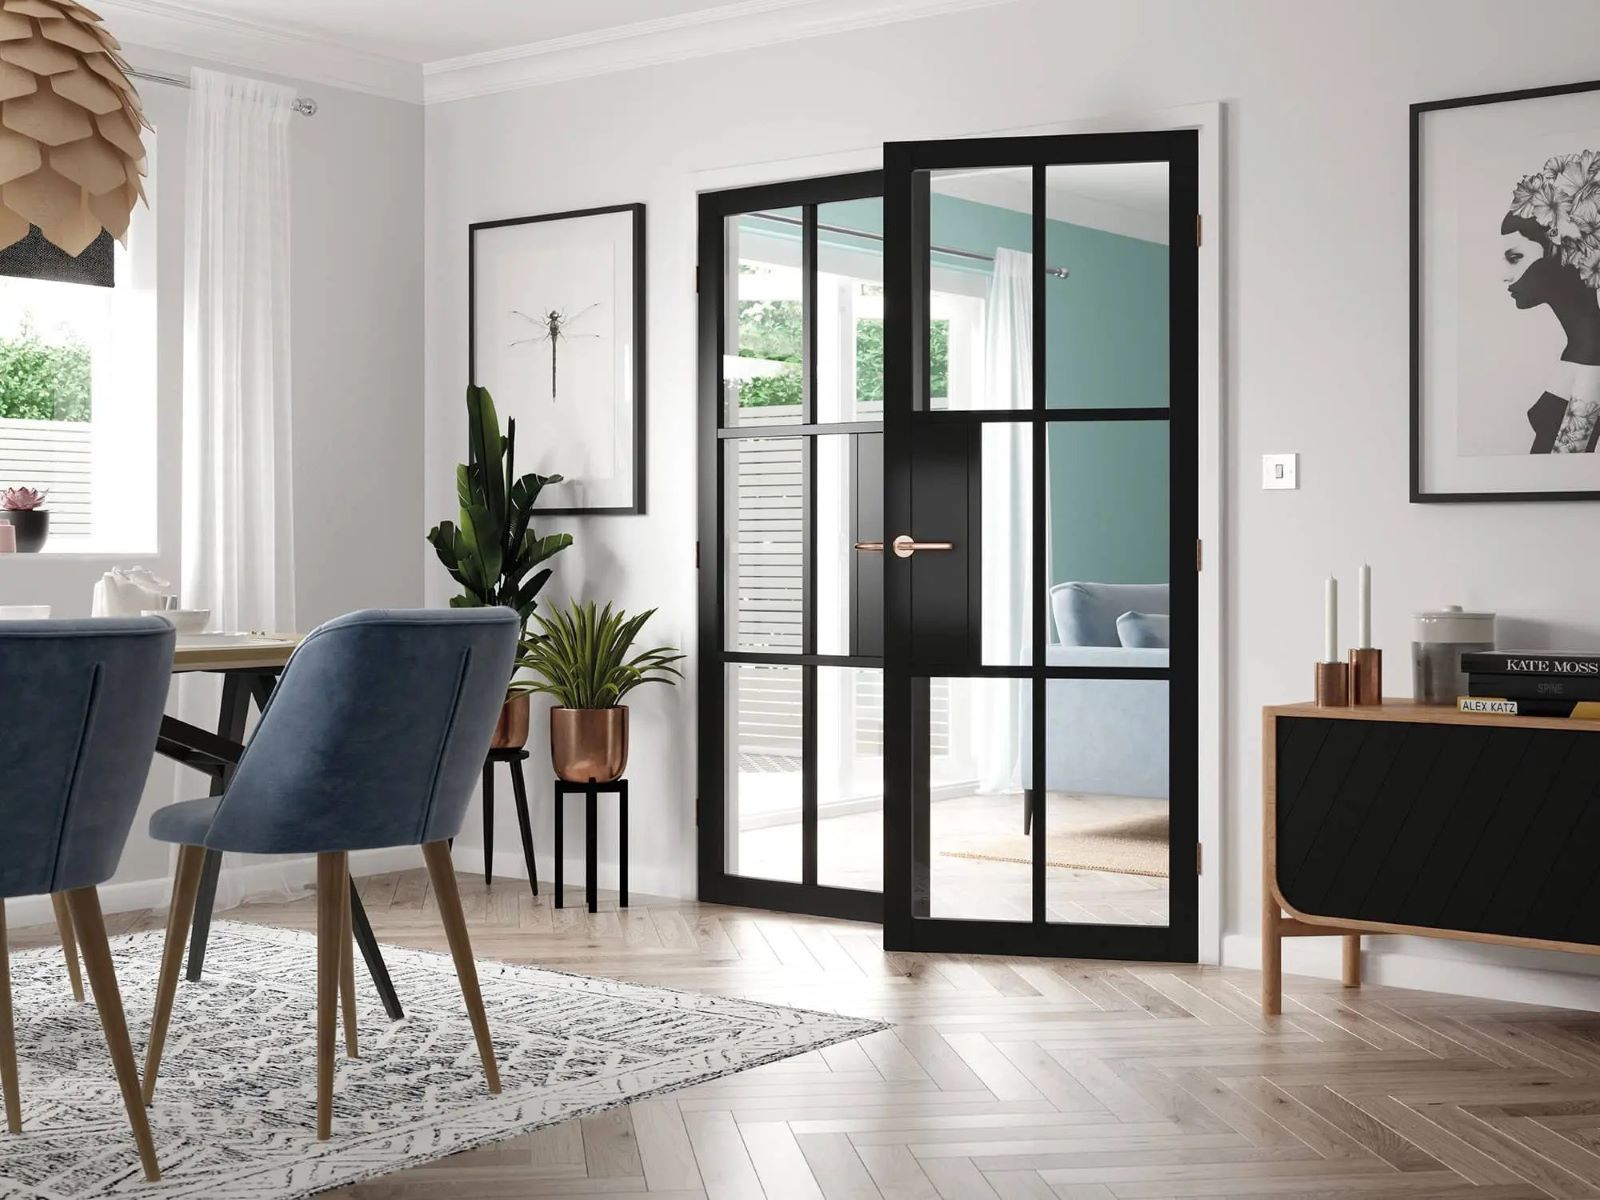
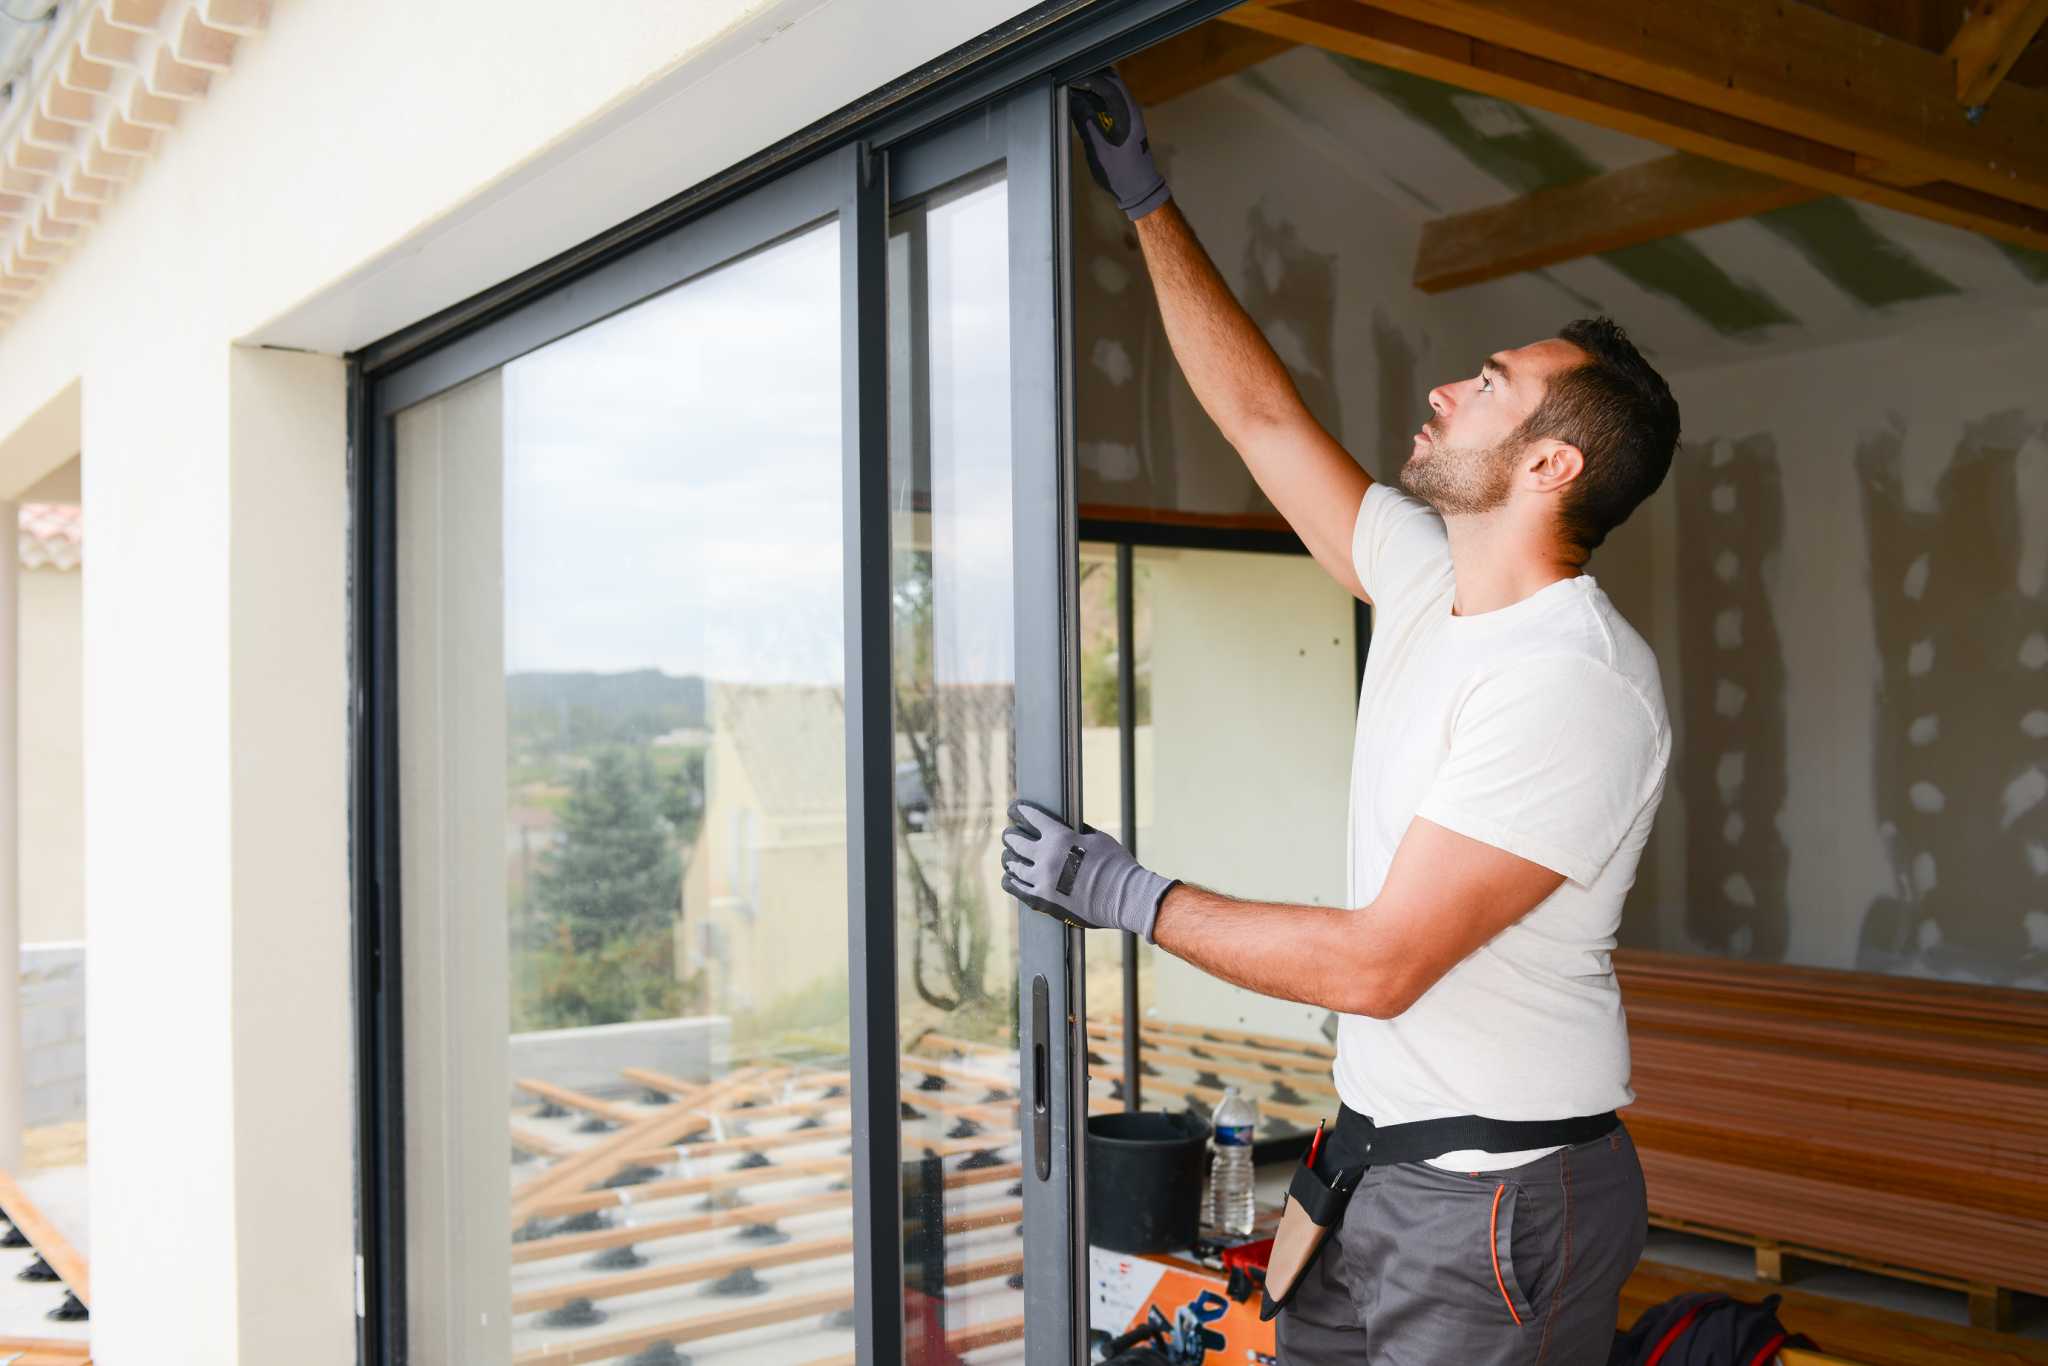
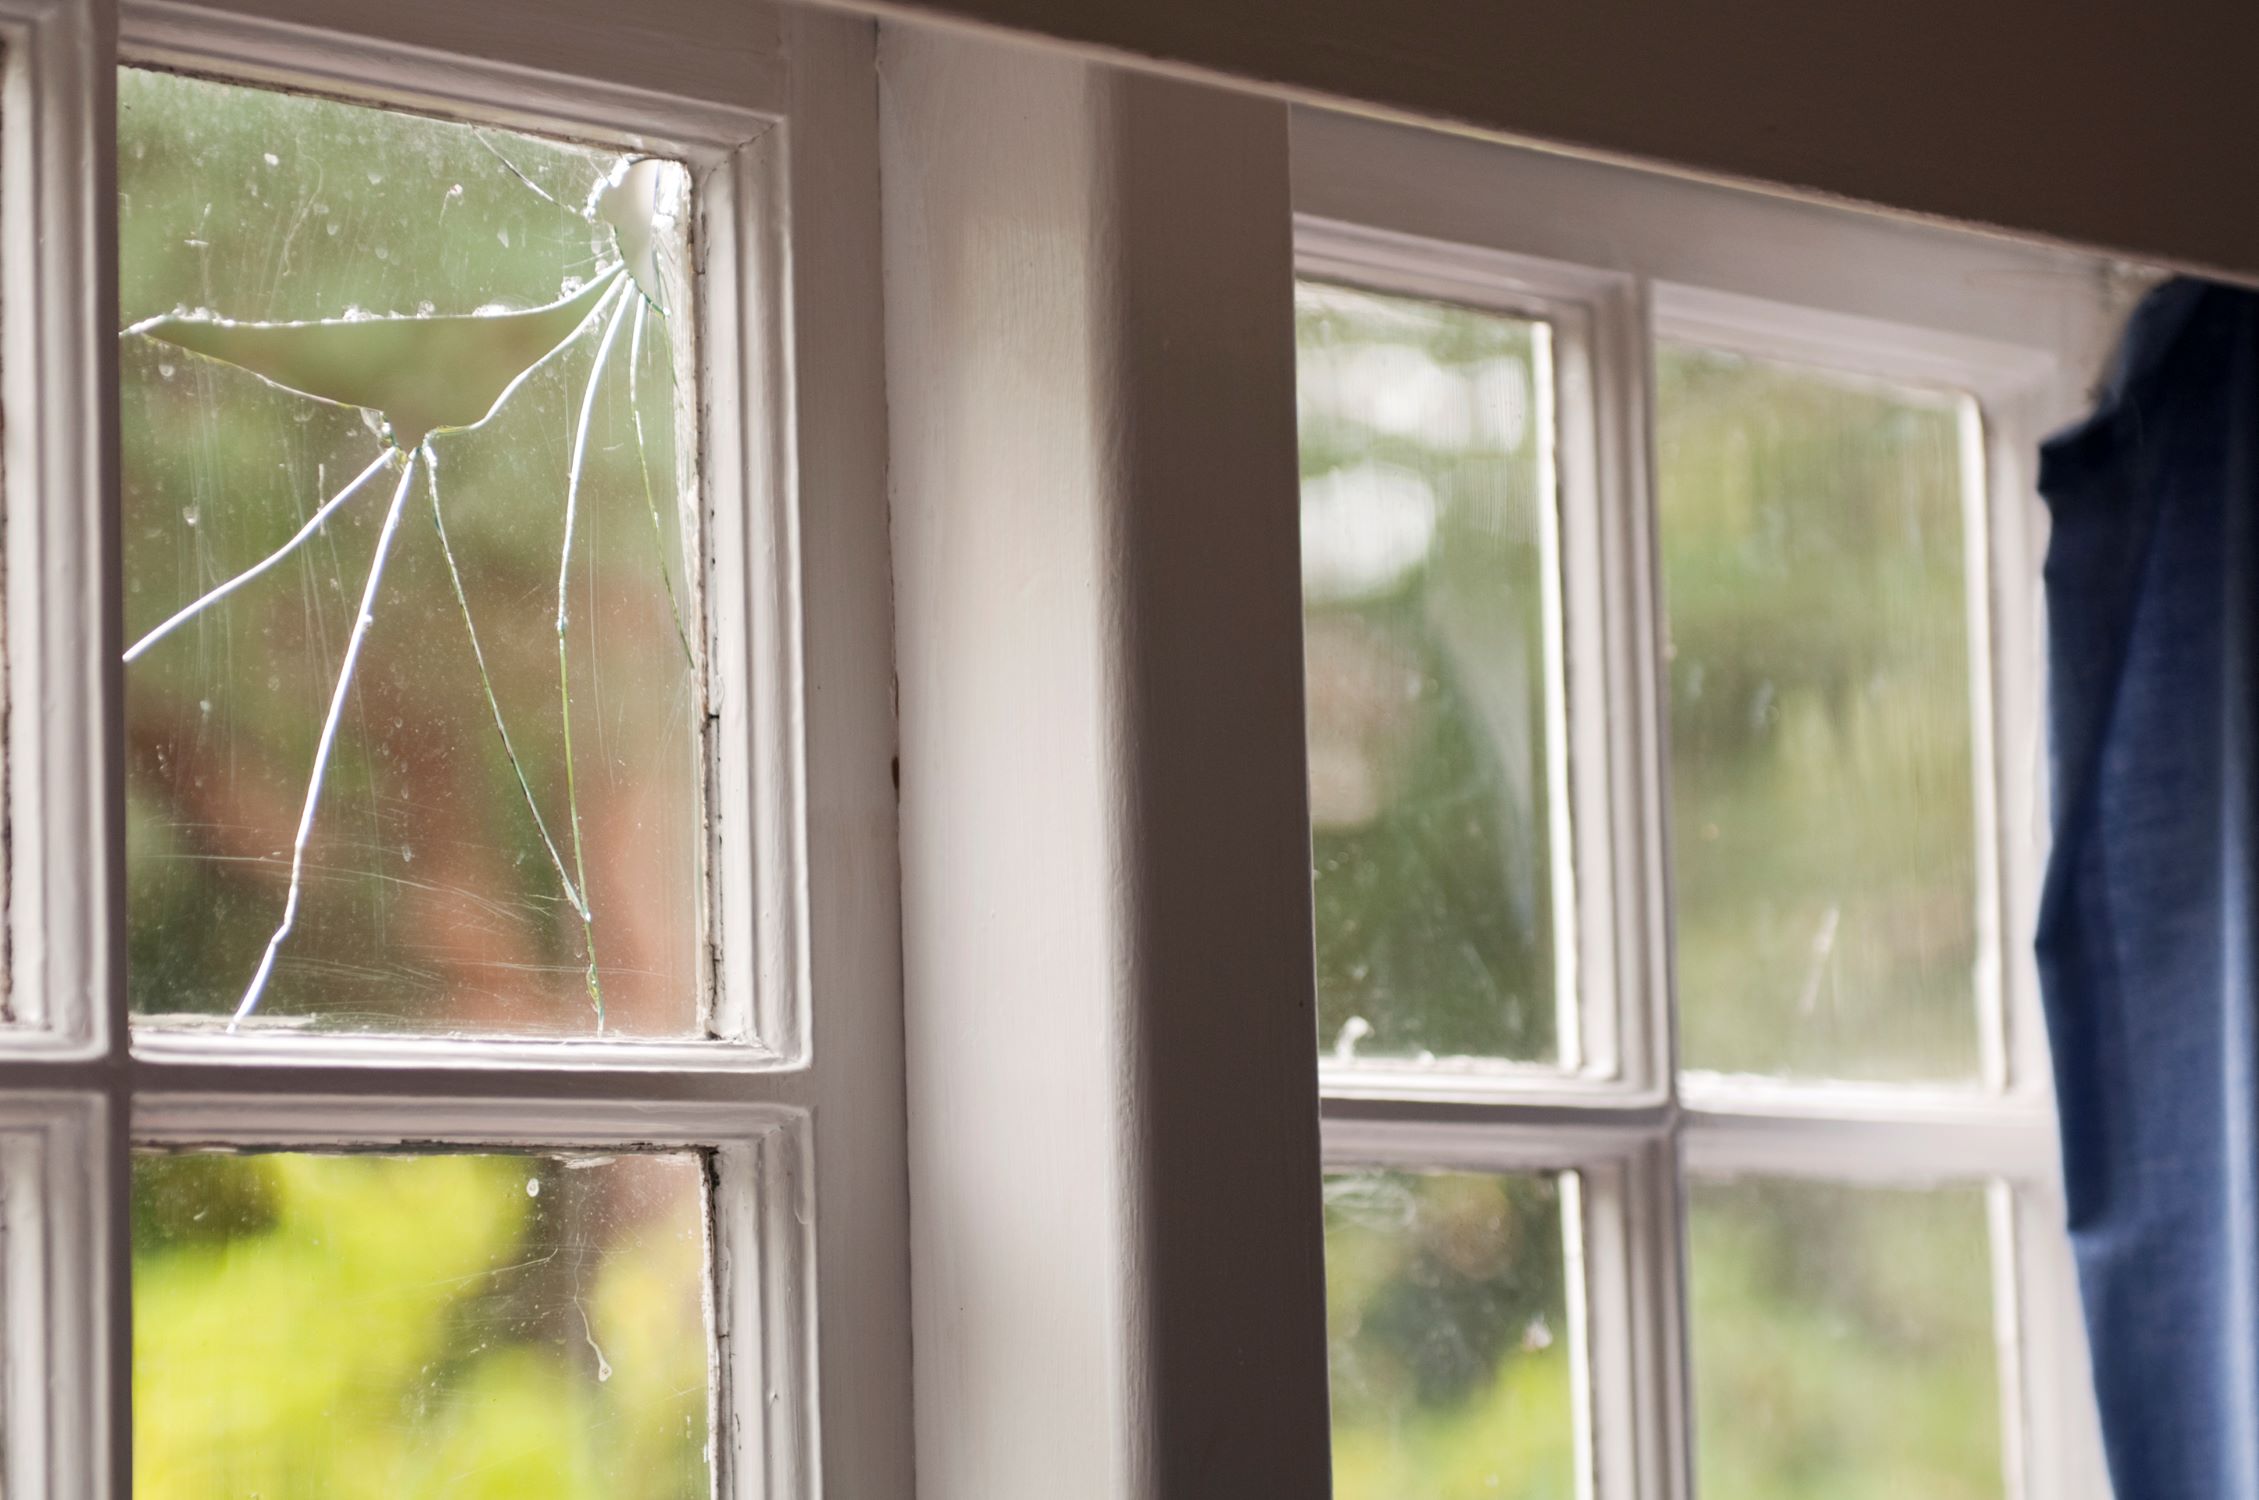
Replacing a broken glass panel in a door may seem like a daunting task, but with the right tools and a methodical approach, it can be a manageable DIY project. Whether the damage was caused by an accidental impact or simply due to wear and tear, addressing a broken glass panel is essential for maintaining the functionality and aesthetics of your door.
In this comprehensive guide, we will walk you through the step-by-step process of replacing a glass panel in a door. By following these instructions, you can restore the integrity of your door and enhance the overall appeal of your living space. From gathering the necessary tools and materials to securing the new glass in place, each stage of the process is crucial for achieving a successful outcome.
Embarking on this project not only allows you to take control of the repair process but also provides an opportunity to showcase your DIY skills. With careful attention to detail and a focus on safety, you can effectively replace the broken glass panel and breathe new life into your door.
So, roll up your sleeves, gather your tools, and let's dive into the steps required to replace a glass panel in a door. With a bit of patience and a willingness to learn, you'll soon have your door looking as good as new.
Key Takeaways:
- Replacing a broken glass panel in a door is a manageable DIY project that empowers you to restore your door’s functionality and charm. With the right tools and careful attention to detail, you can tackle this task with confidence and skill.
- By following the step-by-step process of removing the broken glass, measuring and cutting the new glass, and securing it in place, you can revitalize your door and showcase your craftsmanship. The completed project not only enhances your living space but also boosts your confidence for future DIY endeavors.
Read more: How To Replace Oven Door Glass
Step 1: Gather the necessary tools and materials
Before embarking on the task of replacing a glass panel in a door, it's essential to gather all the required tools and materials. Having the right equipment at your disposal will not only streamline the process but also ensure that the replacement is carried out effectively and safely. Here's a comprehensive list of the items you'll need:
Tools:
- Safety goggles and gloves: Protecting your eyes and hands is paramount when working with glass. Safety goggles shield your eyes from potential shards, while gloves provide a barrier against sharp edges.
- Putty knife: This tool will come in handy for removing the old putty and glazing points holding the broken glass in place.
- Glazier's points: These small, triangular metal pieces are used to secure the glass within the door frame.
- Glazing compound: Also known as glazing putty, this material is used to hold the glass in place and create a seal between the glass and the frame.
- Measuring tape: Accurate measurements are crucial for ensuring the new glass panel fits perfectly within the door frame.
- Glass cutter: If you need to trim the new glass to fit the door, a glass cutter will be indispensable.
- Hammer: This will be used to gently tap in the glazier's points and ensure they are securely in place.
Materials:
- Replacement glass: Measure the dimensions of the door panel accurately to determine the size of the replacement glass needed.
- Paint or finish: If the door frame requires repainting or refinishing, ensure you have the appropriate paint or finish on hand to complete the project seamlessly.
By gathering these tools and materials, you'll be well-prepared to commence the glass replacement process with confidence and efficiency. With safety at the forefront and the necessary items within reach, you're ready to move on to the next step of removing the broken glass from the door.
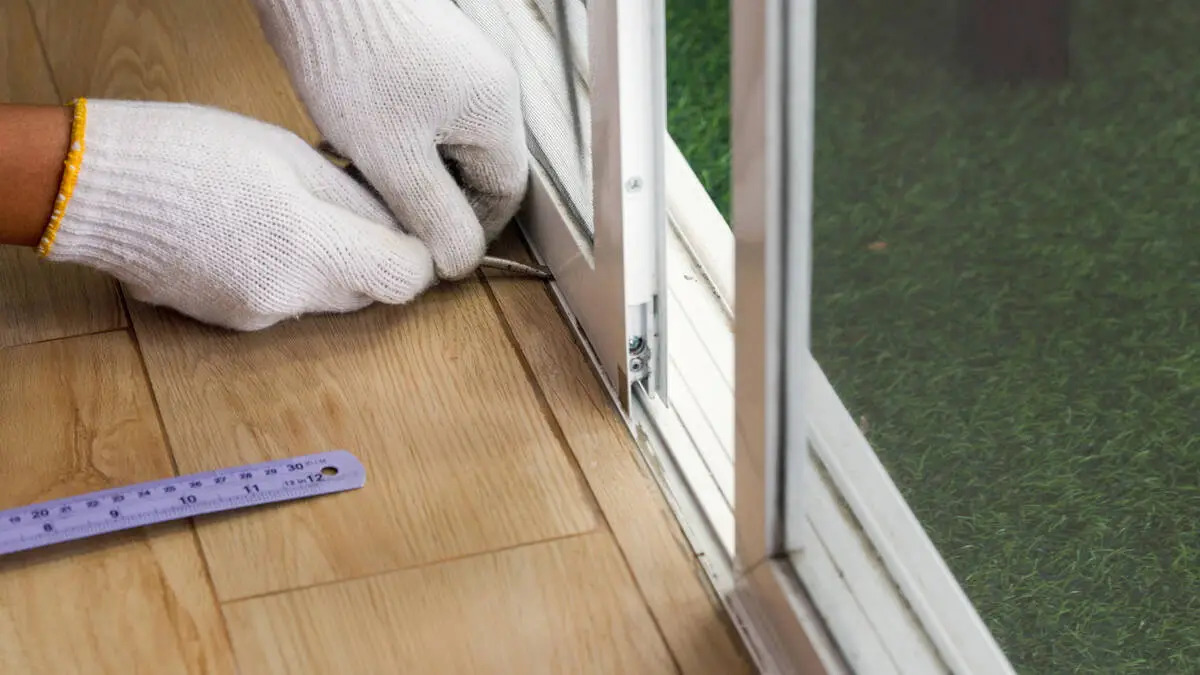
Step 2: Remove the broken glass
Removing the broken glass from the door is a critical step in the replacement process. It requires careful attention to detail and a focus on safety to prevent any injuries or further damage to the door. Here's a detailed guide on how to effectively remove the broken glass:
-
Safety First: Before starting the removal process, ensure that you are wearing safety goggles and gloves to protect yourself from any glass shards. It's essential to prioritize safety throughout this step.
-
Inspect the Door: Begin by carefully examining the door to assess the extent of the damage and identify any remaining glass fragments. Use a vacuum cleaner with a hose attachment to gently remove any loose glass particles from the door frame and surrounding areas.
-
Remove the Glazing Points: Using a putty knife, carefully pry out the glazing points that are holding the broken glass in place. Take your time and work methodically to avoid causing any additional damage to the door frame.
-
Extract the Broken Glass: Once the glazing points are removed, gently push the broken glass out of the door frame. Be extremely cautious during this step to prevent any accidental cuts or injuries. If the glass is shattered into small pieces, carefully collect them using a vacuum or duct tape to ensure thorough removal.
-
Clean the Door Frame: After the broken glass has been removed, use a putty knife and a vacuum to clean the door frame and remove any remaining traces of old putty or debris. It's crucial to prepare the frame thoroughly for the installation of the new glass panel.
By following these detailed steps, you can safely and effectively remove the broken glass from the door, setting the stage for the subsequent phases of the replacement process. With the broken glass successfully extracted and the door frame meticulously cleaned, you are now ready to proceed to the next stage of measuring and cutting the new glass panel.
Read more: How To Replace Glass In Storm Door
Step 3: Measure and cut the new glass
With the broken glass removed and the door frame prepared, the next crucial step is to measure and cut the new glass panel. This phase demands precision and careful attention to detail to ensure that the replacement glass fits seamlessly within the door frame. Here's a comprehensive guide on how to measure and cut the new glass:
-
Accurate Measurements: Begin by measuring the dimensions of the door panel opening using a measuring tape. Measure the width and height of the opening, taking into account any variations in the frame. It's essential to record precise measurements to avoid errors during the cutting process.
-
Select the Replacement Glass: Based on the measurements obtained, select a piece of replacement glass that matches the exact size of the door panel opening. If the replacement glass is slightly larger than the opening, you will need to trim it to achieve a perfect fit.
-
Marking and Cutting: Place the replacement glass on a flat, stable surface and use a glass cutter to score along the marked cutting lines. Ensure that the glass cutter is held firmly and perpendicular to the surface to create a clean and precise score line. Apply consistent pressure while scoring to achieve a smooth and even cut.
-
Breaking the Glass: Once the glass is scored, carefully lift it along the scored line and support it evenly. Apply gentle pressure to the opposite side of the score line to break the glass cleanly along the intended cut. Exercise caution during this step to prevent any accidental breakage or injuries.
-
Refining the Edges: After the glass is cut, use a fine-grit sandpaper or a glass file to smooth and refine the edges. This step is crucial for ensuring that the edges are safe to handle and fit smoothly within the door frame.
By meticulously following these steps, you can accurately measure and cut the new glass panel, setting the stage for the subsequent phase of installing the glass within the door frame. With the replacement glass tailored to fit the door panel opening, you are now ready to proceed to the installation phase, bringing you one step closer to completing the glass replacement process.
Step 4: Install the new glass
With the replacement glass panel accurately measured and cut to fit the door frame, the next pivotal step is the installation process. This phase demands precision and a methodical approach to ensure that the new glass fits seamlessly and securely within the door. Here's a comprehensive guide on how to effectively install the new glass panel:
-
Prepare the Door Frame: Before placing the new glass, inspect the door frame to ensure it is clean and free of any debris or remnants of the old putty. Use a putty knife to remove any residual material and vacuum the frame to create a clean and smooth surface for the installation.
-
Apply Glazing Compound: Begin by applying a thin, even layer of glazing compound along the inside edge of the door frame. This compound will serve as the adhesive to hold the new glass in place and create a secure seal between the glass and the frame.
-
Position the Replacement Glass: Carefully place the replacement glass panel into the door frame, ensuring that it fits snugly within the opening. Take your time to align the glass properly, allowing for an even distribution of the glazing compound around the edges.
-
Insert Glazier's Points: Once the glass is positioned, gently insert glazier's points along the frame to secure the glass in place. Use a putty knife or a flat-edged tool to press the points firmly into the frame, ensuring that the glass is held securely and evenly.
-
Seal the Edges: After the glazier's points are in position, apply additional glazing compound over the points and along the edges of the glass to create a uniform seal. Smooth out the compound using a putty knife to achieve a clean and professional finish.
-
Check for Stability: Once the new glass is installed and secured, gently press against it to ensure that it is stable and properly seated within the frame. This step is crucial for verifying the integrity of the installation and confirming that the glass is firmly in place.
By meticulously following these steps, you can effectively install the new glass panel within the door frame, bringing you one step closer to completing the glass replacement process. With the replacement glass securely in place, the final phase of securing the glass and testing the door will ensure that the installation is successful and the door is restored to its former functionality and aesthetic appeal.
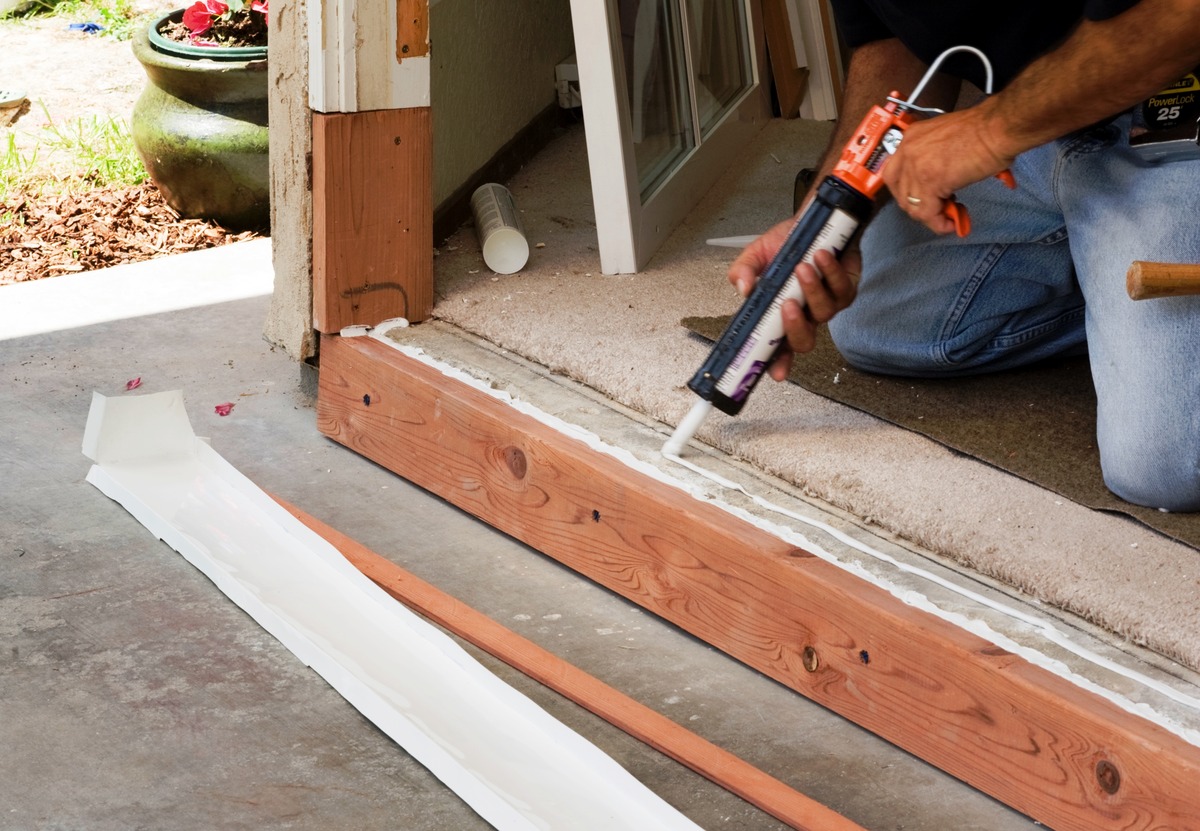
Step 5: Secure the glass in place
Securing the newly installed glass within the door frame is a critical step that ensures the stability and longevity of the replacement. By effectively securing the glass, you not only enhance the structural integrity of the door but also mitigate the risk of potential hazards associated with loose or unstable glass panels. Here's a detailed guide on how to securely fasten the glass in place:
Apply Additional Glazing Compound
After the initial installation of the replacement glass, it's essential to apply an additional layer of glazing compound along the edges of the glass. This supplementary application serves to reinforce the seal between the glass and the frame, providing added stability and protection against environmental elements.
Read more: How To Replace Glass In French Door
Smooth and Even Application
When applying the additional glazing compound, ensure that it is spread evenly and smoothly along the edges of the glass. Using a putty knife, carefully work the compound into any gaps or spaces, creating a uniform seal that effectively secures the glass within the frame.
Inspect and Adjust Glazier's Points
Inspect the glazier's points that were inserted during the installation phase to verify their firmness and alignment. If any points appear loose or uneven, use a hammer and a flat-edged tool to adjust and secure them further. Properly positioned and secured glazier's points are crucial for maintaining the stability of the glass panel.
Reinforce the Seal
Once the additional glazing compound is applied and the glazier's points are inspected, take a moment to reinforce the seal around the edges of the glass. Run the putty knife along the compound to ensure that it is firmly pressed against the glass and the frame, creating a robust and durable bond.
Allow for Proper Drying
After the glass is securely in place and the seal is reinforced, allow the glazing compound to dry thoroughly according to the manufacturer's instructions. This drying period is essential for the compound to set and form a resilient seal that will withstand the rigors of everyday use.
By meticulously following these steps to secure the glass in place, you can ensure that the replacement panel is firmly and durably installed within the door frame. This phase marks a crucial milestone in the glass replacement process, bringing you closer to the completion of the project and the restoration of your door's functionality and visual appeal.
Step 6: Clean up and test the door
With the new glass panel securely installed and the seal reinforced, the final phase of the glass replacement process involves thorough cleanup and testing of the door to ensure its functionality and visual appeal are fully restored.
Clean the Surrounding Area
Begin by carefully cleaning the surrounding areas of the door to remove any residual debris, glass particles, or dust that may have accumulated during the replacement process. Use a vacuum cleaner with a hose attachment to meticulously clean the floor, door frame, and adjacent surfaces, ensuring that the area is free from any remnants of the old glass and putty.
Remove Excess Glazing Compound
Inspect the edges of the glass panel and the door frame for any excess glazing compound that may have squeezed out during the installation. Use a putty knife or a suitable tool to gently remove any surplus compound, ensuring that the edges are clean and the overall appearance is neat and professional.
Wipe Down the Glass
Carefully wipe down the newly installed glass panel with a clean, lint-free cloth and a mild glass cleaner. This step will not only remove any fingerprints or smudges but also provide a clear and pristine finish to the glass, enhancing its visual appeal and transparency.
Read more: How To Replace Glass In A Sliding Patio Door
Test the Door's Functionality
Once the cleanup is complete, it's essential to test the door's functionality to ensure that the replacement glass has not affected its operation. Open and close the door several times, paying attention to any unusual resistance or obstruction. Verify that the door moves smoothly and securely within the frame, indicating that the replacement process has been carried out successfully.
Inspect for Leaks or Drafts
Carefully inspect the edges of the newly installed glass panel for any signs of leaks or drafts. Run a hand along the perimeter of the glass to detect any air movement or moisture ingress. If any issues are identified, additional glazing compound may be applied to reinforce the seal and mitigate potential leaks.
Final Aesthetic Check
Take a moment to step back and visually inspect the door, ensuring that the replacement glass is aligned correctly and presents a clean and polished appearance. Verify that the glass is securely in place and that the overall aesthetic of the door has been restored to its original charm.
By meticulously cleaning up the surrounding area, testing the door's functionality, and conducting a thorough inspection, you can ensure that the glass replacement process is successfully completed. With the door restored to its optimal condition, you can take pride in the accomplishment of replacing the glass panel and enhancing the overall appeal of your living space.
Conclusion
In conclusion, the process of replacing a broken glass panel in a door is a rewarding endeavor that allows you to restore both the functionality and aesthetic appeal of your living space. By following the comprehensive steps outlined in this guide, you have gained valuable insights into the meticulous process of replacing a glass panel, from gathering the necessary tools and materials to securing the new glass in place.
Embarking on this DIY project not only empowers you to take control of the repair process but also provides an opportunity to showcase your craftsmanship and attention to detail. Throughout each phase, safety has been prioritized, ensuring that the replacement process is carried out with care and precision.
By meticulously removing the broken glass, measuring and cutting the new glass panel, and securing it within the door frame, you have demonstrated a commitment to excellence and a willingness to tackle challenging home improvement tasks. The thorough cleanup and testing phase further underscores your dedication to ensuring that the door is not only visually appealing but also fully functional.
As you stand back and admire the newly replaced glass panel, take pride in the accomplishment of successfully completing this project. Your diligence and commitment have not only revitalized the door but have also enhanced the overall ambiance of your living space. The restored door now stands as a testament to your ability to overcome challenges and transform a seemingly daunting task into a rewarding achievement.
Moving forward, the knowledge and skills you have acquired through this process will serve you well in future DIY endeavors. Whether it's repairing a window pane or undertaking a larger home improvement project, the confidence and expertise gained from replacing a glass panel in a door will undoubtedly prove invaluable.
As you reflect on the journey from broken glass to a beautifully restored door, remember that every meticulous step taken has contributed to the successful outcome. Your dedication to precision and safety has not only revitalized the door but has also enriched your DIY repertoire, positioning you as a capable and resourceful homeowner.
With the door now exuding charm and functionality, you can take pride in the transformation achieved through your efforts. The completion of this project marks a significant milestone, showcasing your ability to overcome challenges and elevate the visual appeal of your living space through hands-on craftsmanship.
In the end, the replaced glass panel serves as a testament to your dedication, skill, and unwavering commitment to maintaining and enhancing your home. As you look ahead, may this accomplishment inspire you to embark on future DIY projects with confidence and enthusiasm, knowing that with the right tools and a methodical approach, you can continue to elevate your living space and create a home that reflects your ingenuity and personal touch.
Frequently Asked Questions about How To Replace Glass In A Door
Was this page helpful?
At Storables.com, we guarantee accurate and reliable information. Our content, validated by Expert Board Contributors, is crafted following stringent Editorial Policies. We're committed to providing you with well-researched, expert-backed insights for all your informational needs.

0 thoughts on “How To Replace Glass In A Door”