Articles
How To Make Closet Door
Modified: October 20, 2024
Update the look of your closet with these interior design tips on how to make closet doors that are functional and stylish. Enhance your space with these creative ideas!
(Many of the links in this article redirect to a specific reviewed product. Your purchase of these products through affiliate links helps to generate commission for Storables.com, at no extra cost. Learn more)
Introduction
Welcome to our guide on how to make your own closet door! Whether you’re looking to update the look of your closet or add a personalized touch to your space, building your own closet door can be a rewarding and budget-friendly project.
A well-designed closet door not only enhances the overall aesthetics of your room but also provides functionality and convenience. With the right materials and a little bit of DIY spirit, you can create a custom closet door that perfectly suits your style and needs.
In this guide, we will take you through the step-by-step process of making a closet door from scratch. From selecting the materials to hanging the finished product, we’ll cover all the essential details you need to know. So, roll up your sleeves and let’s get started!
Before we dive into the practical aspects of building a closet door, it’s important to have a clear vision of what you want to achieve. Take some time to consider the style and design elements that will complement your room’s decor. Are you aiming for a sleek and modern look, or do you prefer a rustic and charming aesthetic? It’s a good idea to gather inspiration from interior design magazines, online sources, or even by visiting furniture stores.
Once you have a general idea of the style you want to achieve, it’s time to gather the necessary materials. The specific materials will depend on the design and size of your closet door, but you can generally expect to need items such as wood boards, hinges, screws, and paint or stain. Make a list and head to your local home improvement store to gather everything you need.
Additionally, you’ll need some tools to help you with the construction process. These may include a saw, drill, screwdriver, measuring tape, sandpaper, and a pencil. If you don’t already have these tools, consider borrowing them from friends or family or renting them from a local tool library.
Remember, making your own closet door allows you the freedom to customize it to your exact specifications. Whether you’re looking for a double door design or a single sliding door, you can tailor the project to fit your particular requirements. Now that you have a solid foundation of what to expect in this guide, let’s move on to the first step: Gathering Materials.
Key Takeaways:
- Create a personalized closet door that matches your style and needs by following the step-by-step guide. Embrace your creativity and enjoy the satisfaction of building something unique for your home.
- From gathering materials to hanging the door, this guide equips you with the skills to craft a custom closet door. Embrace DIY projects and add a touch of craftsmanship to your living space.
Read more: How To Frame A Closet Door
Step 1: Gathering Materials
Before you begin building your closet door, it’s important to gather all the necessary materials. Having everything prepared ahead of time will make the construction process smoother and more efficient. Here’s a list of the essential items you’ll need:
- Wood boards: Choose high-quality wood boards that are suitable for your desired door style. Common options include plywood, MDF (medium-density fiberboard), or solid wood boards.
- Hinges: Depending on the type of closet door you’re building, you’ll need a set of hinges that can support the weight and movement of the door.
- Screws: Select screws that are appropriate for the thickness of your wood boards and hinges. Make sure they are durable and provide a secure hold.
- Paint or stain: Decide on the finish you want for your closet door. You can choose to paint it in a color that matches your room’s decor or use a stain to enhance the natural beauty of the wood.
- Handles or knobs: Consider the type of handles or knobs you want to use on your closet door. These small details can have a big impact on the overall look and functionality of the door.
- Tools: To assemble and install the closet door, you’ll need a few basic tools, such as a saw, drill, screwdriver, measuring tape, sandpaper, and a pencil. Make sure you have these on hand before starting the project.
Once you have gathered all the materials, take a moment to inspect them and ensure that everything is in good condition. Check the wood boards for any defects or imperfections that may need to be addressed before construction. This will help prevent any issues or setbacks during the building process.
It’s also a good idea to consider safety precautions when working with tools and materials. Wear appropriate protective gear, such as safety goggles and gloves, to protect yourself while cutting, drilling, and sanding.
Once you have everything prepared and have taken the necessary safety measures, you’re ready to move on to the next step: Measuring and Planning. This is a crucial step that will ensure your closet door fits perfectly and functions as intended. Let’s dive in!
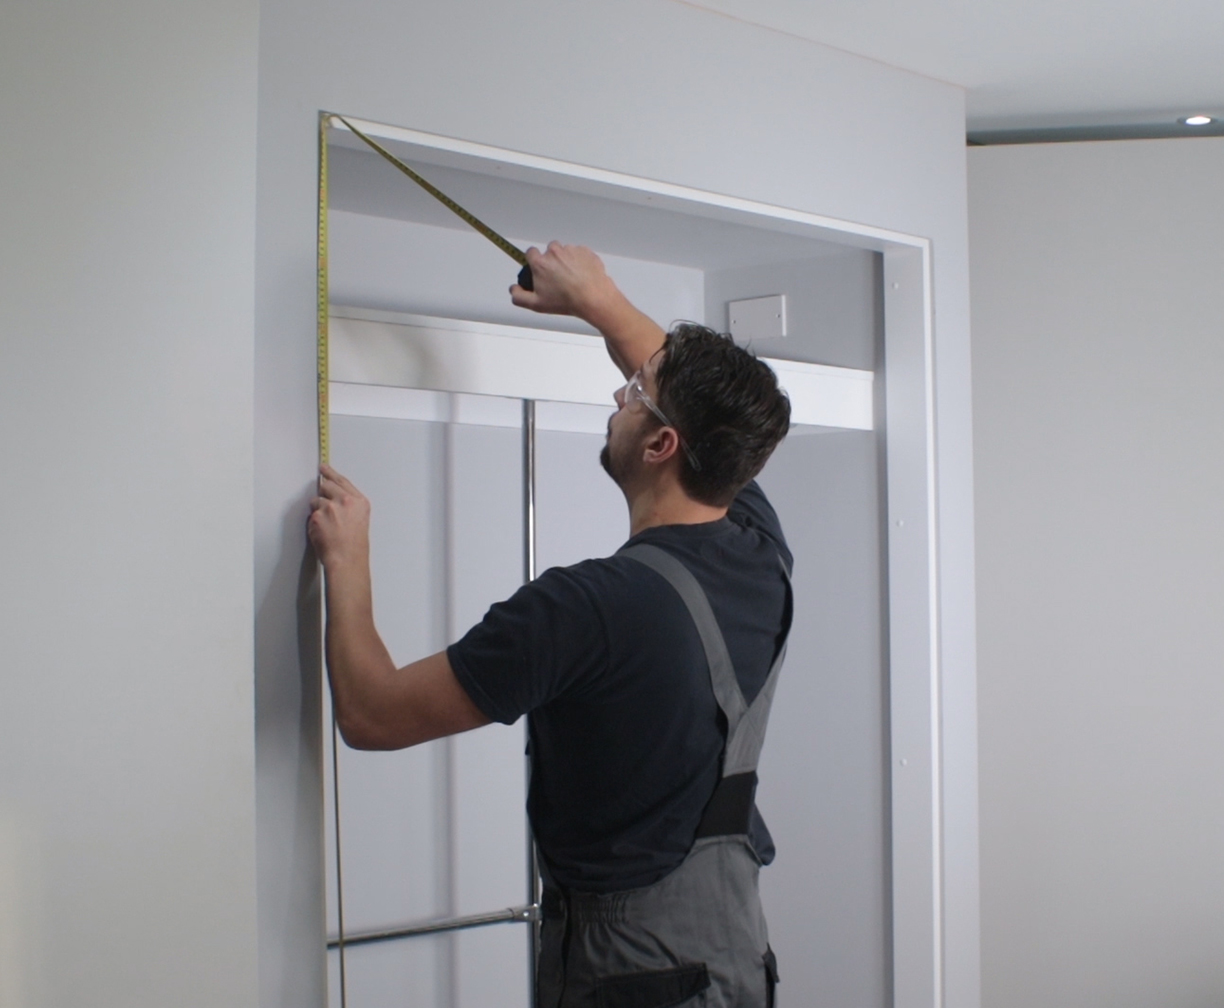
Step 2: Measuring and Planning
Before you start cutting any materials, it’s important to measure your closet space and plan out the dimensions of your door. Accurate measurements will ensure that your closet door fits perfectly and operates smoothly. Follow these steps to measure and plan for your closet door:
- Measure the width and height: Use a measuring tape to determine the width and height of the closet opening. Measure across the top, middle, and bottom of the opening to account for any variations in size.
- Add clearance: Depending on your door style and personal preference, you’ll need to account for clearance space when determining the actual dimensions of your closet door. This will ensure that the door doesn’t scrape against the surrounding walls or obstacles when opening and closing. Typically, adding around ½ inch to the width and 1 inch to the height is sufficient for clearance.
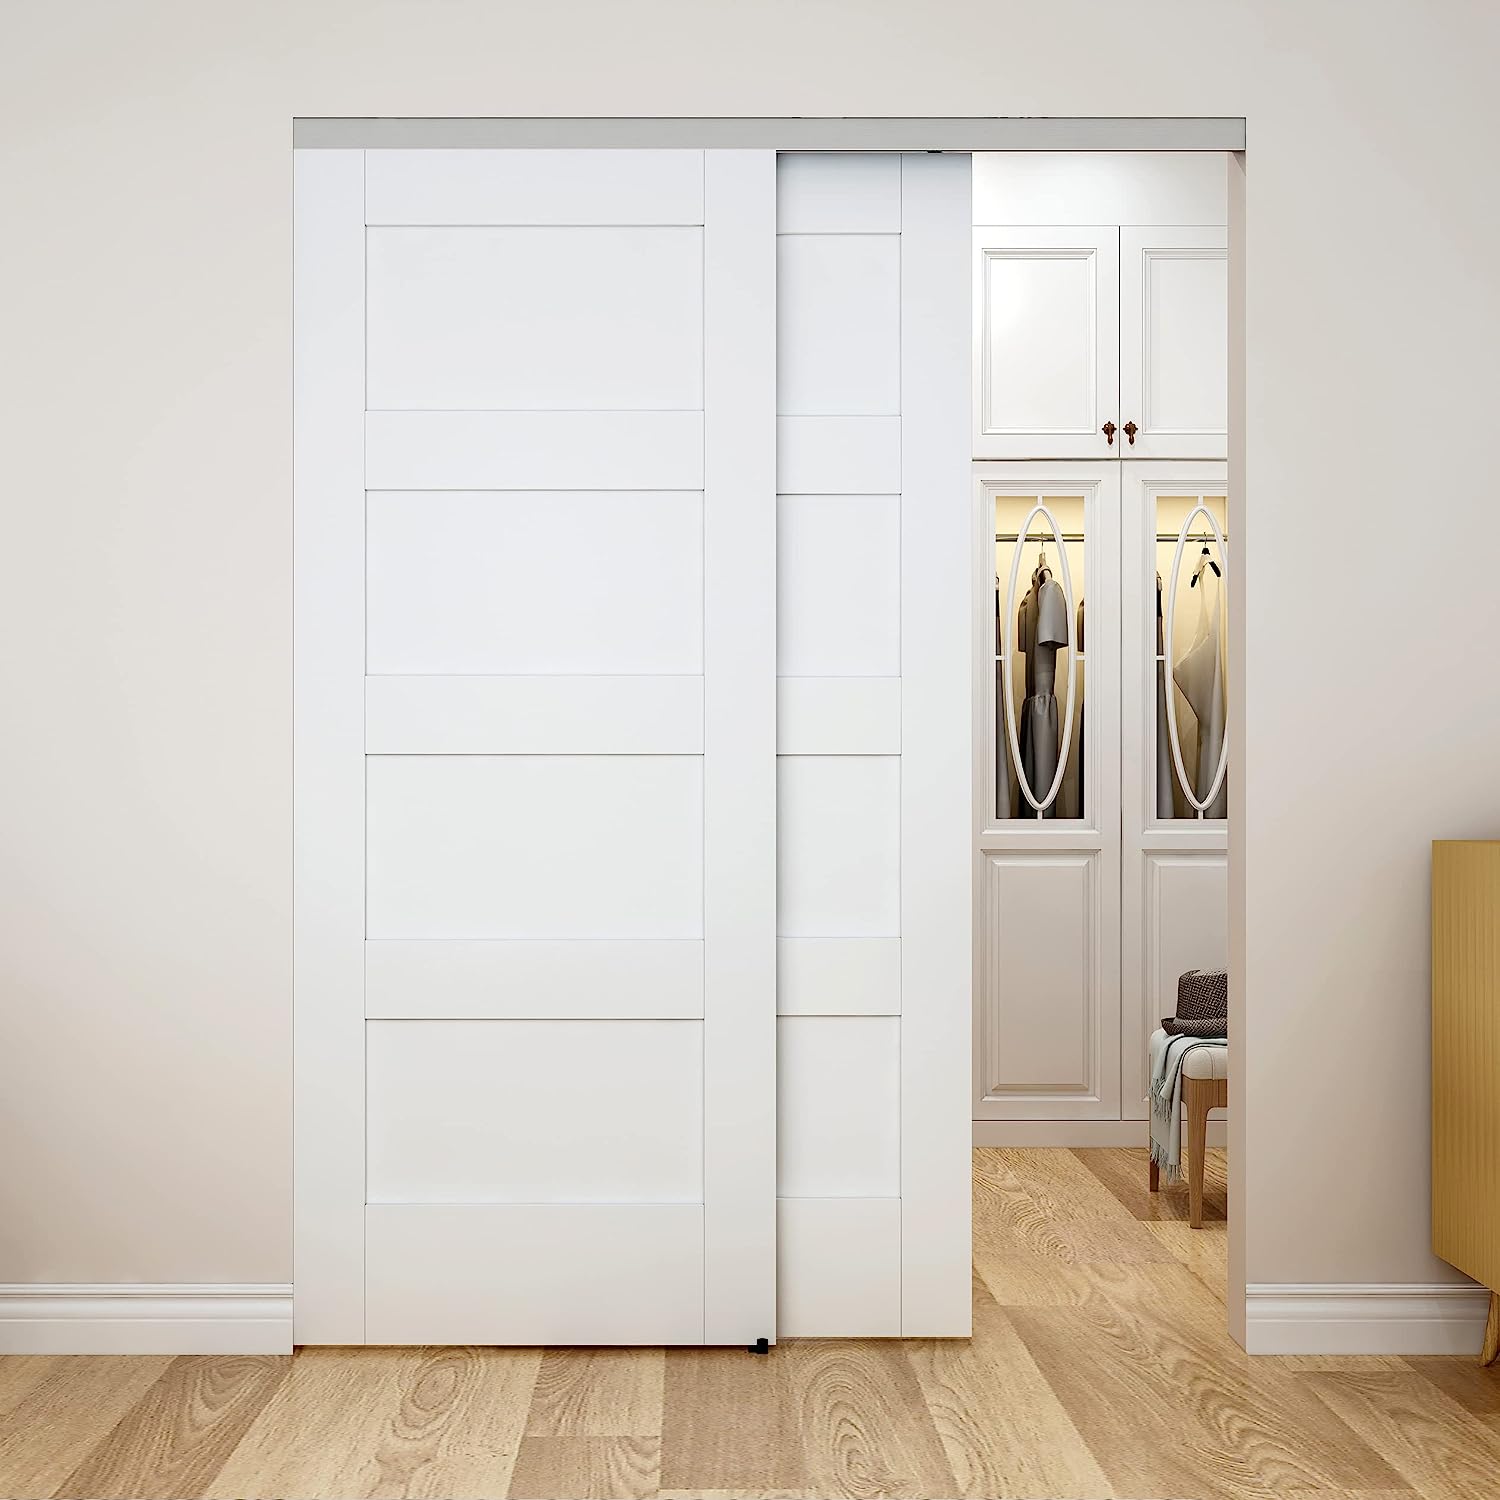
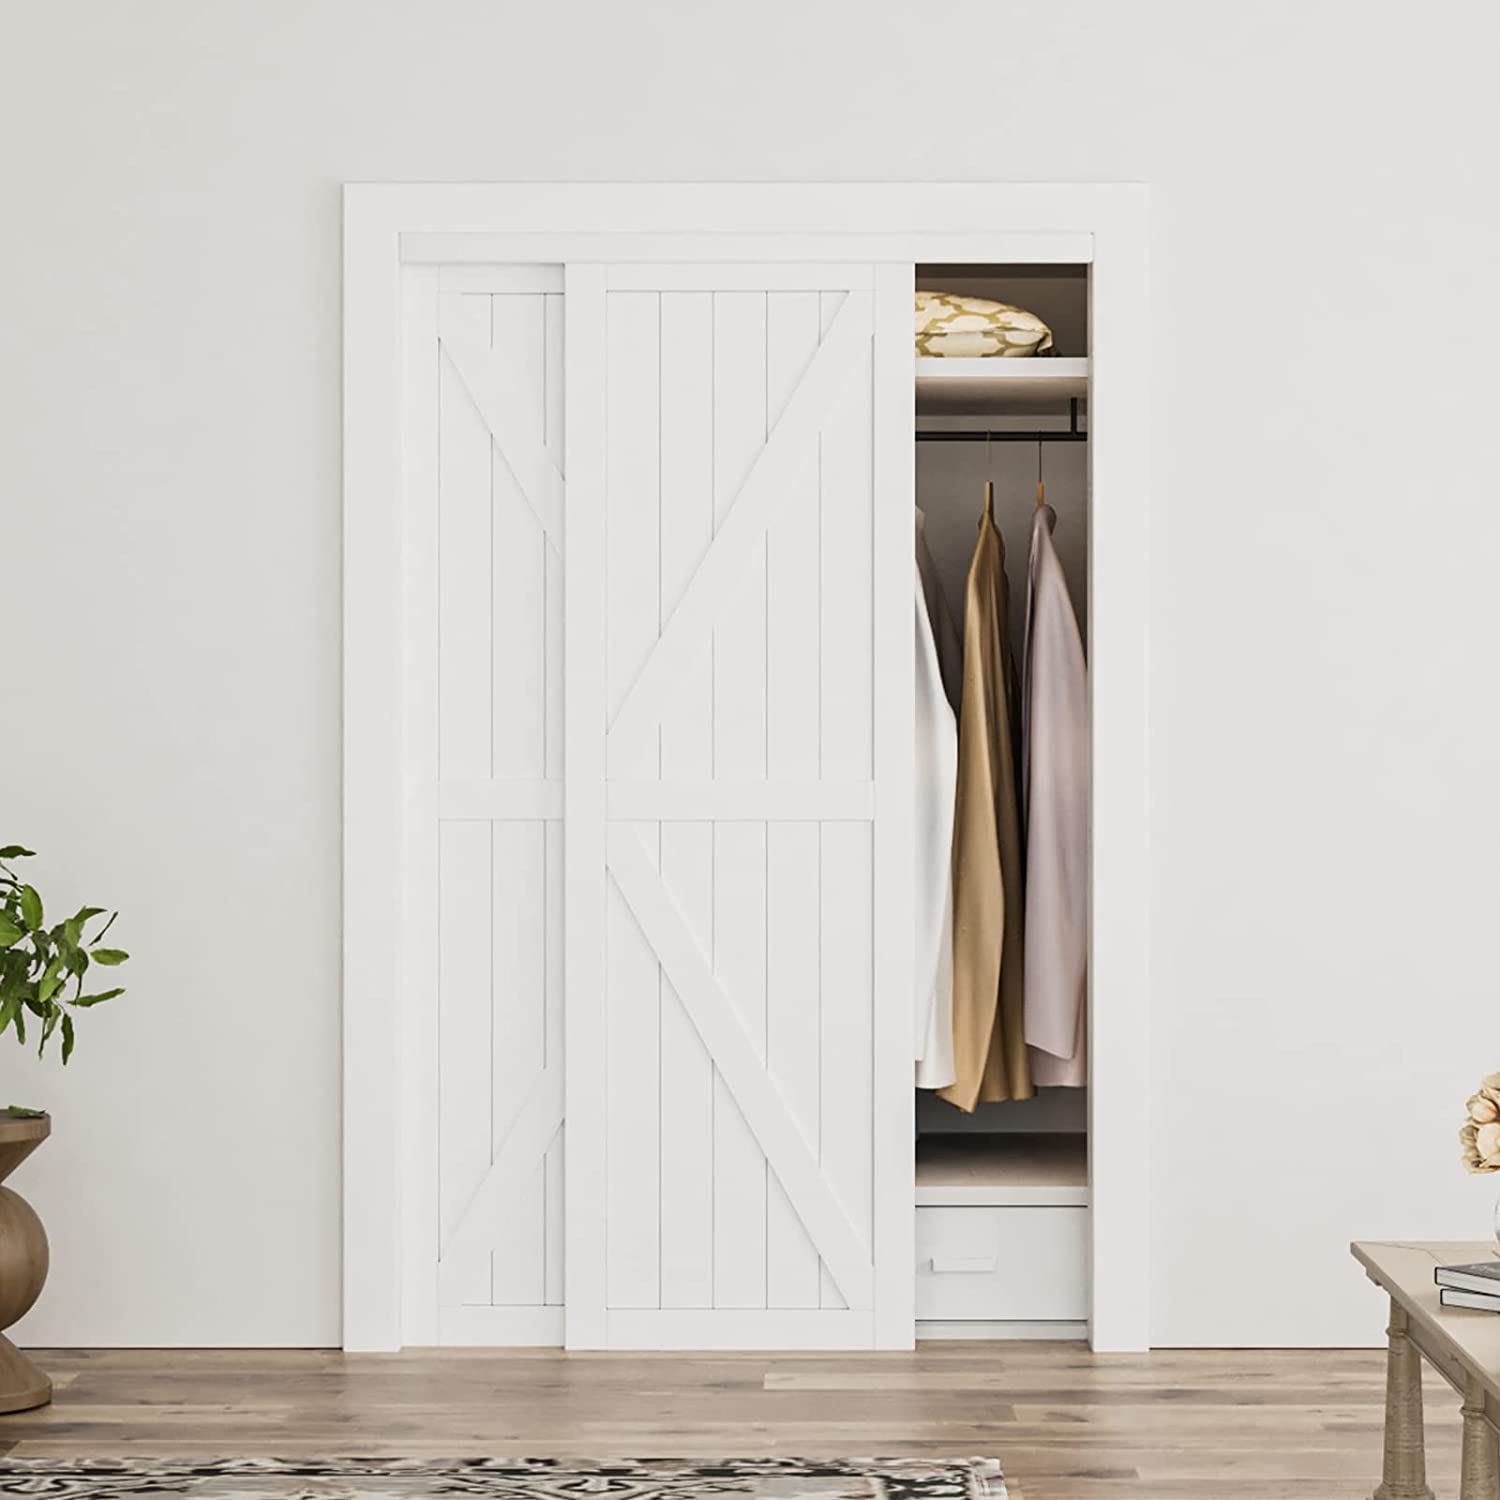
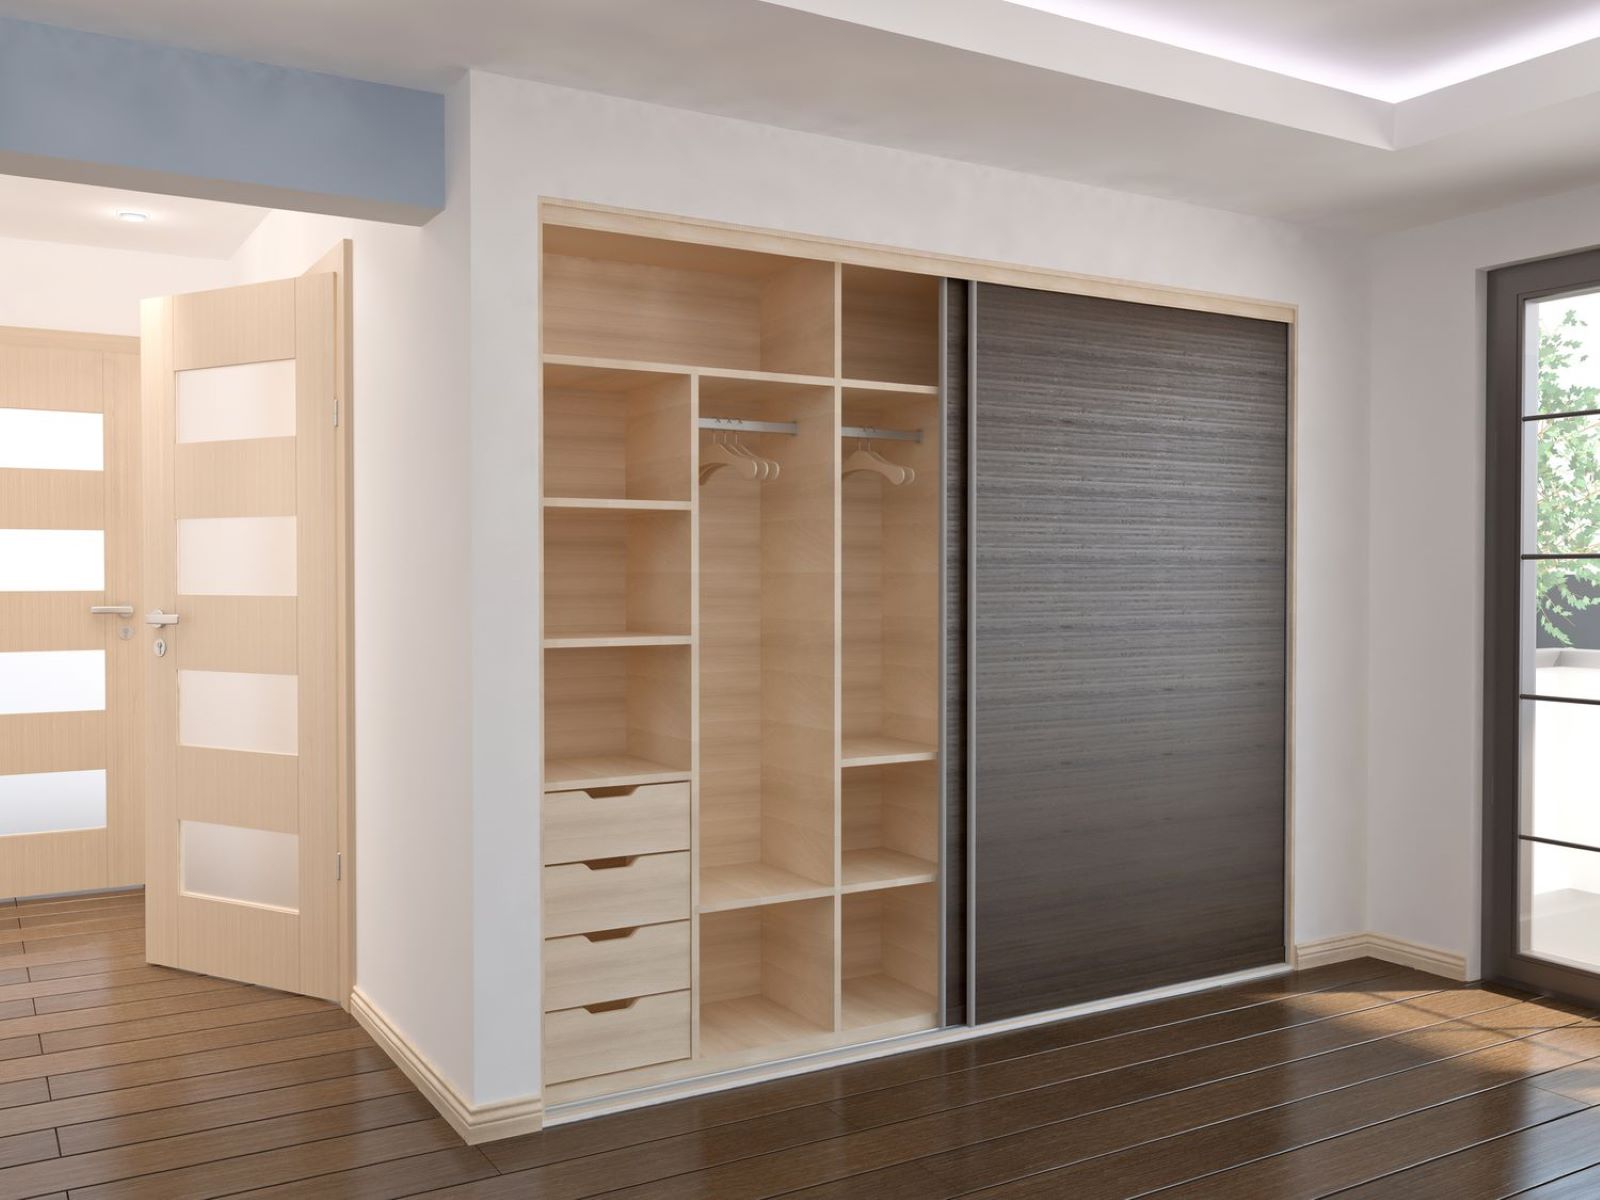
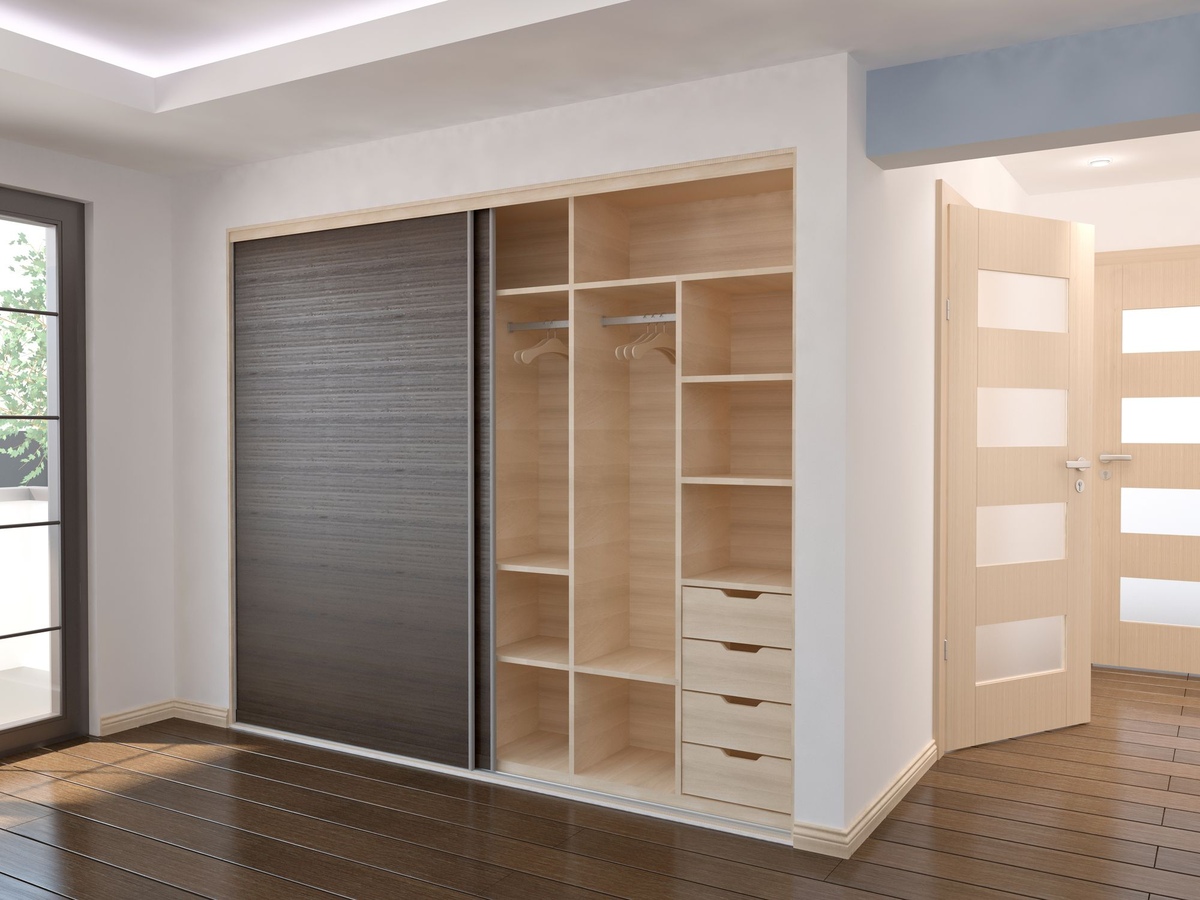
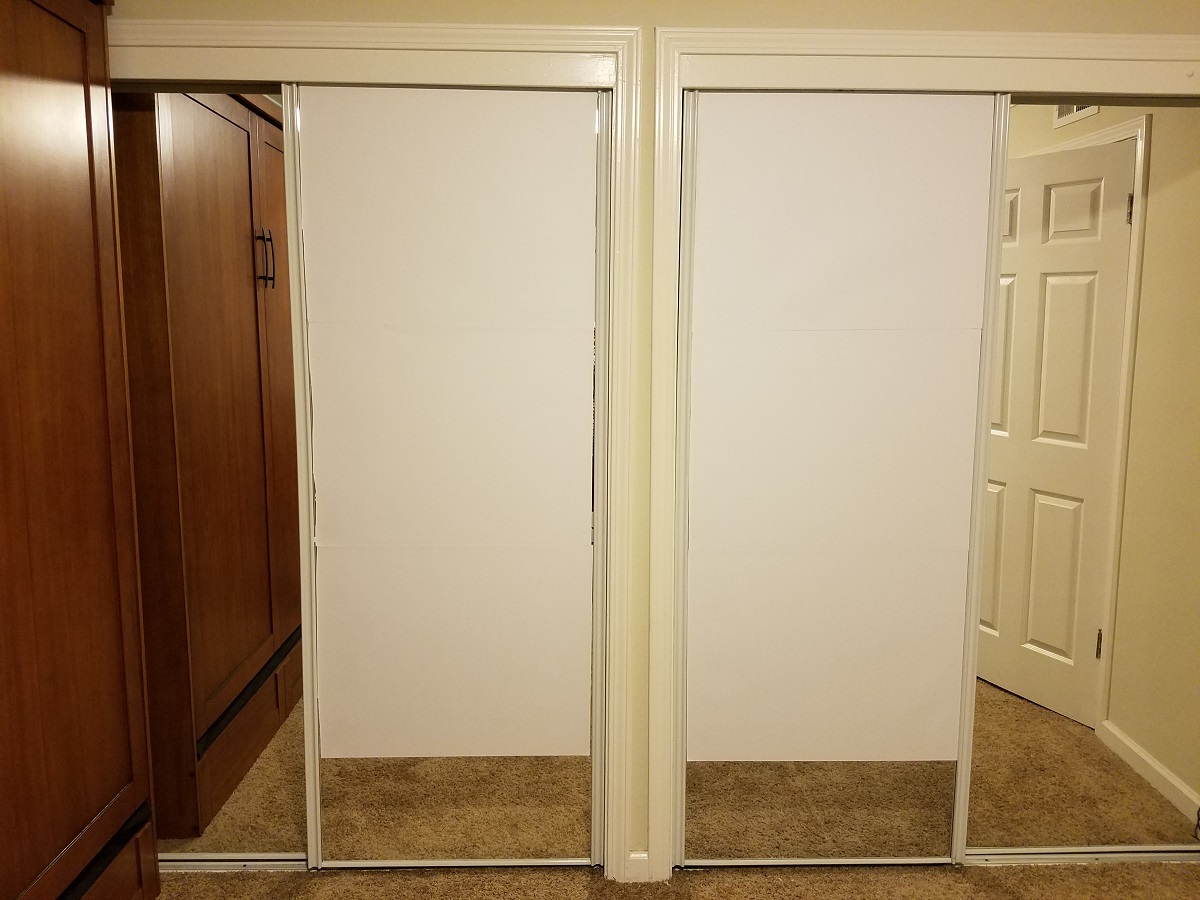
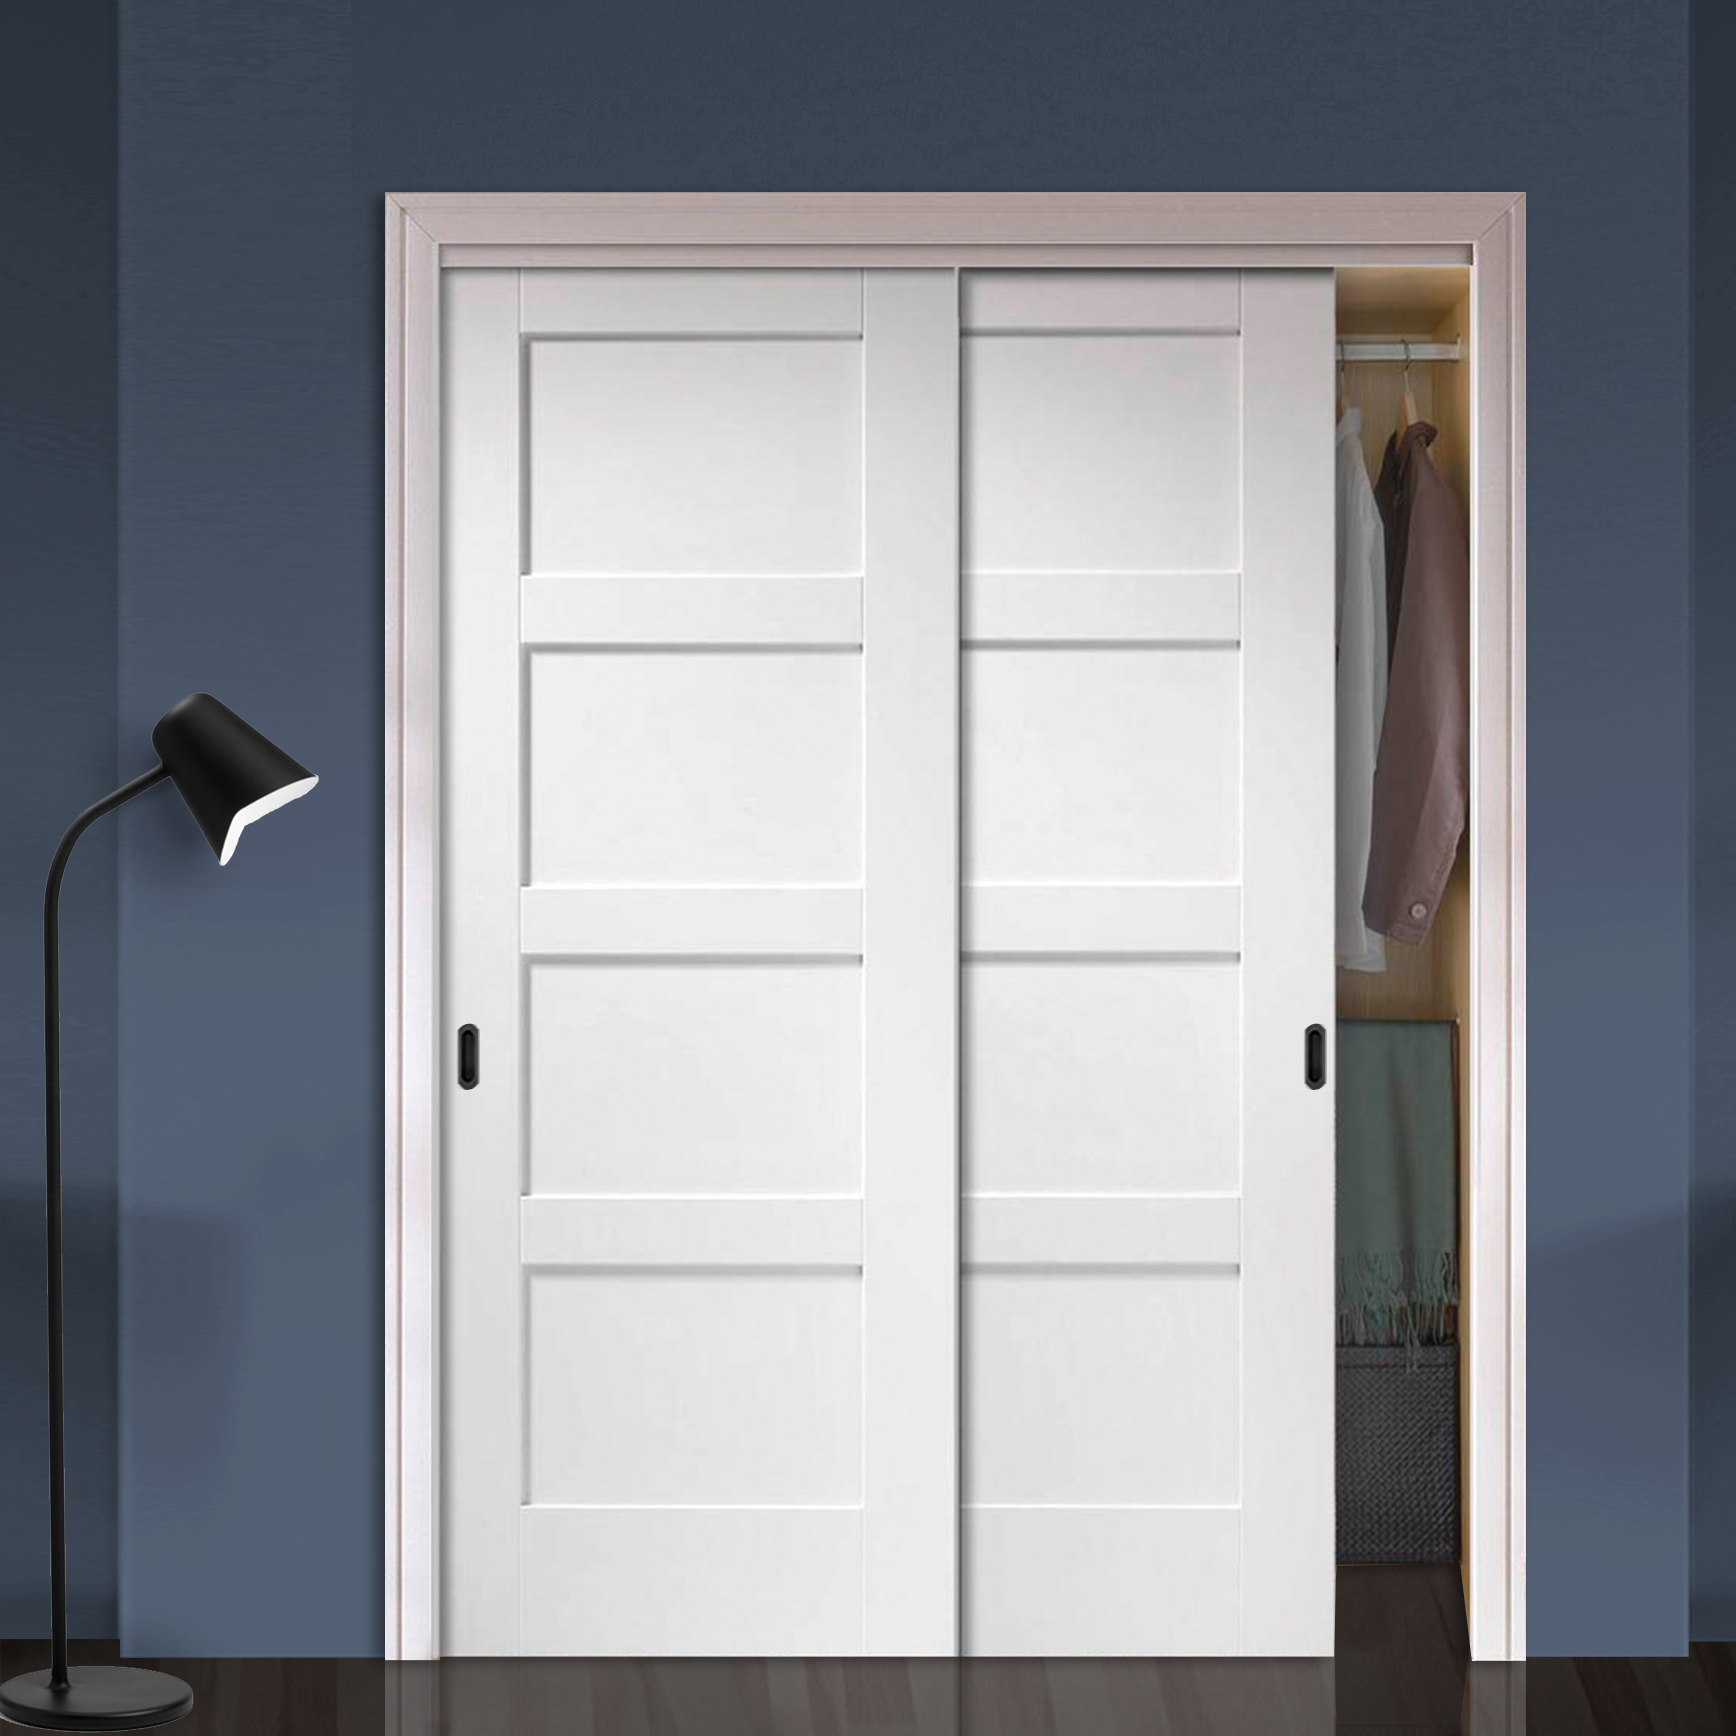
- Decide on the door type: Based on the available space and your preferences, choose a door type that suits your needs. Common options include single swinging doors, double doors that meet in the middle, or sliding doors. Consider factors such as accessibility, ease of use, and aesthetic appeal when making your decision.
- Create a plan: With the measurements and door type in mind, create a rough sketch or diagram of how you envision your closet door. Include details such as the size of each door panel, the position and number of hinges, and any other design elements you’d like to incorporate.
Once you have completed the measurements and created a plan, review and double-check everything to ensure accuracy. It’s advisable to consult with a professional or someone experienced in woodworking to validate your measurements and offer guidance if needed. This step will save time and prevent potential mistakes during the construction process.
Once you have your measurements and plan finalized, you’re ready to move on to the next step: Cutting the Door Panels. This is where you’ll bring your design to life by shaping the wood boards into the desired door panels. Let’s get started!
Step 3: Cutting the Door Panels
Now that you have your measurements and plan in hand, it’s time to start cutting the door panels. This step involves transforming your selected wood boards into the desired shapes and dimensions for your closet door. Follow these steps to cut the door panels:
- Prepare the wood boards: Lay out your selected wood boards on a flat and stable surface. Ensure that they are free from any dirt, dust, or debris that could affect the accuracy of your cuts.
- Measure and mark: Using your plan as a guide, measure and mark the dimensions of each door panel on the wood boards. Use a pencil or marker to make clear and visible markings.
- Cut the boards: With the help of a saw (such as a circular saw or a table saw), carefully cut along the marked lines to separate the door panels from the larger wood boards. Take your time and make precise cuts to achieve clean and accurate edges.
- Sand the edges: After cutting the door panels, use sandpaper or a sanding block to smooth out any rough edges or splinters. This step is crucial to ensure a seamless and professional-looking finish.
- Confirm the fit: Once all the door panels are cut and sanded, place them into the closet opening to confirm that they fit correctly. Make any necessary adjustments to the size or shape of the door panels before proceeding to the next step.
It’s important to remember safety precautions while cutting the wood boards. Wear protective gear such as safety goggles and gloves to guard against any potential injuries.
Additionally, take the time to clean up the working area and properly dispose of any wood scraps or sawdust. Keeping your workspace tidy will not only make the construction process more efficient but also reduce the risk of accidents or tripping hazards.
Once you have successfully cut the door panels and confirmed their fit, you’re ready to move on to the next step: Assembling the Frame. This is where you’ll bring all the pieces together to create the structure of your closet door. Let’s continue building!
Step 4: Assembling the Frame
With the door panels cut and ready, it’s time to assemble the frame for your closet door. The frame provides stability and support for the door panels and ensures the smooth operation of the door. Follow these steps to assemble the frame:
- Arrange the door panels: Lay the cut door panels flat on a clean and spacious surface, ensuring that they are properly aligned. Double-check the measurements and design elements to ensure accuracy.
- Measure and mark: Use a measuring tape and a pencil to mark the positions on the door panels where the frame pieces will be attached. These markings will serve as guidelines during the assembly process.
- Cut the frame pieces: Measure and cut the frame pieces according to the dimensions you planned earlier. These pieces will be attached to the door panels to create the frame structure. Ensure accurate cuts for a seamless fit.
- Attach the frame pieces: With the help of a drill and screws, secure the frame pieces onto the door panels. Use the pre-marked positions as guides and make sure the frame is aligned and centered on the panels. Ensure a sturdy and secure attachment.
- Reinforce the corners: To provide extra strength and stability, you can reinforce the corners of the frame using corner brackets or wooden dowels. This will help prevent any warping or wobbling of the closet door over time.
- Inspect and make adjustments: Once the frame is assembled, closely inspect all the connections and joints. Make any necessary adjustments or fixes to ensure that the frame is solid and secure.
Remember to take your time during the assembly process and double-check your measurements and connections along the way. This will help eliminate any potential issues or errors that could affect the functionality of the closet door.
Once you have successfully assembled the frame, you’re ready to move on to the next step: Installing Hinges. Hinges play a critical role in allowing the closet door to open and close smoothly. Let’s continue constructing your custom closet door!
When making a closet door, be sure to measure the opening accurately and choose the right type of door (sliding, bifold, hinged) based on the space available. Use quality materials and hardware for durability.
Read more: How To Decorate Closet Doors
Step 5: Installing Hinges
With the frame of your closet door assembled, it’s time to install the hinges. Hinges are essential for connecting the door panels to the frame and enabling smooth movement. Follow these steps to properly install the hinges:
- Choose the right hinges: Select hinges that are appropriate for the weight and size of your door panels. Consider factors such as the material of the hinges, the number of hinges needed for stability, and the type of movement you desire (e.g., swinging or sliding).
- Measure and mark: Use a measuring tape and a pencil to mark the desired positions for the hinges on both the frame and the door panels. This will ensure that the hinges are properly aligned for smooth operation.
- Pre-drill holes: Before attaching the hinges, it’s a good idea to pre-drill pilot holes using a drill bit that is slightly smaller than the screws. This will prevent the wood from splitting and make it easier to secure the hinges.
- Attach the hinges: Place the hinges on the marked positions and secure them using screws. Ensure a tight and secure connection between the hinges and both the frame and the door panels.
- Test the movement: Once the hinges are installed, carefully open and close the closet door to test its movement. Ensure that the door panels swing or slide smoothly and without any obstructions. Make any necessary adjustments if the movement is not optimal.
- Check for alignment: Check that the door panels are properly aligned with the frame when closed. Make any necessary adjustments to ensure a seamless fit.
When installing the hinges, it’s important to follow the manufacturer’s instructions and use the appropriate tools. Take your time and double-check your measurements to ensure that the hinges are aligned accurately.
Additionally, consider the aesthetic aspect of the hinges. Some hinges come in different finishes, such as brushed nickel or satin brass, allowing you to match them to your desired style and design. This attention to detail can enhance the overall look of your closet door.
Once the hinges are installed and the door panels are properly connected to the frame, you’re one step closer to completing your custom closet door. The next step is about attaching the door panels. Let’s continue building!
Step 6: Attaching the Door Panels
Now that the hinges are securely installed, it’s time to attach the door panels to the frame. This step is crucial for ensuring that the closet door functions properly and looks polished. Follow these steps to attach the door panels:
- Position the door panels: Place the door panels onto the frame, aligning them with the hinges. Ensure that the panels are centered and evenly spaced within the frame.
- Mark the screw hole positions: Use a pencil or marker to mark the positions on the door panels where the screws will be inserted. These marks will serve as a guide for attaching the door panels securely.
- Pre-drill holes: Before inserting the screws, pre-drill pilot holes into the marked positions. This helps prevent the wood from splitting and ensures better control during the screwing process.
- Attach the door panels: With the help of a screwdriver or drill, insert screws into the pre-drilled holes to securely attach the door panels to the frame. Make sure the screws are tight but not overtightened, as this could damage the wood.
- Check for smooth movement: Open and close the closet door to ensure that the door panels move smoothly along with the hinges. If there are any issues or obstructions, make necessary adjustments to ensure proper operation.
Take your time when attaching the door panels to ensure that they are aligned correctly and securely attached. Ensure that the panels are flush with the frame and that there are no gaps or misalignments.
During this step, consider adding additional decor elements to enhance the appearance of your closet door. This could include decorative trim or molding along the edges of the door panels, giving your door a personalized and stylish touch.
Once the door panels are attached and tested for smooth movement, you’re almost ready to complete your custom closet door. The next step is adding those finishing touches that will make your door truly stand out. Let’s continue building!
Step 7: Adding Finishing Touches
With the door panels securely attached, it’s time to add those final finishing touches that will complete the look and enhance the functionality of your custom closet door. Follow these steps to add the finishing touches:
- Sand and smooth: Use sandpaper or a sanding block to gently sand the entire surface of the door panels and frame. This will remove any rough edges or imperfections and create a smooth, touchable finish.
- Apply paint or stain: Choose a paint color or stain that complements your room’s decor and apply it to the door panels and frame. Follow the manufacturer’s instructions for proper application and allow sufficient drying time between coats, if necessary.
- Add hardware: Install the handles or knobs of your choice onto the door panels. Select hardware that not only matches the style of your closet door but also provides practicality and ease of use.
- Seal the wood (optional): If desired, apply a wood sealant or clear coat to protect the door panels from moisture, humidity, and general wear and tear. This step can prolong the lifespan of your closet door and keep it looking its best.
- Accessorize (optional): Consider adding additional accessories to further enhance the functionality and visual appeal of your closet door. This could include hooks for hanging small items, a mirror panel, or even a chalkboard or whiteboard surface.
When applying paint or stain, make sure to work in a well-ventilated area and protect the surrounding surfaces from any potential drips or spills. Follow proper safety precautions and use the appropriate tools and equipment.
By adding these finishing touches, you can customize your closet door to perfectly suit your style and needs. These details will elevate the overall look and create a cohesive and polished appearance that fits seamlessly into your room’s design.
Once you have completed the finishing touches, take a step back and admire your custom closet door. The next and final step is to hang the door, bringing your project to its completion. Let’s move on to the last step!
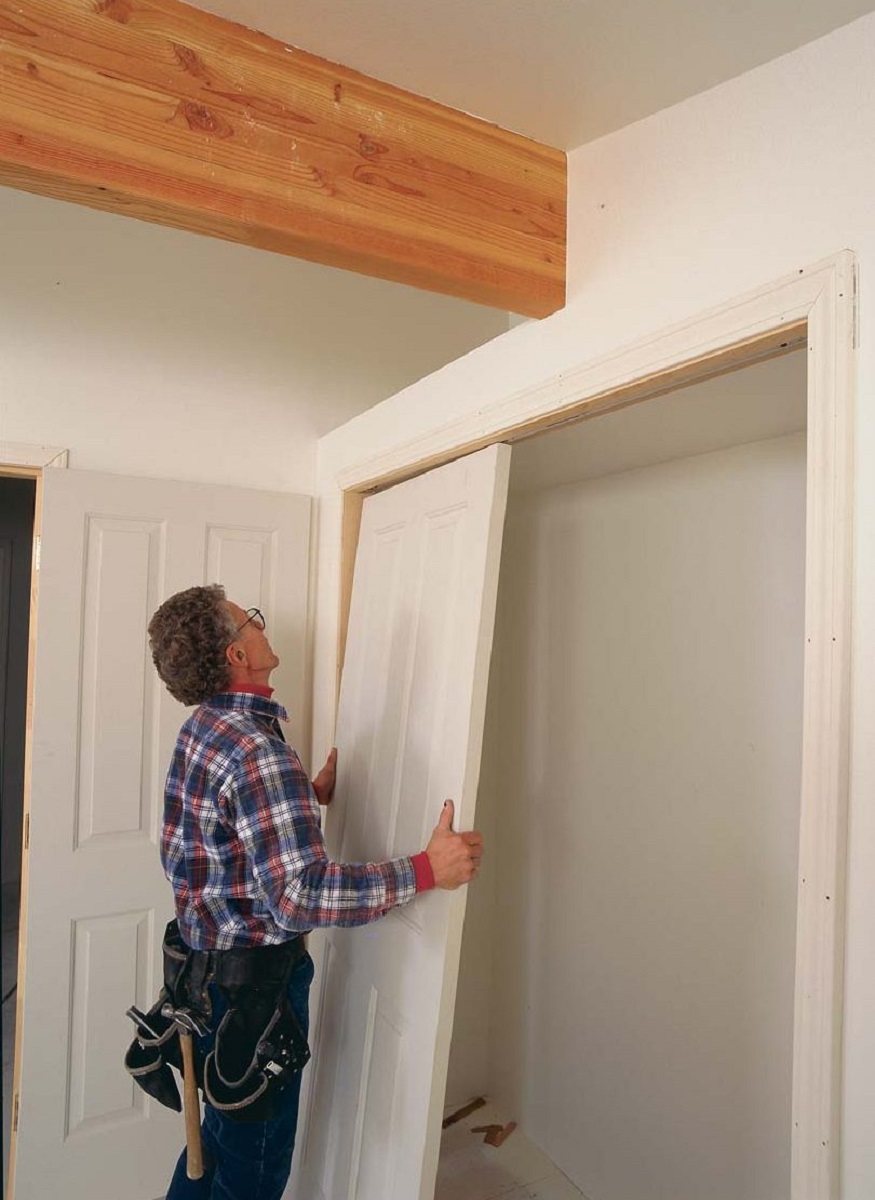
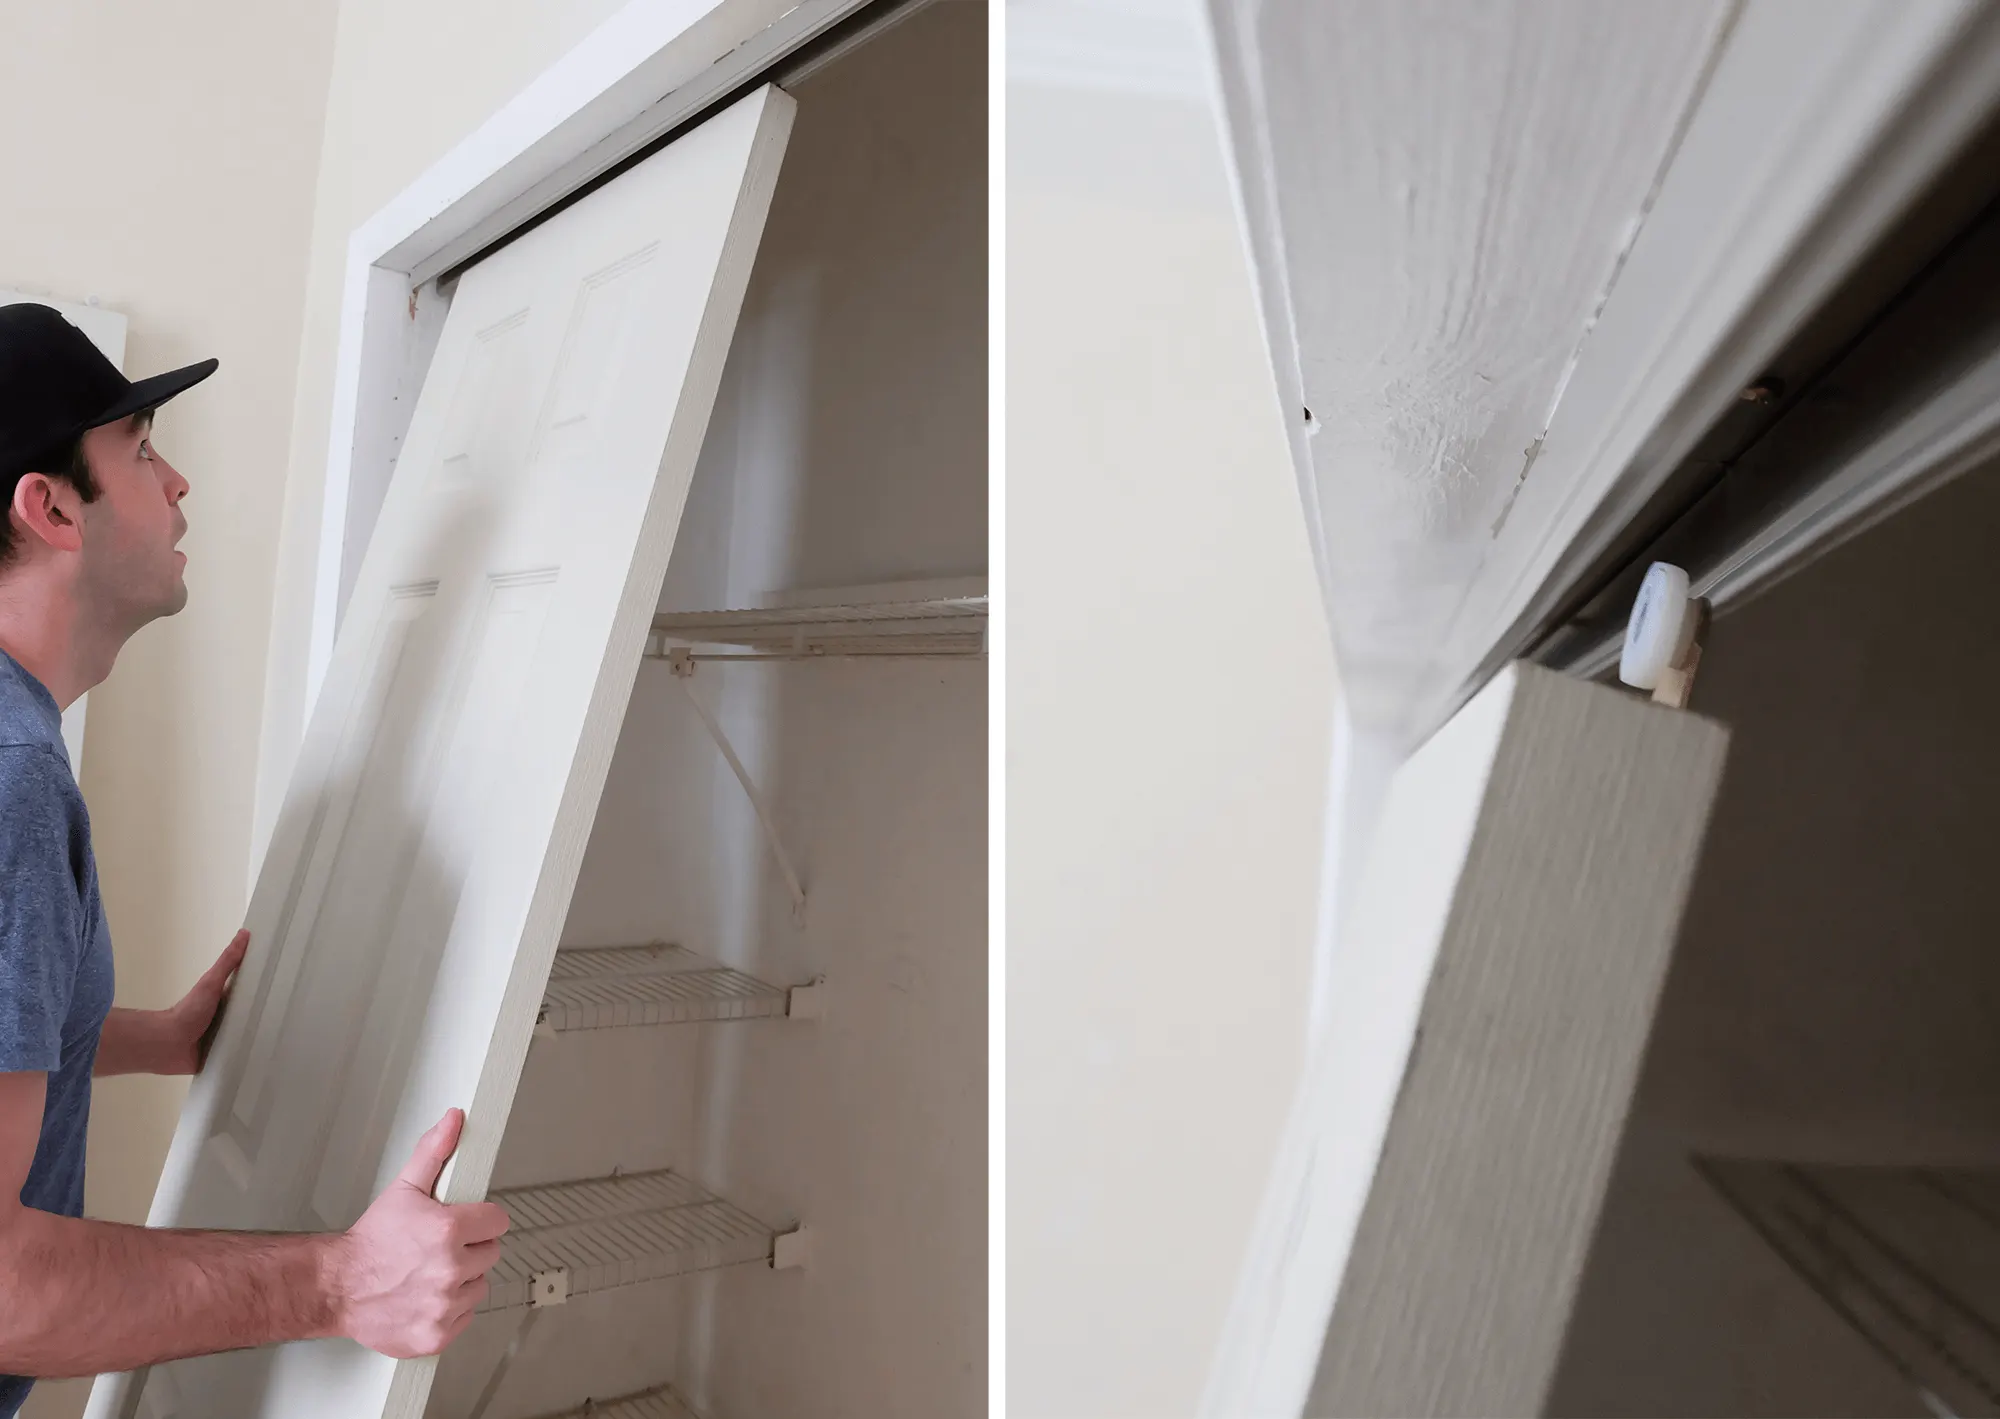
Step 8: Hanging the Closet Door
Congratulations! You’re in the final step of completing your custom closet door project. Hanging the door involves installing it in its designated opening so that it can be opened and closed smoothly. Follow these steps to hang your closet door:
- Prepare the opening: Ensure that the closet opening is clean and free from any obstructions. Remove any old door hardware or trim if necessary.
- Adjust the hinges: If needed, adjust the hinges to ensure that they are properly aligned and allow the door panels to swing or slide smoothly. Tighten or loosen the screws as needed to achieve the desired fit.
- Align the door: Hold the door in the opening and align it with the frame. Check for even gaps along the top, bottom, and sides for a uniform appearance.
- Attach the hinges: With the help of a screwdriver or drill, secure the hinges to the doorframe. Ensure that the screws are tight and provide a secure hold.
- Test the movement: Open and close the closet door several times to ensure that it operates smoothly and without any obstructions. Adjust the hinges if necessary to achieve the desired movement.
- Add door stops (optional): To prevent the door from swinging too far or hitting the adjacent wall, install door stops on the frame. These can be adhesive or screw-on stops that provide a cushioned surface for the door to come to rest against.
During the hanging process, it’s important to take your time and pay attention to the details. Proper alignment and secure installation of the hinges are essential for a functional and visually pleasing closet door.
After hanging the door, step back and admire the finished result. You have successfully created and installed your own custom closet door, adding a touch of style and functionality to your space.
Remember, regular maintenance and care will help preserve the beauty and functionality of your closet door. Keep the hinges lubricated, clean the door panels regularly, and address any issues promptly to ensure its long-lasting performance.
With your custom closet door in place, take a moment to appreciate the craftsmanship and personal touch you’ve added to your home. Enjoy the convenience and beauty of a door made specifically to your liking!
As we conclude this guide, we hope you found it helpful and inspiring. Now that you’ve successfully built your own closet door, you can apply your newfound skills to other DIY projects. Happy building!
Read more: How To Replace Closet Door
Conclusion
Congratulations on completing your journey to create a custom closet door! Throughout this guide, we have covered each step of the process, from gathering materials to hanging the door, allowing you to craft a unique and functional addition to your home.
By following the steps outlined in this guide, you have gained the knowledge and skills to build a closet door that perfectly matches your style and suits your specific needs. The satisfaction of creating something with your own hands and seeing it come to life is truly rewarding.
Remember to embrace your creativity and personalize your closet door. Implementing design elements and finishes that align with your room’s decor will ensure a cohesive and visually appealing result.
As you embarked on this DIY project, you not only learned how to measure, cut, assemble, and hang a closet door, but you also discovered the joy of customizing your living space. This accomplishment can serve as a steppingstone to other DIY projects, as you continue to explore and enhance your home.
We hope this guide has provided you with the confidence and inspiration to tackle future projects, whether large or small. Remember, every DIY adventure begins with a vision and the willingness to put in the effort—and the results are always worth it.
Now, sit back and admire your newly built custom closet door. It’s not just a functional addition to your home, but a reflection of your style and craftsmanship. Enjoy the convenience, beauty, and satisfaction that comes from creating something unique with your own hands.
Thank you for joining us on this DIY journey. We wish you many more successful projects and a home filled with your personal touch!
Frequently Asked Questions about How To Make Closet Door
Was this page helpful?
At Storables.com, we guarantee accurate and reliable information. Our content, validated by Expert Board Contributors, is crafted following stringent Editorial Policies. We're committed to providing you with well-researched, expert-backed insights for all your informational needs.

0 thoughts on “How To Make Closet Door”